Home>Gardening & Outdoor>Outdoor Recreation & Activities>How To Tie A Trampoline Net
Outdoor Recreation & Activities
How To Tie A Trampoline Net
Modified: October 21, 2024
Learn how to tie a trampoline net securely for safe and enjoyable outdoor recreation and activities. Follow our step-by-step guide for expert tips and advice.
(Many of the links in this article redirect to a specific reviewed product. Your purchase of these products through affiliate links helps to generate commission for Storables.com, at no extra cost. Learn more)
Introduction
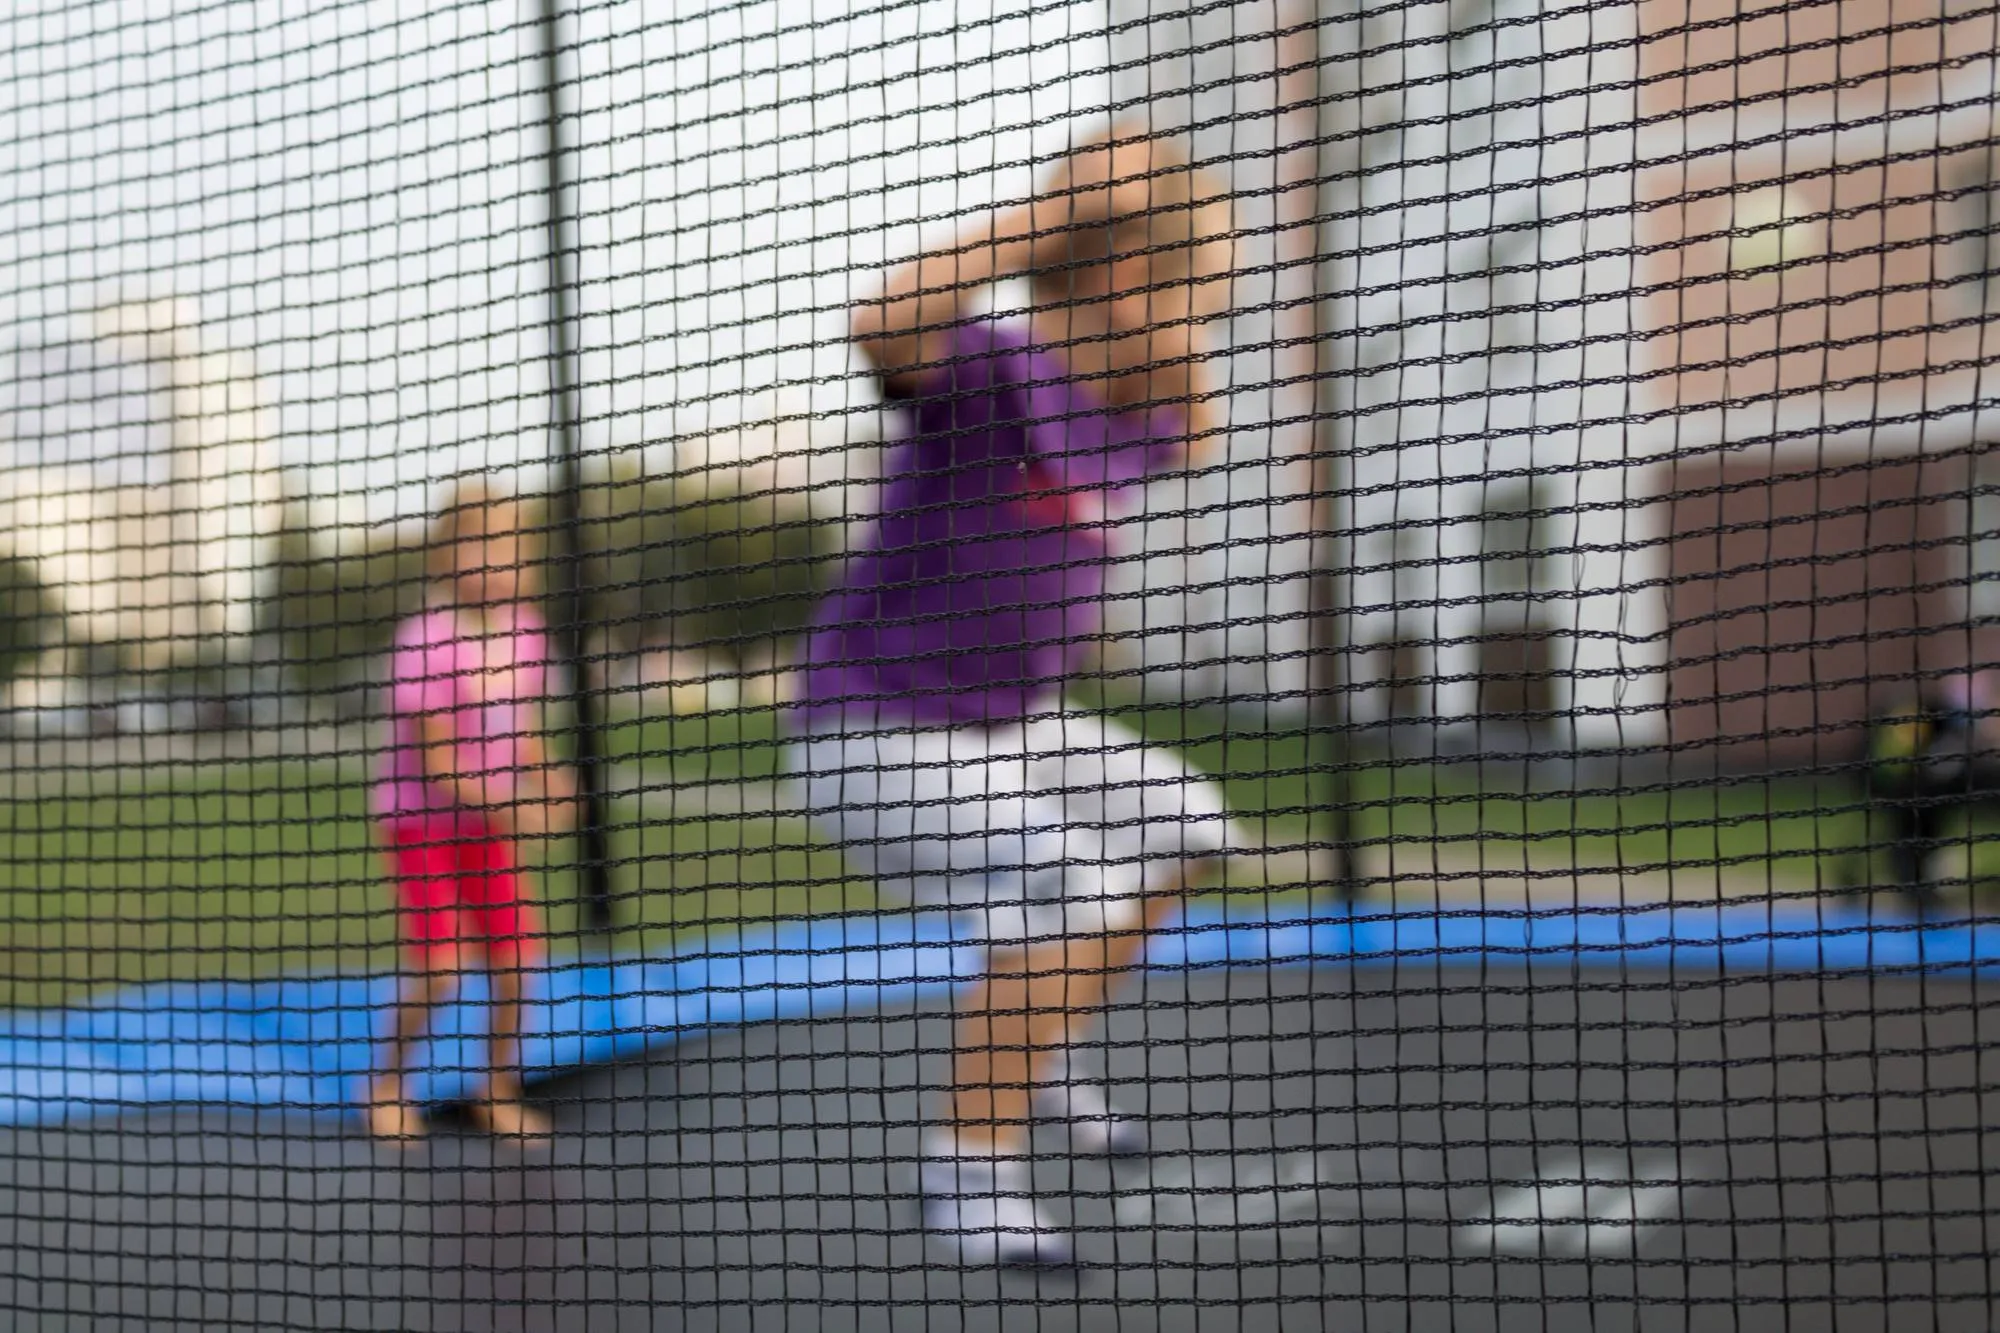
Welcome to the exciting world of trampolining! Whether you’re a seasoned trampoline enthusiast or a beginner looking to explore this thrilling activity, ensuring the safety and integrity of your trampoline net is paramount. A properly installed trampoline net not only provides a secure environment for bouncers but also offers peace of mind to parents and guardians. In this comprehensive guide, we will walk you through the step-by-step process of securely tying a trampoline net, ensuring that every jump and flip is performed within a safe and reliable enclosure.
Before we dive into the specifics, it’s important to highlight the significance of maintaining a well-secured trampoline net. The net serves as a crucial barrier, preventing users from accidentally bouncing off the trampoline and onto the ground. By following the instructions outlined in this guide, you’ll not only learn how to effectively tie a trampoline net but also gain a deeper understanding of the essential safety measures associated with trampoline usage.
So, gather your tools, prepare to embark on this educational journey, and get ready to elevate your trampolining experience to new heights!
Key Takeaways:
- Securely tying a trampoline net ensures a safe and enjoyable bouncing experience. Gather tools, attach the net to the frame and poles, and check for proper alignment and tension to create a reliable enclosure.
- Regular maintenance and inspection of the trampoline net are crucial for safety. Prioritize safety, educate users, and enjoy the thrill of bouncing within a well-secured enclosure.
Read more: How To Install A Net On A Trampoline
Step 1: Gather the Necessary Tools
Before commencing the process of tying your trampoline net, it’s essential to gather all the required tools and materials. Ensuring that you have everything at hand will streamline the installation process and minimize interruptions. Here’s a comprehensive list of the tools and materials you’ll need:
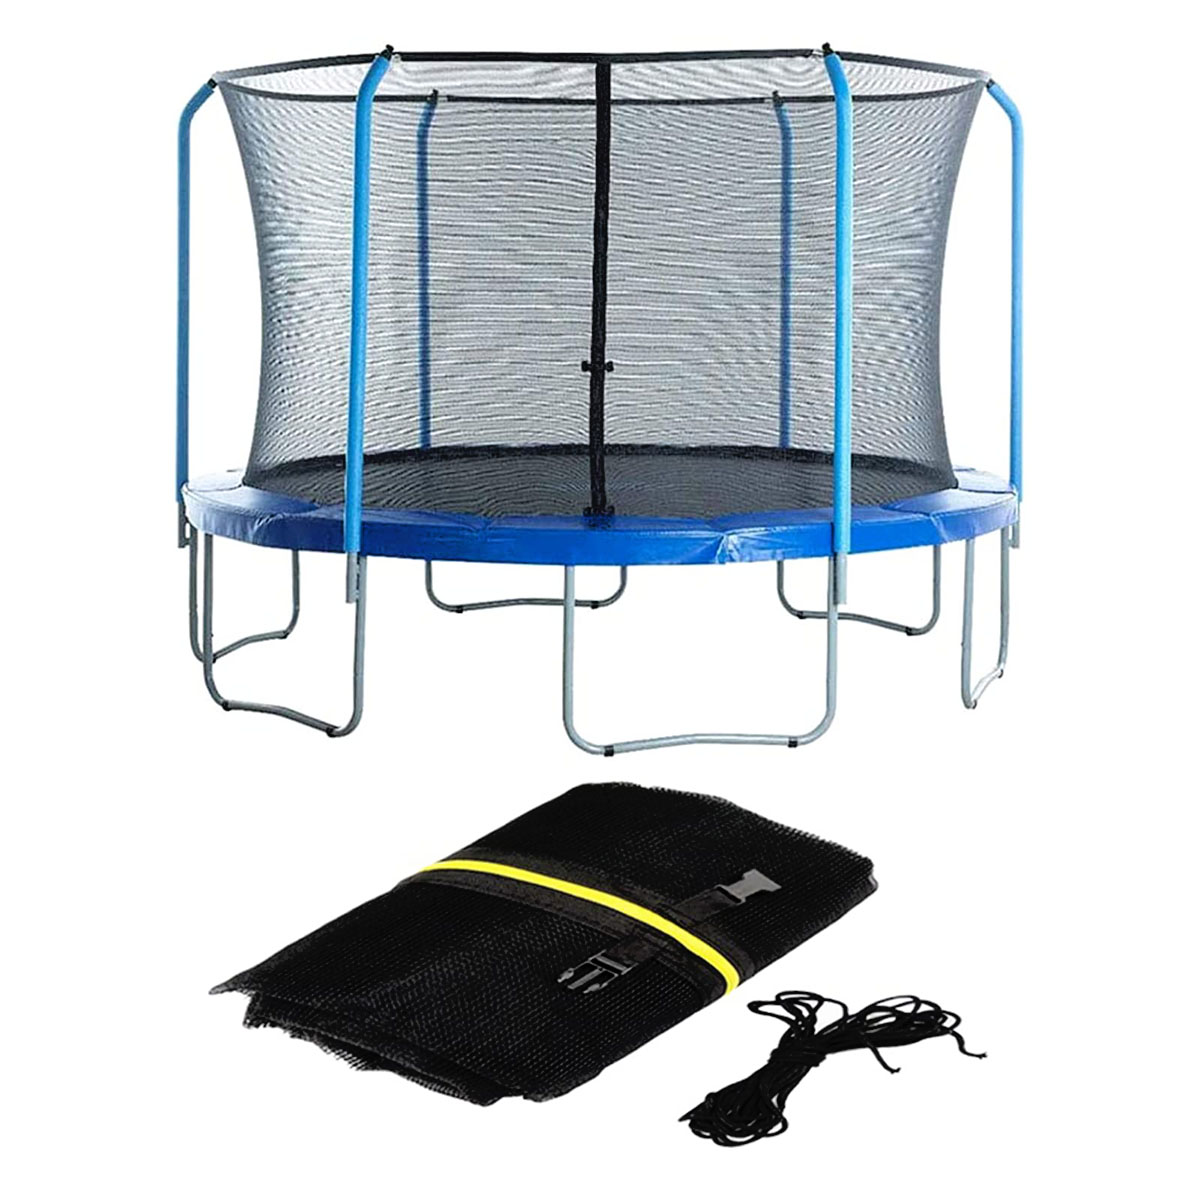
- Trampoline Net: Ensure that you have the correct replacement net for your trampoline model. The net should be compatible with the size and shape of your trampoline.
- Trampoline Poles: These poles provide the structural framework for the net and are instrumental in holding it securely in place.
- Bungee Cords or Straps: These will be used to attach the net to the trampoline frame and poles. They should be durable and capable of withstanding tension.
- Spring Pulling Tool: This tool will assist in attaching the net to the trampoline frame by facilitating the stretching of springs.
- Step Ladder: A sturdy step ladder is essential for reaching the top of the trampoline safely, especially when securing the net to the poles.
- Assistance: It’s advisable to have a second person to assist with certain steps, particularly when aligning and tensioning the net.
By ensuring that you have all the necessary tools and materials readily available, you’ll be well-prepared to proceed with the subsequent steps of attaching and securing the trampoline net. Now that you’ve gathered your tools, it’s time to move on to the next phase of the process: attaching the net to the trampoline frame.
Step 2: Attach the Net to the Trampoline Frame
With all the necessary tools and materials at your disposal, it’s time to move on to the crucial step of attaching the trampoline net to the frame. This step requires precision and attention to detail to ensure that the net is securely fastened, providing a safe enclosure for trampoline users. Follow these steps to effectively attach the net to the trampoline frame:
- Positioning the Net: Begin by positioning the net around the perimeter of the trampoline, ensuring that it is evenly aligned. The bottom of the net should be draped over the trampoline frame, with the top portion extending upward.
- Attaching the Net to the Frame: Using the bungee cords or straps, start securing the bottom of the net to the trampoline frame. Work your way around the entire circumference, ensuring that the net is taut and evenly distributed.
- Securing the Top of the Net: Once the bottom of the net is firmly attached, proceed to secure the top portion to the trampoline frame. This may require the assistance of another person to ensure that the net is stretched and fastened securely.
- Utilizing the Spring Pulling Tool: If your trampoline net is designed to be attached using springs, utilize the spring pulling tool to stretch and connect the springs to the designated hooks on the trampoline frame. This step may require some physical effort, so exercise caution and ensure that the springs are securely fastened.
By following these steps with precision and care, you’ll successfully attach the trampoline net to the frame, laying the foundation for a safe and reliable enclosure. With the net securely fastened to the frame, you’re now ready to proceed to the next critical stage: securing the net to the poles.
When tying a trampoline net, make sure to use strong and durable rope or bungee cords. Start by attaching the top of the net to the frame, then work your way around, securing the net at regular intervals to ensure a tight and secure fit.
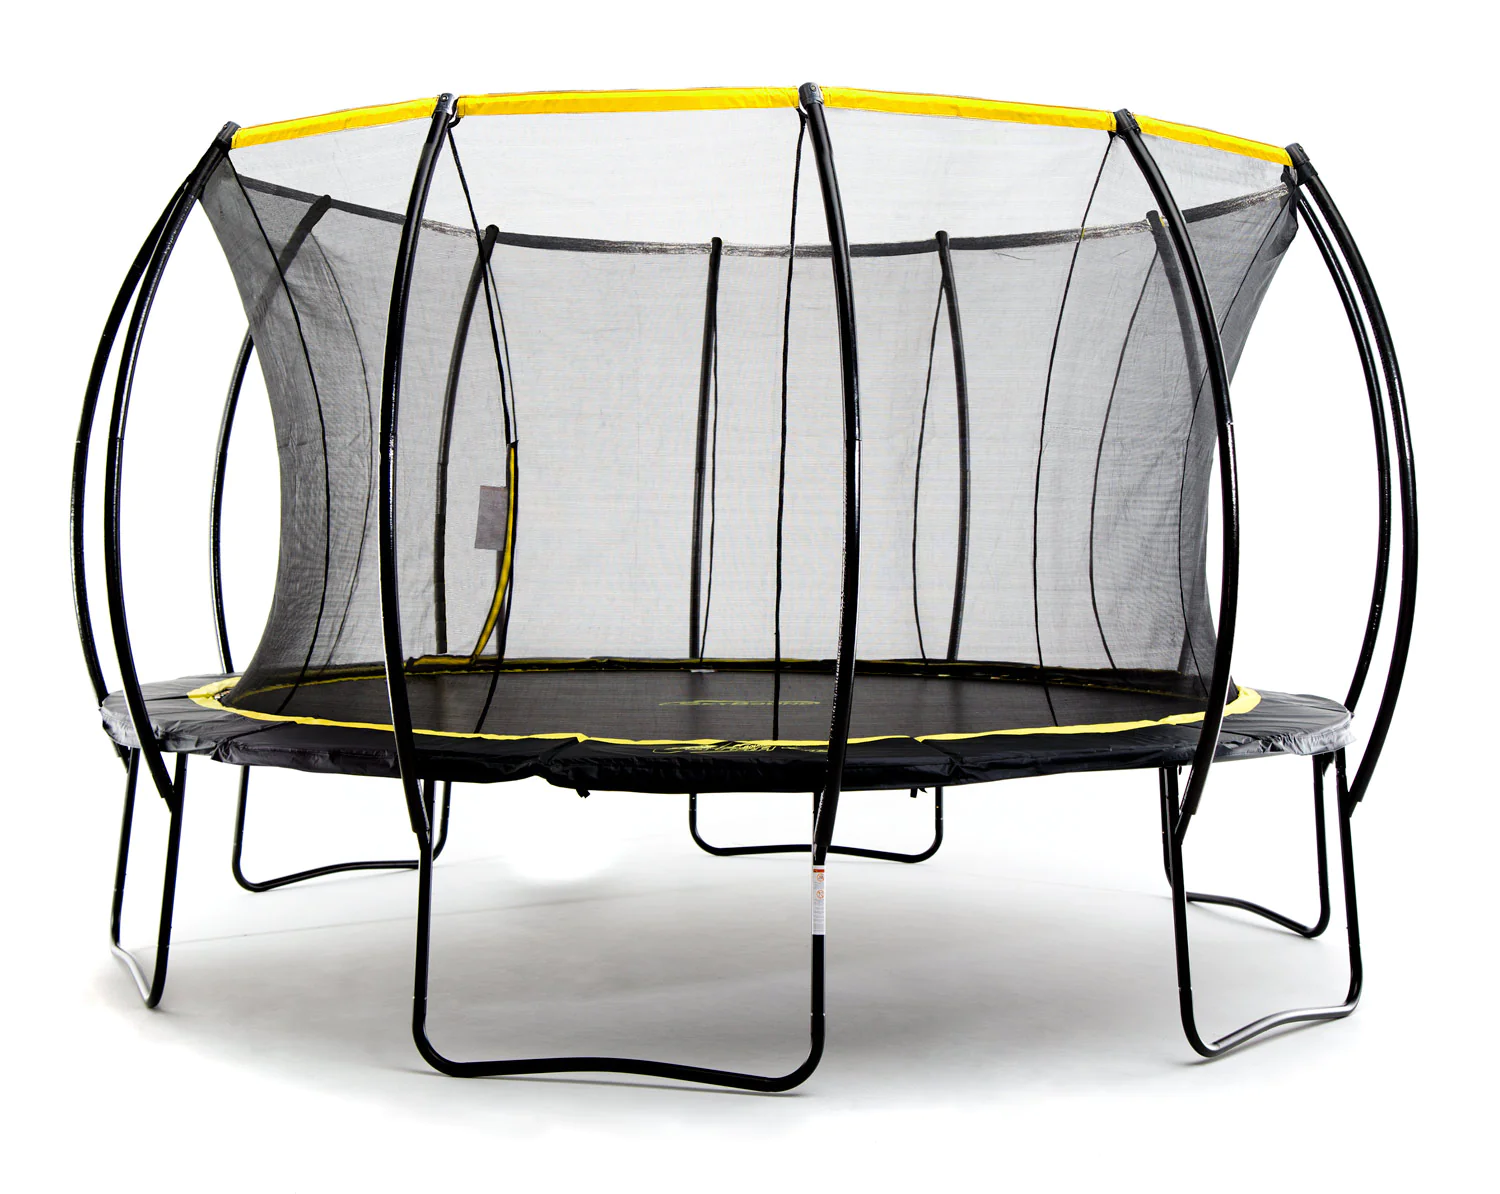
Step 3: Secure the Net to the Poles
After effectively attaching the trampoline net to the frame, the next pivotal step involves securing the net to the poles. This phase is essential for ensuring that the net is uniformly tensioned and firmly anchored, creating a secure enclosure for trampoline users. Follow these comprehensive steps to securely fasten the net to the poles:
- Identify Pole Attachments: Begin by identifying the designated attachments on the trampoline net that correspond to the poles. These attachments are typically located at regular intervals along the top of the net.
- Aligning the Net with the Poles: With the assistance of another person, if possible, carefully align the attachments on the net with the poles. Ensure that the net is evenly distributed around the trampoline, with each attachment aligned with the corresponding pole.
- Securing the Net to the Poles: Utilizing the provided fastening mechanisms, such as clips or straps, begin securing the net to the poles. Work your way around the trampoline, ensuring that each attachment is firmly fastened and that the net is uniformly tensioned.
- Tensioning the Net: Once the net is attached to the poles, assess the tension and adjust as necessary. The net should be taut and free of slack, providing a secure barrier for trampoline users.
By meticulously following these steps and ensuring that the net is securely fastened to the poles, you’ll establish a safe and reliable enclosure for your trampoline. With the net effectively secured to the poles, you’re now ready to proceed to the final stage: checking for proper alignment and tension.
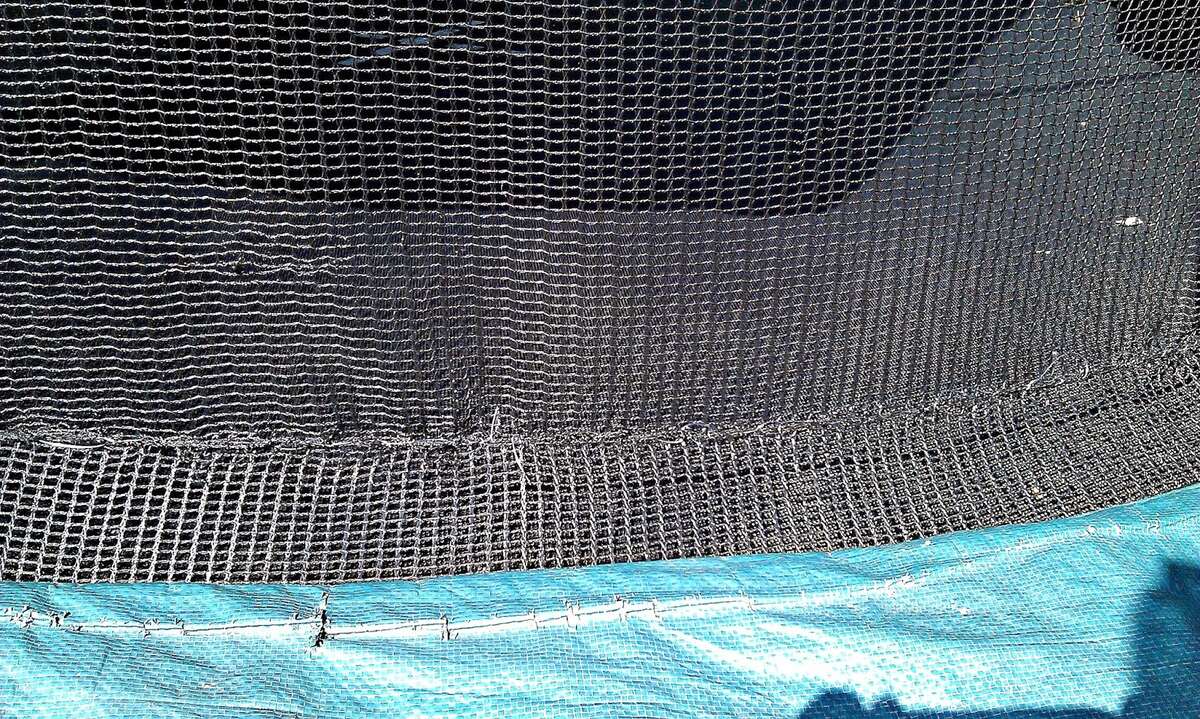
Step 4: Check for Proper Alignment and Tension
As you approach the final stage of tying your trampoline net, it’s crucial to meticulously inspect the alignment and tension to ensure that the net is securely in place and ready for use. This step involves a comprehensive assessment of the net’s positioning and tautness, guaranteeing a safe and reliable enclosure for trampoline enthusiasts. Follow these essential steps to check for proper alignment and tension:
- Visual Inspection: Begin by visually inspecting the trampoline net from various angles. Ensure that the net is evenly distributed around the trampoline, with no areas of excessive slack or uneven tension.
- Tension Assessment: Gently press on different sections of the net to gauge the tension. The net should feel taut and resilient, providing a secure barrier for trampoline users. Adjust the tension as needed to achieve uniform tautness throughout the net.
- Alignment Verification: Verify that the net is uniformly aligned with the trampoline frame and poles. Check for any areas where the net may have shifted during the attachment process and make necessary adjustments to ensure proper alignment.
- Functional Testing: With the net securely in place, perform a functional test by gently applying pressure to different sections of the net. The net should remain steadfast and secure, demonstrating its ability to contain users within the trampoline enclosure.
By meticulously conducting these assessments and making any necessary adjustments, you’ll ensure that the trampoline net is properly aligned and tensioned, providing a safe and secure environment for trampoline enthusiasts. With the net successfully installed and verified for proper alignment and tension, you’ve completed the essential steps of tying a trampoline net.
Read more: How To Measure A Trampoline For A Net
Conclusion
Congratulations on successfully completing the process of tying your trampoline net! By diligently following the step-by-step instructions outlined in this guide, you’ve not only secured the net but also prioritized the safety and enjoyment of trampoline users. The careful attachment and tensioning of the net have created a reliable enclosure, providing peace of mind to both users and supervisors.
It’s important to emphasize the significance of regular maintenance and inspection of the trampoline net. Periodically check the net for any signs of wear, tear, or loosening, and promptly address any issues to maintain a secure and resilient enclosure. Additionally, educate trampoline users about safe bouncing practices and the importance of respecting the boundaries established by the net.
Remember, the proper installation and maintenance of the trampoline net are essential elements of promoting a safe and enjoyable trampolining experience. By prioritizing safety and following the guidelines provided in this guide, you’ve taken a proactive step towards creating a secure environment for trampoline enthusiasts of all ages.
Now, with your trampoline net securely tied and your commitment to safety affirmed, it’s time to enjoy the exhilarating experience of bouncing within the confines of a well-secured enclosure. So, bounce away, have fun, and revel in the joy of trampolining within the safety of your newly tied trampoline net!
Frequently Asked Questions about How To Tie A Trampoline Net
Was this page helpful?
At Storables.com, we guarantee accurate and reliable information. Our content, validated by Expert Board Contributors, is crafted following stringent Editorial Policies. We're committed to providing you with well-researched, expert-backed insights for all your informational needs.


0 thoughts on “How To Tie A Trampoline Net”