Home>Gardening & Outdoor>Outdoor Recreation & Activities>How To Set Up A Trampoline Net

Outdoor Recreation & Activities
How To Set Up A Trampoline Net
Modified: October 19, 2024
Learn how to properly set up a trampoline net for a safe and enjoyable outdoor recreation and activities experience. Follow our step-by-step guide to ensure a secure and fun installation process.
(Many of the links in this article redirect to a specific reviewed product. Your purchase of these products through affiliate links helps to generate commission for Storables.com, at no extra cost. Learn more)
Introduction
Setting up a trampoline net is an essential aspect of ensuring the safety and enjoyment of trampoline use. A properly installed trampoline net not only provides a secure enclosure for jumpers but also adds an extra layer of protection, especially for younger users. Whether you are a seasoned trampoline owner or a first-time buyer, understanding the process of setting up a trampoline net is crucial.
In this comprehensive guide, we will walk you through the step-by-step process of setting up a trampoline net with ease and precision. From selecting the right trampoline net to the final testing phase, we will cover everything you need to know to ensure a successful installation. So, let's dive in and explore the essential steps required to set up a trampoline net securely and effectively.
Key Takeaways:
- Choose the right trampoline net by considering size, material, mesh density, entrance design, and manufacturer recommendations for a safe and secure installation.
- Prepare and secure the trampoline net meticulously to ensure stability, integrity, and reliability, providing a safe and enjoyable environment for trampoline enthusiasts.
Read more: How To Tie A Trampoline Net
Step 1: Choose the Right Trampoline Net
Before embarking on the installation process, it’s crucial to select the appropriate trampoline net that suits your specific trampoline model. Here are some key factors to consider when choosing the right trampoline net:
- Compatibility: Ensure that the trampoline net is compatible with the size and shape of your trampoline. Whether you have a round, rectangular, or oval trampoline, the net should be designed to fit seamlessly.
- Material Quality: Opt for a trampoline net constructed from durable, UV-resistant materials such as polyethylene or polypropylene. These materials offer excellent strength and longevity, ensuring the net can withstand outdoor elements.
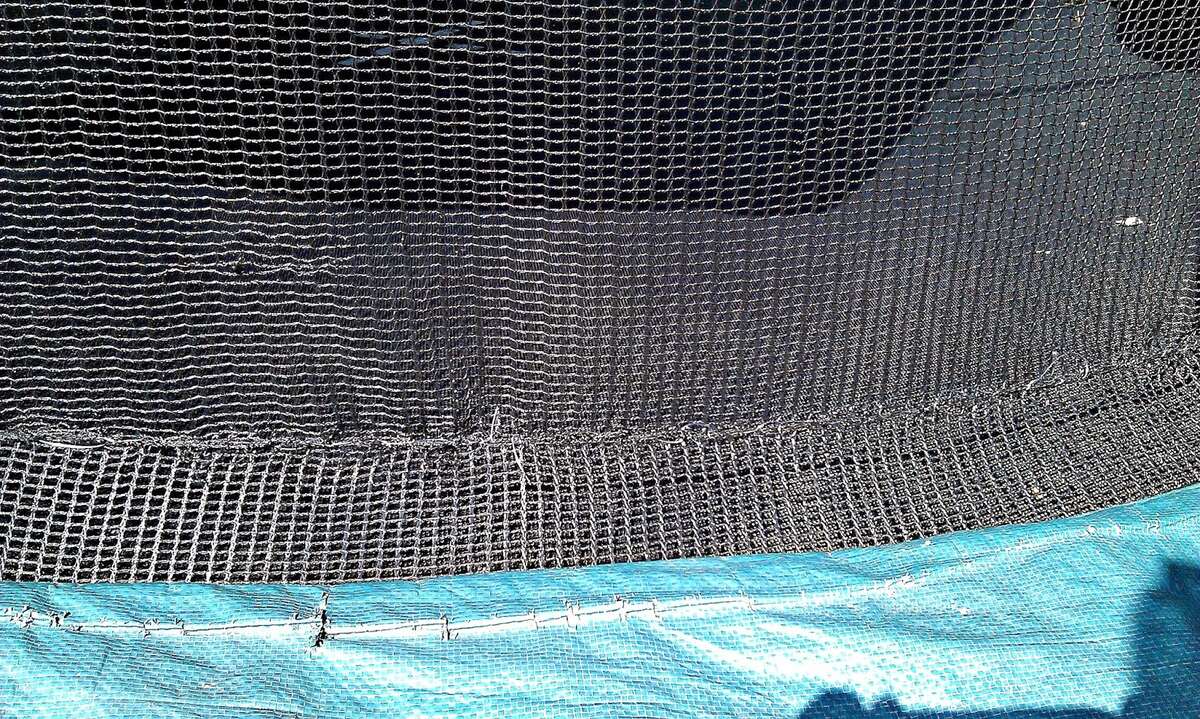
- Mesh Density: Check the mesh density of the net to ensure it provides a safe enclosure without obstructing visibility. A densely woven net offers enhanced safety by preventing limbs from getting caught while allowing for clear visibility.
- Entrance Design: Consider the entrance design of the trampoline net. Look for a net with a secure zipper or latch mechanism to prevent accidental openings during use.
- Manufacturer Recommendations: Adhere to any specific recommendations provided by the trampoline manufacturer when selecting a compatible net. Following their guidelines can ensure optimal safety and performance.
By carefully evaluating these factors and selecting a high-quality, compatible trampoline net, you can lay a solid foundation for a successful installation process. With the right net in hand, you are ready to move on to the next steps of setting up your trampoline net.
Step 2: Gather the Necessary Tools and Equipment
Before commencing the installation of your trampoline net, it’s essential to gather all the required tools and equipment to streamline the process and ensure a smooth setup. Here’s a comprehensive list of the essential items you will need:
- Trampoline Net: Ensure you have the correct trampoline net specifically designed for your trampoline model, with all necessary components included.
- Hardware and Fasteners: Check that you have all the required nuts, bolts, screws, and any specialized fasteners needed for securing the net in place.
- Assembly Tools: Gather a set of basic tools, including a screwdriver, wrench, pliers, and possibly a rubber mallet, to aid in the assembly process.
- Ladder (if applicable): If your trampoline requires a ladder for access, ensure that it is included and readily available for installation.
- Protective Gear: It’s advisable to wear protective gloves and safety goggles during the installation to prevent any potential injuries from sharp edges or flying debris.
- Assistance: If possible, enlist the help of a friend or family member to assist with lifting and positioning the trampoline net, making the process more manageable.
By having all the necessary tools and equipment at your disposal, you can streamline the installation process and minimize interruptions, ensuring a more efficient and successful setup. With everything prepared, you are now ready to move on to the next phase of preparing the trampoline for the net installation.
Step 3: Prepare the Trampoline
Before installing the trampoline net, it’s crucial to prepare the trampoline and its surrounding area to ensure a safe and effective setup. Here are the essential steps to prepare the trampoline for the net installation:
- Clean the Trampoline: Thoroughly clean the trampoline frame and jumping mat to remove any dirt, debris, or moisture that may have accumulated. A clean surface will facilitate a secure and stable attachment of the trampoline net.
- Inspect the Frame and Springs: Carefully inspect the trampoline frame and springs for any signs of wear, damage, or rust. Replace any worn or damaged components to maintain the structural integrity of the trampoline.
- Clear the Surrounding Area: Remove any obstacles, such as furniture, toys, or garden tools, from the immediate vicinity of the trampoline to create a safe and unobstructed workspace for the installation process.
- Level the Ground: Ensure that the trampoline is positioned on a level surface to prevent unnecessary stress on the frame and ensure stability during use. Adjust the placement as needed to achieve a level orientation.
- Secure Anchors (if applicable): If your trampoline includes anchor kits for securing it to the ground, ensure that they are properly installed and tightened to enhance stability, especially in windy conditions.
By meticulously preparing the trampoline and its surroundings, you can create an optimal environment for installing the trampoline net. This proactive approach not only ensures a smoother installation process but also contributes to the overall safety and longevity of your trampoline system. With the trampoline primed and ready, you are now set to proceed with the installation of the trampoline net.
When setting up a trampoline net, make sure to carefully follow the manufacturer’s instructions. Ensure that the net is securely attached to the frame and that there are no gaps or tears that could pose a safety hazard. Regularly inspect the net for any signs of wear and tear, and replace it if necessary.
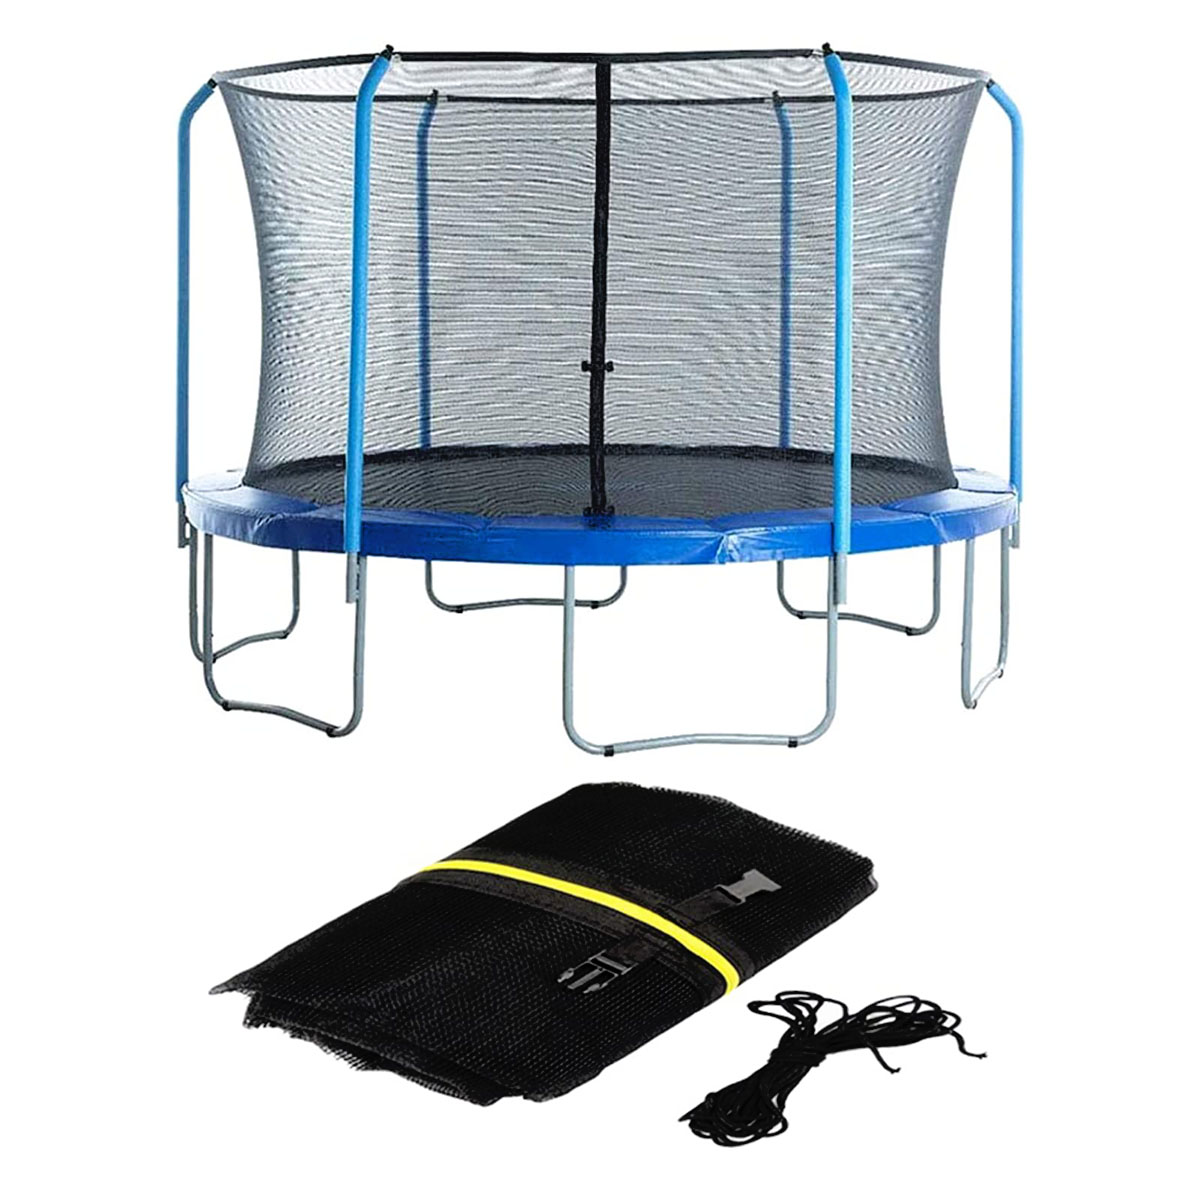
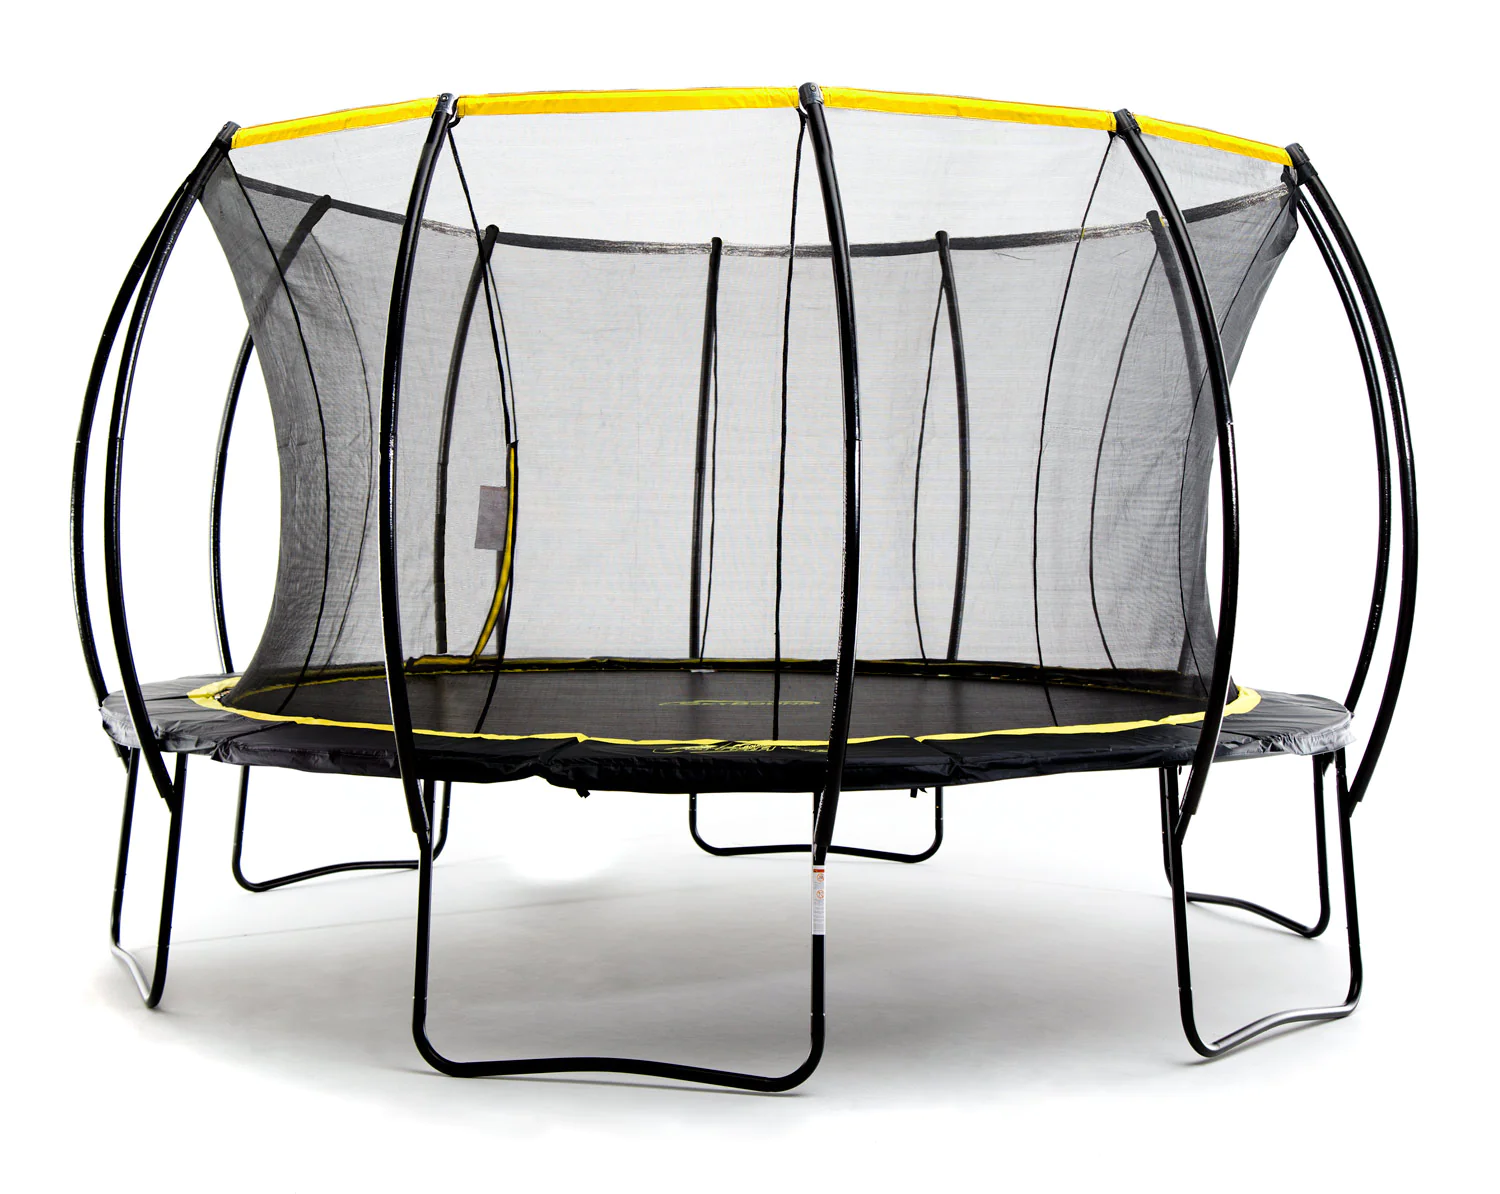
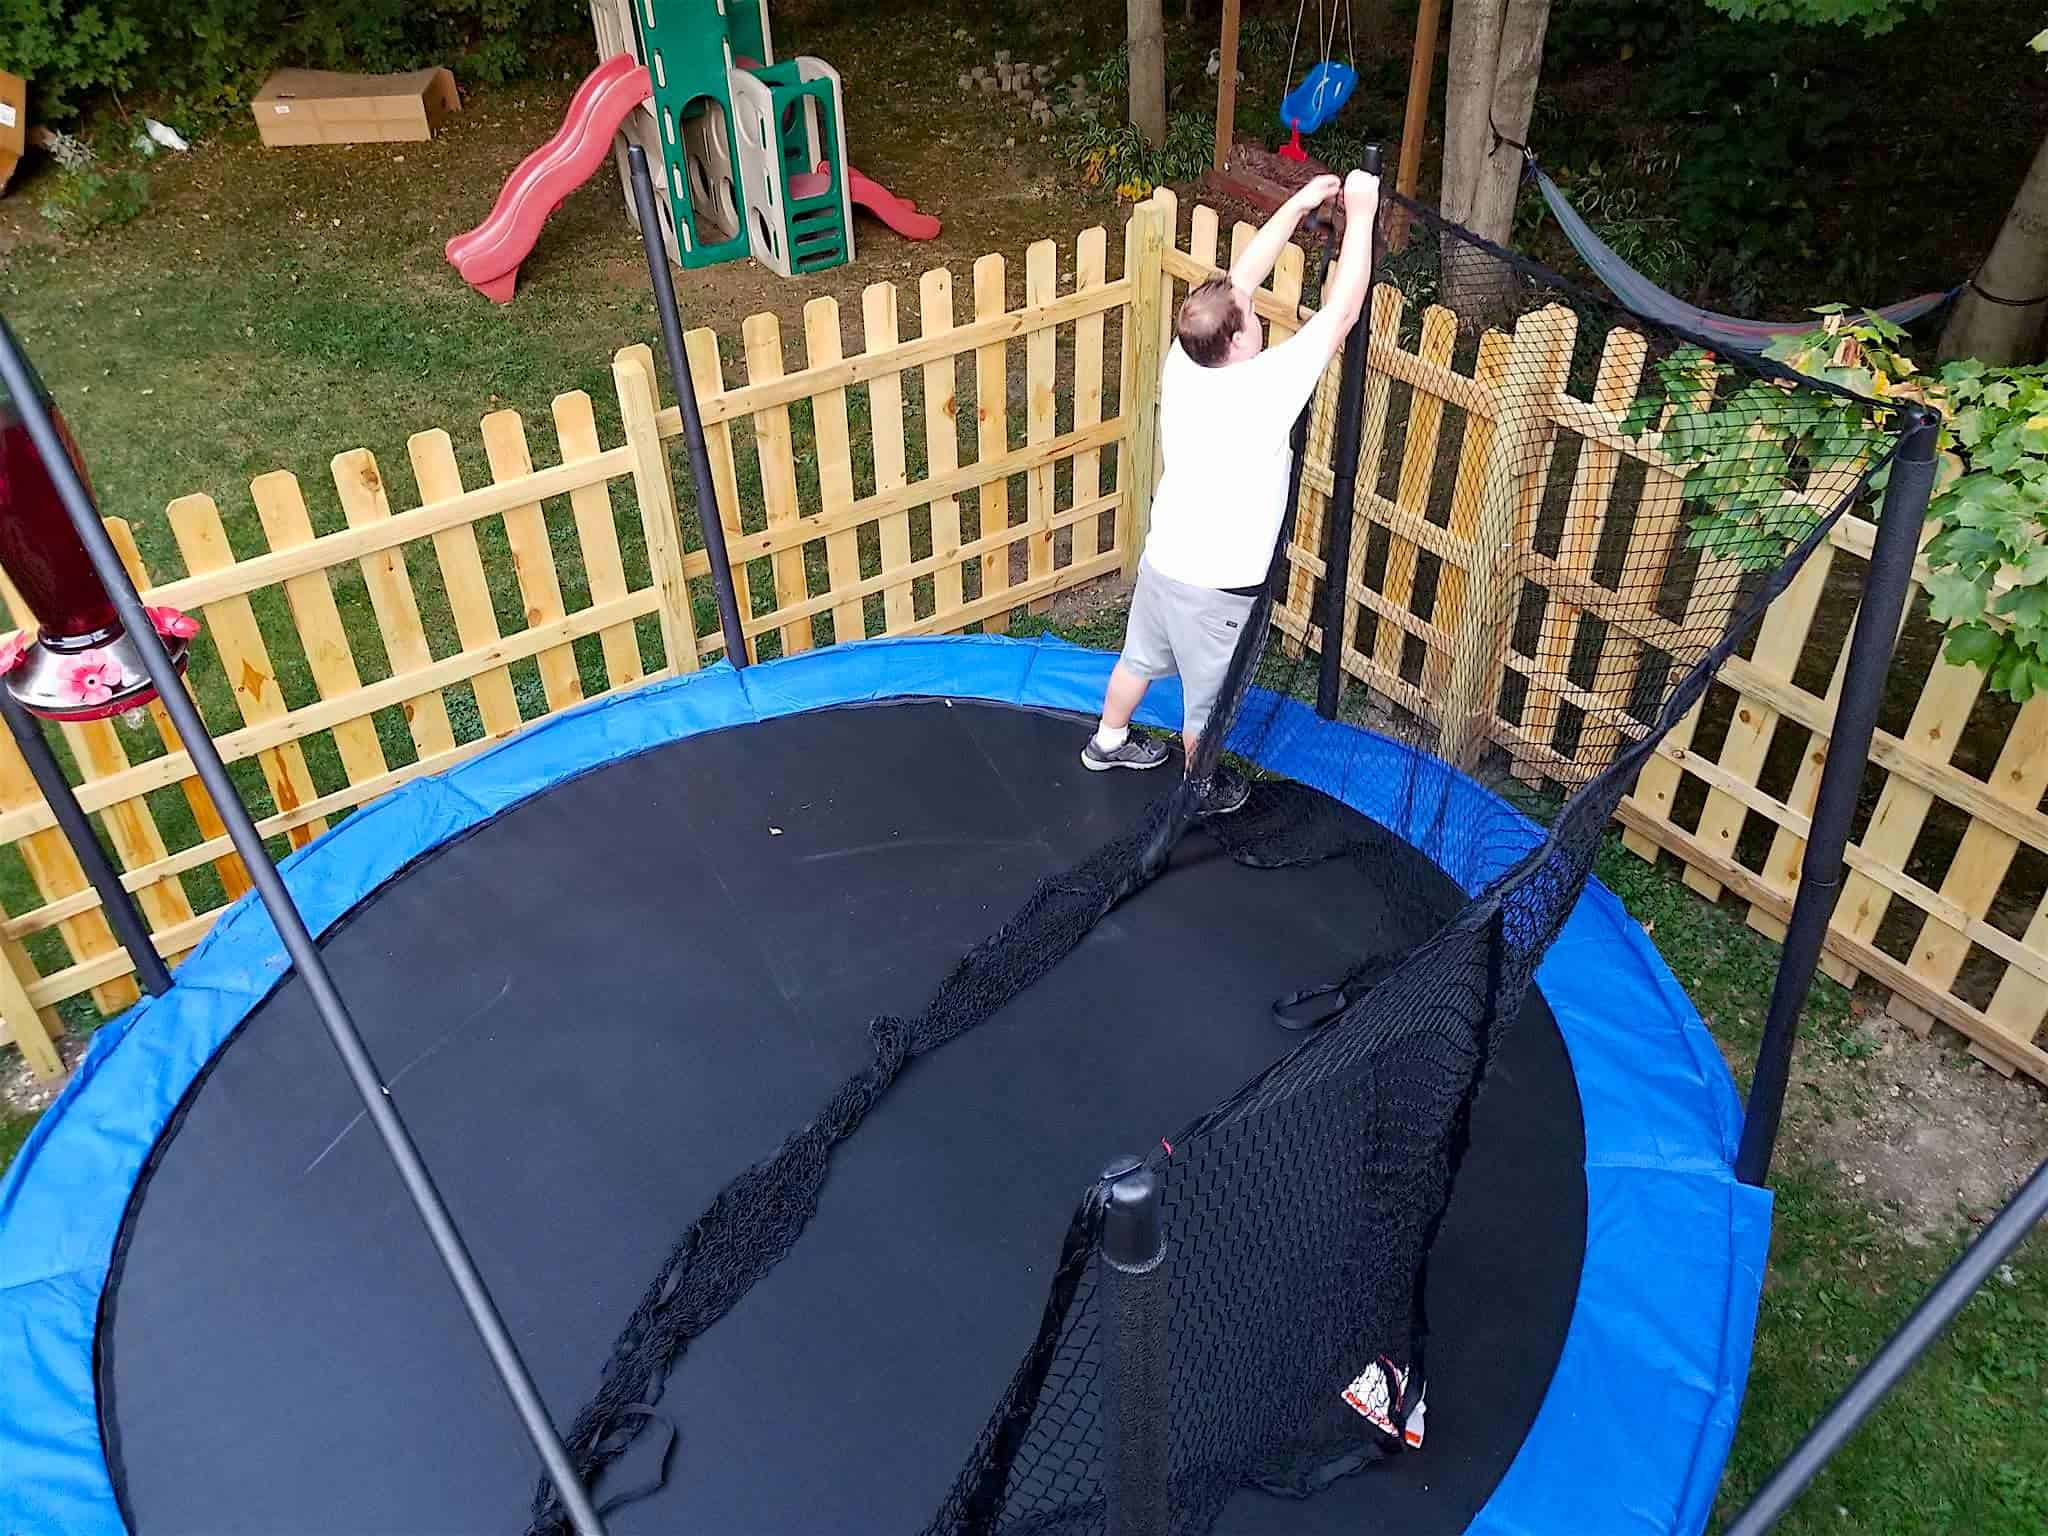
Step 4: Install the Trampoline Net
With the trampoline prepared and the necessary tools at hand, it’s time to embark on the installation of the trampoline net. Follow these step-by-step guidelines to effectively install the net onto your trampoline:
- Positioning the Net: Unfold the trampoline net and identify the designated entrance. Position the net around the outer perimeter of the trampoline, ensuring that the entrance aligns with the ladder or access point.
- Attaching the Net to the Poles: Secure the top of the net to the designated poles or enclosure system of the trampoline. Follow the manufacturer’s instructions for attaching the net securely, ensuring a snug fit without excessive tension.
- Aligning the Bottom of the Net: Gradually work your way around the trampoline, aligning the bottom of the net with the frame and ensuring that it is evenly distributed. This step may require assistance to achieve a uniform and taut positioning.
- Connecting the Bottom of the Net: Fasten the bottom of the net to the trampoline frame using the provided fasteners or attachment mechanisms. Ensure that the net is securely attached, with no gaps or loose areas that could compromise safety.
- Checking the Tension: Verify that the net is uniformly tensioned around the trampoline, with no excessive slack or over-tightening. Adjust the tension as needed to achieve a balanced and secure enclosure.
By following these systematic steps, you can effectively install the trampoline net, creating a safe and reliable enclosure for jumpers. The proper installation of the net is essential in ensuring the overall safety and functionality of your trampoline system, providing peace of mind for users and supervisors alike.
Read more: How To Install A Net On A Trampoline
Step 5: Secure the Net in Place
Once the trampoline net is installed, it’s crucial to secure it in place to maintain its stability and integrity. Follow these essential steps to ensure that the net is properly secured around the trampoline:
- Inspect Fastenings: Thoroughly inspect all attachment points and fastenings to confirm that the net is securely affixed to the trampoline frame and poles. Tighten any loose fasteners to prevent potential shifting or detachment.
- Check Zippers and Entrances: If your trampoline net features a zippered entrance, ensure that the zipper is fully closed and that any additional safety latches are engaged to prevent accidental openings during use.
- Verify Latch Mechanisms: For trampoline nets with latch mechanisms, double-check that they are properly engaged and functioning as intended, providing an extra layer of security for the enclosure.
- Adjust Tension as Needed: Reassess the tension of the net and make any necessary adjustments to ensure that it remains uniformly tensioned around the trampoline, maintaining a secure and stable enclosure.
- Test the Net’s Stability: Gently apply pressure to various sections of the net to assess its stability. The net should remain firmly in place without excessive give or movement, indicating that it is adequately secured.
By meticulously securing the trampoline net in place, you can enhance the safety and reliability of the enclosure, providing a secure environment for trampoline users. This proactive approach helps to mitigate potential risks and ensures that the net remains steadfast during regular use, contributing to a safer and more enjoyable trampolining experience.
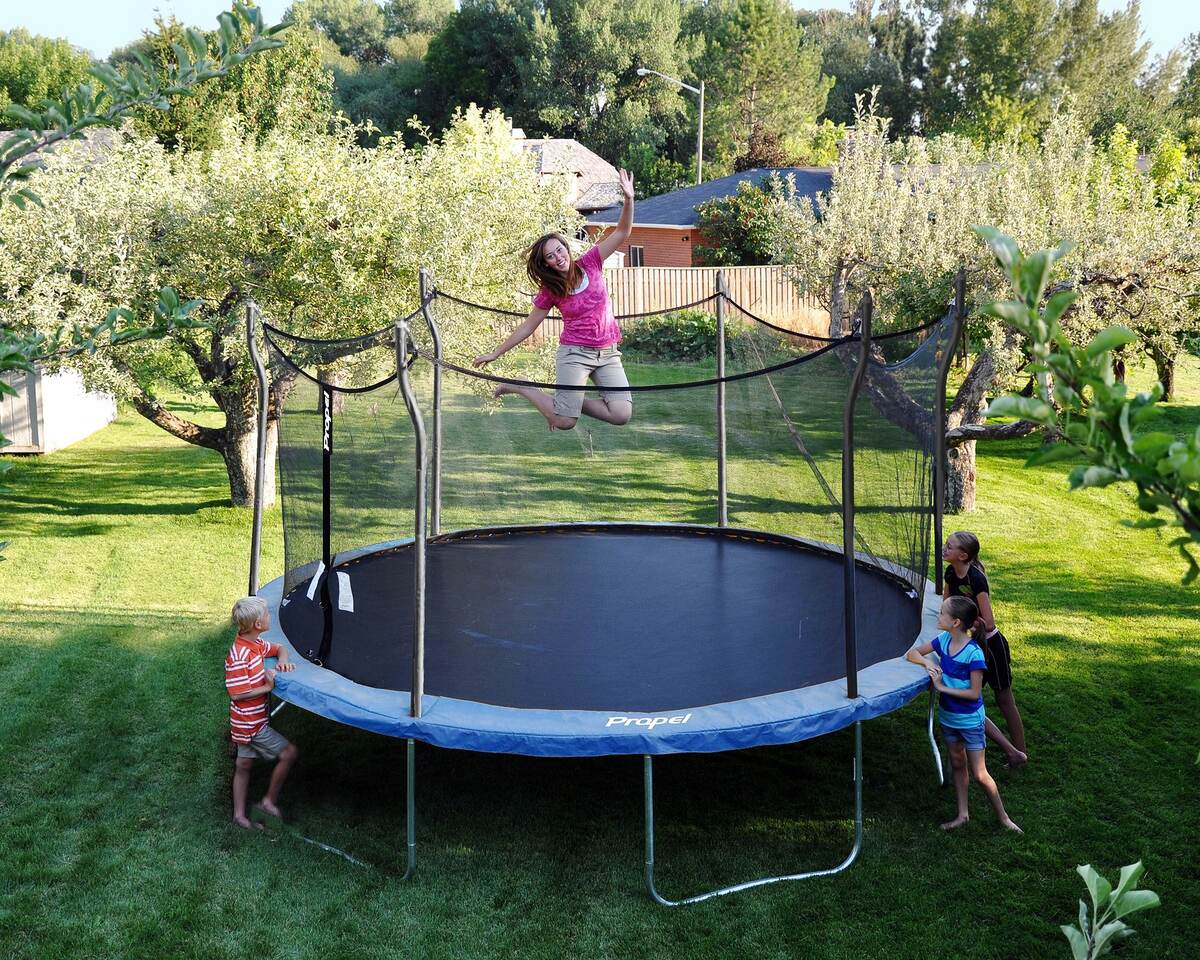
Step 6: Test the Trampoline Net
After installing and securing the trampoline net, it’s essential to conduct a thorough evaluation to ensure its effectiveness and safety. Follow these key steps to test the trampoline net and verify that it provides a secure enclosure for users:
- Visual Inspection: Conduct a visual assessment of the entire trampoline net, checking for any signs of sagging, loose areas, or damage. Address any identified issues promptly to maintain the integrity of the enclosure.
- Entrance Functionality: Test the functionality of the entrance, whether it is equipped with a zipper or latch mechanism. Open and close the entrance to confirm that it operates smoothly and securely, without any unexpected openings.
- User Accessibility: Verify that the entrance provides easy access for users while effectively preventing unauthorized entry, ensuring that the net serves as a reliable barrier.
- Jumping Experience: Encourage a controlled test jump on the trampoline to assess the net’s performance. Observe how the net responds to the impact and movement, ensuring that it remains stable and intact during use.
- Supervisory Perspective: Evaluate the trampoline net from a supervisory standpoint, ensuring that it offers clear visibility of the users while effectively containing them within the enclosure.
By methodically testing the trampoline net, you can confirm its functionality and reliability, providing assurance that it offers a secure and effective enclosure for trampoline enthusiasts. This proactive approach contributes to the overall safety and enjoyment of trampoline use, fostering a positive and secure environment for users of all ages.
Conclusion
Setting up a trampoline net is a fundamental aspect of ensuring the safety and enjoyment of trampoline activities. By following the comprehensive steps outlined in this guide, you can effectively install and secure a trampoline net, providing a secure enclosure for users while enhancing the overall trampolining experience.
From carefully selecting the right trampoline net to conducting thorough testing, each step plays a crucial role in creating a safe and reliable environment for trampoline enthusiasts. By prioritizing the proper installation and maintenance of the trampoline net, you contribute to the overall safety and enjoyment of trampoline activities for users of all ages.
Remember, the installation and maintenance of the trampoline net should be approached with diligence and attention to detail, ensuring that it remains a robust and secure enclosure for jumpers. By adhering to the guidelines outlined in this guide and conducting regular inspections and maintenance, you can uphold the integrity and safety of the trampoline net, fostering a secure and enjoyable trampolining experience for all.
With a well-installed and meticulously maintained trampoline net, you can create a safe and inviting space for recreational activities, allowing users to bounce and play with confidence and peace of mind.
Frequently Asked Questions about How To Set Up A Trampoline Net
Was this page helpful?
At Storables.com, we guarantee accurate and reliable information. Our content, validated by Expert Board Contributors, is crafted following stringent Editorial Policies. We're committed to providing you with well-researched, expert-backed insights for all your informational needs.


0 thoughts on “How To Set Up A Trampoline Net”