Home>Gardening & Outdoor>Outdoor Structures>How To Insulate A Tin Shed
Outdoor Structures
How To Insulate A Tin Shed
Published: January 19, 2024
Learn how to effectively insulate your tin shed to protect it from outdoor elements. Discover the best techniques for insulating outdoor structures.
(Many of the links in this article redirect to a specific reviewed product. Your purchase of these products through affiliate links helps to generate commission for Storables.com, at no extra cost. Learn more)
Introduction
Read more: How To Paint A Tin Shed
Introduction
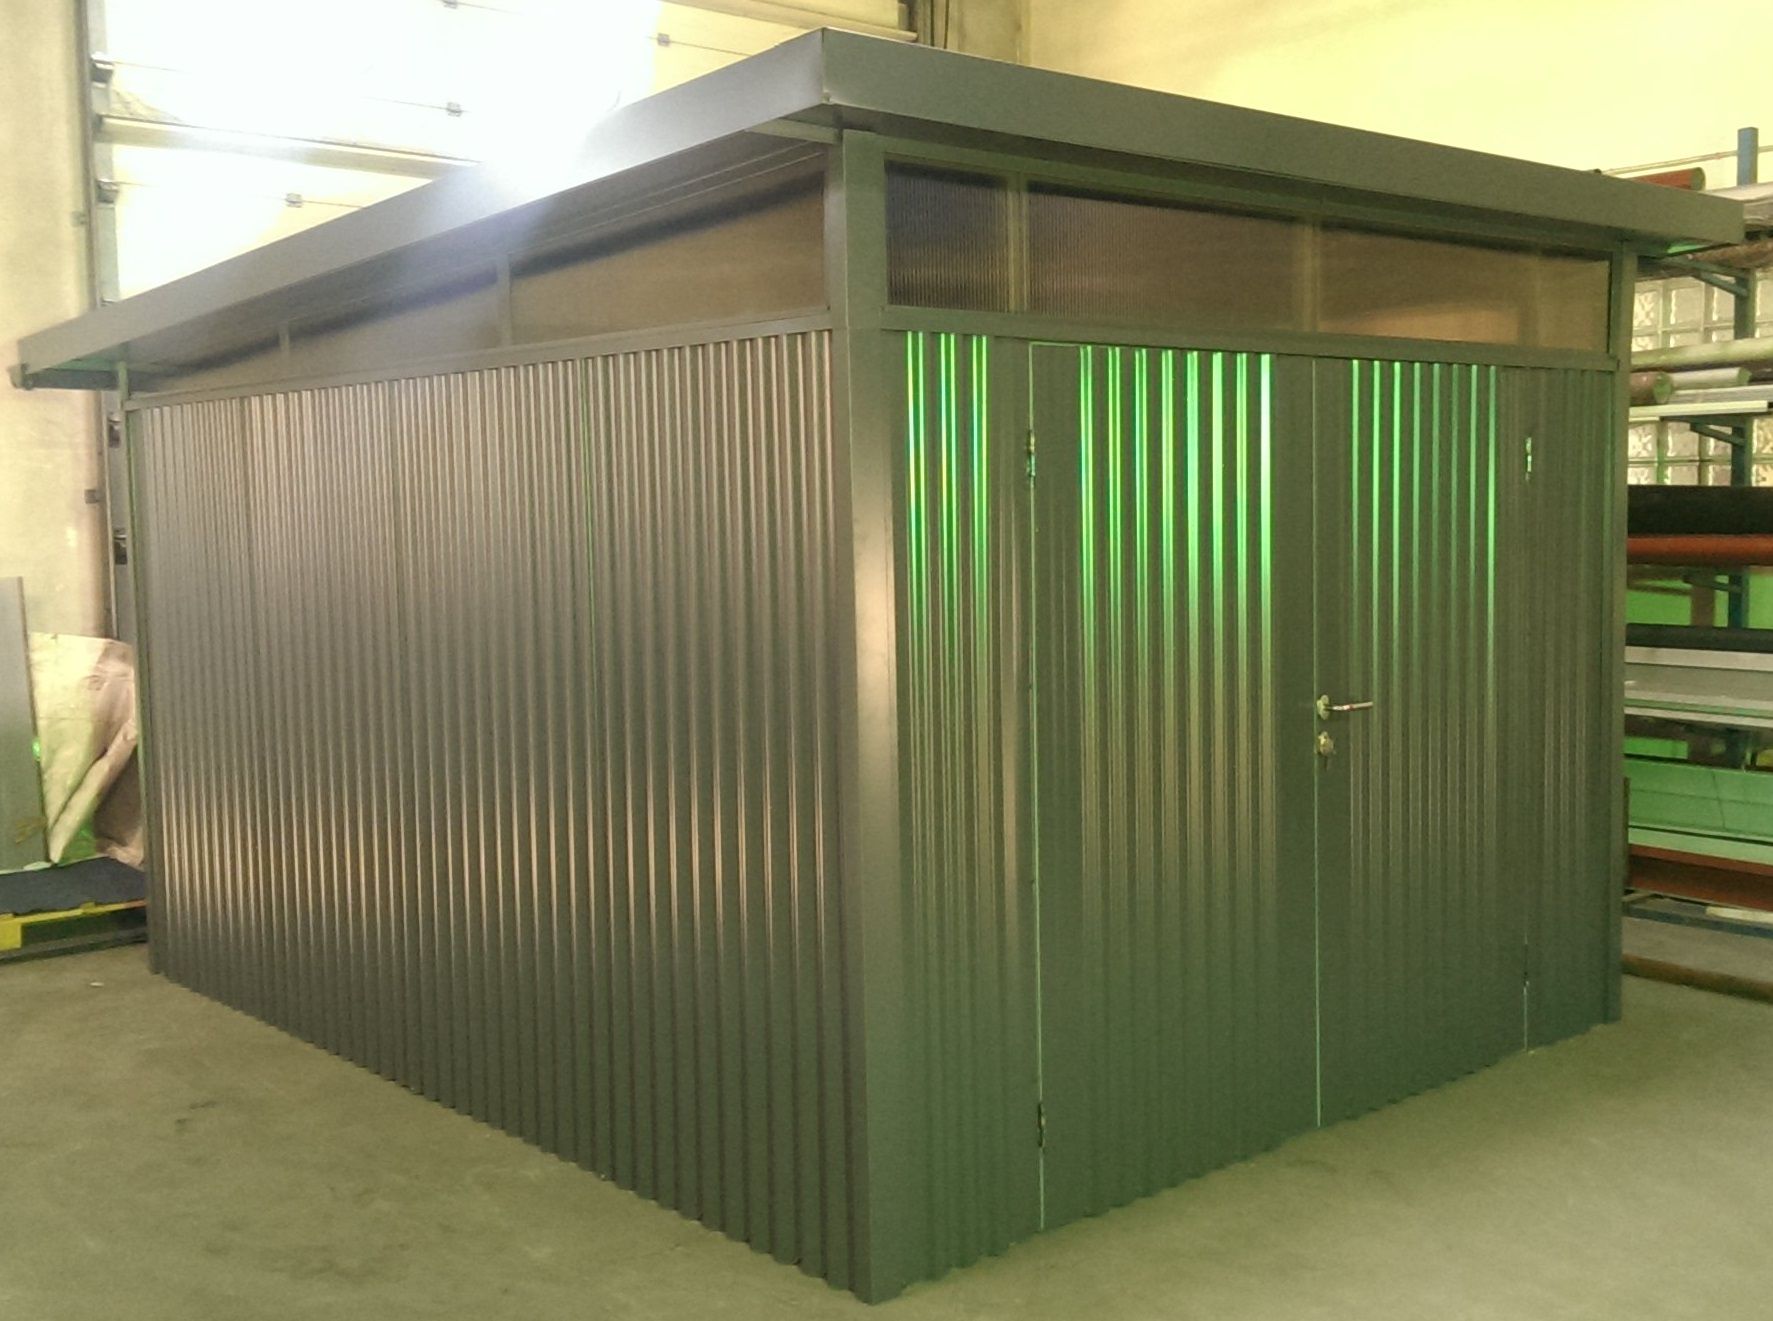
Insulating a tin shed is a crucial step in creating a comfortable and energy-efficient space. Whether you plan to use the shed for storage, as a workshop, or even as a living space, proper insulation can make a significant difference in maintaining a consistent temperature and reducing energy costs. In this comprehensive guide, we will walk you through the process of insulating a tin shed, covering everything from assessing the shed to choosing the right insulation material and completing the installation. By following these steps, you can effectively insulate your tin shed and create a more functional and comfortable environment.
Assessing the Shed
Key Takeaways:
- Properly insulating a tin shed creates a comfortable and energy-efficient space for various uses, from storage to living areas. Assessing the shed’s condition and choosing the right insulation material are crucial steps in the process.
- Thoroughly preparing the shed for insulation and carefully installing and sealing the insulation are essential for maximizing its effectiveness. This process enhances the shed’s energy efficiency and comfort, contributing to long-term energy savings and sustainability.
Assessing the Shed
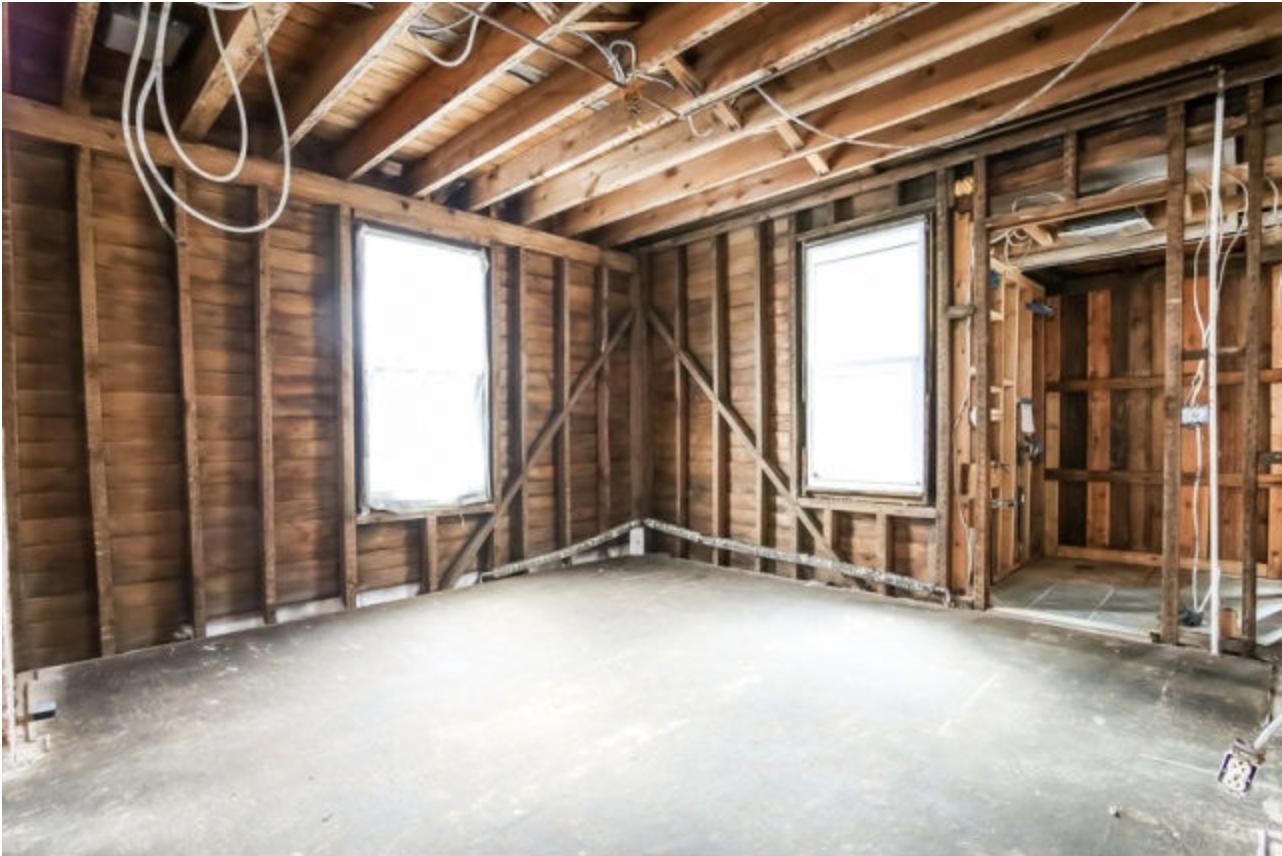
Before diving into the insulation process, it’s essential to assess the current state of your tin shed. Start by examining the existing condition of the walls, roof, and flooring. Look for any signs of damage, such as rust, holes, or gaps. These areas will need to be addressed before proceeding with insulation to ensure that the insulation material can be installed effectively.
Next, consider the shed’s location and the typical weather conditions it will be exposed to. Understanding the climate will help determine the level of insulation needed to maintain a comfortable interior temperature. Additionally, take note of any potential sources of moisture, as addressing moisture issues is crucial for preserving the integrity of the insulation and preventing mold or mildew growth.
Assessing the shed also involves identifying any existing electrical wiring, plumbing, or other fixtures that may impact the insulation process. It’s important to plan around these elements to ensure that they remain accessible and functional after the insulation is installed.
Finally, consider the shed’s purpose and how it will be used once insulated. This will influence the type of insulation material and the level of insulation needed to meet the specific requirements of the space. By thoroughly assessing the shed, you can make informed decisions about the insulation process and address any potential challenges upfront.
Choosing the Insulation Material
Read more: How To Insulate Shed Floor
Choosing the Insulation Material
When it comes to insulating a tin shed, selecting the right insulation material is crucial for achieving optimal thermal performance and durability. There are several options to consider, each with its own unique characteristics and suitability for different shed environments.
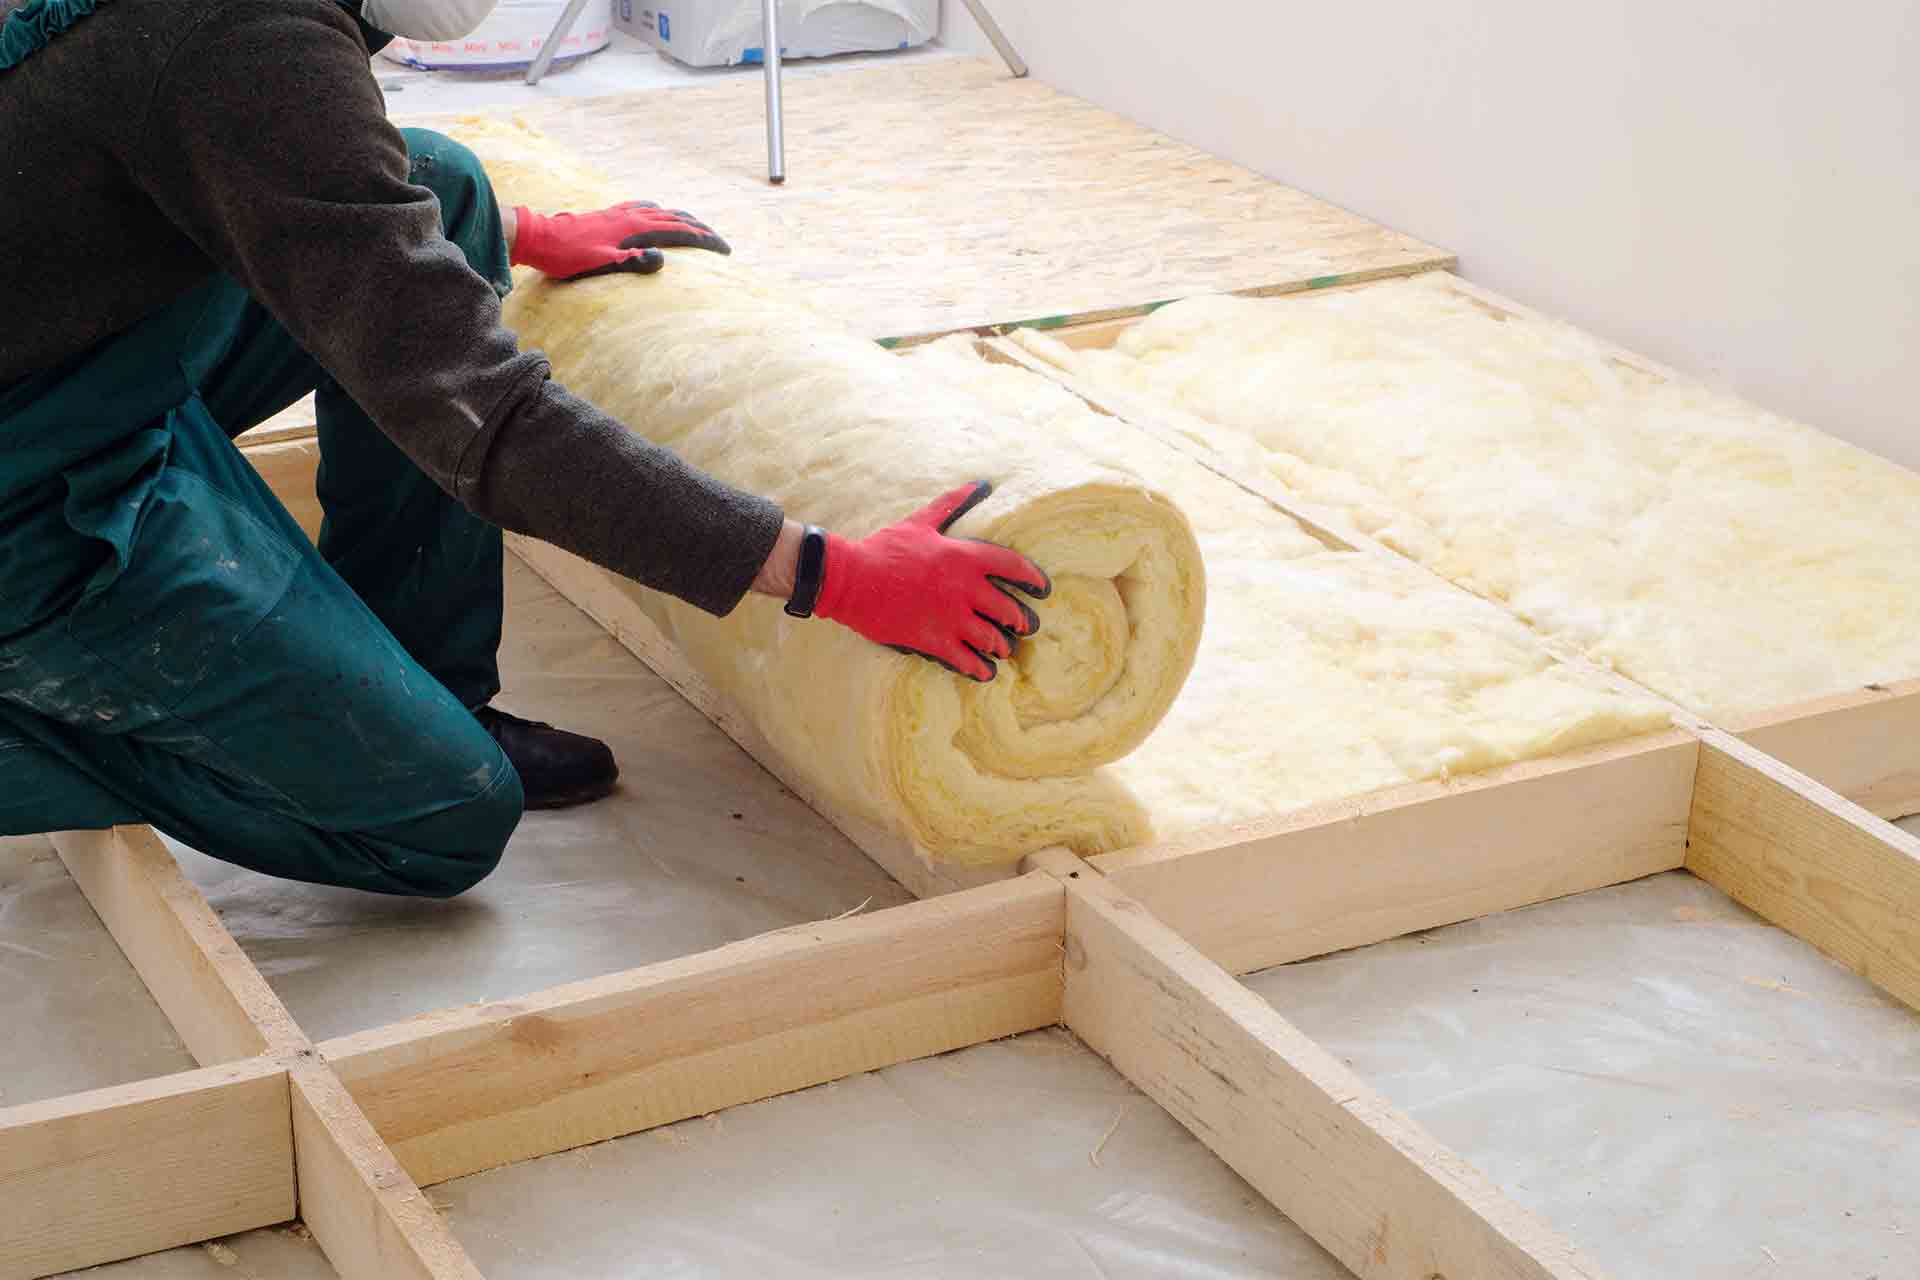
Fiberglass Insulation: Fiberglass insulation is a popular choice for its affordability and relatively easy installation. It consists of fine glass fibers and is available in batts or rolls. Fiberglass insulation provides excellent thermal resistance and can effectively reduce heat transfer when properly installed.
Spray Foam Insulation: Spray foam insulation offers superior thermal performance and excellent air sealing properties. It expands upon application, filling gaps and crevices to create a seamless thermal barrier. While it tends to be more expensive than other options, its high R-value and ability to prevent air infiltration make it a compelling choice for insulating tin sheds.
Rigid Foam Insulation: Rigid foam boards are known for their high insulating power and moisture resistance. These boards can be easily cut to fit and installed against the shed walls or roof, providing a continuous layer of insulation with minimal thermal bridging.
Reflective Insulation: Reflective insulation, often used in conjunction with other insulation materials, features a reflective surface that helps block radiant heat transfer. It is particularly effective in reducing heat gain during hot weather, making it valuable for sheds located in sunny climates.
When choosing the insulation material for your tin shed, consider factors such as the local climate, budget, and desired R-value. Additionally, take into account any specific requirements, such as moisture resistance or fire retardancy, to ensure that the selected insulation material aligns with the unique needs of your shed.
Preparing the Shed for Insulation
Preparing the Shed for Insulation
Before installing the insulation, it’s essential to properly prepare the tin shed to ensure the effectiveness and longevity of the insulation material. The following steps will help create a suitable environment for the insulation installation:
Clean the Interior: Begin by clearing out any items stored in the shed and thoroughly cleaning the interior surfaces. Remove dust, debris, and any existing insulation material to create a clean and smooth substrate for the new insulation.
Repair Damaged Areas: Address any structural damage, such as rusted panels, holes, or leaks, by repairing or replacing the affected sections. This will help prevent future issues and ensure that the insulation can be installed on a sound and intact surface.
Seal Gaps and Cracks: Inspect the walls, roof, and flooring for any gaps, cracks, or openings that could allow air infiltration or moisture penetration. Use caulking or foam sealant to seal these areas, creating a more airtight and weather-resistant enclosure.
Address Moisture Concerns: If the shed experiences moisture issues, take steps to improve ventilation and drainage. Consider installing vents or a dehumidifier to mitigate excess moisture, as high humidity levels can compromise the effectiveness of the insulation and lead to mold growth.
Consider Vapor Barriers: Depending on the insulation material and climate, it may be necessary to install a vapor barrier to control moisture diffusion. A vapor barrier helps prevent condensation within the insulation and protects against moisture-related damage.
By thoroughly preparing the shed for insulation, you can create an environment that maximizes the performance and longevity of the insulation material. These proactive measures will contribute to a more effective and durable insulation installation, ultimately enhancing the comfort and functionality of the shed.
Installing the Insulation
Read more: How To Insulate A Metal Shed
Installing the Insulation
With the shed properly prepared, it’s time to embark on the insulation installation process. Whether you’ve chosen fiberglass batts, spray foam, rigid foam boards, or reflective insulation, the following guidelines will help ensure a successful installation:
Measure and Cut: For insulation materials that require cutting, such as fiberglass batts or rigid foam boards, carefully measure the dimensions of the shed walls and roof to create accurately sized insulation pieces. Use a sharp utility knife or insulation cutting tool to achieve clean and precise cuts.
Secure Insulation in Place: Install the insulation material according to the manufacturer’s recommendations. For fiberglass batts, ensure a snug fit between the studs or joists, gently pressing the insulation into place. When using rigid foam boards, secure them to the walls or roof using adhesive designed for the specific insulation material.
Apply Spray Foam Insulation: If using spray foam insulation, follow the application instructions provided by the manufacturer. Use caution to avoid overfilling cavities and causing distortion to the shed’s structure. Properly applied spray foam expands to fill gaps and create a seamless thermal barrier.
Consider Reflective Insulation Placement: When incorporating reflective insulation, position it with the reflective surface facing an air space to maximize its radiant heat-blocking properties. Reflective insulation can be installed in conjunction with other insulation materials for enhanced thermal performance.
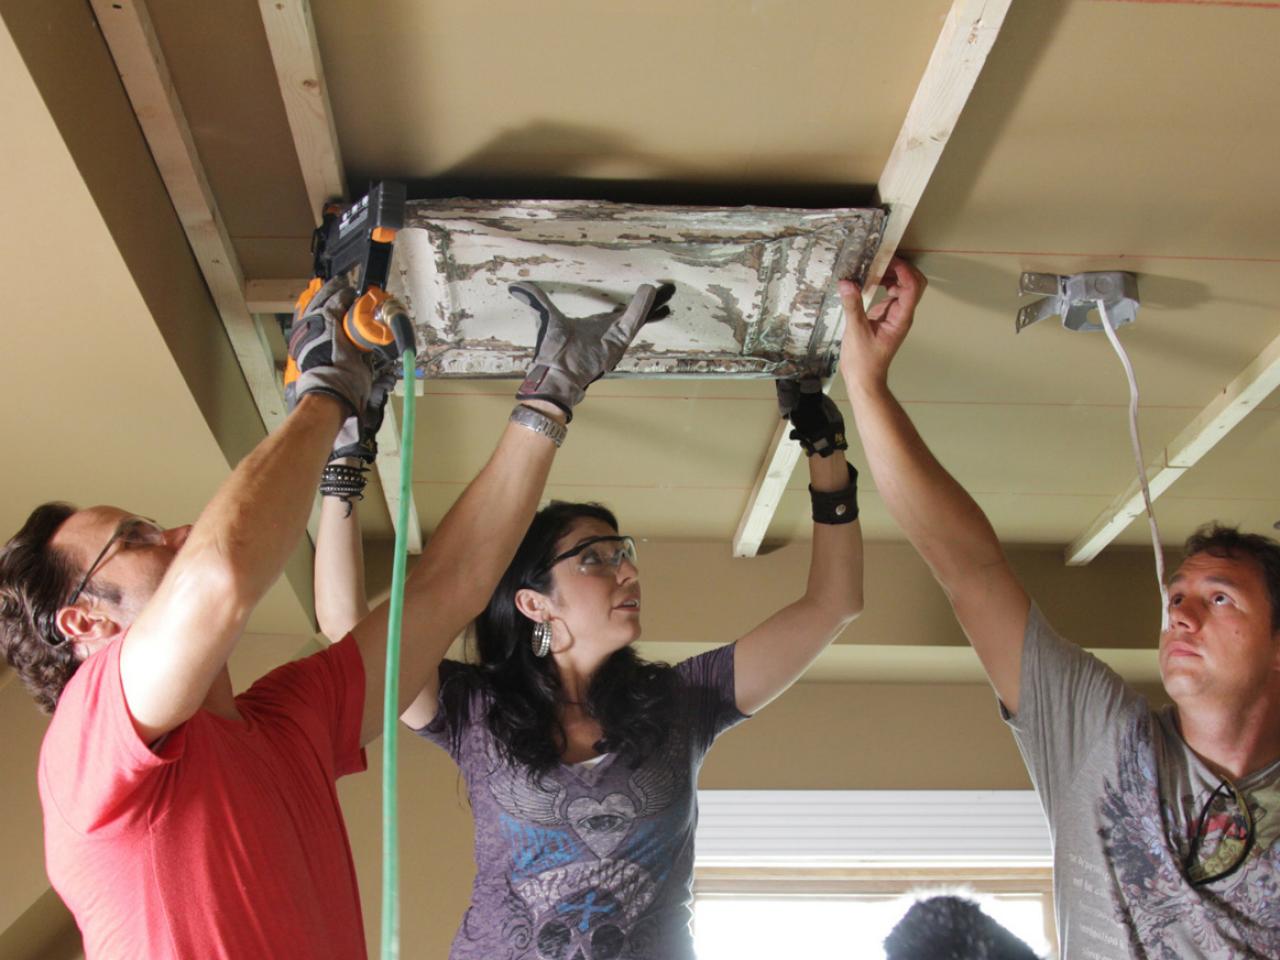
Work Safely: When handling insulation materials, wear appropriate protective gear, including gloves, a dust mask, and eye protection. Take necessary precautions to prevent skin irritation and respiratory issues, especially when working in confined spaces.
By carefully following the recommended installation techniques for your chosen insulation material, you can effectively create a thermal barrier that minimizes heat transfer and enhances the shed’s overall energy efficiency.
Sealing the Insulation
Sealing the Insulation
After the insulation is in place, the next crucial step is to seal the insulation to ensure maximum effectiveness and energy efficiency. Proper sealing helps prevent air leakage, moisture intrusion, and heat transfer, creating a more controlled and comfortable environment within the shed. Here’s how to effectively seal the insulation:
Seal Joints and Gaps: Inspect the insulation installation for any gaps, joints, or areas where different insulation materials meet. Use appropriate sealants, tapes, or caulks to seal these junctures, creating a continuous thermal barrier and preventing air infiltration.
Address Penetrations: Identify any penetrations, such as electrical wiring, plumbing, or ventilation openings, that pass through the insulated surfaces. Seal around these penetrations using fire-rated foam or caulk to maintain the integrity of the insulation and prevent air leakage.
Install Weather Stripping: If the shed has doors or windows, consider installing weather stripping to create a tight seal when closed. This helps prevent drafts and heat loss, contributing to the overall insulation effectiveness.
Consider Air Barrier Systems: For advanced insulation and air sealing, consider implementing an air barrier system to complement the insulation. This system helps control airflow and prevents uncontrolled air movement through the shed’s envelope, enhancing energy efficiency and comfort.
Conduct a Blower Door Test: To assess the effectiveness of the insulation and sealing, consider conducting a blower door test. This test measures air leakage and can identify areas that require additional sealing or insulation reinforcement.
By thoroughly sealing the insulation and addressing potential air leakage points, you can optimize the thermal performance of the shed and create a more controlled indoor environment. Proper sealing contributes to energy savings and ensures that the insulation functions at its full potential.
Conclusion
Read more: How Do I Insulate My Shed
Conclusion
Insulating a tin shed is a valuable investment that can transform the space into a comfortable, energy-efficient, and versatile environment. By following the steps outlined in this guide, you can effectively insulate your shed and reap the benefits of improved thermal performance and reduced energy costs.
Assessing the shed’s condition and understanding its specific requirements is the foundational step in the insulation process. This evaluation sets the stage for choosing the most suitable insulation material based on factors such as climate, budget, and desired thermal resistance.
Preparing the shed for insulation is essential for ensuring a successful installation. Addressing structural issues, sealing gaps, and managing moisture concerns create a conducive environment for the insulation material to perform optimally.
When it comes to installing the insulation, careful measurement, proper securing, and attention to safety measures are paramount. Whether using fiberglass batts, spray foam, rigid foam boards, or reflective insulation, following the manufacturer’s guidelines is key to achieving an effective thermal barrier.
Sealing the insulation completes the process by addressing air leakage, moisture intrusion, and penetrations, further enhancing the shed’s energy efficiency and comfort. Implementing air barrier systems and conducting tests can provide valuable insights into the effectiveness of the insulation and sealing measures.
By insulating and sealing your tin shed, you not only create a more comfortable and functional space but also contribute to long-term energy savings and environmental sustainability. Whether the shed serves as a workshop, storage area, or living space, proper insulation enhances its usability throughout the year.
With the knowledge and guidance provided in this comprehensive guide, you are well-equipped to embark on the journey of insulating your tin shed, creating a space that aligns with your specific needs and promotes a more efficient and sustainable lifestyle.
Frequently Asked Questions about How To Insulate A Tin Shed
Was this page helpful?
At Storables.com, we guarantee accurate and reliable information. Our content, validated by Expert Board Contributors, is crafted following stringent Editorial Policies. We're committed to providing you with well-researched, expert-backed insights for all your informational needs.


0 thoughts on “How To Insulate A Tin Shed”