Home>Gardening & Outdoor>Outdoor Structures>How To Insulate A Metal Shed
Outdoor Structures
How To Insulate A Metal Shed
Modified: September 1, 2024
Learn how to effectively insulate your metal shed for all-weather protection and comfort. Our expert guide covers the best methods and materials for outdoor structures.
(Many of the links in this article redirect to a specific reviewed product. Your purchase of these products through affiliate links helps to generate commission for Storables.com, at no extra cost. Learn more)
Introduction
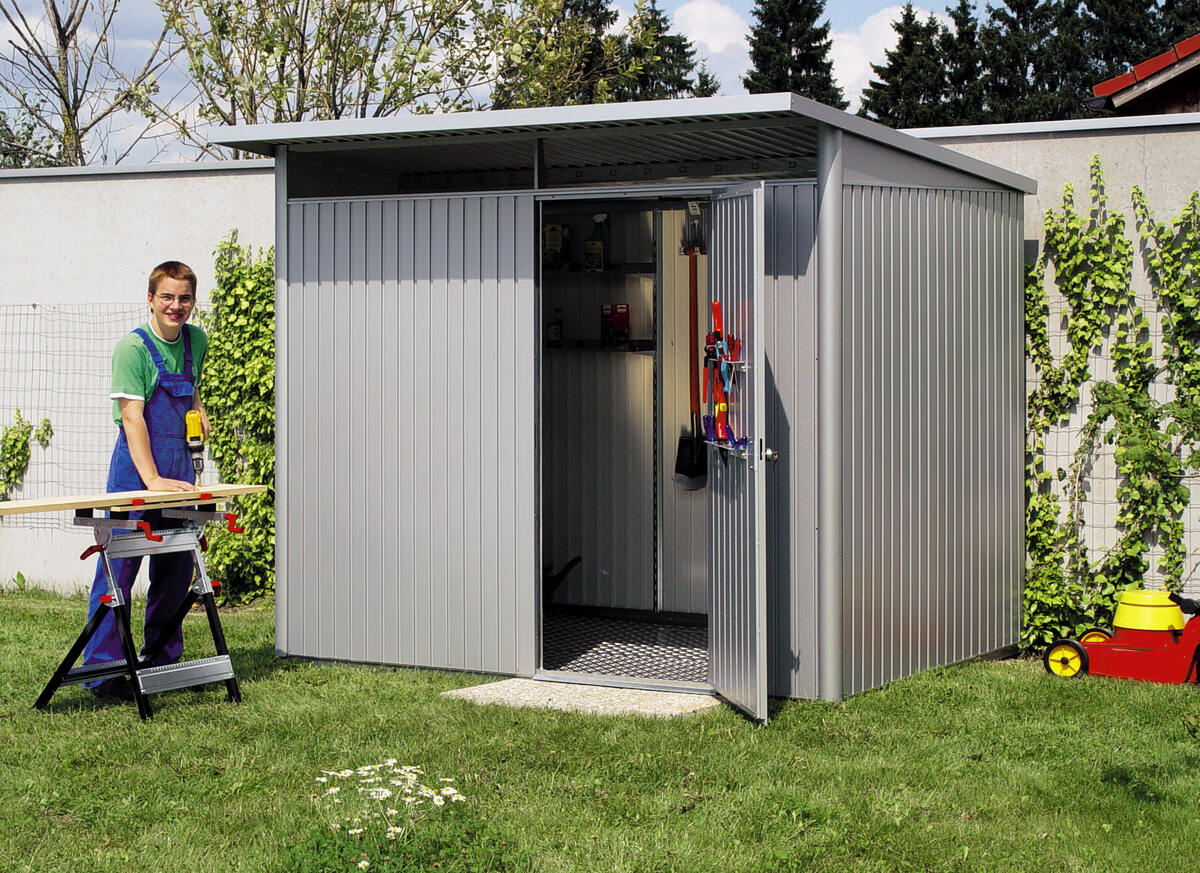
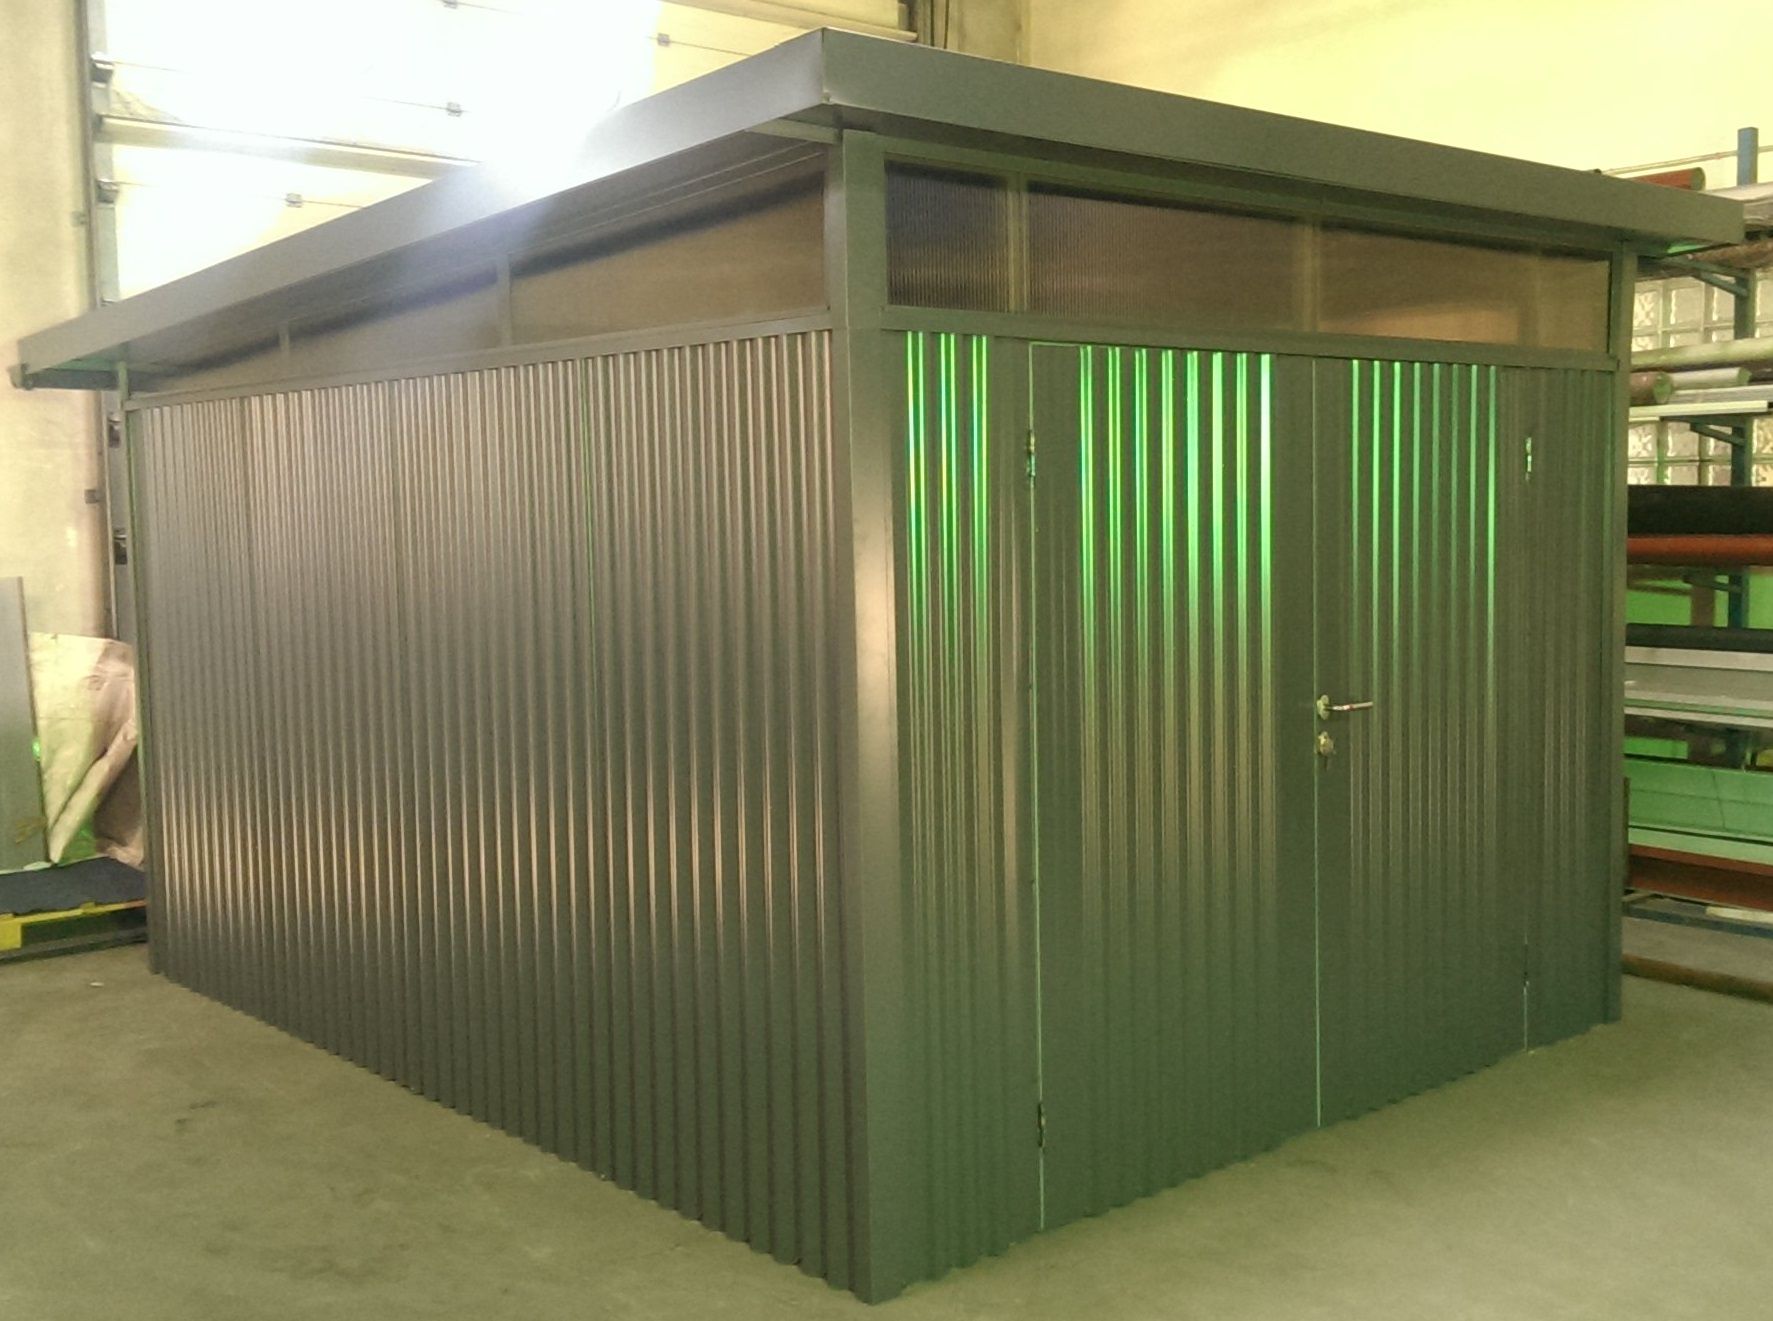
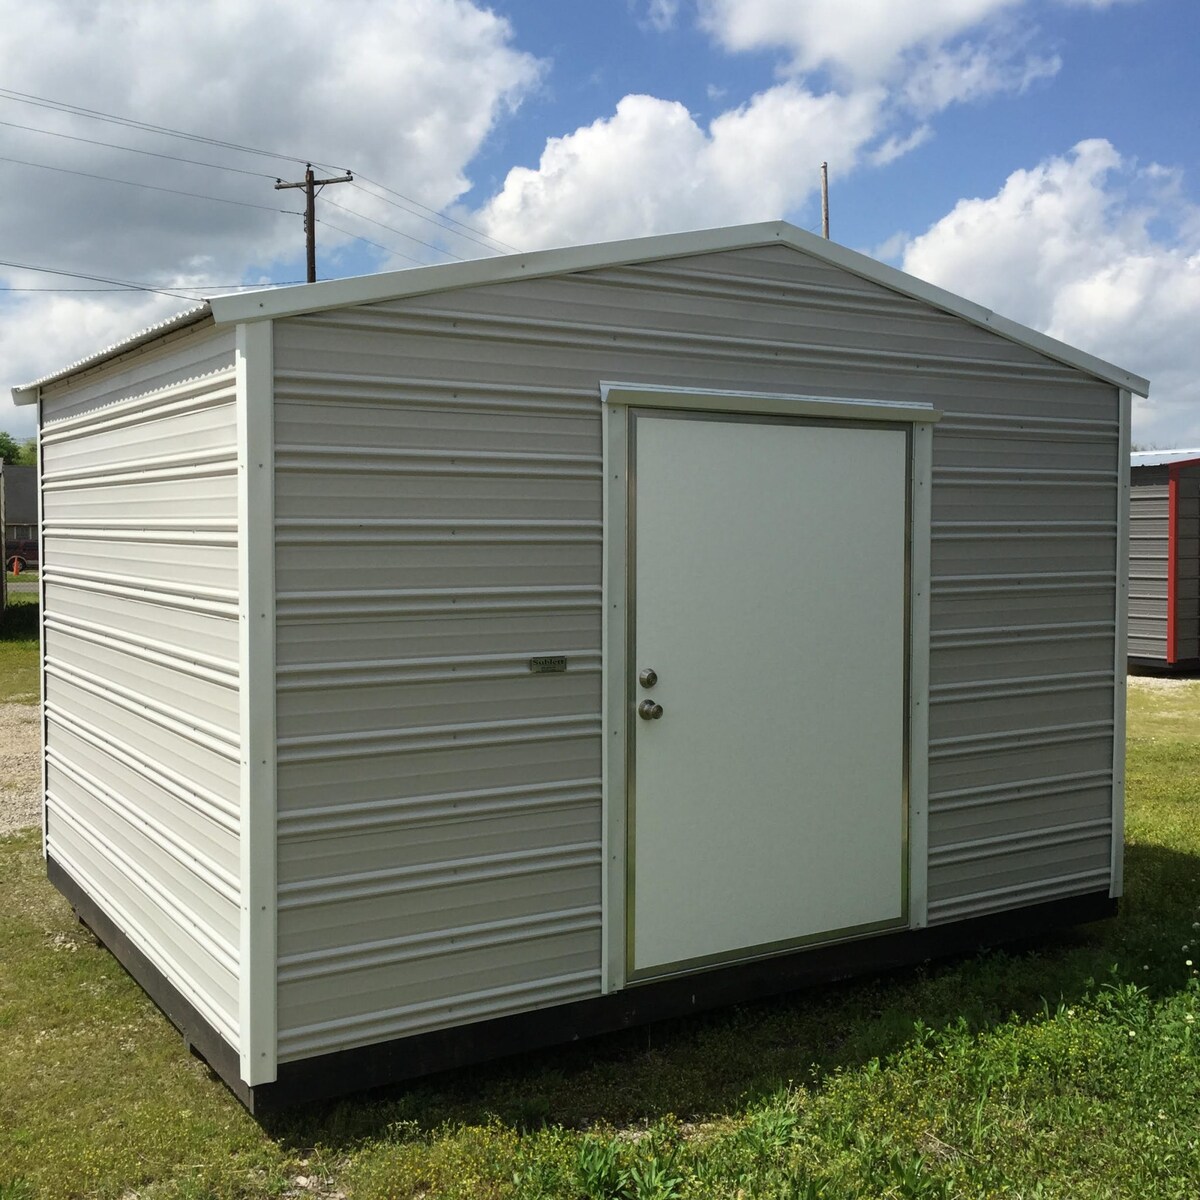
Welcome to the world of outdoor structures, where metal sheds stand as durable and versatile storage solutions. However, as the seasons change, so do the temperature and humidity levels inside these sheds. If you’re looking to create a more comfortable environment and protect your belongings from the elements, insulating your metal shed is a wise investment.
Insulating a metal shed not only helps regulate the internal temperature but also prevents condensation and reduces energy costs. Whether you plan to convert your shed into a workshop, office, or simply want to safeguard your tools and equipment, proper insulation can make a significant difference.
In this comprehensive guide, we’ll walk you through the step-by-step process of insulating a metal shed. From gathering the necessary materials to adding the final weatherproofing touches, you’ll learn valuable insights to make your shed a more functional and comfortable space.
So, roll up your sleeves and get ready to transform your metal shed into a more inviting and protected haven.
Key Takeaways:
- Transform your metal shed into a comfortable and energy-efficient space by following the step-by-step insulation process. Safeguard your belongings and create a functional haven for hobbies and work.
- Seal gaps, enhance weatherproofing, and fortify your shed against the elements for long-term resilience. Enjoy a durable and reliable storage or workspace with cost-saving energy efficiency.
Read more: How To Paint A Metal Shed
Step 1: Gather Necessary Materials
Before you embark on insulating your metal shed, it’s essential to gather all the materials and tools you’ll need for the project. Here’s a comprehensive list to ensure you’re well-prepared:
- Insulation Material: Opt for insulation specifically designed for metal structures, such as fiberglass or foam board insulation. Consider the R-value of the insulation to ensure it meets your climate needs.
- Vapor Barrier: A vapor barrier helps prevent moisture from seeping into the insulation. You can use a plastic sheet or specialized vapor barrier material.
- Sealant: Choose a high-quality sealant to fill gaps and cracks in the shed, preventing air and moisture infiltration.
- Weather Stripping: Weather stripping is crucial for sealing doors and windows to enhance insulation and keep out drafts.
- Fasteners: Depending on the insulation material, you’ll need appropriate fasteners such as screws, nails, or adhesive to secure the insulation in place.
- Protective Gear: Safety should always be a priority. Equip yourself with gloves, safety goggles, and a dust mask to safeguard against insulation fibers and other potential hazards.
- Utility Knife: A sharp utility knife will be indispensable for cutting insulation materials to the required dimensions.
- Measuring Tape: Accurate measurements are crucial for ensuring a precise fit of the insulation, so a reliable measuring tape is a must-have tool.
- Ladder: If your shed has a loft or high ceilings, a sturdy ladder will facilitate access to these areas during the insulation process.
- Caulk Gun: For applying sealant, a caulking gun will make the process more efficient and precise.
By gathering these essential materials and tools, you’ll set the stage for a smooth and successful insulation project, ensuring that you have everything you need at your fingertips.
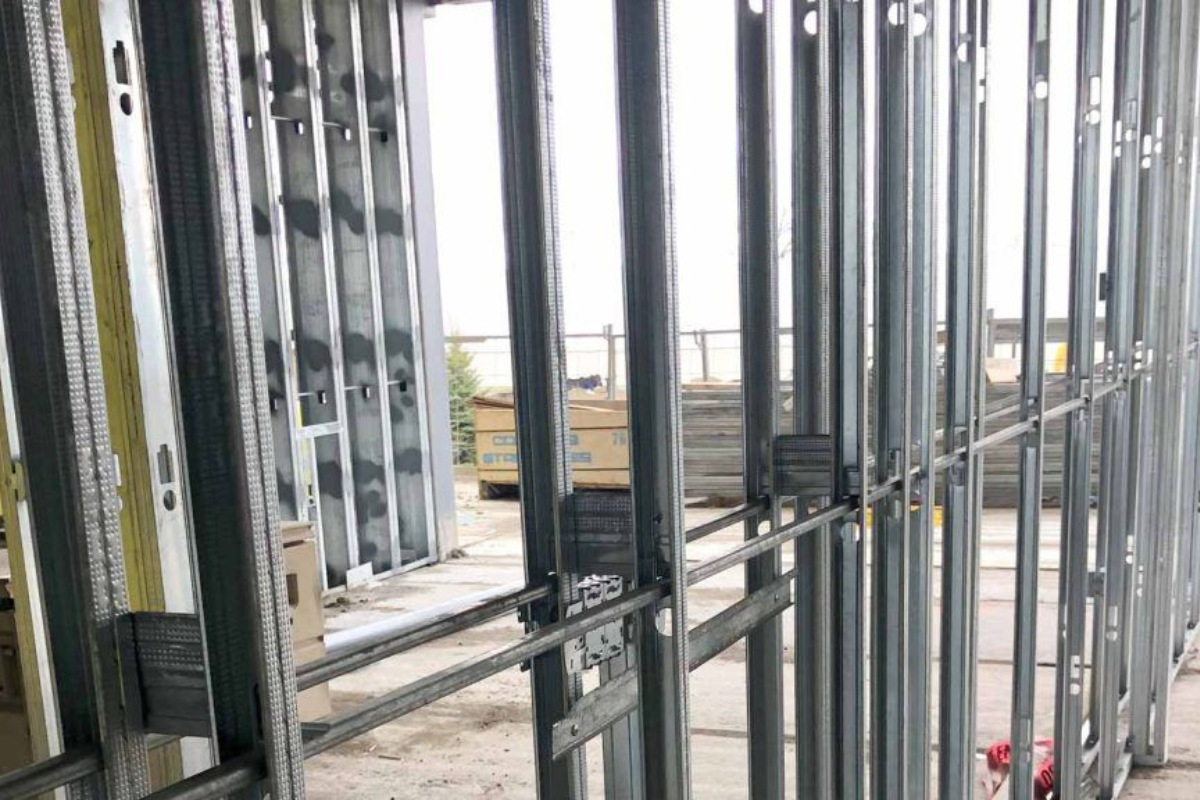
Step 2: Prepare the Shed
Before diving into the insulation process, it’s crucial to prepare your metal shed to ensure optimal results. This involves assessing the current condition of the shed and making necessary adjustments to create a suitable foundation for the insulation.
Here’s a detailed breakdown of the preparatory steps:
- Clean the Interior: Start by clearing out any items stored in the shed. Remove dust, debris, and cobwebs to create a clean and accessible workspace.
- Inspect for Damage: Thoroughly examine the shed for any signs of damage, such as rust, corrosion, or structural issues. Addressing these issues before insulating is crucial for the shed’s long-term integrity.
- Seal Gaps and Cracks: Inspect the walls, roof, and foundation for gaps, holes, and cracks that could compromise insulation effectiveness. Use a high-quality sealant to fill these openings, preventing air and moisture infiltration.
- Address Moisture Concerns: If your shed is prone to moisture buildup, consider installing vents or a dehumidifier to regulate humidity levels. Controlling moisture is essential for preserving the insulation and preventing mold or mildew growth.
- Secure Loose Components: Ensure that doors, windows, and any loose components are properly secured and sealed. This will help maintain the integrity of the insulation and minimize heat loss.
- Consider Electrical Wiring: If you plan to install electrical outlets or lighting in the shed, now is the ideal time to plan and execute these additions. It’s important to address electrical needs before insulating to avoid complications later on.
By meticulously preparing your metal shed, you’ll create a solid foundation for the insulation installation. Addressing any existing issues and optimizing the shed’s condition will contribute to the long-term effectiveness of the insulation and the overall comfort of the space.
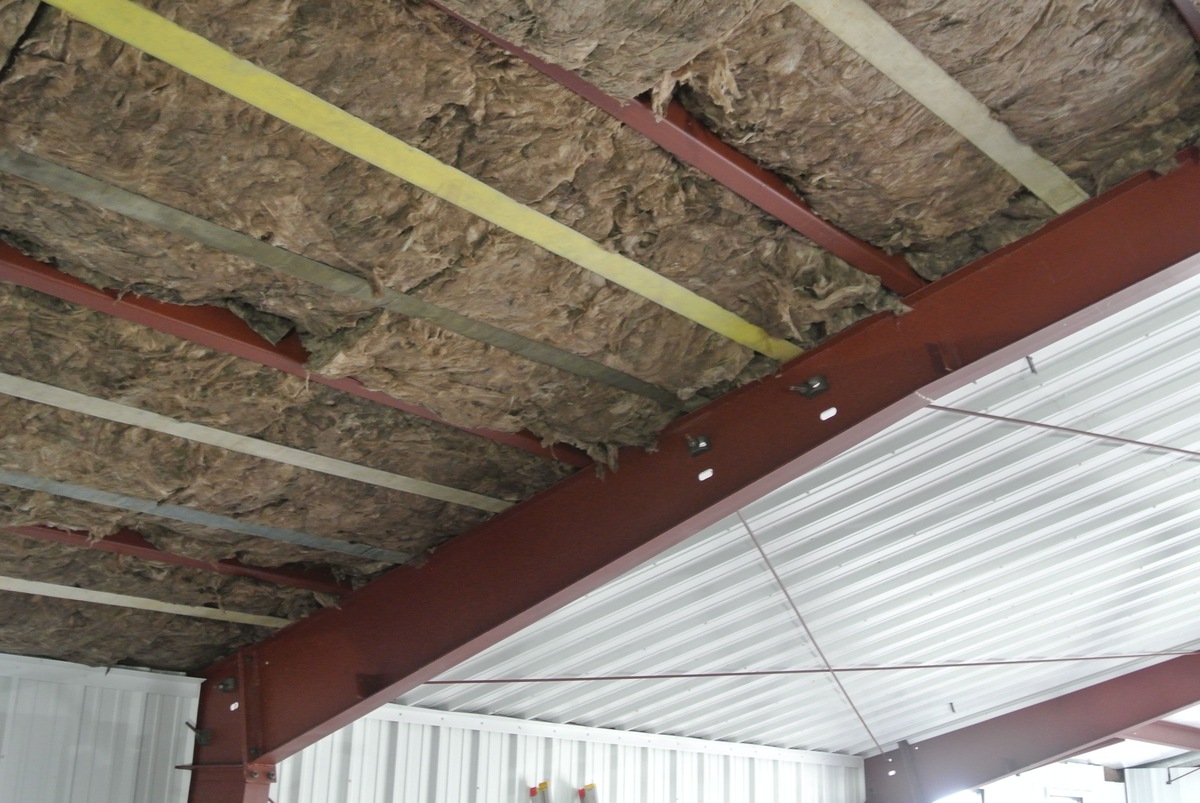
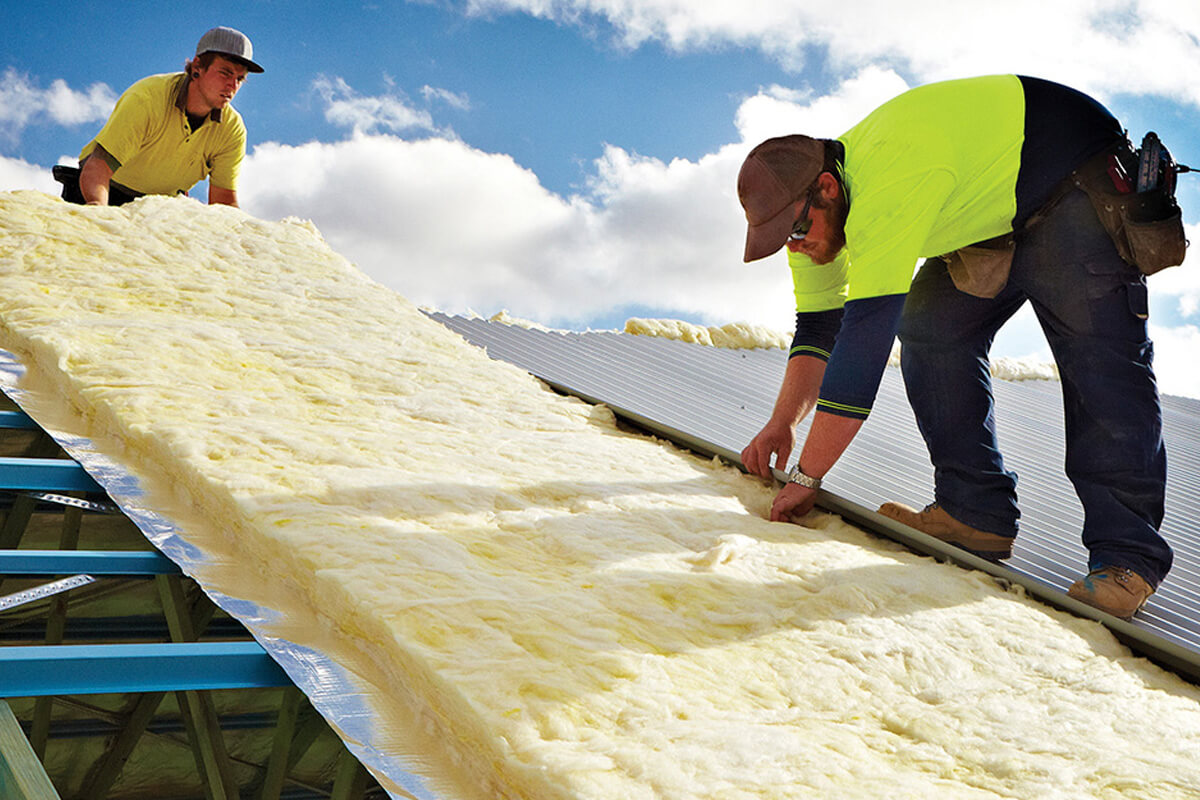
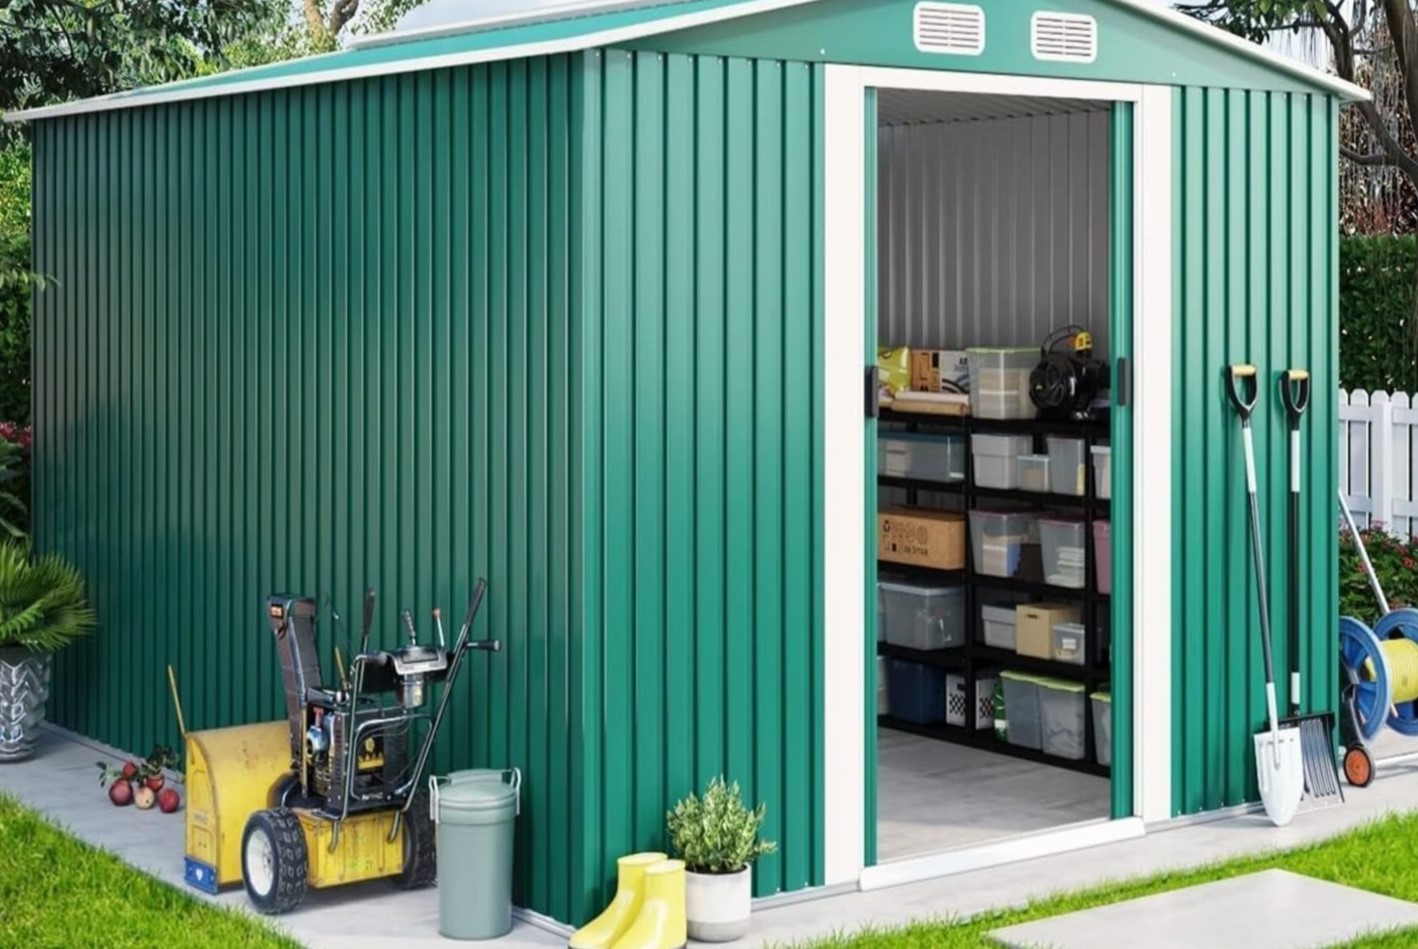
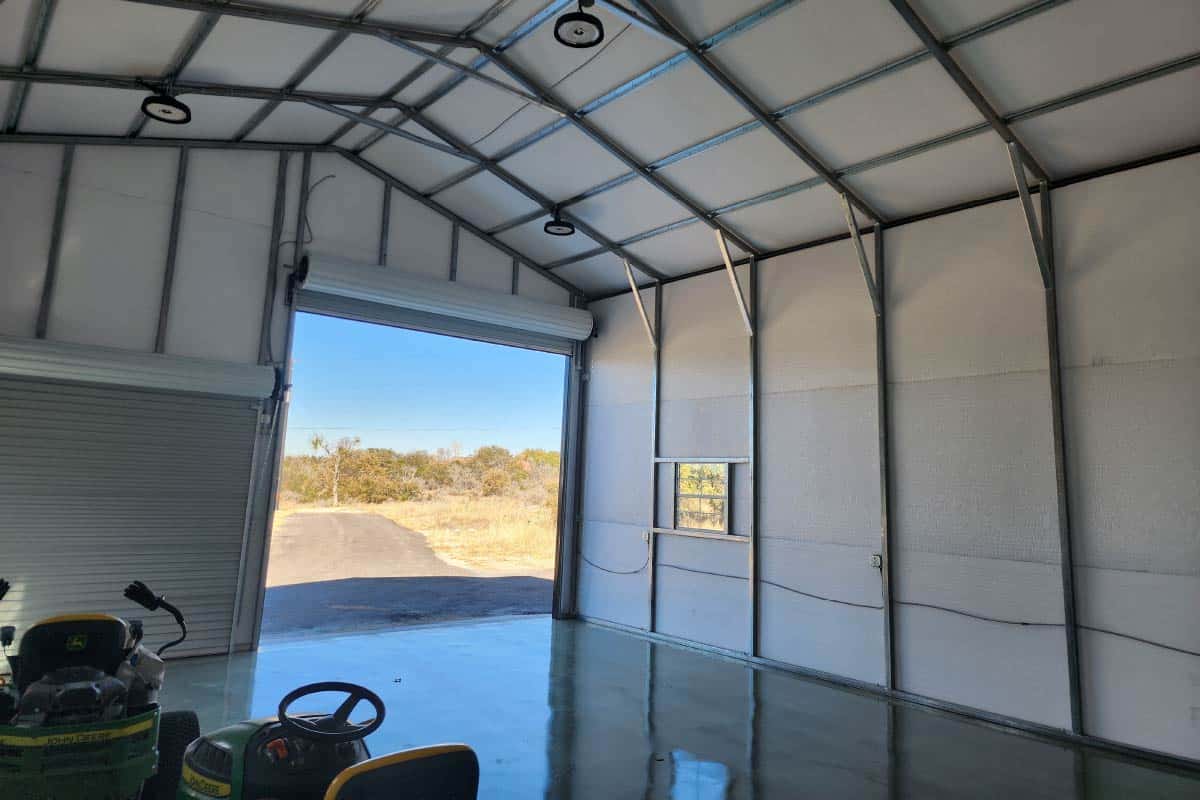
Step 3: Install Insulation
With the shed prepared and the necessary materials at hand, it’s time to proceed with the insulation installation. This step is pivotal in creating a thermally efficient and comfortable environment within your metal shed. Here’s a comprehensive guide to installing insulation:
- Measure and Cut: Begin by measuring the dimensions of the walls, roof, and any other areas requiring insulation. Use a sharp utility knife to cut the insulation material to the appropriate sizes, ensuring a precise fit.
- Secure Insulation: Depending on the type of insulation chosen, use the appropriate fasteners to secure the insulation in place. For fiberglass insulation, staples or insulation supports are commonly used, while foam board insulation may require adhesive or specialized fasteners.
- Install Vapor Barrier: Once the insulation is secured, it’s crucial to install a vapor barrier to prevent moisture from penetrating the insulation. Overlap the edges of the vapor barrier and seal them with tape to create a continuous barrier.
- Address Obstacles: When insulating around obstacles such as electrical wiring or outlets, take extra care to cut the insulation precisely and create sealed openings for these components. This ensures both insulation effectiveness and safety.
- Consider Reflective Insulation: In regions with high temperatures, reflective insulation can be a valuable addition. Reflective insulation helps to reduce radiant heat transfer, enhancing the shed’s overall thermal performance.
- Insulate Doors and Windows: Pay special attention to insulating doors and windows, as these areas are prone to air leakage. Weather stripping and insulated panels can be used to effectively insulate these openings and prevent heat loss.
By following these steps, you’ll effectively insulate your metal shed, creating a more controlled and comfortable environment. Proper insulation not only regulates the internal temperature but also contributes to energy efficiency and protection of stored items.
Consider using foam board insulation to insulate the walls and ceiling of your metal shed. It’s easy to install and provides good thermal resistance. Make sure to seal any gaps or seams to prevent air leakage.
Step 4: Seal Gaps and Cracks
After installing the insulation, it’s essential to address any remaining gaps and cracks to fortify the shed’s thermal envelope. Sealing these openings is crucial for preventing air infiltration and maintaining the insulation’s effectiveness. Here’s a detailed guide to sealing gaps and cracks in your metal shed:
- Inspect for Remaining Openings: Thoroughly examine the interior and exterior of the shed for any gaps, holes, or cracks that may have been missed during the initial preparation and insulation installation.
- Apply High-Quality Sealant: Use a durable and weather-resistant sealant to fill in gaps and cracks, especially along seams, corners, and areas where different materials meet. Silicone-based or polyurethane sealants are effective choices for sealing metal surfaces.
- Focus on Exterior Joints: Pay particular attention to sealing joints and seams on the exterior of the shed, including where the walls meet the roof, around windows and doors, and along the foundation. These areas are prone to air and moisture infiltration and require thorough sealing.
- Utilize Backer Rod: For larger gaps and openings, consider using backer rod before applying sealant. Backer rod helps fill voids and provides a stable base for the sealant, ensuring a more effective and long-lasting seal.
- Seal Around Electrical Fixtures: Ensure that any openings around electrical fixtures, such as outlets and light switches, are properly sealed to prevent air leakage and maintain the shed’s energy efficiency.
- Check for Exterior Damage: Inspect the exterior of the shed for signs of damage, such as dents, punctures, or rust. Addressing these issues promptly not only enhances the shed’s appearance but also contributes to its overall weather resistance.
By diligently sealing gaps and cracks, you’ll fortify the insulation’s effectiveness and create a more airtight and energy-efficient metal shed. This step is essential for maximizing the benefits of insulation and ensuring a well-protected and comfortable space for storage or other activities.
Read more: How To Install A Metal Shed
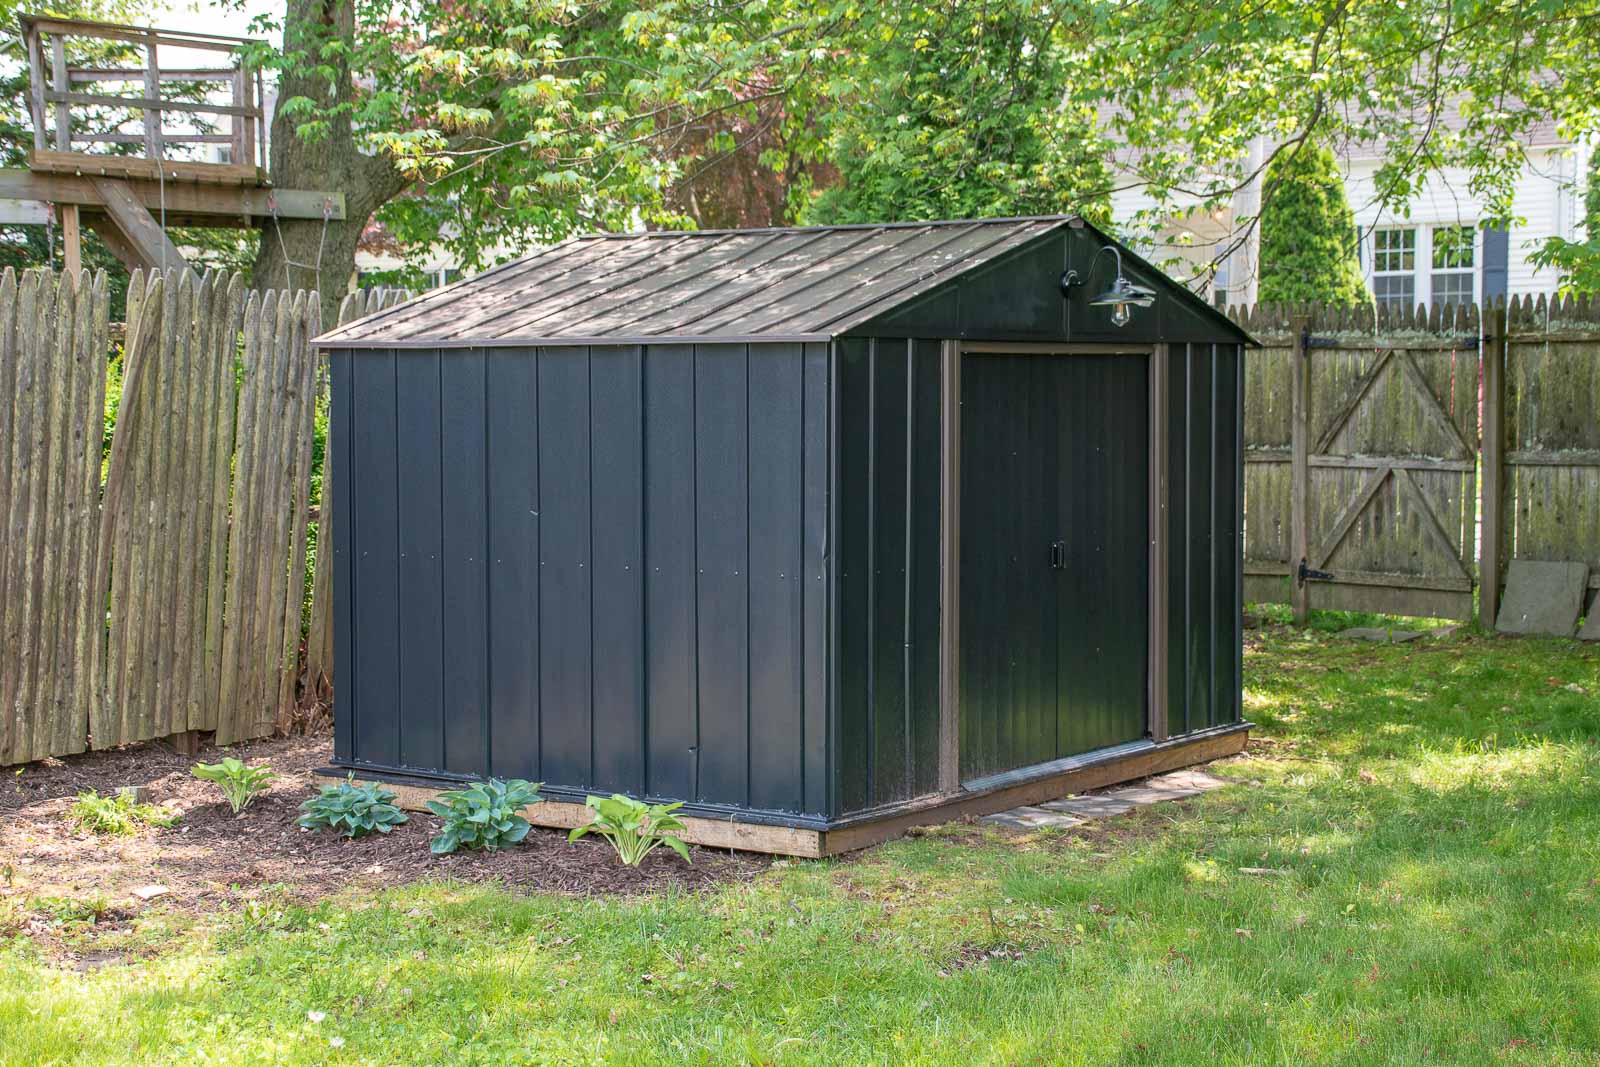
Step 5: Add Additional Weatherproofing
Enhancing the weatherproofing of your metal shed goes beyond insulation and sealing gaps. This final step focuses on fortifying the shed’s resilience against external elements, ensuring long-term durability and protection. Here’s a comprehensive guide to adding additional weatherproofing to your metal shed:
- Apply Exterior Coating: Consider applying a weather-resistant coating to the exterior of the shed to provide an additional barrier against moisture, UV rays, and corrosion. Choose a coating specifically formulated for metal surfaces for optimal protection.
- Install Gutters and Downspouts: If your shed is susceptible to water runoff from the roof, installing gutters and downspouts can effectively divert water away from the shed’s foundation, preventing potential water damage.
- Inspect and Maintain Roof: Regularly inspect the shed’s roof for signs of wear, rust, or loose components. Addressing these issues promptly can prevent water infiltration and prolong the lifespan of the shed.
- Enhance Door and Window Seals: Replace worn or ineffective seals around doors and windows to maintain a tight seal and prevent water and air leakage. Upgrading to weatherproof seals can significantly improve the shed’s overall weather resistance.
- Consider External Insulation: In regions with extreme temperatures, external insulation, such as insulated panels or cladding, can provide an additional layer of thermal protection while enhancing the shed’s overall structural integrity.
- Implement Pest Control Measures: To safeguard the shed’s interior and contents, take preventive measures against pests and rodents. Seal potential entry points, such as gaps around pipes and vents, and consider using pest-resistant materials during construction and maintenance.
By incorporating these additional weatherproofing measures, you’ll bolster the shed’s ability to withstand diverse environmental conditions and maintain its structural integrity over time. This proactive approach ensures that your metal shed remains a resilient and reliable storage or workspace for years to come.
Conclusion
Congratulations on completing the comprehensive process of insulating and weatherproofing your metal shed. By following the step-by-step guide outlined in this article, you’ve taken significant strides toward creating a more comfortable, energy-efficient, and durable space for storage, hobbies, or work.
Proper insulation not only regulates the internal temperature of the shed but also safeguards your belongings from the impact of fluctuating weather conditions. By addressing gaps, sealing cracks, and enhancing weatherproofing, you’ve fortified the shed against moisture, drafts, and external elements, ensuring its long-term resilience.
Whether you’ve transformed your metal shed into a workshop, art studio, or a secure storage area, the insulation and weatherproofing measures you’ve implemented will contribute to a more functional and inviting space. Additionally, the enhanced energy efficiency can lead to cost savings and a reduced environmental footprint.
As you step back and admire the results of your efforts, take pride in knowing that your insulated metal shed is now better equipped to withstand the elements and serve your needs effectively. Regular maintenance and periodic inspections will further ensure that the insulation and weatherproofing measures remain in optimal condition, providing lasting benefits.
Thank you for joining us on this journey to enhance the comfort and resilience of your metal shed. We hope this guide has empowered you with valuable insights and practical know-how to create a space that aligns with your specific requirements and withstands the test of time.
Here’s to a well-insulated, weather-resistant, and functional metal shed that meets and exceeds your expectations!
Frequently Asked Questions about How To Insulate A Metal Shed
Was this page helpful?
At Storables.com, we guarantee accurate and reliable information. Our content, validated by Expert Board Contributors, is crafted following stringent Editorial Policies. We're committed to providing you with well-researched, expert-backed insights for all your informational needs.


0 thoughts on “How To Insulate A Metal Shed”