
Articles
How To Insulate Shed Floor
Modified: October 31, 2024
Learn how to insulate your shed floor with these helpful articles. Get step-by-step instructions and expert tips. Start your shed insulation project today!
(Many of the links in this article redirect to a specific reviewed product. Your purchase of these products through affiliate links helps to generate commission for Storables.com, at no extra cost. Learn more)
Introduction
When it comes to insulating a shed, many people tend to overlook the importance of insulating the floor. However, insulating the shed floor can provide numerous benefits, including improved temperature regulation, increased energy efficiency, and protection against moisture and pests.
In this article, we will guide you through the process of insulating your shed floor step-by-step. Whether you plan to use your shed as a workshop, storage area, or even a livable space, insulating the floor is a vital step towards creating a comfortable and well-protected environment.
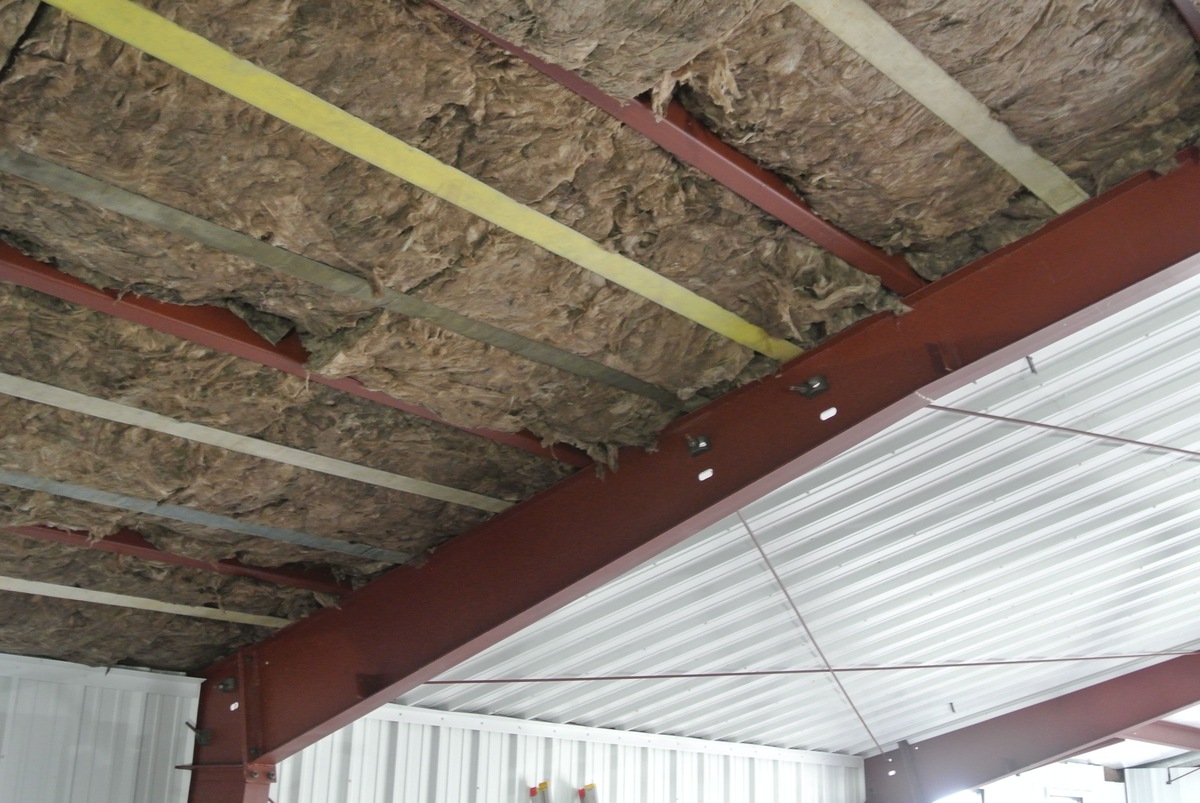
Before we dive into the steps, let’s briefly discuss why insulating the shed floor is important. A well-insulated floor acts as a barrier against the cold ground, preventing heat loss and keeping the interior space warmer during the winter months. It also helps regulate the temperature during hot summers, preventing excessive heat from seeping in.
Furthermore, insulating your shed floor can help reduce energy costs. By creating a more efficient thermal envelope, heat loss through the floor is minimized, reducing the need for continuous heating or cooling.
Moisture is another factor to consider. Without proper insulation, moisture from the ground can seep into the shed, causing issues such as mold growth, rotting, and damage to stored items. Insulating the floor helps create a barrier that prevents moisture from entering, preserving the integrity of the shed and its contents.
Last but not least, insulating the shed floor can also act as a deterrent against unwanted pests. By sealing any gaps and cracks, you minimize the entry points for insects and rodents, keeping your shed clean and pest-free.
Now that we understand the importance of insulating the shed floor, let’s dive into the step-by-step process of how to properly insulate it for optimal performance and comfort.
Key Takeaways:
- Insulating your shed floor is crucial for temperature regulation, energy efficiency, and protection against moisture and pests. Follow the step-by-step process to create a comfortable and well-protected space for various activities.
- Properly insulating your shed floor involves clearing the space, installing a vapor barrier, adding insulation boards, securing and sealing the insulation, installing subflooring material, and adding finishing touches. Don’t overlook this important step in creating a functional and comfortable shed space.
Read more: How To Insulate A Floor
Step 1: Clearing the Shed Floor
Before you begin the insulation process, it is crucial to clear the shed floor of any items or debris. This step ensures that you have a clean and open space to work with, making the installation process easier and more efficient.
Start by removing all objects, tools, and equipment from the shed floor. This includes shelves, workbenches, and any other items that may obstruct your access to the floor. If there are any nails or screws sticking out, be sure to remove them as well to prevent any accidents during the insulation process.
Once the floor is clear, sweep or vacuum the area to remove any dust, dirt, or loose debris. This will help create a clean and smooth surface for the next steps.
If you notice any major cracks or holes in the shed floor, now is the time to repair them. Fill in any gaps with a suitable filler or patching compound to ensure a level and even surface.
By clearing and preparing the shed floor, you set the foundation for a successful insulation project. With a clean and level surface, you can move on to the next step of the process with ease.
Step 2: Preparing the Floor Surface
After clearing the shed floor, it’s time to prepare the surface for insulation. This step involves assessing the condition of the floor and making any necessary repairs or improvements.
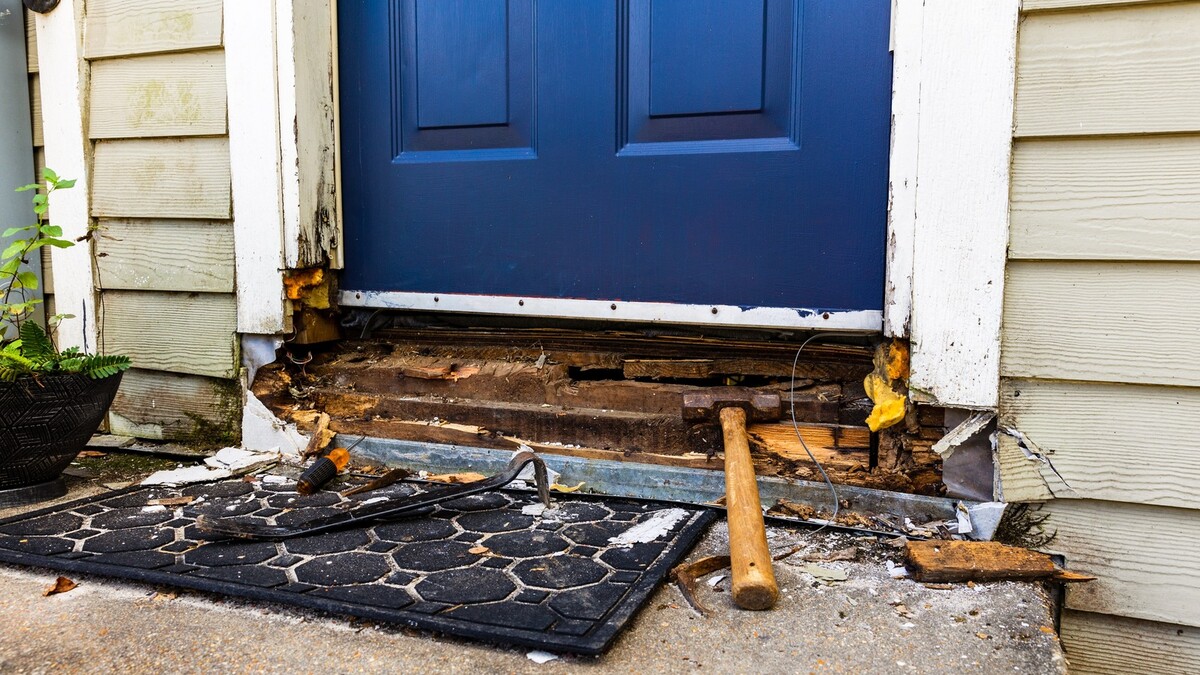
Start by inspecting the floor for any signs of damage or deterioration. Look for cracks, rot, or uneven areas that need to be addressed. If you notice any significant issues, it’s important to fix them before proceeding with the insulation.
If the floor is made of concrete, you may need to apply a sealant to prevent moisture from seeping through. This will help create a moisture-resistant barrier and protect the insulation from damage. Consult with a professional or follow the manufacturer’s instructions for the specific sealant product you choose.
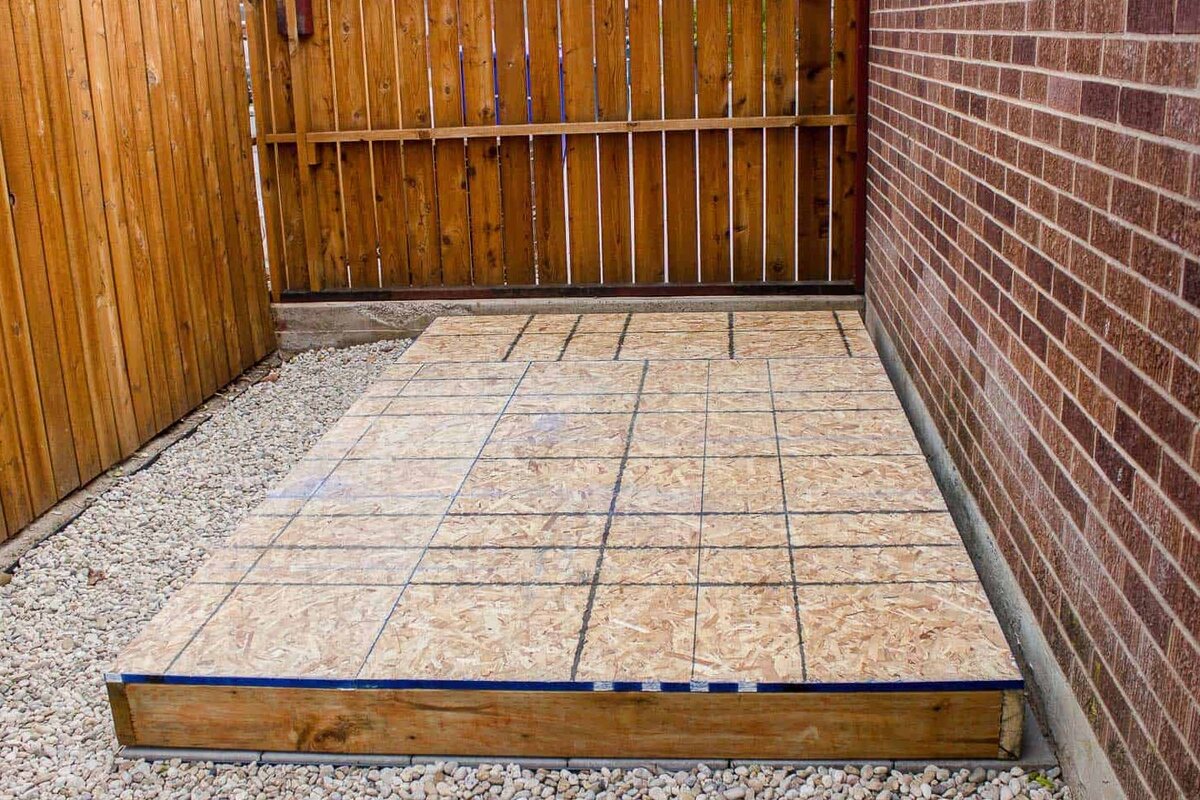
For wooden floors, ensure that the floorboards are in good condition and properly secured. Replace any damaged or weak boards as necessary. Additionally, consider adding a layer of plywood or OSB (oriented strand board) on top of the existing floorboards to provide a stable and even surface for the insulation.
Before moving on to the next step, it’s a good idea to measure the dimensions of the shed floor. This will help you determine the amount of insulation material you will need. Measure the length and width of the floor, accounting for any irregularities or alcoves.
By properly preparing the shed floor, you create a sturdy and suitable base for the insulation installation. This step ensures that the insulation will be effective and long-lasting, providing maximum comfort and energy efficiency in your shed.
Step 3: Installing Vapor Barrier
Once the shed floor is prepared, the next step is to install a vapor barrier. A vapor barrier is a critical component of the insulation process as it helps prevent moisture from entering the shed floor.
Start by measuring the dimensions of the shed floor and calculate the amount of vapor barrier material needed. It’s recommended to choose a high-quality, durable vapor barrier that is resistant to tears and punctures for optimal performance.
Roll out the vapor barrier across the entire shed floor, making sure to overlap the seams by at least 6 inches. Secure the edges of the vapor barrier with heavy-duty tape or adhesive to create a continuous and watertight seal.
If there are any pipes or protrusions on the floor, cut holes in the vapor barrier to accommodate them. Ensure that the holes are sealed tightly around the pipes to maintain the integrity of the vapor barrier.
The vapor barrier acts as a barrier against ground moisture, preventing it from seeping into the shed and causing damage. It also helps to maintain the efficiency of insulation materials by ensuring they remain dry and effective.
By installing a vapor barrier, you are taking an important step to protect your shed and its contents from moisture-related issues. This layer of protection sets the stage for the next steps in insulating your shed floor.
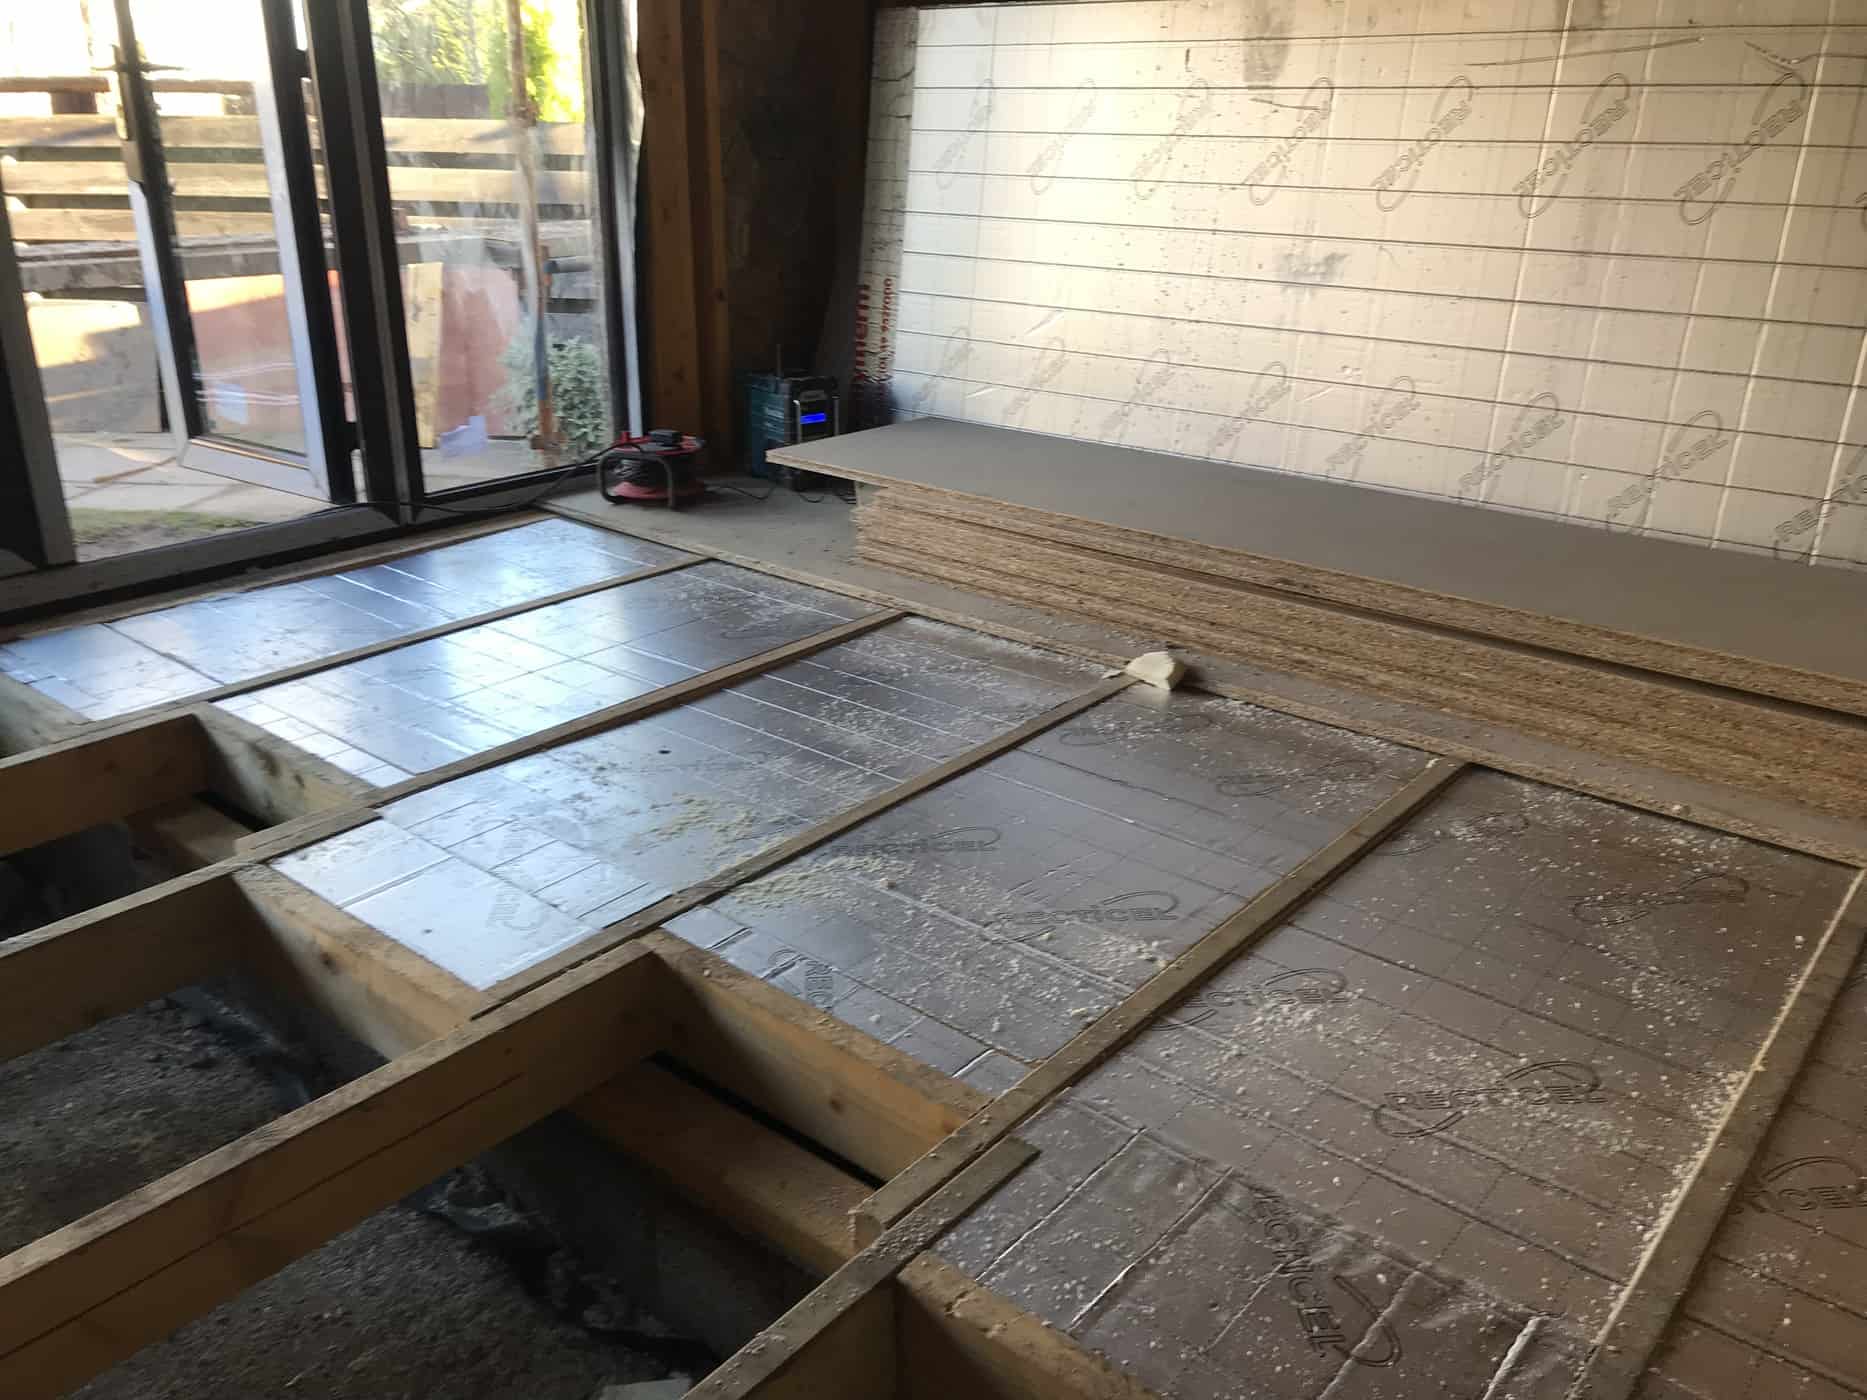
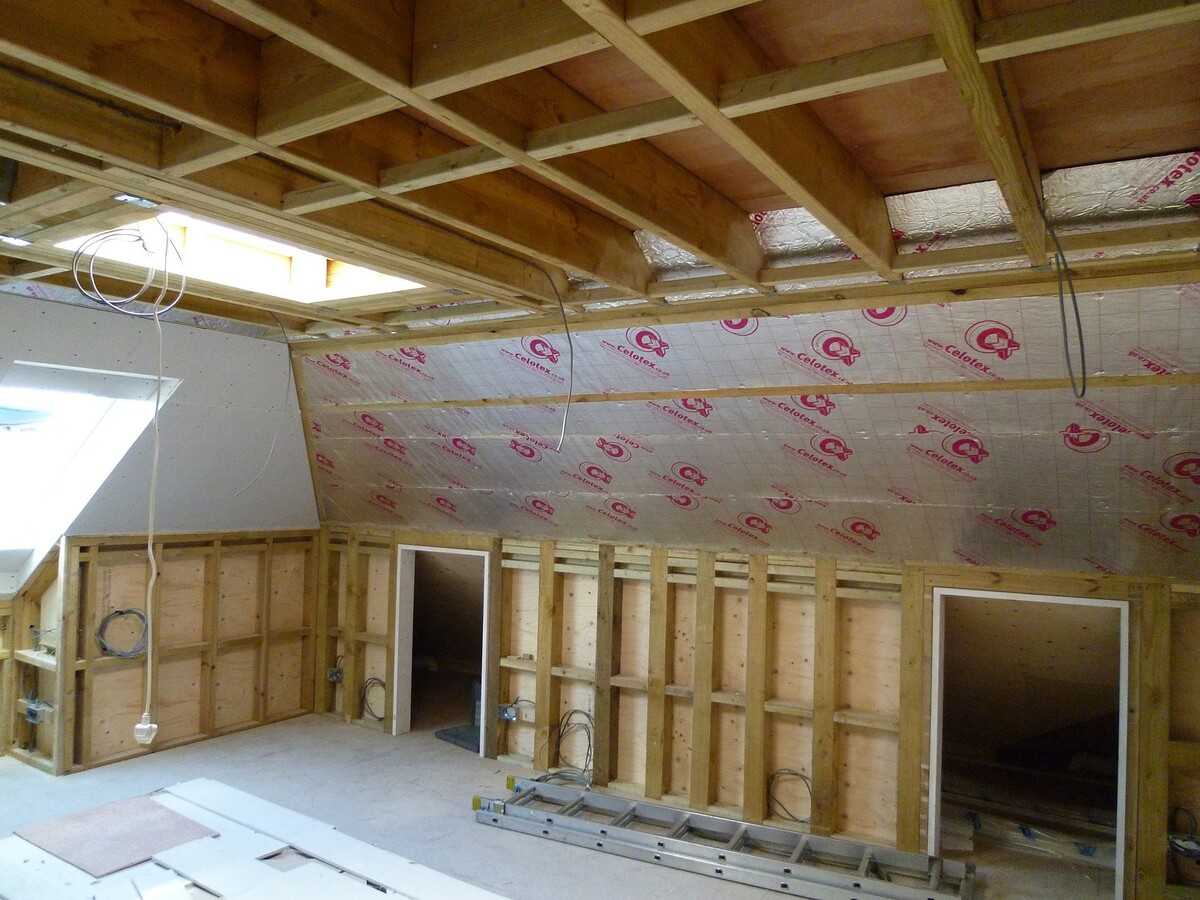
Step 4: Adding Insulation Boards
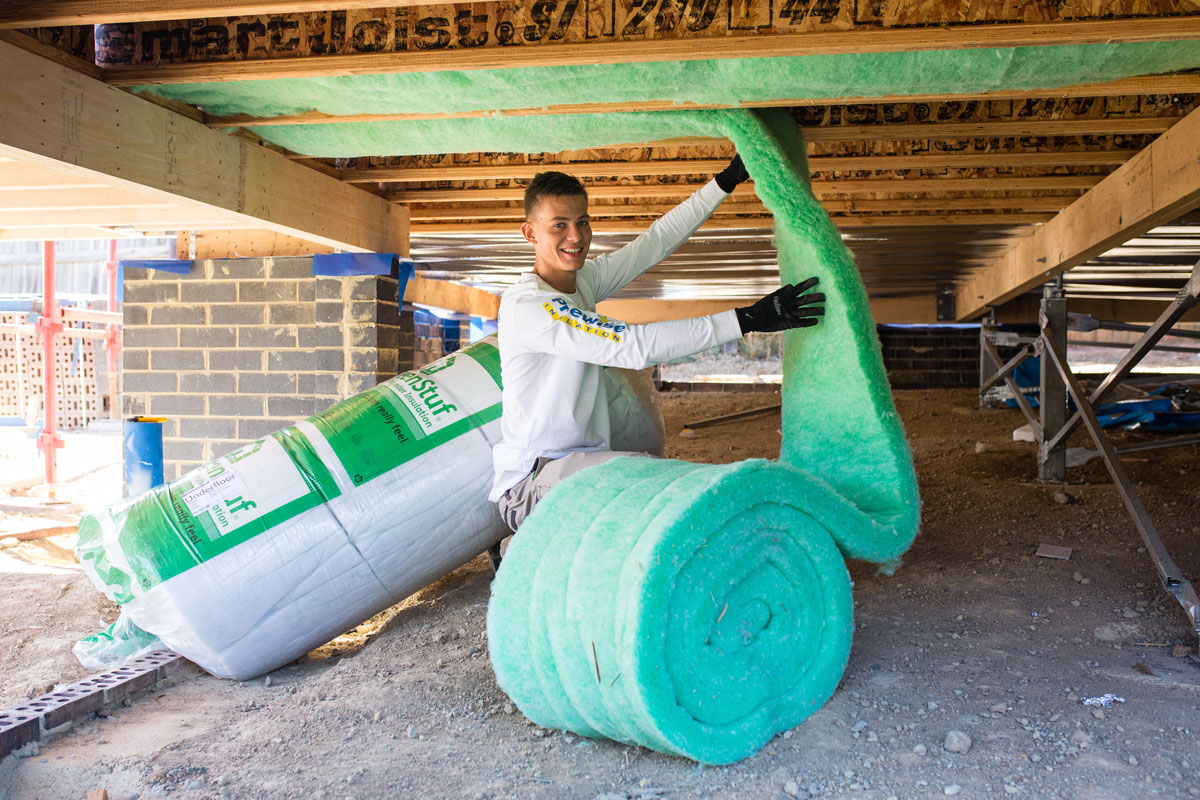
With the vapor barrier in place, it’s time to add insulation boards to the shed floor. Insulation boards provide excellent thermal resistance, helping to keep the shed warm in cold weather and cool in hot weather.
There are various types of insulation boards available, including foam boards, fiberglass boards, and mineral wool boards. Choose the type that best suits your needs and budget. It’s important to select insulation boards with a high R-value, as this indicates better insulation performance.
Start by measuring the shed floor and cut the insulation boards to fit the dimensions. Ensure that they fit snugly together without any gaps or spaces. Use a utility knife or a saw to make precise cuts.
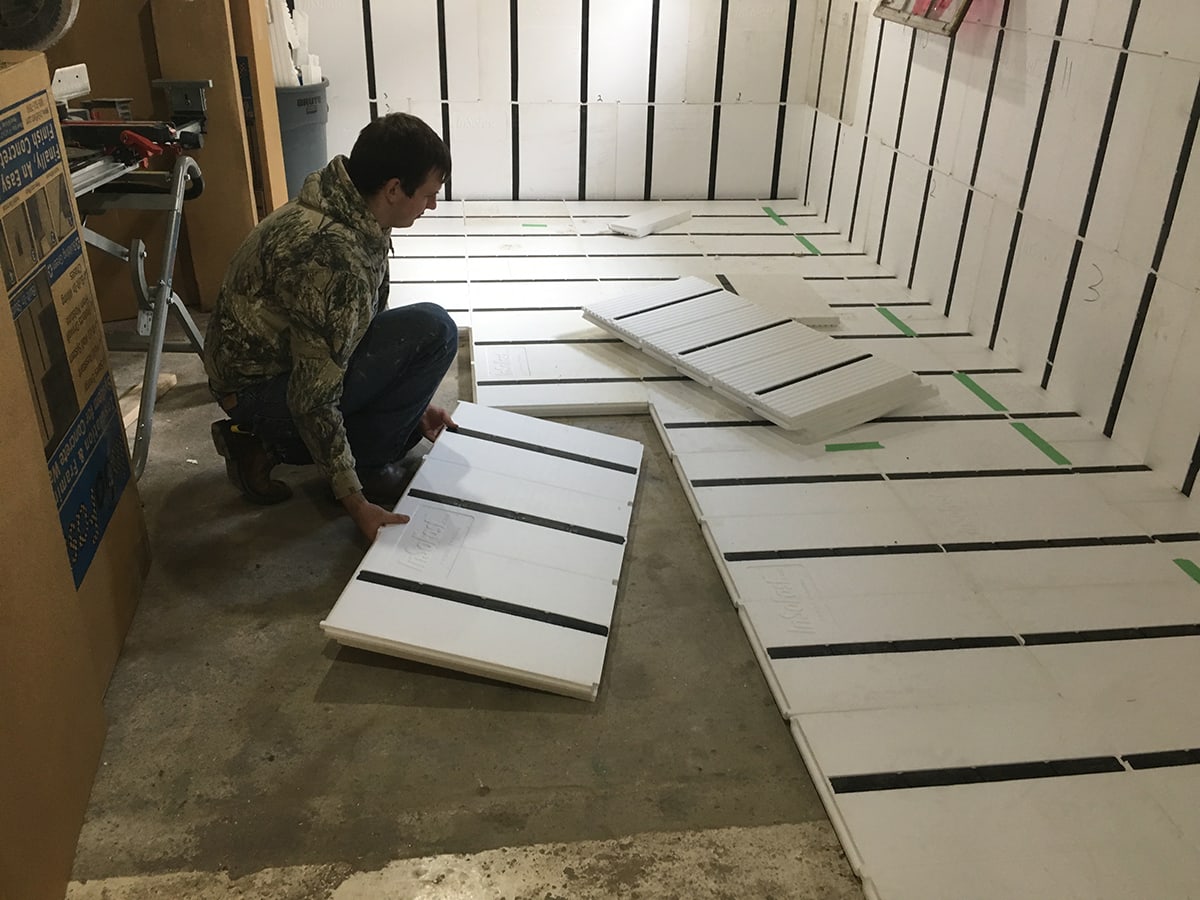
Place the insulation boards on top of the vapor barrier, starting from one corner of the shed floor. Press them firmly into place, ensuring full coverage of the floor surface. If necessary, secure the boards with construction adhesive or insulation tape to prevent shifting.
When installing the insulation boards, be sure to leave a small gap around the perimeter of the shed floor. This allows for expansion and contraction of the materials and helps prevent buckling or warping.
If the shed floor has uneven areas or irregularities, consider using rigid foam insulation boards instead. These can be easily trimmed and fitted into the specific areas, providing a seamless insulation layer.
Insulation boards are an excellent choice for shed floors as they provide effective insulation without adding excessive weight. They are also resistant to moisture and pests, ensuring long-term durability and performance.
By adding insulation boards, you create a solid layer of thermal protection that keeps the shed comfortable and energy-efficient. This step brings you one step closer to achieving a well-insulated shed.
Consider using rigid foam insulation boards to insulate the shed floor. Cut the boards to fit between the floor joists and secure them in place with adhesive or fasteners. This will help to prevent heat loss and keep the shed floor warmer.
Read more: How To Insulate A Tin Shed
Step 5: Securing and Sealing the Insulation
Once the insulation boards are in place, it’s important to secure and seal them to ensure optimal insulation performance. This step helps to prevent the insulation from shifting, settling, or getting damaged over time.
Start by inspecting the insulation boards to ensure they are properly aligned and in full contact with the shed floor. If you notice any gaps or spaces between the boards, use pieces of insulation foam or foam sealant to fill in the spaces, creating a continuous insulation layer.
Next, secure the insulation boards to the shed floor using construction adhesive or insulation tape. Apply the adhesive or tape along the edges and seams of the boards, making sure they are firmly attached and held in place.
For added stability, you can also use mechanical fasteners such as screws or nails to secure the insulation boards. Place the fasteners at regular intervals, ensuring they penetrate the boards and anchor them securely to the shed floor.
After securing the insulation boards, it’s time to seal any remaining gaps or joints. Insulation foam or caulk can be used to fill in small gaps around the edges or between the boards. This helps to create an airtight seal and prevents drafts or heat loss.
Additionally, inspect the perimeter of the shed floor where it meets the walls. Use weather-stripping or another sealing material to close any gaps or cracks. This further enhances the insulation and prevents air infiltration.
By securing and sealing the insulation, you ensure that it remains in place and provides consistent thermal protection. This step helps to maximize the insulation’s efficiency and effectiveness in keeping your shed comfortable and energy-efficient.
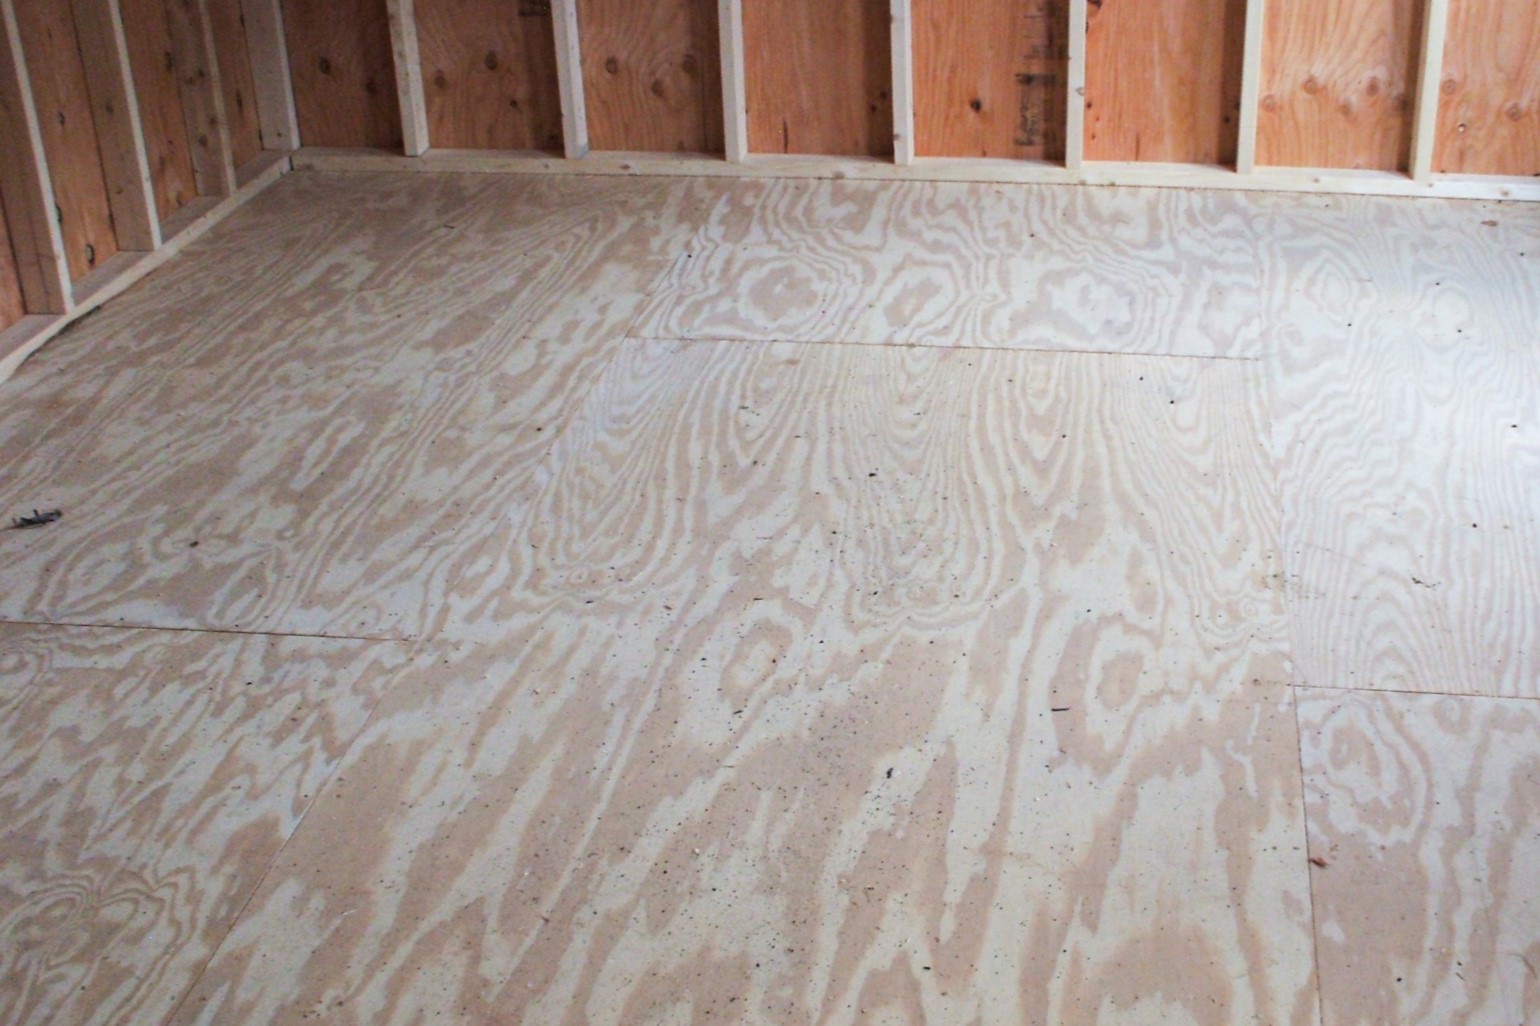
Step 6: Installing Subflooring Material
With the insulation secured and sealed, the next step is to install subflooring material. Subflooring provides a stable and even surface for the final flooring materials, ensuring a smooth and durable finish.
Before installing the subflooring material, measure and cut it to fit the dimensions of the shed floor. Common subflooring materials include plywood, oriented strand board (OSB), or cement board.
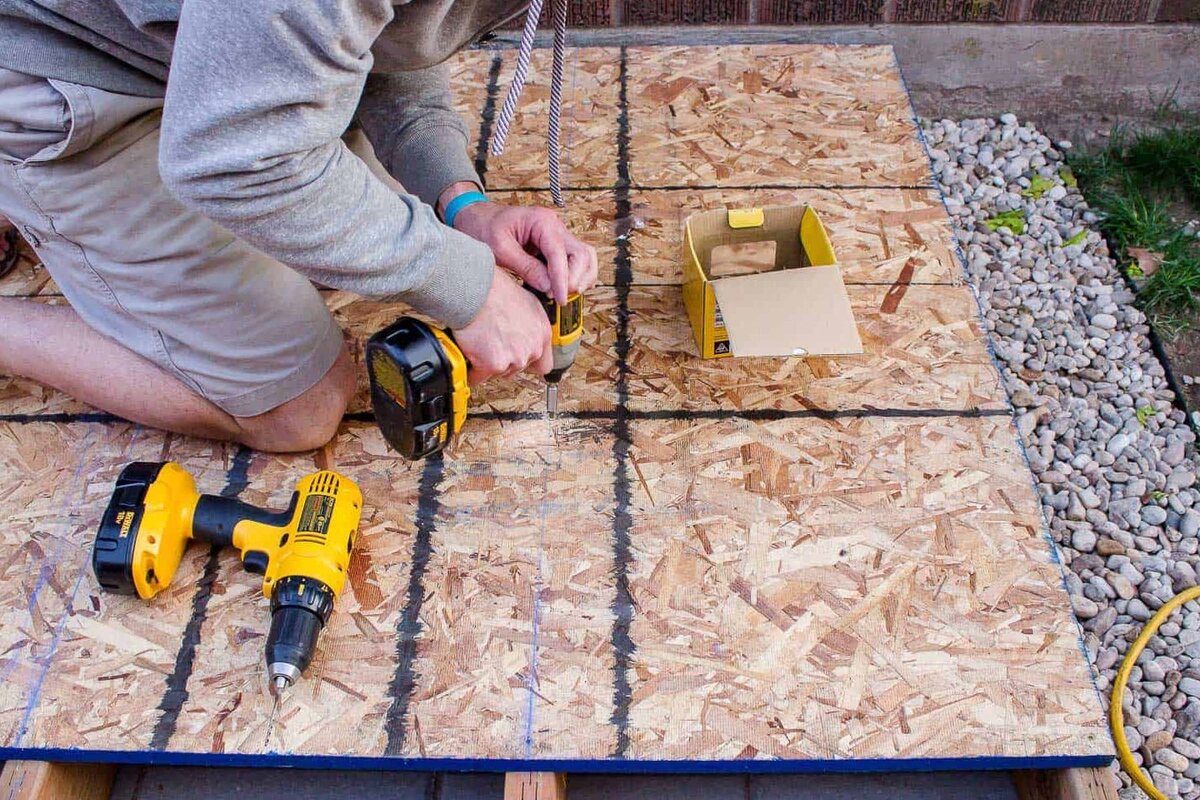
Start by laying the subflooring material over the insulation, ensuring it covers the entire shed floor. If necessary, use screws or nails to secure the subflooring to the insulation boards, ensuring it is firmly attached.
When installing the subflooring material, stagger the seams for added strength and stability. This prevents weak spots and ensures a solid foundation for the final flooring materials.
If you plan to use the shed as a livable space, consider adding an additional layer of underlayment on top of the subflooring. Underlayment provides extra cushioning and sound insulation, enhancing comfort.
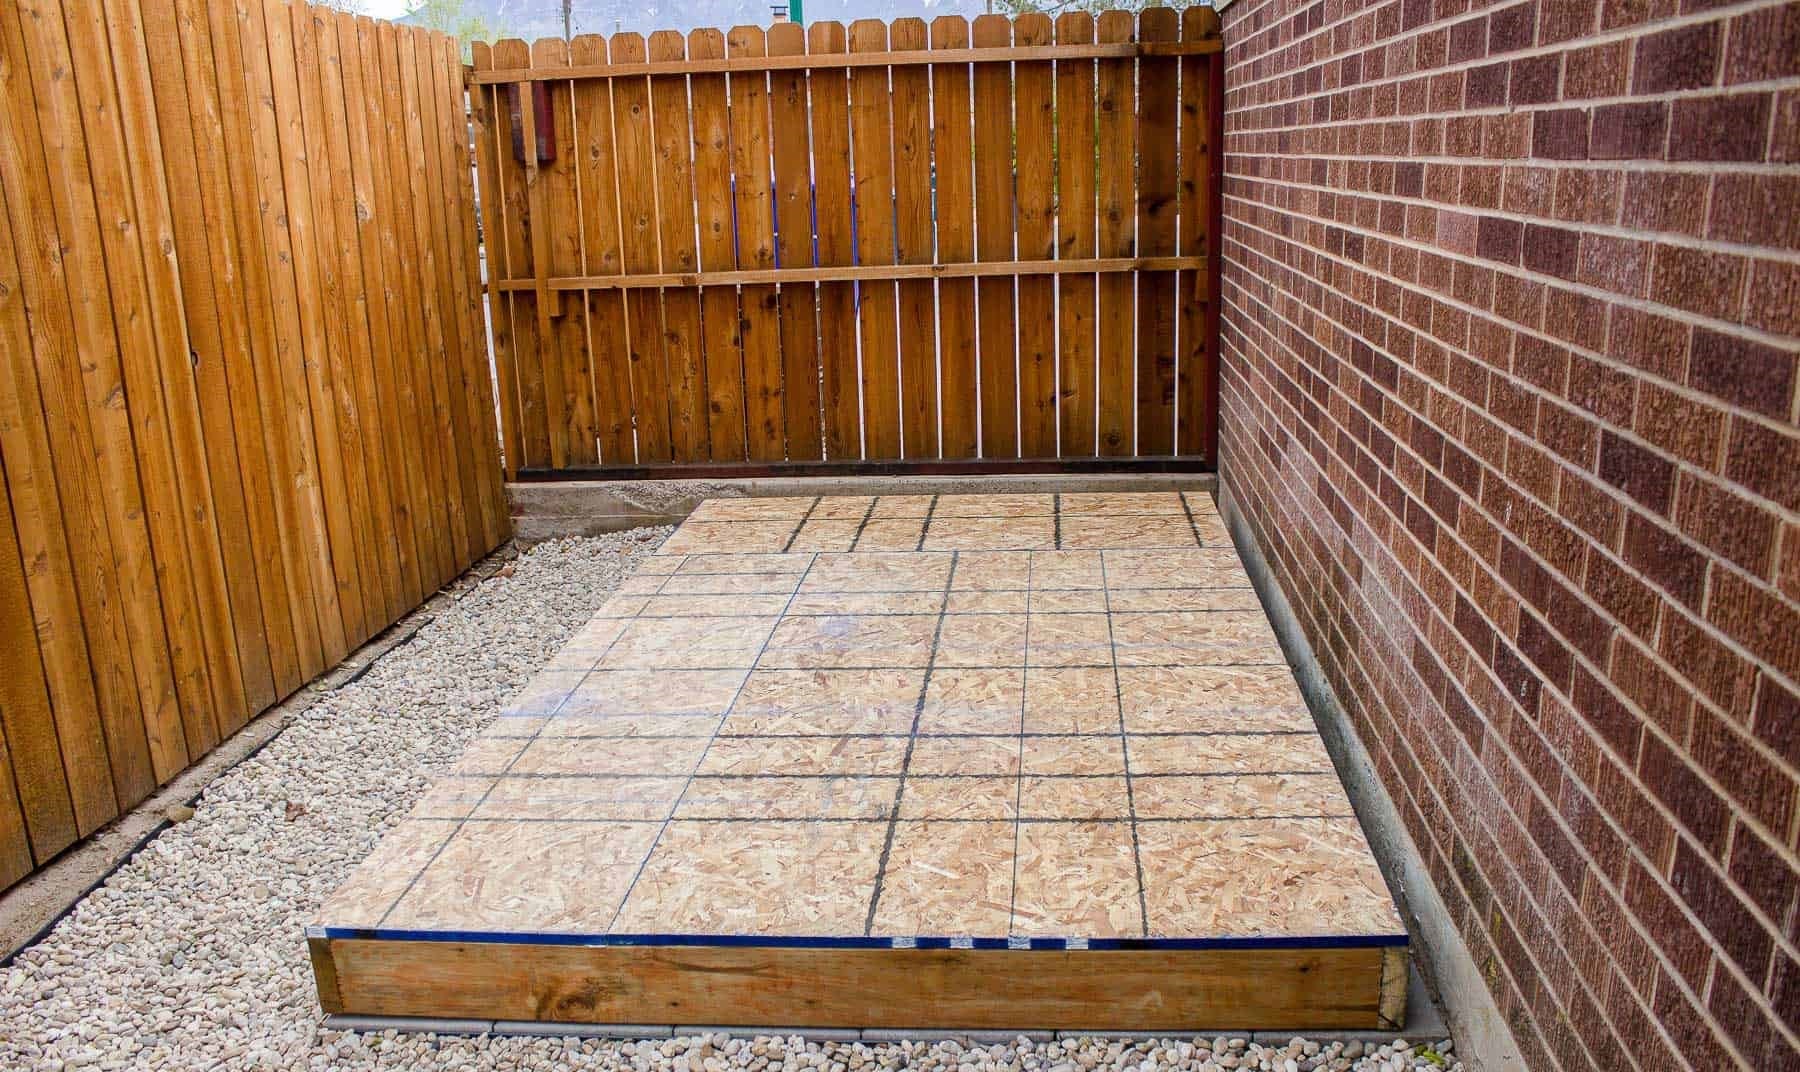
Once the subflooring material is securely in place, check for any raised areas or uneven spots. Sand or level these areas to create a smooth and even surface, ready for the final flooring installation.
Installing subflooring material is a crucial step in creating a durable and stable shed floor. It provides a solid base for the final flooring and ensures long-lasting performance and comfort.
By completing this step, you are one step closer to finishing the insulation of your shed floor and creating a functional and comfortable space.
Step 7: Finishing Touches
After successfully installing the subflooring material, it’s time to add the finishing touches to your insulated shed floor. These final steps will not only enhance the aesthetics of the space but also improve its functionality and longevity.
First, inspect the entire floor surface for any remaining gaps or seams. Use a sealant or caulk to fill in any small cracks or joints between the subflooring panels. This will help create a seamless and smooth surface, preventing any potential dust or dirt accumulation.
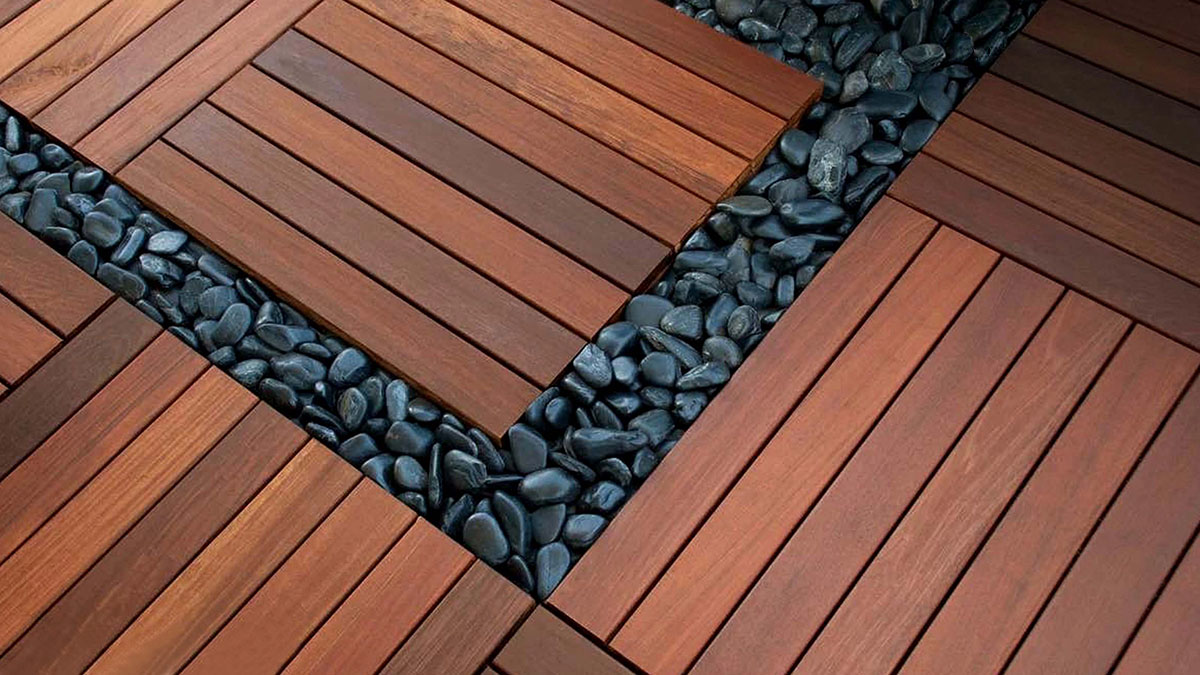
Next, it’s time to choose the final flooring material for your shed. Consider the purpose of the shed and your personal preference when selecting the flooring. Popular options include laminate, vinyl, carpet, or even epoxy coatings for a more durable and easy-to-clean surface.
Follow the manufacturer’s instructions to install the chosen flooring material. Ensure that it is laid evenly and securely, paying attention to any recommended adhesive or underlayment requirements.
Once the flooring is installed, add any desired trim or molding around the edges of the floor. This not only provides a finished look but also helps protect the edges of the flooring from wear and tear.
Lastly, give the newly insulated shed floor a thorough cleaning. Sweep or vacuum the entire surface to remove any dust or debris. This will ensure that your shed floor is clean and ready to be used.
By completing these final touches, you have successfully insulated and transformed your shed floor into a functional and comfortable space. Enjoy your well-insulated shed and make the most of its newfound energy efficiency and protection against the elements.
Congratulations on completing the insulation of your shed floor! With proper insulation, you have created a space that is not only comfortable but also protected against temperature fluctuations and moisture-related issues. Your insulated shed floor will provide you with a more enjoyable and functional space for your various needs.
Conclusion
Insulating the floor of your shed is a critical step towards creating a comfortable and well-protected space. By following the step-by-step process outlined in this article, you can effectively insulate your shed floor and reap the benefits of improved temperature regulation, energy efficiency, and protection against moisture and pests.
Clearing the shed floor and preparing the surface sets the foundation for a successful insulation project. Installing a vapor barrier helps prevent moisture from entering the shed, while adding insulation boards provides excellent thermal resistance. Securing and sealing the insulation ensures its longevity and performance.
By installing subflooring material, you create a stable and even surface for the final flooring. Adding the finishing touches, such as filling gaps, installing the chosen flooring material, and adding trim, completes the insulation process and enhances the aesthetics of your shed floor.
Remember that the success of your insulation project depends on proper planning, thorough execution, and attention to detail. Take the time to carefully measure and prepare the shed floor, select high-quality materials, and follow the manufacturer’s instructions for installation.
With a well-insulated shed floor, you can enjoy a comfortable and versatile space for various activities. Whether you use your shed as a workshop, storage area, or even a livable space, the insulation will provide you with a more enjoyable environment, improved energy efficiency, and ample protection against the elements.
So, don’t overlook the importance of insulating your shed floor. Follow the steps outlined in this article, and you’ll be on your way to transforming your shed into a functional and comfortable space. Start the project today and reap the rewards of a well-insulated shed floor!
Frequently Asked Questions about How To Insulate Shed Floor
Was this page helpful?
At Storables.com, we guarantee accurate and reliable information. Our content, validated by Expert Board Contributors, is crafted following stringent Editorial Policies. We're committed to providing you with well-researched, expert-backed insights for all your informational needs.


0 thoughts on “How To Insulate Shed Floor”