Home>Gardening & Outdoor>Outdoor Structures>How To Anchor A Resin Shed
Outdoor Structures
How To Anchor A Resin Shed
Modified: May 6, 2024
Learn how to properly anchor a resin shed and keep it secure in your outdoor space. Discover the best methods for securing outdoor structures to ensure stability and longevity.
(Many of the links in this article redirect to a specific reviewed product. Your purchase of these products through affiliate links helps to generate commission for Storables.com, at no extra cost. Learn more)
Introduction
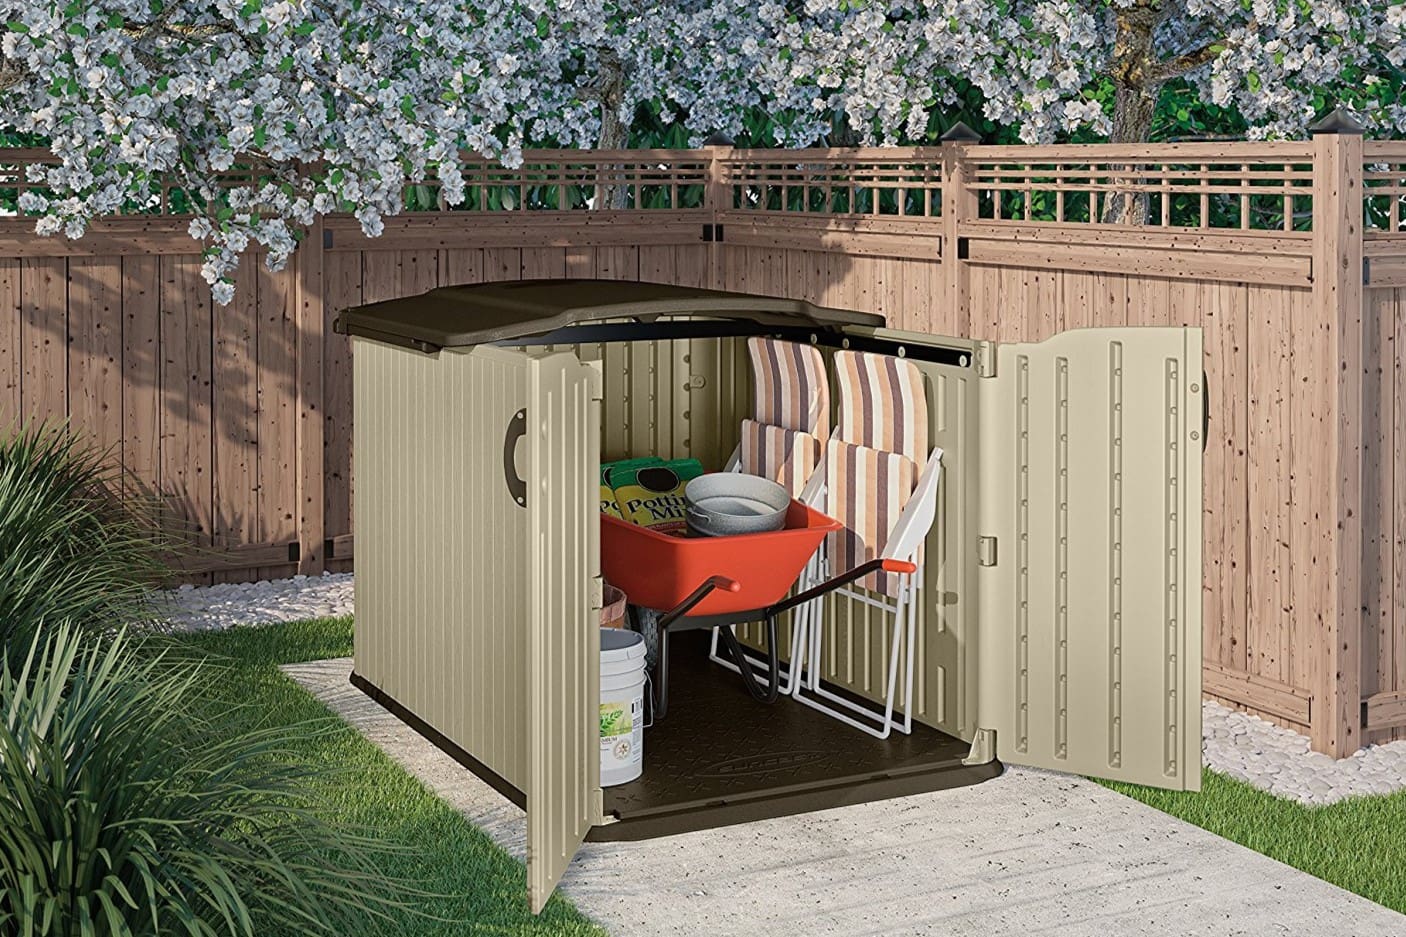
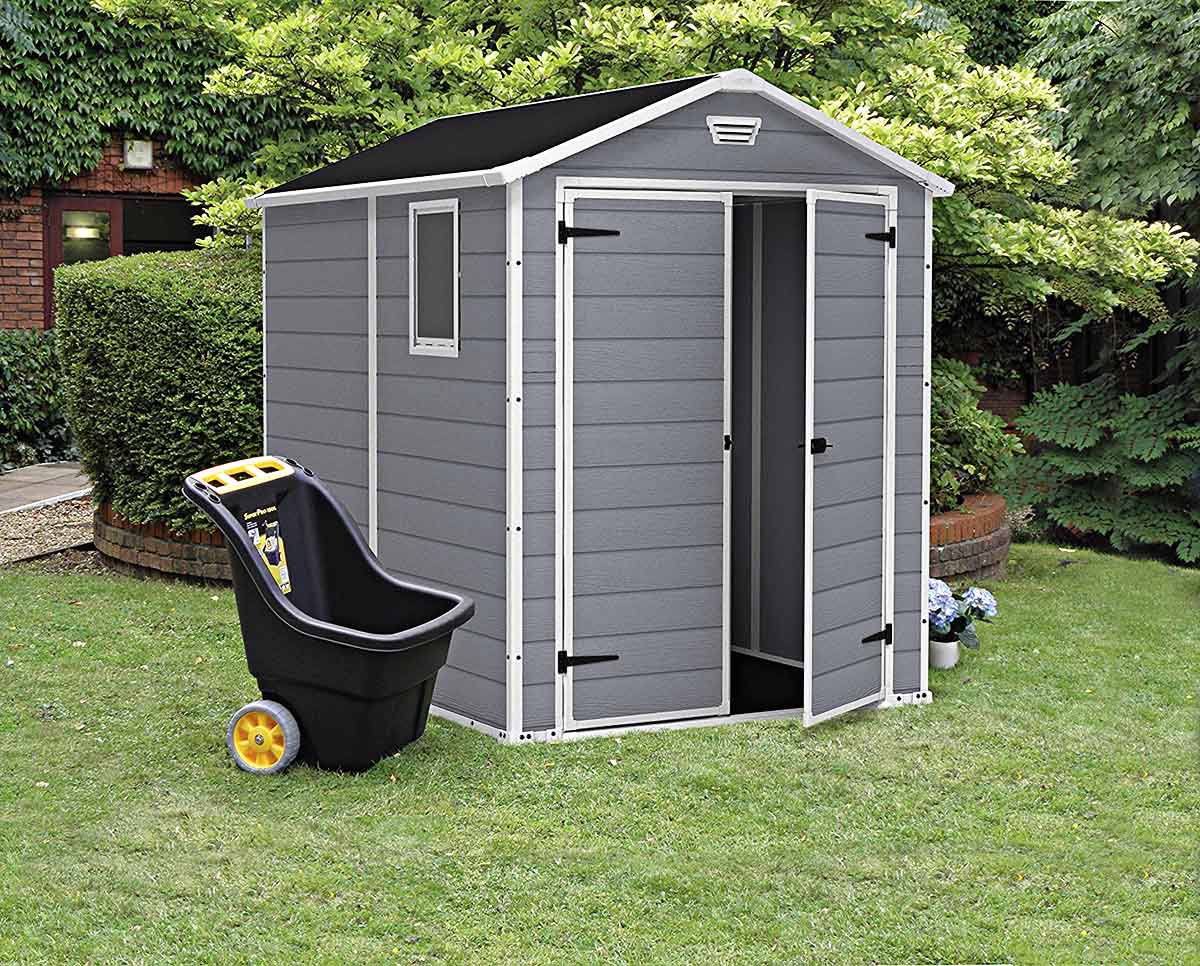
So, you’ve decided to add a resin shed to your outdoor space. This is an exciting project that will provide you with valuable storage and enhance the functionality of your yard or garden. However, to ensure that your resin shed remains secure and stable, it’s crucial to anchor it properly. In this comprehensive guide, we’ll walk you through the essential steps to anchor a resin shed effectively. From choosing the right location to preparing the ground and anchoring the shed, we’ve got you covered. By the end of this article, you’ll have the knowledge and confidence to anchor your resin shed like a pro, ensuring its durability and longevity.
Key Takeaways:
- Choose a level, well-drained location for your resin shed to ensure stability and accessibility. Consider sunlight exposure and distance from trees and structures for optimal placement.
- Clear and level the ground, add a foundation if needed, and verify dimensions before assembling your resin shed. This sets the stage for a stable and durable structure.
Read more: How To Anchor A Shed To The Ground
Choosing the Right Location
Before you start the process of anchoring your resin shed, it’s essential to carefully select the right location for it. The location you choose will not only affect the shed’s stability but also its overall functionality and convenience. Here are some key considerations to keep in mind:
- Level Ground: Opt for a spot that offers relatively level ground. This will make the assembly and anchoring process much easier and help ensure the shed sits evenly, reducing the risk of structural stress over time.
- Good Drainage: Avoid low-lying areas that are prone to pooling water, especially during heavy rain. Proper drainage is crucial for preserving the integrity of the shed’s base and preventing water damage.
- Accessibility: Think about how you plan to use the shed. If you’ll frequently need to access tools, equipment, or other items stored inside, choose a location that’s easily accessible from your home or other key areas of your property.
- Sunlight Exposure: While some shade can be beneficial, especially in hot climates, ensure that the chosen location allows for adequate sunlight exposure. This can help prevent moisture buildup and maintain a dry, well-ventilated interior.
- Distance from Trees and Structures: Be mindful of nearby trees and structures. Overhanging branches can pose a risk of falling debris, while proximity to other buildings or fences may limit the shed’s accessibility and airflow.
By taking these factors into account, you can select a location that sets the stage for a secure and functional resin shed. Once you’ve identified the ideal spot, it’s time to prepare the ground for the shed’s installation.
Preparing the Ground
Properly preparing the ground for your resin shed is a crucial step in ensuring its stability and longevity. By taking the time to prepare the foundation correctly, you can minimize the risk of uneven settling, water damage, and other potential issues. Here’s how to prepare the ground for your resin shed:
- Clear the Area: Begin by clearing the chosen area of any debris, rocks, or vegetation. This will create a clean, level surface for the shed’s base and help prevent damage from sharp objects.
- Level the Ground: Use a shovel and a level to smooth out the ground and create a flat, even surface. This step is essential for ensuring that the shed sits securely and that the doors and windows operate smoothly.
- Add a Foundation: Depending on your preference and the specific requirements of your resin shed, you may choose to add a foundation material, such as gravel or crushed stone, to promote drainage and provide additional support.
- Consider a Weed Barrier: To prevent weed growth and further protect the shed’s base, consider laying a weed barrier fabric before installing the shed. This can help maintain a tidy and low-maintenance environment around the shed.
- Verify the Dimensions: Before proceeding with the shed assembly, double-check the dimensions of the prepared area to ensure that it aligns with the shed’s base size and recommended clearances.
By following these preparatory steps, you can create a solid and stable foundation for your resin shed, setting the stage for a successful assembly and anchoring process. With the ground ready, you can proceed to assemble the shed according to the manufacturer’s instructions.
When anchoring a resin shed, use heavy-duty anchors or screws to secure the shed to a solid foundation, such as a concrete slab or level ground. This will help prevent the shed from being lifted or moved by strong winds.
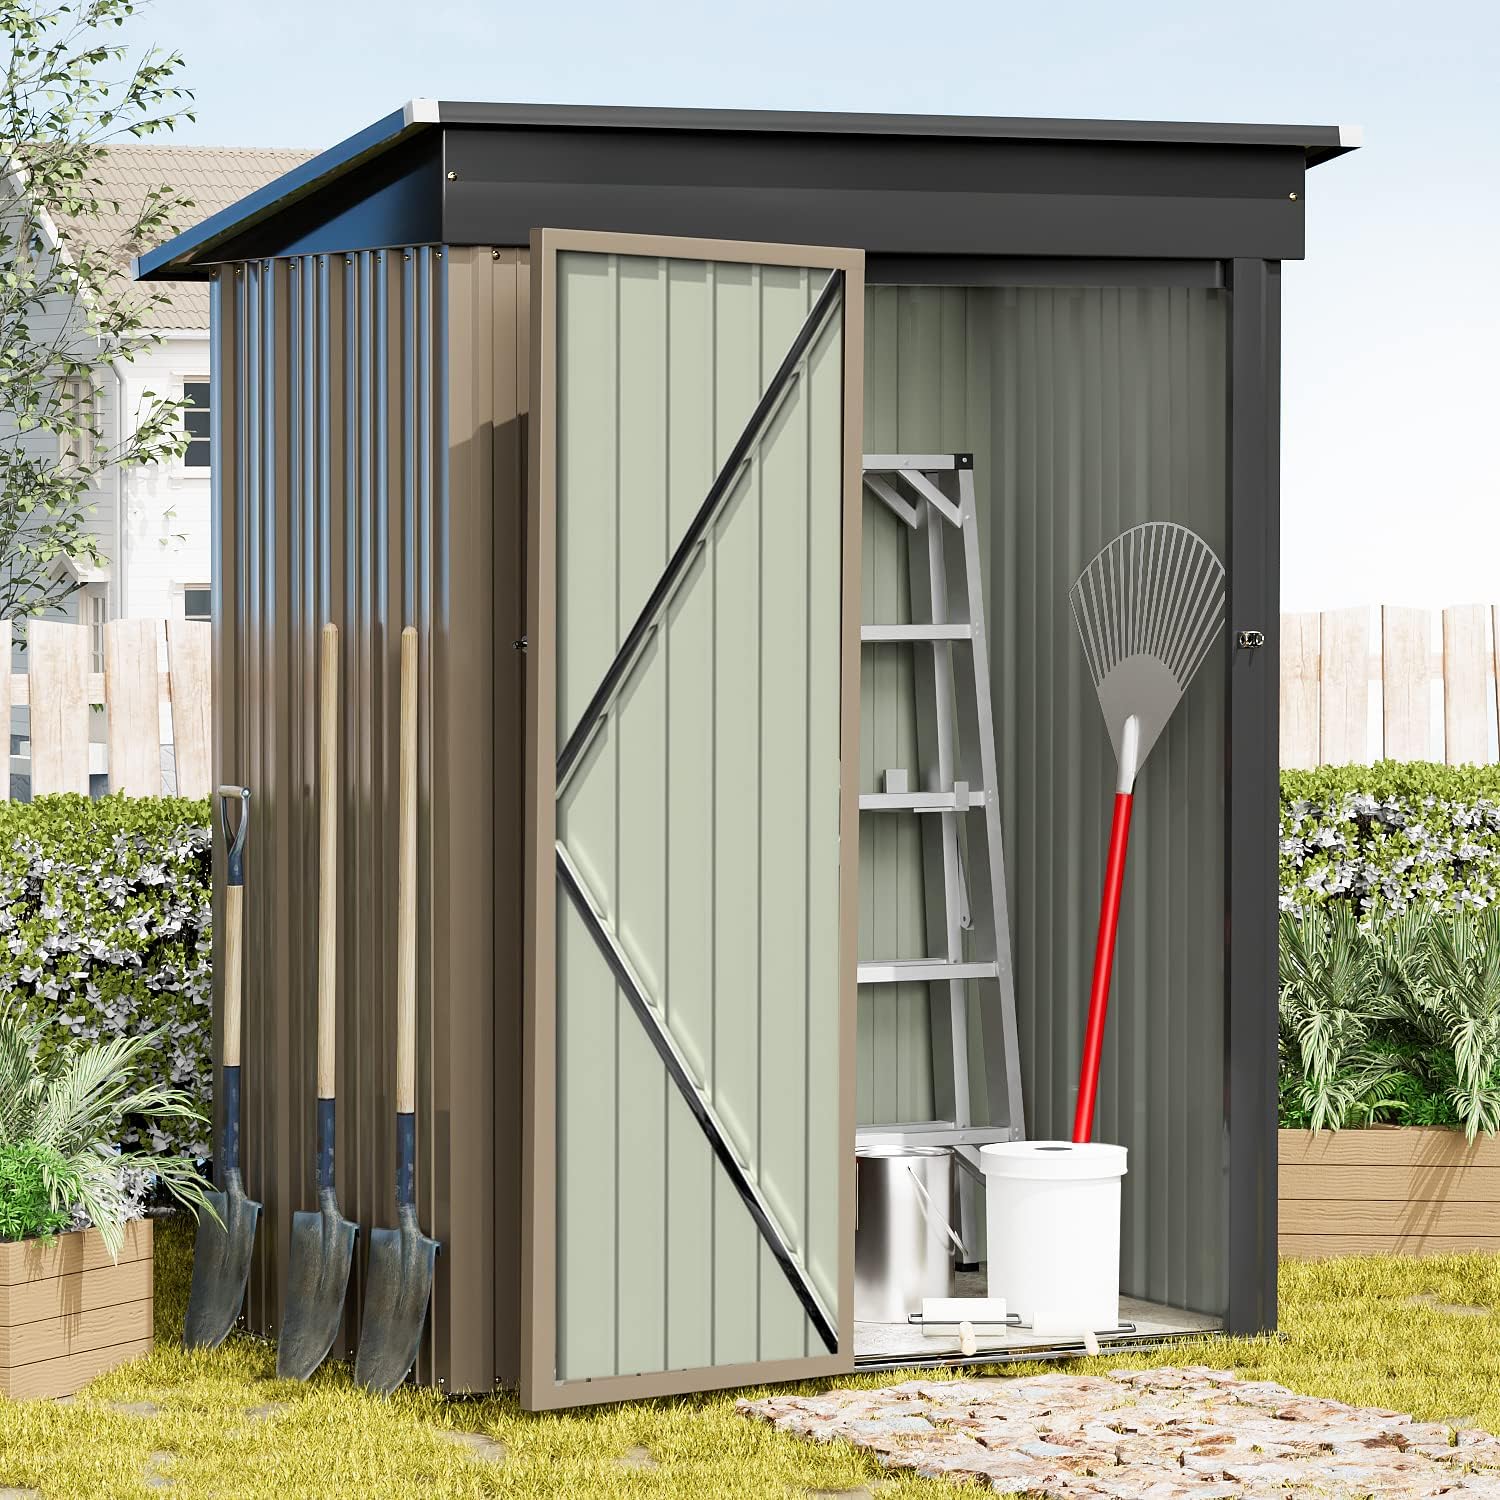
Assembling the Shed
With the ground prepared, it’s time to embark on the exciting process of assembling your resin shed. While the specific assembly instructions may vary depending on the shed model and manufacturer, the following general guidelines can help you navigate the assembly process with confidence:
- Organize the Components: Before you begin, carefully unpack and organize all the shed components, ensuring that you have a clear understanding of each part and its intended placement.
- Follow the Instructions: Refer to the manufacturer’s assembly instructions, which typically include a step-by-step guide, diagrams, and important safety information. Adhering to these instructions is essential for a smooth and successful assembly process.
- Enlist Assistance: Depending on the shed’s size and complexity, consider enlisting the help of a friend or family member to assist with lifting and holding components in place during assembly.
- Use the Right Tools: Ensure that you have the necessary tools on hand, such as a screwdriver, drill, level, and rubber mallet, to facilitate the assembly process and achieve a secure, professional-quality result.
- Check for Compatibility: If you plan to anchor the shed using a specific anchoring kit or method, verify that the shed’s design and materials are compatible with the chosen anchoring solution.
As you progress through the assembly process, take your time to ensure that each component is securely connected and aligned according to the manufacturer’s specifications. Once the shed is fully assembled, it’s time to shift your focus to anchoring the structure to the ground, a critical step in securing the shed against the elements and potential wind uplift.
Anchoring the Shed
After assembling the resin shed, the next vital step is to anchor it securely to the ground. Proper anchoring is essential for safeguarding the shed against strong winds and ensuring its long-term stability. Here are the key steps to effectively anchor your resin shed:
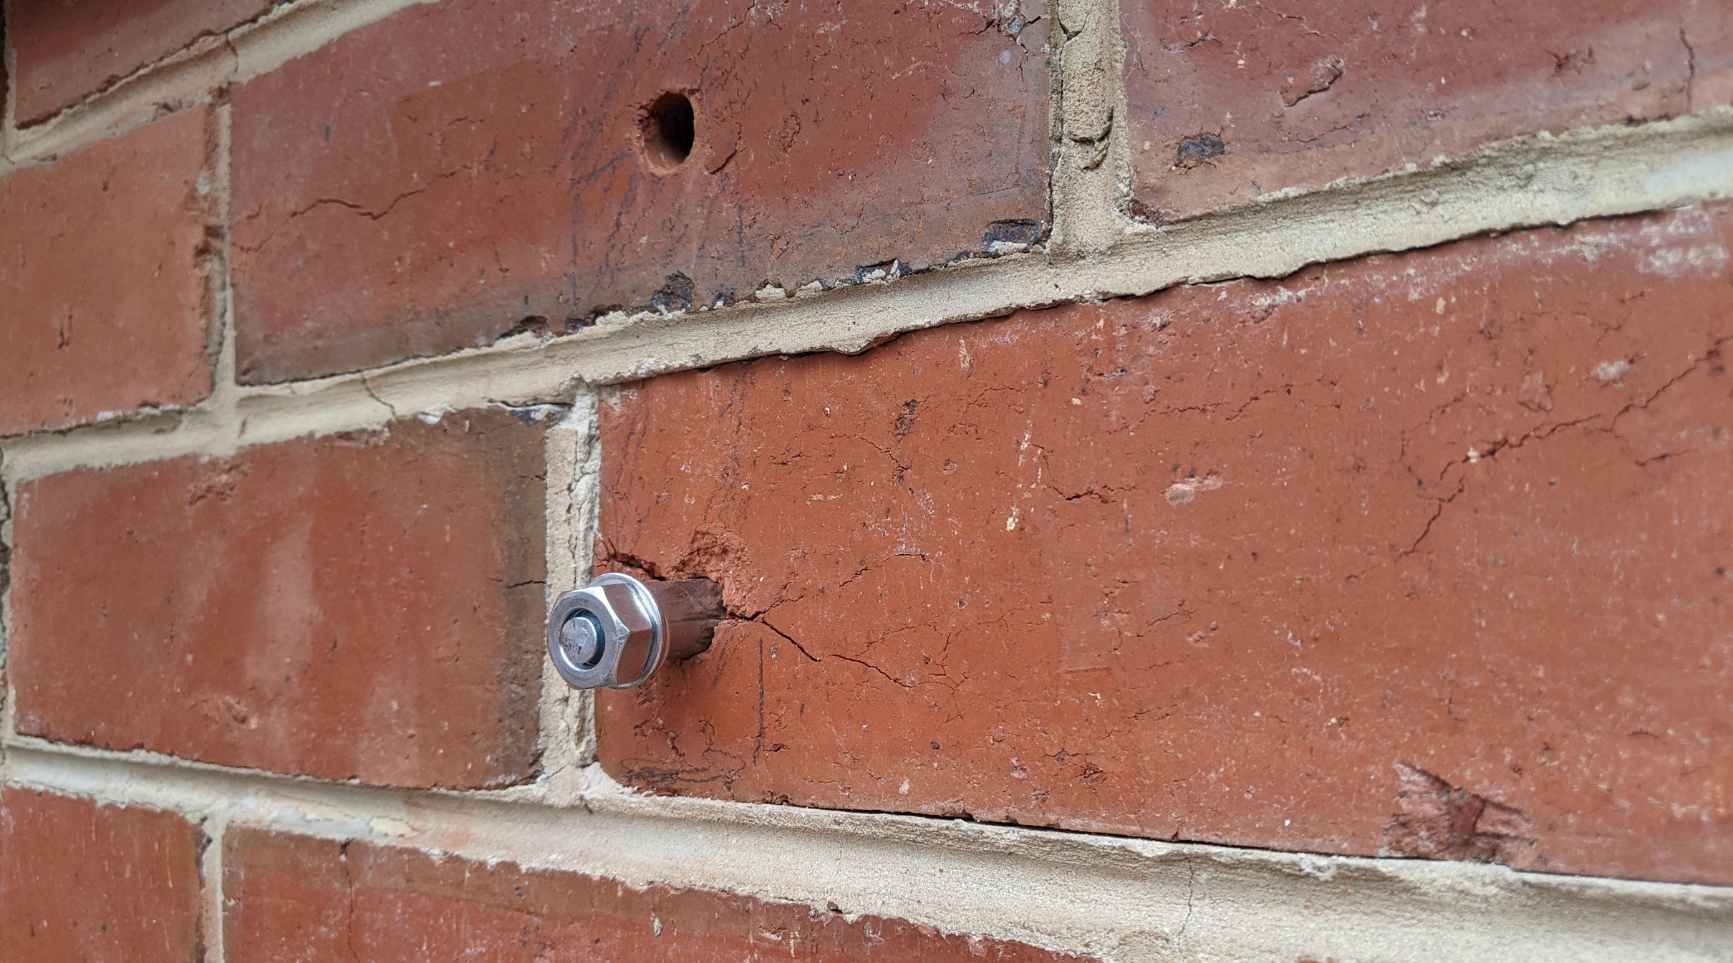
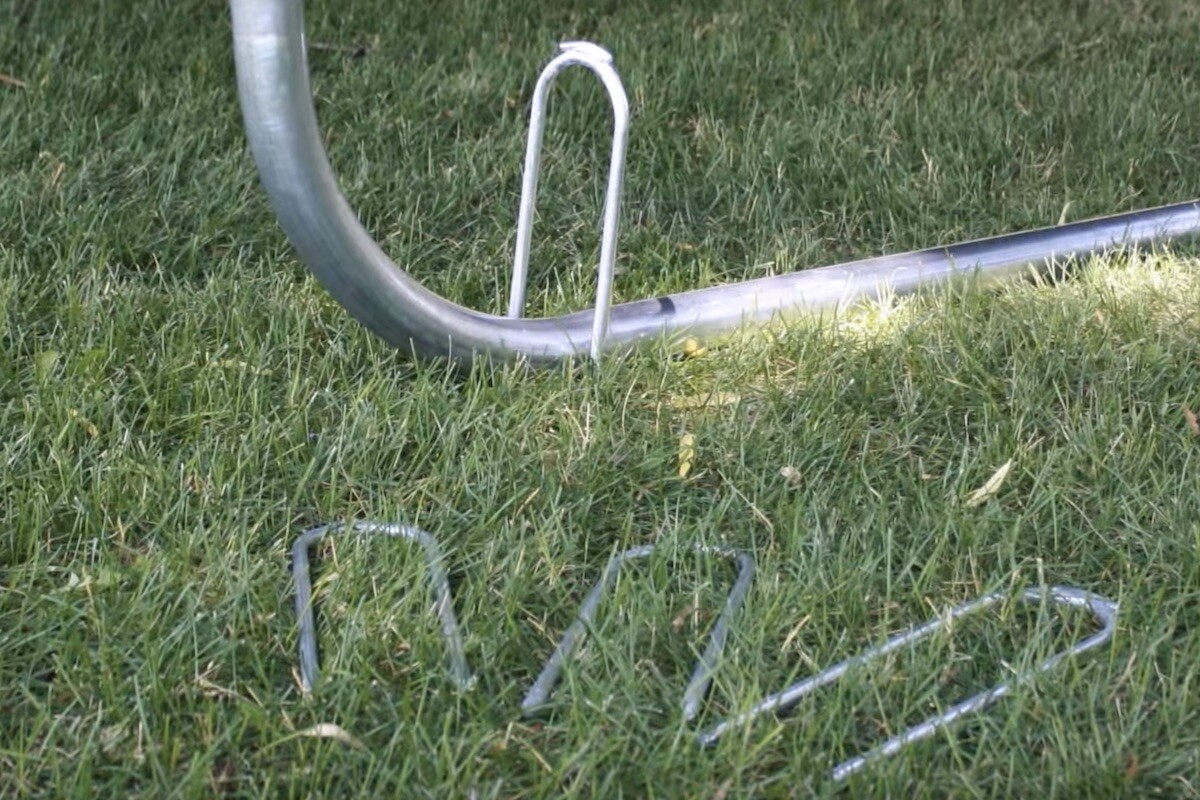
- Choose the Right Anchoring Method: Depending on the shed’s design and your local building codes, select an appropriate anchoring method. Common options include ground anchors, auger anchors, concrete anchors, and other specialized anchoring systems.
- Position the Anchors: Following the manufacturer’s recommendations and any local regulations, position the anchors at strategic points along the shed’s base. This typically involves placing anchors at each corner and additional anchors along the sidewalls for larger sheds.
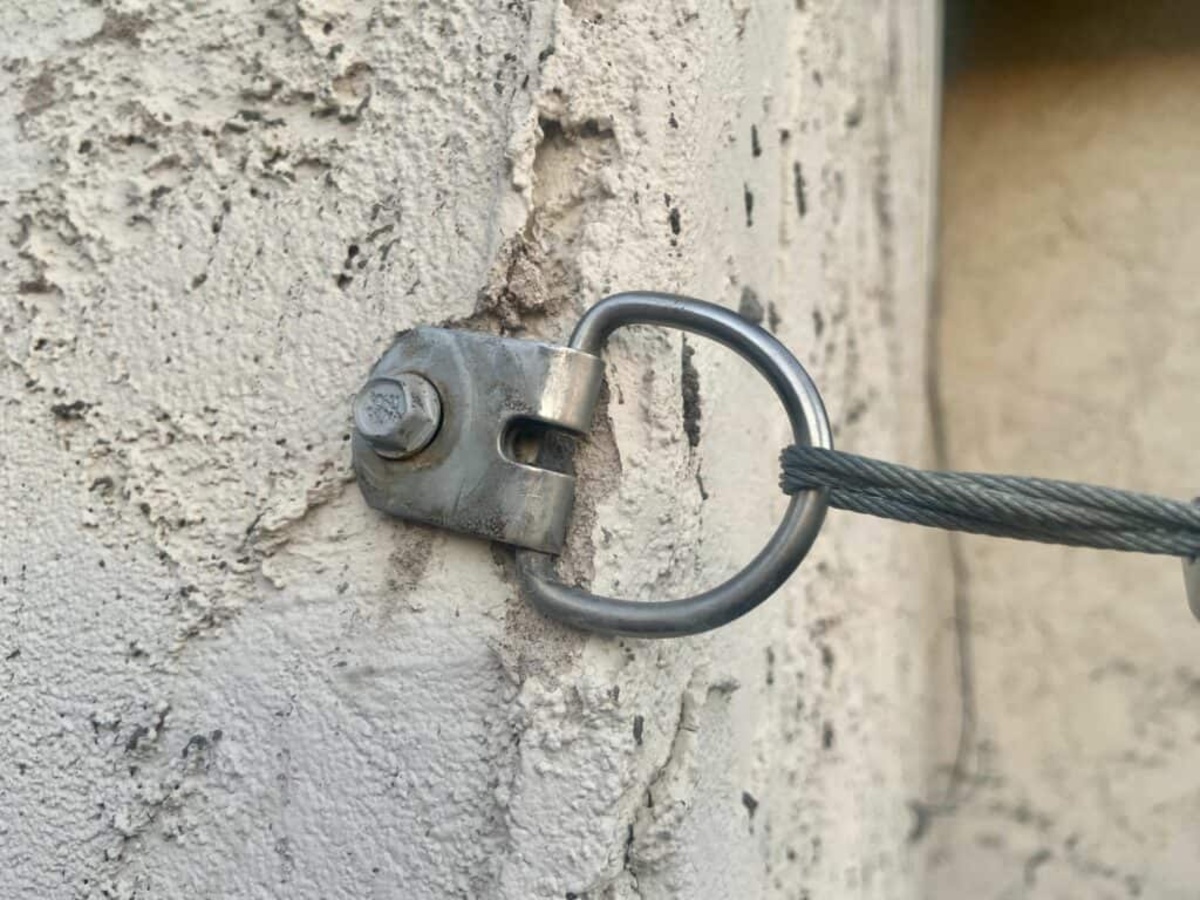
- Secure the Anchors: Use the designated hardware and tools to secure the anchors firmly into the ground. This may involve driving the anchors into the soil, inserting them into pre-drilled holes filled with concrete, or using other approved installation methods.
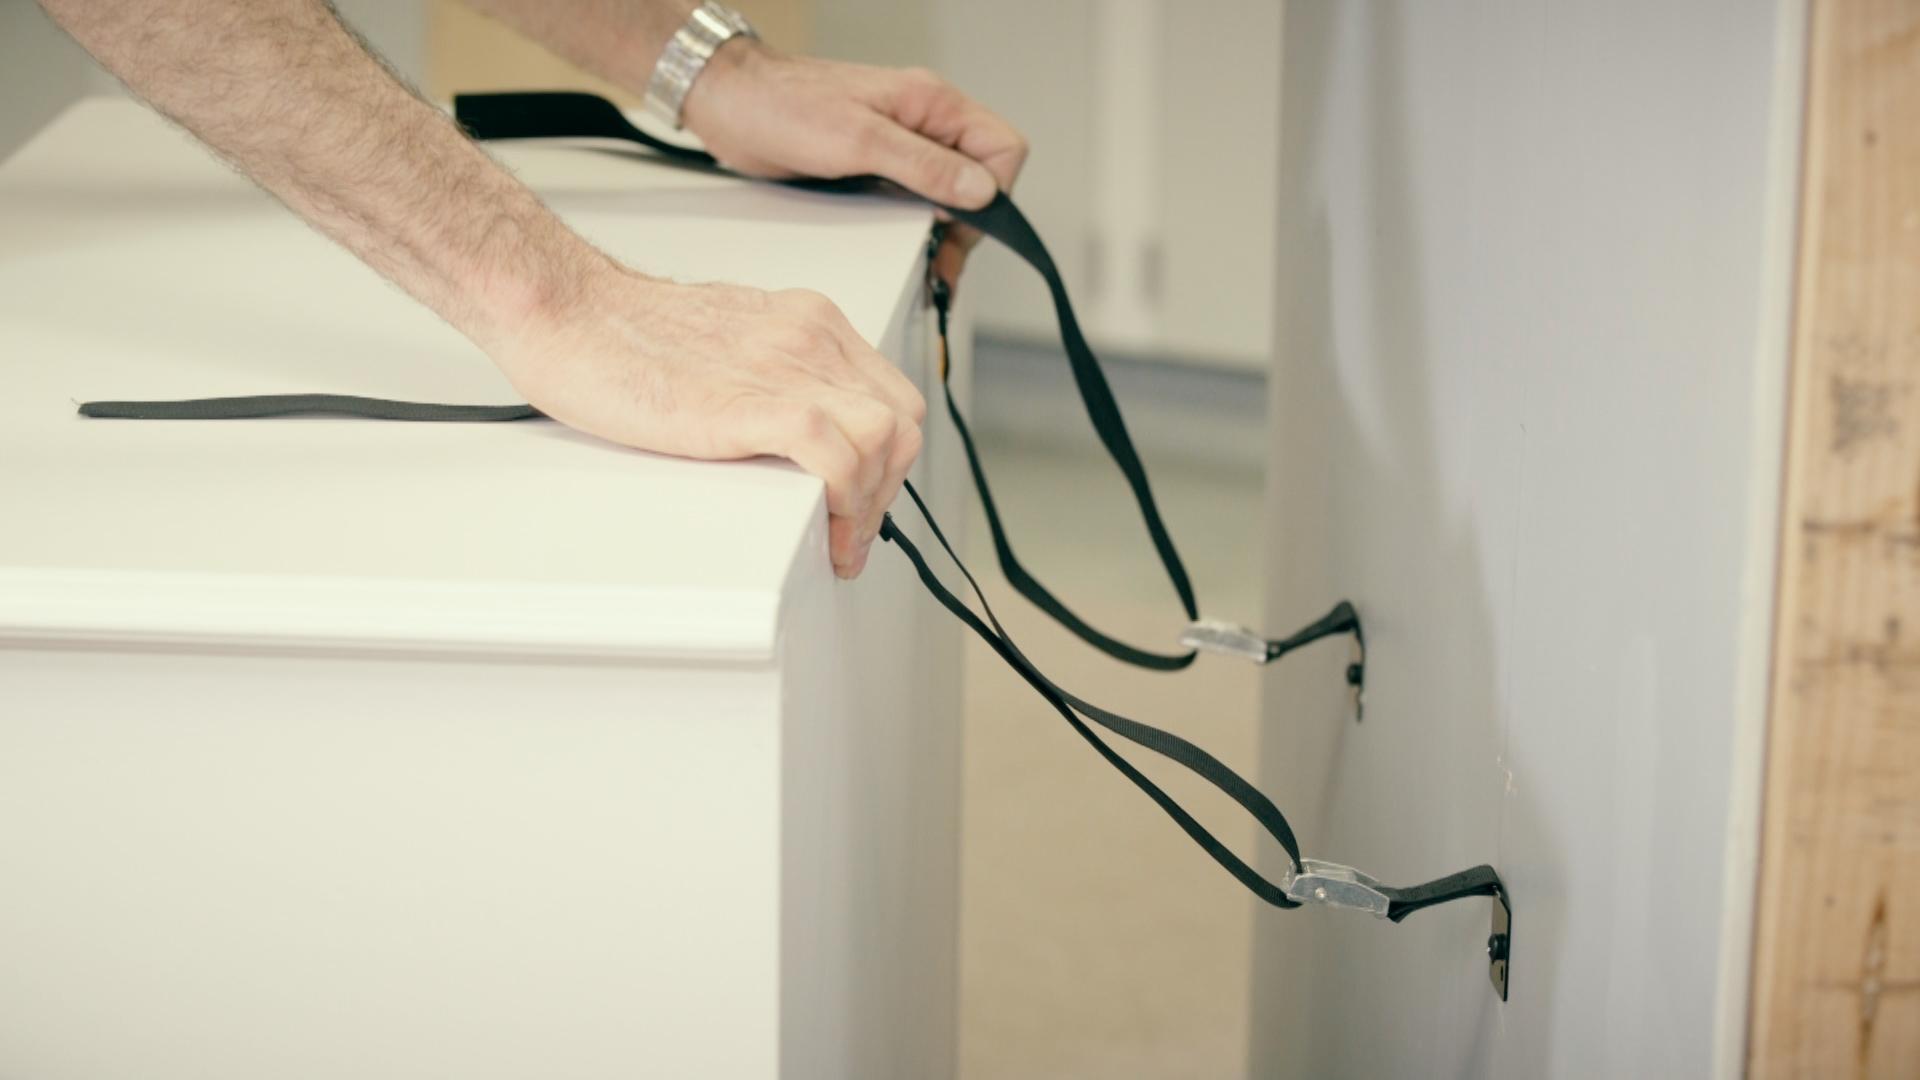
- Attach the Shed to the Anchors: Once the anchors are securely in place, fasten the shed to the anchors using the provided hardware or recommended attachment method. This step ensures that the shed is firmly connected to the ground, minimizing the risk of displacement during inclement weather.
- Verify Stability: After anchoring the shed, perform a thorough inspection to ensure that all anchors are securely fastened, and the shed exhibits minimal movement or sway when subjected to gentle pressure. This verification step is crucial for confirming the effectiveness of the anchoring process.
By diligently following these anchoring steps, you can fortify your resin shed against external forces and enjoy the peace of mind that comes with a securely anchored outdoor storage solution. With the shed now anchored, you can step back and admire your handiwork, knowing that it is well-prepared to withstand the elements and serve your storage needs for years to come.
Read more: How To Anchor A Plastic Shed
Conclusion
Congratulations! You’ve successfully navigated the process of anchoring a resin shed, ensuring that it stands as a secure and reliable addition to your outdoor space. By carefully choosing the right location, preparing the ground, assembling the shed, and anchoring it effectively, you’ve taken the essential steps to guarantee its stability and longevity.
As you reflect on the completion of this project, take pride in the knowledge that your resin shed is well-equipped to withstand the elements, providing a safe and organized storage space for your gardening tools, outdoor equipment, and other belongings. Additionally, the effort you’ve invested in anchoring the shed will pay dividends in the form of prolonged structural integrity and peace of mind during adverse weather conditions.
Remember that regular maintenance, such as inspecting the anchoring system and ensuring proper drainage around the shed, will further contribute to its durability and functionality over time. By staying proactive and attentive to the shed’s condition, you can maximize its lifespan and continue to benefit from a reliable storage solution for your outdoor needs.
Whether you’re a seasoned DIY enthusiast or embarking on your first outdoor structure project, the skills and knowledge gained from anchoring a resin shed will serve you well in future endeavors. As you enjoy the convenience and organization that the shed provides, take a moment to appreciate the effort and attention to detail that have gone into securing it for the long haul.
With your resin shed now firmly anchored and ready for use, take a well-deserved moment to bask in the satisfaction of a job well done. Your outdoor space has gained a valuable asset, and you’ve gained valuable experience in ensuring the stability and resilience of outdoor structures. Here’s to many years of reliable storage and functional utility from your securely anchored resin shed!
Curious about the materials that make up your outdoor storage? Our article on what defines a resin shed offers insights into the durability and advantages of choosing this type for your garden needs. For DIY enthusiasts ready to take on a hands-on project, our guide on constructing a garden shed provides step-by-step instructions. Both resources are packed with practical advice to help you make the most of your outdoor space.
Frequently Asked Questions about How To Anchor A Resin Shed
Was this page helpful?
At Storables.com, we guarantee accurate and reliable information. Our content, validated by Expert Board Contributors, is crafted following stringent Editorial Policies. We're committed to providing you with well-researched, expert-backed insights for all your informational needs.


0 thoughts on “How To Anchor A Resin Shed”