Tableware
How To Seal Diamond Art Coasters
Modified: August 17, 2024
Learn how to seal diamond art coasters and add a touch of elegance to your tableware. Protect your creations with our step-by-step guide!
(Many of the links in this article redirect to a specific reviewed product. Your purchase of these products through affiliate links helps to generate commission for Storables.com, at no extra cost. Learn more)
Introduction
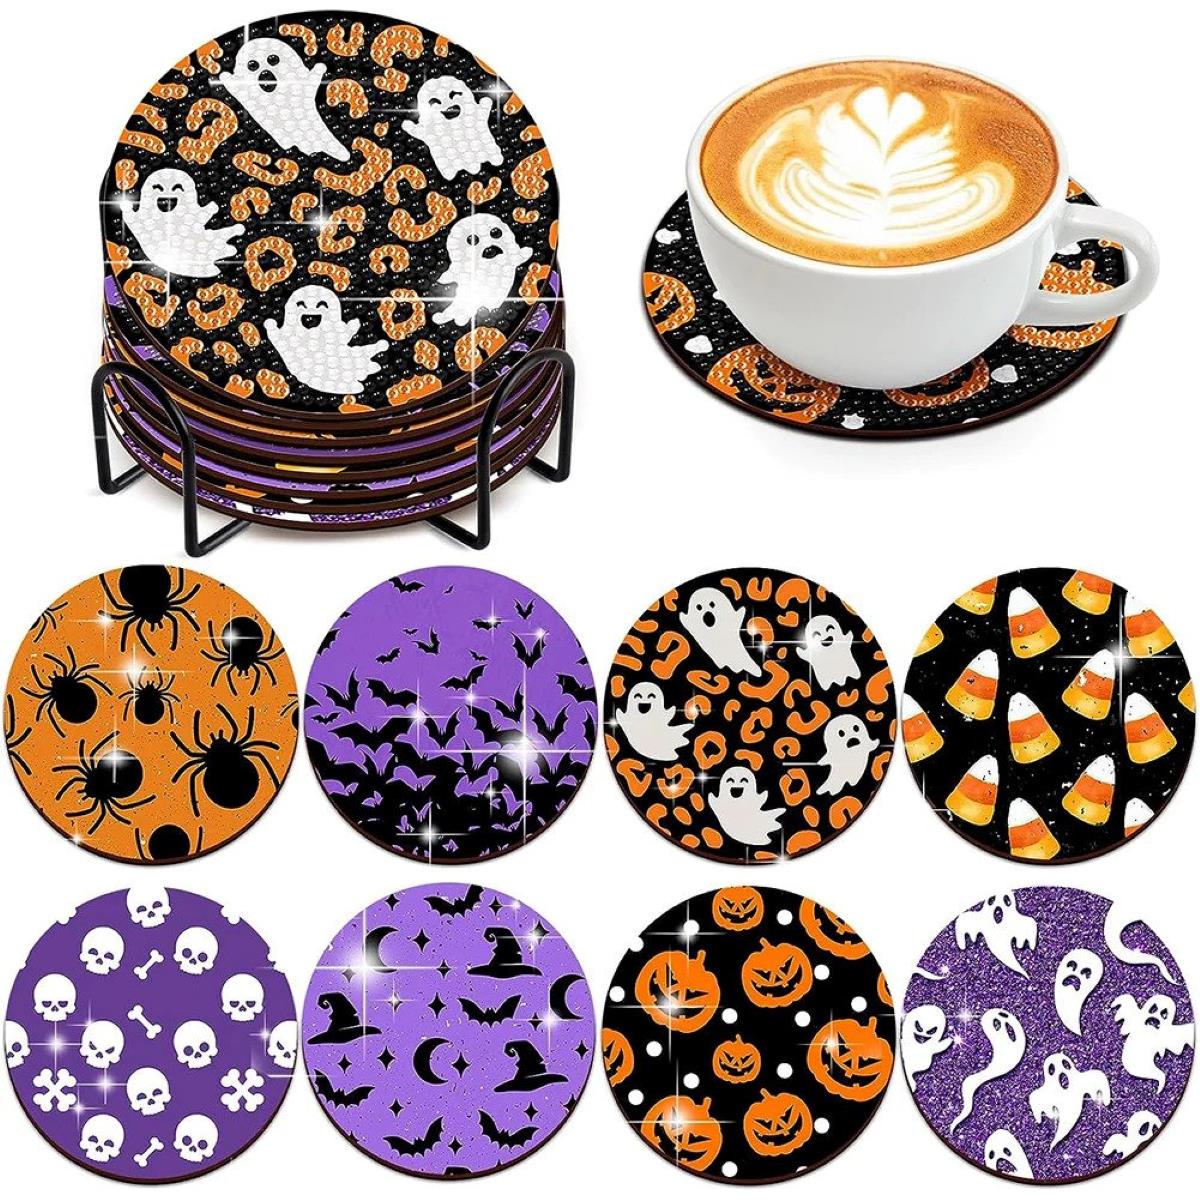
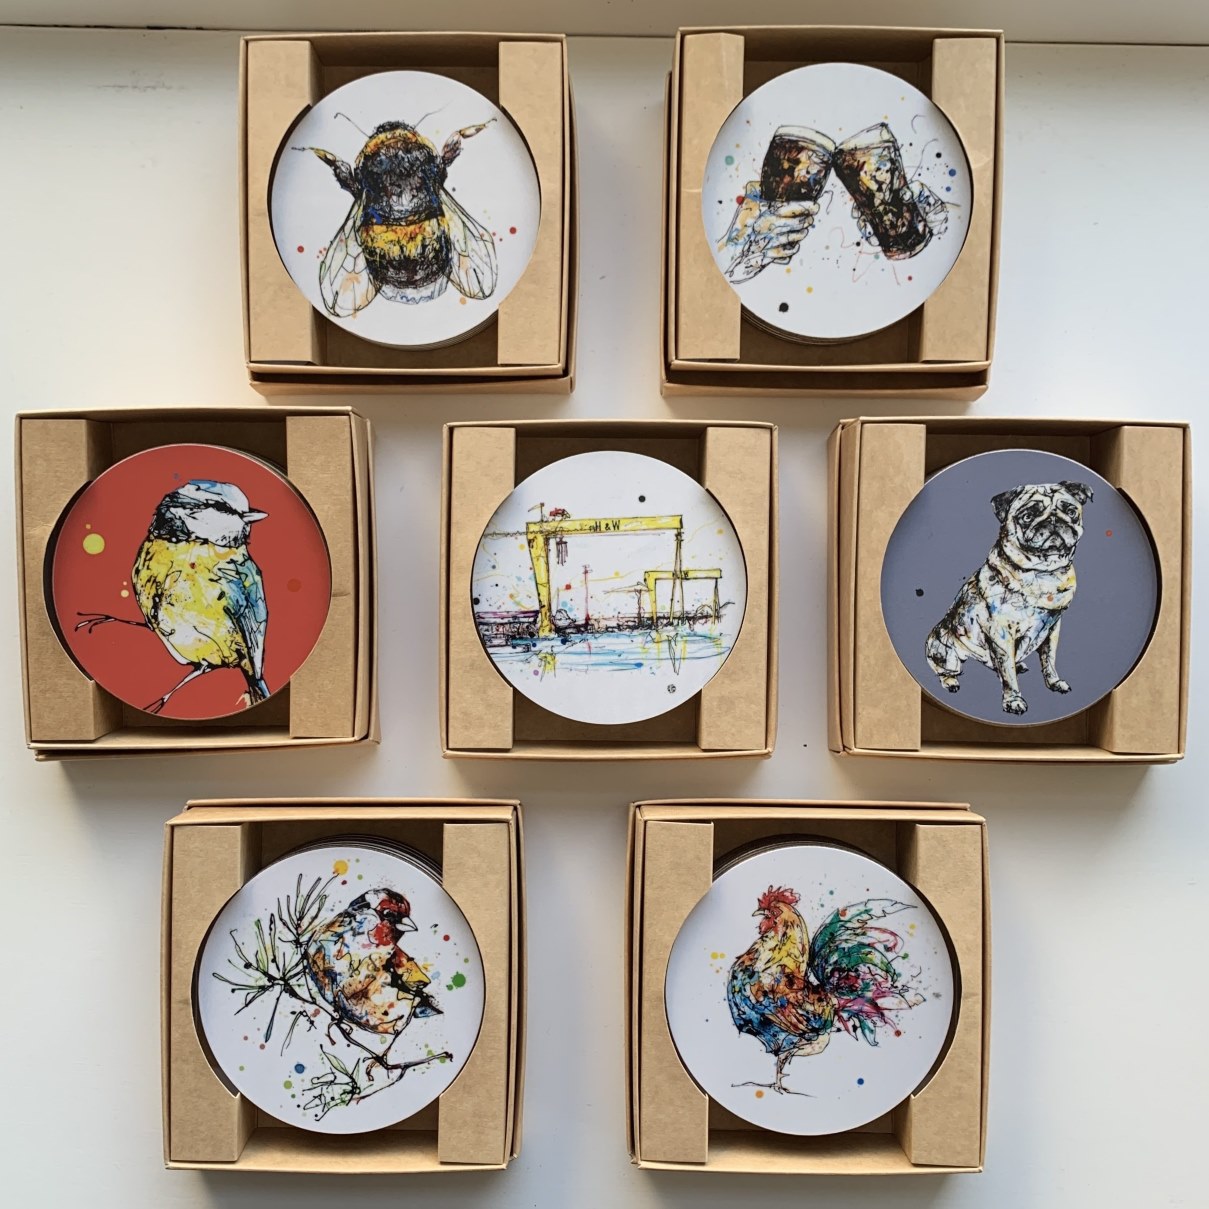
Tableware plays an essential role in our everyday lives, whether it’s a family gathering for a special meal or a casual dinner with friends. Investing in high-quality tableware not only elevates the dining experience but also adds a touch of elegance and style to any occasion. One type of tableware that has gained popularity in recent years is diamond art coasters.
Diamond art coasters are a unique and creative way to protect your tabletops from unsightly water rings and spills. With their intricate diamond artwork, these coasters add a touch of charm and sparkle to any room. However, to ensure their longevity and durability, it’s important to properly seal them.
In this article, we will guide you through the process of sealing diamond art coasters. By following these simple steps, you can preserve the beauty of your coasters and enjoy them for years to come. So, let’s gather the necessary materials and get started!
Key Takeaways:
- Preserve the beauty and durability of diamond art coasters by following a step-by-step sealing process using the appropriate sealant. Enjoy the creative process and showcase your unique and elegant tableware with pride.
- Ensure the longevity and aesthetic appeal of your diamond art coasters by performing quality checks, adding finishing touches, and choosing the right sealant for a personalized and durable finish. Elevate your dining experience with sparkling and elegant tableware.
Read more: How To Store Leftover Diamond Painting Beads
Materials Needed
Before we begin, let’s make sure you have all the necessary materials to seal your diamond art coasters:
- Diamond art coasters (make sure they are completed and dry)
- Sealant (such as mod podge, epoxy resin, or a glaze solution)
- Paintbrush or sponge brush
- Disposable gloves
- Mixing cups and stir sticks (if using epoxy resin)
- Drop cloth or newspaper (to protect your work surface)
- Lint-free cloth or paper towel
- Well-ventilated area or a fume hood (if using epoxy resin or glaze solution)
Once you have gathered all the materials, we can move on to the step-by-step process of sealing your diamond art coasters.
Step 1: Preparing the Diamond Art Coasters
Before applying any sealant, it’s important to ensure that your diamond art coasters are clean and free from any dust or debris. Follow these steps to prepare your coasters:
- Inspect your diamond art coasters to ensure that all the diamonds are intact and firmly adhered to the surface. If you notice any loose diamonds, use a fine-tip tweezer to gently press them back into place.
- Using a soft, lint-free cloth or a paper towel, gently wipe the surface of each coaster to remove any dust or fingerprints. Be careful not to apply too much pressure as this may dislodge any loose diamonds.
- Arrange your coasters on a drop cloth or newspaper to protect your work surface from any potential spills or drips.
Once you have prepared your coasters, they are now ready to be sealed and protected. Proceed to the next step to apply the first layer of sealant.
Step 2: Applying the First Layer of Sealant
Now that your diamond art coasters are clean and prepared, it’s time to apply the first layer of sealant. The type of sealant you choose will depend on your preference and the desired finish. Here’s how to apply the first layer:
- If you’re using mod podge or a glaze solution, shake the bottle well before opening it. If you’re using epoxy resin, mix the resin and hardener in the designated mixing cups according to the manufacturer’s instructions.
- Put on a pair of disposable gloves to protect your hands from the sealant and ensure a clean application.
- Dip a paintbrush or sponge brush into the sealant, making sure to coat the bristles evenly.
- Start applying the sealant to the surface of each coaster, working in small sections at a time. Use smooth, even strokes to spread the sealant over the entire surface, making sure to cover all the diamonds and edges.
- Be mindful of any air bubbles that may form during the application. If using mod podge or a glaze solution, gently tap the coaster on the table to release any air bubbles. If using epoxy resin, use a heat gun or a blowtorch (at a safe distance) to carefully remove any air bubbles.
- Once you have finished applying the first layer of sealant, set the coasters aside on the drop cloth or newspaper to dry. Follow the drying time recommended by the manufacturer.
Applying the first layer of sealant helps to protect the diamond artwork and enhances its vibrancy. Now, allow the coasters to dry completely before proceeding to the next step.
Step 3: Drying the Coasters
After applying the first layer of sealant to your diamond art coasters, it’s crucial to give them ample time to dry. This step ensures that the sealant sets properly and provides a protective barrier for your coasters. Here’s how to dry your coasters effectively:
- Place the coated coasters in a well-ventilated area or under a fume hood, especially if you used epoxy resin or a glaze solution. Proper ventilation helps to reduce the odor and facilitates the drying process.
- Allow the coasters to dry undisturbed for the recommended time specified by the sealant manufacturer. This duration may vary depending on the sealant used, so be sure to follow the instructions carefully.
- Avoid touching or moving the coasters while they’re drying to prevent smudging or disrupting the sealant’s finish.
- If you notice any imperfections or uneven coverage after the first layer has dried, you may choose to lightly sand the surface with fine-grit sandpaper. However, exercise caution to avoid damaging the diamond art design.
Properly drying the coasters ensures that the sealant adheres well and provides the necessary protection to the diamond art. Once the first layer has dried completely, you’re ready to move on to applying the second layer of sealant.
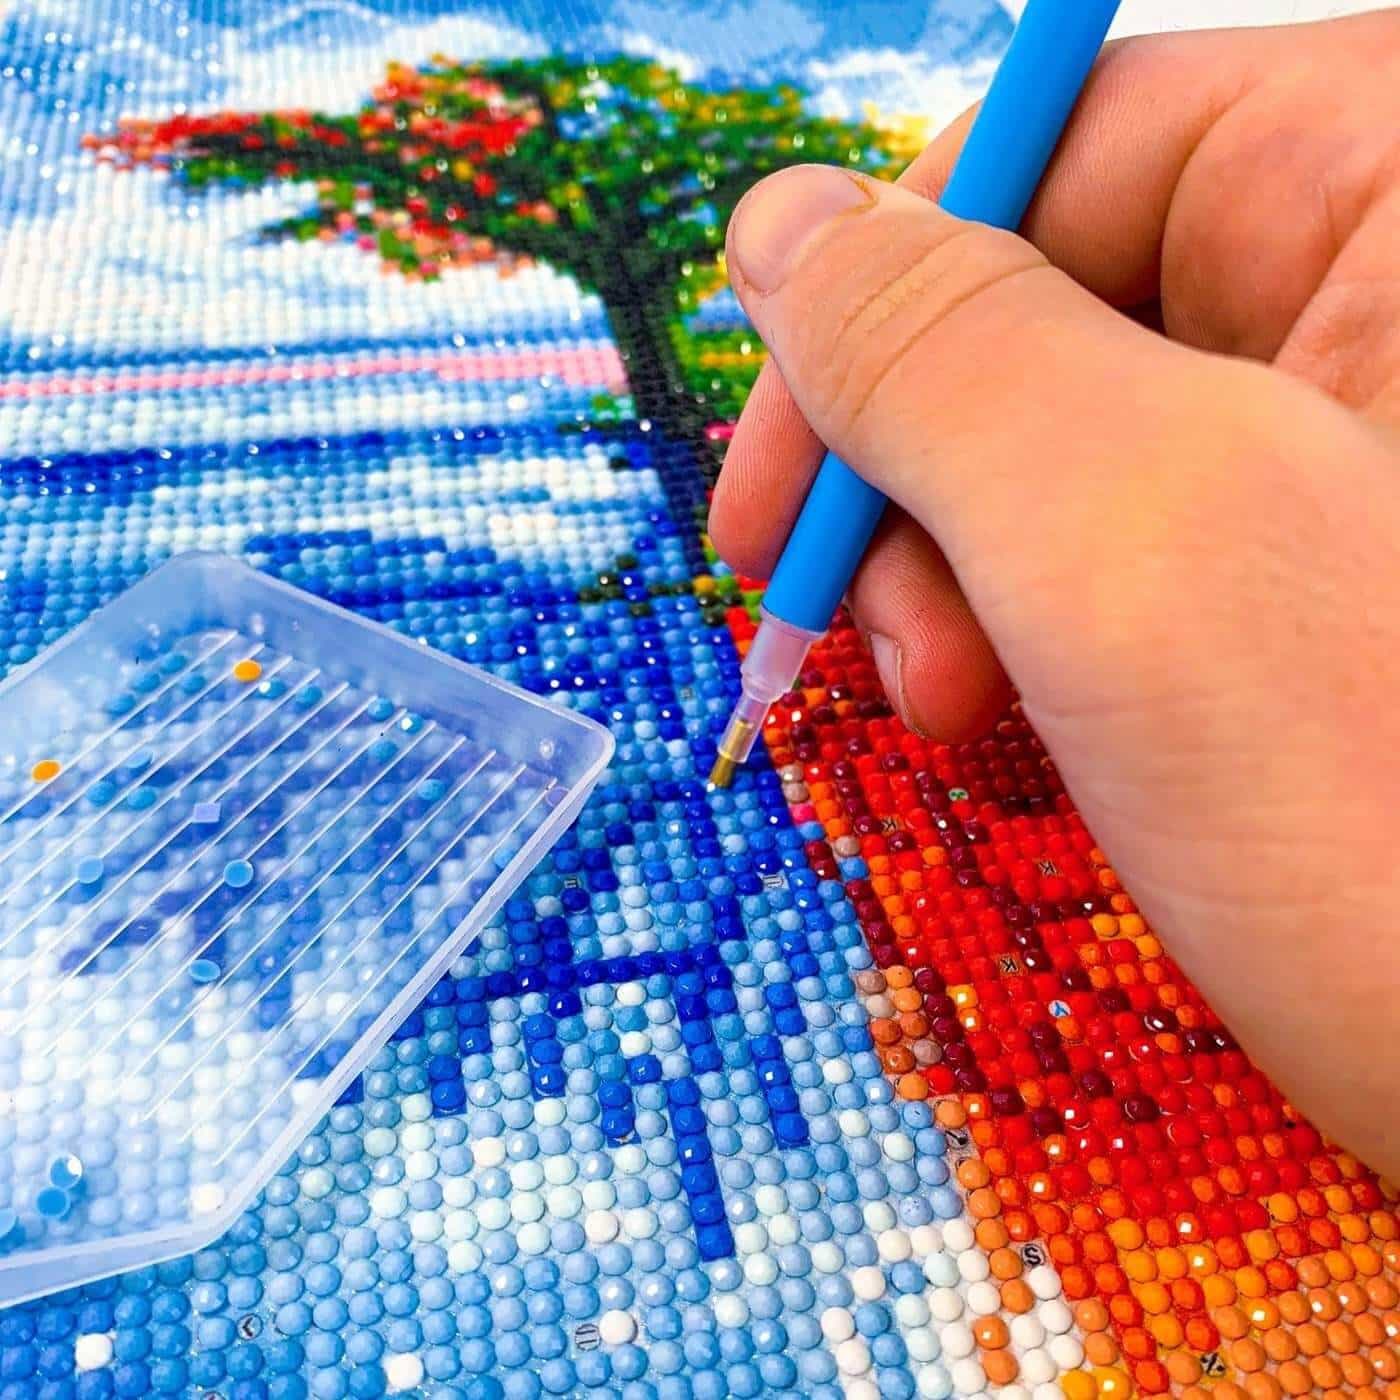
After completing your diamond art coaster, apply a thin layer of clear, waterproof sealant to protect the design. Use a brush to ensure even coverage and let it dry completely before using the coaster.
Read more: How To Store Unfinished Diamond Paintings
Step 4: Applying the Second Layer of Sealant
Now that the first layer of sealant has dried, it’s time to apply the second layer for added durability and protection. Follow these steps to apply the second layer:
- Make sure your work area is clean and free from any debris or dust that could interfere with the sealant application.
- If you’re using mod podge or a glaze solution, give the bottle a gentle shake to ensure the contents are well mixed. If you’re using epoxy resin, mix another batch according to the manufacturer’s instructions.
- Put on your disposable gloves to protect your hands during the application process.
- Once again, dip your paintbrush or sponge brush into the sealant and coat it evenly.
- Apply the second layer of sealant over the surfaces of your coasters, making sure to cover any areas that may have been missed during the first layer application.
- Use smooth and even strokes to spread the sealant, ensuring that it covers all the diamonds and edges of the coasters.
- Pay attention to any remaining air bubbles and gently tap or use the necessary tools to remove them. This step is especially important if you’re using epoxy resin.
- Allow the second layer of sealant to dry undisturbed for the recommended time specified by the manufacturer.
Applying the second layer of sealant provides an extra protective coating and helps to ensure the longevity of your diamond art coasters. Once the second layer has dried completely, we can proceed to the final steps of the sealing process.
Step 5: Final Drying and Curing Process
After applying the second layer of sealant, it’s important to allow your diamond art coasters to undergo a final drying and curing process. This step ensures that the sealant fully sets and hardens, providing maximum protection for your coasters. Follow these steps for the final drying and curing process:
- Place the sealed coasters in a clean, dry area away from any dust or potential contaminants. Ensure that they are positioned on a flat surface to prevent any warping or uneven drying.
- Allow the coasters to dry and cure for the recommended time specified by the sealant manufacturer. This duration may vary depending on the type of sealant used, so it’s important to refer to the instructions provided.
- Be patient during this process, as drying and curing times can range anywhere from a few hours to a few days.
- Avoid touching or moving the coasters while they’re drying and curing to prevent any potential damage to the sealant’s finish.
- Once the recommended time has passed, carefully inspect the coasters to ensure that the sealant has fully dried and hardened. They should feel firm and smooth to the touch.
By allowing your diamond art coasters to undergo a proper drying and curing process, you’re ensuring their longevity and the integrity of the sealant. Once they have completely dried and cured, it’s time for the quality check and finishing touches.
Step 6: Quality Check and Finishing Touches
After the drying and curing process, it’s important to perform a quality check on your sealed diamond art coasters. This step ensures that the sealant has properly adhered, provides adequate protection, and enhances the overall appearance of your coasters. Here’s how to perform a quality check and add some finishing touches:
- Inspect each coaster closely to ensure that the sealant has evenly covered the entire surface, including the diamonds and edges. Look for any areas that may require touch-ups or additional sealant.
- If you notice any imperfections, such as uneven coverage or air bubbles, you have the option to apply another layer of sealant. This step will provide an extra layer of protection and enhance the overall aesthetic appeal of your coasters.
- Use a fine-tip brush or a toothpick to carefully apply the sealant to the necessary areas, ensuring a smooth and even application.
- Allow the touch-ups to dry and cure according to the sealant manufacturer’s instructions.
- Once you’re satisfied with the quality and appearance of your coasters, give them a final wipe with a clean, lint-free cloth or paper towel to remove any dust or fingerprints.
- Inspect the underside of the coasters as well, ensuring that there are no drips or excess sealant that could potentially damage your tabletop.
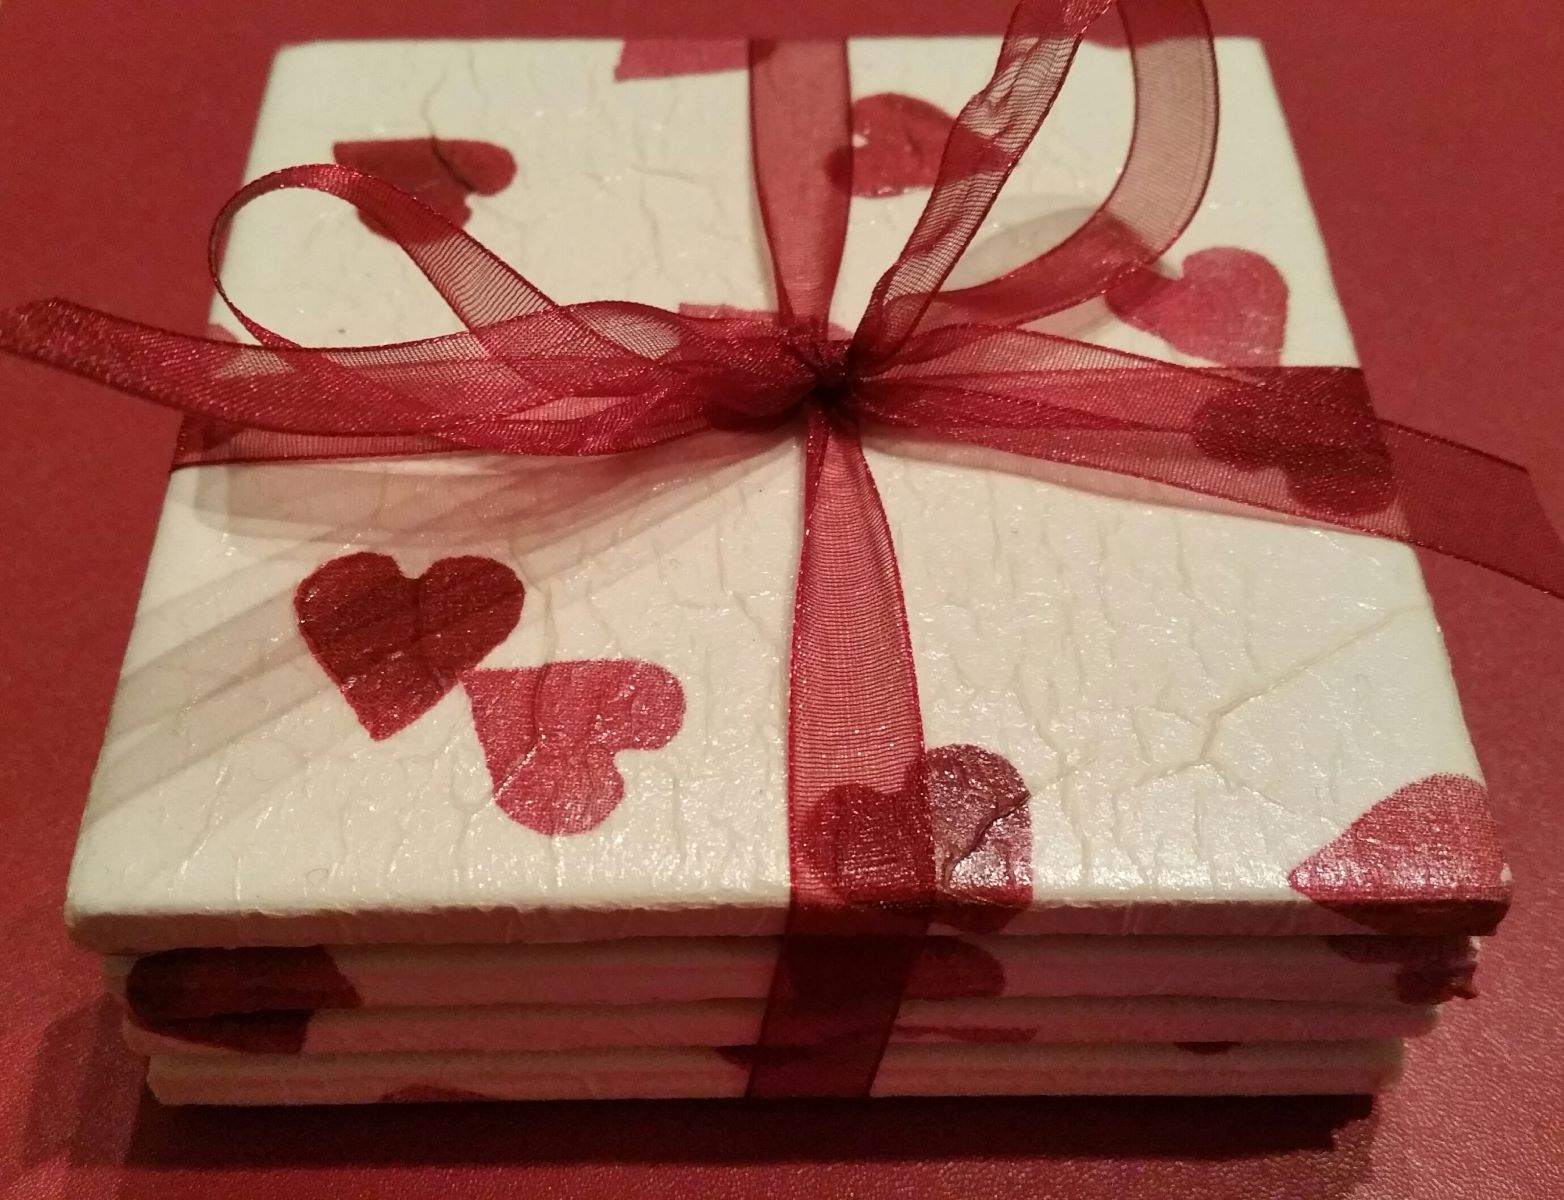
- Once the quality check is complete, display your beautiful sealed diamond art coasters on your tabletop with pride, or gift them to loved ones as a unique and thoughtful present.
Remember, proper sealing not only protects the diamond art but also enhances its longevity, allowing you to enjoy your coasters for many years to come. With the finishing touches added, your diamond art coasters are now ready to be showcased and admired.
Conclusion
Sealing your diamond art coasters is a crucial step in preserving their beauty and protecting them from everyday wear and tear. By following the steps outlined in this guide and using the appropriate sealant, you can ensure that your coasters remain vibrant and durable for a long time.
From preparing the coasters to applying multiple layers of sealant and allowing them to dry and cure, each step plays a vital role in creating a sturdy and visually appealing finish. Take the time to perform quality checks and make any necessary touch-ups to achieve the desired result.
Remember, the type of sealant you choose will depend on your preference and the look you want to achieve. Whether it’s mod podge for a glossy finish, epoxy resin for a glass-like appearance, or a glaze solution for added durability, follow the manufacturer’s instructions for each product to achieve the best outcomes.
By properly sealing your diamond art coasters, you are extending their lifespan and protecting them from spills, stains, and general wear. Not only will this make your coasters functional for daily use, but it will also maintain their aesthetic appeal over time.
So, get ready to showcase your stunning diamond art coasters and impress your guests. Whether you are hosting a formal gathering or enjoying a cozy evening at home, your sealed diamond art coasters will add a touch of elegance and sparkle to any tabletop.
Enjoy the process of sealing your diamond art coasters and unleash your creativity to create a personalized and unique set. With the proper sealant and attention to detail, your diamond art coasters will become cherished pieces of tableware that bring joy and beauty to every dining experience.
Now that you've mastered sealing your diamond art coasters, why not dive into more creative projects? For those who love crafting, our guide on elegant DIY Easter crafts offers a range of delightful ideas that can spruce up any celebration. Whether you're planning a family gathering or just want some festive decor, these crafts will surely add a special touch to your holiday. Don't miss out on these fun, easy-to-follow DIY projects that everyone can enjoy.
Frequently Asked Questions about How To Seal Diamond Art Coasters
Was this page helpful?
At Storables.com, we guarantee accurate and reliable information. Our content, validated by Expert Board Contributors, is crafted following stringent Editorial Policies. We're committed to providing you with well-researched, expert-backed insights for all your informational needs.
0 thoughts on “How To Seal Diamond Art Coasters”