Home>Technology>Smart Home Devices>How To Clean A Resin Printer
Smart Home Devices
How To Clean A Resin Printer
Modified: October 20, 2024
Learn the best methods for cleaning a resin printer to maintain the quality of your smart home devices. Follow our step-by-step guide for effective maintenance.
(Many of the links in this article redirect to a specific reviewed product. Your purchase of these products through affiliate links helps to generate commission for Storables.com, at no extra cost. Learn more)
Introduction
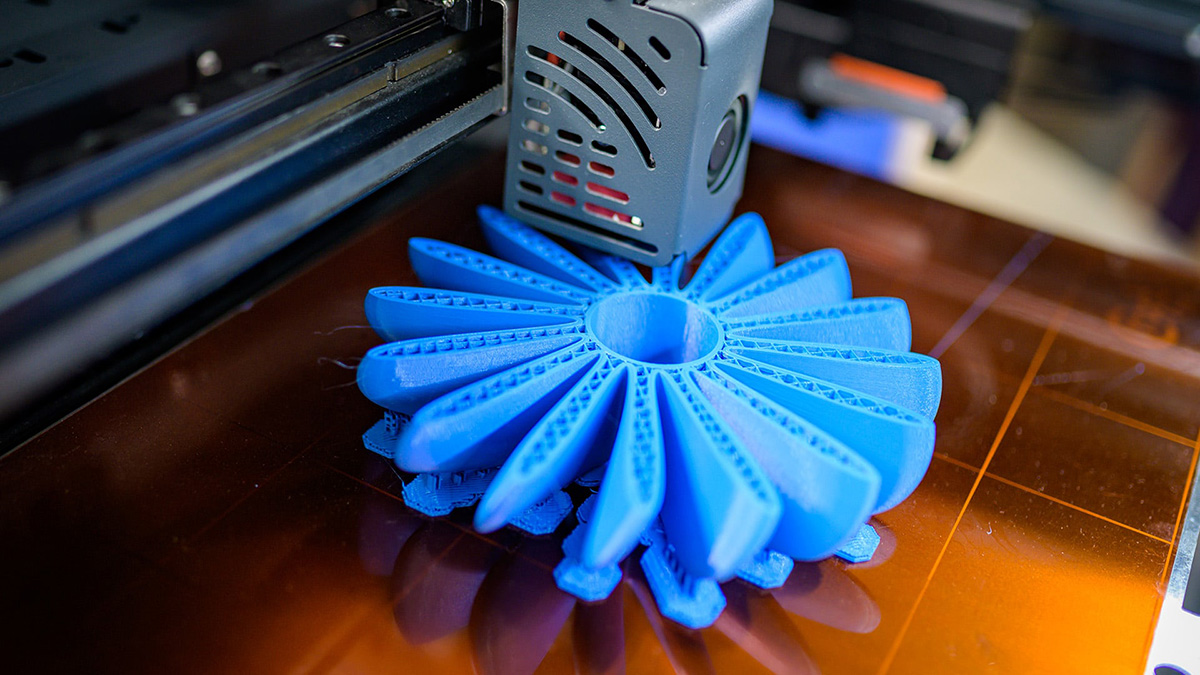
Welcome to the exciting world of resin 3D printing! Whether you're a seasoned enthusiast or a newcomer to this innovative technology, maintaining your resin printer is crucial for achieving consistent, high-quality prints. Proper cleaning and maintenance not only extend the lifespan of your printer but also contribute to the overall printing experience.
In this comprehensive guide, we'll delve into the essential steps for cleaning a resin printer, covering everything from safety precautions to specific cleaning techniques for different components. By following these guidelines, you can ensure that your resin printer remains in optimal condition, allowing you to produce stunning, flawless prints time and time again.
So, let's roll up our sleeves and explore the best practices for cleaning and maintaining your resin printer. With a little care and attention, you can keep your equipment in top shape and unleash its full potential for creating remarkable 3D prints.
Key Takeaways:
- Regularly cleaning and maintaining your resin 3D printer is crucial for achieving high-quality prints and extending the lifespan of your equipment. Prioritize safety, follow proper cleaning techniques, and conduct routine inspections to ensure optimal performance.
- Adhering to safety precautions, using high-quality resins, and following manufacturer guidelines are essential for preserving the functionality, reliability, and print quality of your resin 3D printer. Keep your workspace clean, document maintenance activities, and seek professional assistance when needed to ensure successful 3D printing.
Read more: How Does A Resin Printer Work
Safety Precautions
Prior to embarking on the cleaning process, it’s imperative to prioritize safety. As resin 3D printers involve handling potentially hazardous materials and intricate machinery, observing the following precautions is essential to safeguard yourself and maintain the integrity of the equipment:
- Protective Gear: Always wear appropriate personal protective equipment, including nitrile gloves, safety goggles, and a lab coat or apron. These items serve as a barrier against resin exposure and minimize the risk of skin and eye irritation.
- Ventilation: Work in a well-ventilated area or utilize a fume extractor to minimize inhalation of resin fumes. Proper ventilation is crucial for dispersing any volatile compounds emitted during the cleaning process.
- Resin Handling: Exercise caution when handling resin and resin-coated components. Avoid direct skin contact with uncured resin, as it can cause skin sensitization and allergic reactions. Additionally, handle resin containers with care to prevent spills and splashes.
- Tool Safety: When using tools for cleaning, such as scrapers or soft brushes, handle them with care to avoid injury. Ensure that any sharp or pointed tools are used responsibly and stored safely when not in use.
- Electrical Safety: Prior to cleaning, power off the printer and unplug it from the electrical outlet to eliminate the risk of electric shock. Exercise caution when working around electrical components, and avoid contact with exposed wires or connectors.
By adhering to these safety precautions, you can mitigate potential risks and create a secure environment for cleaning your resin printer. Remember that safety should always be the foremost consideration when working with any type of 3D printing equipment.
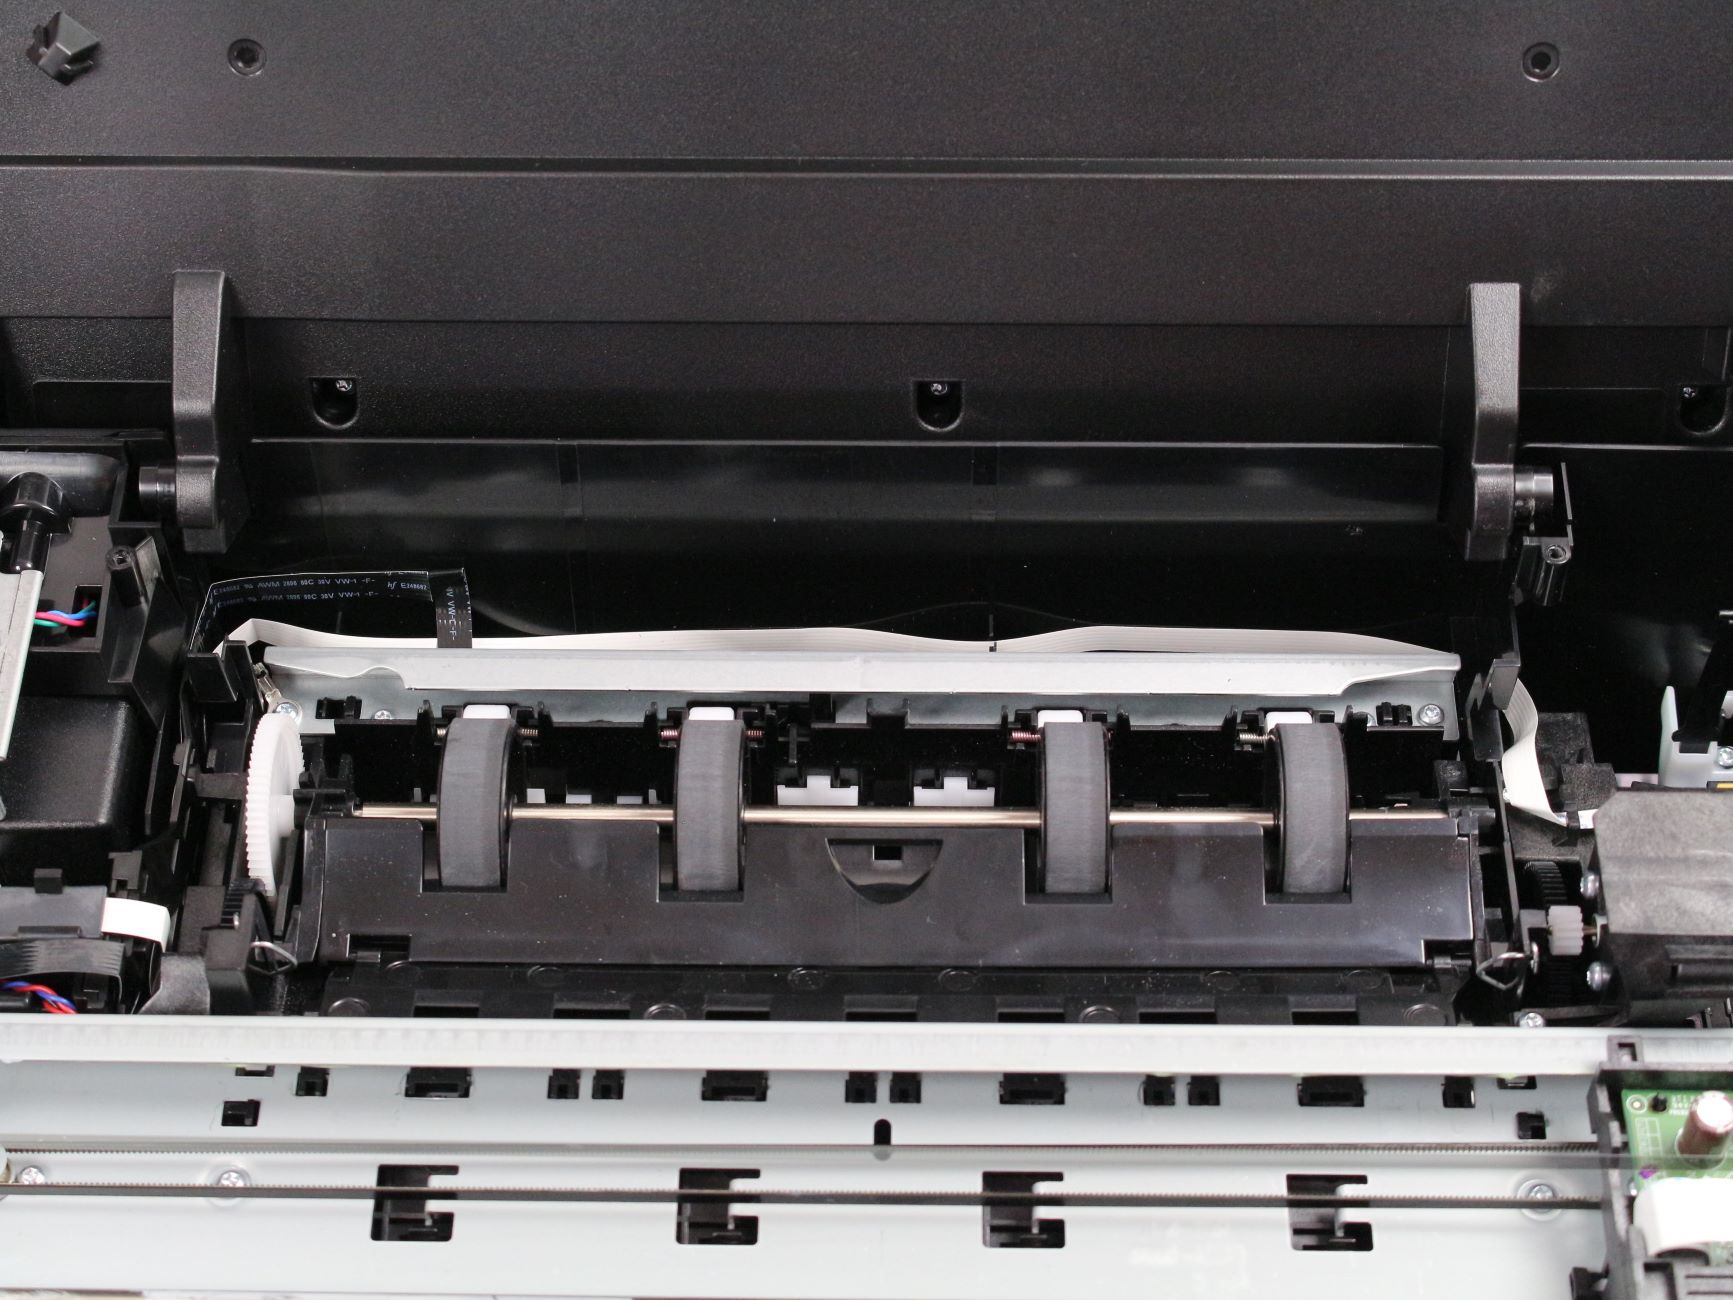
Cleaning the Build Plate
The build plate, also known as the build platform, plays a pivotal role in the resin printing process, serving as the foundation for each print. Over time, resin residue and adhesion can accumulate on the build plate, affecting print quality and adhesion. To maintain optimal performance, regular cleaning of the build plate is essential. Here’s a step-by-step guide to effectively clean the build plate:
- Remove the Build Plate: Carefully remove the build plate from the printer, following the manufacturer’s instructions. Take care to avoid any sudden movements or jarring, as this could dislodge any excess resin or cured prints adhered to the plate.
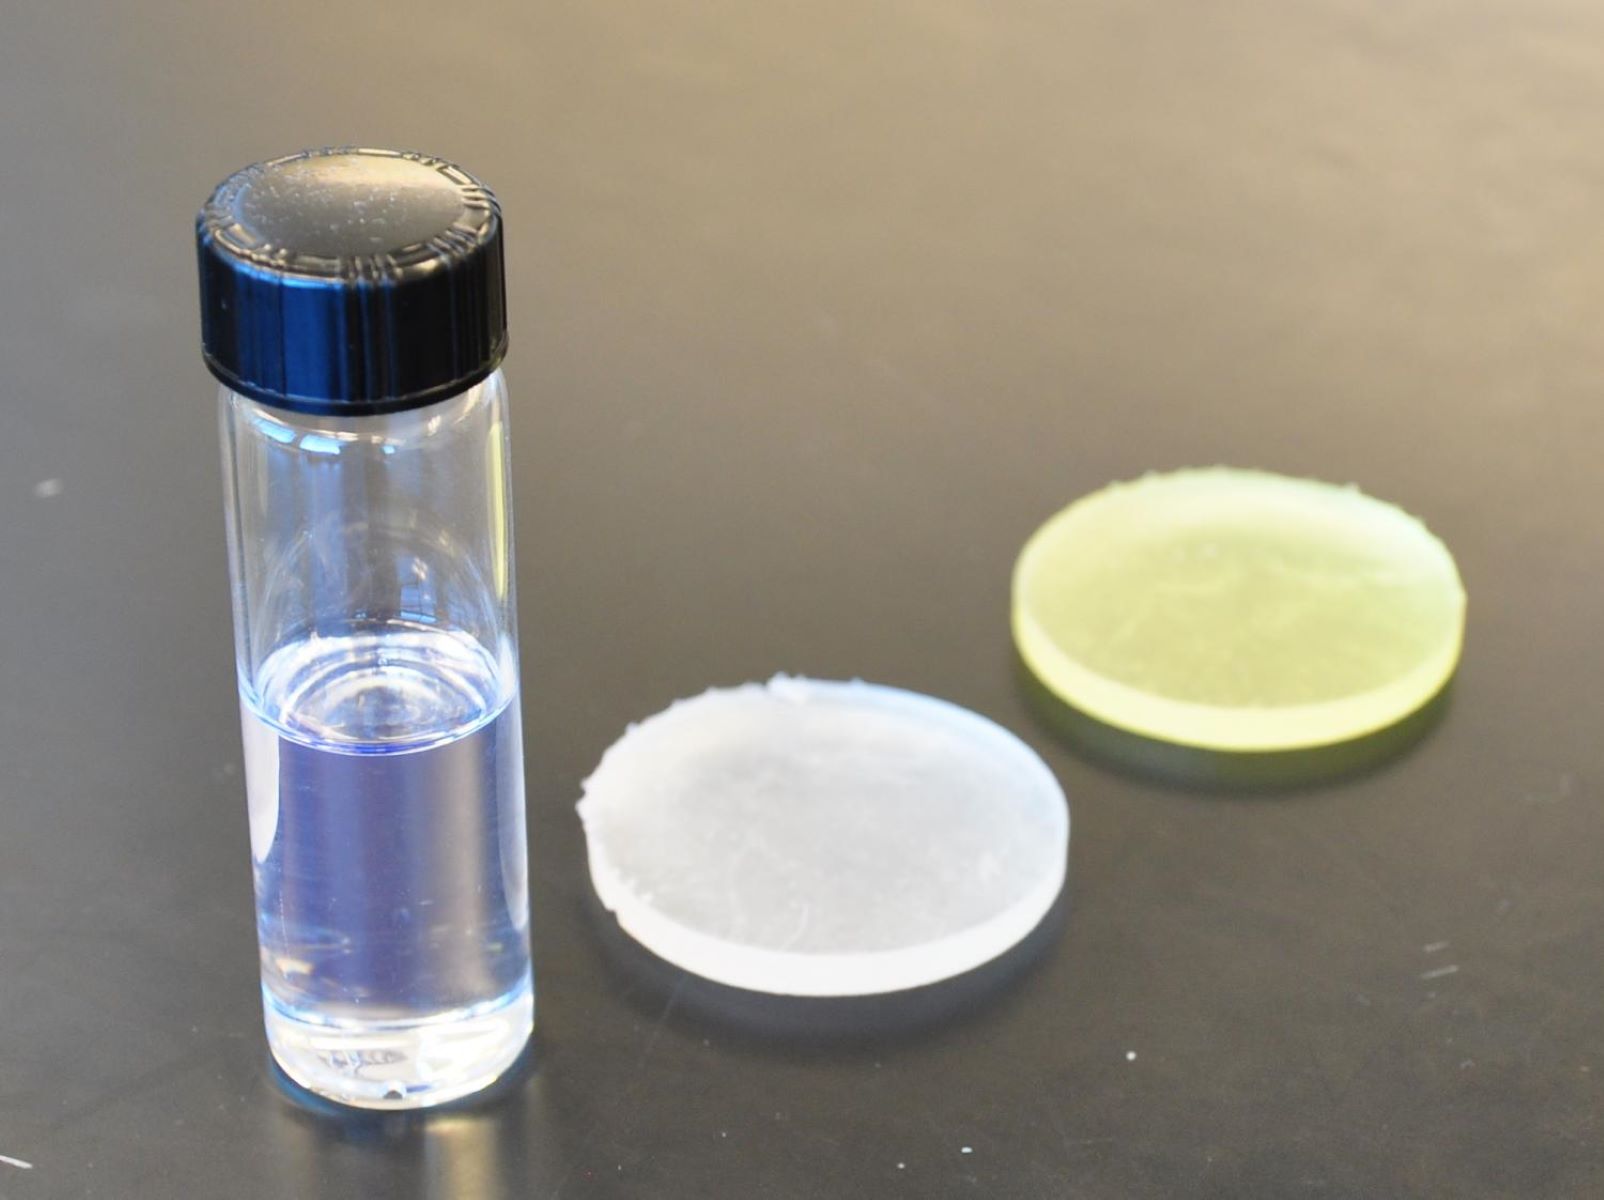
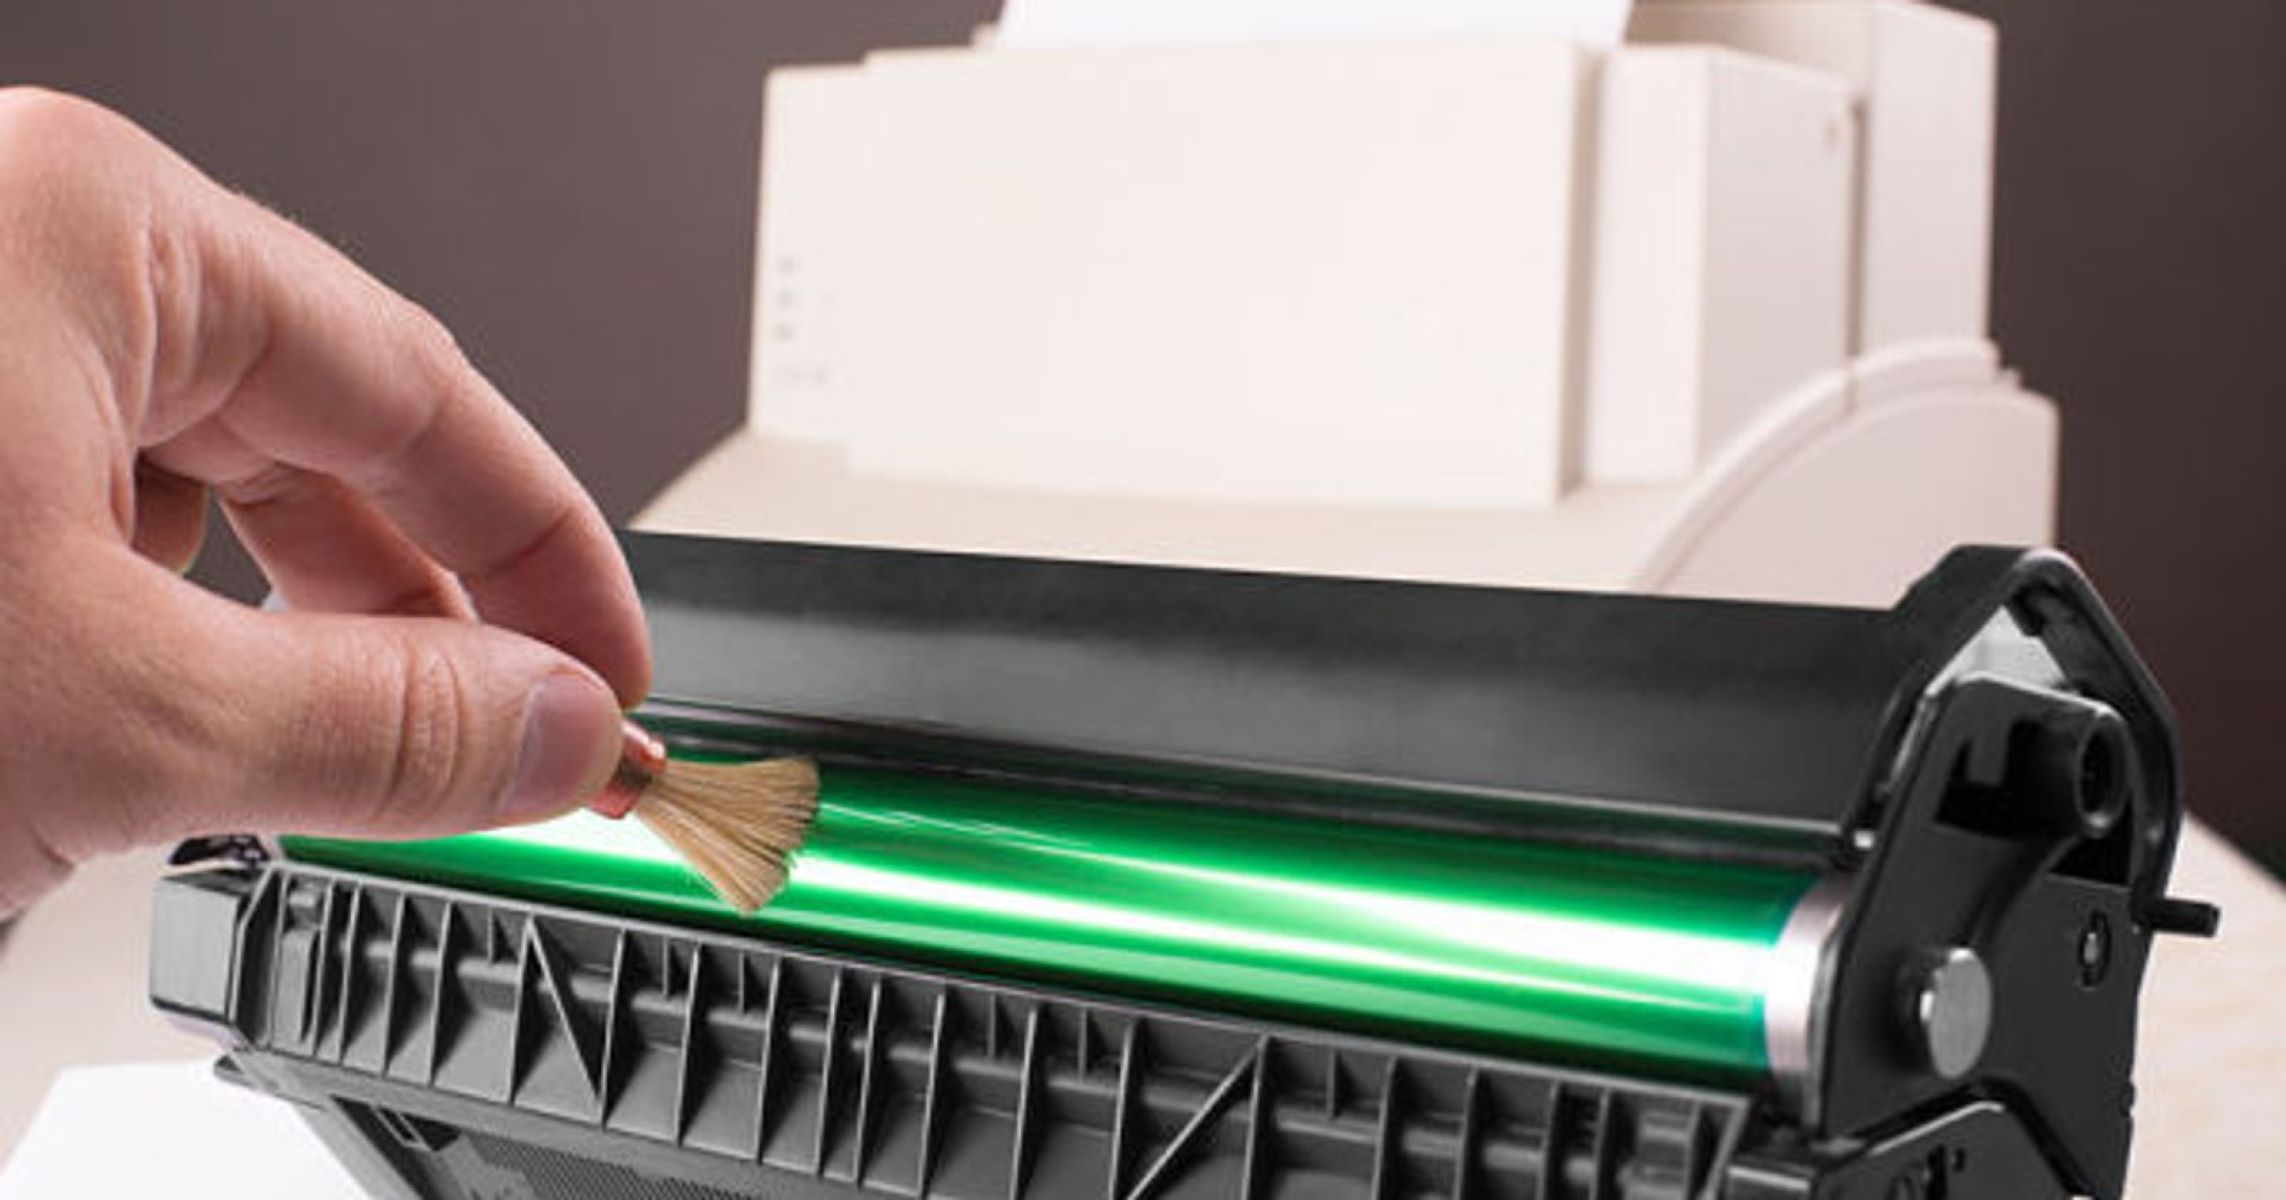
- Resin Residue Removal: Using a plastic scraper or spatula, gently remove any cured resin or residue from the build plate. Exercise caution to avoid scratching or damaging the surface of the plate. If the residue is particularly stubborn, a dedicated resin residue remover or isopropyl alcohol (IPA) can be used to dissolve and remove it effectively.
- Cleaning with IPA: Dampen a lint-free cloth or disposable wipe with IPA and thoroughly wipe the build plate’s surface to remove any remaining resin residue. Ensure that the cloth is not dripping with IPA, as excess liquid can seep into the printer and cause damage.
- Drying the Build Plate: Allow the build plate to air dry completely or use compressed air to remove any remaining moisture. It’s crucial to ensure that the build plate is completely dry before reinstallation to prevent any potential issues during the next printing session.
- Inspect for Damage: Take this opportunity to inspect the build plate for any signs of damage, such as scratches or warping. If any damage is detected, address it promptly to maintain the build plate’s integrity and printing performance.
By incorporating these cleaning practices into your maintenance routine, you can preserve the build plate’s functionality and optimize print adhesion, ultimately contributing to superior print quality and consistency.
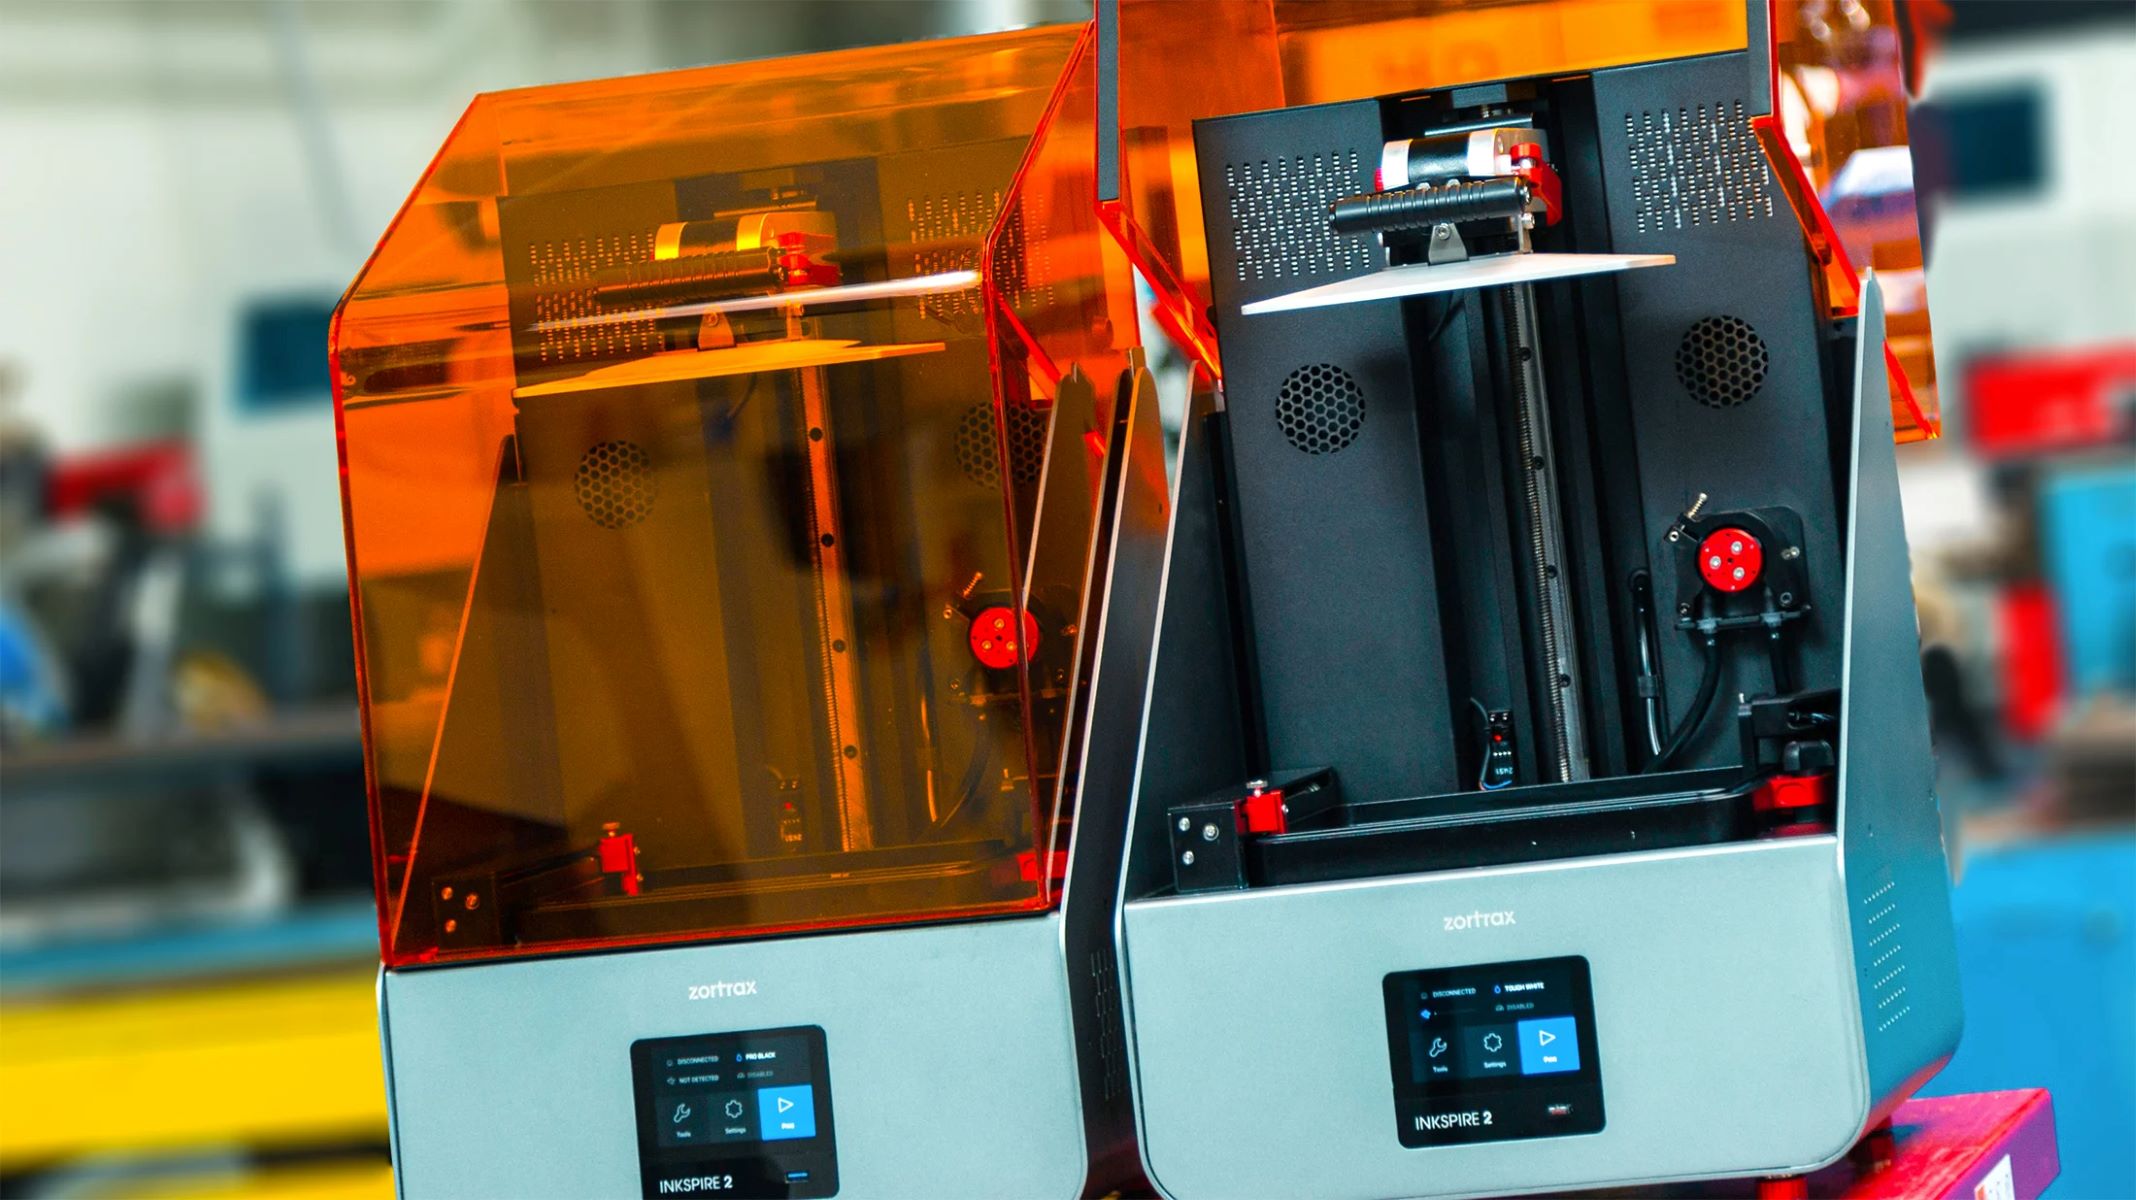
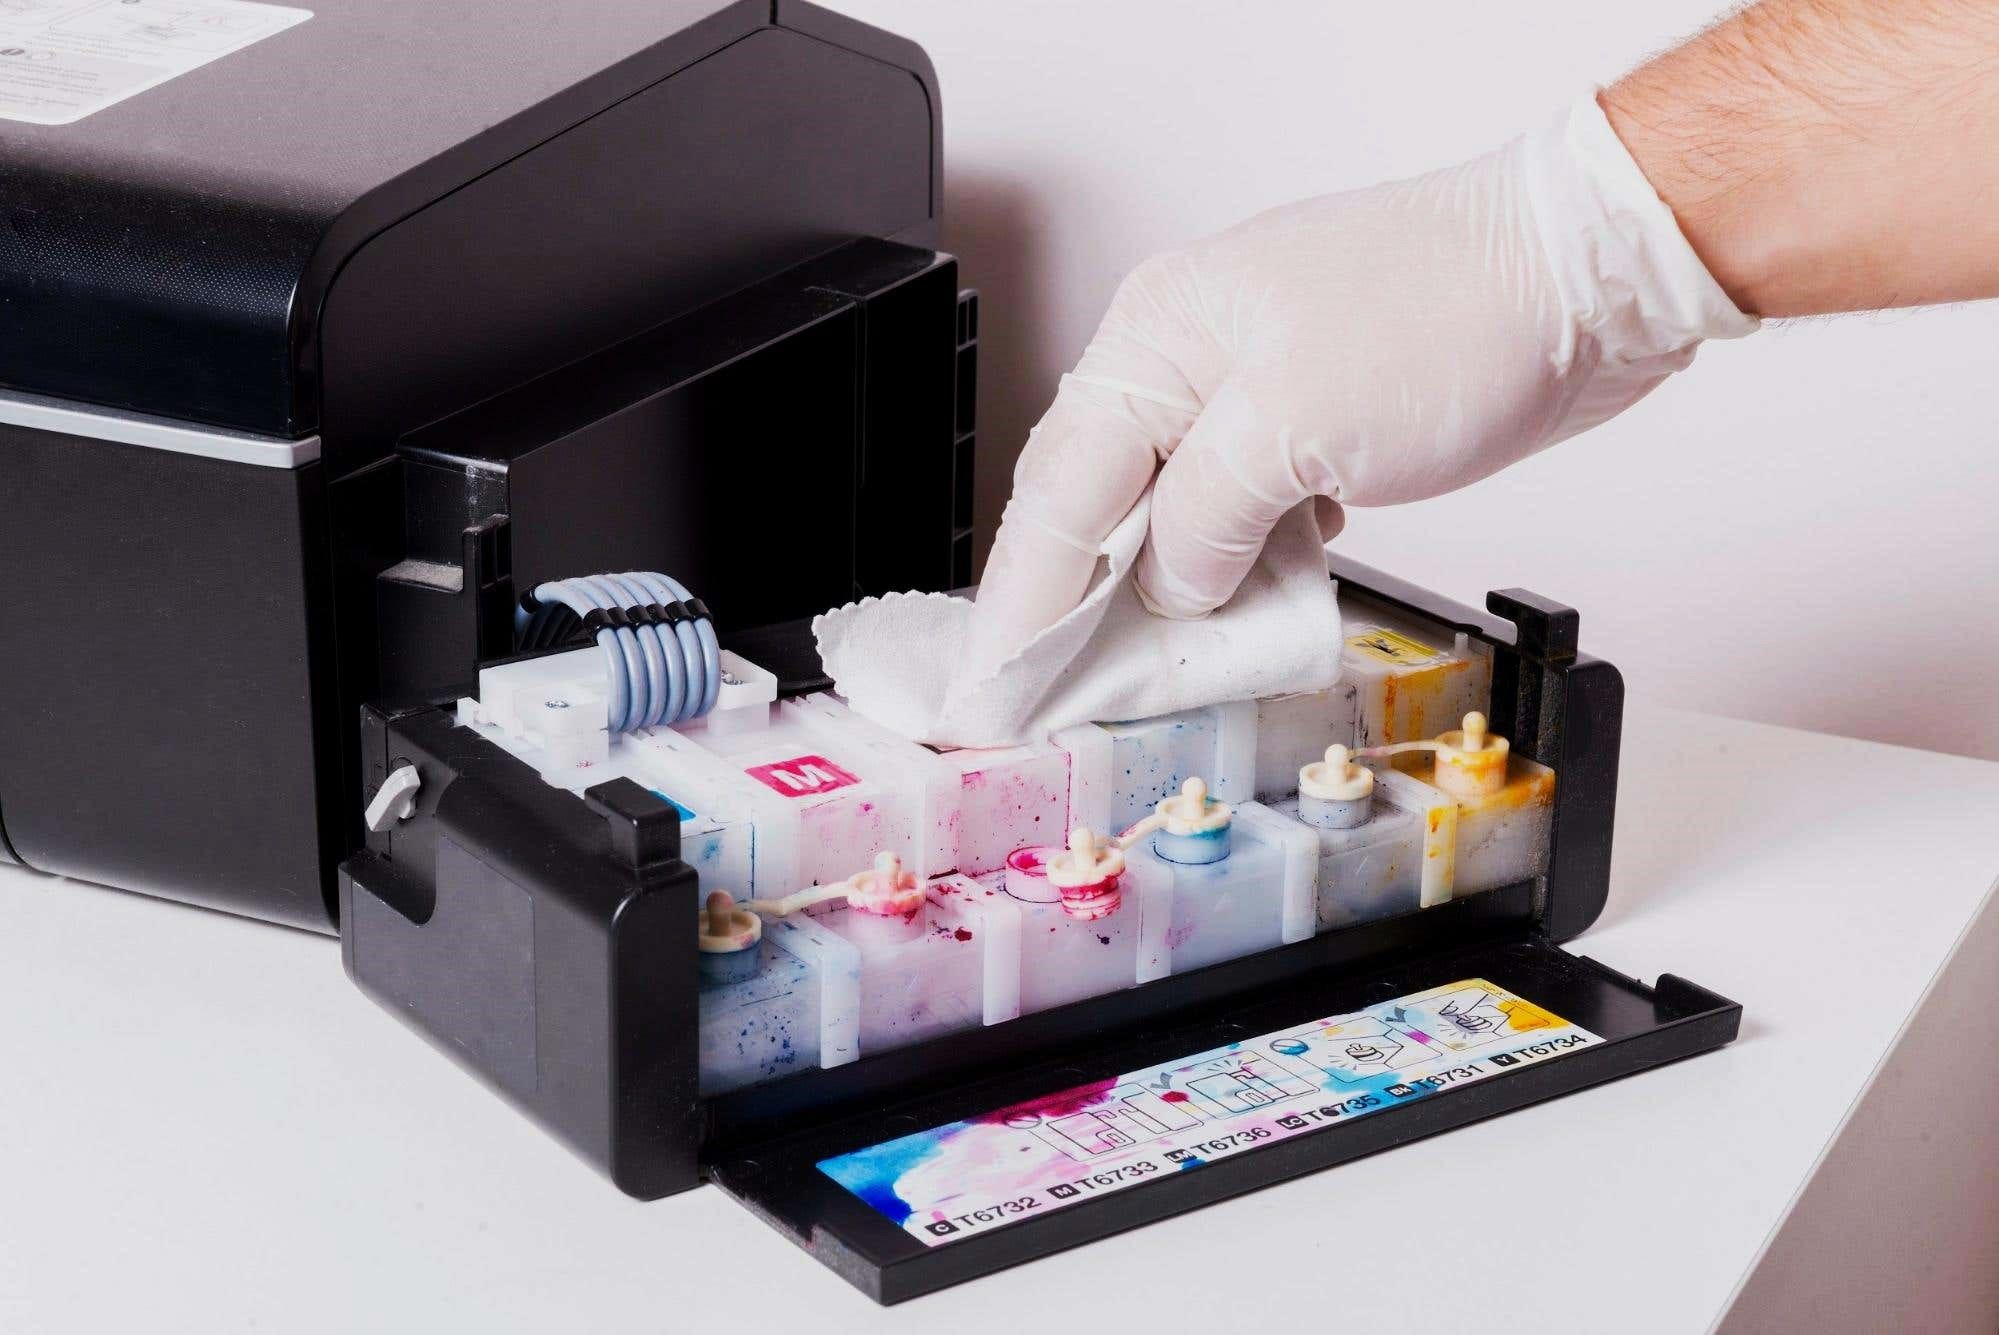
Cleaning the Resin Tank
The resin tank is a critical component of a resin 3D printer, responsible for holding the liquid resin during the printing process. Regular cleaning of the resin tank is vital to prevent contamination, maintain print quality, and extend the lifespan of the tank. Here’s a comprehensive guide to effectively clean the resin tank:
- Resin Removal: If there is any remaining resin in the tank after a print job, carefully pour it back into the resin bottle using a funnel or a dedicated resin transfer tool. Take care to avoid spillage and contamination of the resin.
- Wipe the Tank Interior: Using a lint-free cloth or disposable wipe dampened with isopropyl alcohol (IPA), gently wipe the interior surfaces of the resin tank to remove any residual resin or debris. Ensure thorough coverage of all interior surfaces, including the bottom and walls of the tank.
- Inspect and Clean the FEP Film: If your resin tank features a replaceable FEP film, inspect it for any signs of damage, such as scratches or punctures. If the FEP film is in good condition, wipe it gently with a clean, lint-free cloth dampened with IPA to remove any resin residue or smudges.
- Reassemble the Resin Tank: Once the interior surfaces and FEP film are clean and dry, reassemble the resin tank according to the manufacturer’s instructions. Take care to ensure that all components are securely in place to prevent resin leakage or misalignment during printing.
- Perform a Leak Test: Before resuming printing, it’s advisable to perform a leak test to verify the integrity of the resin tank. Fill the tank with a small amount of resin and observe for any signs of leakage or seepage. Address any issues promptly to prevent resin spills during printing.
By incorporating these cleaning procedures into your resin printer maintenance routine, you can uphold the integrity of the resin tank, prevent contamination of the resin, and promote consistent, high-quality prints. Regular attention to the resin tank contributes to the overall reliability and performance of your resin 3D printer.
Always wear gloves when handling resin to avoid skin contact. Use a soft brush and isopropyl alcohol to clean the build plate and resin tank after each print. Be sure to follow the manufacturer’s guidelines for proper cleaning and maintenance.
Cleaning the Print Platform
The print platform, also known as the build platform or resin vat, is a crucial element of a resin 3D printer, serving as the base upon which the printed object is formed. Over time, resin residue and cured material can accumulate on the print platform, potentially affecting print quality and adhesion. To maintain optimal performance, regular cleaning of the print platform is essential. Here’s a detailed guide to effectively clean the print platform:
- Remove the Print Platform: Following the manufacturer’s guidelines, carefully remove the print platform from the printer, taking care to avoid abrupt movements or spills of residual resin.
- Resin Residue Removal: Using a plastic scraper or spatula, gently remove any cured resin or residue from the print platform. Exercise caution to avoid scratching or damaging the platform’s surface. For stubborn residue, a dedicated resin residue remover or isopropyl alcohol (IPA) can be used to dissolve and remove it effectively.
- Cleaning with IPA: Dampen a lint-free cloth or disposable wipe with IPA and thoroughly clean the print platform’s surface to remove any remaining resin residue. Ensure that the cloth is not excessively wet, as excess liquid can seep into the printer and cause damage.
- Inspect and Clean the FEP Film: If the print platform incorporates a replaceable FEP film, carefully inspect it for any signs of damage, such as punctures or tears. Gently wipe the FEP film with a clean, lint-free cloth dampened with IPA to remove any resin residue or smudges.
- Drying the Print Platform: Allow the print platform to air dry completely or use compressed air to remove any residual moisture. It’s essential to ensure that the platform is thoroughly dry before reinstallation to prevent potential issues during the next printing session.
By incorporating these cleaning practices into your maintenance routine, you can preserve the print platform’s functionality, optimize print adhesion, and contribute to superior print quality and consistency. Regular attention to the print platform is key to ensuring the reliable performance of your resin 3D printer.
Read more: What Is A Resin 3D Printer
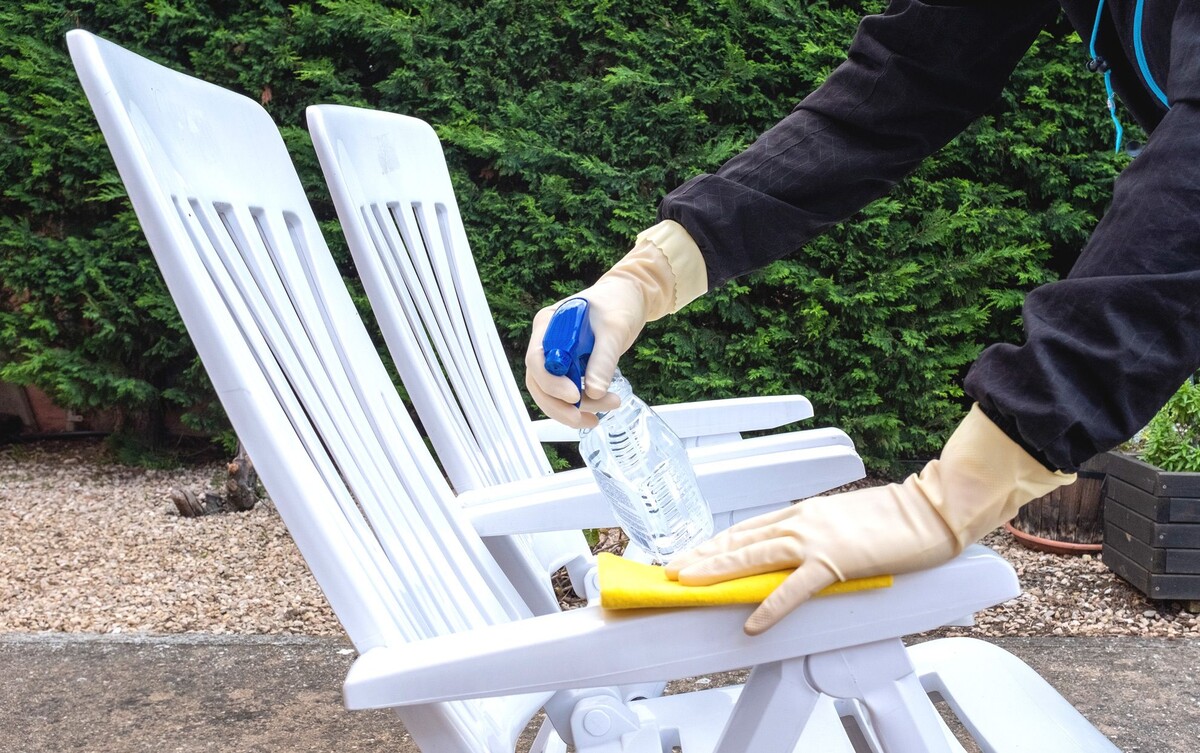
Cleaning the Exterior
While maintaining the internal components of your resin 3D printer is crucial, it’s equally important to keep the exterior clean and free from dust, debris, and resin residue. Regular cleaning of the printer’s exterior not only enhances its aesthetic appeal but also prevents potential issues arising from the accumulation of contaminants. Here’s a guide to effectively clean the exterior of your resin printer:
- Dusting and Wiping: Begin by using a soft, dry cloth or a microfiber duster to gently remove any dust or loose particles from the exterior surfaces of the printer. Pay particular attention to vents, crevices, and areas around buttons or displays.
- Resin Residue Removal: If there are any traces of resin or sticky residue on the exterior, dampen a clean cloth with isopropyl alcohol (IPA) and carefully wipe the affected areas. Exercise caution to prevent the ingress of liquid into the internal components of the printer.
- Display and Controls: Use a slightly damp, lint-free cloth to clean the display screen and control buttons, ensuring that no excess moisture comes into contact with the electronics. Avoid using harsh chemicals or abrasive cleaners that could damage the surface or markings.
- Cleaning the Housing: If the printer’s housing is made of plastic or another non-porous material, a mild solution of soapy water can be used to clean stubborn stains or marks. Ensure that the housing is thoroughly dried after cleaning to prevent water damage.
- Regular Maintenance: Incorporate exterior cleaning into your regular maintenance routine to prevent the buildup of grime and maintain the overall appearance of your resin printer. A clean exterior also contributes to a professional and organized workspace.
By integrating these cleaning practices into your resin printer maintenance regimen, you can uphold the external cleanliness of the equipment, prevent potential issues caused by dust or residue, and create a more pleasant and professional printing environment.
Final Tips for Maintenance
As you embark on the journey of maintaining your resin 3D printer, it’s essential to consider additional tips and best practices to ensure the longevity, performance, and print quality of your equipment. Here are some final tips to enhance the maintenance of your resin printer:
- Regular Inspections: Conduct routine visual inspections of critical components such as the build plate, resin tank, and print platform to identify any signs of wear, damage, or contamination. Address any issues promptly to prevent them from affecting print quality or causing equipment failure.
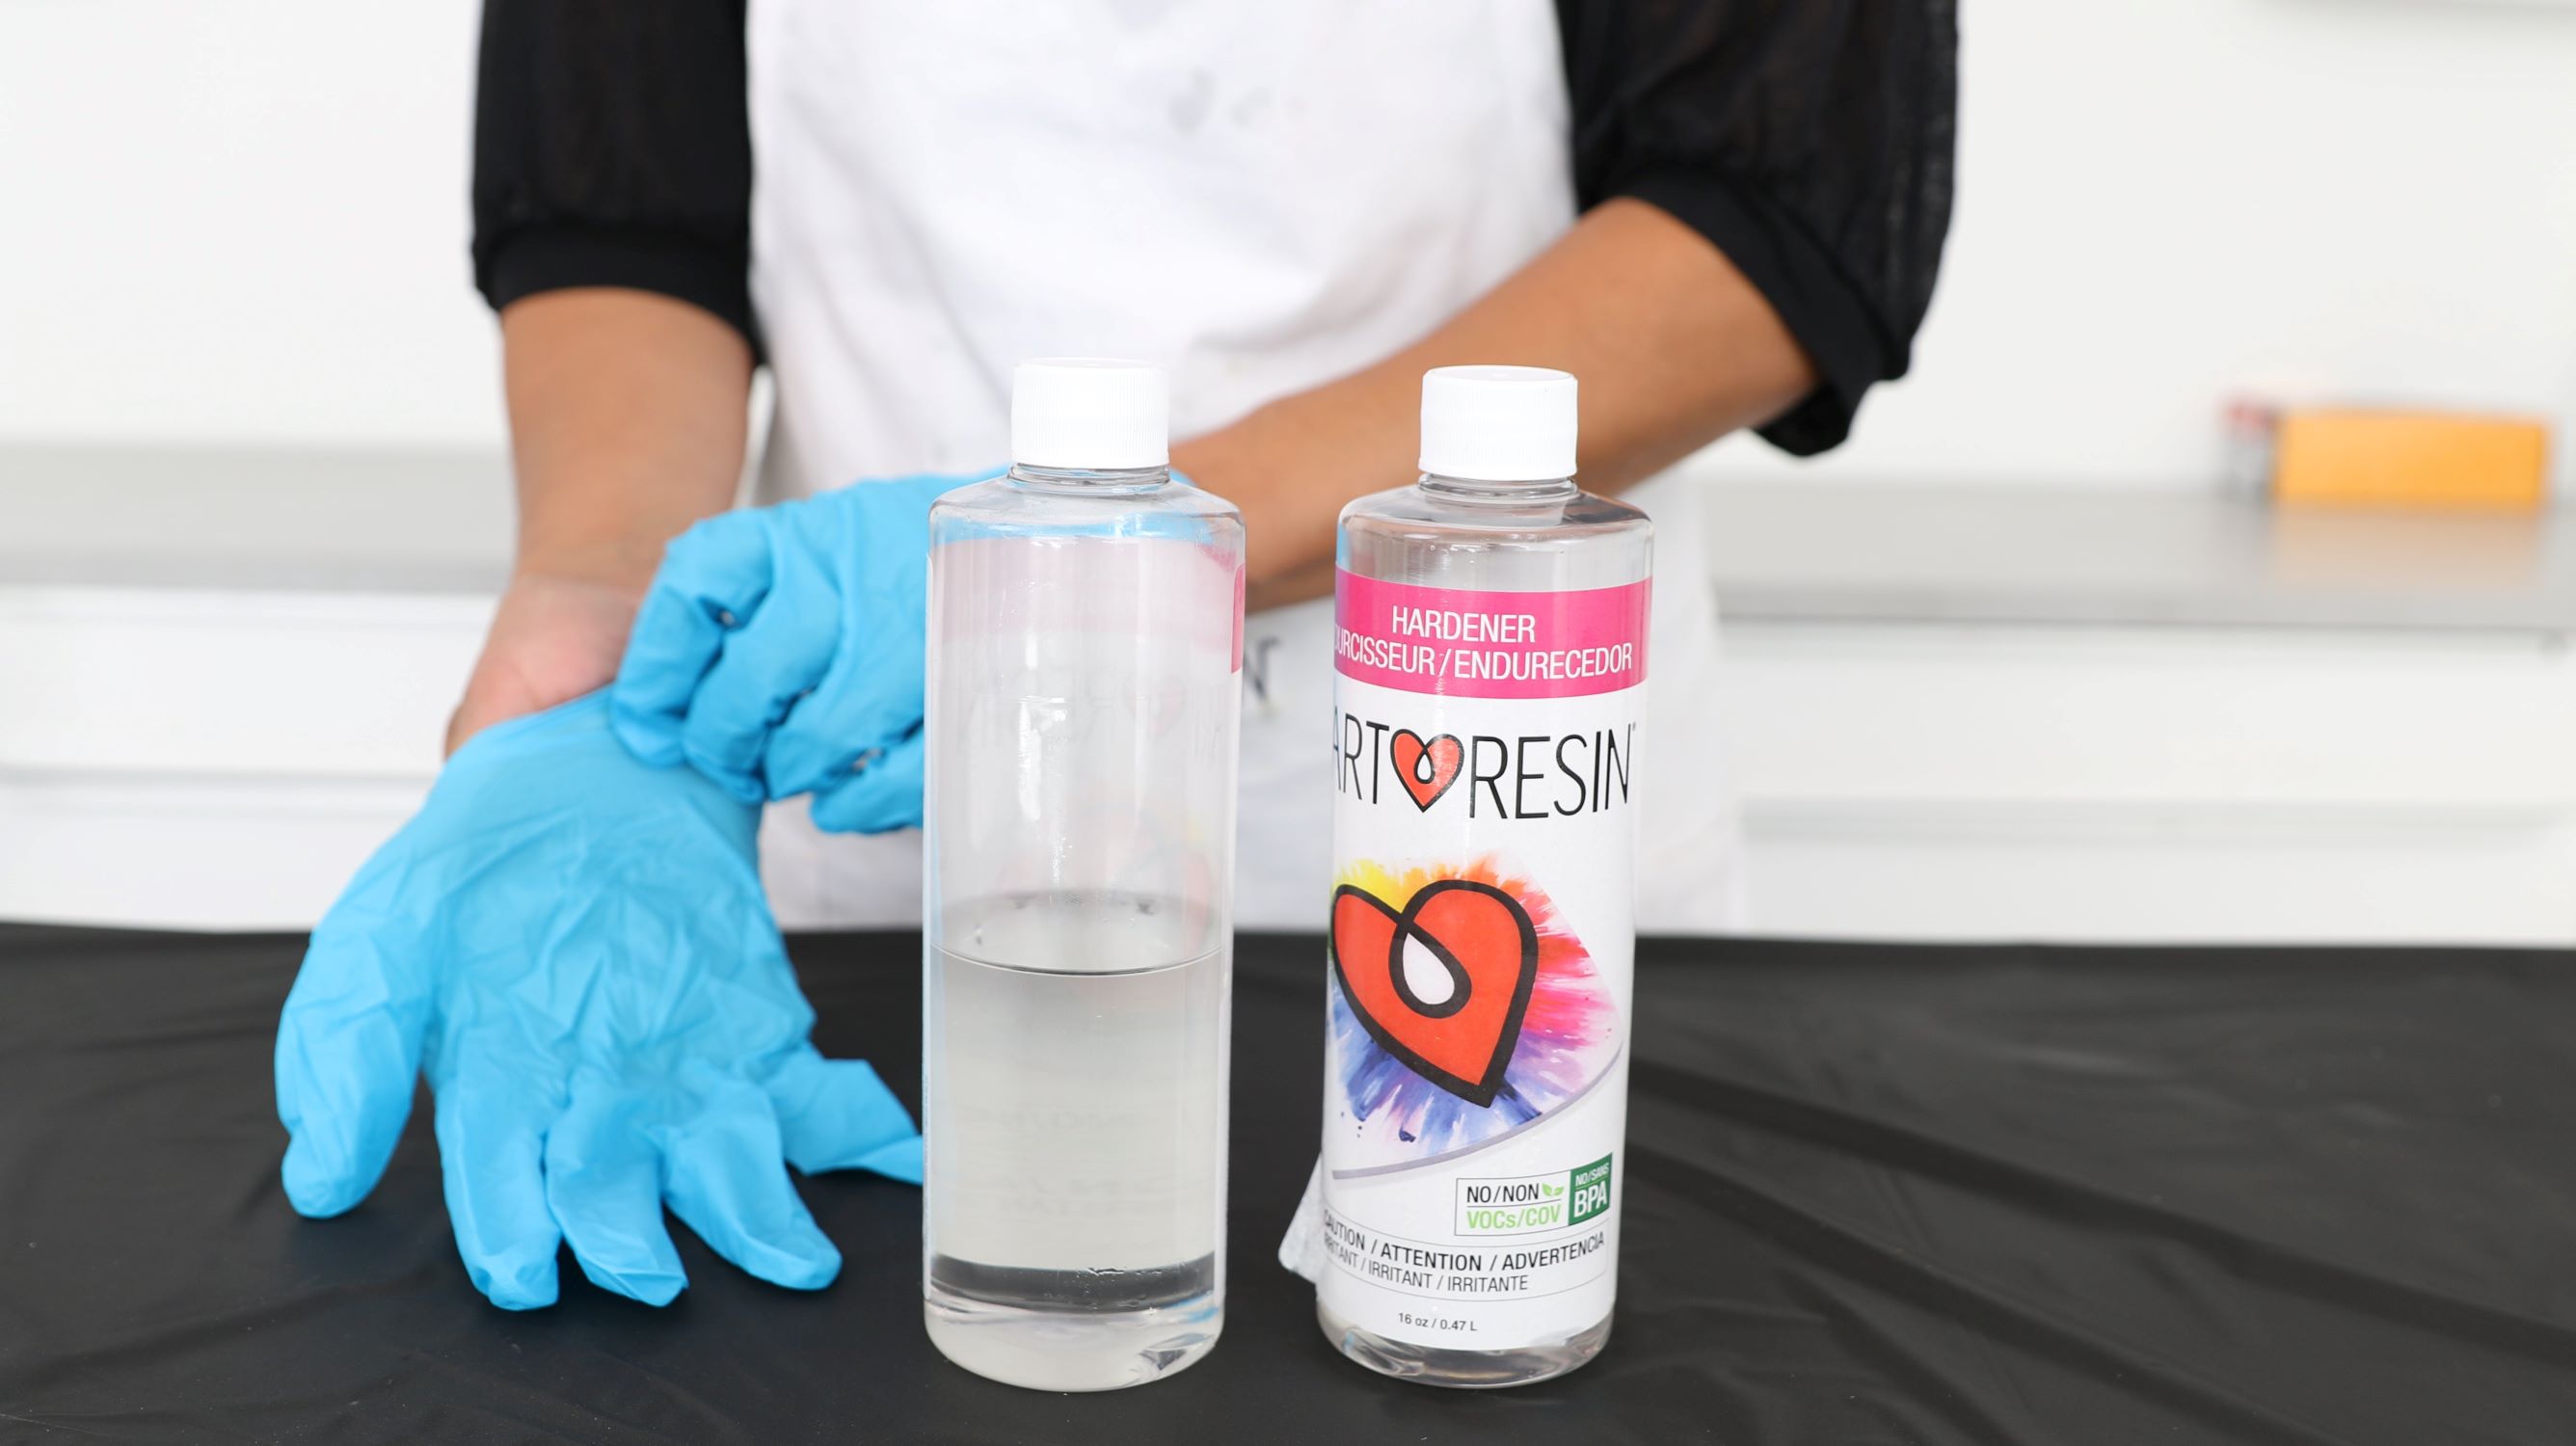
- Use High-Quality Resins: Opt for reputable, high-quality resins specifically formulated for your printer. Inferior or incompatible resins can lead to printing issues, resin tank damage, and subpar print results. Follow the manufacturer’s recommendations for compatible resins to ensure optimal performance.
- Follow Manufacturer Guidelines: Adhere to the manufacturer’s recommended maintenance procedures, including cleaning schedules, lubrication requirements, and any specific guidelines for your printer model. This helps maintain warranty coverage and ensures that your printer operates as intended.
- Keep the Workspace Clean: Maintain a tidy and organized workspace for your resin printer. Minimize clutter, dust, and debris in the vicinity of the printer to prevent contamination and ensure a conducive environment for successful 3D printing.
- Secure Storage of Resins and Consumables: Store resin bottles, consumables, and spare parts in a cool, dry, and secure location to prevent exposure to light, moisture, or extreme temperatures. Proper storage helps preserve the quality and integrity of these materials.
- Document Maintenance Activities: Keep a record of maintenance activities, including cleaning dates, component inspections, and any issues encountered. This documentation can provide valuable insights into the printer’s performance and aid in troubleshooting potential issues.
- Seek Professional Assistance: If you encounter persistent issues or technical challenges beyond routine maintenance, don’t hesitate to seek assistance from the manufacturer’s support team or authorized service providers. Professional guidance can help resolve complex issues and ensure the optimal operation of your resin printer.
By incorporating these final tips into your maintenance approach, you can establish a comprehensive and proactive strategy for preserving the functionality, reliability, and print quality of your resin 3D printer. With regular care and attention, your printer can continue to deliver exceptional results and inspire your creative endeavors in the realm of 3D printing.
Frequently Asked Questions about How To Clean A Resin Printer
Was this page helpful?
At Storables.com, we guarantee accurate and reliable information. Our content, validated by Expert Board Contributors, is crafted following stringent Editorial Policies. We're committed to providing you with well-researched, expert-backed insights for all your informational needs.


0 thoughts on “How To Clean A Resin Printer”