Home>Gardening & Outdoor>Outdoor Structures>How To Build A Shed Door With T1-11
Outdoor Structures
How To Build A Shed Door With T1-11
Modified: August 28, 2024
Learn how to build a shed door with T1-11 to enhance your outdoor structures. Follow our step-by-step guide for sturdy and functional shed doors.
(Many of the links in this article redirect to a specific reviewed product. Your purchase of these products through affiliate links helps to generate commission for Storables.com, at no extra cost. Learn more)
Introduction
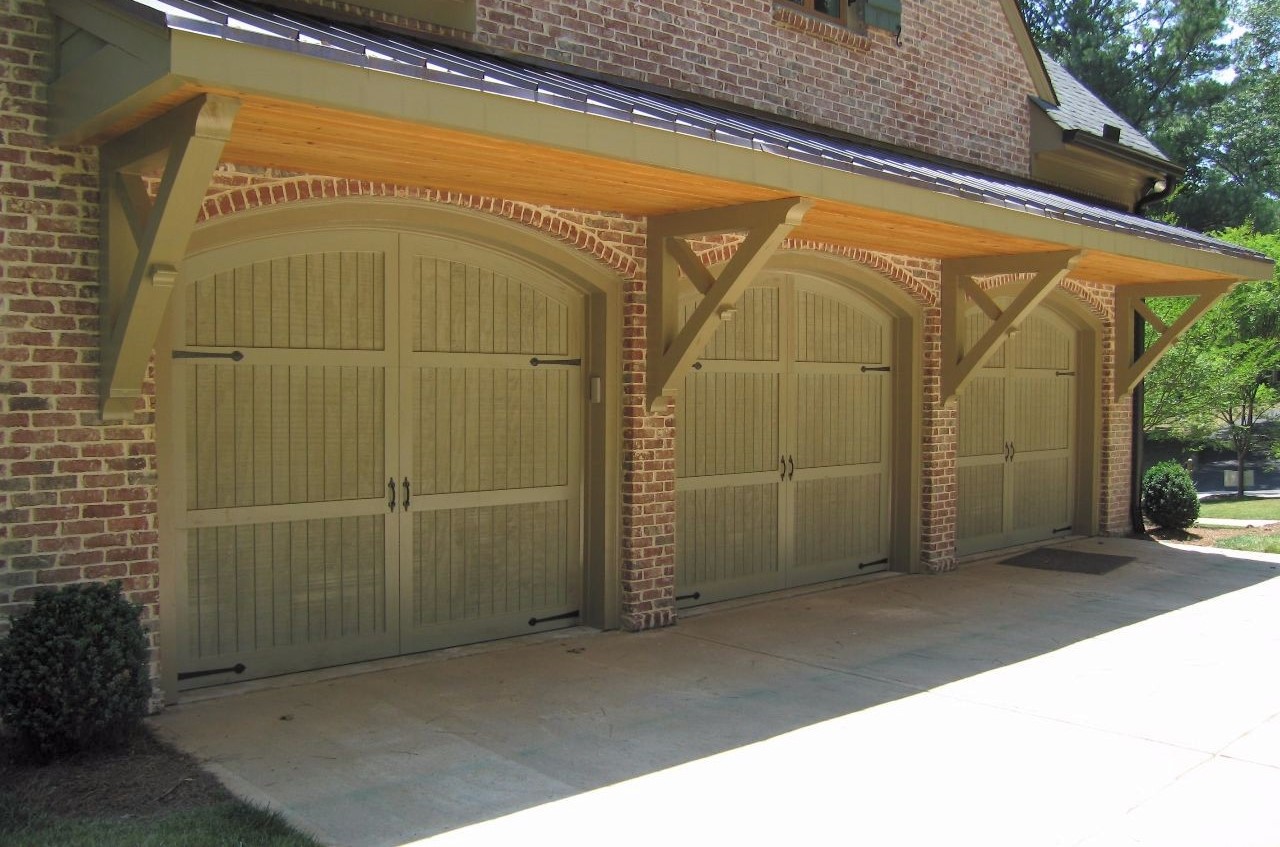
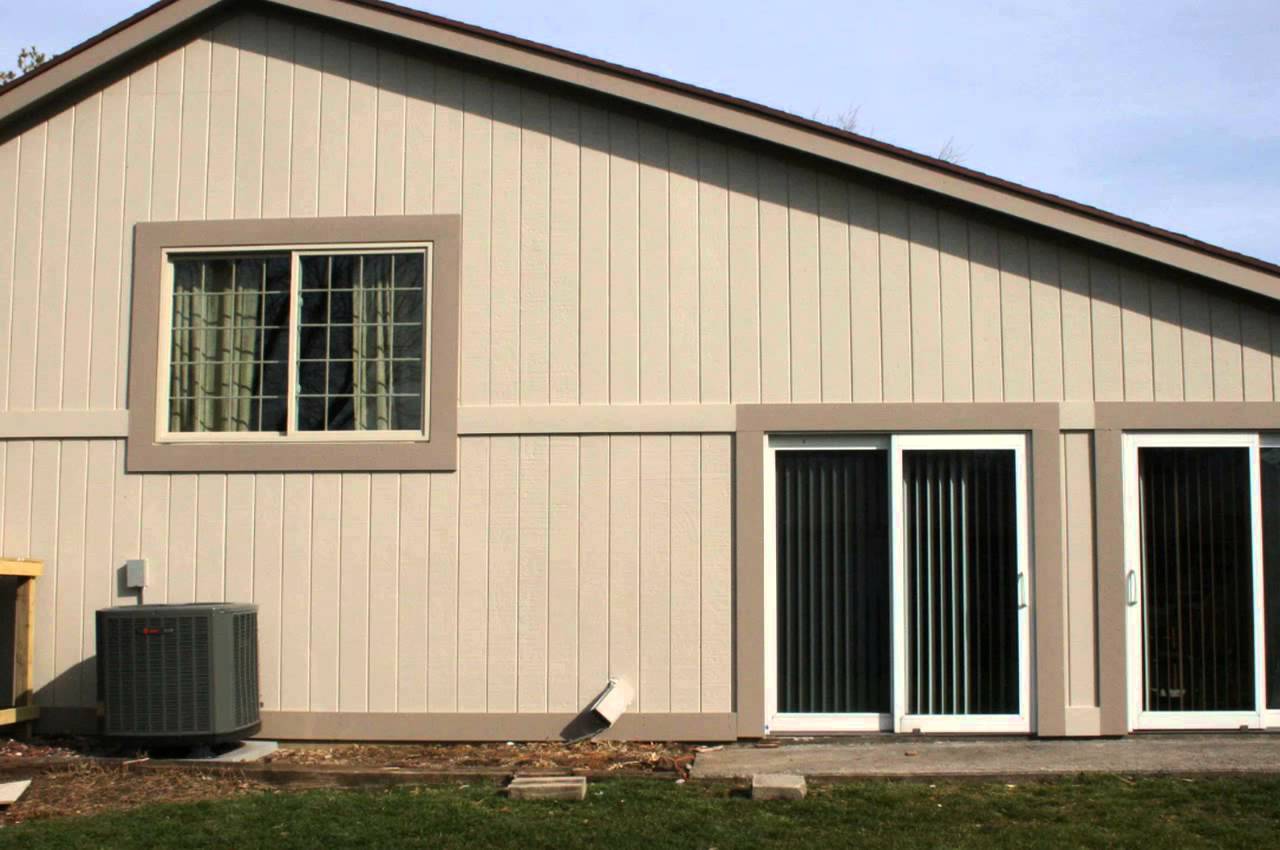
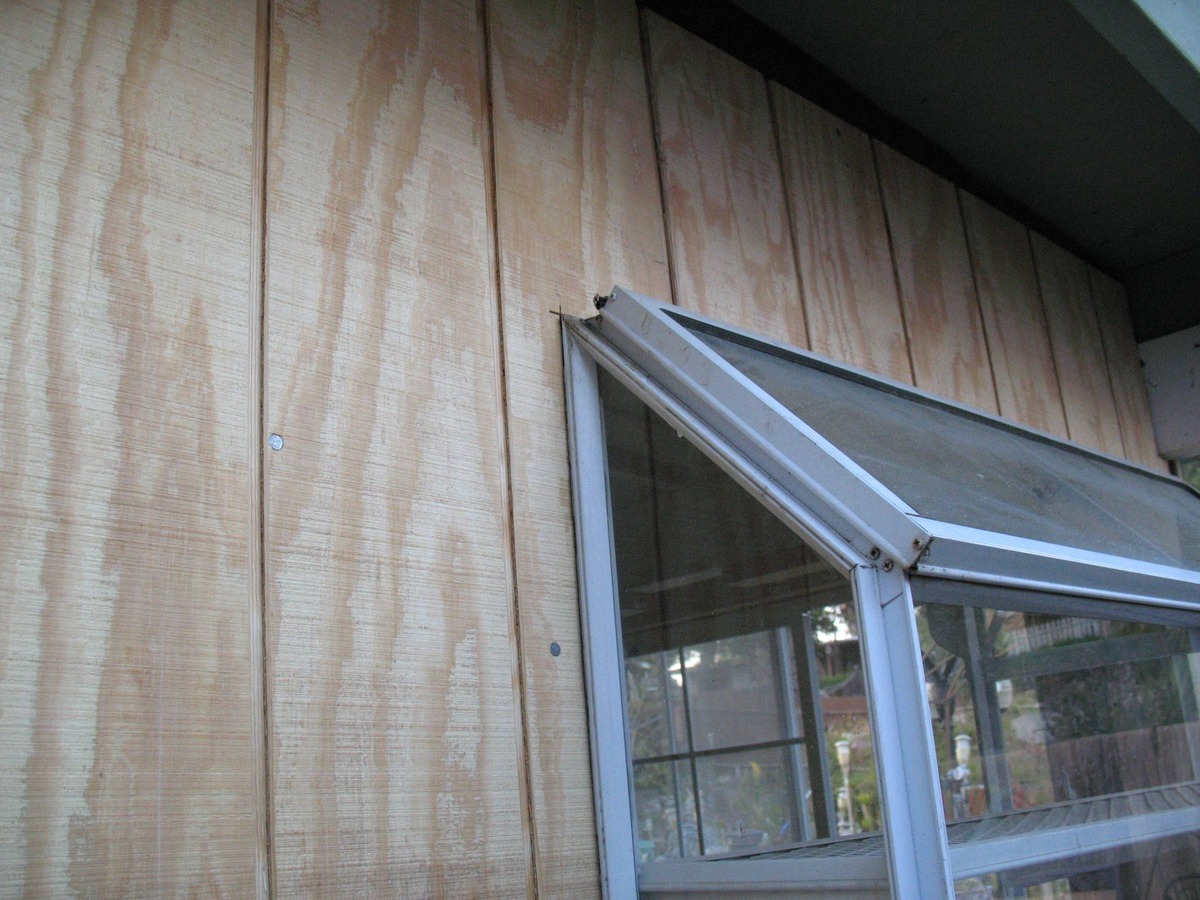
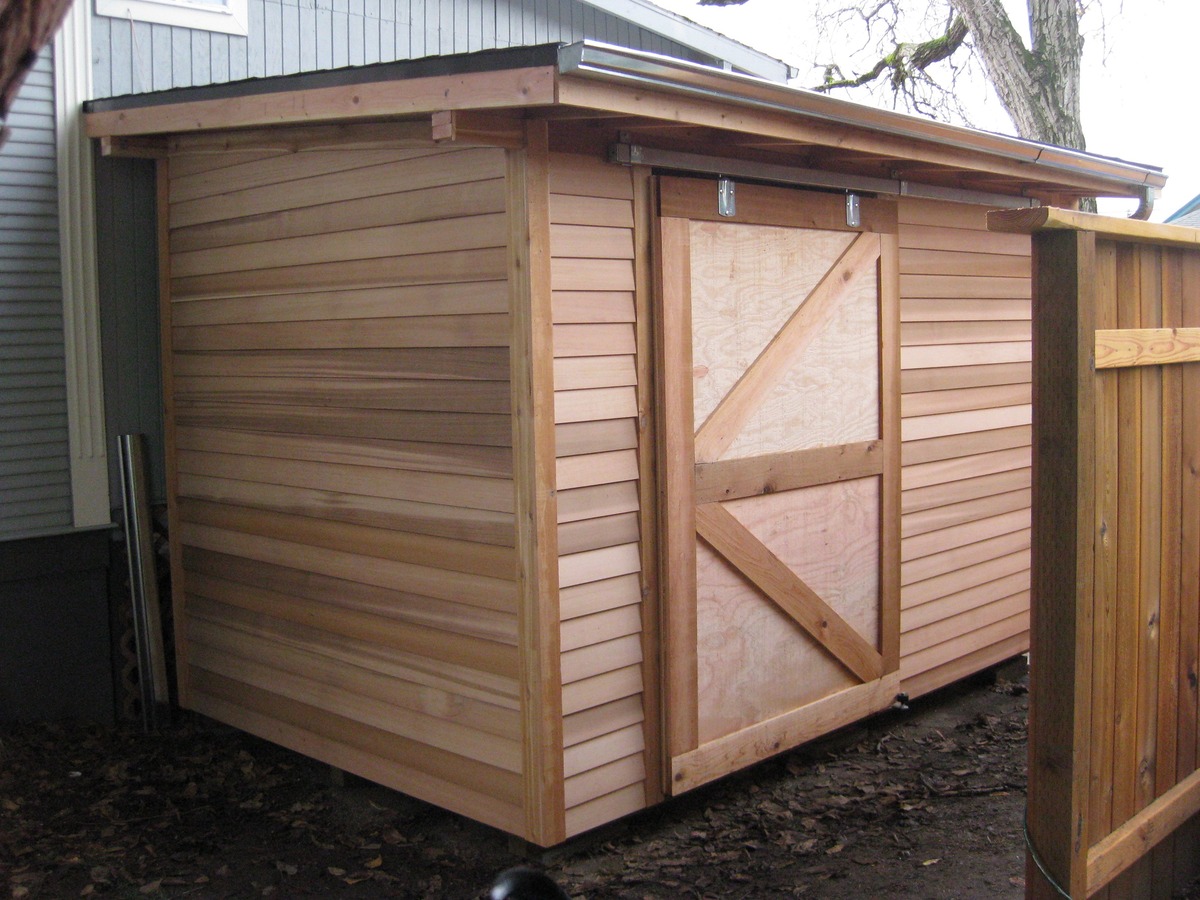
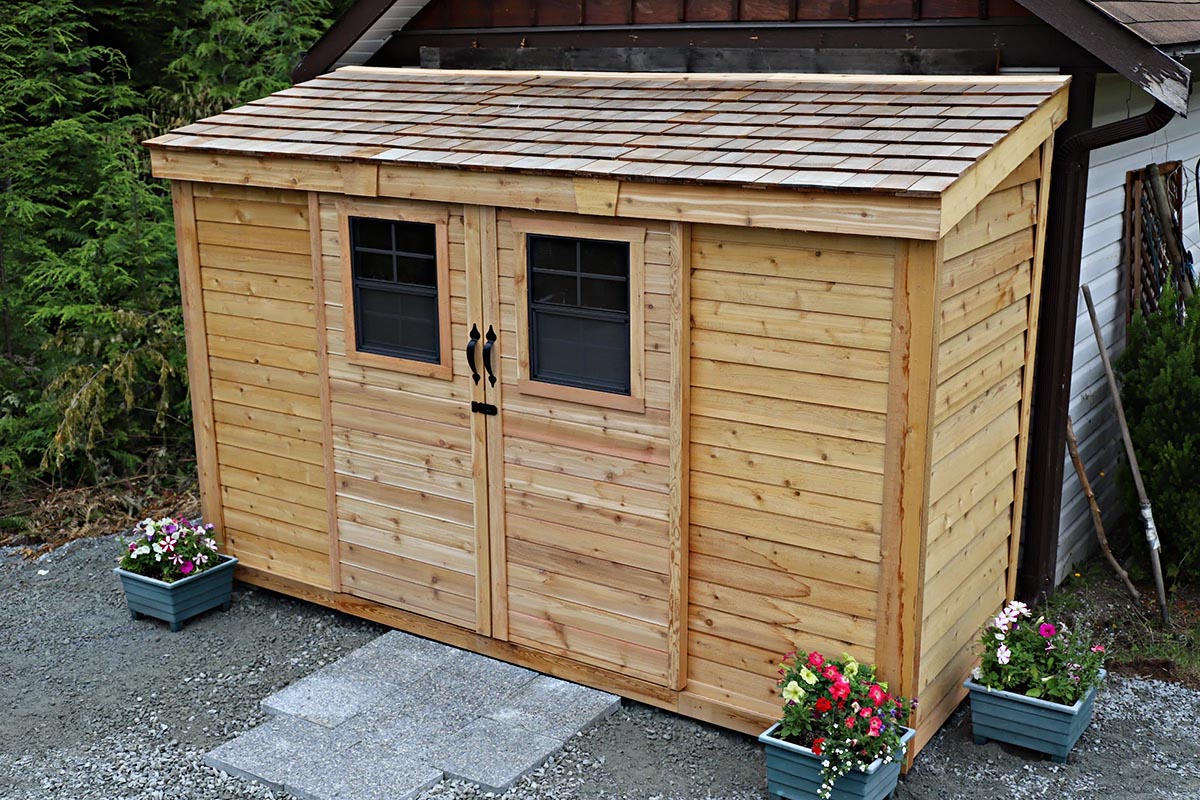
When it comes to building a shed, the door is a crucial component that demands careful attention. The T1-11 siding, known for its durability and rustic charm, offers an excellent material choice for constructing a shed door. In this guide, we will walk through the step-by-step process of building a shed door with T1-11 siding, providing you with the knowledge and confidence to tackle this project.
Whether you are a seasoned DIY enthusiast or a novice builder, constructing a shed door with T1-11 siding can be a rewarding and practical endeavor. By following our comprehensive instructions and leveraging the versatility of T1-11 siding, you can create a sturdy and visually appealing door that enhances the functionality and aesthetics of your shed.
Let's delve into the materials needed and the precise steps required to craft a durable and visually appealing shed door using T1-11 siding. Whether you're aiming to upgrade an existing shed or embarking on a new construction project, mastering the art of building a shed door with T1-11 siding will undoubtedly elevate your woodworking skills and leave you with a sense of accomplishment.
Key Takeaways:
- Building a shed door with T1-11 siding requires precise measurements, sturdy assembly, and meticulous attachment of the siding. The result is a durable and visually appealing door that enhances the shed’s functionality and aesthetics.
- By mastering the art of constructing a shed door with T1-11 siding, you not only elevate your woodworking skills but also create a long-lasting and weather-resistant entryway that adds charm and security to your outdoor space.
Read more: How Much Is T1-11 Siding
Materials Needed
Before embarking on the construction of a shed door with T1-11 siding, it’s essential to gather the necessary materials and tools to ensure a smooth and efficient building process. Here’s a comprehensive list of what you’ll need:
- T1-11 siding panels
- Pressure-treated lumber for the door frame
- Measuring tape
- Circular saw or table saw
- Carpenter’s square
- Screws or nails
- Drill and drill bits
- Hinges and door hardware
- Level
- Safety goggles and gloves
These materials will form the foundation for constructing a durable and visually appealing shed door. By ensuring that you have all the necessary items on hand, you can proceed with confidence, knowing that you’re well-equipped to tackle each step of the construction process.
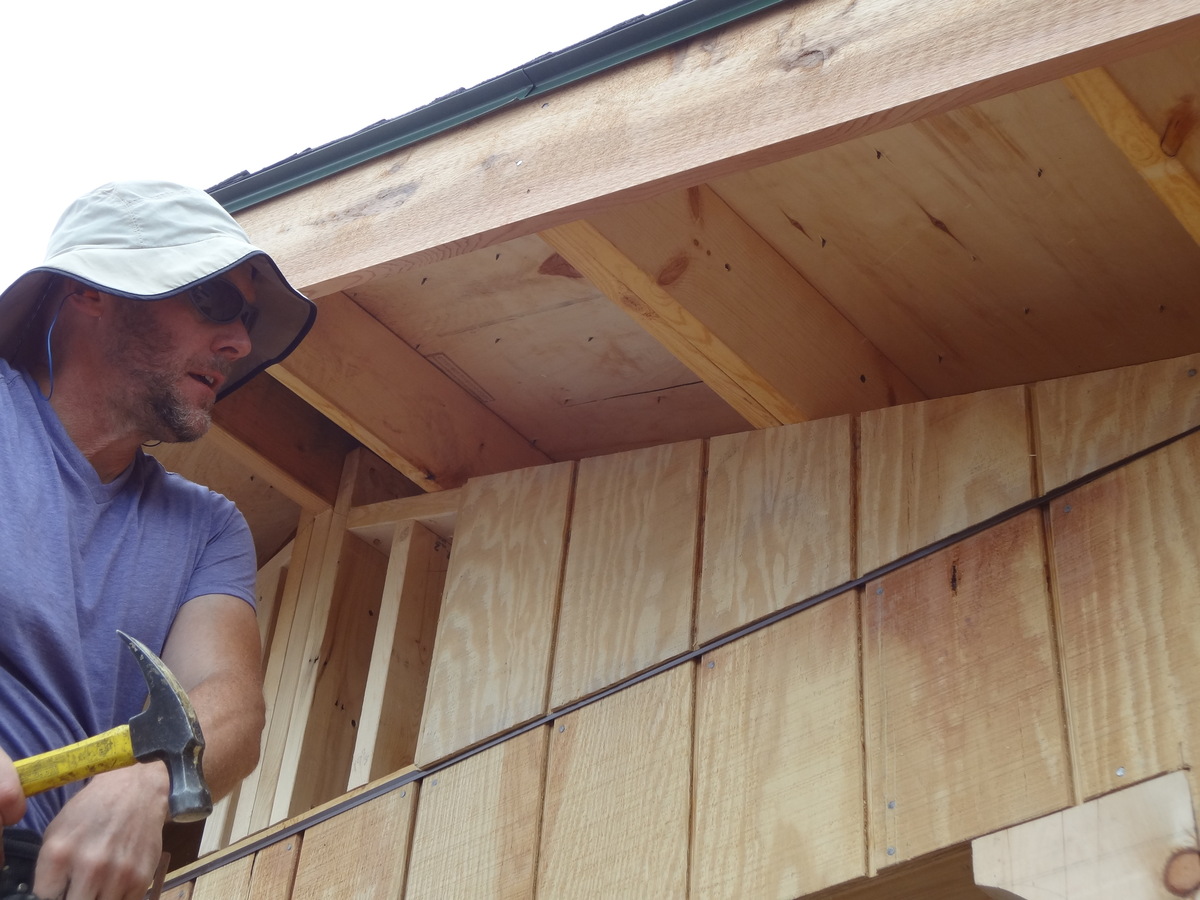
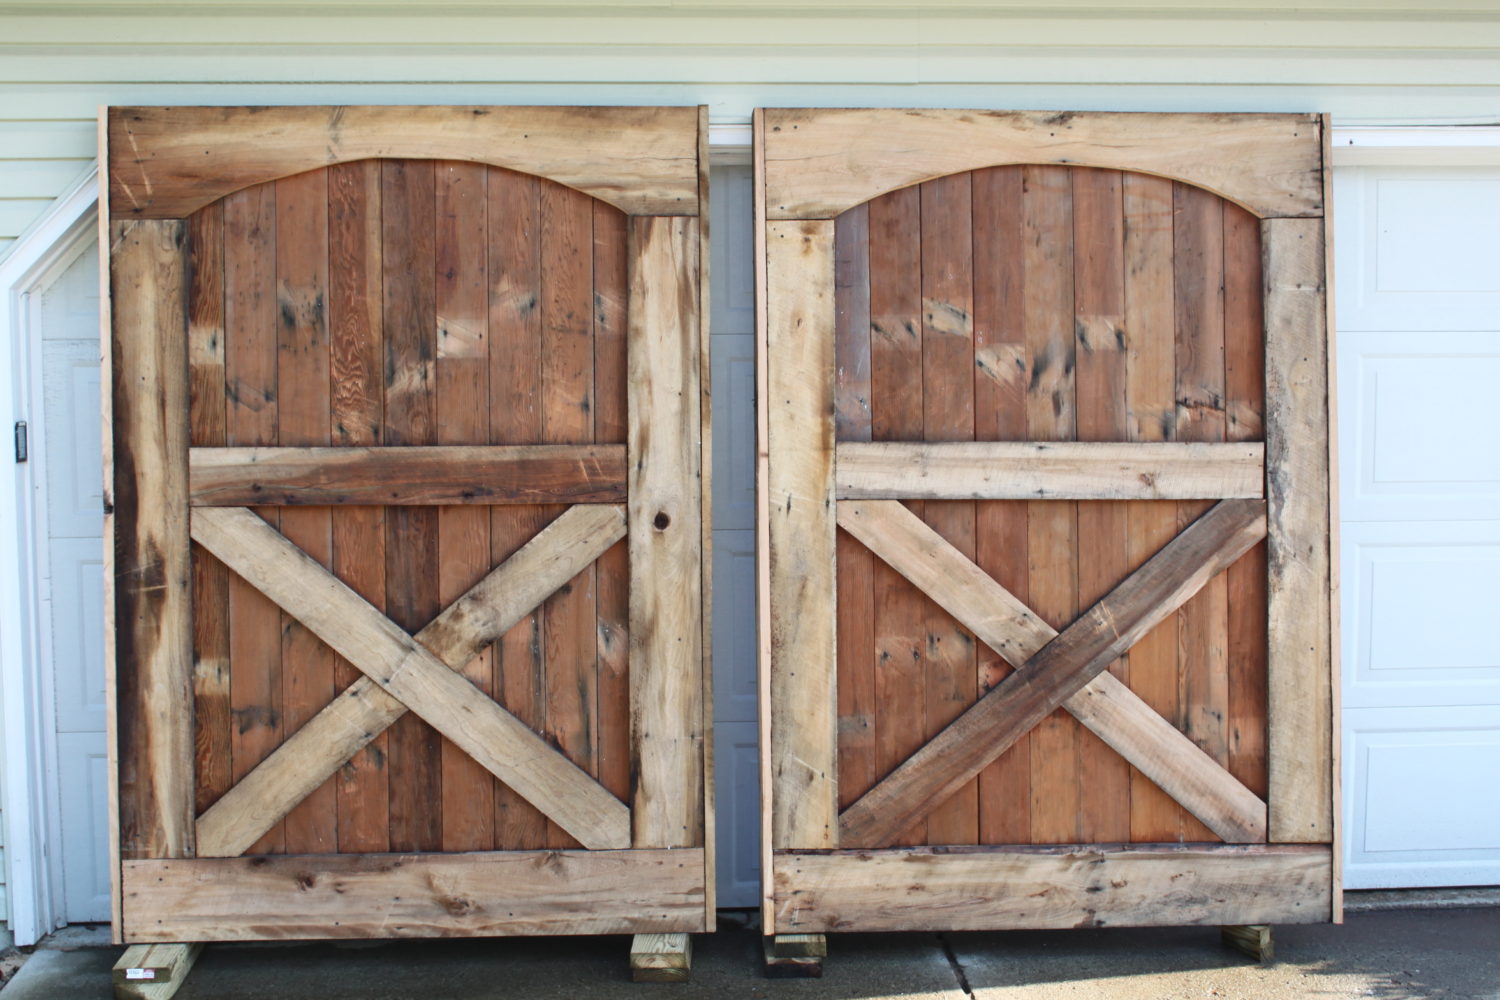
Step 1: Measure and Cut the T1-11 Siding
Precision is key when it comes to measuring and cutting the T1-11 siding for your shed door. Start by measuring the dimensions of the door frame to determine the exact size needed for the T1-11 panels. Use a measuring tape to record the height and width, ensuring accuracy down to the fraction of an inch. Once you have these measurements, transfer them to the T1-11 siding panels, marking the cut lines with a pencil or chalk line.
When cutting the T1-11 siding, employ a circular saw or table saw equipped with a fine-toothed blade to achieve clean and precise cuts. Prioritize safety by wearing goggles and gloves during the cutting process to protect yourself from any potential debris. Always adhere to the manufacturer’s guidelines for operating the saw, and maintain a steady hand as you guide the blade along the marked lines.
After cutting the T1-11 siding to the appropriate dimensions, double-check the panels against the door frame to ensure a snug fit. This meticulous approach to measuring and cutting the T1-11 siding sets the stage for a seamless assembly process, laying the groundwork for a well-crafted shed door that aligns perfectly with the dimensions of the frame.
Step 2: Assemble the Door Frame
With the T1-11 siding cut to size, the next crucial step is assembling the door frame. Begin by selecting pressure-treated lumber known for its durability and resistance to rot, ensuring a long-lasting foundation for your shed door. Using the measurements obtained in the previous step, cut the lumber to construct the frame, employing a carpenter’s square to guarantee precise right angles.
Assemble the cut lumber into a rectangular frame, joining the pieces securely using screws or nails. It’s essential to verify the frame’s squareness and alignment, as any discrepancies at this stage can lead to challenges during the subsequent steps of the construction process. A level can be employed to confirm that the frame is even and plumb, promoting the seamless installation of the T1-11 siding in the following step.
By taking the time to meticulously construct a sturdy and accurately aligned door frame, you establish a solid groundwork for the T1-11 siding installation. This meticulous approach ensures that the shed door will operate smoothly and maintain its structural integrity over time, reflecting the craftsmanship and attention to detail invested in its construction.
When building a shed door with T1-11, make sure to measure and cut the panels accurately to fit the door frame. Use sturdy hinges and a latch for security.
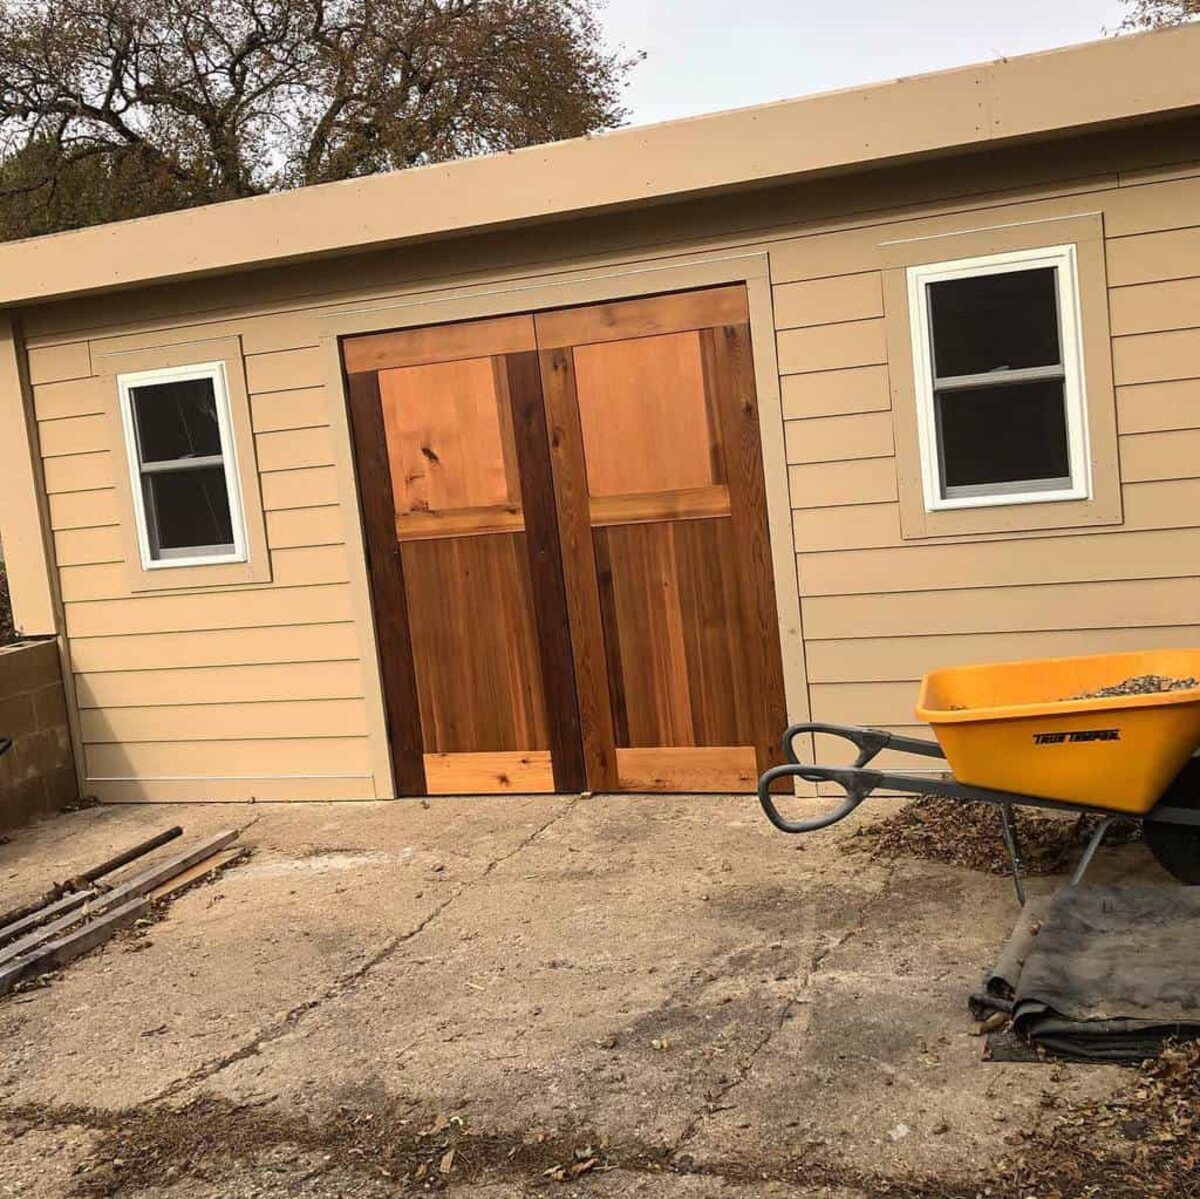
Step 3: Attach the T1-11 Siding to the Door Frame
As you progress with the construction of your shed door, the next pivotal step involves attaching the T1-11 siding to the meticulously crafted door frame. Begin by positioning the cut T1-11 panels onto the frame, ensuring a precise fit and alignment. Secure the panels to the frame using screws or nails, driving them evenly along the edges and into the underlying frame to create a secure and uniform attachment.
It’s crucial to maintain consistent spacing between the screws or nails, promoting structural integrity and an aesthetically pleasing finish. As you affix each panel, verify that it sits flush with the frame, employing a level to confirm its evenness. This meticulous attention to detail during the siding attachment process contributes to the overall stability and visual appeal of the shed door.
Furthermore, consider applying a weather-resistant sealant or primer to the T1-11 siding to fortify its resilience against the elements. This additional protective measure can safeguard the shed door from moisture and prolong its lifespan, ensuring that your craftsmanship endures through various weather conditions.
By methodically attaching the T1-11 siding to the door frame and implementing protective measures, you not only reinforce the structural integrity of the shed door but also enhance its durability and resistance to environmental factors, ensuring a long-lasting and visually appealing addition to your outdoor structure.
Read more: What Is T1-11 Siding
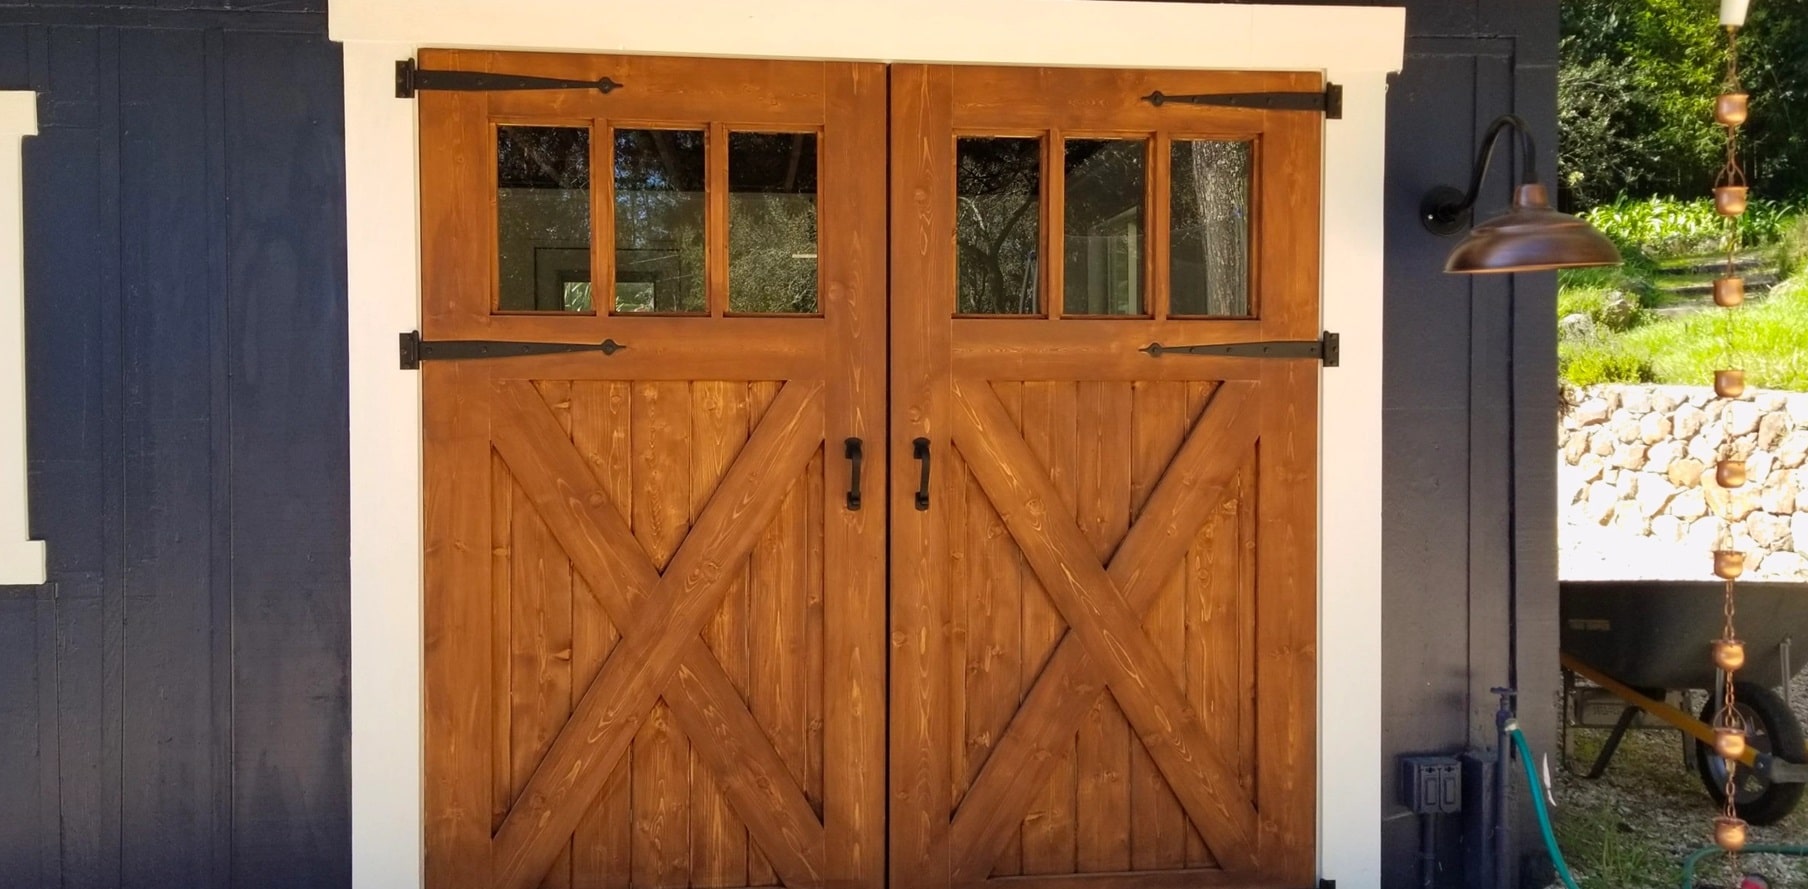
Step 4: Install the Hinges and Hardware
With the T1-11 siding securely affixed to the door frame, the next vital phase in constructing your shed door involves installing the hinges and hardware. Begin by carefully selecting durable and appropriately sized hinges capable of supporting the weight of the door while facilitating smooth opening and closing movements. Position the hinges on the door frame, ensuring that they align with the corresponding locations on the shed structure to guarantee proper functionality.
Utilize a drill to create pilot holes for the hinge screws, minimizing the risk of splitting the wood during installation. Once the pilot holes are in place, affix the hinges to the door frame using screws, ensuring a secure and stable attachment. It’s imperative to verify that the hinges are aligned and level to prevent any misalignment issues that could impede the door’s operation.
Following the installation of the hinges, proceed to attach the door handle and any additional hardware essential for the door’s operation and security. Whether it’s a robust handle, a latch, or a locking mechanism, each component should be affixed meticulously to guarantee smooth functionality and provide peace of mind regarding the security of the shed contents.
By meticulously installing the hinges and hardware, you not only ensure the seamless operation of the shed door but also enhance its overall functionality and security. This meticulous attention to detail reflects the dedication to craftsmanship and ensures that the shed door serves its purpose effectively while complementing the aesthetic appeal of the outdoor structure.
Step 5: Hang the Door
As you approach the final stage of constructing your shed door, it’s time to hang the meticulously crafted and assembled door onto the shed structure. Enlist the assistance of a friend or family member to aid in this step, as maneuvering the door into position and aligning it with the hinges can be a challenging task for a single individual.
Begin by positioning the door in the door frame, ensuring that the hinges align precisely with their corresponding locations on the shed structure. With the help of your assistant, carefully align the hinges and affix the hinge pins, securing the door in place. Test the door’s operation by opening and closing it to verify that it moves smoothly and aligns correctly with the frame.
Once the door is hung and operational, conduct a thorough inspection to ensure that it closes securely and forms a tight seal with the door frame. This attention to detail is crucial for safeguarding the shed’s contents from the elements and ensuring the door’s overall functionality and security.
By successfully hanging the shed door, you bring the culmination of your craftsmanship to fruition, creating a functional and visually appealing entryway that enhances the utility and aesthetics of your outdoor structure. The satisfaction of witnessing the completed shed door in action serves as a testament to your woodworking skills and dedication to precision and quality.
Conclusion
Embarking on the journey of building a shed door with T1-11 siding is a testament to your woodworking prowess and commitment to enhancing the functionality and visual appeal of your outdoor structure. By meticulously measuring, cutting, and assembling the T1-11 siding, you’ve laid the foundation for a durable and aesthetically pleasing door that complements the overall design of your shed.
Throughout the construction process, each step, from assembling the door frame to attaching the T1-11 siding and installing the hinges and hardware, required precision and attention to detail. By embracing these elements, you’ve not only crafted a robust and functional shed door but also honed your woodworking skills, gaining valuable experience and confidence in tackling future projects.
As you hang the completed door onto your shed, the satisfaction of witnessing your craftsmanship in action is unparalleled. The seamless operation, secure closure, and visual appeal of the door stand as a testament to your dedication to quality and precision. Moreover, the durability and weather-resistant properties of T1-11 siding ensure that your shed door will withstand the test of time and various environmental conditions.
Whether you’re utilizing the shed for storage, as a workshop, or for any other purpose, the addition of a well-constructed door enhances the functionality and security of the structure. Furthermore, the rustic charm of T1-11 siding lends a timeless and visually appealing quality to the door, elevating the overall aesthetic of your outdoor space.
As you reflect on the completion of this project, take pride in the craftsmanship and attention to detail invested in constructing a shed door with T1-11 siding. Your newfound expertise in working with this versatile material opens the door to a myriad of future woodworking endeavors, empowering you to further enhance and customize your outdoor spaces with confidence and skill.
With the shed door now serving as a testament to your woodworking proficiency, it stands as a functional and visually captivating entryway that embodies the fusion of craftsmanship and creativity, enriching the allure and utility of your outdoor structure.
Frequently Asked Questions about How To Build A Shed Door With T1-11
Was this page helpful?
At Storables.com, we guarantee accurate and reliable information. Our content, validated by Expert Board Contributors, is crafted following stringent Editorial Policies. We're committed to providing you with well-researched, expert-backed insights for all your informational needs.


0 thoughts on “How To Build A Shed Door With T1-11”