Home>Gardening & Outdoor>Outdoor Structures>How To Build A Shed Door
Outdoor Structures
How To Build A Shed Door
Modified: August 28, 2024
Learn how to build a sturdy shed door for your outdoor structures with our step-by-step guide. Ensure security and functionality with our expert tips.
(Many of the links in this article redirect to a specific reviewed product. Your purchase of these products through affiliate links helps to generate commission for Storables.com, at no extra cost. Learn more)
Introduction
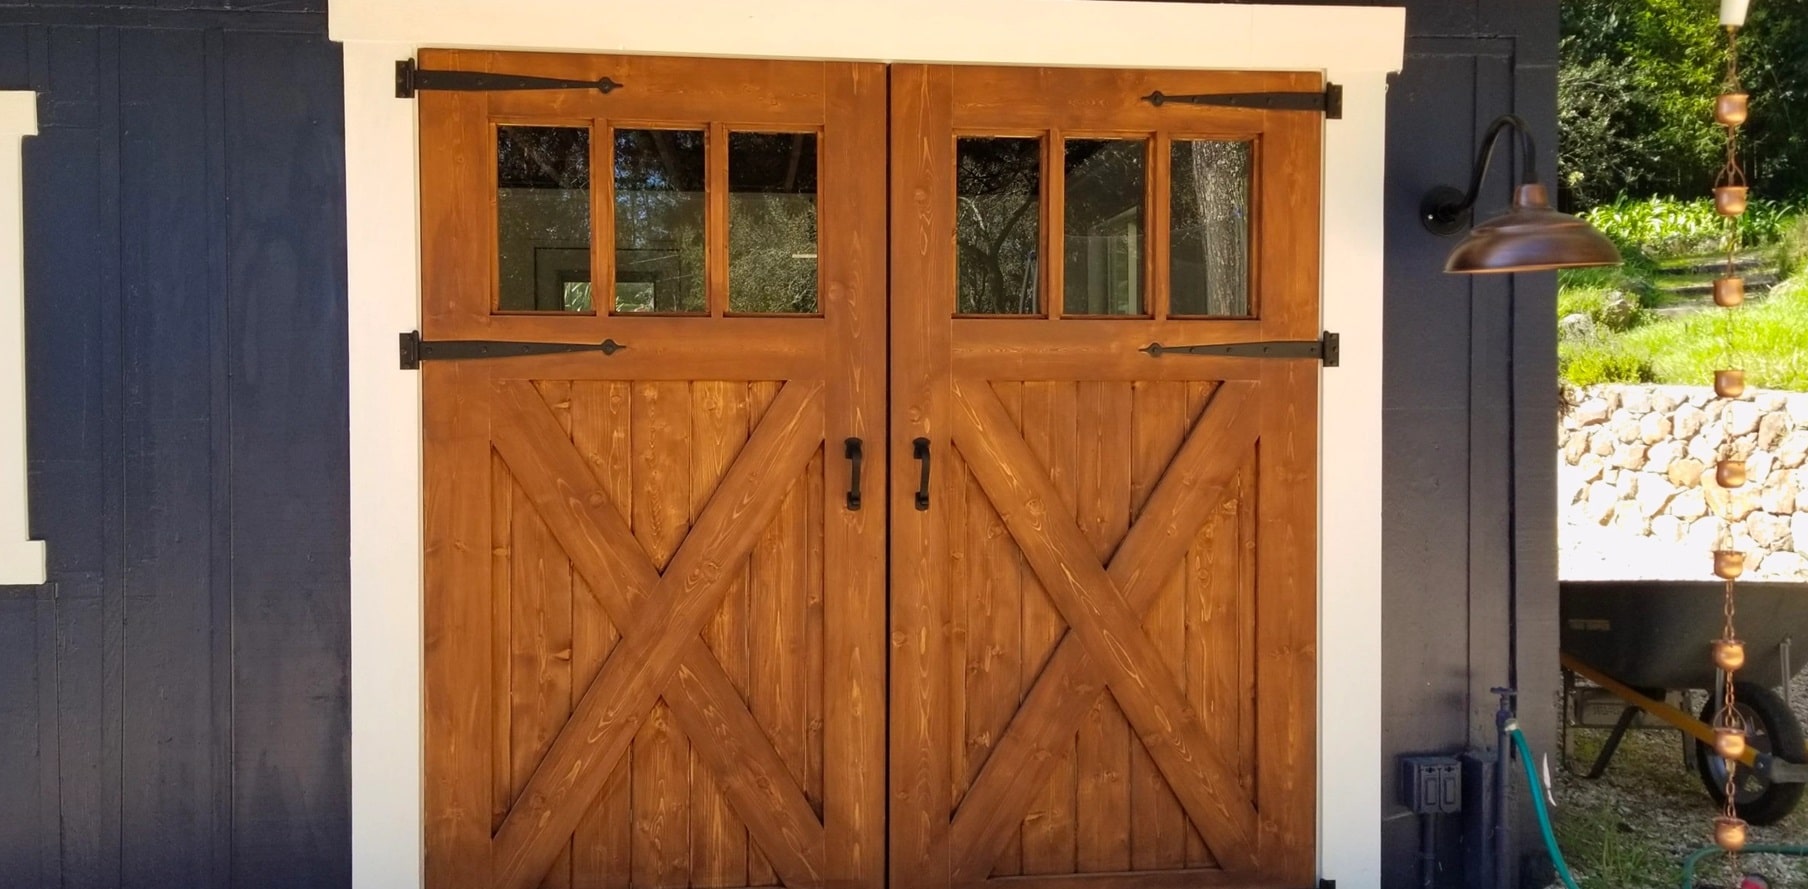
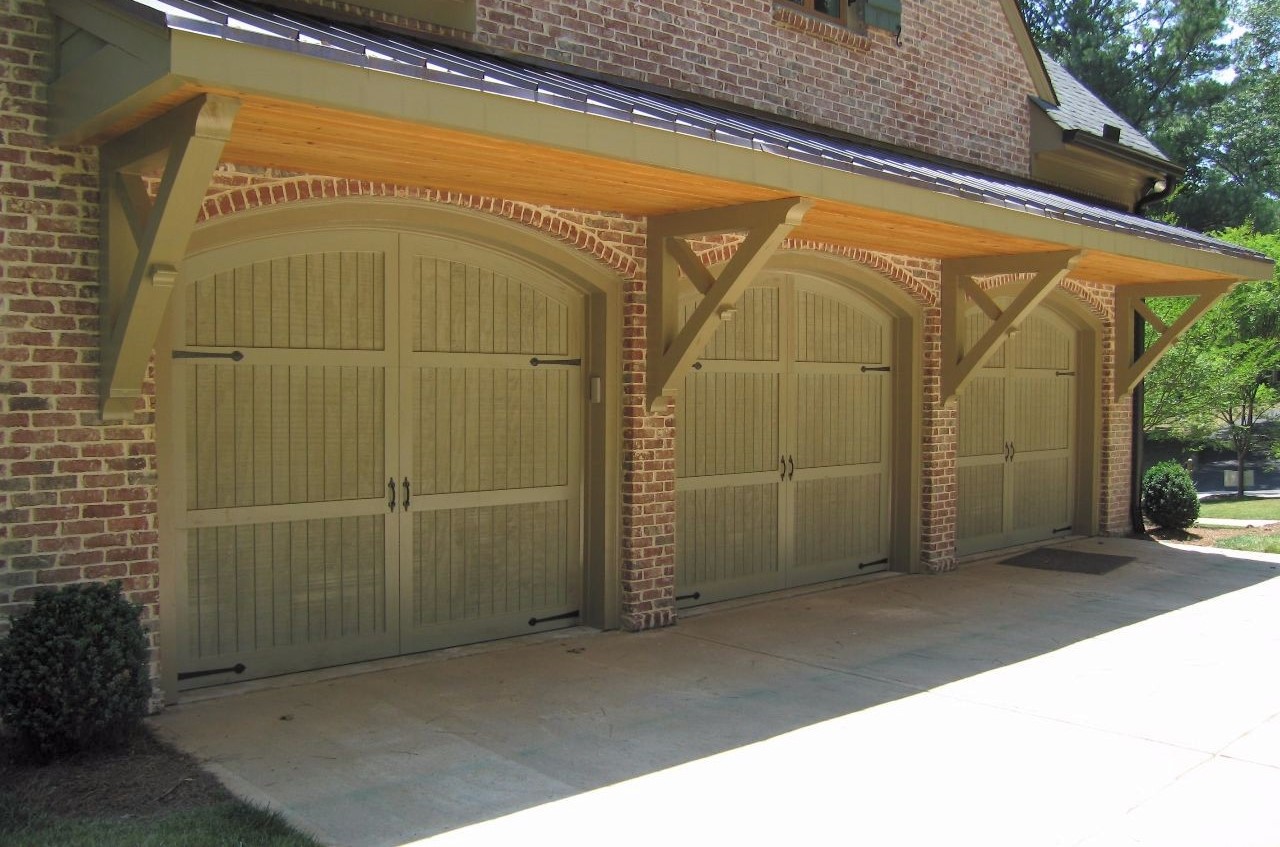
Building a shed can be an exciting and rewarding project, but one crucial aspect that often gets overlooked is the construction of the shed door. A well-built door not only enhances the overall appearance of the shed but also ensures security and protection for the items stored inside. Whether you are constructing a new shed or replacing an existing door, understanding the process of building a shed door is essential for a successful and functional outdoor structure.
In this comprehensive guide, we will walk you through the step-by-step process of constructing a sturdy and reliable shed door. From gathering the necessary materials to hanging the finished door, we will cover everything you need to know to complete this essential element of your shed construction project. So, roll up your sleeves and get ready to dive into the world of shed door construction. With the right tools, materials, and a bit of know-how, you'll soon be on your way to creating a durable and secure door for your outdoor storage space. Let's get started!
Key Takeaways:
- Building a shed door requires accurate measurements, precise cutting, and meticulous assembly to ensure a well-constructed and functional door that fits snugly within the shed’s door opening.
- By using the right materials and tools, and following the step-by-step process, you can create a durable and reliable shed door that enhances the overall appearance and provides security for the items stored inside.
Read more: How To Build Doors For A Shed
Materials Needed
Before diving into the construction process, it’s crucial to gather all the necessary materials and tools. Here’s a list of items you’ll need to build a shed door:
- Pressure-treated lumber or cedar boards: These will serve as the primary material for constructing the door frame and panels. Pressure-treated lumber is ideal for outdoor use as it is resistant to rot and decay, while cedar offers natural durability and beauty.
- Wood screws: Choose corrosion-resistant screws that are suitable for outdoor applications to ensure the longevity of the door.
- Hinges and screws: Select heavy-duty hinges designed for exterior doors to support the weight of the door and withstand outdoor elements.
- Latch or lock set: Depending on your security needs, you may opt for a simple latch or a more secure lock set to keep your shed contents safe.
- Measuring tape and carpenter’s square: These tools are essential for accurate measurements and ensuring that the door is square during assembly.
- Saw: A circular saw or miter saw will be necessary for cutting the lumber to the required dimensions.
- Drill and drill bits: You’ll need a drill for pre-drilling holes and driving screws into the wood.
- Sandpaper or sander: Smooth out any rough edges and surfaces for a professional finish.
- Paint or wood stain (optional): If you prefer to add a pop of color or protect the wood with a stain, have your chosen finish on hand.
By ensuring you have all these materials and tools ready, you’ll be well-equipped to proceed with the door construction process efficiently and effectively.
Measuring and Cutting
Accurate measurements are the foundation of a well-constructed shed door. Before cutting any lumber, carefully measure the door opening to determine the exact dimensions for your door. It’s essential to account for any variations in the opening’s width and height to ensure a proper fit.
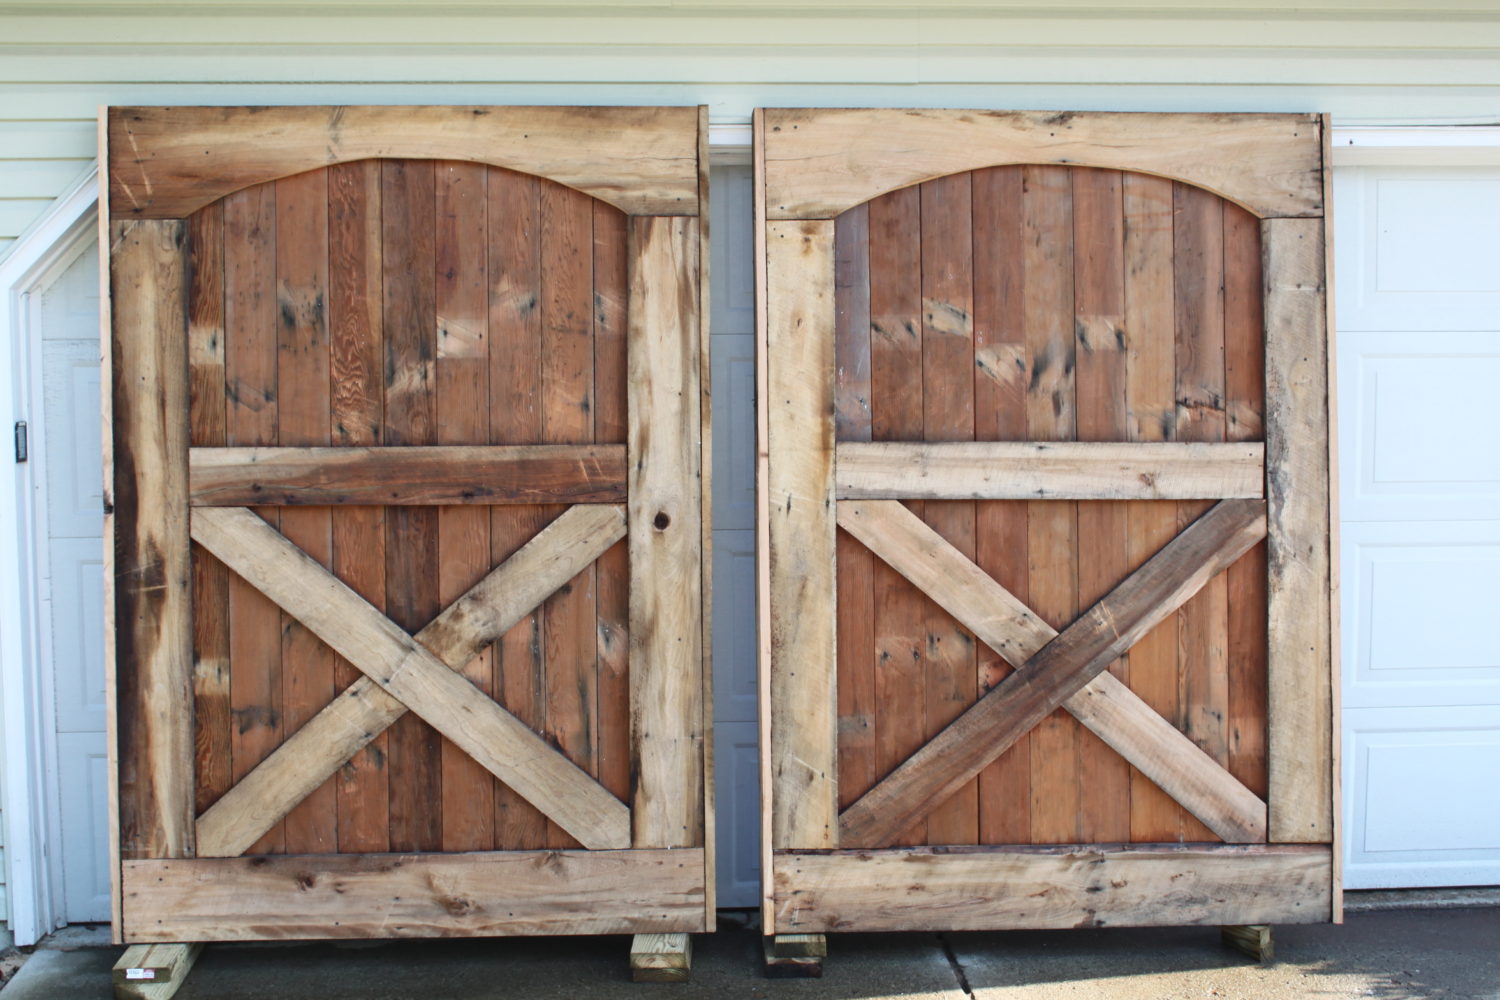
Once you have the precise measurements, it’s time to cut the lumber to size. The door frame will typically consist of horizontal and vertical boards, with diagonal bracing for added strength. Use a carpenter’s square to ensure that the corners are perfectly square, which is crucial for the door’s stability and proper operation.
When cutting the lumber, be mindful of creating clean and straight cuts. A circular saw or miter saw is commonly used for this task. Remember to measure twice and cut once to avoid unnecessary waste of materials. Additionally, if your design includes diagonal bracing, carefully measure and cut the bracing pieces to fit snugly within the door frame.
After cutting the frame pieces, you’ll need to cut the panels that will fill the door frame. These panels should fit within the frame with a small amount of clearance to allow for expansion and contraction due to changes in humidity and temperature. Once again, accuracy is key to achieving a professional and functional result.
As you proceed with the cutting process, take the time to sand any rough edges or surfaces to create a smooth and splinter-free finish. This will not only enhance the door’s appearance but also reduce the risk of potential injuries from rough edges.
By meticulously measuring and cutting the lumber for your shed door, you’ll lay the groundwork for a well-constructed and precisely fitting door that will serve its purpose for years to come.
When building a shed door, make sure to use sturdy materials like pressure-treated wood to prevent warping. Additionally, consider adding diagonal bracing for extra support and stability.
Assembling the Door
With the individual components prepared, it’s time to assemble the door frame. Begin by laying out the horizontal and vertical frame pieces on a flat surface, ensuring that they align perfectly to form a rectangular shape. If diagonal bracing is part of your design, position these pieces within the frame to provide additional structural support.
Once the frame components are aligned, it’s time to secure them together. Pre-drill pilot holes to prevent the wood from splitting, then use wood screws to join the frame pieces. Be sure to check for squareness as you assemble the frame to avoid any misalignments that could affect the door’s functionality.
After the frame is securely assembled, it’s time to insert the panels. Depending on the design, the panels may be inserted from the front or back of the frame. Ensure that they fit snugly within the frame while allowing for slight movement to accommodate changes in humidity and temperature. Use appropriate fasteners, such as screws or nails, to secure the panels in place.
If your shed door will include a window, this is the stage at which you would install it. Whether using a pre-made window or creating a custom one, carefully follow the manufacturer’s instructions or your design plans to integrate the window into the door structure securely.
As the door takes shape, take the opportunity to inspect the assembly for any potential issues. Check for gaps, ensure that the door is square, and make any necessary adjustments to guarantee a well-constructed and functional final product.
Once the door is fully assembled, it’s a good idea to test its fit within the door opening of the shed. This allows you to address any potential fitment issues before proceeding to the final installation stage. With the door successfully assembled, you’re one step closer to completing this essential element of your shed construction project.
Hanging the Door
With the shed door fully assembled, it’s time to proceed with the crucial step of hanging it in place. Proper installation ensures that the door operates smoothly, provides a secure seal, and enhances the overall functionality of the shed.
Before hanging the door, carefully examine the door opening to ensure it is clean, free of debris, and structurally sound. Any protrusions or irregularities should be addressed to create a smooth and level surface for the door to be mounted.
Begin by attaching the hinges to the door frame. Depending on the door’s size and weight, it’s essential to use heavy-duty hinges designed for exterior applications. Position the hinges evenly along the height of the door to distribute the weight and provide adequate support.
Next, with the help of a friend or family member, lift the door and align the hinges with the corresponding locations on the shed’s door frame. Secure the hinges to the frame using appropriate screws, ensuring that they are fastened tightly to provide a stable and secure connection.
Once the door is hung, test its operation to ensure that it opens and closes smoothly without any binding or sticking. If adjustments are needed, carefully fine-tune the positioning of the hinges to achieve optimal functionality.
Depending on your preference and security needs, you may choose to install a latch or lock set on the shed door. This additional step enhances the security of the shed and provides peace of mind knowing that its contents are well-protected.
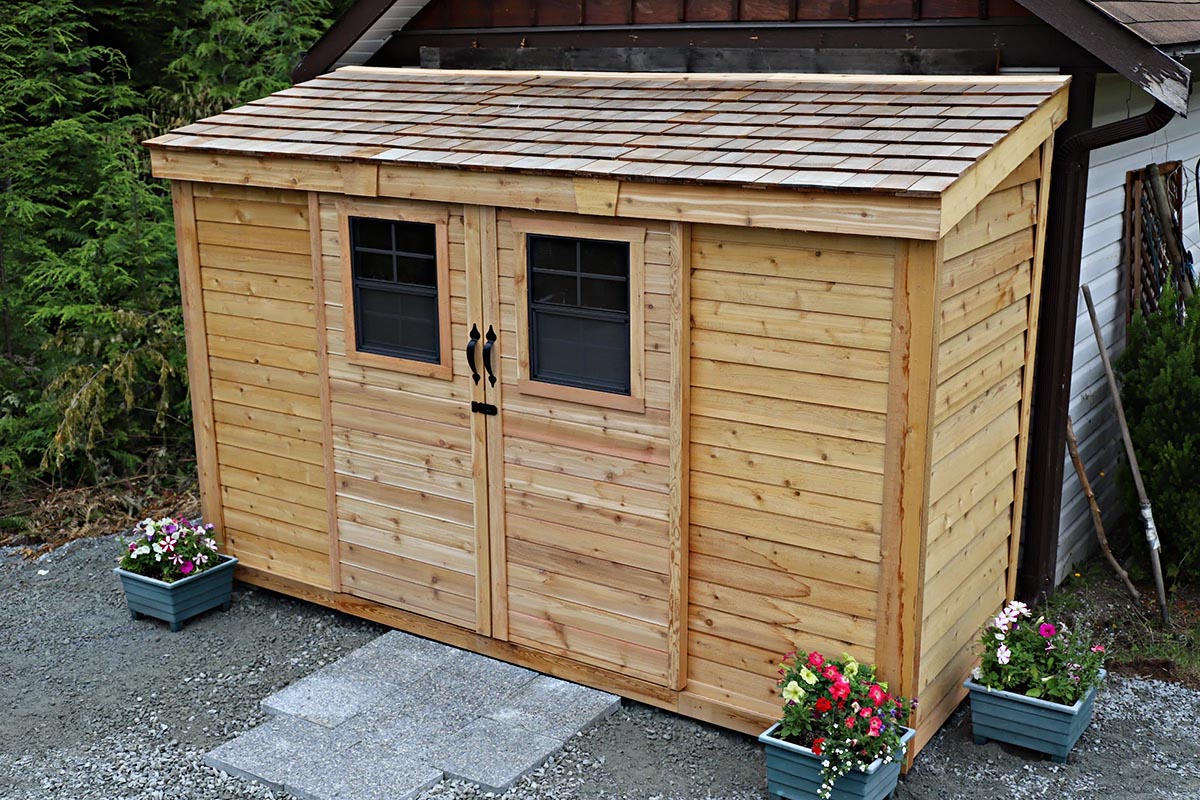
After the door is hung and any additional hardware is installed, take a moment to admire your handiwork. A well-hung shed door not only adds functionality to the structure but also contributes to its aesthetic appeal and overall value.
With the door successfully hung and secured, take the time to ensure that it operates smoothly and provides a snug fit within the door opening. This final step brings you one step closer to completing your shed construction project, knowing that you’ve built a durable and reliable door to safeguard your outdoor belongings.
Read more: How To Build A Double Shed Door
Conclusion
Congratulations! By following the step-by-step process outlined in this guide, you’ve gained the knowledge and skills to construct a sturdy and functional shed door. This essential component not only enhances the overall appearance of your shed but also provides security and protection for the items stored inside.
Throughout the construction process, you’ve learned the importance of accurate measurements, precise cutting, and meticulous assembly to create a well-constructed door that fits snugly within the shed’s door opening. By utilizing the right materials and tools, you’ve taken a significant step toward completing your outdoor structure with a durable and reliable door.
As you’ve hung the door in place and ensured its smooth operation, you’ve added the finishing touch to your shed construction project. The door not only serves a functional purpose but also contributes to the overall aesthetic and functionality of the outdoor space.
Remember, the skills and techniques you’ve acquired in building a shed door can be applied to future woodworking and construction projects. Whether it’s a garden shed, workshop, or storage unit, the knowledge gained from this experience will serve you well in future endeavors.
As you stand back and admire your completed shed door, take pride in the craftsmanship and effort you’ve invested. Your attention to detail and commitment to quality construction have resulted in a door that will serve its purpose for years to come, providing security and protection for the contents of your shed.
With the shed door in place, you can now enjoy the satisfaction of a completed outdoor structure, ready to house your tools, equipment, and outdoor essentials. Whether it’s a sunny day or a stormy night, your well-built shed door stands as a testament to your craftsmanship and dedication to creating a functional and secure outdoor space.
So, as you take a moment to appreciate your handiwork, remember that the skills and knowledge you’ve gained in building a shed door will continue to empower you in your future woodworking and construction endeavors. Well done!
Frequently Asked Questions about How To Build A Shed Door
Was this page helpful?
At Storables.com, we guarantee accurate and reliable information. Our content, validated by Expert Board Contributors, is crafted following stringent Editorial Policies. We're committed to providing you with well-researched, expert-backed insights for all your informational needs.


0 thoughts on “How To Build A Shed Door”