Home>Gardening & Outdoor>Outdoor Structures>How To Build A Barn Door For A Shed
Outdoor Structures
How To Build A Barn Door For A Shed
Modified: May 6, 2024
Learn how to build a sturdy barn door for your outdoor shed with our step-by-step guide. Create a stylish and functional entrance for your outdoor structures.
(Many of the links in this article redirect to a specific reviewed product. Your purchase of these products through affiliate links helps to generate commission for Storables.com, at no extra cost. Learn more)
Introduction
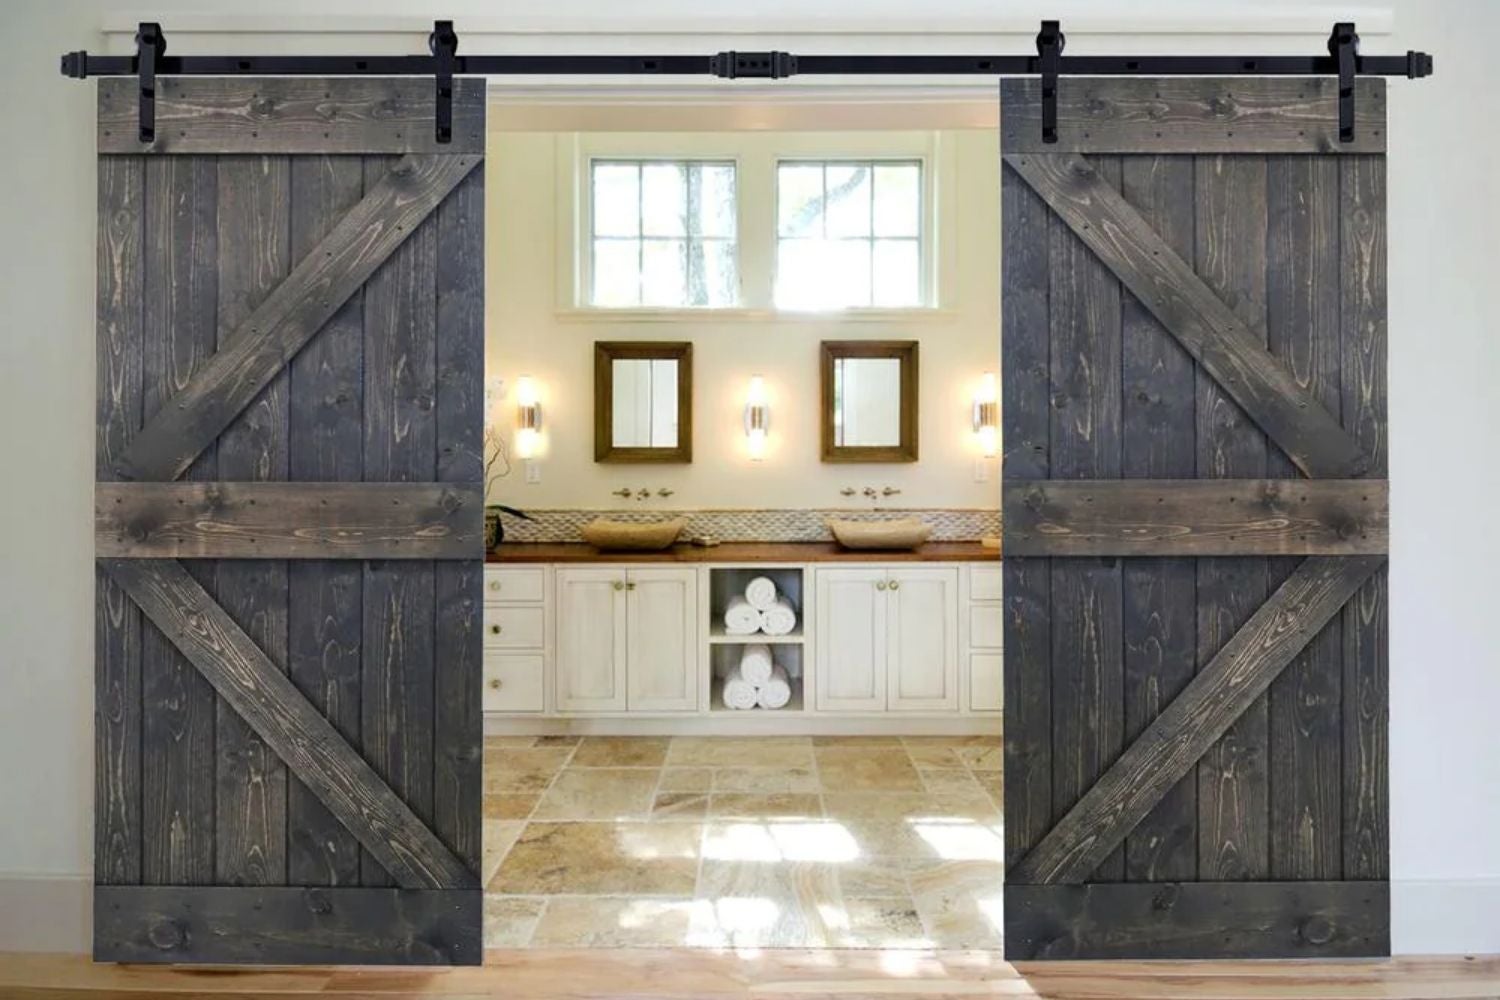
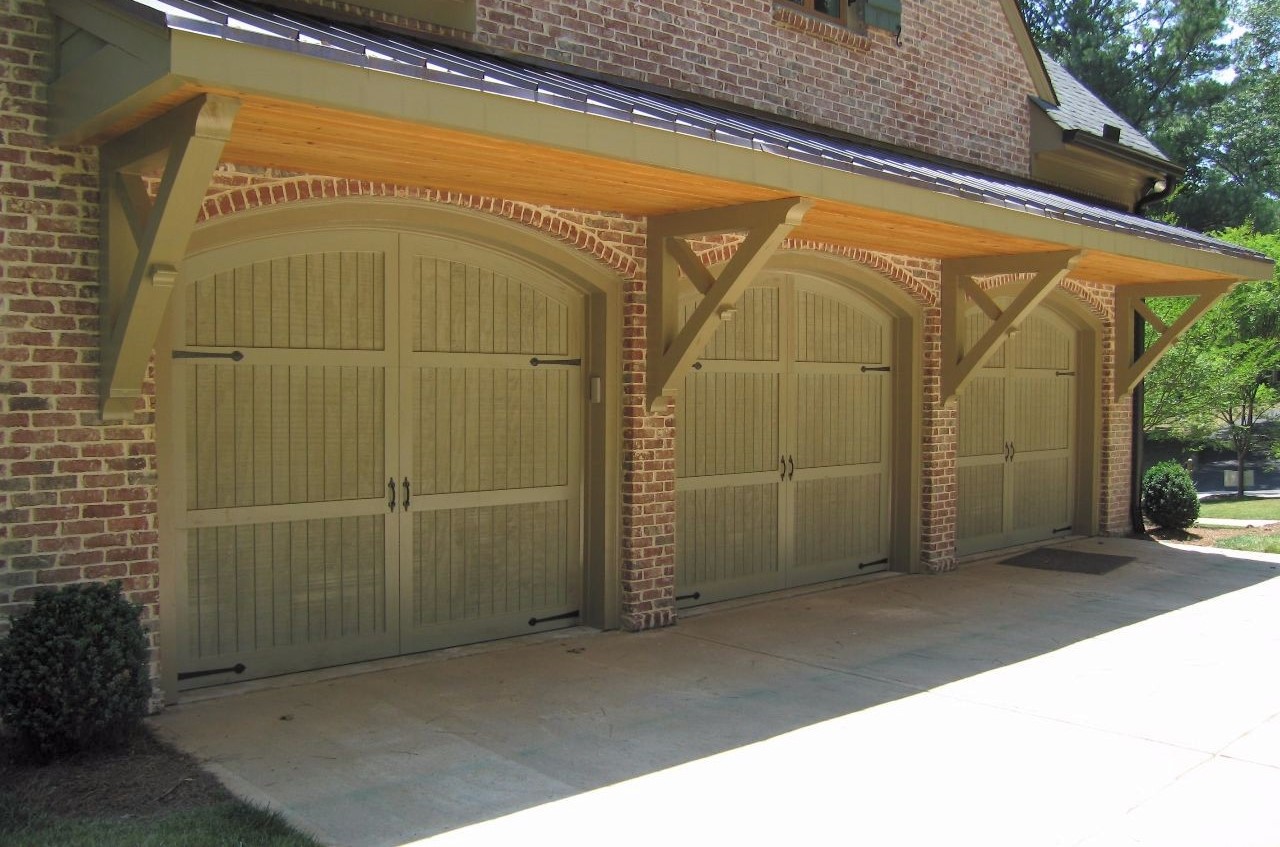
Building a barn door for your shed is a fantastic way to add functionality and rustic charm to your outdoor space. Not only does it create a visually appealing entrance, but it also offers practical benefits such as easy access and improved ventilation. Whether you’re a seasoned DIY enthusiast or a beginner looking for a rewarding project, constructing a barn door can be a fulfilling and enjoyable endeavor.
In this guide, we’ll walk through the materials and tools you’ll need, as well as the step-by-step process to build and hang a barn door for your shed. By the end, you’ll have the knowledge and confidence to embark on this project and elevate the aesthetics and functionality of your outdoor structure.
Key Takeaways:
- Building a barn door for your shed is a fun and rewarding DIY project that adds rustic charm and practical benefits to your outdoor space. It’s a great way to showcase your creativity and woodworking skills while enhancing the functionality of your shed.
- By following the step-by-step guide and using the recommended materials and tools, you can create a visually appealing and durable barn door that complements the aesthetic of your shed while providing convenient access and improved ventilation.
Materials Needed
Before diving into the construction process, it’s essential to gather all the necessary materials. Here’s a comprehensive list of what you’ll need to build a sturdy and visually appealing barn door for your shed:
- Wood planks or panels: These will form the main body of the barn door. Opt for high-quality, weather-resistant wood such as cedar or redwood for durability.
- Wood stain or paint: Choose a finish that complements the aesthetic of your shed and provides protection against the elements.
- Wood sealant: To further enhance the door’s resilience to moisture and outdoor conditions.
- Galvanized screws or nails: Ensure they are of appropriate length and thickness to securely fasten the wood panels together.
- Hinges and hardware: Select heavy-duty barn door hinges and a latch mechanism that can support the weight of the door and withstand frequent use.
- Weather-stripping: This will help create a tight seal when the door is closed, keeping out drafts, dust, and pests.
- Handles or pulls: Choose hardware that not only complements the door’s design but also provides a comfortable grip for opening and closing.
- Measuring tape and level: Essential for accurately sizing and aligning the door components during assembly and installation.
- Sandpaper and wood filler: To smooth out rough edges, imperfections, and knots in the wood, ensuring a polished final appearance.
- Protective gear: Safety goggles, gloves, and a dust mask to safeguard yourself during the construction process.
By acquiring these materials, you’ll be well-prepared to commence the construction of your barn door, setting the stage for a successful and visually appealing addition to your shed.
Tools Required
Equipping yourself with the right tools is crucial for a smooth and efficient construction process. Here’s a list of essential tools you’ll need to build and install a barn door for your shed:
- Power drill and drill bits: For creating pilot holes and driving screws or nails into the wood.
- Saw: A circular saw or miter saw for cutting the wood planks to the desired dimensions.
- Screwdriver: Both manual and electric screwdrivers can be useful for assembling the door components and attaching hardware.
- Clamps: To hold the wood pieces in place during assembly and ensure precise alignment.
- Tape measure and carpenter’s square: For accurate measurements and ensuring the door components are square and level.
- Sandpaper and sanding block: To smooth the wood surfaces and remove any rough edges or splinters.
- Wood chisel: Useful for fine-tuning the fit of hinges and latch hardware.
- Paintbrushes or sprayer: Depending on your chosen finish, you’ll need brushes or a sprayer for applying wood stain, paint, and sealant.
- Safety equipment: Eye protection, hearing protection, and a dust mask to safeguard yourself during cutting, sanding, and drilling.
- Ladder or sawhorses: For supporting and working on the door at a comfortable height.
- Level: To ensure the door is installed perfectly straight and plumb.
With these tools at your disposal, you’ll be well-equipped to tackle each stage of the barn door construction process with confidence and precision. Proper tools not only make the job easier but also contribute to the quality and longevity of the finished product.
When building a barn door for a shed, make sure to use sturdy and weather-resistant materials such as cedar or pressure-treated wood to ensure durability and longevity.
Steps to Build a Barn Door for a Shed
Building a barn door for your shed involves a series of carefully executed steps to ensure a sturdy, functional, and visually appealing final product. Here’s a detailed guide to walk you through the construction process:
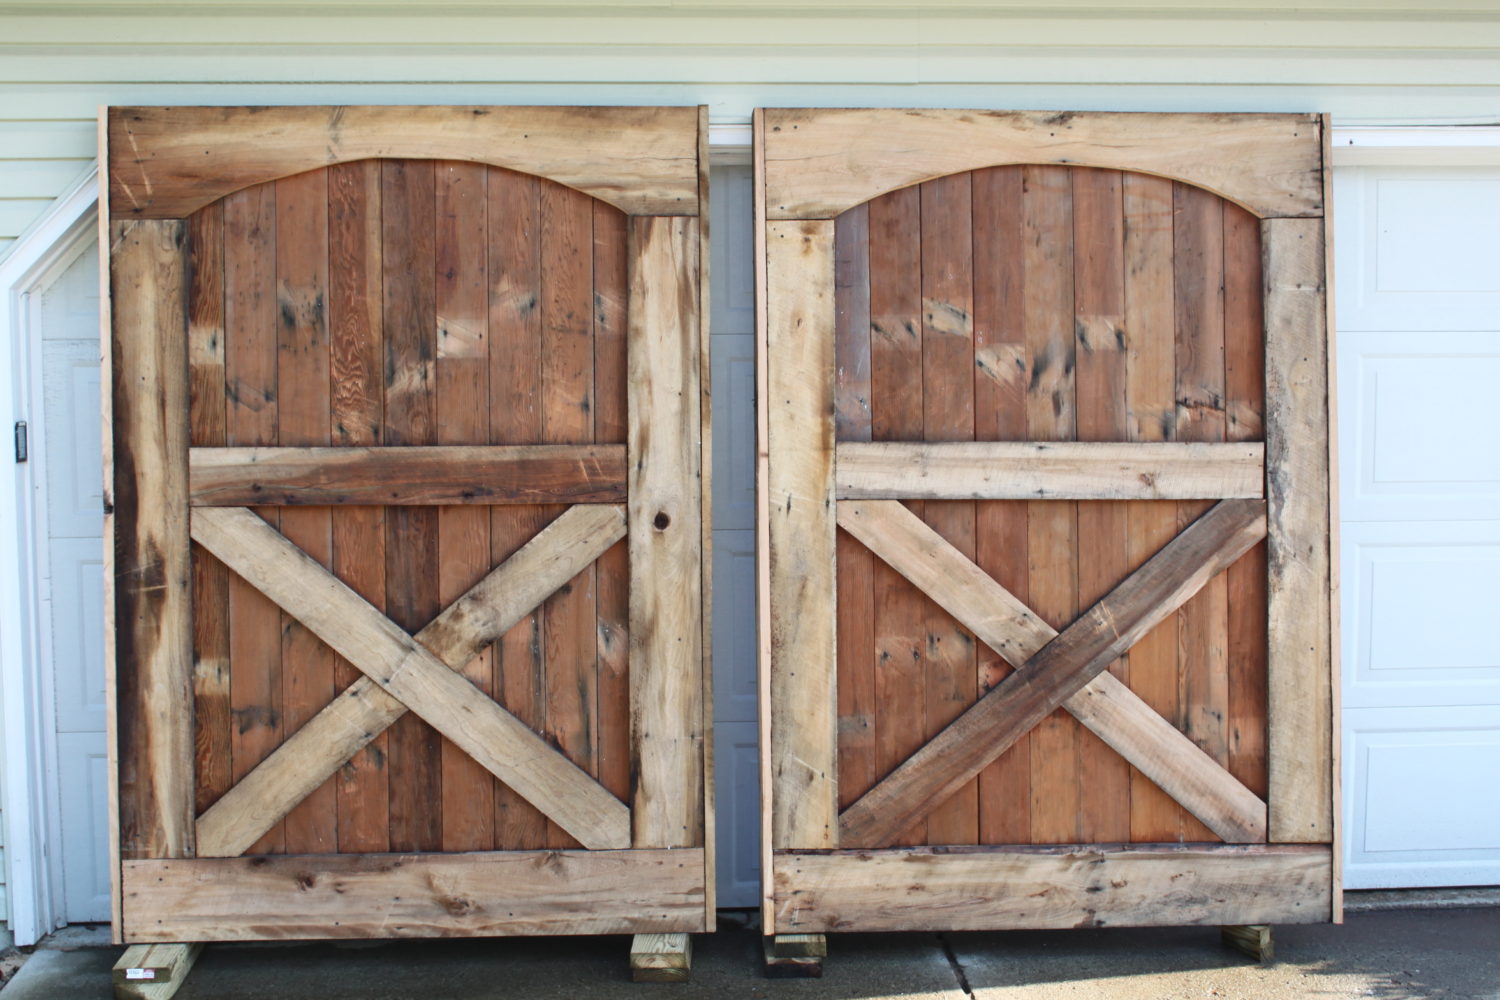
- Measure and Design: Begin by measuring the dimensions of the door opening on your shed. Use these measurements to determine the size of the door you’ll need. Consider the desired style and aesthetics, such as the arrangement of wood panels and the placement of crossbars.
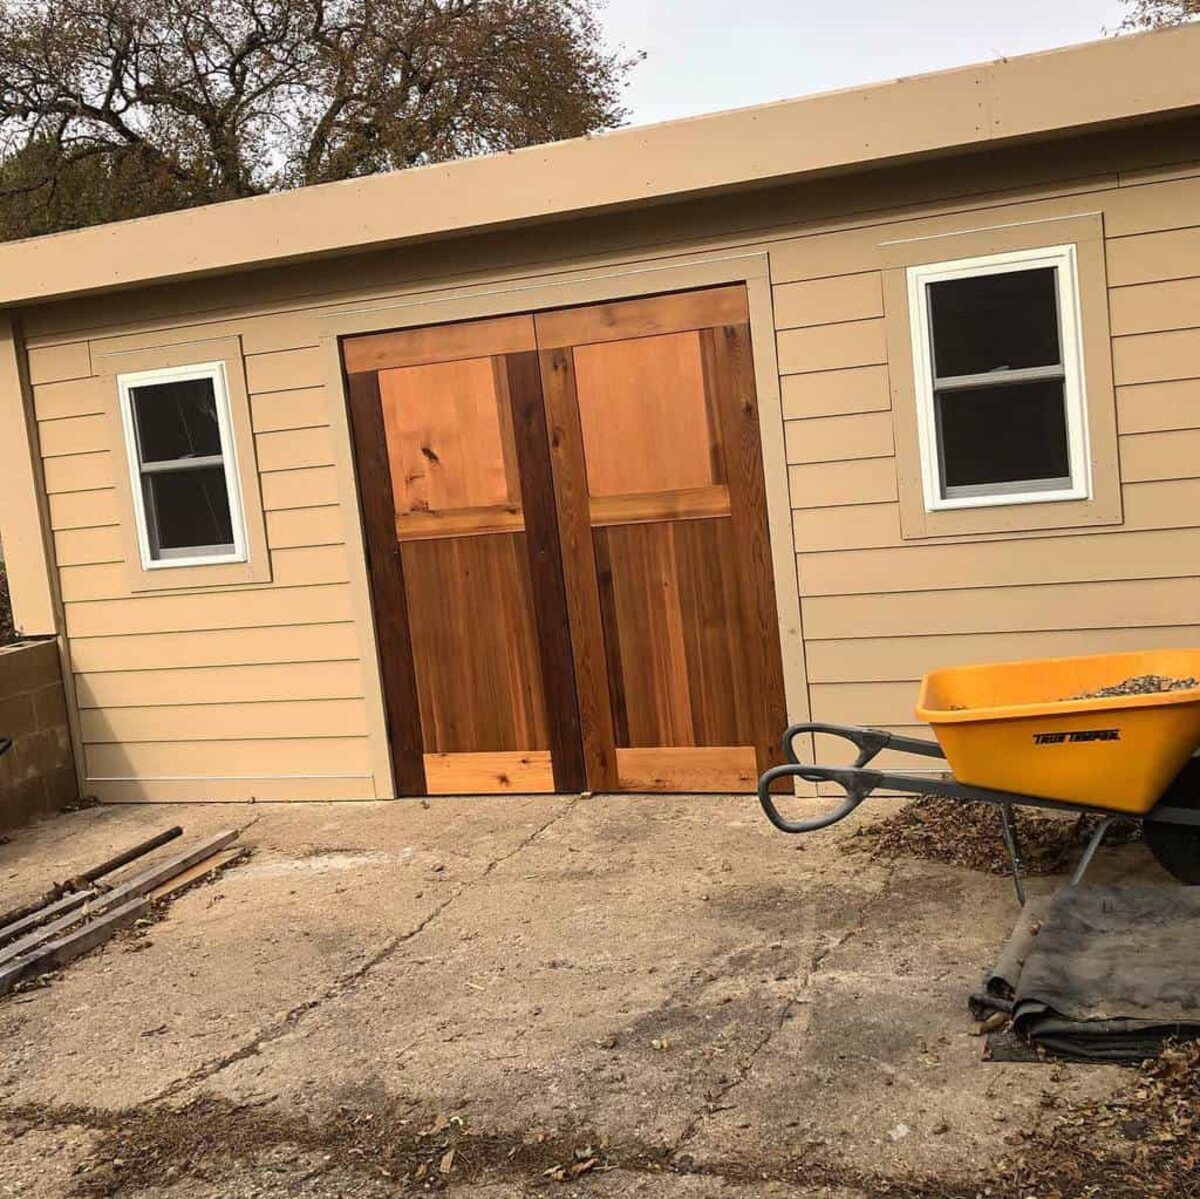
- Acquire and Prepare the Wood: Purchase high-quality wood planks or panels according to your measurements. Ensure the wood is properly treated and sealed to withstand outdoor conditions. Cut the wood to the required dimensions, accounting for the door’s height, width, and any additional design elements.
- Assemble the Door: Lay out the cut wood pieces and assemble them into the desired door configuration. Use clamps to hold the pieces together and ensure they are aligned properly. Pre-drill pilot holes and fasten the panels together using galvanized screws or nails.
- Finishing Touches: Sand the door to smooth out any rough edges and create a uniform surface. Apply wood stain or paint in accordance with your aesthetic preferences. Finish with a protective sealant to enhance durability and weather resistance.
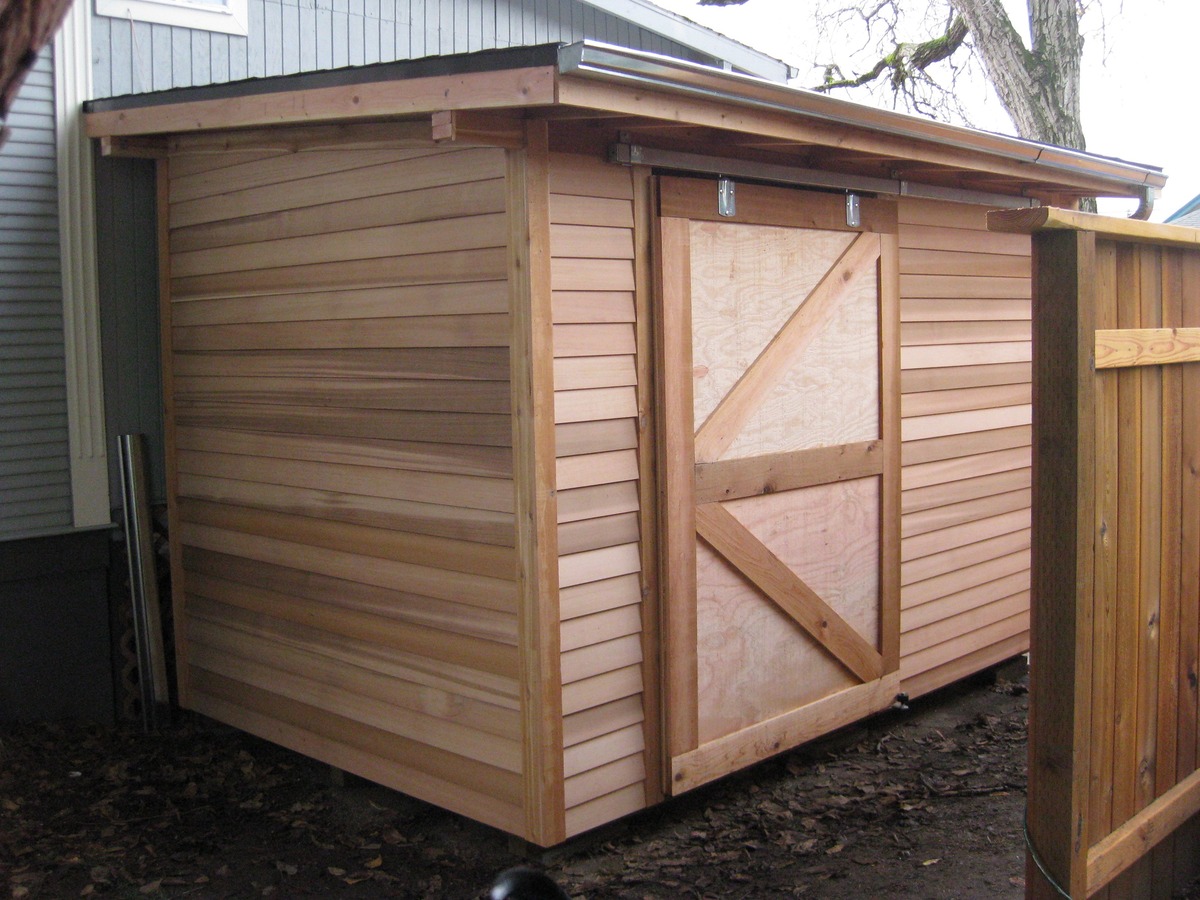
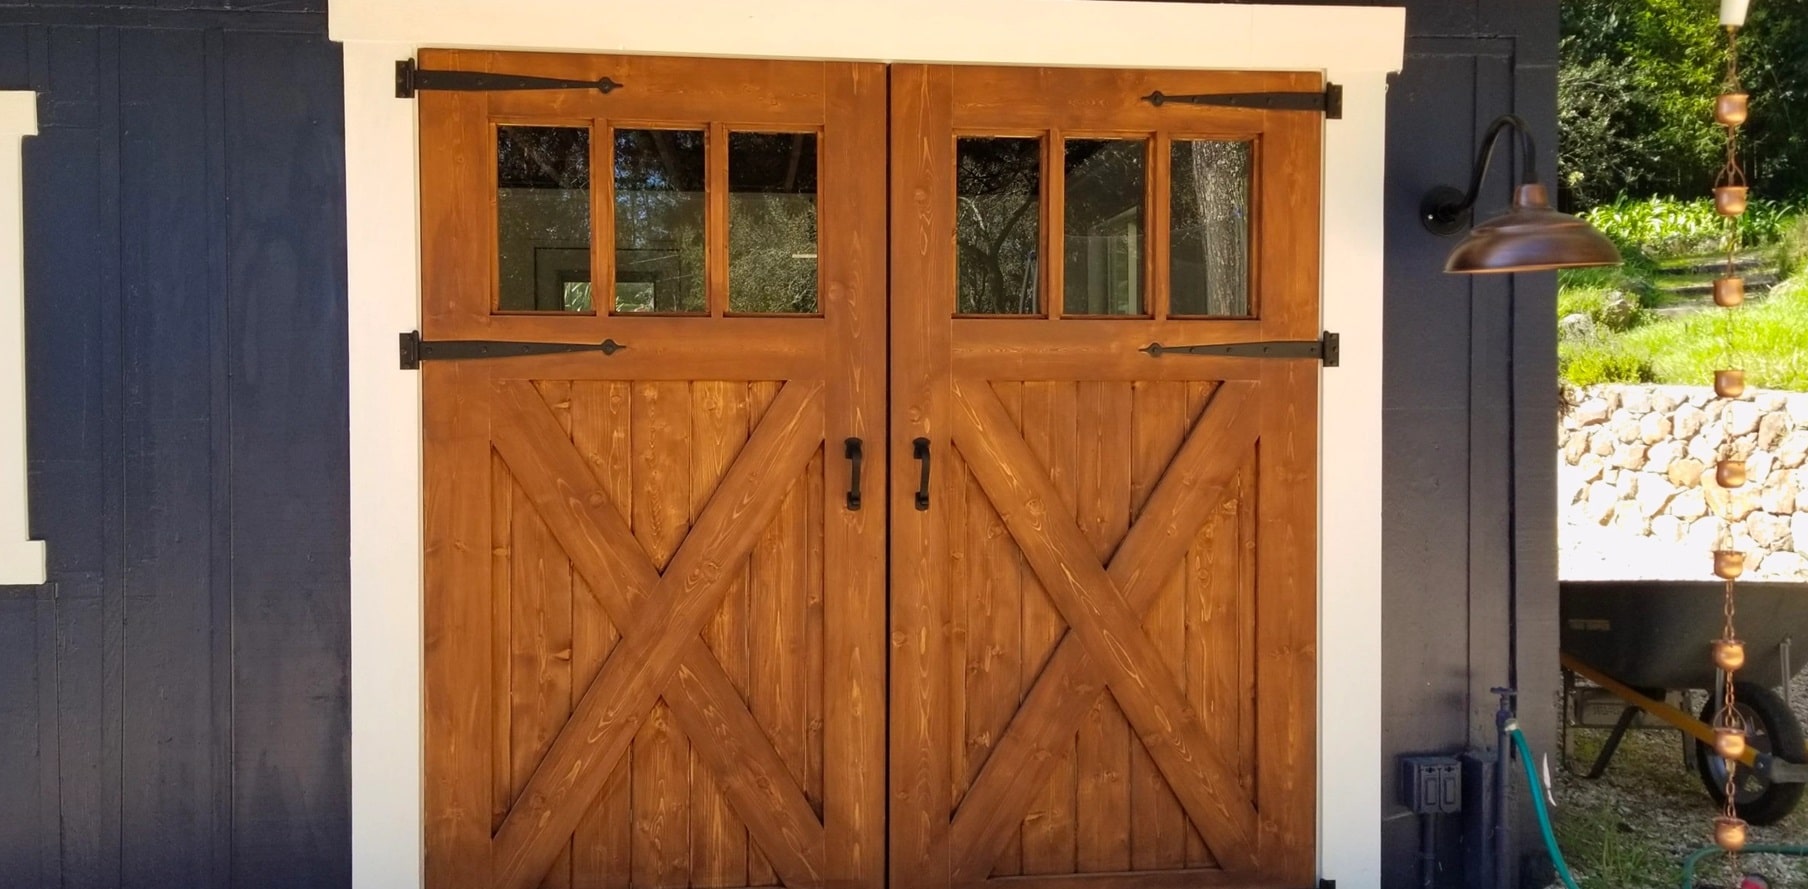
- Install Hardware: Attach heavy-duty barn door hinges to the shed’s door frame, ensuring they are securely anchored. Mount the door on the hinges and test its swing to ensure smooth operation. Install a latch mechanism, handles, and any additional hardware as per your design.
- Weatherproofing: Apply weather-stripping around the edges of the door to create a tight seal when closed. This helps to prevent drafts, moisture, and unwanted pests from entering the shed.
- Final Adjustments: Check the door for proper alignment and smooth operation. Make any necessary adjustments to ensure it opens and closes seamlessly and hangs level.
Following these steps diligently will result in a well-constructed barn door that not only enhances the functionality of your shed but also adds a touch of rustic charm to your outdoor space.
Hanging the Door
After constructing the barn door, the next crucial step is hanging it on the shed to ensure smooth operation and a secure fit. Proper installation is essential to guarantee the door’s functionality and longevity. Here’s a comprehensive guide to hanging your newly built barn door:
- Prepare the Hinges: Position the barn door hinges on the shed’s door frame. Ensure they are aligned vertically and horizontally, and mark the locations for screw holes. Pre-drill pilot holes for the screws to prevent splitting the wood.
- Mount the Hinges: Securely attach the hinges to the door frame using appropriate screws. It’s essential to use heavy-duty, weather-resistant screws to ensure the hinges can support the weight of the door and withstand outdoor conditions.
- Hang the Door: With the hinges in place, lift the barn door and align the hinge knuckles with the pins on the hinges attached to the shed. Carefully lower the door onto the hinge pins, ensuring a secure fit. Test the swing of the door to ensure it opens and closes smoothly without any obstructions.
- Install the Hardware: Once the door is hung, attach the latch mechanism, handles, and any additional hardware according to your design. Ensure that the hardware is securely fastened and functions as intended.
- Adjust for Smooth Operation: Check the door’s alignment and operation. If necessary, make adjustments to the hinges or hardware to ensure the door opens and closes smoothly and hangs level. Use a level to verify that the door is plumb and adjust as needed.
- Apply Final Touches: Once the door is hanging properly, apply any finishing touches such as additional weather-stripping or a final coat of sealant to enhance its weather resistance and longevity.
By following these steps, you can ensure that your barn door is securely and seamlessly installed, providing easy access to your shed while adding a touch of rustic elegance to your outdoor space.
Read more: How To Build A Barn-Style Shed
Conclusion
Constructing and hanging a barn door for your shed is a gratifying endeavor that not only enhances the functionality of your outdoor structure but also adds a touch of rustic charm to your property. By following the steps outlined in this guide and using the recommended materials and tools, you can create a visually appealing and durable barn door that complements the aesthetic of your shed while providing convenient access and improved ventilation.
Building a barn door allows you to infuse your personal style and creativity into your outdoor space, making it a reflection of your unique taste and preferences. Whether you opt for a traditional paneled design or a more modern interpretation, the process of crafting a barn door is an opportunity to showcase your craftsmanship and attention to detail.
Furthermore, the satisfaction of completing a DIY project that not only serves a practical purpose but also elevates the visual appeal of your property cannot be overstated. The sense of accomplishment that comes with hanging a well-constructed barn door is a testament to your skills and dedication to enhancing your living environment.
As you admire the newly installed barn door on your shed, take pride in the fact that you’ve not only added a functional and aesthetically pleasing element to your property but also acquired valuable experience in woodworking and outdoor structure enhancement. The door you’ve built is a testament to your creativity and resourcefulness, and it will continue to serve as a focal point of admiration for years to come.
Embrace the process of building and installing a barn door as an opportunity to connect with your outdoor space and make a lasting, tangible improvement to your property. With the right materials, tools, and a dash of creativity, you can transform your shed into a welcoming and visually captivating structure that reflects your individuality and craftsmanship.
Now that you've mastered building a barn door, why not dive deeper into other crafting adventures? If you're curious about the benefits and satisfaction that come from creating with your own hands, our article on DIY projects will surely intrigue. For those interested in enhancing their backyard or garden, our detailed guide on outdoor structures provides innovative ideas and designs. Woodworking enthusiasts looking forward to the upcoming year will find our compilation of the best woodworking projects for 2024 incredibly useful and inspiring. Keep building, creating, and enjoying the fruits of your labor!
Frequently Asked Questions about How To Build A Barn Door For A Shed
Was this page helpful?
At Storables.com, we guarantee accurate and reliable information. Our content, validated by Expert Board Contributors, is crafted following stringent Editorial Policies. We're committed to providing you with well-researched, expert-backed insights for all your informational needs.


0 thoughts on “How To Build A Barn Door For A Shed”