
Articles
How To Build A Roof For A Shed
Modified: October 18, 2024
Looking for articles on how to build a roof for a shed? Find step-by-step guides and expert tips for constructing a durable and functional shed roof.
(Many of the links in this article redirect to a specific reviewed product. Your purchase of these products through affiliate links helps to generate commission for Storables.com, at no extra cost. Learn more)
Introduction
Welcome to the world of shed building! One of the most important aspects of constructing a shed is building a strong and durable roof. The roof is not only responsible for providing protection from the elements but also for enhancing the overall aesthetic appeal of the shed. Whether you’re an experienced DIY enthusiast or a beginner looking to embark on your first shed-building project, this article will guide you through the process of building a roof for a shed.
Building a roof for a shed requires careful planning, proper material selection, and precise execution. By following the steps outlined in this article, you’ll be able to create a roof that is not only functional but also complements the design of your shed.
Before we dive into the details, it’s important to highlight the key factors to consider when building a shed roof. These include the shed’s design and purpose, local building codes and regulations, climate considerations, and your budget. By taking these factors into account, you can ensure that your shed roof is built to withstand the elements and meet your specific needs.
In the following sections, we will walk you through the step-by-step process of building a roof for a shed. From planning and designing to installation and finishing touches, we’ll cover everything you need to know to successfully complete this project.
Key Takeaways:
- Planning and Designing
Careful planning and design are crucial when building a shed roof. Consider dimensions, roof pitch, and local building codes to ensure a strong and aesthetically pleasing roof. - Maintenance and Final Touches
Regular maintenance, proper alignment, and attention to detail are essential for a long-lasting shed roof. Completing finishing touches and monitoring the roof’s condition will extend its lifespan.
Read more: How To Build A Lean To Roof On A Shed
Planning and Designing
The first step in building a roof for your shed is careful planning and designing. This involves considering the size, style, and purpose of your shed, as well as any local building codes or regulations that may apply.
Start by determining the dimensions of your shed and deciding on the pitch of the roof. The pitch refers to the slope or steepness of the roof. A steeper pitch is ideal for areas with heavy snowfall, as it allows the snow to slide off easily. On the other hand, a lower pitch may be more suitable for regions with mild climates.
Next, choose the type of roof you want for your shed. Common options include gable roofs, hip roofs, and gambrel roofs. Gable roofs are the most common and feature two sloping sides that meet in the center, creating a triangular shape. Hip roofs have four sloping sides that meet at a ridge, offering better stability in high-wind areas. Gambrel roofs resemble barn roofs and provide additional headroom and storage space.
Consider the materials you’ll be using for your shed roof. Options include asphalt shingles, metal roofing, cedar shakes, or even thatch for a more rustic look. Each material has its pros and cons in terms of cost, durability, and aesthetic appeal.
Take into account any building codes or regulations that may apply in your area. These regulations may specify the maximum height of the shed, setback requirements from property lines, or the need for building permits. Make sure to research and comply with these guidelines to avoid any legal issues down the line.
Finally, create a detailed plan and sketch of your shed roof design. This plan should include precise measurements, the roof pitch, the type of roofing material, and any additional features you may want to incorporate, such as skylights or vents.
By taking the time to carefully plan and design your shed roof, you’ll ensure that the construction process goes smoothly and that the final result meets your expectations.
Gathering Materials and Tools
Once you have a well-thought-out plan for your shed roof, the next step is to gather all the necessary materials and tools. Having everything ready and organized beforehand will save you time and make the construction process more efficient.
The materials you’ll need will depend on the design and style of your shed roof. Common materials include:
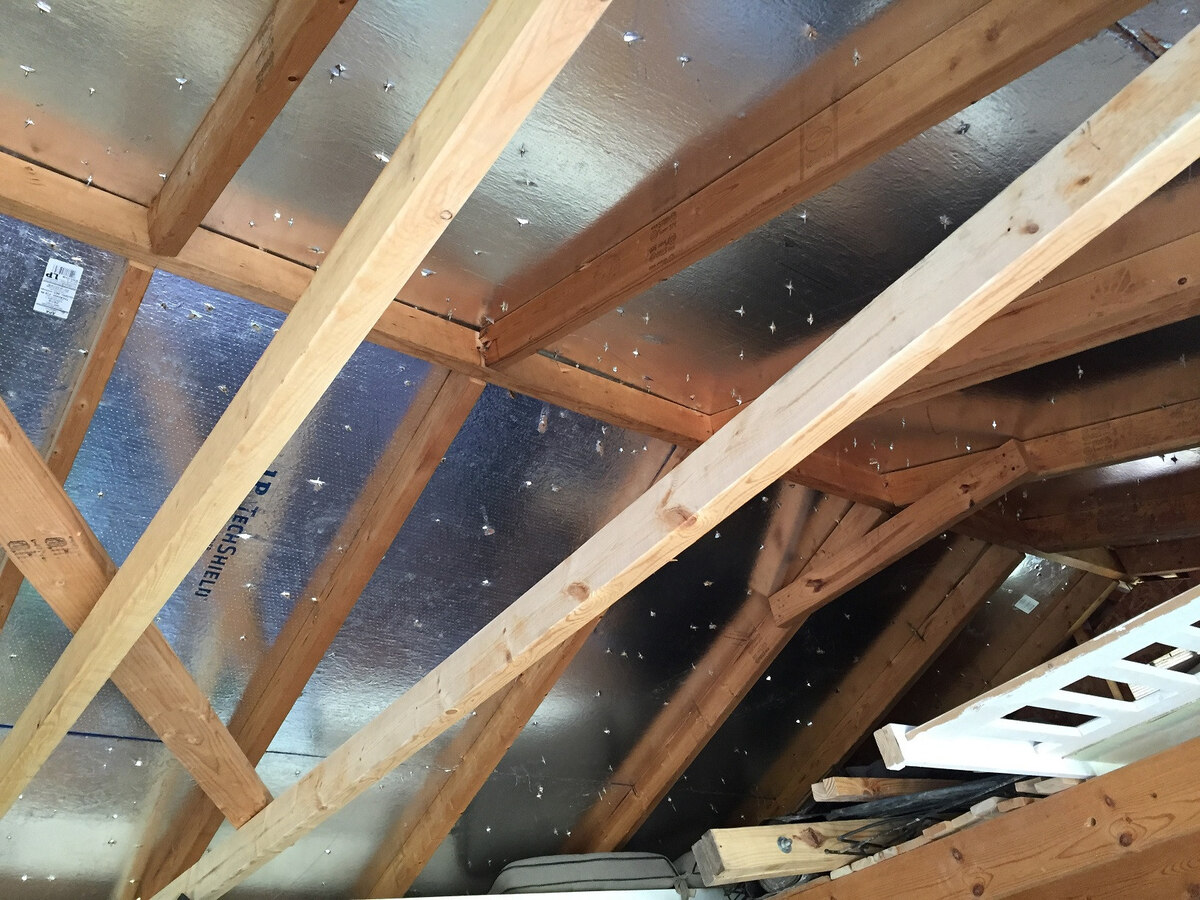
- Roof trusses or rafters: These are the main structural components that support the weight of the roof.
- Roof sheathing: This is the layer of boards or panels that are attached to the trusses or rafters and provide a base for the roofing material.
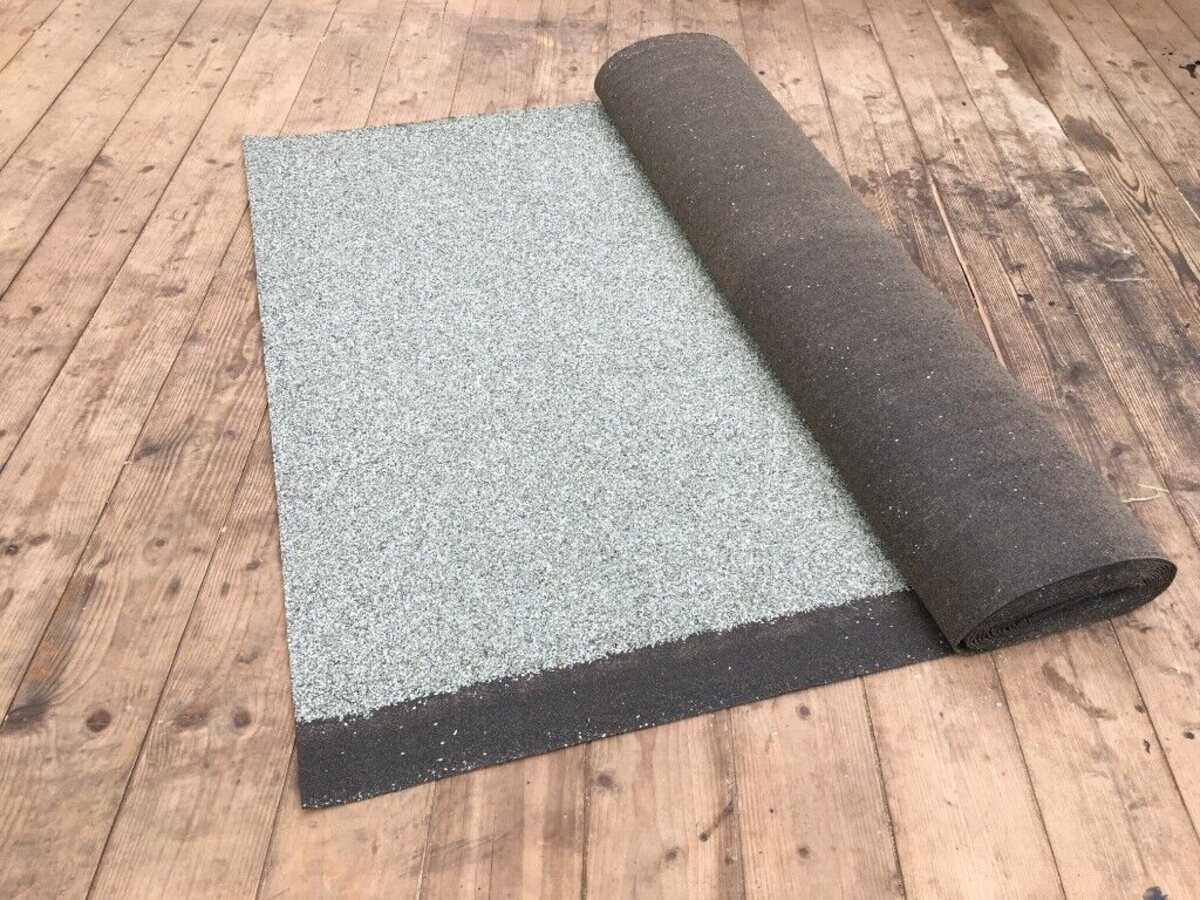
- Roofing underlayment: This is a waterproof barrier that is installed between the roof sheathing and the roofing material to protect against leaks.
- Roofing material: Options include asphalt shingles, metal sheets, cedar shakes, or other types of roofing materials.
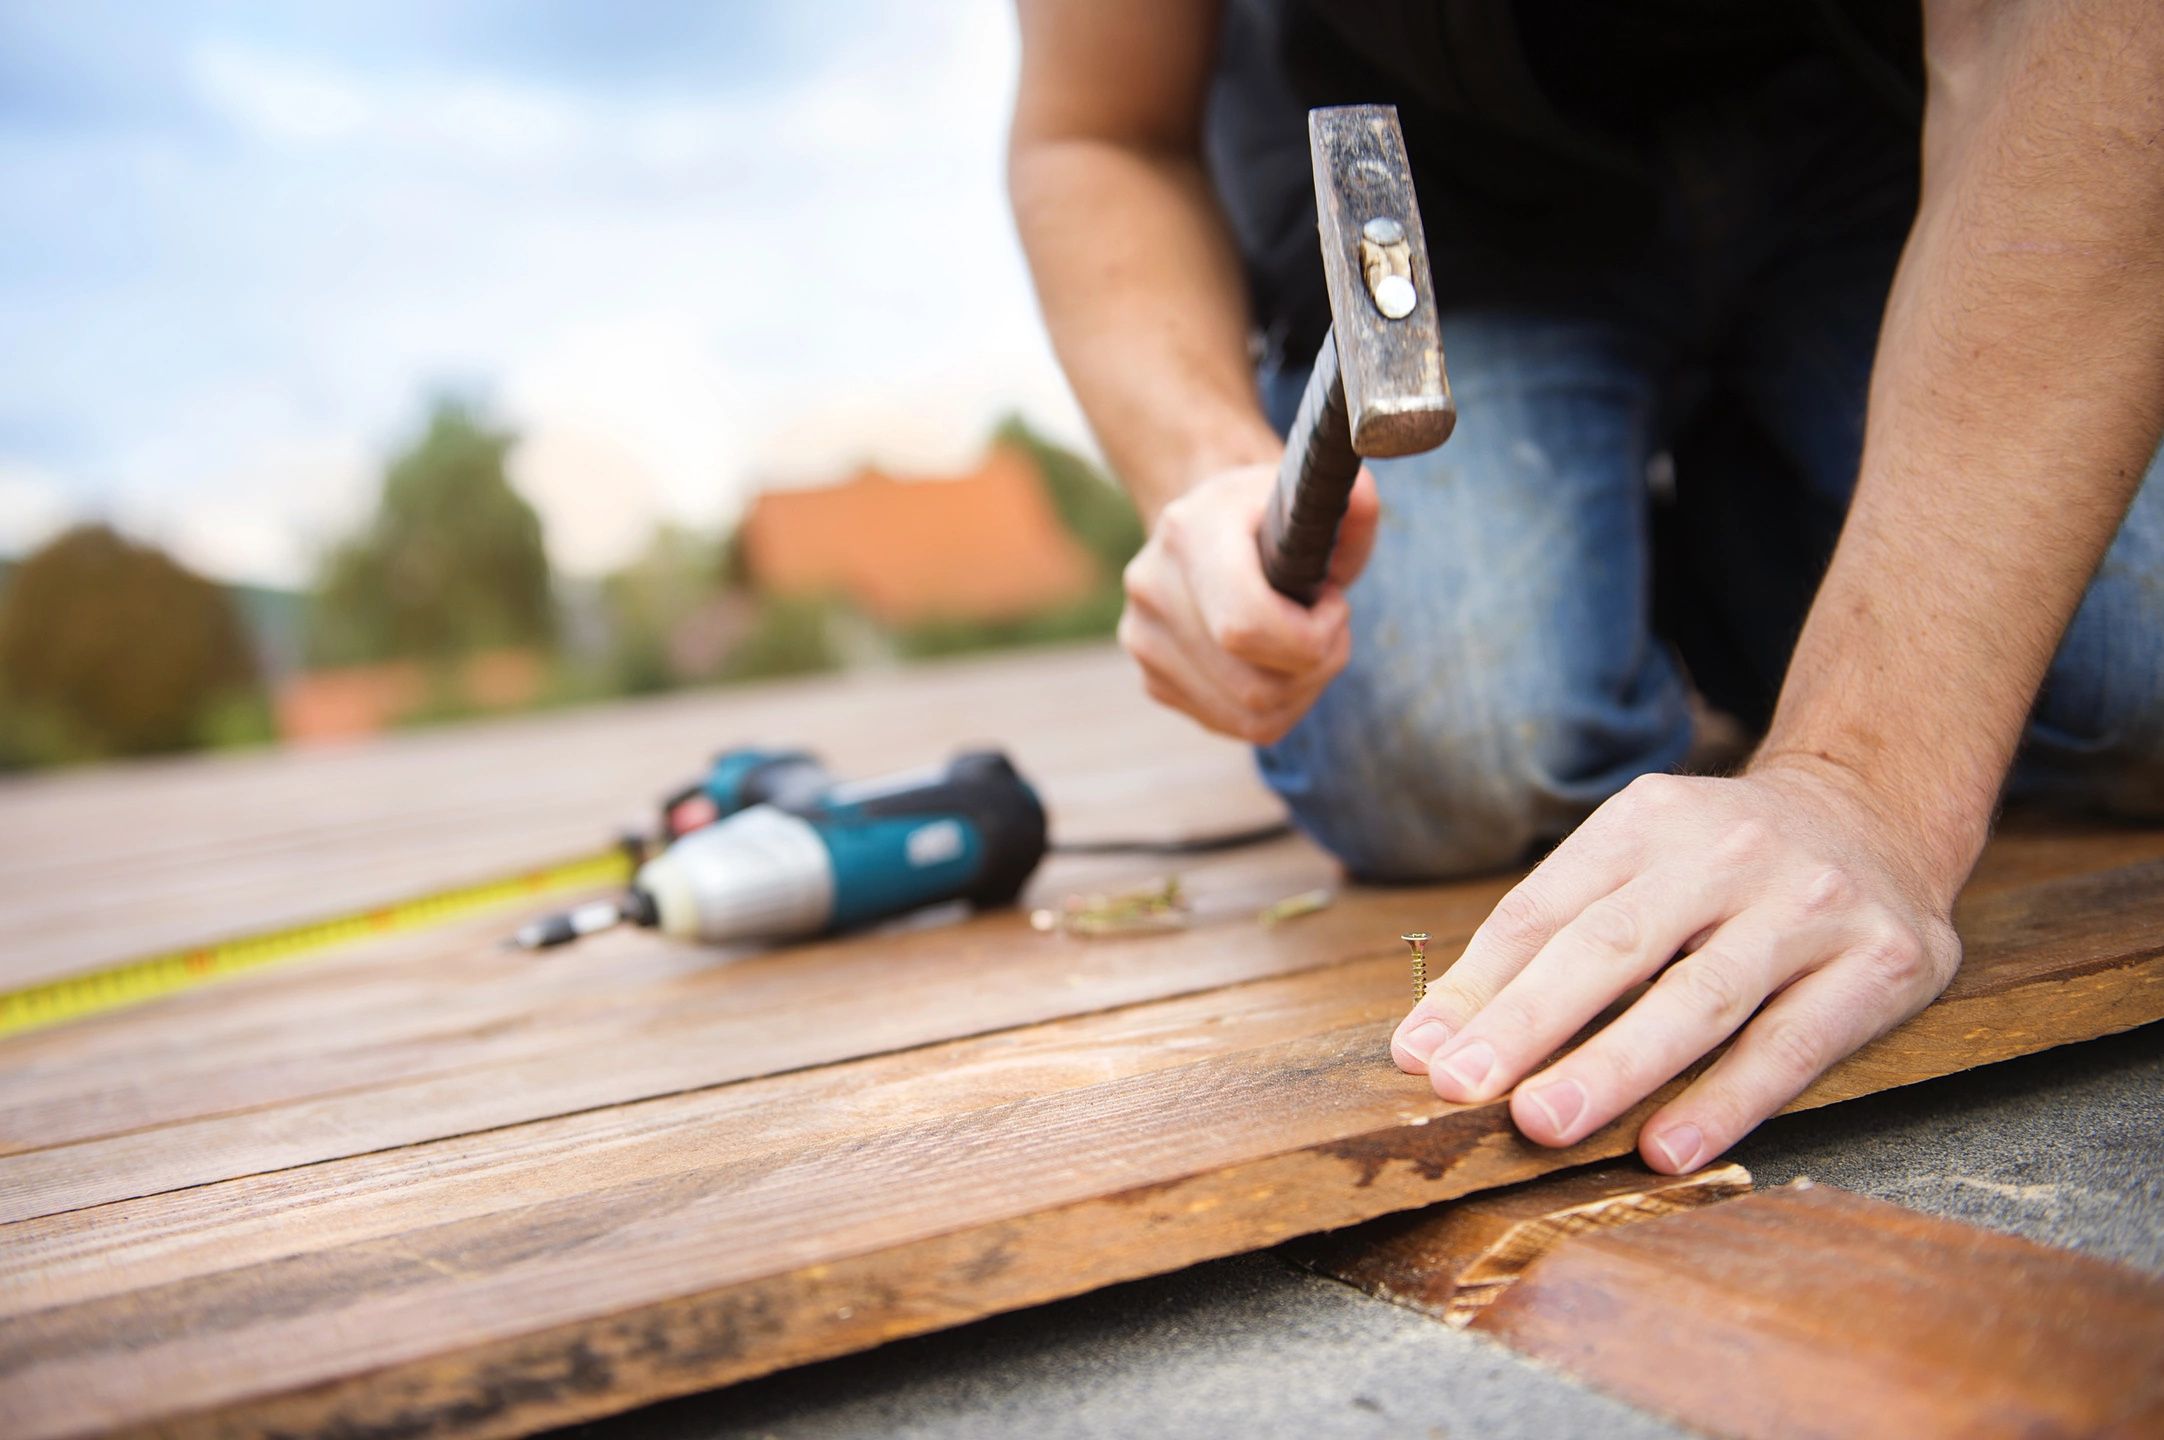
- Fasteners: Nails or screws will be needed to secure the roof sheathing and roofing material in place.
- Flashing: These metal strips are used to seal joints and prevent water from seeping into the roof.
- Gutters and downspouts: If you want to capture and redirect rainwater, you’ll need these components.
In addition to the materials, you’ll need a set of tools to complete the job. Some essential tools for building a shed roof include:
- Tape measure: For taking accurate measurements.
- Hammer or nail gun: For attaching the roof sheathing and fastening the roofing material.
- Saw: To cut the roof trusses or rafters and any other needed materials.
- Roofing nailer: If you’re using asphalt shingles, a roofing nailer will make the installation process faster and easier.
- Level: To ensure that the roof trusses or rafters are installed straight and level.
- Chalk line: For marking guidelines and ensuring proper alignment during installation.
- Safety equipment: Don’t forget to wear safety goggles, gloves, and a hard hat to protect yourself during the construction process.
Make a list of all the required materials and tools and ensure that everything is readily available before you start building your shed roof. This way, you’ll be well-prepared and ready to tackle each step without delays.
Preparing the Shed Structure
Before you can start installing the roof trusses or rafters, you need to ensure that the shed structure is prepared and ready to support the weight of the roof. This involves checking the stability of the walls, reinforcing any weak areas, and making necessary adjustments.
Start by inspecting the walls of the shed. Check for any signs of damage, such as cracks or rot, and repair them as needed. Reinforce the corners and joints of the walls to ensure they are strong and sturdy.
If your shed has an existing roof, remove it before proceeding. Carefully dismantle the old roof, taking care not to damage the shed’s structure. This will provide a clean slate for installing the new roof.
Next, assess the load-bearing capacity of the shed. Consider the design and weight of the roof you’ll be installing, as well as any additional loads, such as snow or wind. If necessary, reinforce the shed’s walls or add support beams to ensure it can withstand the weight of the roof.
Check the alignment and levelness of the shed walls. Use a level to ensure that all the walls are plumb and straight. If you notice any unevenness, make adjustments by shimming or adjusting the foundation.
Before moving on to the next step, it’s important to ensure that the shed walls are properly sealed and weatherproofed. Apply a coat of weather-resistant paint or sealant to protect the wood from moisture and prolong its lifespan.
By taking the time to prepare the shed structure, you’ll create a solid foundation for installing the roof trusses or rafters. This will ensure the structural integrity of the shed and provide a secure base for the roof.
Installing Roof Trusses
Once the shed structure is prepared, it’s time to install the roof trusses or rafters. These are the key components that provide support and shape to the roof. Follow these steps to ensure proper installation:
1. Start by determining the spacing between the trusses. This will depend on the design of your shed and the weight requirements of the roof. Typically, trusses are spaced 24 inches apart, but refer to your building plans or local building codes for specific guidelines.
2. Measure and mark the locations of the trusses on the top plate of the shed walls. Use a chalk line or a straightedge to create guidelines for accurate installation.
3. Lift the first truss up onto the shed walls, positioning it along the marked guideline. Ensure that it is centered and aligned properly. Use temporary braces or clamps to hold the truss in place.
4. Nail or screw the truss to the shed walls using appropriate fasteners. Make sure it is securely attached. Repeat this process for the remaining trusses, following the marked guidelines.
5. Use a level to check the alignment and pitch of each truss. Adjust as necessary to ensure a straight and even roof. A consistent pitch will promote proper water drainage.
6. Connect the trusses together using ridge boards or truss bracing. These components provide additional stability and support to the roof structure. Follow the manufacturer’s instructions for the specific connectors you are using.
7. Once all the trusses are installed and connected, reinforce their connections to the shed walls. This can be done with metal brackets or additional framing to enhance the structural integrity of the roof.
By properly installing the roof trusses, you’ll create a solid and stable framework for the shed roof. This step is crucial in ensuring the strength and durability of the overall structure.
Read more: How To Build A Green Roof On A Shed
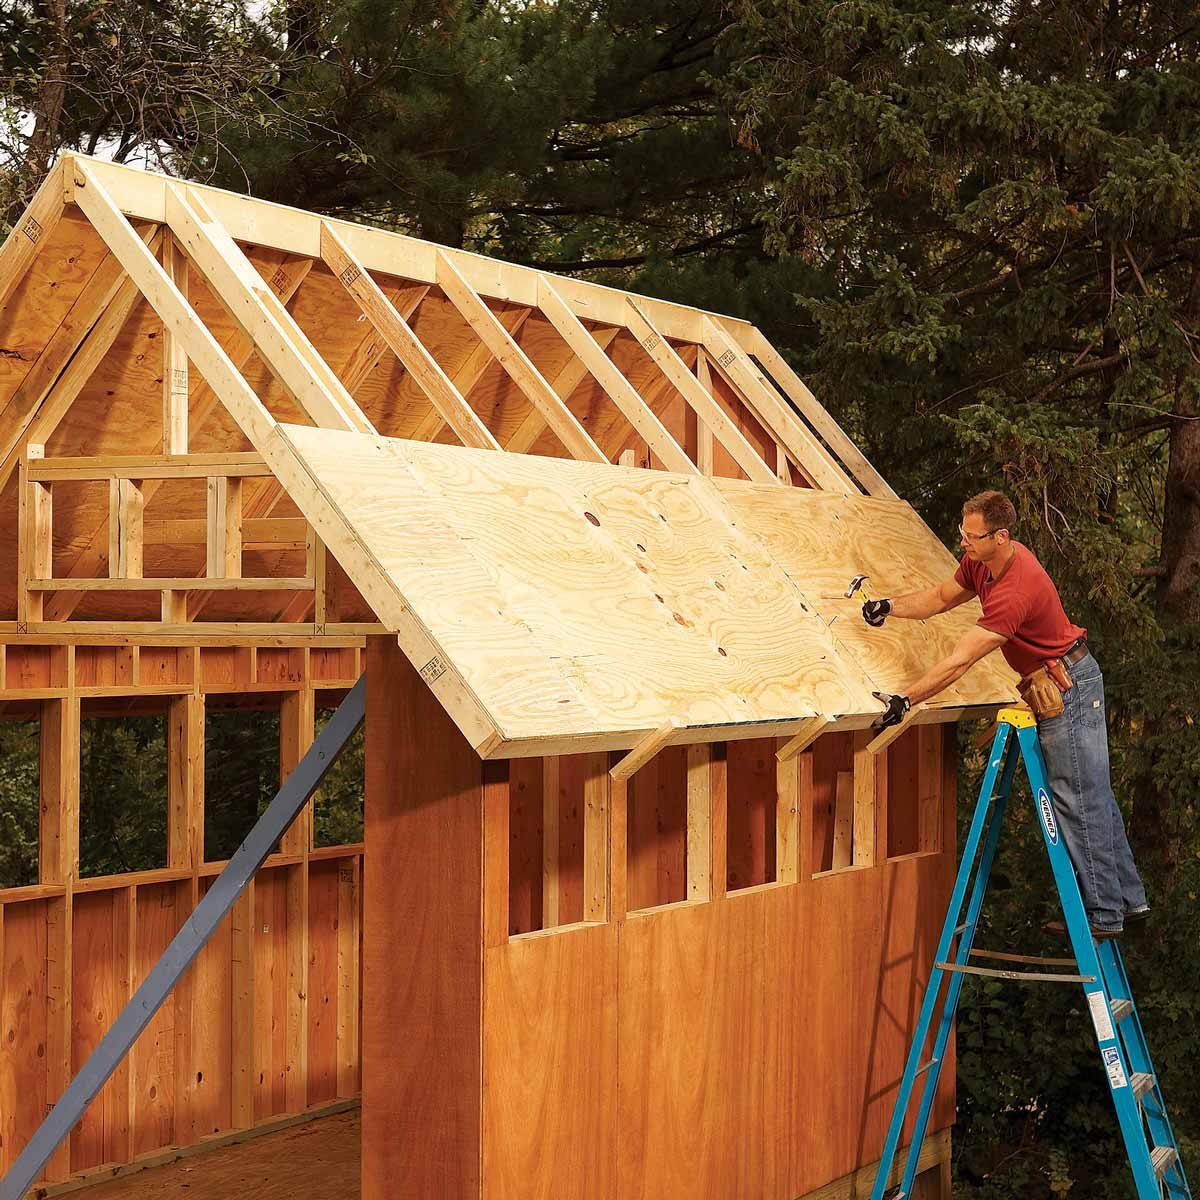
Attaching Roof Sheathing
With the roof trusses in place, the next step is to attach the roof sheathing. This layer of boards or panels serves as the base for the roofing material and provides structural support for the roof. Here’s how to attach the roof sheathing:
1. Start by measuring and cutting the roof sheathing panels to fit the dimensions of your shed roof. Use a saw or a circular saw to make precise cuts.
2. Begin at one edge of the roof and align the first panel with the edge of the shed. Make sure it is flush against the first truss or rafter. Use nails or screws to secure the panel to the truss or rafter, following the manufacturer’s recommended spacing.
3. Continue installing the roof sheathing panels, working your way across the roof. Stagger the seams of the panels to enhance the strength and stability of the roof. Use a chalk line or a straightedge to ensure that the panels are straight and aligned properly.
4. When installing the subsequent panels, make sure to leave a small gap (around 1/8 inch) between them to allow for natural expansion and contraction due to temperature changes.
5. Secure each panel to the trusses or rafters with nails or screws, ensuring that they are tightly fastened. Check the levelness and alignment of the panels as you go along.
6. To enhance the weather resistance of the roof, consider applying adhesive or caulking along the seams and edges of the roof sheathing panels. This will help create a more watertight barrier.
7. Once all the roof sheathing panels are installed, inspect the roof for any loose or protruding nails or screws. Hammer down any raised fasteners to ensure a smooth surface.
By properly attaching the roof sheathing, you’ll create a solid and stable foundation for the roofing material. This step is crucial in providing structural support and ensuring the durability of the shed roof.
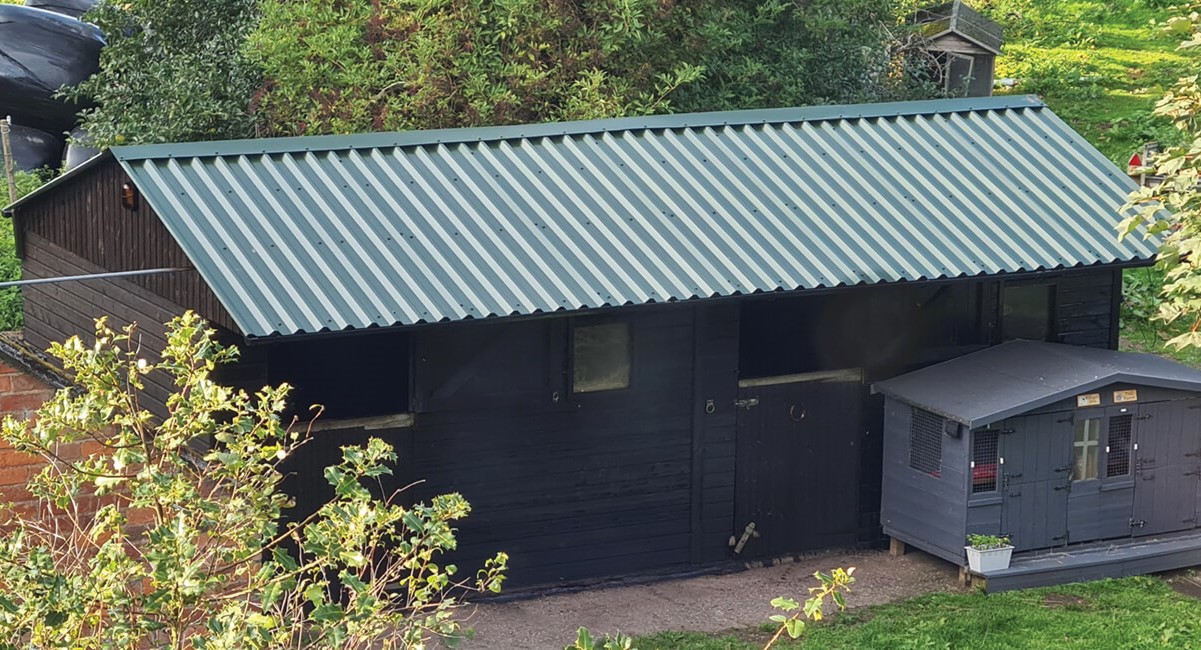
When building a roof for a shed, make sure to use quality materials that can withstand the elements. Consider using metal roofing for durability and longevity.
Adding Roofing Underlayment
After the roof sheathing is installed, the next step is to add roofing underlayment. This protective layer is placed between the roof sheathing and the final roofing material to provide an extra barrier against water infiltration. Follow these steps to add roofing underlayment to your shed roof:
1. Choose the type of roofing underlayment that suits your needs. Common options include asphalt felt, synthetic underlayment, or specialized waterproof membranes. Refer to the manufacturer’s instructions for the specific underlayment you are using.
2. Start at the bottom edge of the roof and unroll the underlayment horizontally. Make sure it overlaps the eaves by a few inches. Secure the underlayment with roofing nails or staples, following the recommended spacing provided by the manufacturer.
3. Continue unrolling and aligning the underlayment, working your way up the roof. Ensure that each row overlaps the previous row by the specified amount, typically around 4 to 6 inches. This overlapping pattern helps channel water away from the roof and prevents leaks.
4. Trim any excess underlayment using a utility knife to ensure a neat and even installation. Take care not to cut too close to the edge, as this can compromise the waterproofing properties of the underlayment.
5. As you install the underlayment, carefully seal any seams or joints using roofing cement or an adhesive recommended by the manufacturer. This helps create a watertight barrier and prevents water penetration.
6. Pay special attention to areas such as valleys, ridges, and around protrusions like chimneys or vents. Apply additional layers or specialized flashing materials to reinforce these vulnerable areas and ensure proper waterproofing.
7. Inspect the underlayment for any wrinkles, bubbles, or loose sections. Smooth out any imperfections to ensure a tight and secure installation.
By adding roofing underlayment, you’re providing an additional layer of protection for your shed roof. This extra barrier helps shield the roof from moisture and extends the lifespan of the final roofing material.
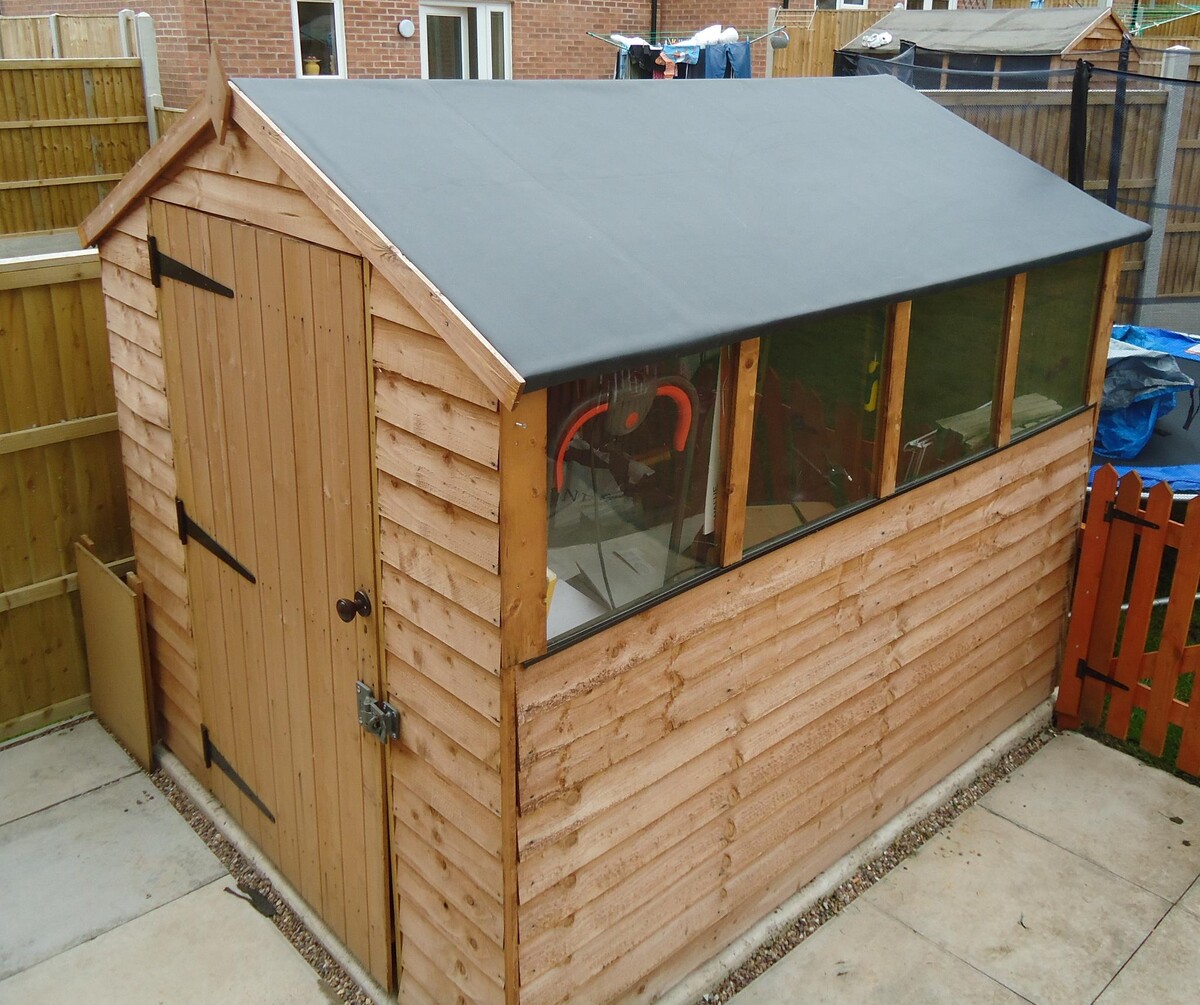
Installing Roofing Material
Now that the roof underlayment is in place, it’s time to install the final roofing material onto your shed roof. The type of material you choose will depend on your personal preference, budget, and the overall design of your shed. Follow these general steps to install the roofing material:
1. Start by measuring and cutting the roofing material to fit the dimensions of your shed roof. Take precise measurements and use a saw or specialized cutting tools to ensure accurate cuts.
2. Position the first piece of roofing material at the bottom edge of the roof, aligned with the eaves or starting point. Secure it in place using roofing nails or screws, following the manufacturer’s recommended spacing and placement.
3. Continue installing the roofing material, working your way up the roof in rows. Overlap each piece according to the manufacturer’s instructions to ensure proper water drainage. This overlapping pattern varies depending on the type of roofing material you’re using, so be sure to follow the guidelines specific to your chosen material.
4. Use a level or straightedge to ensure that each row of roofing material is straight and aligned properly. This will help maintain a clean, even appearance for your shed roof.
5. If you’re using asphalt shingles, secure each shingle with roofing nails, making sure to nail them into the designated areas indicated by the manufacturer. For other types of roofing materials, follow the specific installation instructions provided by the manufacturer.
6. Pay attention to any unique features or areas on your shed roof, such as valleys, ridges, or vents. Use specialized roofing materials or techniques to properly seal and protect these areas from potential leaks.
7. As you install the roofing material, periodically step back and inspect your work. Check for any visible defects, uneven surfaces, or areas that may require adjustments. Make any necessary corrections to ensure a high-quality installation.
8. Finally, install any required ridge caps, vents, or other finishing elements to complete the roofing installation. Follow the manufacturer’s instructions for these specific components to ensure a professional and well-sealed roof.
By installing the roofing material carefully and accurately, you’ll bring your shed roof to life and provide long-lasting protection for your structure. Take your time and follow the manufacturer’s guidelines to achieve the best results.
Adding Gutters and Downspouts
Adding gutters and downspouts to your shed roof is an important step to effectively manage rainwater runoff and protect the foundation and surrounding areas from water damage. Here’s how to install gutters and downspouts on your shed:
1. Assess the layout and measurements of your shed roof to determine the best placement for the gutters. Gutters are typically installed along the eaves, which are the edges of the roof that overhang the walls. Consider factors such as the slope of the roof and the location of downspouts.
2. Choose the type and size of gutters that are appropriate for your shed. Common options include vinyl, aluminum, or steel gutters. Consider the local climate and the amount of rainfall when selecting the size of the gutters. Larger gutters can handle more water, but they may not be necessary for a smaller shed.
3. Install gutter brackets or hangers along the eaves of the shed roof at regular intervals. These brackets will support the weight of the gutters. Follow the manufacturer’s instructions for spacing and attachment methods.
4. Attach the gutter sections to the brackets, ensuring that they are properly aligned and have a slight slope towards the downspouts for water flow. Secure the gutters to the brackets using screws or rivets, as recommended by the manufacturer.
5. Install end caps on the gutters to provide a finished look and prevent water from escaping through the ends. Use sealant or adhesive to secure the end caps in place.
6. Attach downspouts to the gutters to direct the water away from the shed. Place the downspouts in locations that allow for the most efficient water drainage. Use elbows and brackets to securely attach the downspouts to the gutters and the ground.
7. Consider adding splash blocks or extensions at the ends of the downspouts to further redirect water away from the shed and prevent soil erosion.
8. Test the effectiveness of the gutter system by running water through the gutters and observing the flow and drainage. Ensure that water is properly directed away from the shed and does not accumulate near the foundation or other structures.
Regularly clean and maintain the gutters to prevent clogs and ensure optimal performance. Remove debris such as leaves and twigs that can block the flow of water.
By installing gutters and downspouts, you’ll effectively manage rainwater runoff from your shed roof, protecting the structure and its surroundings from potential water damage.
Read more: How To Build Gambrel Shed Roof Truss
Finishing Touches and Maintenance
Once the main components of your shed roof are installed, there are a few finishing touches and ongoing maintenance tasks to complete. These final steps will help ensure the longevity and functionality of your shed roof:
1. Inspect the entire roof for any loose or protruding nails, screws, or fasteners. Hammer down any raised fasteners to ensure a smooth surface that won’t catch debris or pose a safety hazard.
2. Check the alignment and overall appearance of the roof. Ensure that the roof sheathing, roofing material, gutters, and downspouts are all properly aligned and uniform for a polished look.
3. Seal any gaps or openings in the roof, such as around vents or chimneys, to prevent water leakage. Use appropriate flashing or caulking materials to provide a watertight seal.
4. Consider adding insulation to your shed roof if you plan to use the space for storage or as a workspace. Insulation will help regulate temperature and prevent condensation buildup.
5. Regularly clean and maintain the gutters and downspouts to prevent clogging. Remove leaves, debris, and any obstructions to ensure proper water flow and prevent backups that can cause water damage.
6. Monitor the condition of the roofing material over time. Look for signs of wear, damage, or deterioration, such as cracked shingles or rusted metal. Address any issues promptly to prevent further damage and costly repairs.
7. Trim tree branches that hang over the roof to prevent them from rubbing against or damaging the roofing material during storms or high winds.
8. Inspect the roof regularly to identify and address any potential issues, such as loose or missing shingles, damaged flashing, or signs of leaks. Performing routine maintenance and repairs will help prolong the lifespan of your shed roof.
9. Consider applying a protective coating or sealant to the roofing material to enhance its durability and resistance to weathering. Consult with a professional or refer to the manufacturer’s recommendations for the best product and application method.
By completing these finishing touches and performing regular maintenance, you’ll ensure that your shed roof remains in optimal condition and provides lasting protection for your shed and its contents.
Conclusion
Building a roof for your shed is a challenging but rewarding project that requires careful planning, precise execution, and attention to detail. By following the step-by-step process outlined in this article, you can confidently construct a strong and durable roof that enhances the functionality and aesthetics of your shed.
Remember to start with thorough planning and design, considering factors such as the shed’s dimensions, roof pitch, and local building codes. Gathering all the necessary materials and tools beforehand will help streamline the construction process and ensure you have everything you need at your fingertips.
Preparing the shed structure is a crucial step in creating a solid foundation for your roof. Reinforce weak areas, align the walls, and ensure that the structure is stable and weatherproofed.
The installation of roof trusses or rafters lays the groundwork for the roof’s structure, while attaching roof sheathing provides a sturdy base for the roofing material. Adding roofing underlayment further enhances protection against water infiltration.
Installing the chosen roofing material and adding gutters and downspouts is the final step in creating a functional and visually appealing shed roof. Pay attention to proper installation techniques, alignment, and maintenance of these components to ensure optimal performance.
Completing the finishing touches and regular maintenance, such as cleaning gutters and monitoring the condition of the roofing material, will extend the longevity of your shed roof and minimize the need for repairs.
Building a roof for your shed requires patience, precision, and careful attention to detail. By following the steps outlined in this article and employing proper techniques, you can create a roof that not only serves its practical purpose but also adds beauty and value to your shed.
Remember to consult local building codes and regulations, refer to manufacturer instructions, and seek professional assistance when needed. With the right approach and a bit of creativity, you can confidently build a roof for your shed that stands the test of time.
Frequently Asked Questions about How To Build A Roof For A Shed
Was this page helpful?
At Storables.com, we guarantee accurate and reliable information. Our content, validated by Expert Board Contributors, is crafted following stringent Editorial Policies. We're committed to providing you with well-researched, expert-backed insights for all your informational needs.


0 thoughts on “How To Build A Roof For A Shed”