Home>Gardening & Outdoor>Outdoor Structures>How To Build A Tool Shed With Sliding Barn Doors
Outdoor Structures
How To Build A Tool Shed With Sliding Barn Doors
Modified: October 30, 2024
Learn how to build a tool shed with sliding barn doors and enhance your outdoor space with our step-by-step guide. Create a functional and stylish outdoor structure today!
(Many of the links in this article redirect to a specific reviewed product. Your purchase of these products through affiliate links helps to generate commission for Storables.com, at no extra cost. Learn more)
Introduction
Welcome to the world of outdoor construction, where the satisfaction of creating a functional and aesthetically pleasing structure meets the joy of hands-on craftsmanship. In this guide, we will delve into the art of building a tool shed with sliding barn doors, a project that combines practical utility with rustic charm.
Imagine having a dedicated space to store your gardening tools, outdoor equipment, and DIY supplies, all neatly organized within a stylish and sturdy shed. With sliding barn doors adding a touch of country elegance, this structure not only serves a practical purpose but also enhances the visual appeal of your outdoor space.
Whether you're a seasoned DIY enthusiast or a novice looking to embark on your first construction project, building a tool shed with sliding barn doors can be a rewarding and achievable undertaking. By following the step-by-step guidance provided in this article, you'll gain the knowledge and confidence to bring this vision to life in your own backyard.
Throughout the process, we'll explore essential considerations such as planning and preparation, gathering materials and tools, constructing the foundation and frame, installing sliding barn doors, adding roofing and siding, and putting the finishing touches on your masterpiece. Each phase of the project presents an opportunity to hone your skills and unleash your creativity, resulting in a structure that not only meets your practical needs but also reflects your personal style and craftsmanship.
So, roll up your sleeves, gather your tools, and get ready to embark on a journey of construction and creativity. By the time you finish building your tool shed with sliding barn doors, you'll not only have a new space to store your outdoor essentials but also a sense of pride in your ability to bring a vision from concept to reality. Let's dive in and discover the art and satisfaction of outdoor structure construction.
Key Takeaways:
- Building a tool shed with sliding barn doors is a rewarding DIY project that combines practical storage with rustic charm, allowing you to personalize your outdoor space while honing your construction skills.
- Careful planning, precise construction, and thoughtful finishing touches are essential for creating a sturdy and visually appealing tool shed, reflecting your creativity and craftsmanship in outdoor structure construction.
Read more: How To Build A Barn Door For A Shed
Planning and Preparation
Before diving into any construction project, careful planning and thorough preparation are essential to ensure a smooth and successful build. When it comes to constructing a tool shed with sliding barn doors, taking the time to lay a solid foundation in the planning phase will set the stage for a satisfying and efficient building experience.
First and foremost, consider the purpose and placement of your tool shed. Think about the specific tools and equipment you intend to store, as well as the accessibility and convenience of the shed’s location. Assess the available space in your backyard or outdoor area, ensuring that the shed’s dimensions will fit comfortably within the designated area while complying with any local building codes or regulations.
Next, sketch out a rough design or blueprint for your tool shed. This can be as simple as a hand-drawn diagram outlining the shed’s dimensions, layout, and door placement. Taking the time to visualize the end result will not only guide your construction process but also allow for adjustments and refinements before any physical work begins.
Once you have a clear vision of your tool shed, create a comprehensive list of materials and tools required for the project. This list should include everything from lumber, nails, and screws to essential tools such as a saw, hammer, level, and drill. Gathering all necessary materials and tools in advance will prevent unnecessary delays and ensure a seamless building process.
Additionally, consider any specific features or customizations you’d like to incorporate into your tool shed. Whether it’s a window for natural light, built-in shelving for organization, or decorative elements to enhance the shed’s aesthetic appeal, outlining these details during the planning phase will streamline the construction process and help you stay focused on your desired outcome.
Finally, take the time to assess your skill level and comfort with various construction tasks. If you’re new to woodworking or outdoor construction, consider seeking guidance from experienced builders or enrolling in a basic carpentry course to familiarize yourself with essential techniques and safety practices.
By investing time and attention in the planning and preparation phase, you’ll set the stage for a successful and enjoyable construction journey. With a clear vision, a detailed plan, and all necessary materials and tools at your disposal, you’ll be ready to move on to the next exciting phase: gathering materials and tools.
Gathering Materials and Tools
With a well-defined plan in place, the next crucial step in building a tool shed with sliding barn doors is gathering the necessary materials and tools. Ensuring that you have all the required components at your disposal before commencing construction will not only streamline the building process but also minimize interruptions and delays.
First and foremost, you’ll need to procure the lumber and building materials essential for constructing the shed’s frame, walls, and roof. This typically includes pressure-treated lumber for the foundation, framing lumber for the walls and roof trusses, plywood or oriented strand board (OSB) for sheathing, and roofing materials such as shingles or metal panels.
In addition to lumber, stock up on fasteners such as nails, screws, and anchors, ensuring that you have a variety of sizes to accommodate different construction tasks. A sturdy and reliable hammer, along with a power drill and a selection of drill bits, will be indispensable for joining and securing the shed’s structural components.
Other essential tools to have on hand include a level for ensuring precise alignment, a circular saw for cutting lumber to size, and a tape measure for accurately determining dimensions. Depending on your shed’s design, you may also require specialty tools such as a nail gun for efficient fastening or a chalk line for marking guidelines on surfaces.
When it comes to the sliding barn doors, gather the necessary hardware such as track systems, rollers, and handles, ensuring that they are compatible with the shed’s dimensions and design. If you plan to incorporate windows or decorative elements, acquire these components along with any additional hardware or fasteners needed for their installation.
Before making any purchases, double-check your material and tool list against your shed’s design and blueprint to ensure that you have accounted for all necessary items. Consider visiting a local hardware store or lumberyard to source high-quality materials and seek guidance from knowledgeable staff regarding the specific requirements of your project.
By taking the time to gather all required materials and tools in advance, you’ll set the stage for a smooth and efficient construction process, allowing you to focus on bringing your tool shed with sliding barn doors to life. With everything in place, you’ll be ready to move on to the exciting phase of building the foundation, laying the groundwork for the structure’s sturdy and reliable framework.
Building the Foundation
When embarking on the construction of a tool shed with sliding barn doors, the foundation serves as the crucial anchor that supports the entire structure. Building a solid and level foundation is essential for ensuring the stability and longevity of the shed, making it a foundational phase of the construction process.
Before breaking ground, carefully mark out the dimensions of the shed’s foundation, ensuring that it aligns with the blueprint and design specifications. Use stakes and string to outline the perimeter, allowing for a slight overhang to accommodate the shed’s walls and provide a clean finish.
Depending on the soil composition and local building codes, you may opt for a concrete slab, concrete blocks, or a treated wood skid foundation. Each option offers distinct advantages in terms of durability, cost, and ease of installation, so consider the specific requirements of your project and the environmental factors at play.
If you choose to pour a concrete slab, begin by excavating the area within the marked perimeter to a depth of at least 4 inches, ensuring a level and uniform surface. Install formwork along the edges to contain the concrete, reinforcing it with steel mesh or rebar for added strength.
Alternatively, if you opt for a wood skid foundation, prepare the site by leveling the ground and laying down pressure-treated lumber beams to support the shed’s floor joists. Ensure that the beams are securely anchored and aligned according to the shed’s dimensions, providing a stable base for the structure.
Whichever foundation option you select, take care to verify its levelness and alignment using a long, straight board and a spirit level. Accurate leveling is essential for preventing structural issues and ensuring that the shed’s walls and roof will be properly aligned and supported.
Once the foundation is in place and properly leveled, allow adequate time for concrete to cure or for the foundation to settle before proceeding to the next phase of construction. A well-constructed foundation will provide a sturdy and reliable base for the shed, setting the stage for the exciting task of assembling the shed’s frame and walls.
With the foundation established, you’re ready to move on to the next phase of the construction process: constructing the frame. This pivotal step will bring the shed’s structure to life, laying the groundwork for the installation of sliding barn doors and the addition of roofing and siding.
Constructing the Frame
As you progress in building your tool shed with sliding barn doors, the construction of the frame marks a significant milestone in bringing the structure to life. The frame serves as the skeleton of the shed, providing the framework upon which the walls, roof, and doors will be installed, so precision and attention to detail are paramount in this phase.
Begin by assembling the shed’s floor joists, ensuring they are spaced according to the shed’s blueprint and supported by the foundation. Use joist hangers or secure them directly to the foundation, verifying their alignment and levelness to establish a solid base for the shed’s frame.
Next, erect the wall frames, carefully aligning and securing the vertical studs and horizontal plates according to the shed’s design. Use a level to ensure that the walls are plumb and square, making any necessary adjustments to maintain structural integrity and facilitate the installation of windows, if included in the design.
Once the wall frames are in place, it’s time to construct the roof trusses, which will provide the framework for the shed’s roof. Follow the design specifications to ensure the proper angle and overhang, and secure the trusses to the wall frames, verifying their alignment and stability.
With the frame fully assembled and secured, take a moment to admire the tangible progress you’ve made in bringing your tool shed to life. The sturdy and well-constructed frame sets the stage for the next exciting phase: installing the sliding barn doors that will not only add functionality to the shed but also infuse it with rustic charm and character.
With the frame in place, you’re ready to move on to the next phase of the construction process: installing sliding barn doors. This transformative step will elevate the shed’s functionality and aesthetic appeal, bringing you one step closer to completing your outdoor structure masterpiece.
When building a tool shed with sliding barn doors, make sure to use sturdy and durable materials for the doors to ensure smooth operation and longevity.
Read more: How To Build A Barn-Style Shed
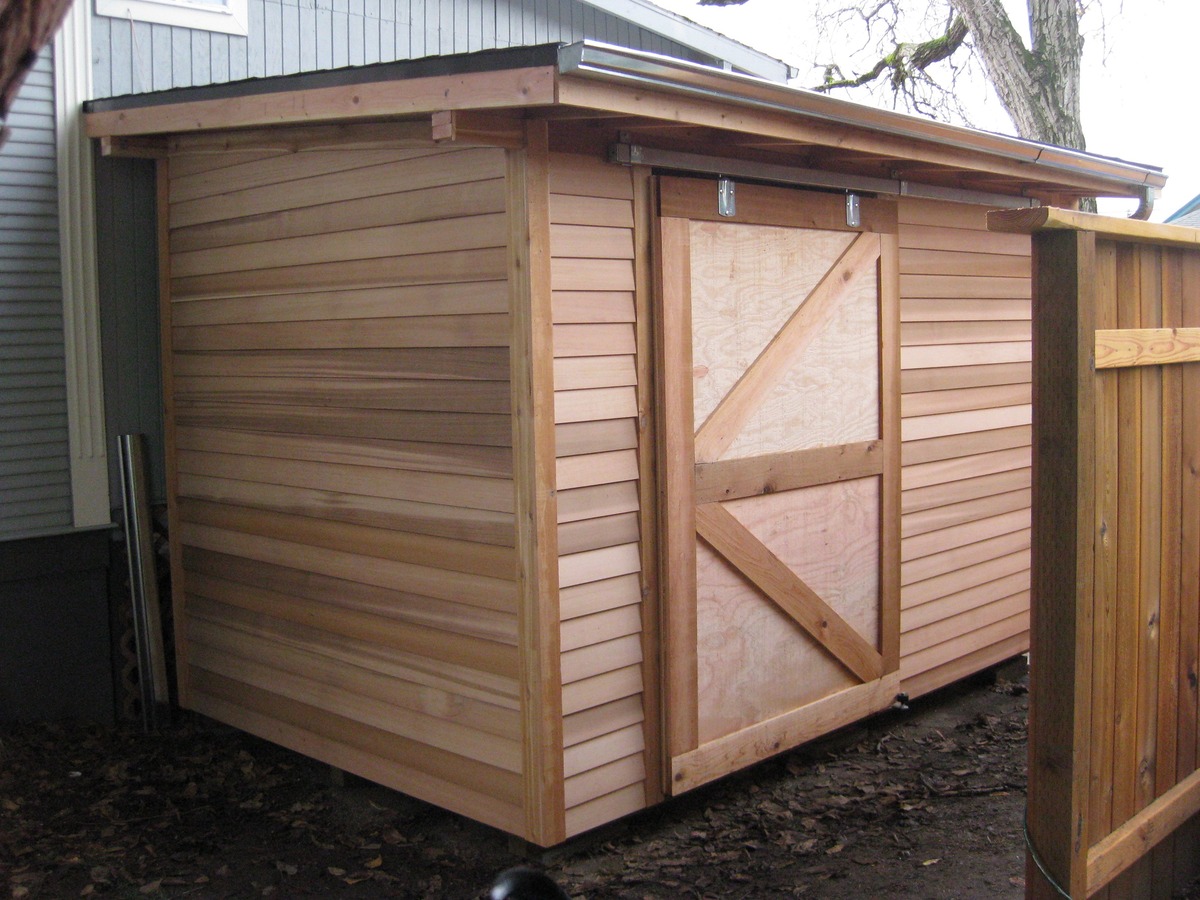
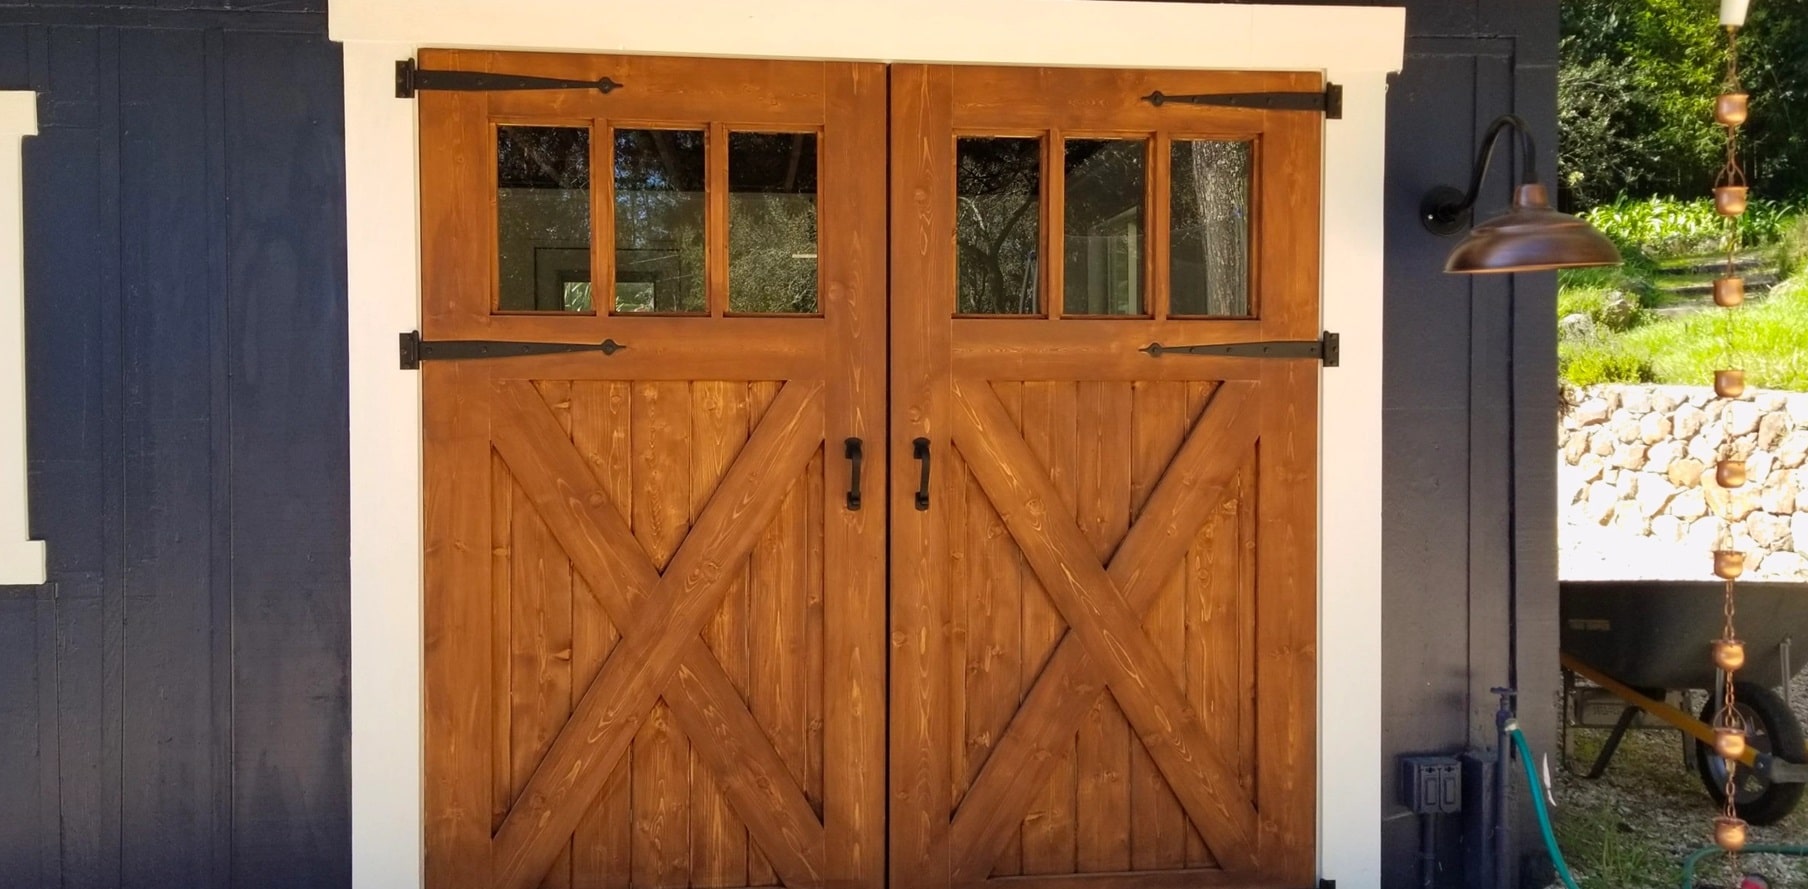
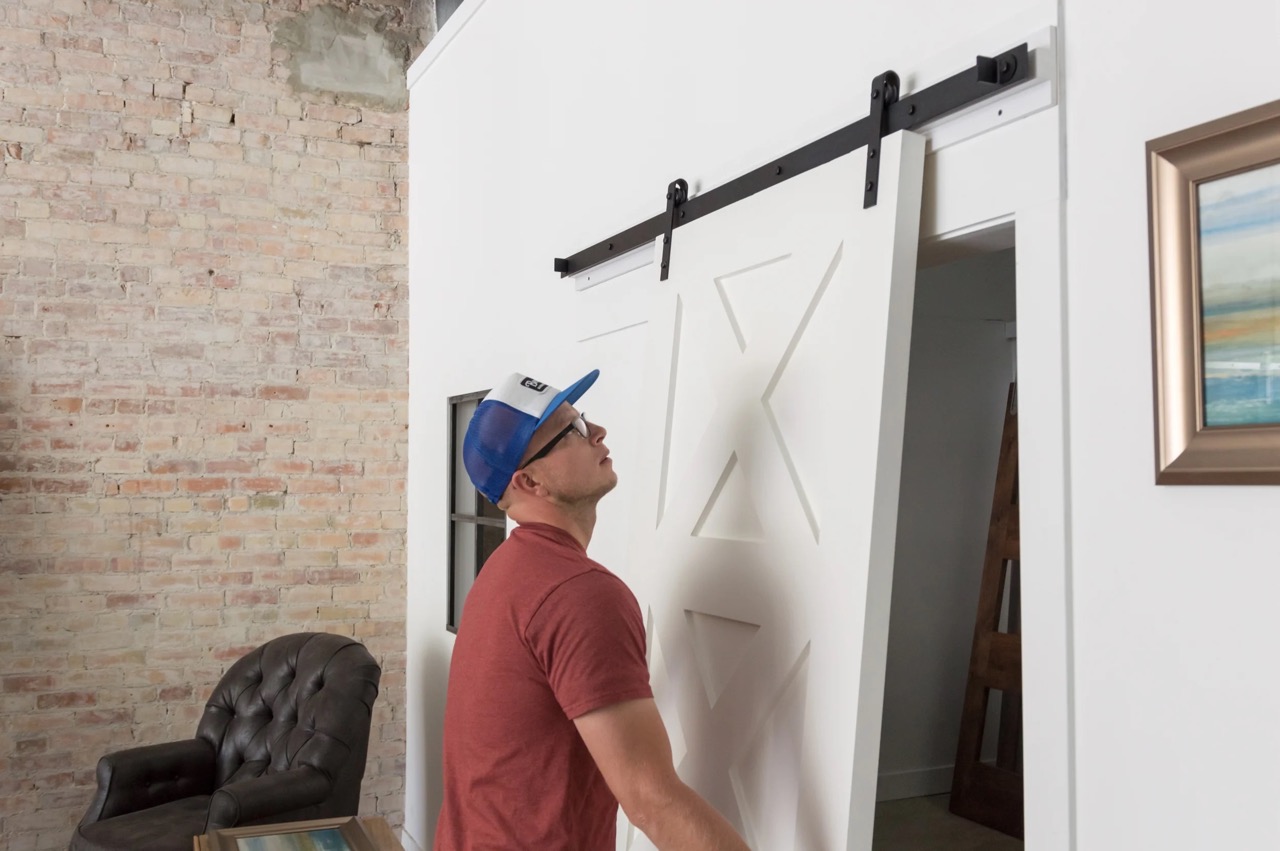
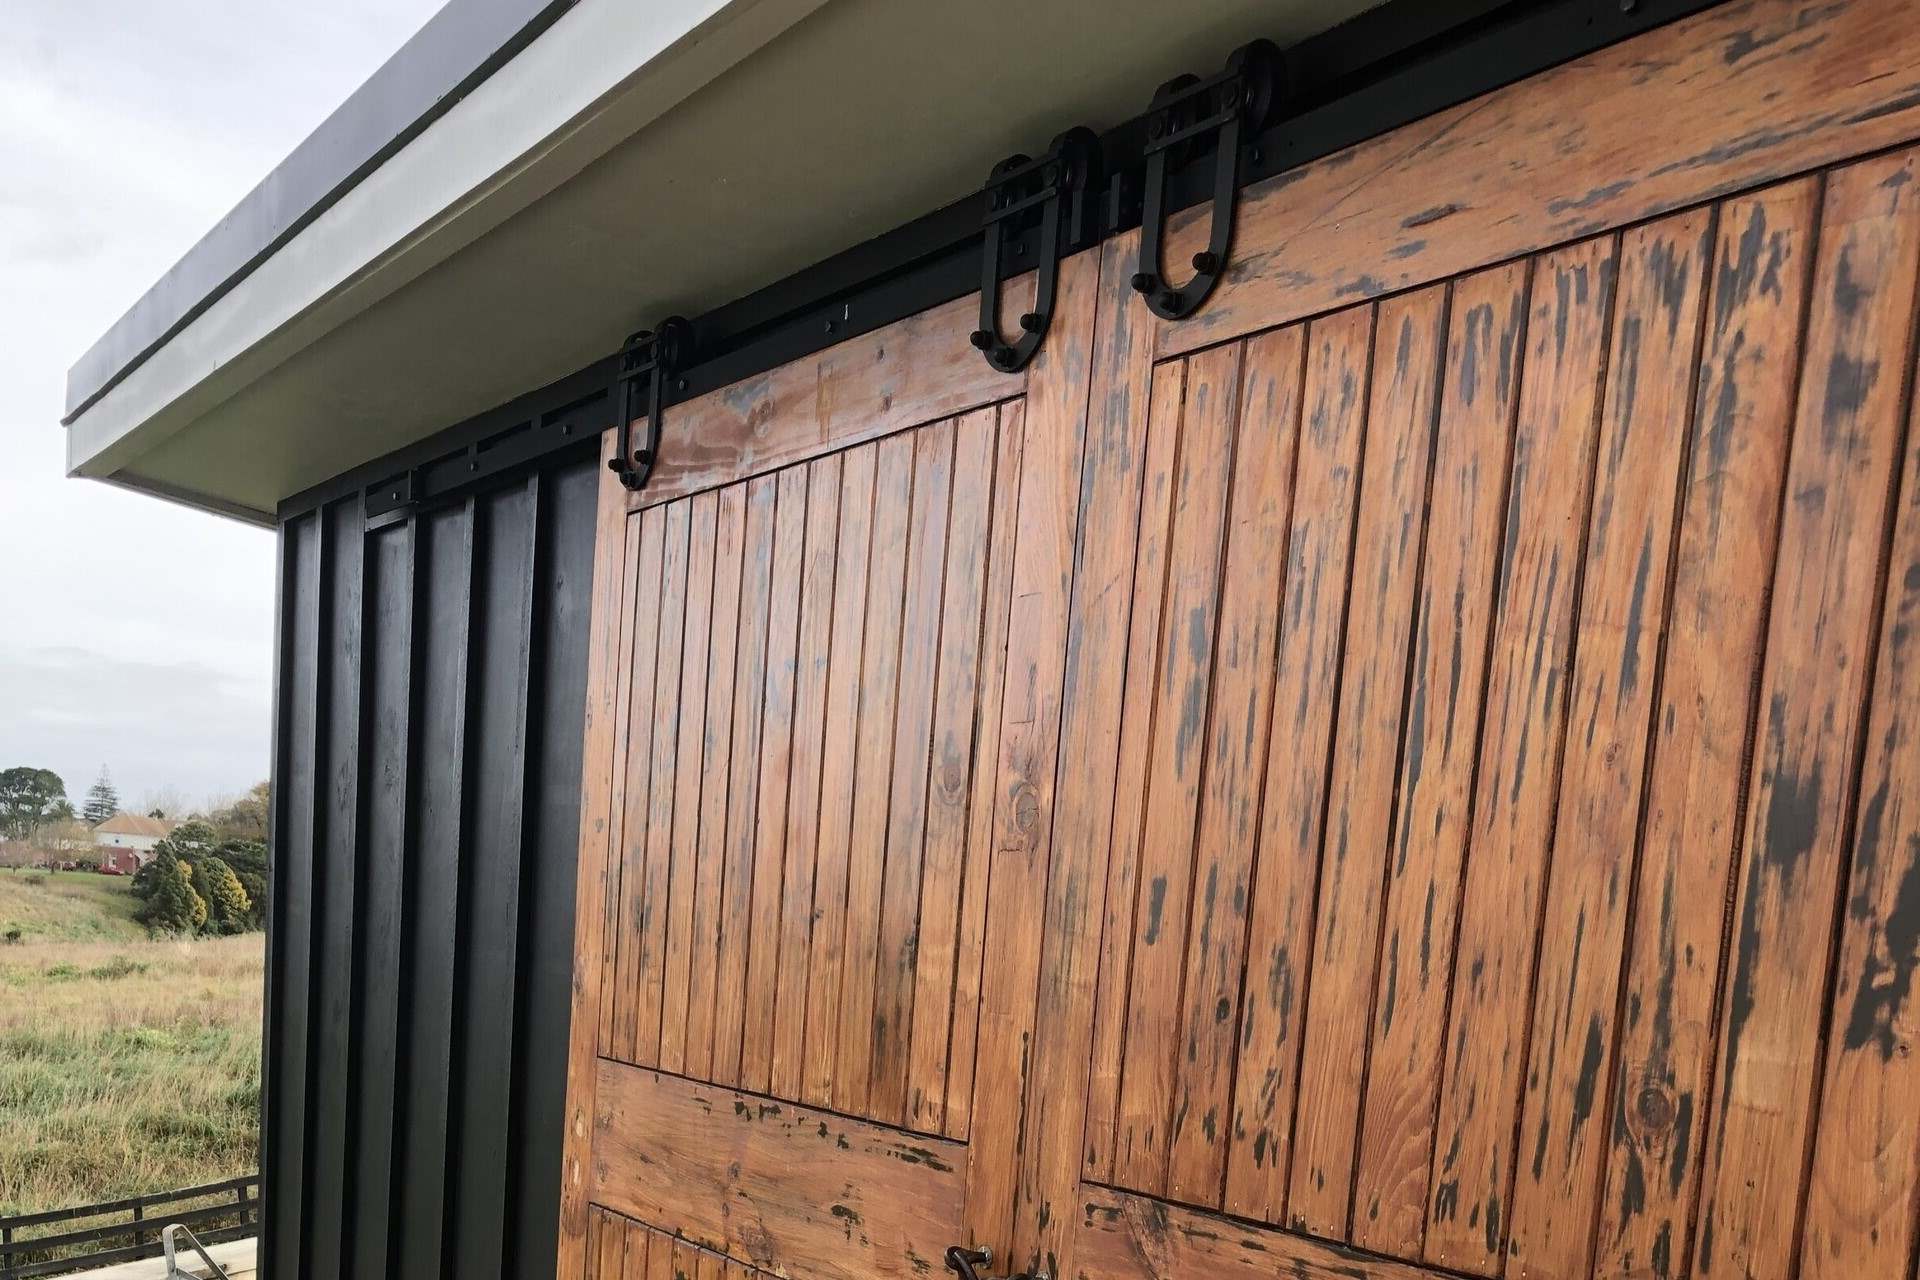
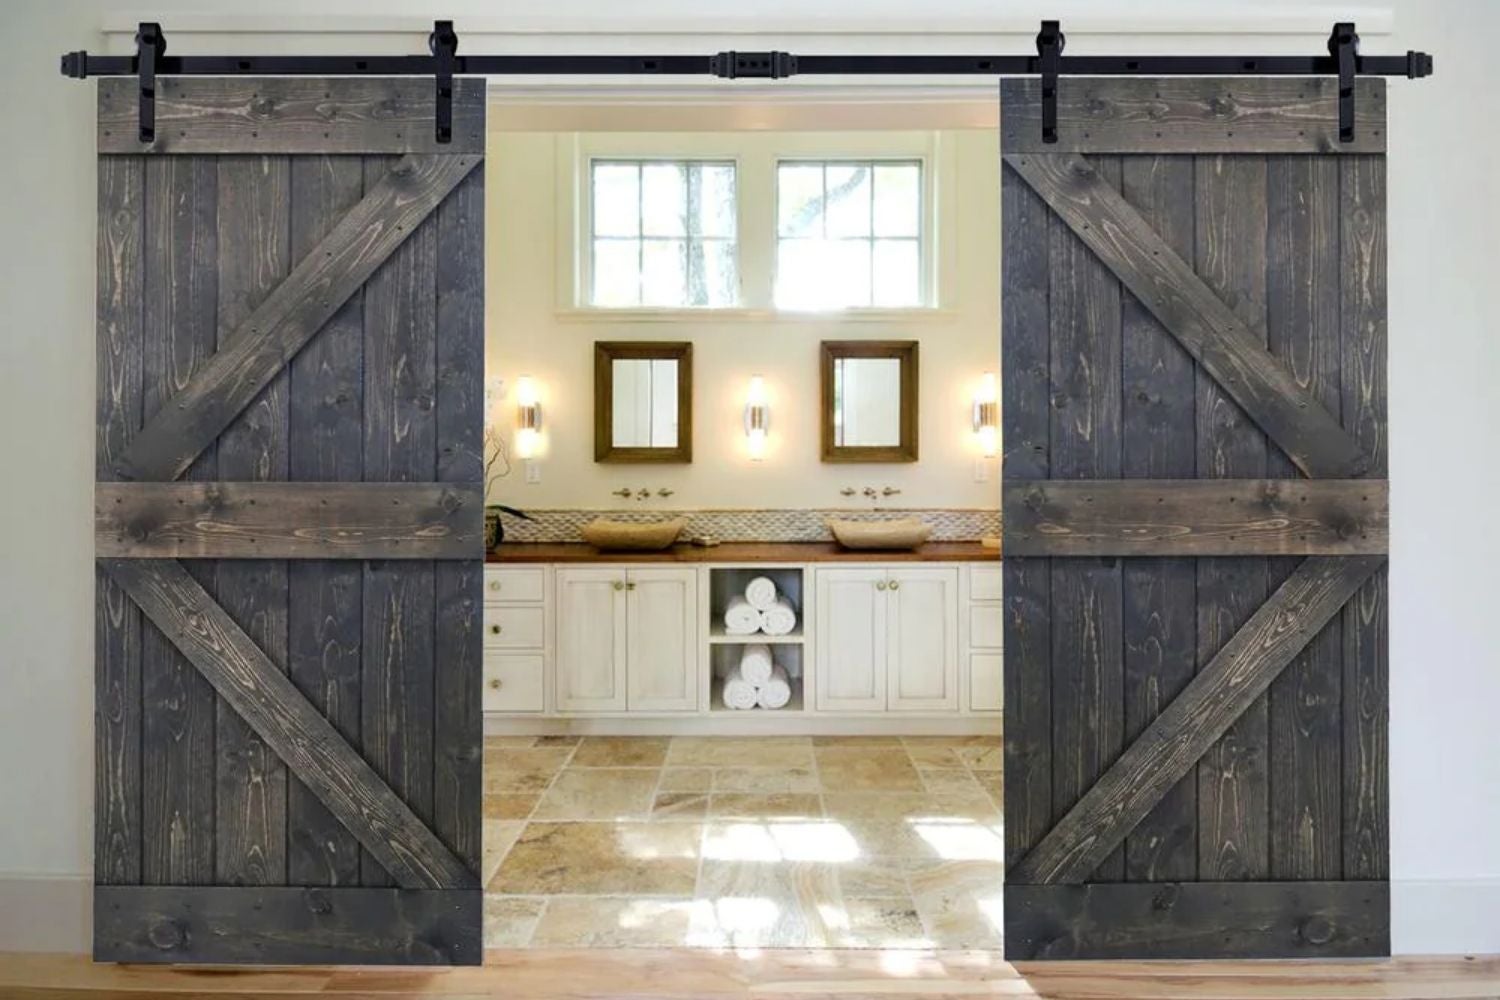
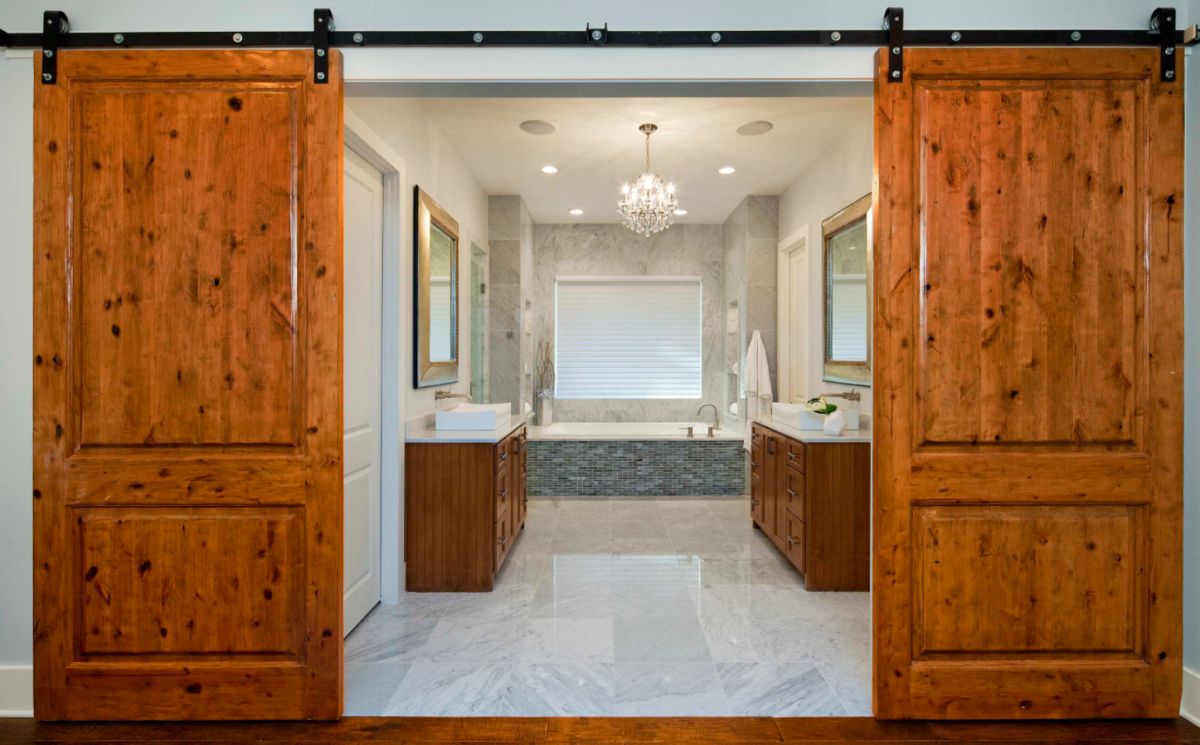
Installing Sliding Barn Doors
As you approach the installation of sliding barn doors on your tool shed, you’re entering a phase that marries functionality with visual appeal, adding a touch of rustic elegance to the structure. The sliding barn doors not only serve as a practical entry point but also contribute to the shed’s aesthetic charm, making this phase an exciting and transformative step in the construction process.
Before installing the doors, carefully measure the opening in the shed’s frame to ensure that the doors will fit securely and operate smoothly. Select high-quality barn door hardware that complements the shed’s design and accommodates the weight and dimensions of the doors, providing durability and ease of use.
Begin by installing the track system for the barn doors, ensuring that it is level, secure, and aligned with the shed’s opening. Use a stud finder to locate and mark the positions of the wall studs, then attach the track securely to the studs, allowing for smooth and unobstructed movement of the doors.
Once the track is in place, attach the rollers to the top of the doors, ensuring that they are evenly spaced and securely fastened. With the help of a friend or family member, carefully lift the doors and hang them on the track, verifying that they slide smoothly and evenly along the length of the shed’s opening.
As the doors are installed, take the time to adjust and align the hardware to ensure that the doors operate seamlessly and close securely. Test the movement of the doors, making any necessary adjustments to the track, rollers, or door alignment to achieve a smooth and effortless sliding motion.
With the barn doors securely installed and operating smoothly, step back and admire the visual impact they bring to your tool shed. The sliding barn doors not only provide convenient access to the shed’s interior but also infuse the structure with a touch of rustic charm and timeless elegance, elevating its overall appeal.
With the sliding barn doors in place, you’re now ready to move on to the next phase of the construction process: adding roofing and siding. This crucial step will not only protect the shed from the elements but also enhance its durability and visual cohesiveness, bringing you one step closer to completing your outdoor structure masterpiece.
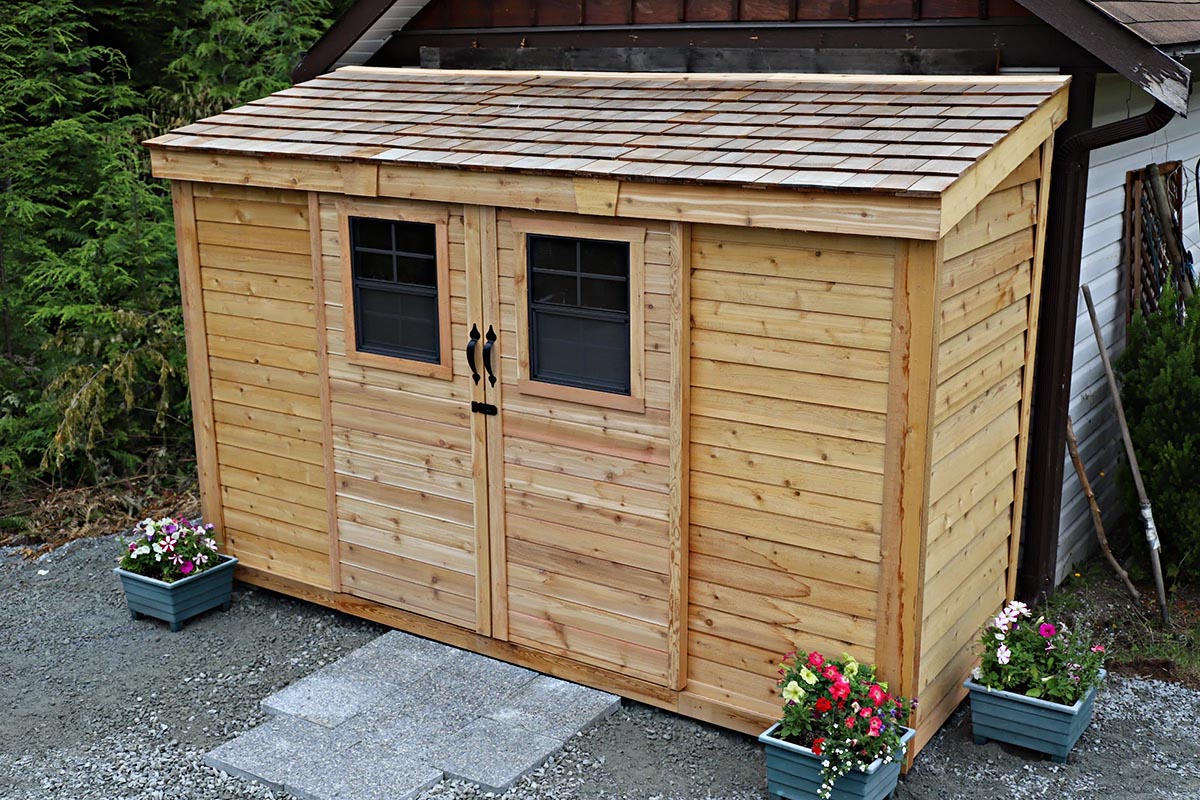
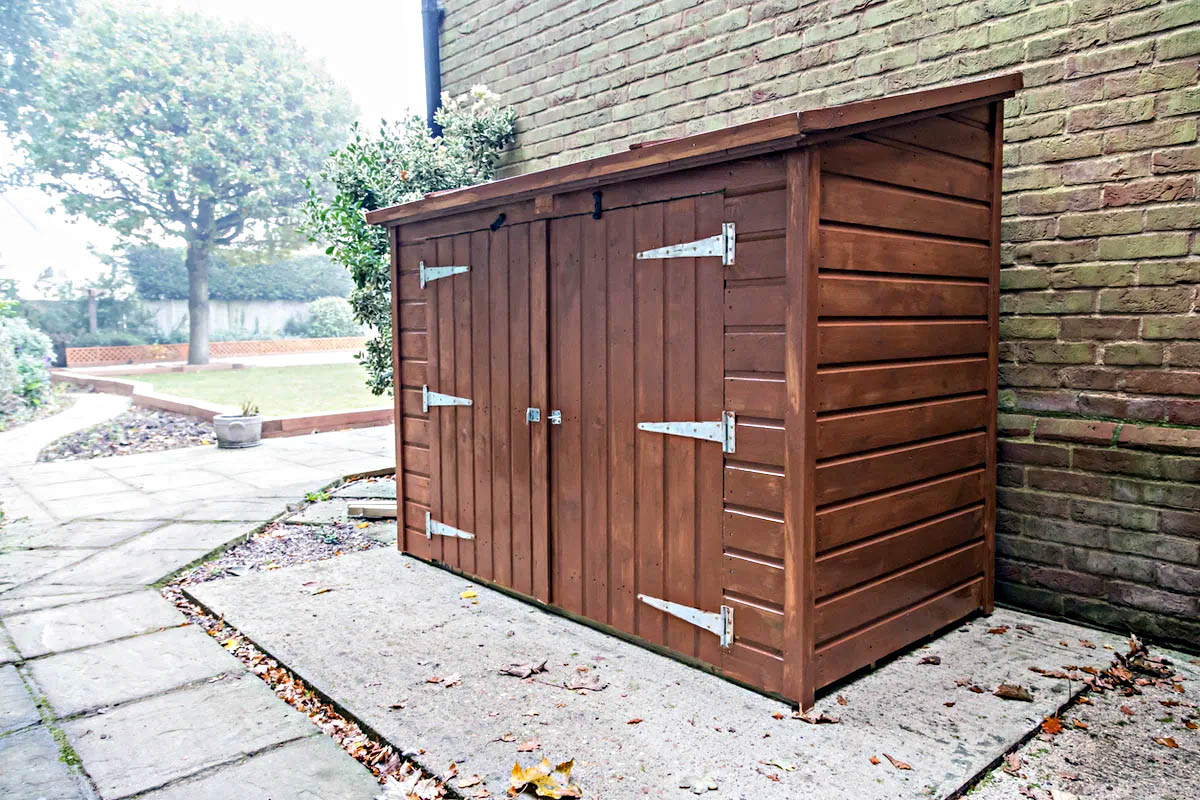
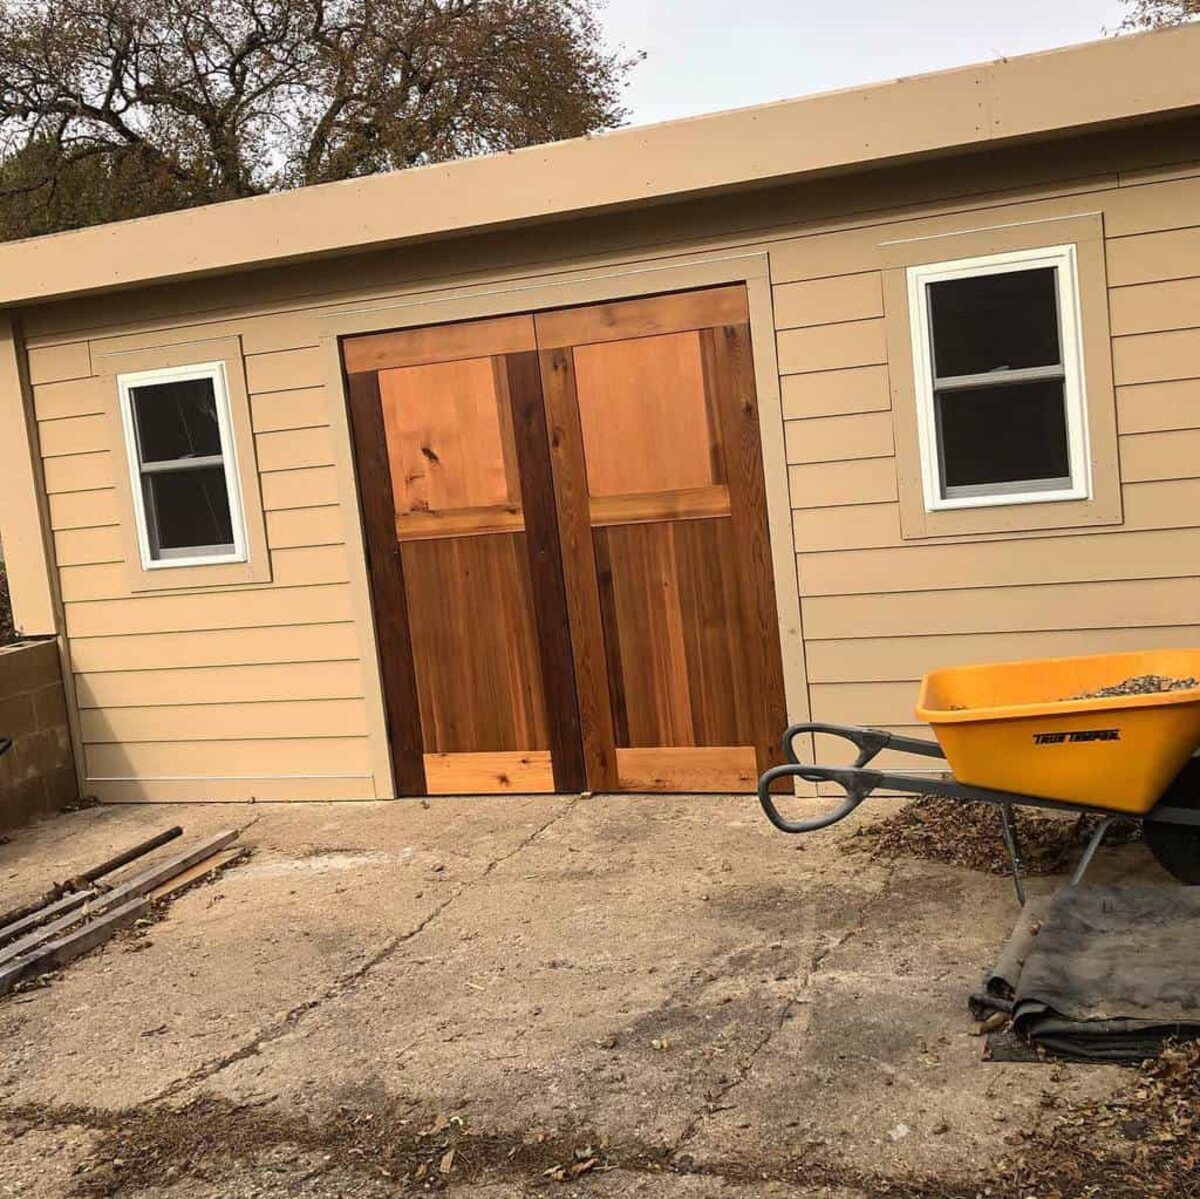
Adding Roofing and Siding
With the frame fully assembled and the sliding barn doors installed, the next pivotal phase in building your tool shed with sliding barn doors is adding roofing and siding. This step not only protects the structure from the elements but also contributes to its visual cohesiveness, ensuring both durability and aesthetic appeal.
Begin by selecting roofing materials that align with the shed’s design and provide reliable protection from weather elements. Whether you opt for traditional asphalt shingles, durable metal panels, or another roofing option, ensure that it is installed according to manufacturer specifications and local building codes.
If you choose asphalt shingles, start by laying down a protective underlayment to shield the shed’s interior from moisture. Then, carefully install the shingles in overlapping rows, securing them with nails to create a weatherproof barrier that adds visual texture and dimension to the shed’s roof.
Alternatively, if you opt for metal roofing, secure the panels to the shed’s roof frame, ensuring that they are properly aligned and fastened to withstand wind and weather. Metal roofing offers exceptional durability and low maintenance, providing long-term protection and a sleek, modern aesthetic to the shed.
With the roof in place, turn your attention to adding siding to the shed’s exterior walls. Select siding materials that complement the shed’s design and provide adequate protection from the elements, whether it’s traditional wood siding, low-maintenance vinyl, or durable composite materials.
Install the siding according to manufacturer guidelines, ensuring that each panel is securely fastened and aligned to create a seamless and weather-resistant barrier around the shed. Pay attention to details such as corner trim, soffits, and fascia to ensure a polished and professional finish that enhances the shed’s overall visual appeal.
As the roofing and siding take shape, step back and admire the transformation taking place. The shed is now not only a functional and sturdy storage space but also a visually appealing and cohesive structure that enhances the overall aesthetic of your outdoor space.
With the roofing and siding in place, you’re now ready to move on to the final phase of the construction process: adding the finishing touches. This exciting step will allow you to personalize and enhance the shed, bringing it to completion as a true reflection of your craftsmanship and creativity.
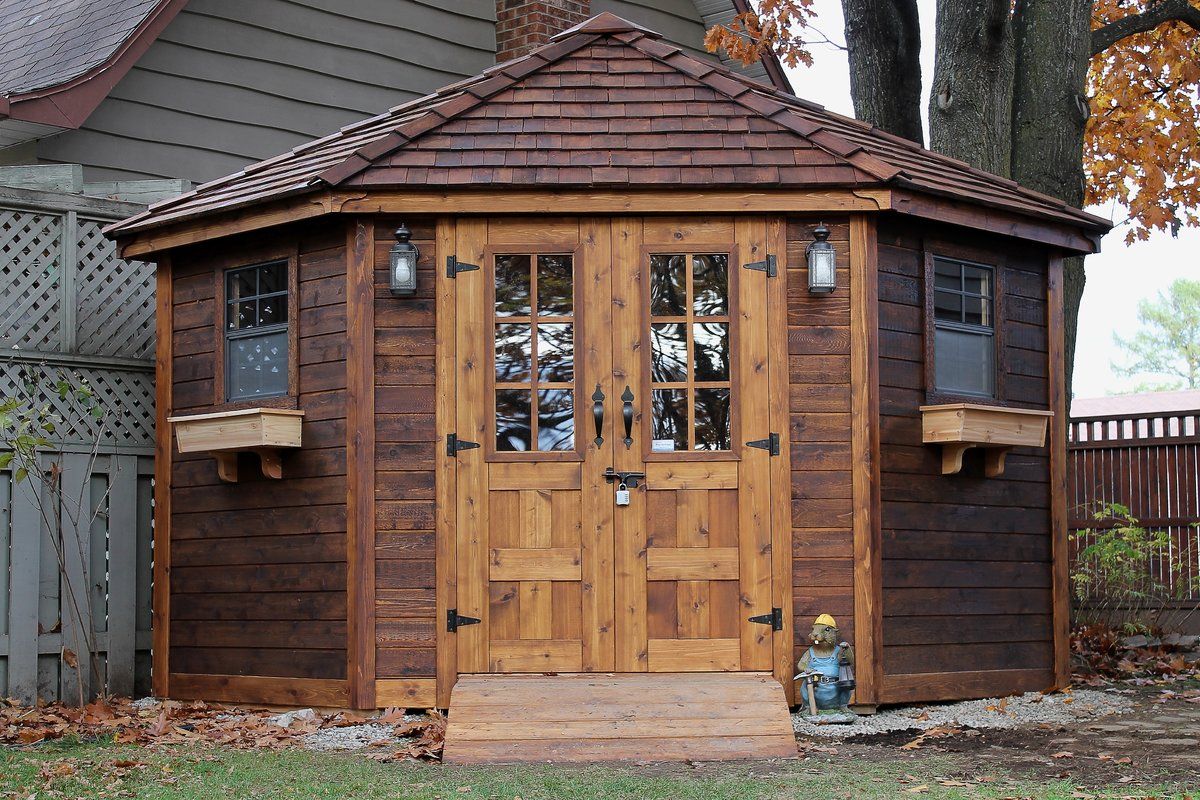
Finishing Touches
As you near the completion of your tool shed with sliding barn doors, the phase of adding finishing touches presents an opportunity to personalize and enhance the structure, elevating it from a functional space to a true reflection of your craftsmanship and creativity. This phase encompasses adding thoughtful details that contribute to both the shed’s functionality and visual appeal.
Consider adding windows to the shed if they are not already incorporated into the design. Windows not only provide natural light and ventilation but also contribute to the shed’s overall aesthetic, adding a charming and inviting touch to the structure.
Install window trim to frame the windows, adding a polished and cohesive finish that complements the shed’s design. Consider painting the trim in a color that harmonizes with the shed’s exterior, enhancing its visual appeal and creating a sense of unity in the overall appearance.
Next, turn your attention to the interior of the shed, where thoughtful additions such as built-in shelving, hooks for hanging tools, and organizational systems can maximize the functionality of the space. Customizing the interior to accommodate your specific storage needs ensures that the shed serves as a practical and efficient storage solution.
Consider adding a coat of paint or stain to the shed’s exterior, selecting a color that complements the surrounding landscape and harmonizes with your outdoor space. A fresh coat of paint not only protects the shed from the elements but also adds a pop of color and personality, creating a visually appealing focal point in your backyard.
Finally, add hardware and accessories such as door handles, hinges, and decorative accents that align with the shed’s design aesthetic. Thoughtful details such as these contribute to the shed’s overall character, infusing it with a sense of charm and individuality.
As you add the finishing touches to your tool shed with sliding barn doors, take a moment to appreciate the journey you’ve embarked upon and the skills you’ve honed along the way. The shed is not merely a structure but a testament to your creativity, craftsmanship, and dedication to bringing a vision to life.
With the finishing touches in place, you’ve successfully completed the construction of your tool shed with sliding barn doors, transforming it into a functional, visually appealing, and personalized space that enhances your outdoor environment. As you step back and admire the completed structure, take pride in the achievement of bringing this outdoor masterpiece from concept to reality.
Congratulations on completing your tool shed with sliding barn doors, a testament to your skill and creativity in the realm of outdoor structure construction. Whether you’re storing garden tools, outdoor equipment, or embarking on DIY projects, your shed stands as a symbol of your craftsmanship and dedication to the art of outdoor construction.
Conclusion
Congratulations on completing the construction of your tool shed with sliding barn doors! This journey has been a testament to your dedication, creativity, and craftsmanship in the realm of outdoor structure construction. As you stand back and admire the completed shed, you can take pride in the tangible manifestation of your vision and hard work.
Building a tool shed with sliding barn doors is not just about creating a practical storage space; it’s an opportunity to infuse your outdoor environment with rustic charm, personal style, and the satisfaction of hands-on construction. Each phase of the project, from planning and preparation to adding finishing touches, has allowed you to hone your skills and bring your vision to life.
Throughout the process, you’ve not only mastered essential construction techniques but also personalized the shed to suit your specific needs and aesthetic preferences. The result is a structure that not only serves a functional purpose but also enhances the visual appeal of your outdoor space, becoming a focal point that reflects your creativity and craftsmanship.
As you move forward, the tool shed with sliding barn doors stands as a versatile and visually captivating addition to your outdoor environment. Whether you’re storing gardening tools, outdoor equipment, or embarking on DIY projects, the shed offers a dedicated and organized space that complements your outdoor lifestyle.
More than just a structure, your tool shed with sliding barn doors embodies the joy of hands-on construction, the satisfaction of bringing a vision to life, and the pride of creating a space that reflects your unique style. It stands as a testament to your skill and dedication in the realm of outdoor construction, infusing your outdoor environment with functionality, character, and a touch of rustic elegance.
As you continue to enjoy the benefits of your completed tool shed, may it serve as a constant reminder of the joy and fulfillment that come from bringing a vision from concept to reality. Your journey in building this outdoor masterpiece has not only enhanced your outdoor space but also enriched your skills and appreciation for the art of outdoor construction.
Embrace the satisfaction of a job well done and the pride of craftsmanship as you revel in the completion of your tool shed with sliding barn doors. Your dedication and creativity have transformed a simple construction project into a tangible expression of your passion for outdoor craftsmanship and the art of creating functional, visually appealing structures.
With the completion of your tool shed with sliding barn doors, you’ve not only expanded your outdoor storage capacity but also enriched your outdoor environment with a touch of rustic charm and personal style. Congratulations on a job well done, and may your completed shed bring you joy, satisfaction, and a sense of accomplishment for years to come.
Frequently Asked Questions about How To Build A Tool Shed With Sliding Barn Doors
Was this page helpful?
At Storables.com, we guarantee accurate and reliable information. Our content, validated by Expert Board Contributors, is crafted following stringent Editorial Policies. We're committed to providing you with well-researched, expert-backed insights for all your informational needs.


0 thoughts on “How To Build A Tool Shed With Sliding Barn Doors”