Home>Gardening & Outdoor>Outdoor Structures>How To Enclose A Pergola
Outdoor Structures
How To Enclose A Pergola
Modified: February 29, 2024
Learn how to enclose your pergola and create a cozy outdoor space with our expert tips and ideas for outdoor structures. Transform your pergola into a functional and inviting area for all seasons.
(Many of the links in this article redirect to a specific reviewed product. Your purchase of these products through affiliate links helps to generate commission for Storables.com, at no extra cost. Learn more)
Introduction
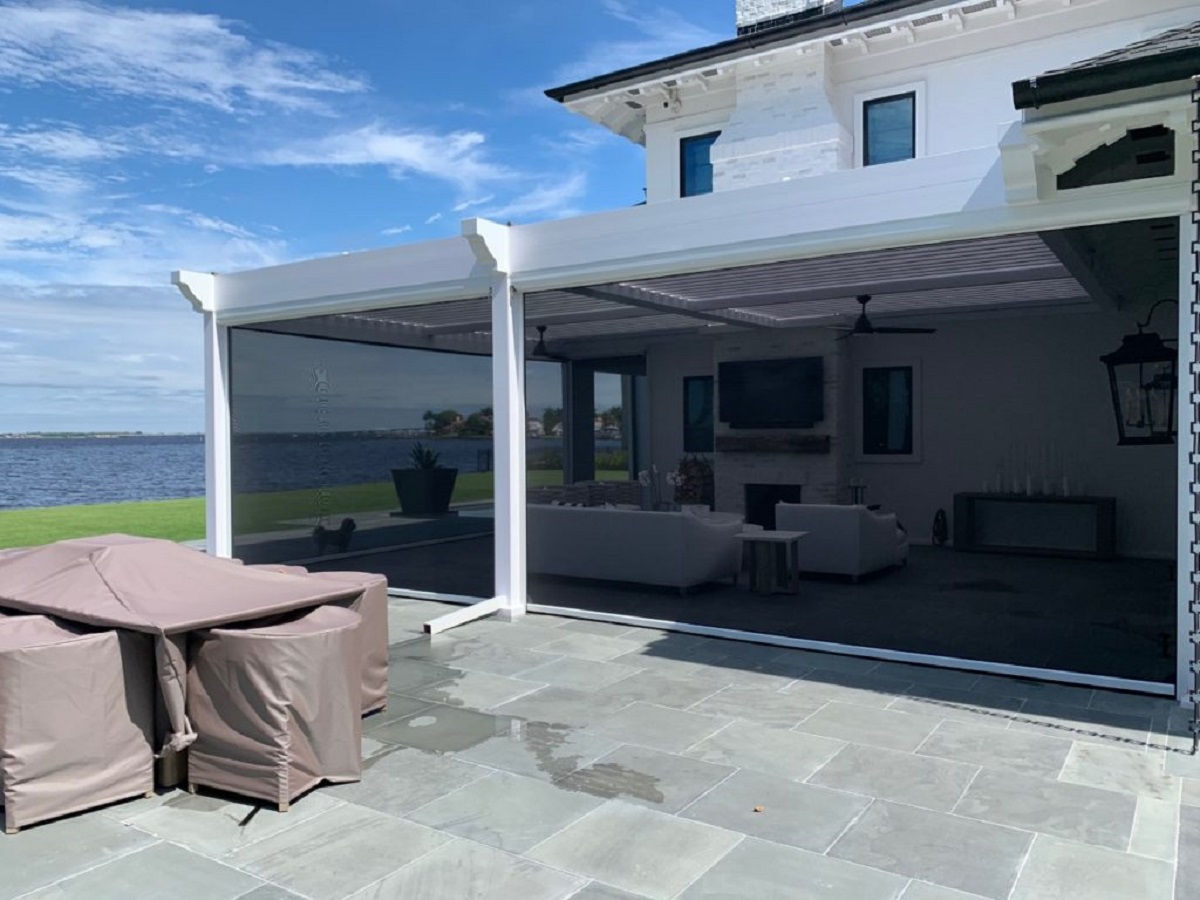
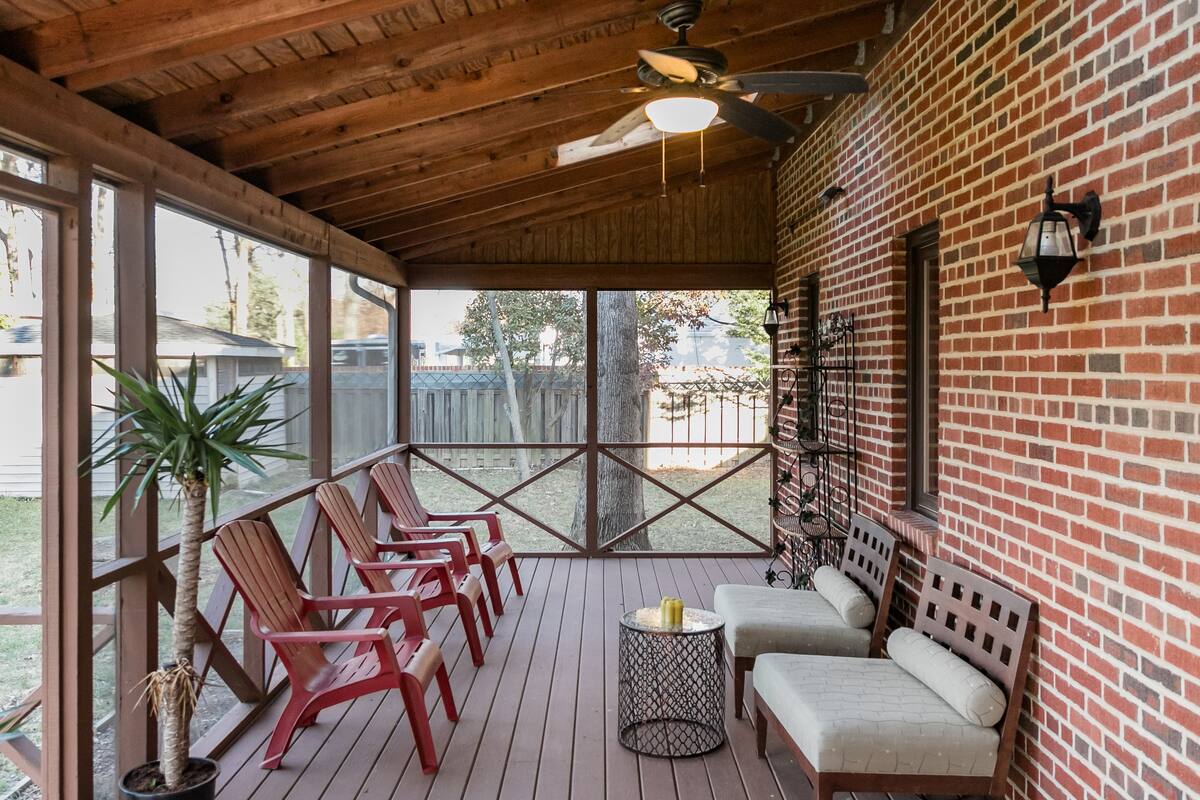
So, you've got a beautiful pergola in your outdoor space, and you're looking to make it even more versatile and enjoyable by enclosing it. Whether it's to create a cozy outdoor room, add privacy, or protect against the elements, enclosing your pergola can significantly enhance its functionality. In this guide, we'll walk you through the process of enclosing your pergola, from gathering the necessary materials and tools to adding the finishing touches.
Enclosing a pergola is a fantastic way to extend the usefulness of your outdoor space, providing a sheltered area for relaxation, entertaining, or dining. By following the steps outlined in this guide, you'll be able to create a welcoming and stylish enclosure that complements your home and lifestyle.
Let's dive into the details and learn how to transform your pergola into a more private, protected, and inviting space.
Key Takeaways:
- Enclosing a pergola involves gathering materials, planning, installing support posts, choosing the right enclosure material, and adding finishing touches. It creates a private, sheltered outdoor space for relaxation and entertainment.
- The process of enclosing a pergola requires careful consideration of privacy, weather protection, and visual aesthetics. By following the steps outlined, you can transform your pergola into a stylish and inviting outdoor retreat.
Read more: How To Enclose A Balcony
Step 1: Gather Materials and Tools
Before you begin the process of enclosing your pergola, it's essential to gather all the necessary materials and tools. The specific items you'll need may vary depending on the design of your pergola and the type of enclosure you envision. However, here are some common materials and tools you might require:
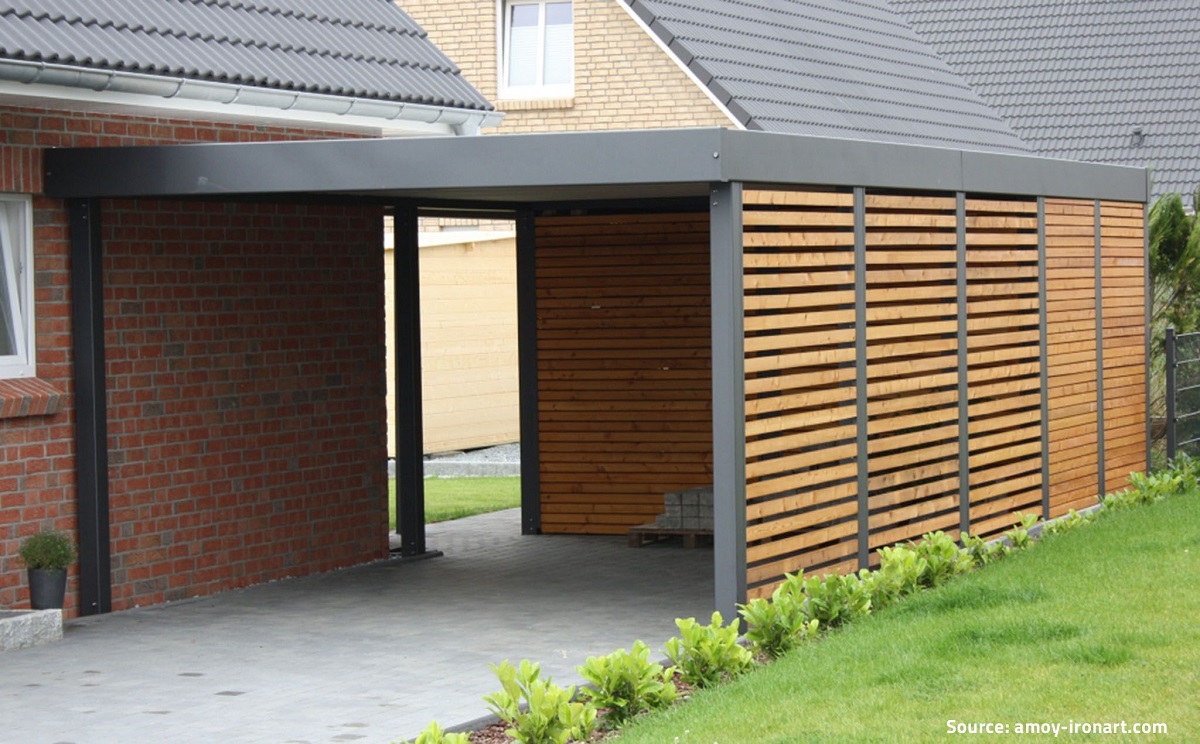
- Enclosure Material: This could include outdoor fabric, lattice panels, wooden slats, or prefabricated walls. Consider the level of privacy, protection, and style you want to achieve.
- Fasteners: Depending on the chosen enclosure material, you may need screws, nails, or specialized fasteners to secure the components in place.
- Support Posts or Columns: If your pergola doesn't already have suitable support posts or columns, you may need to acquire and install them to provide a sturdy foundation for the enclosure.
- Tools: Common tools for this project may include a drill, saw, level, measuring tape, and a hammer. Depending on the complexity of your design, you might also need specialized tools for cutting or shaping the enclosure material.
- Decorative Elements: To enhance the aesthetics of your enclosed pergola, consider adding decorative elements such as trim, molding, or paint.
It's crucial to ensure that the materials you select are suitable for outdoor use and can withstand the local climate conditions. Additionally, having the right tools and equipment on hand will streamline the enclosure process and help you achieve professional-looking results.
By gathering all the necessary materials and tools at the outset, you'll be well-prepared to move on to the next steps of measuring, planning, and ultimately enclosing your pergola.
Step 2: Measure and Plan
Before diving into the physical work of enclosing your pergola, it’s crucial to take the time to measure the space accurately and develop a comprehensive plan for the enclosure. Here’s how to approach this essential step:
Begin by measuring the dimensions of your pergola, including the length, width, and height. Take into account any existing features, such as support posts, beams, and rafters, as well as any potential obstructions that may affect the enclosure design.
Next, consider your specific goals for enclosing the pergola. Are you aiming to create a fully enclosed space, or do you prefer a partially open design? Will the enclosure primarily serve to provide shade, privacy, or protection from the elements? By clarifying your objectives, you can tailor the enclosure to meet your unique needs and preferences.
Once you have a clear understanding of the space and your desired outcomes, sketch out a detailed plan for the enclosure. This plan should include the type of material or structure to be used, the method of attachment to the existing pergola, and any additional features, such as doors, windows, or decorative elements.
Consider the visual aesthetics as well. The enclosure should harmonize with the overall style of your outdoor space and home architecture. Whether you opt for a modern, sleek design or a more traditional and rustic look, the enclosure should complement and enhance the existing environment.
During the planning phase, it’s also essential to check local building codes and regulations, as some areas may have specific requirements for outdoor structures and enclosures. Ensuring compliance with these standards will help you avoid potential issues down the line.
By carefully measuring the space, setting clear objectives, and creating a detailed plan, you’ll lay a solid foundation for the successful execution of your pergola enclosure project. With this groundwork in place, you can confidently move on to the next steps of installation and customization.
Step 3: Install Posts or Columns
With the measurements taken and the plan in place, it’s time to move on to the installation of support posts or columns for your pergola enclosure. Depending on the existing structure of your pergola and the chosen design for the enclosure, you may need to add additional support to accommodate the new elements. Here’s how to approach this step:
If your pergola already has sturdy support posts or columns in place, you may be able to proceed directly to the attachment of the enclosure material. However, if the existing supports are insufficient or if you’re aiming for a more substantial enclosure, you’ll need to install additional posts or columns.
When adding new support elements, it’s crucial to ensure that they are securely anchored to the ground and capable of bearing the weight of the enclosure material. This may involve digging and pouring concrete footings to provide a stable foundation. If you’re using prefabricated columns, follow the manufacturer’s instructions for proper installation.
Consider the spacing and placement of the support posts or columns to maximize the structural integrity of the enclosure while maintaining an open and inviting feel. The positioning should align with your overall plan for the space and the intended function of the enclosure.
Once the posts or columns are in place, verify that they are level and securely anchored. This is essential for the stability and safety of the entire structure. Use a level and take the time to make any necessary adjustments to ensure that the supports are perfectly aligned.
By taking the time to install the support posts or columns correctly, you’ll establish a solid foundation for the enclosure, setting the stage for the next steps of attaching beams, rafters, and the chosen enclosure material. With the structural elements in place, you’re one step closer to realizing your vision for an enclosed and inviting pergola space.
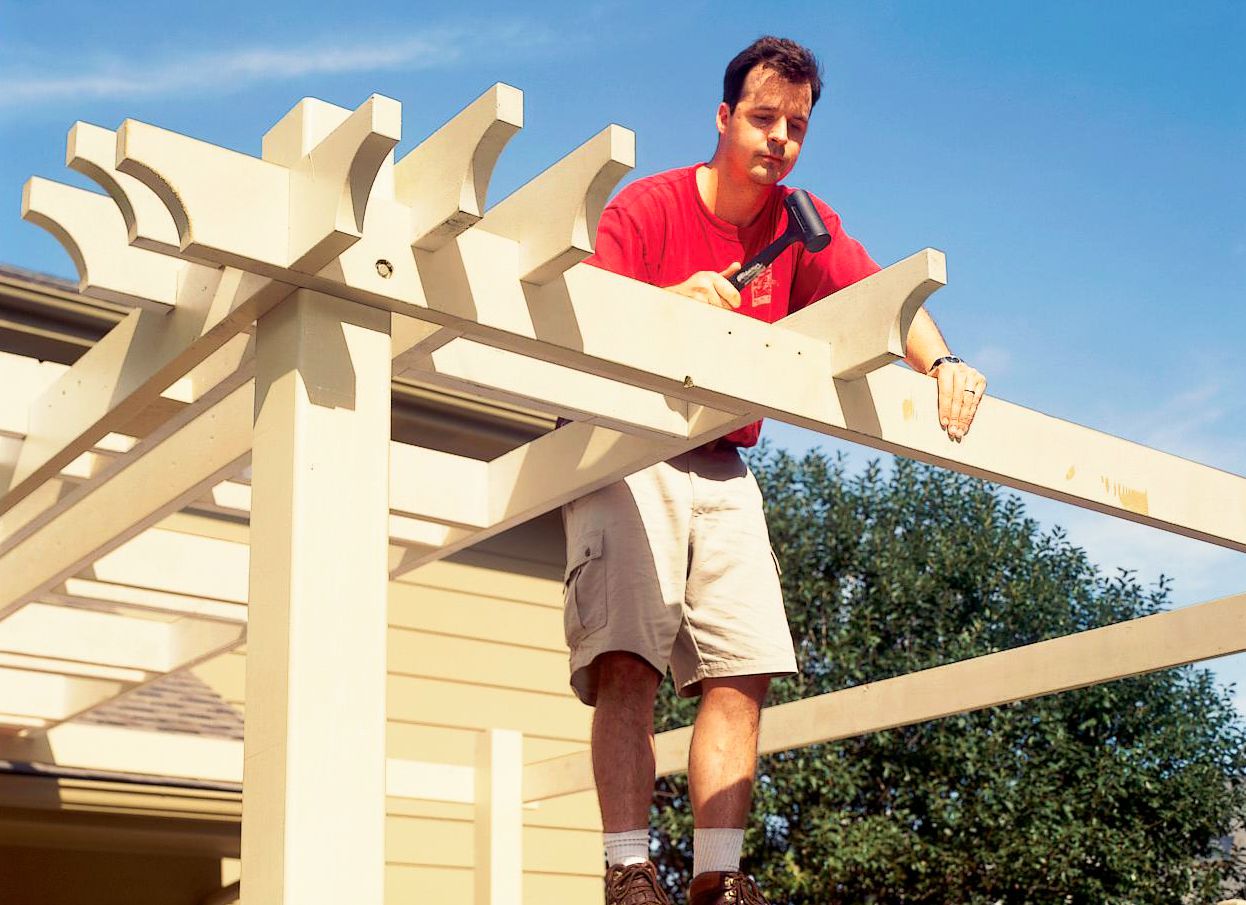
Step 4: Attach Beams and Rafters
Once the support posts or columns are securely in place, the next step in enclosing your pergola is to attach the beams and rafters that will form the framework for the enclosure. This phase of the project is crucial for ensuring the stability and structural integrity of the entire structure. Here’s how to proceed:
Begin by positioning the beams and rafters according to your pre-determined plan. Carefully align them with the existing structure of the pergola, ensuring that they are level and securely attached. Use appropriate fasteners, such as screws or nails, to affix the beams and rafters to the support posts or columns.
As you work on attaching the beams and rafters, pay close attention to the spacing and alignment to create a uniform and visually appealing framework. Consistent spacing and straight lines will contribute to the overall professional look of the enclosure.
Depending on the design of your enclosure, you may need to add additional cross beams or rafters to provide adequate support for the chosen enclosure material. These additional elements can enhance the stability of the structure and ensure that the enclosure material is properly supported.
Throughout the process, use a level to verify that the beams and rafters are installed evenly and are not prone to tilting or shifting. This attention to detail will contribute to the long-term durability and safety of the enclosed pergola space.
By completing this step, you’ll have established a solid framework for the enclosure, providing the necessary support for the subsequent installation of the chosen enclosure material. With the beams and rafters securely in place, you’re ready to move on to the exciting phase of selecting and installing the material that will define the look and function of your enclosed pergola.
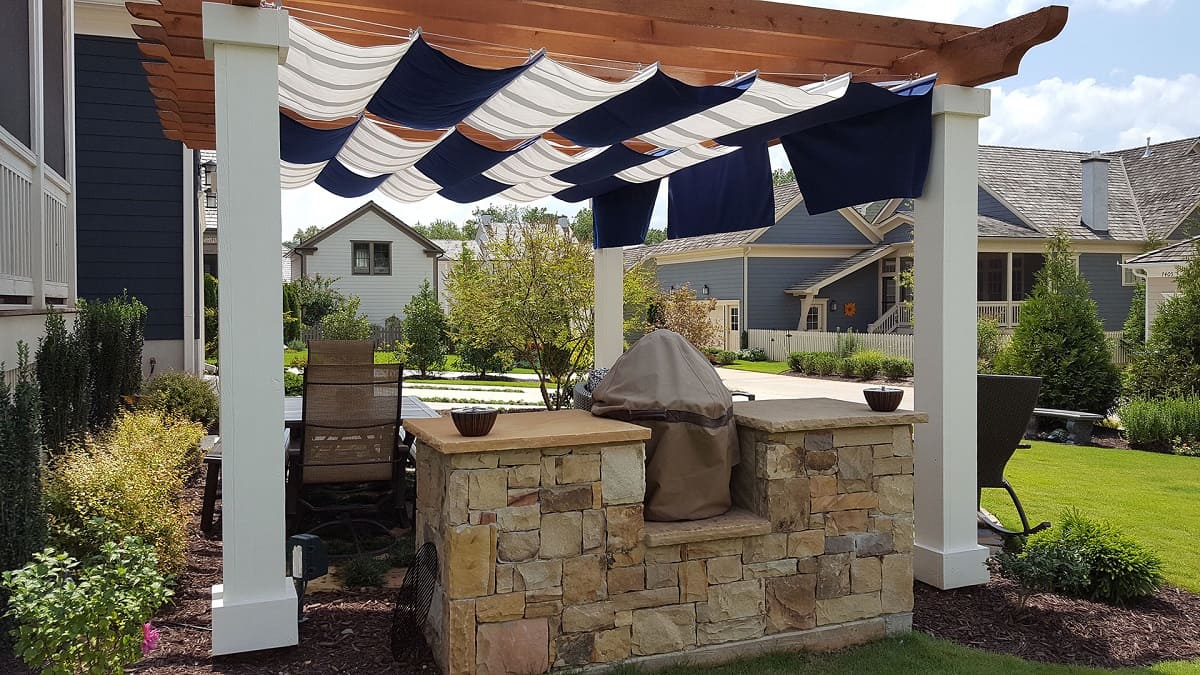
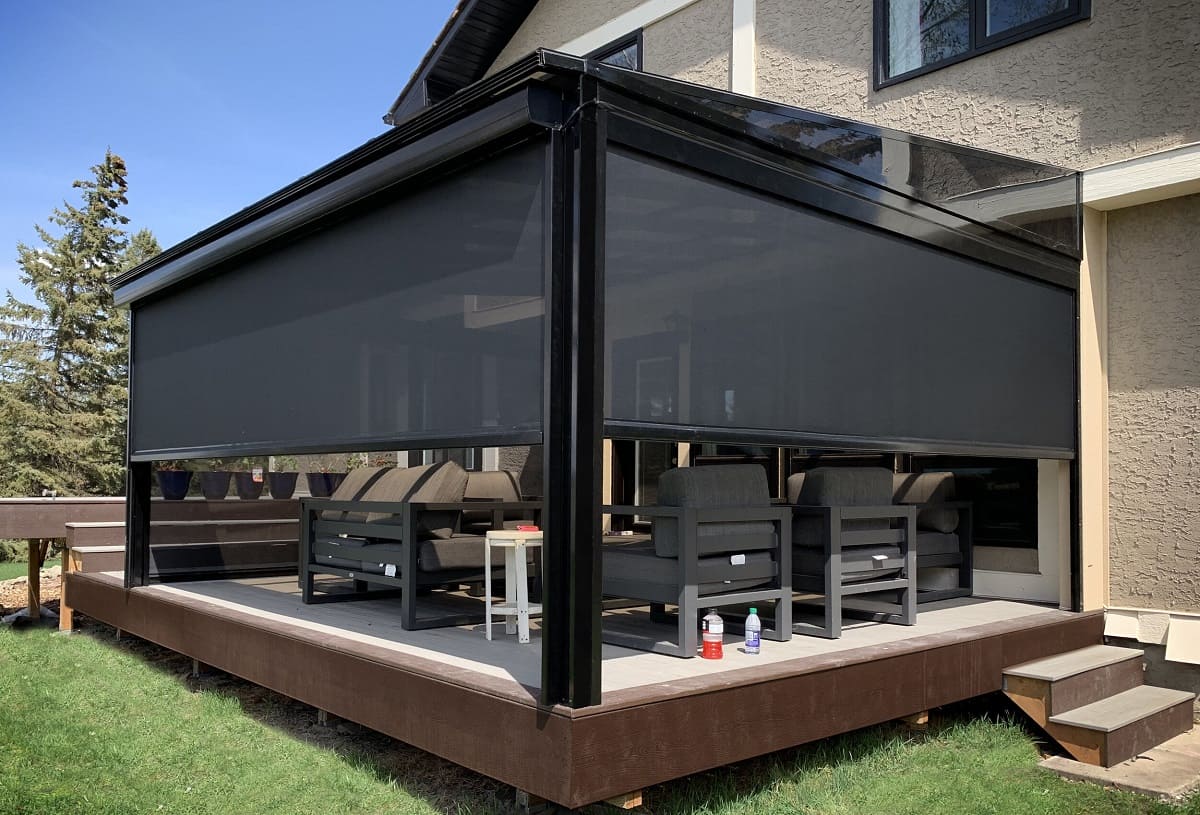
Consider using outdoor curtains or shades to enclose your pergola. These can provide privacy, block out sun or wind, and create a cozy atmosphere. Make sure to choose materials that are weather-resistant for long-lasting use.
Read more: How To Enclose A Patio
Step 5: Choose Enclosure Material
When it comes to enclosing your pergola, the choice of enclosure material plays a pivotal role in determining the overall look, functionality, and ambiance of the space. The selected material will not only provide privacy and protection but also contribute to the aesthetic appeal of your outdoor area. Here’s how to approach this important decision:
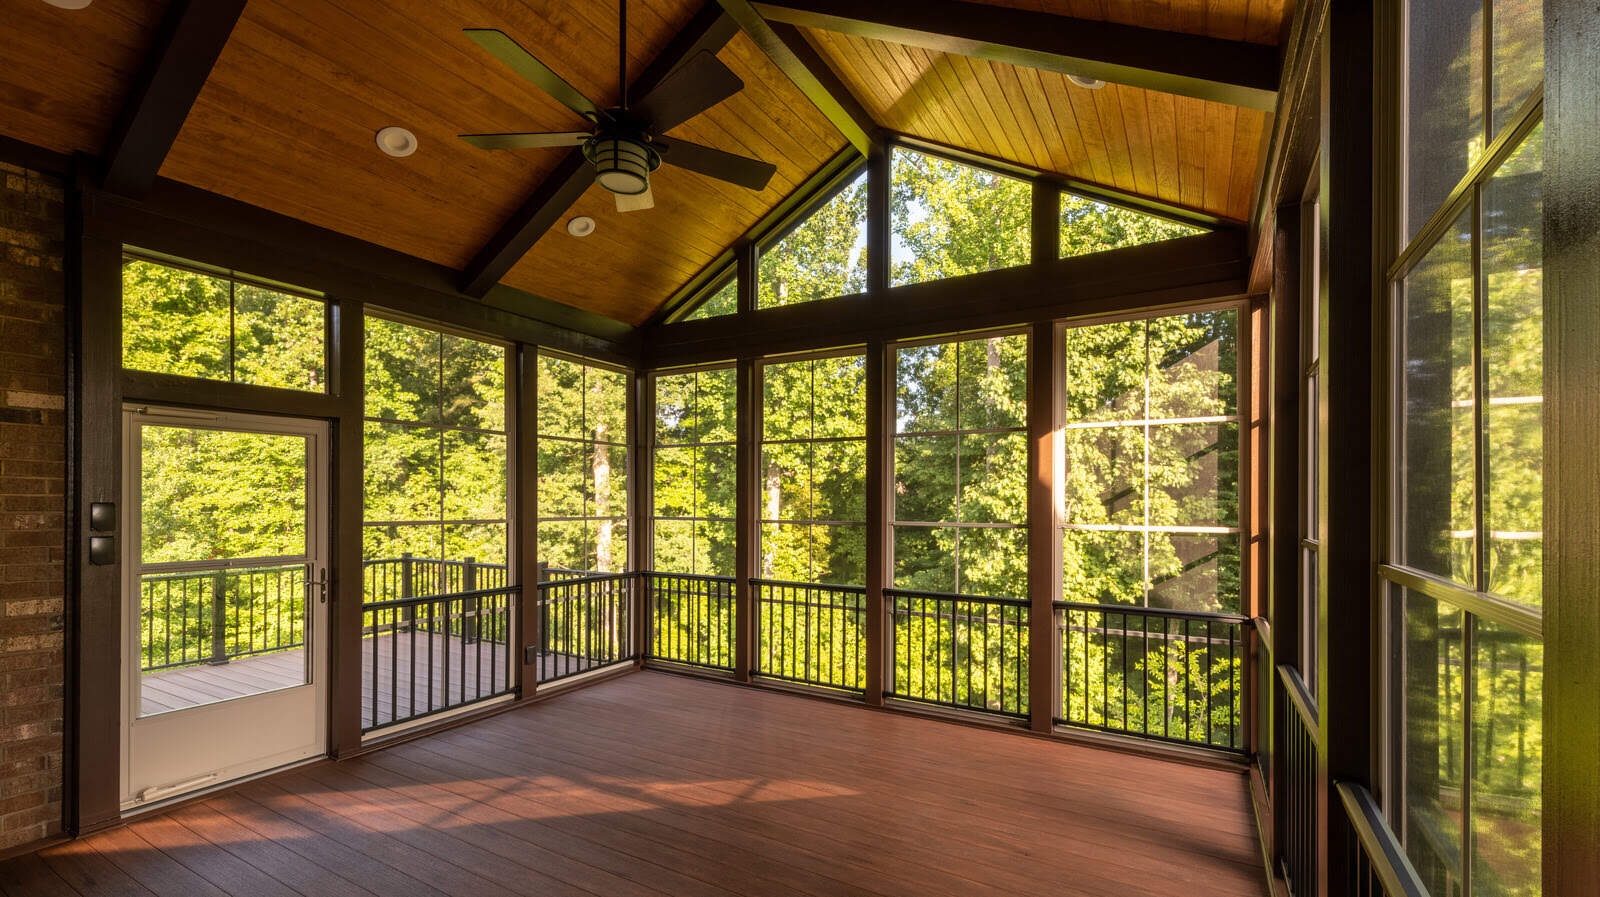
Consider the level of privacy and protection you desire. If your primary goal is to create a secluded retreat, you might opt for solid materials such as wooden slats, prefabricated walls, or outdoor fabric designed for privacy. On the other hand, if you prefer a more open and airy feel, lattice panels or semi-transparent fabric could be suitable options.
Take into account the climate and weather conditions in your area. If you’re looking to shield the space from intense sunlight, strong winds, or occasional rain, you’ll want to choose a material that offers adequate protection while remaining resilient in outdoor environments. Additionally, consider the potential need for insulation during colder seasons.
Explore various design possibilities. The choice of enclosure material presents an opportunity to enhance the visual appeal of your outdoor space. Whether you prefer a modern, minimalist look or a more rustic and natural feel, the material you select can significantly impact the overall aesthetic of the enclosed pergola.
Factor in maintenance requirements. Different materials may necessitate varying levels of care and maintenance. Consider the long-term upkeep of the enclosure material to ensure that it aligns with your lifestyle and maintenance preferences.
Ultimately, the ideal enclosure material should harmonize with your personal style, the existing architecture of your home, and the overall ambiance of your outdoor space. By carefully considering these factors, you can make an informed decision that will result in a functional, visually appealing, and inviting enclosed pergola.
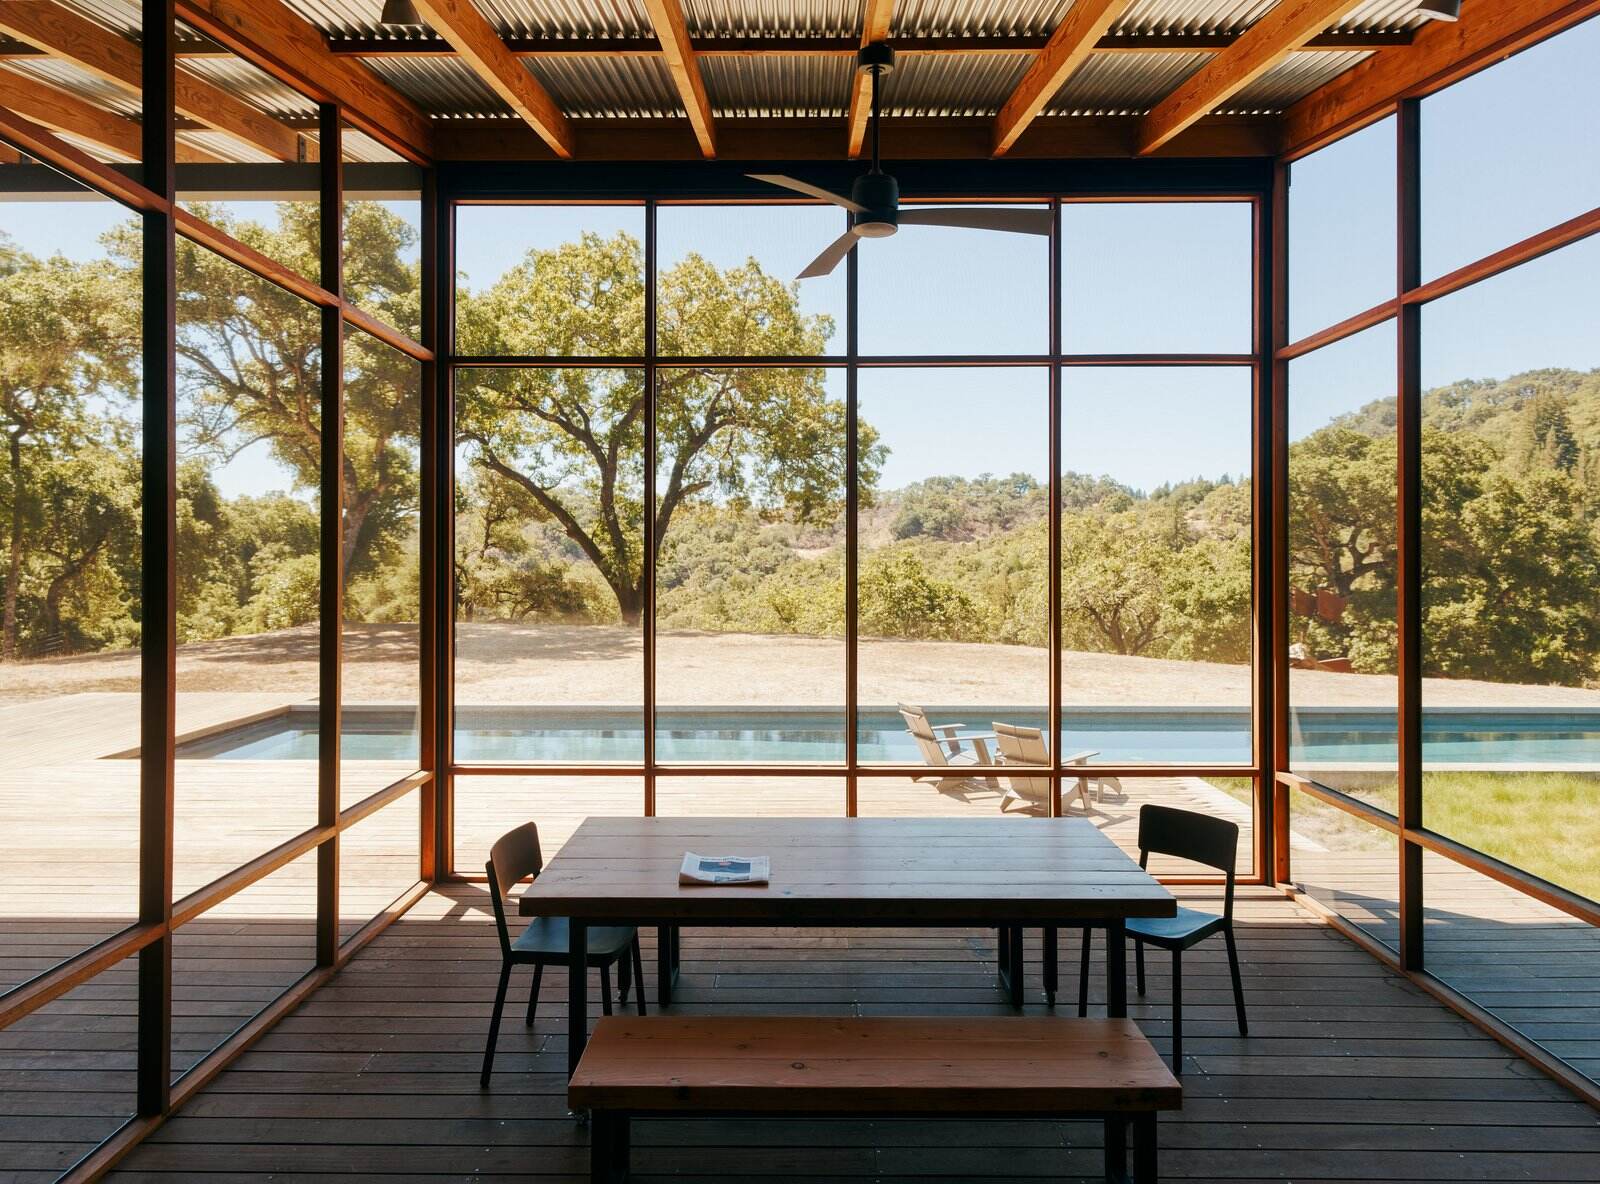
Step 6: Install Enclosure
With the support structure in place and the enclosure material selected, it’s time to proceed with the installation of the chosen material to enclose your pergola. This step marks the transformation of your outdoor space, creating a private, sheltered area for relaxation, entertainment, and enjoyment. Here’s how to carry out this pivotal phase of the project:
Begin by carefully positioning the chosen enclosure material according to your pre-determined plan. Whether you’re working with fabric, wooden slats, lattice panels, or prefabricated walls, ensure that each component is aligned and securely positioned.
Use appropriate fasteners to attach the enclosure material to the framework of the pergola, taking care to maintain even spacing and alignment. Depending on the material, this may involve screws, nails, or specialized fastening methods recommended by the manufacturer.
As you progress with the installation, periodically step back and assess the visual impact of the enclosure. Ensure that the material is taut, straight, and free of wrinkles or irregularities. This attention to detail will contribute to the professional and polished appearance of the enclosed pergola.
If your chosen enclosure material includes multiple components, such as panels or sections, take the time to seamlessly integrate them to create a cohesive and unified enclosure. Pay attention to the transitions between different sections, ensuring that they blend harmoniously to form a continuous and visually appealing barrier.
Throughout the installation process, prioritize the structural integrity and stability of the enclosure. Verify that the material is securely attached and capable of withstanding outdoor conditions, including wind, rain, and temperature fluctuations.
By completing the installation of the enclosure material, you’ll have realized the vision of transforming your pergola into a private, sheltered retreat. The enclosed space will offer a sense of seclusion and comfort, providing a versatile area for various outdoor activities and relaxation.
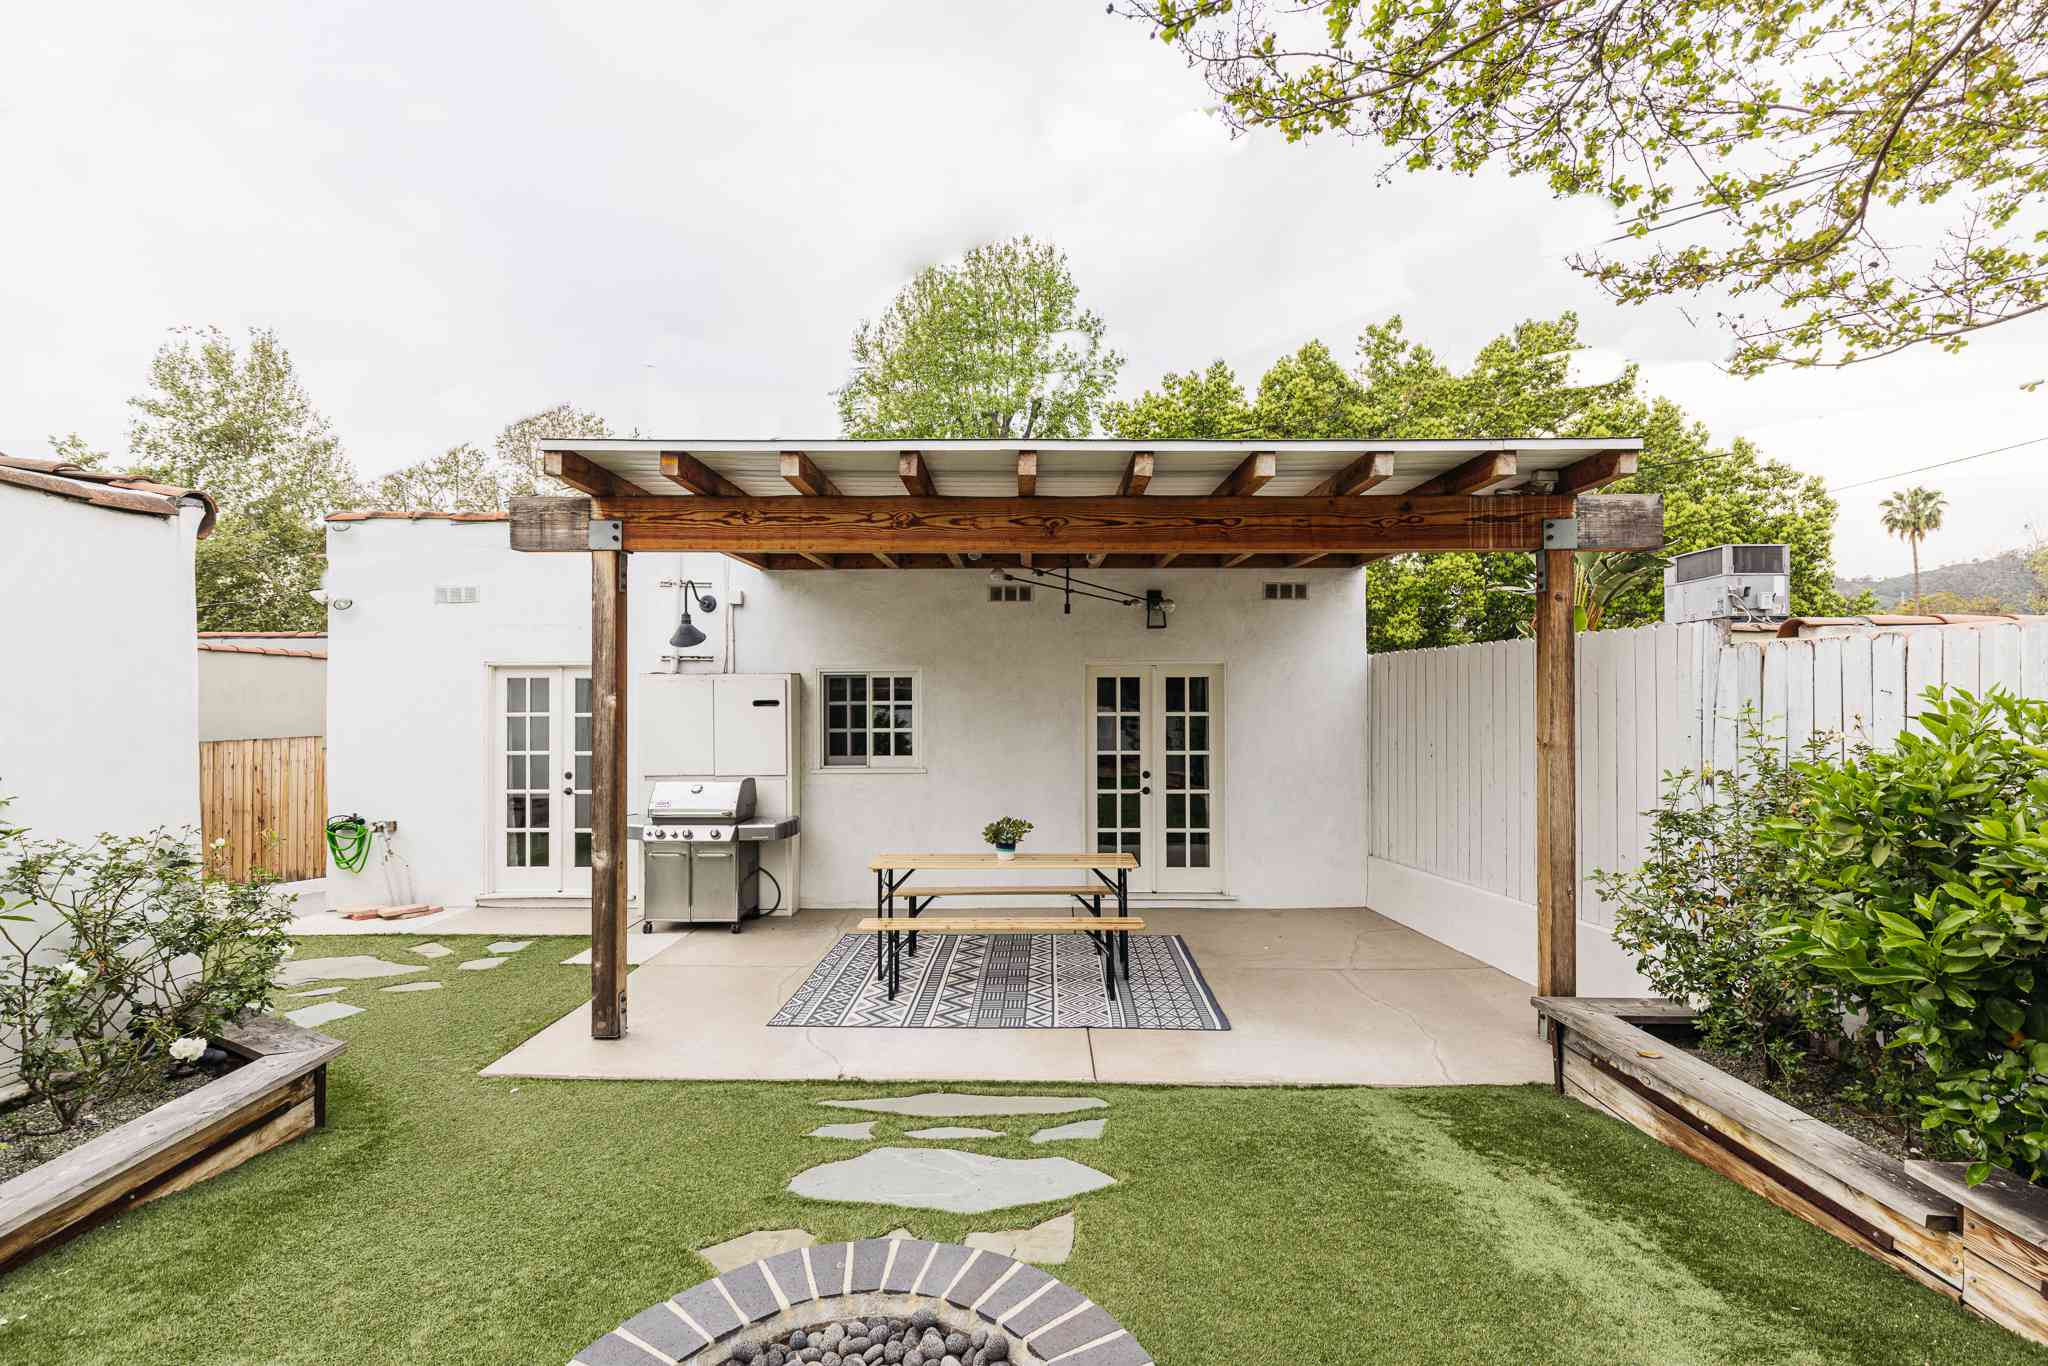
Step 7: Add Finishing Touches
As you near the completion of enclosing your pergola, it’s time to add the finishing touches that will elevate the space and enhance its functionality and visual appeal. These final details can contribute to the overall ambiance and comfort of the enclosed area, creating a welcoming and stylish outdoor retreat. Here’s how to add those essential finishing touches:
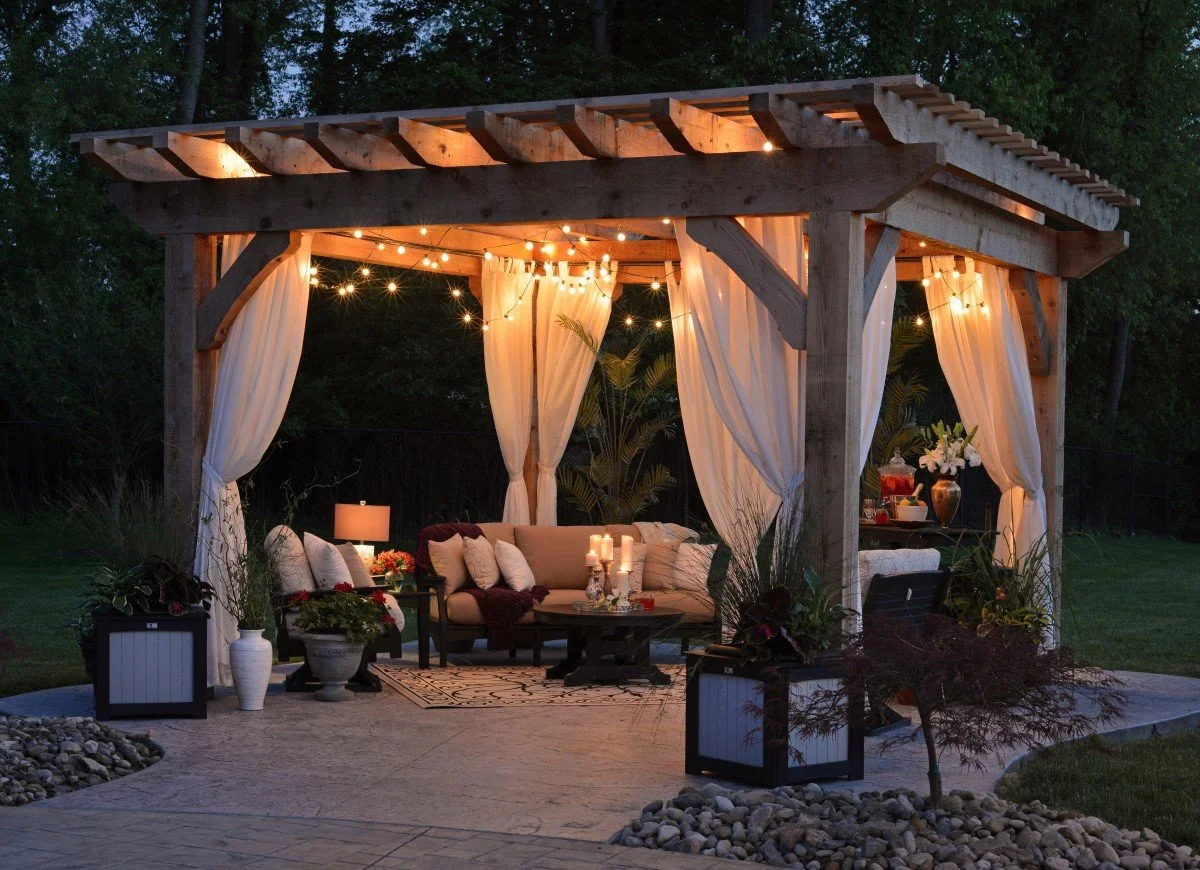
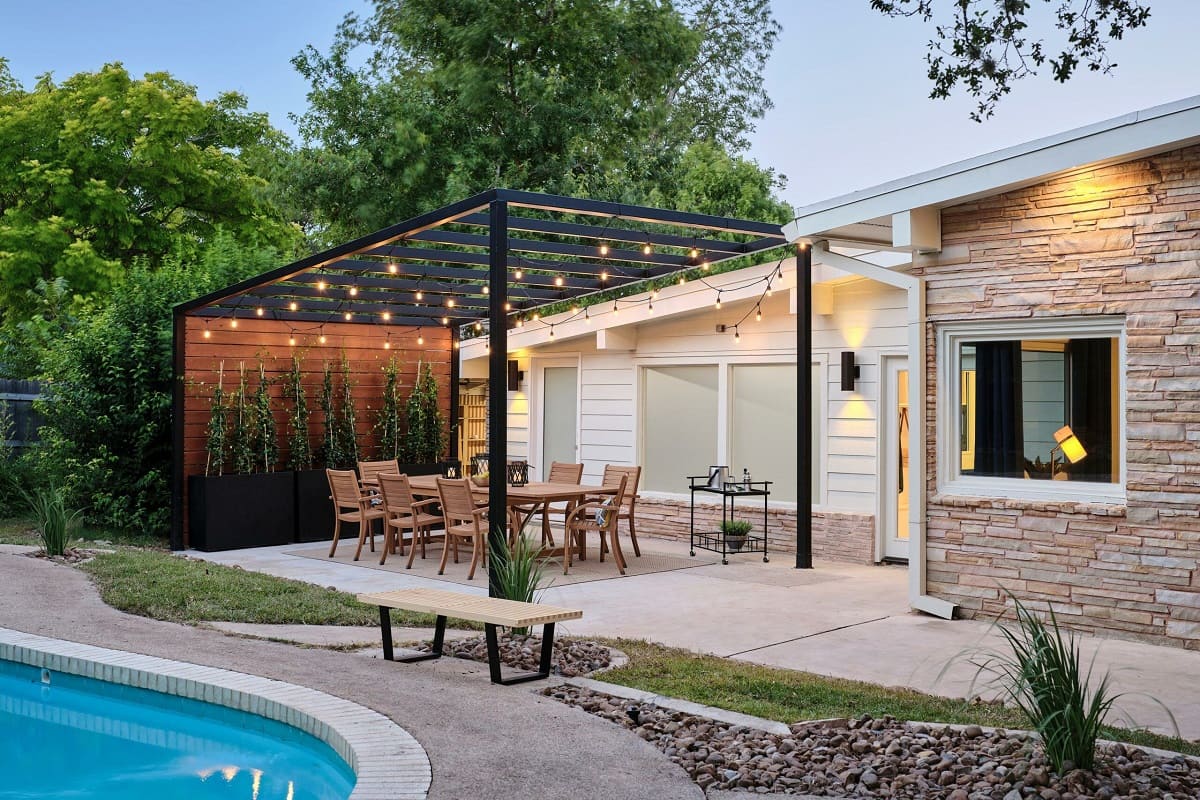
Lighting: Consider incorporating outdoor lighting to illuminate the enclosed space during evening hours. Whether it’s string lights, lanterns, or wall-mounted fixtures, lighting can create a cozy and inviting atmosphere, extending the usefulness of the space into the night.
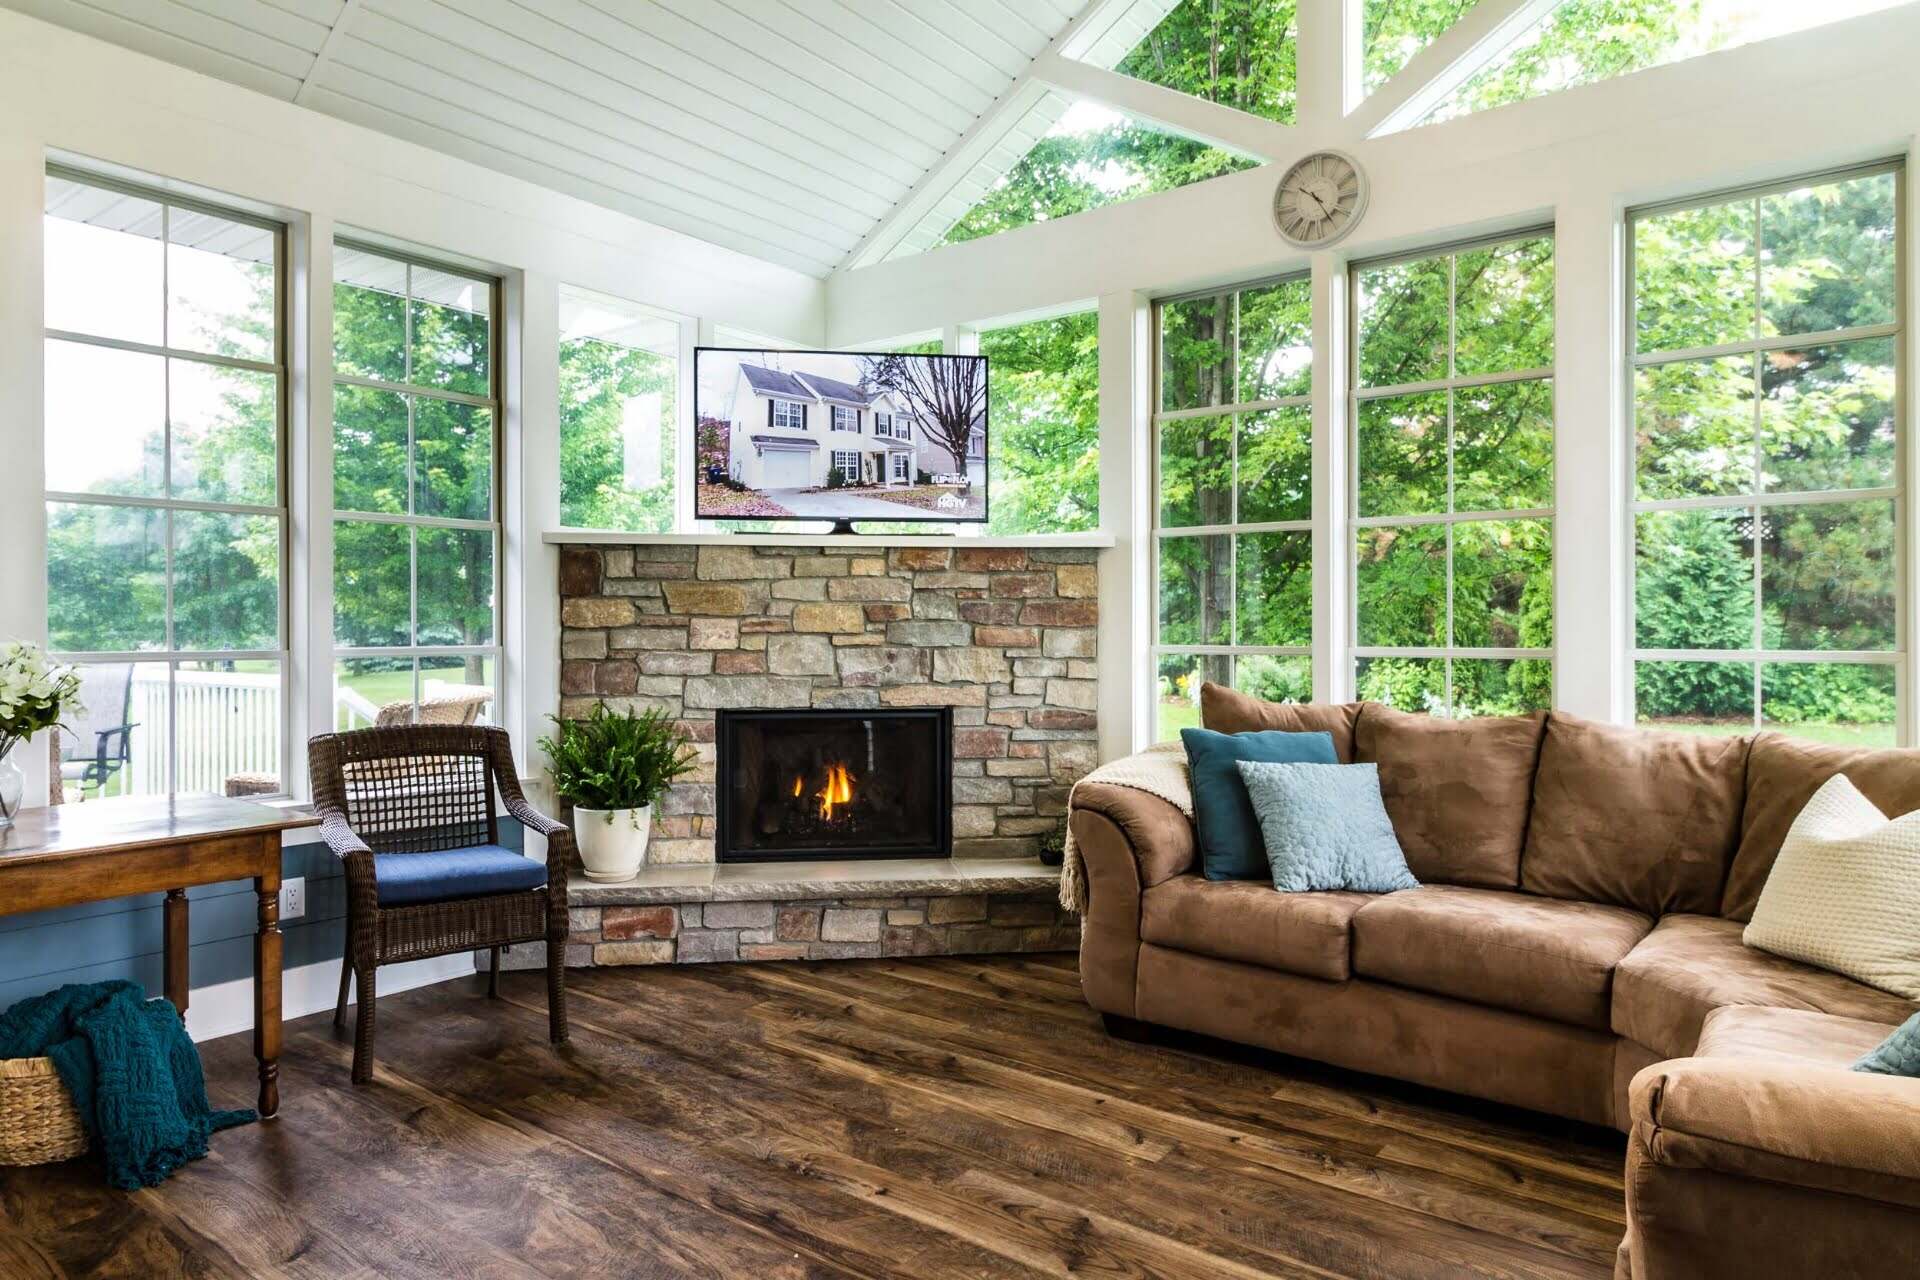
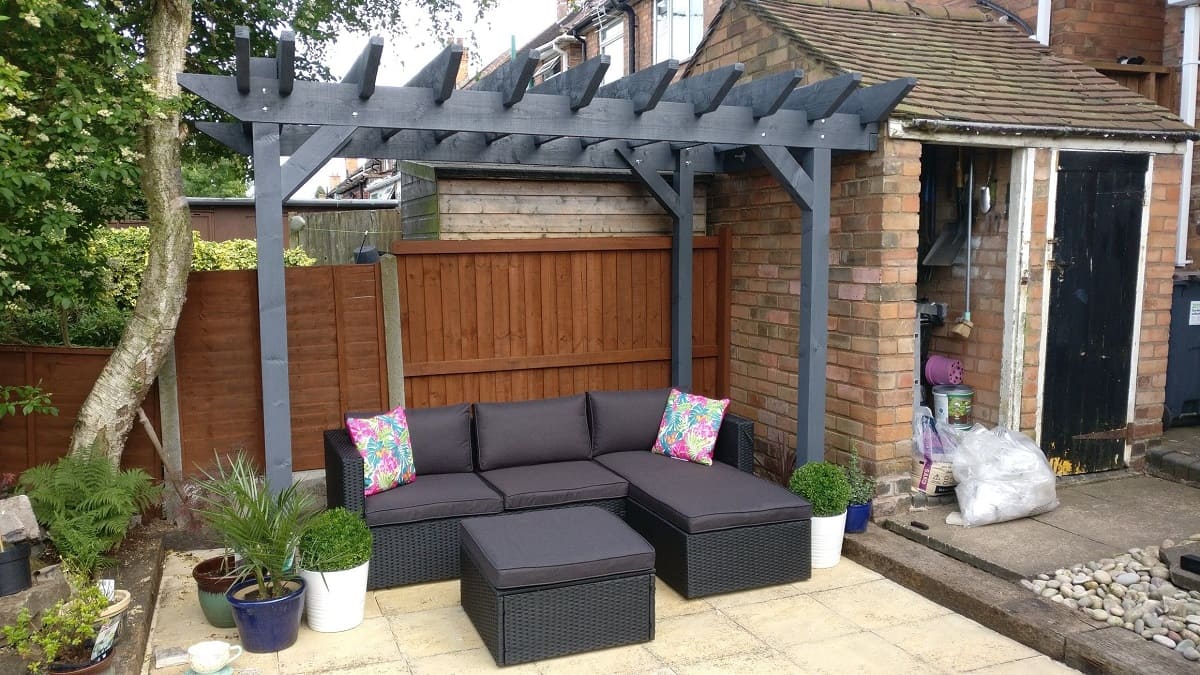
Furnishings: Select outdoor furniture that complements the style and purpose of the enclosed pergola. Comfortable seating, tables, and accessories can transform the space into a functional and inviting outdoor room, ideal for relaxation, dining, or socializing.
Greenery: Introduce potted plants, hanging baskets, or climbing vines to add a touch of natural beauty to the enclosed area. Greenery can soften the structure of the enclosure, creating a seamless blend with the surrounding outdoor environment.
Privacy Screens: If additional privacy is desired, consider incorporating decorative privacy screens or partitions. These elements can enhance the seclusion of the space while adding an artistic and personalized touch to the enclosure.
Decorative Accents: Infuse the enclosed pergola with decorative elements that reflect your personal style and enhance the overall aesthetic. This could include artwork, sculptures, or outdoor rugs, adding character and charm to the space.
Climate Control: Depending on your location and climate, consider integrating elements for climate control, such as outdoor fans, heaters, or retractable shades. These additions can extend the usability of the enclosed space throughout the year, ensuring comfort in various weather conditions.
By attending to these finishing touches, you’ll complete the transformation of your pergola into a versatile, comfortable, and visually appealing outdoor retreat. The enclosed space will offer a private and sheltered environment for relaxation, entertainment, and enjoyment, serving as a valuable extension of your home and lifestyle.
Conclusion
Enclosing a pergola is a transformative project that can enhance the functionality, versatility, and aesthetic appeal of your outdoor space. By following the steps outlined in this guide, you’ve gained the knowledge and insight to embark on this exciting endeavor and create a private, sheltered retreat that complements your lifestyle and home environment.
From gathering the necessary materials and tools to adding the finishing touches, each step in the process contributes to the realization of your vision for an enclosed pergola. The careful planning, thoughtful selection of materials, and meticulous installation work together to create a welcoming and stylish outdoor room that extends the usability of your outdoor space.
By enclosing your pergola, you’ve not only added a valuable and versatile area for relaxation, dining, and entertainment but also increased the overall appeal and functionality of your property. The enclosed space offers privacy, protection from the elements, and a sense of seclusion, serving as a tranquil oasis within your outdoor environment.
As you enjoy the newly enclosed pergola, take pride in the craftsmanship and attention to detail that have gone into creating this inviting and personalized outdoor retreat. Whether it’s a quiet sanctuary for reading and reflection, a gathering place for socializing and entertaining, or a cozy dining area, the enclosed pergola represents a valuable addition to your home and lifestyle.
Embrace the opportunities for personalization and customization as you infuse the space with your unique style and preferences. Whether it’s through decorative accents, furnishings, or greenery, make the enclosed pergola a reflection of your personality and a seamless extension of your indoor living space.
Ultimately, the enclosed pergola stands as a testament to your creativity, craftsmanship, and commitment to enhancing your outdoor living experience. It represents a space where cherished memories will be made, and moments of relaxation and connection will be savored for years to come.
With the completion of this project, you’ve unlocked the potential of your outdoor space, creating a private and inviting haven that enriches your home and enriches your life.
Frequently Asked Questions about How To Enclose A Pergola
Was this page helpful?
At Storables.com, we guarantee accurate and reliable information. Our content, validated by Expert Board Contributors, is crafted following stringent Editorial Policies. We're committed to providing you with well-researched, expert-backed insights for all your informational needs.
0 thoughts on “How To Enclose A Pergola”