Articles
How To Enclose A Carport
Modified: January 20, 2024
Learn how to enclose a carport with these informative articles. Find step-by-step guides and expert tips to transform your carport into a functional space.
(Many of the links in this article redirect to a specific reviewed product. Your purchase of these products through affiliate links helps to generate commission for Storables.com, at no extra cost. Learn more)
Introduction
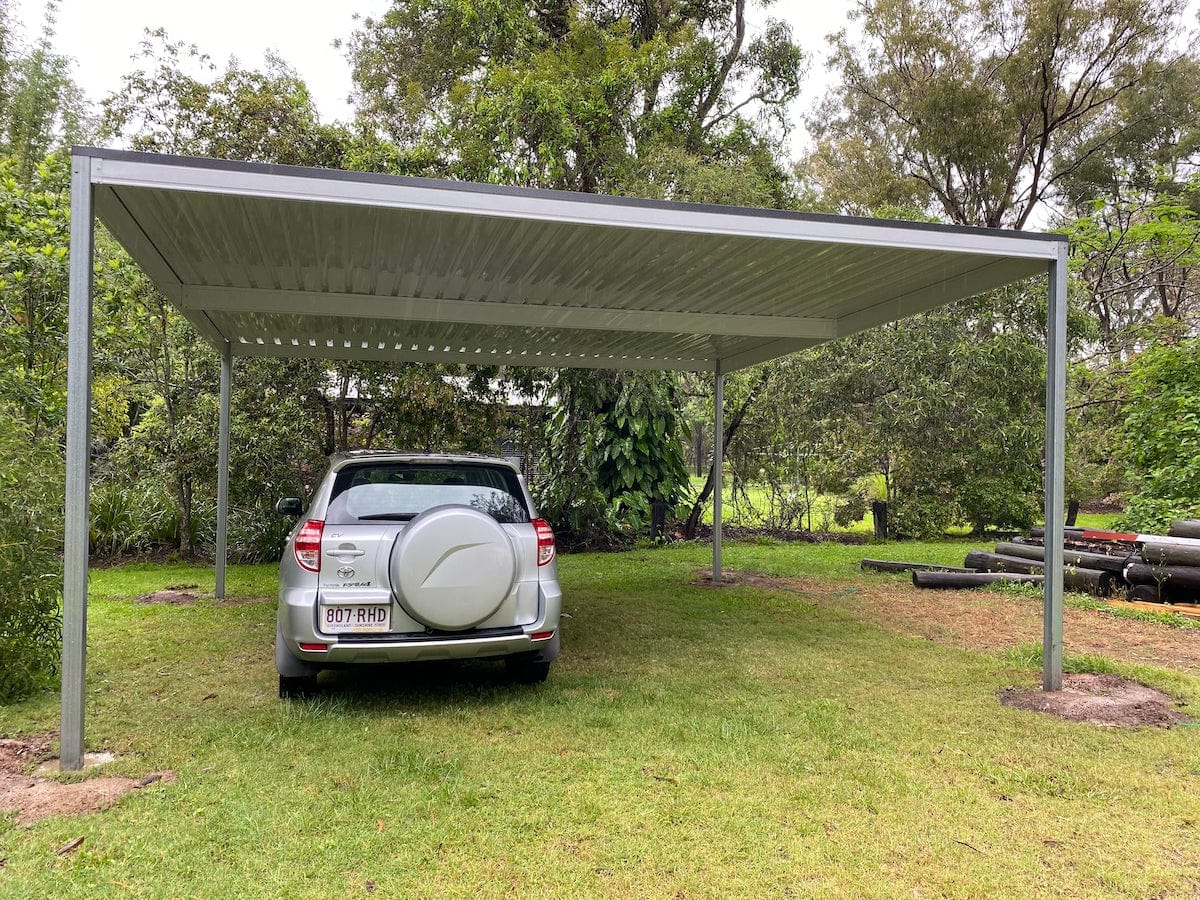
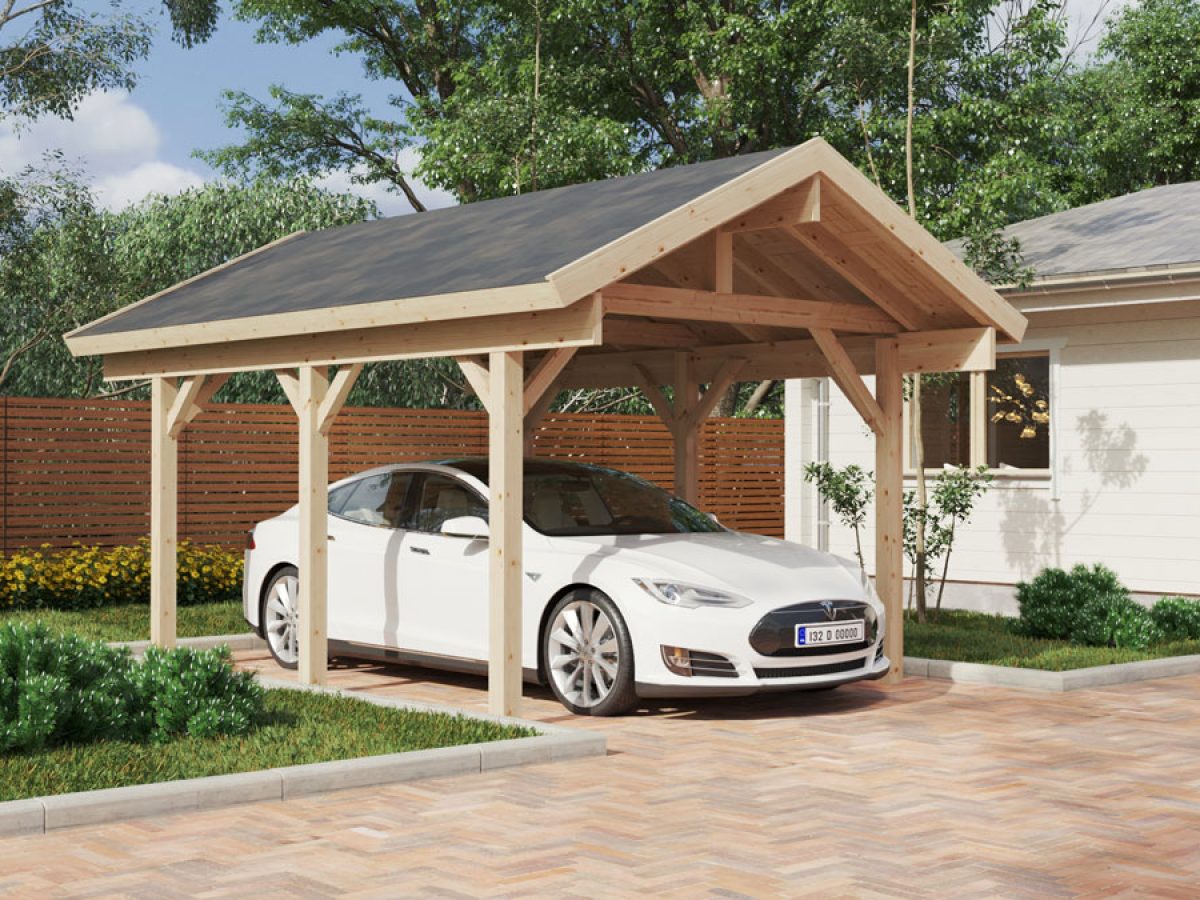
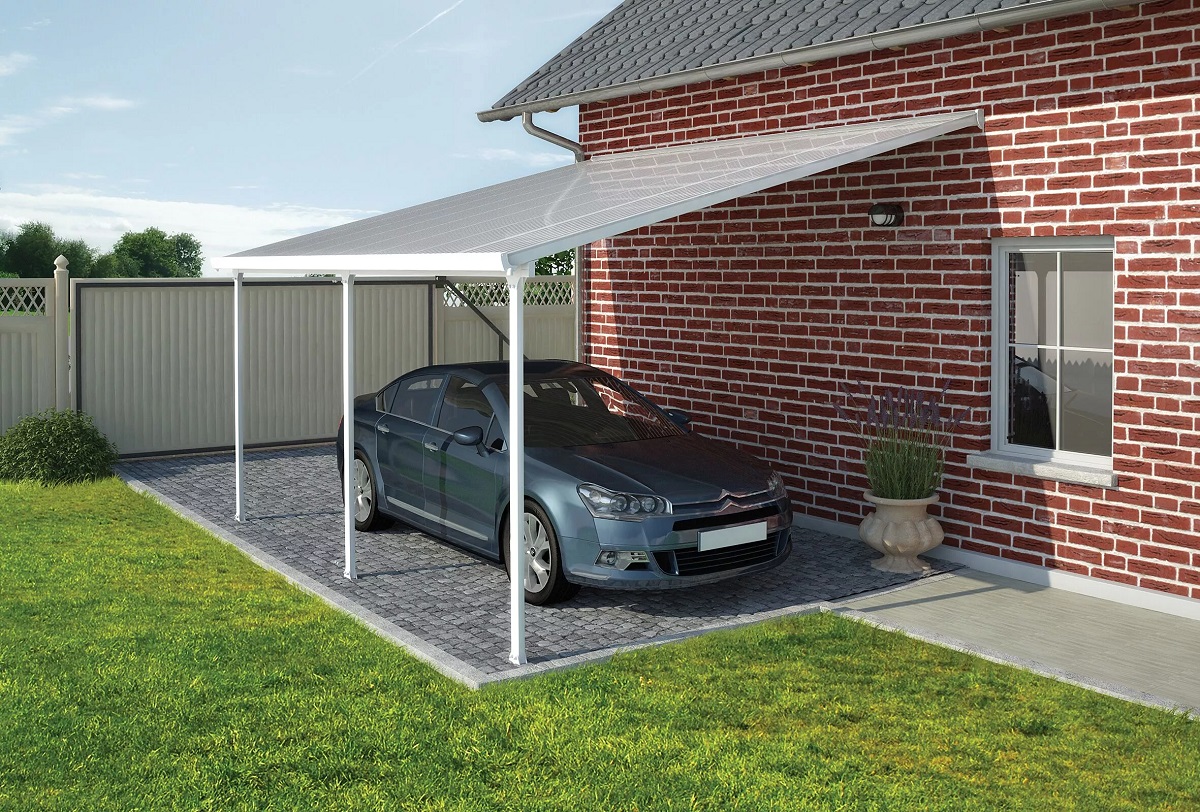
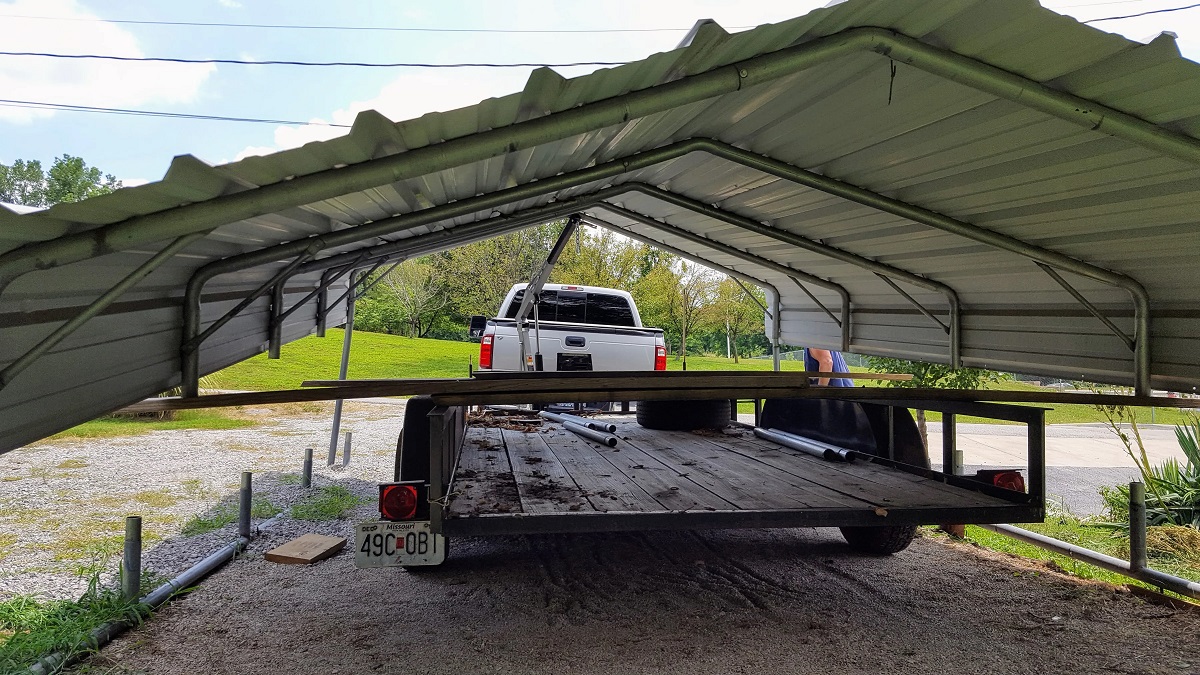
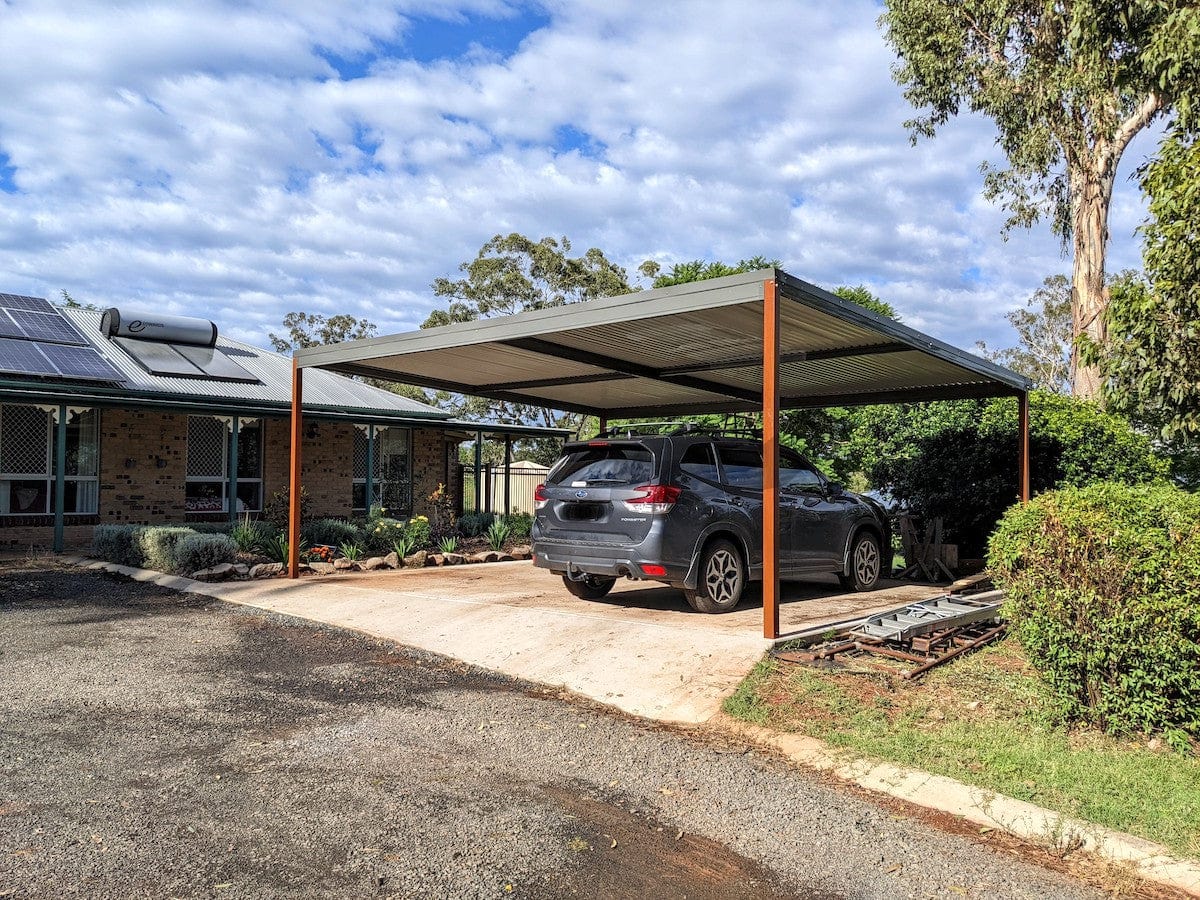
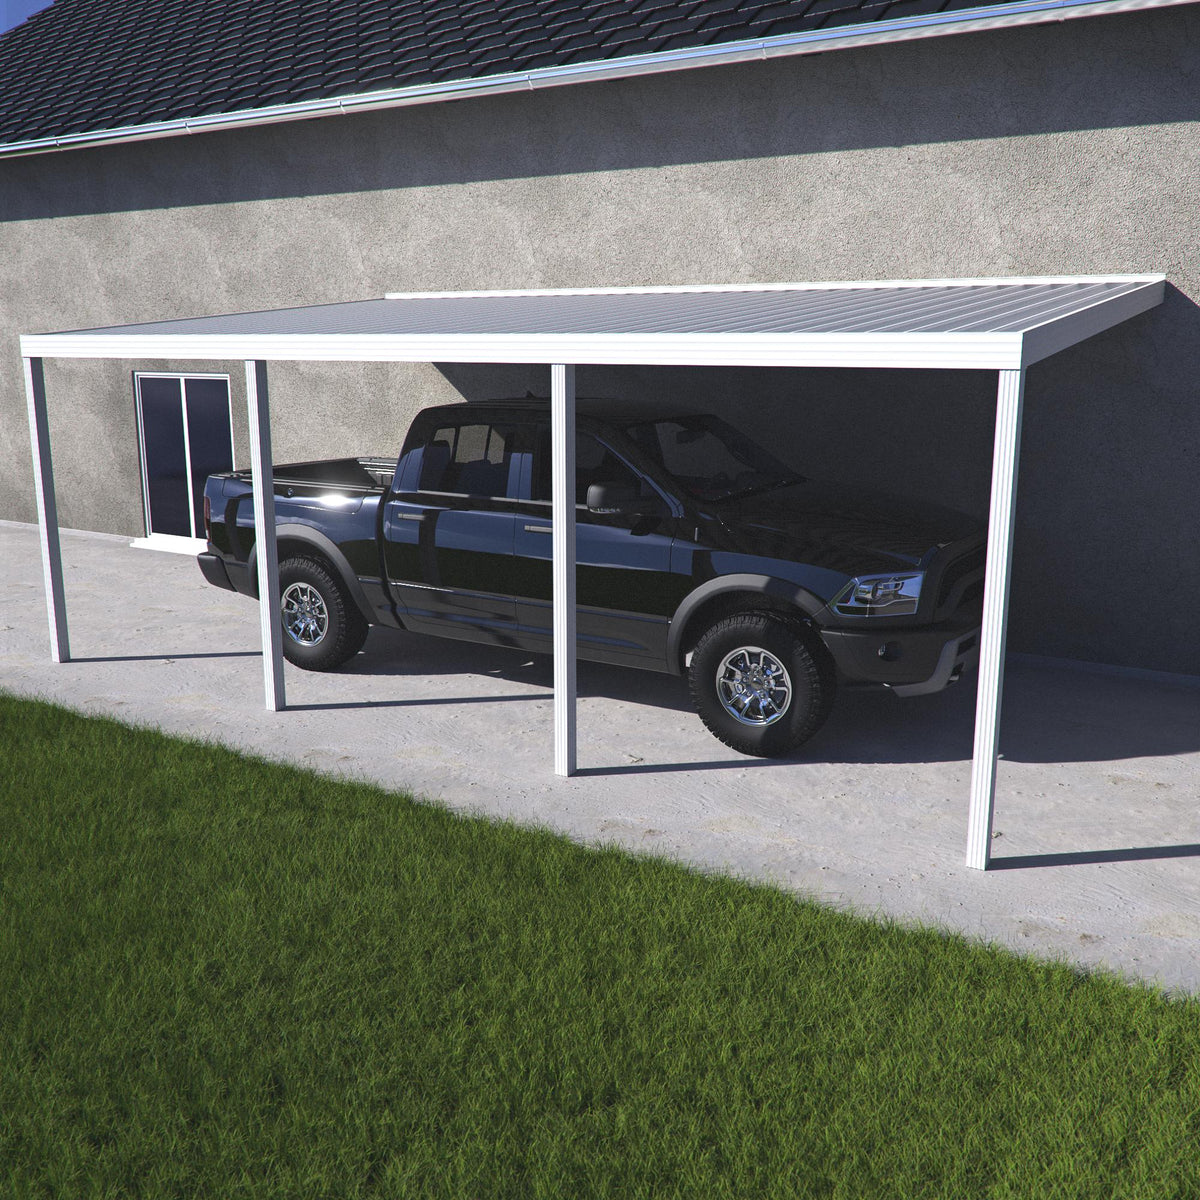
Having a carport can provide a convenient and cost-effective solution for protecting your vehicles from the elements. However, if you live in an area with fluctuating weather conditions or you simply want to create additional space, enclosing your carport can be a great option. By enclosing a carport, you can transform it into a functional and secure garage, workshop, or storage area.
Enclosing a carport may seem like a daunting task, but with careful planning and the right materials, it can be a rewarding DIY project. In this article, we will guide you through the step-by-step process of enclosing a carport, including gathering the necessary materials, measuring and marking the area, building the frame, installing the roofing, adding siding or panels, and finishing touches.
Before starting the project, it’s important to check with local building authorities for any permits or regulations that may be required. Additionally, ensure that you have the necessary tools and equipment for the job. Now, let’s dive into the details of enclosing a carport and create a versatile space that suits your needs.
Key Takeaways:
- Transform your carport into a functional space by following a step-by-step process, from gathering materials to adding finishing touches. Prioritize safety and creativity to create a secure and personalized enclosed carport.
- Regular maintenance is key to keeping your enclosed carport in optimal condition. From cleaning to inspecting for damages, these tasks will ensure longevity and functionality for years to come.
Read more: How To Enclose A Carport Cheaply
Step 1: Gather Materials and Tools
Before you start the process of enclosing your carport, it’s crucial to gather all the materials and tools you’ll need for the project. This will help ensure that you have everything on hand and can work efficiently. Here are some of the key items you’ll need:
- Framing materials: Depending on your preference and budget, you can choose between wood, metal, or PVC for the frame of your enclosed carport. Consider factors such as durability, aesthetics, and ease of installation when making your decision.
- Roofing materials: You’ll need roofing materials that are suitable for your climate, such as asphalt shingles, metal panels, or polycarbonate sheets. Make sure to measure the dimensions of your carport to determine the amount of roofing material required.
- Siding or panels: To enclose the sides of your carport, you’ll need siding or panels. This can be vinyl siding, wooden planks, or even corrugated metal sheets. Choose a material that matches your desired aesthetic and offers the level of durability and insulation you need.
- Doors and windows: If you plan on using your enclosed carport as a garage or workshop, you’ll need doors for easy access. Consider whether you want a single or double door and select a style that complements the overall design. Additionally, if you want to incorporate natural light or ventilation, windows are a great addition to consider.
- Fasteners: You’ll need a variety of fasteners such as nails, screws, bolts, and brackets to secure the framing, roofing, siding, and other components together. Make sure to choose appropriate fasteners based on the materials you’re working with.
- Tools: To complete the project, you’ll require a range of tools including a measuring tape, level, circular saw or miter saw, screwdriver, hammer, drill with bits, and a ladder. Having the right tools on hand will make the process smoother and more efficient.
Once you have gathered all the necessary materials and tools, you’ll be ready to move on to the next step: measuring and marking the area where you plan to enclose your carport. This crucial step will ensure that your enclosed carport is properly sized and fits your needs.
Step 2: Measure and Mark the Area
Now that you have all your materials and tools ready, it’s time to measure and mark the area where you’ll be enclosing your carport. Proper measurements are essential for ensuring that your enclosed carport fits correctly and functions as intended. Here’s how to proceed:
- Survey the space: Begin by taking a thorough look at your carport and assessing the available space. Consider any existing structures or obstacles that may affect the enclosure process.
- Measure the dimensions: Using a measuring tape, carefully measure the length, width, and height of your carport. Make sure to measure from the inside of the frame to account for the additional thickness of the materials you’ll be using.
- Mark the areas for framing: Using chalk or a pencil, mark the locations where the framing will be installed. This includes the top plate, bottom plate, and any vertical studs or posts. Ensure that the markings are level and plumb to maintain a straight and sturdy structure.
- Plan for doors and windows: If you’ll be incorporating doors and windows into your enclosed carport, mark their desired locations as well. This will help you position the framing and make necessary adjustments before installation.
- Double-check the measurements: Once you have marked all the necessary areas, take a final look at your measurements to ensure accuracy. It’s better to double-check now than encounter issues later in the process.
By taking the time to measure and mark the area properly, you’ll set yourself up for a smoother construction process. Accurate measurements will help you determine the amount of materials needed and ensure that everything fits correctly. With the area measured and marked, you’re ready to move on to the next step: building the frame for your enclosed carport.
Step 3: Build the Frame
With the area measured and marked, it’s time to start building the frame for your enclosed carport. The frame provides the structural support for the entire enclosure and is an essential component of the project. Here’s how you can proceed:
- Prepare the materials: Gather all the framing materials you gathered earlier, such as wood, metal, or PVC. Cut the materials to the appropriate lengths according to your measurements, using a saw or other cutting tool.
- Start with the top plate: Begin by attaching the top plate to the existing structure of your carport. This horizontal beam will serve as the foundation for the frame. Use screws or nails to secure it into place, ensuring it is level and securely fastened.
- Install vertical studs or posts: Next, attach the vertical studs or posts at your marked locations. These will provide stability and support for the structure. Make sure they are plumb and secure them to the top plate and bottom plate using screws or nails.
- Add the bottom plate: Install the bottom plate along the base of the vertical studs or posts. Similar to the top plate, it provides stability to the frame. Secure it with screws or nails.
- Continue framing: Depending on the design of your enclosed carport, you may need to add additional horizontal and diagonal bracing for added support. Follow your plans or design specifications to complete the frame.
- Check for stability: After assembling the frame, check for any wobbling or signs of instability. Make adjustments as needed to ensure a sturdy structure.
Building the frame is a critical step in enclosing your carport. It determines the stability and structural integrity of the entire enclosure. Take your time to accurately measure, cut, and secure the framing materials to ensure a solid foundation. Once the frame is complete, you’re ready to move on to the next step: installing the roofing.
Step 4: Install the Roofing
Now that the frame of your enclosed carport is in place, it’s time to move on to installing the roofing. The roofing is a crucial element that will protect your vehicles and belongings from various weather conditions. Here’s how you can install the roofing:
- Prepare the roofing materials: Gather all the roofing materials you acquired earlier, such as asphalt shingles, metal panels, or polycarbonate sheets. Ensure that you have enough materials to cover the entire roof surface.
- Start at the bottom: Begin by installing the roofing material at the bottom edge of the roof. Align it properly with the edge of the frame and secure it using appropriate fasteners such as nails or screws.
- Overlap the roofing material: To ensure proper water drainage, overlap each subsequent piece of roofing material with the one below it. The amount of overlap will depend on the specific type of roofing material you’re using, so refer to the manufacturer’s instructions for guidance.
- Secure the roofing material: As you work your way up the roof, continue securing each piece of roofing material to the frame. Make sure it is aligned properly and securely fastened, ensuring a tight and watertight seal.
- Trim the edges: Once you reach the top of the roof, trim the excess roofing material to create a neat and finished appearance. Take care to follow safety precautions when working at heights.
- Seal any gaps: Inspect the roofing for any gaps or areas where water could penetrate. Apply roofing sealant or flashing to seal these areas, ensuring maximum protection against leaks.
When installing the roofing, it’s important to follow the manufacturer’s instructions and guidelines specific to the type of roofing material you’re using. Proper installation will ensure that your enclosed carport is well-protected from rain, snow, and other weather conditions. With the roofing installed, you can now move on to the next step: adding siding or panels to enclose the sides of your carport.
When enclosing a carport, consider using durable materials such as metal or wood for the walls, and ensure proper ventilation to prevent moisture buildup. Additionally, consider adding insulation to regulate temperature inside the enclosed space.
Read more: How To Enclose A Pergola
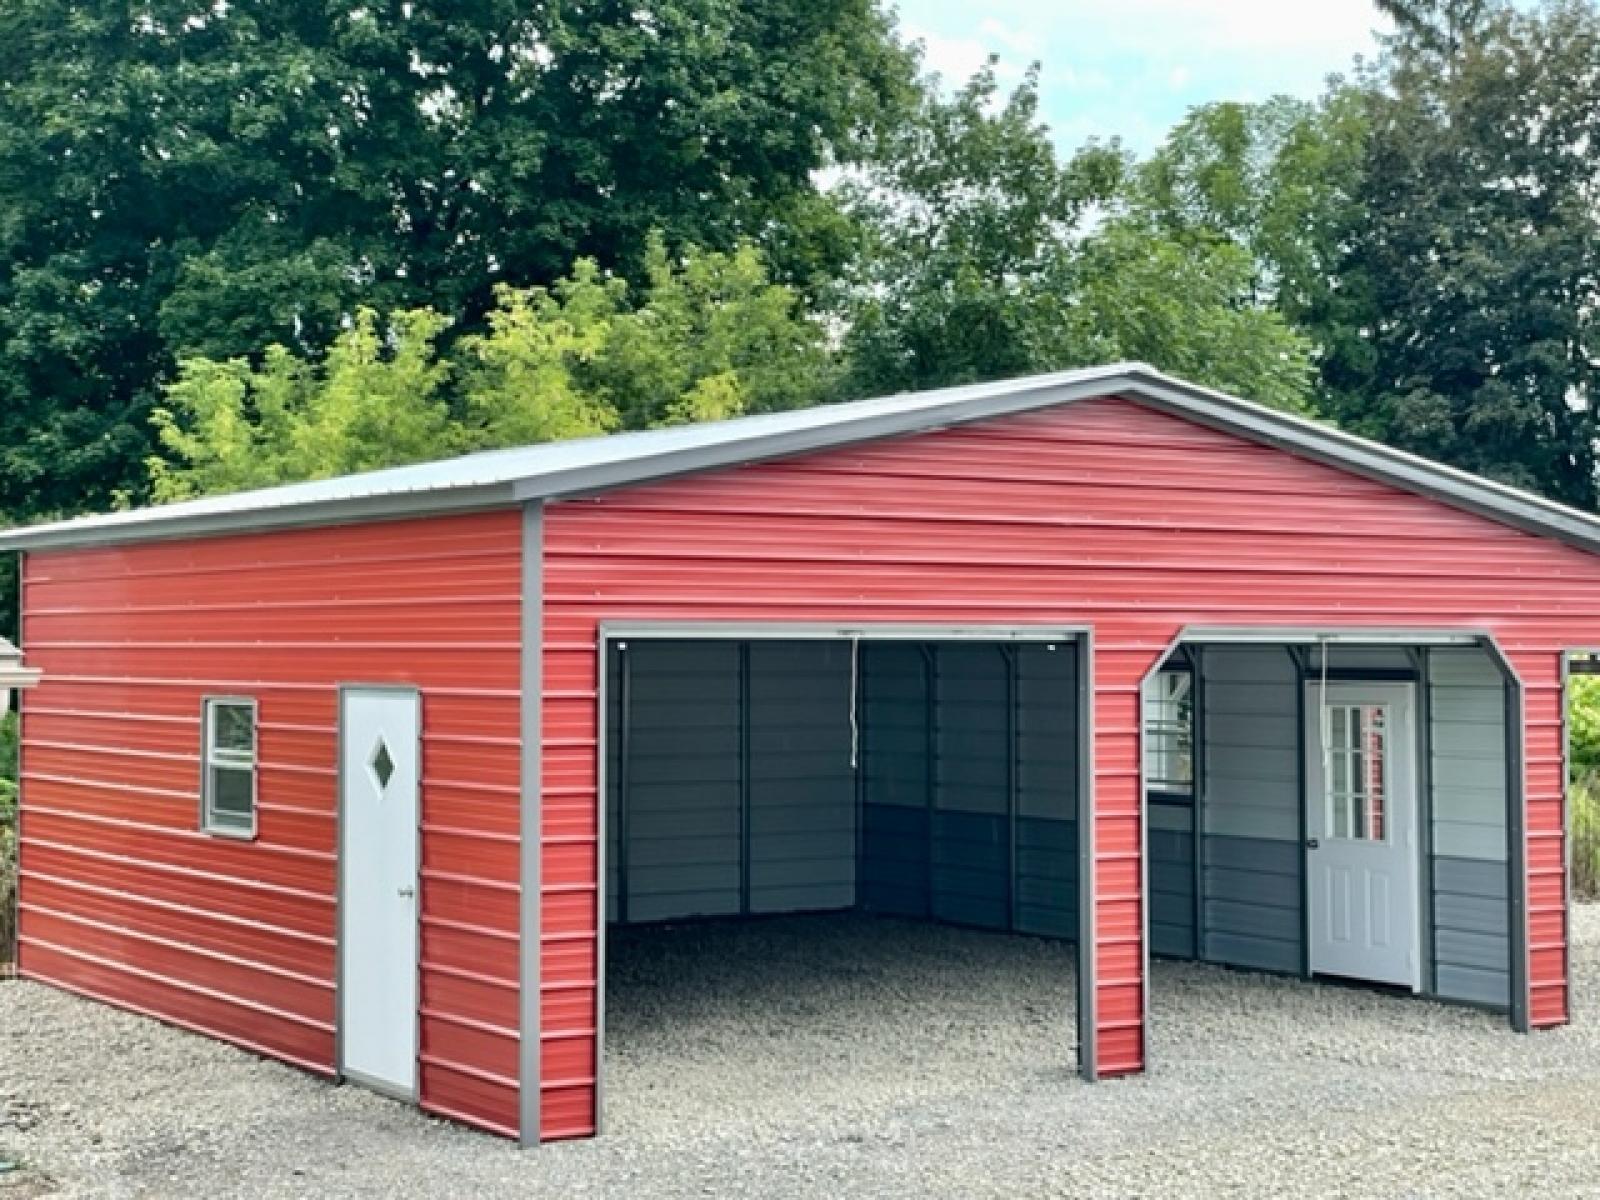
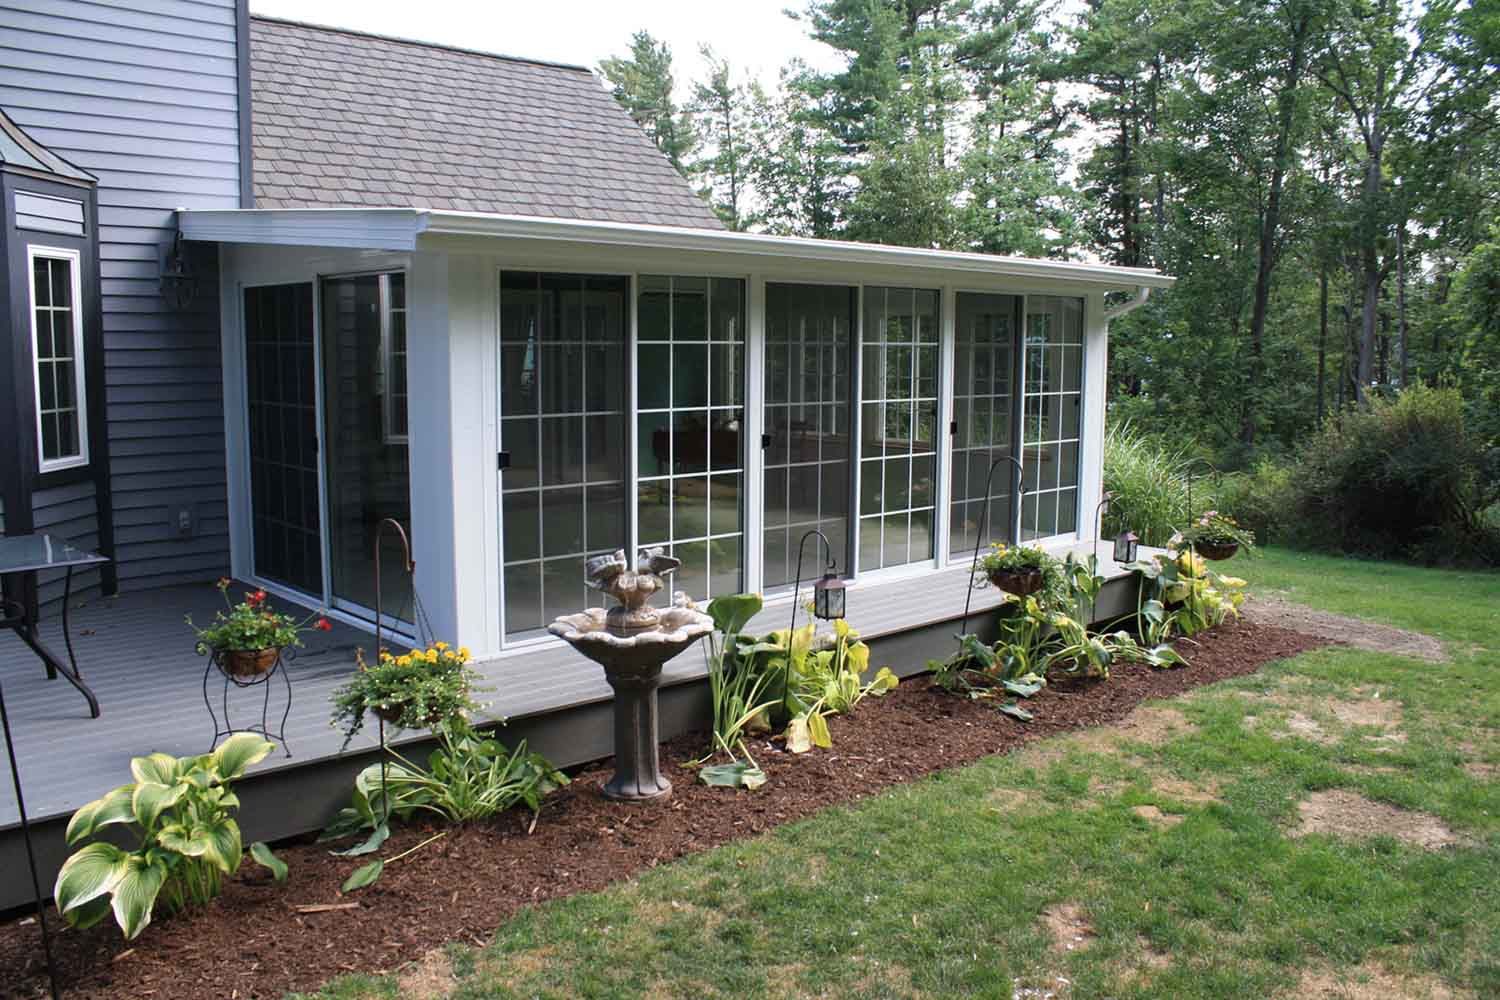
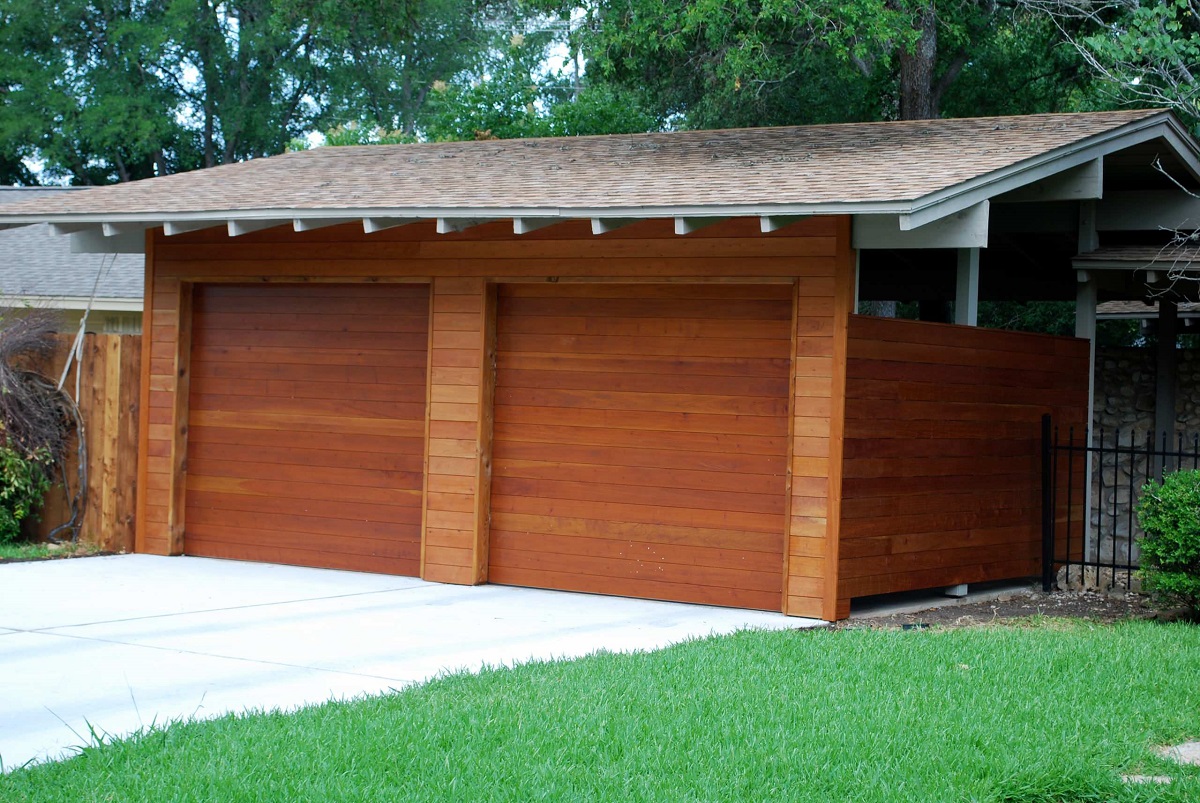
Step 5: Add Siding or Panels
With the roof in place, it’s time to move on to enclosing the sides of your carport by adding siding or panels. This step will not only enhance the appearance of your enclosed carport but also provide added protection and insulation. Follow these steps to add siding or panels:
- Choose your siding or panel material: Consider the aesthetic appeal, durability, and maintenance requirements when selecting the material for your carport’s siding. Popular options include vinyl siding, wooden planks, or corrugated metal sheets.
- Measure and cut the siding or panels: Using your measurements and a saw, cut the siding or panels to the appropriate lengths. Ensure precise measurements to achieve a neat and professional-looking finish.
- Install the first piece: Start at one corner of the carport and align the first piece of siding or panel with the bottom edge of the frame. Use appropriate fasteners, such as nails or screws, to secure it in place. Place fasteners near the edges of the siding, ensuring a secure attachment.
- Continue adding siding or panels: Work your way along each side of the carport, overlapping each subsequent piece of siding or panel with the one before it. This overlapping technique helps to prevent water infiltration and creates a seamless appearance.
- Cut and fit around doors and windows: For areas where you plan to install doors or windows, measure and cut the siding or panels accordingly. Ensure a precise fit, allowing space for proper installation of these elements.
- Trim and finish the edges: Once all the siding or panels are in place, trim any excess material and secure the edges using trim pieces or corner guards. This will give your enclosed carport a polished and finished look.
Adding siding or panels to your carport will not only provide protection but also give it a cohesive and appealing appearance. Remember to follow the manufacturer’s instructions and safety guidelines when working with siding materials. Once complete, you can move on to the next step: installing doors and windows to make your enclosed carport functional.
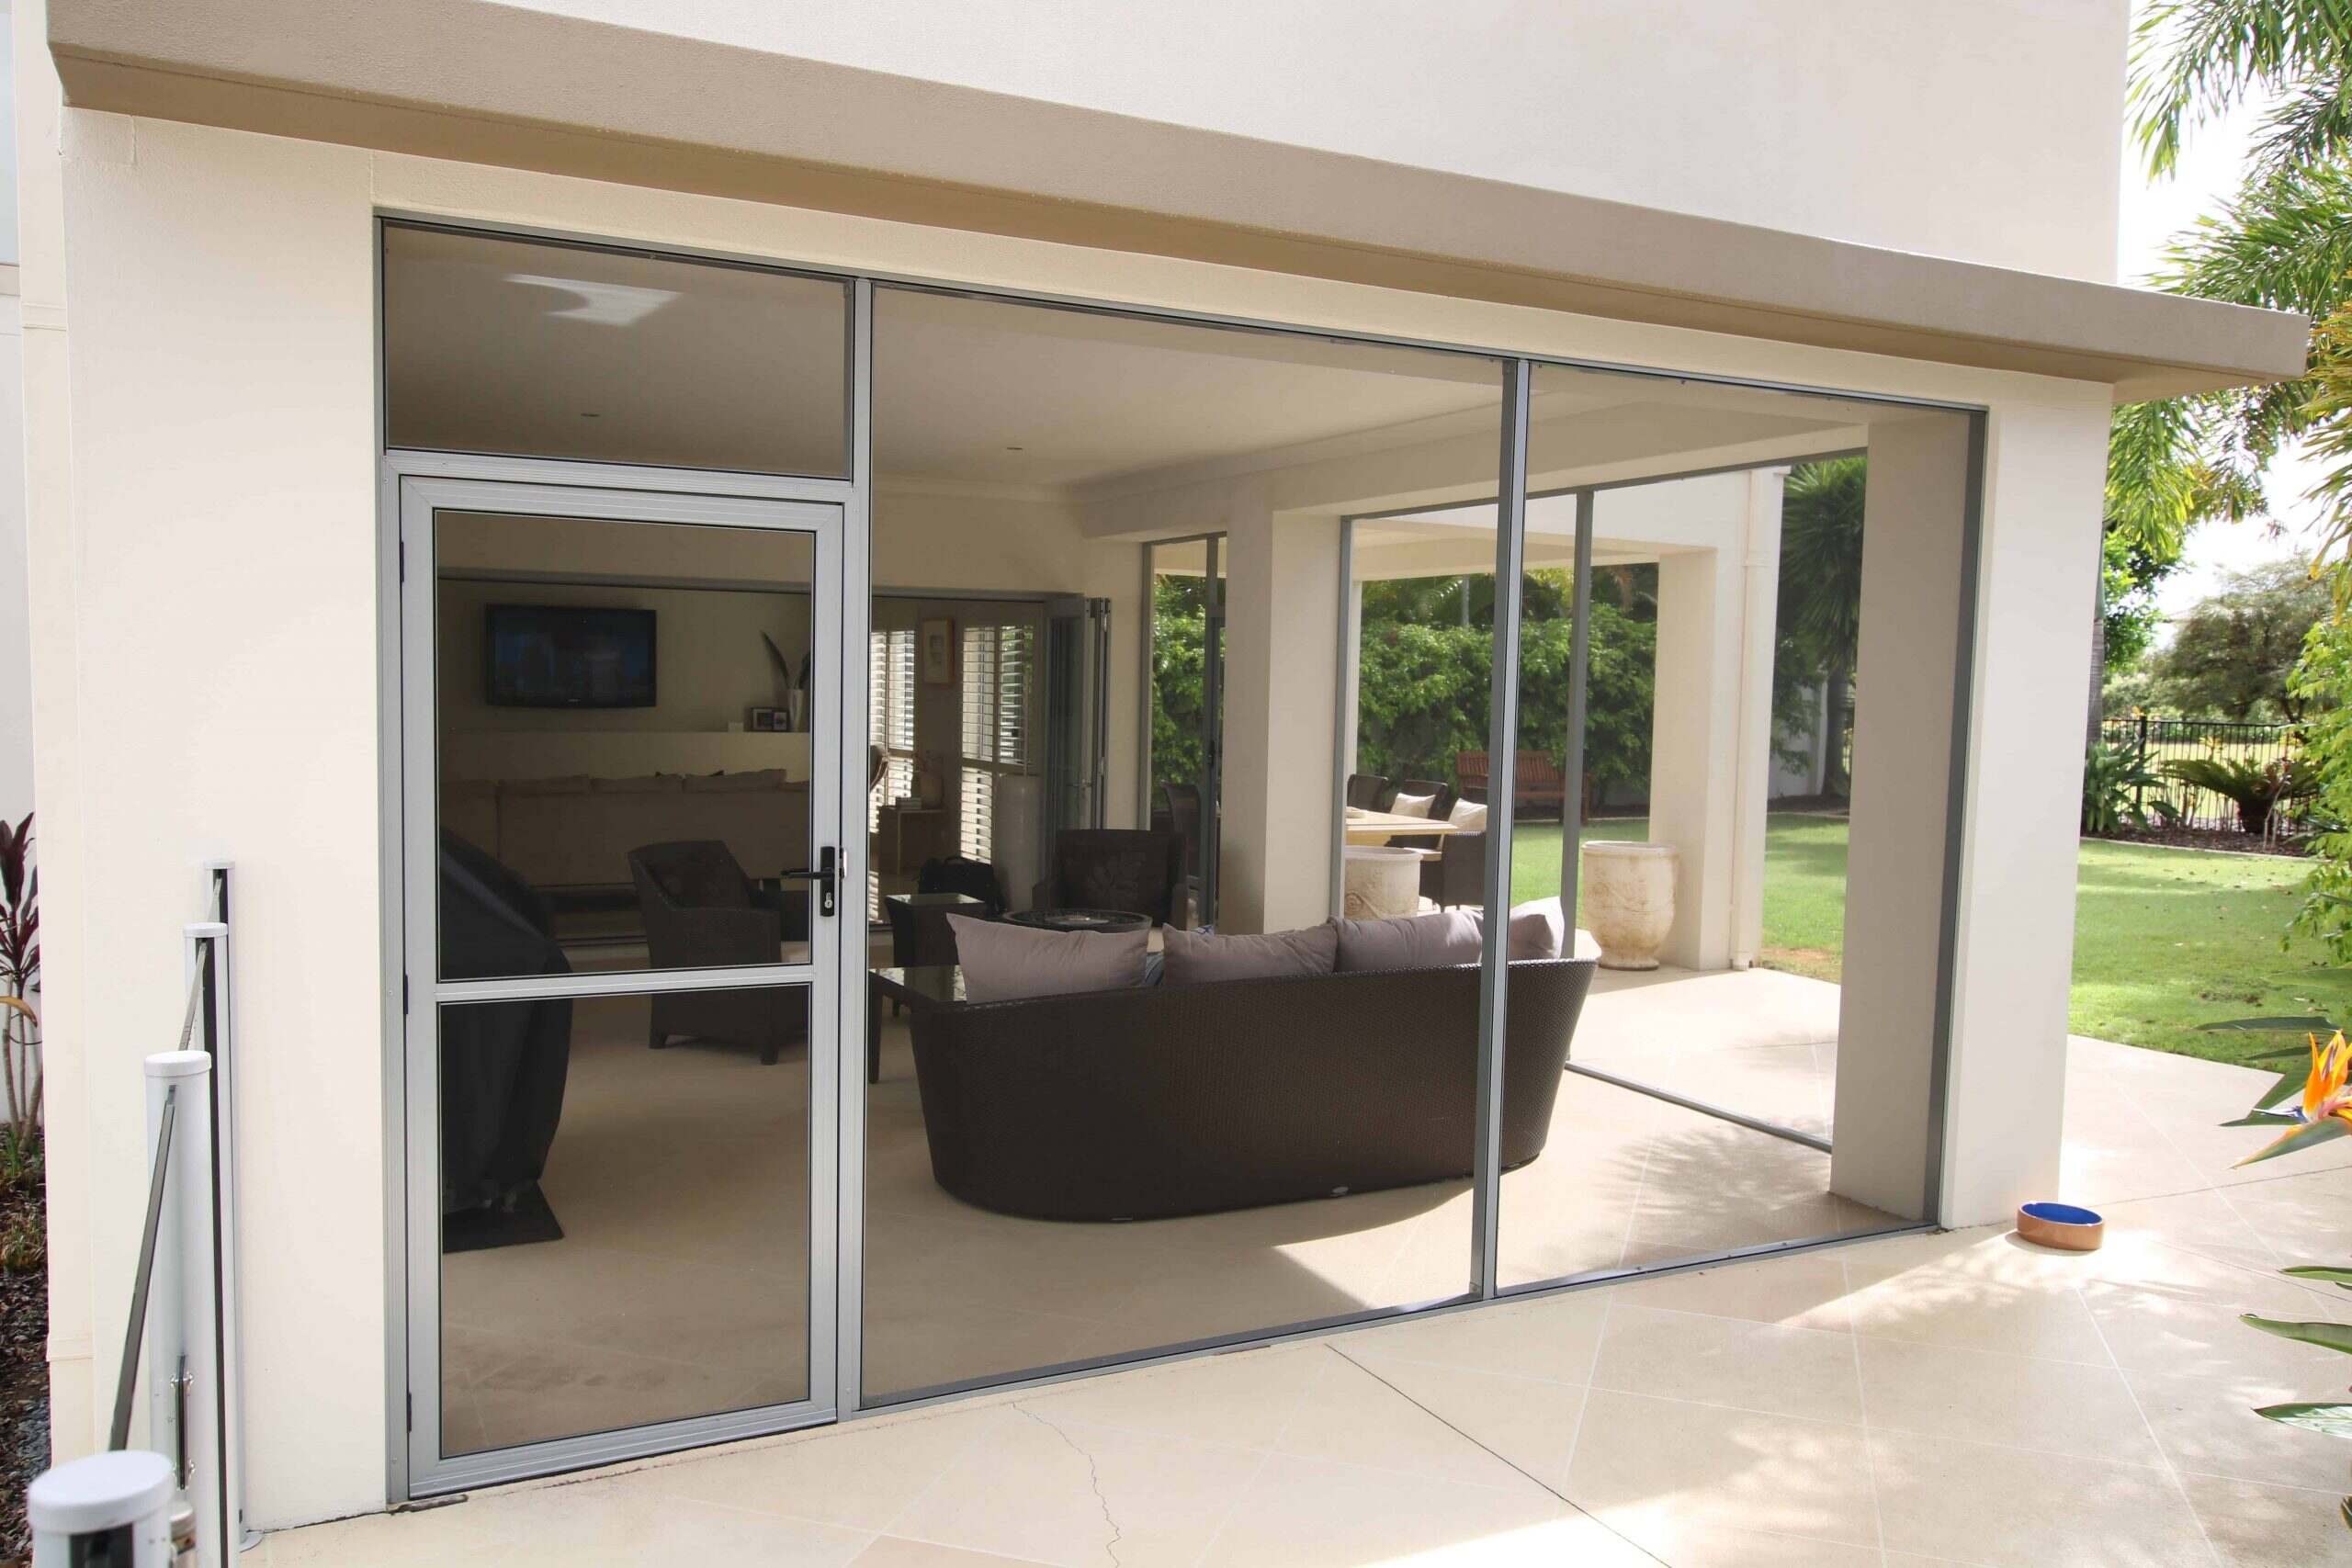
Step 6: Install Doors and Windows
Installing doors and windows is a crucial step in transforming your enclosed carport into a functional space. Doors provide access to your newly enclosed area, while windows offer natural light and ventilation. Follow these steps to install doors and windows in your enclosed carport:
- Select the appropriate doors and windows: Consider the size, style, and functionality you desire for your enclosed carport. Choose doors that offer easy access and security, and windows that provide adequate lighting and ventilation.
- Measure and mark the locations: Carefully measure and mark the desired locations for your doors and windows. Take into account the size and shape of the openings, ensuring they align with the framing of your carport.
- Prepare the openings: Using a saw or appropriate cutting tool, carefully cut out the openings for the doors and windows. Make sure to follow the measurements and take caution when working with power tools.
- Install the doors: With the openings prepared, place the doors into position. Use shims to ensure they are level and plumb, and secure them to the framing using screws or bolts. Test the doors for smooth operation and adjust if necessary.
- Install the windows: For windows, carefully place them into the prepared openings and secure them using screws or brackets. Ensure they are level and securely fastened. Silicone or weatherstripping can be applied around the edges for added insulation and weatherproofing.
- Test functionality and adjust: Once all the doors and windows are installed, test their functionality. Open and close the doors, checking for proper alignment and smooth operation. Verify that the windows can be easily opened and closed as well.
By installing doors and windows, you create a functional and accessible space within your enclosed carport. Ensure that the doors and windows are properly installed and provide a secure and efficient entryway and ventilation. With this step completed, you’re ready to move on to the next step: painting or finishing your enclosed carport.
Step 7: Paint or Finish the Enclosed Carport
Once the structural components of your enclosed carport are complete, it’s time to give it a finished look by painting or applying a suitable finish. This step not only enhances the appearance of your carport but also helps protect it from the elements. Follow these steps to paint or finish your enclosed carport:
- Clean the surfaces: Before applying any paint or finish, ensure that the surfaces are clean and free from dirt, dust, and debris. Use a broom or pressure washer to remove any loose particles.
- Repair any damage: Inspect the surfaces for any damage, such as cracks or holes. Fill in these areas with an appropriate filler and sand them down to create a smooth surface.
- Choose a suitable paint or finish: Select a paint or finish that is suitable for the material of your carport. Consider factors such as durability, weather resistance, and personal preference when choosing the type and color.
- Prepare the paint or finish: Follow the manufacturer’s instructions to prepare the paint or finish. This may include stirring the paint thoroughly or diluting it to the desired consistency.
- Apply the paint or finish: Use a brush, roller, or spray gun to apply the paint or finish to the surfaces of your enclosed carport. Start from the top and work your way down, ensuring even coverage and paying attention to corners and edges.
- Allow for proper drying time: Follow the recommended drying time provided by the manufacturer before applying additional coats or handling the painted surfaces. This will ensure a smooth and long-lasting finish.
Painting or applying a finish to your enclosed carport not only adds a personal touch but also provides protection against moisture, UV rays, and other environmental factors. It’s important to choose a suitable paint or finish that is designed for exterior use and can withstand the specific weather conditions in your area. With the paint or finish applied, your enclosed carport will have a complete and polished appearance.
Once the painted or finished surfaces have dried and cured, you’re ready for the final step: adding any additional touches and performing regular maintenance to keep your enclosed carport looking and functioning at its best.
Step 8: Final Touches and Maintenance
With your enclosed carport complete, it’s time to add those final touches and establish a regular maintenance routine to keep it in optimal condition. These final steps will ensure that your enclosed carport remains functional and visually appealing for years to come. Here’s what you can do:
- Add finishing touches: Consider adding finishing touches to enhance the functionality and aesthetics of your enclosed carport. This could include additional lighting, storage solutions, or decorative elements that align with your intended use for the space.
- Perform regular cleaning: Establish a regular cleaning routine to keep your enclosed carport clean and free from dirt, debris, and any potential buildup. Sweep or hose down the floors, wipe down surfaces, and clean the windows as needed.
- Inspect for damages: Regularly inspect your enclosed carport for any signs of damage, such as cracks, leaks, or loose fittings. Address any issues promptly to prevent further damage and ensure the longevity of your enclosed carport.
- Maintain the roofing: Check the roofing periodically for any loose shingles, panels, or signs of wear and tear. Replace or repair damaged sections to maintain the integrity and functionality of the roofing system.
- Keep the doors and windows maintained: Lubricate hinges, locks, and moving parts of the doors and windows to ensure smooth operation. Keep the tracks and frames clean to prevent any obstruction or damage that could impede their functionality.
- Inspect and maintain the paint or finish: Regularly inspect the painted or finished surfaces for any signs of peeling, cracking, or fading. Touch up any areas of concern and consider repainting or refinishing as necessary to maintain the appearance and protection of your enclosed carport.
- Investigate any water or moisture issues: If you notice any signs of water infiltration or excessive moisture in your enclosed carport, investigate and address the source of the issue promptly. This could involve checking for leaks in the roofing, ensuring proper drainage, or improving ventilation.
By completing these final touches and establishing a regular maintenance routine, you’ll keep your enclosed carport in excellent condition. Regular inspections and maintenance will help prevent potential problems and ensure that your carport continues to serve its intended purpose effectively.
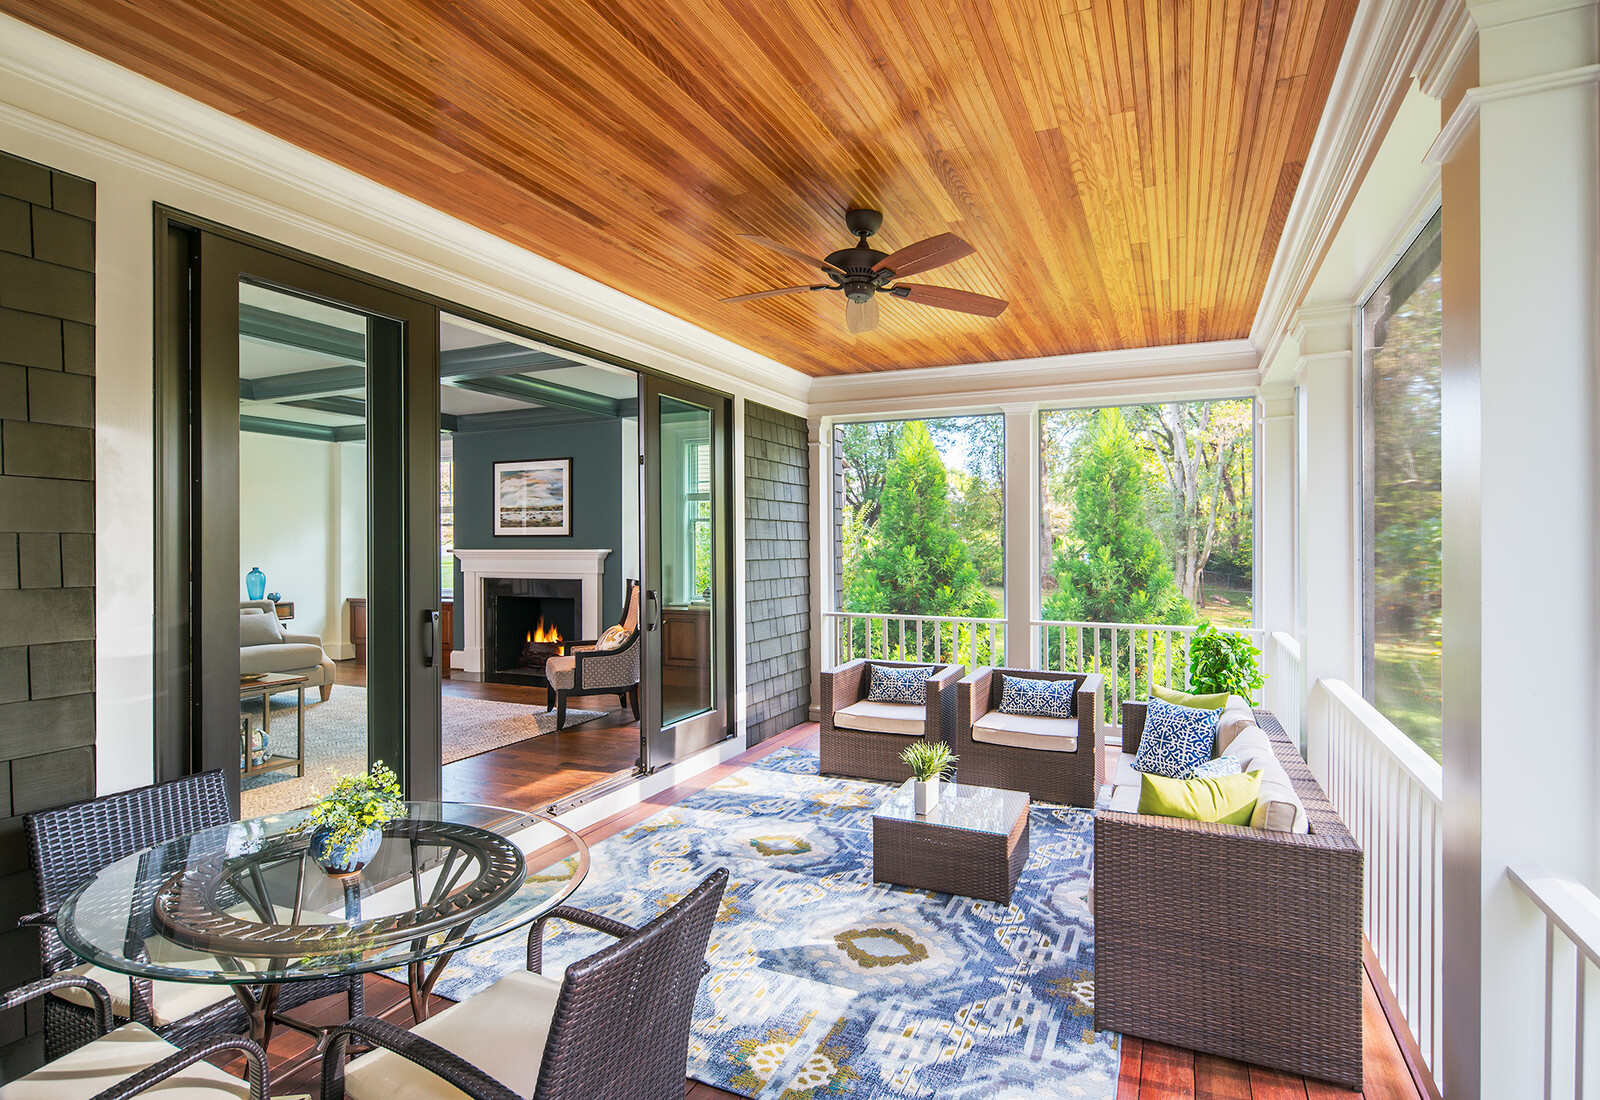
With the final touches complete and a maintenance plan in place, you can now enjoy your newly enclosed carport. Whether you’re using it as a garage, workshop, or storage area, you’ve transformed an open space into a functional and protected environment. Take pride in your hard work and enjoy the benefits of your enclosed carport for years to come.
Read more: How To Enclose A Balcony
Conclusion
Enclosing a carport can be a rewarding DIY project that transforms an open structure into a functional and versatile space. By following the step-by-step process outlined in this article, you can successfully enclose your carport and create a secure garage, workshop, or storage area. From gathering materials and tools to adding finishing touches, each step contributes to the overall success of your project.
Throughout the process, remember to prioritize safety and adhere to any local building regulations and permits that may be required. Take the time to measure and mark the area accurately, ensuring that your enclosed carport fits properly and functions as intended. Building a sturdy frame, installing the roofing, adding siding or panels, and installing doors and windows will provide the structure and protection needed for your enclosed carport.
Once the main components are in place, painting or finishing the enclosed carport adds a personalized touch and provides longevity by protecting the surfaces. Regularly perform maintenance tasks such as cleaning, inspecting for damages, and maintaining the roofing, doors, and windows. These actions will help safeguard your carport and keep it in optimal condition for years to come.
Remember, each step of enclosing a carport can be an opportunity for creativity and customization. Consider your specific needs and the overall aesthetic you desire when choosing materials, colors, and finishes. By infusing your personal touch into the project, you’ll create a space that reflects your style and serves its purpose effectively.
Now that you have the knowledge to enclose your carport, it’s time to roll up your sleeves and get started. Good luck with your project, and may your newly enclosed carport bring you convenience, protection, and satisfaction!
Frequently Asked Questions about How To Enclose A Carport
Was this page helpful?
At Storables.com, we guarantee accurate and reliable information. Our content, validated by Expert Board Contributors, is crafted following stringent Editorial Policies. We're committed to providing you with well-researched, expert-backed insights for all your informational needs.


0 thoughts on “How To Enclose A Carport”