Home>Furniture>Outdoor Furniture>How To Enclose A Patio
Outdoor Furniture
How To Enclose A Patio
Modified: October 20, 2024
Discover the best ways to enclose your patio and create an outdoor oasis with our expert tips and recommendations for outdoor furniture.
(Many of the links in this article redirect to a specific reviewed product. Your purchase of these products through affiliate links helps to generate commission for Storables.com, at no extra cost. Learn more)
Introduction
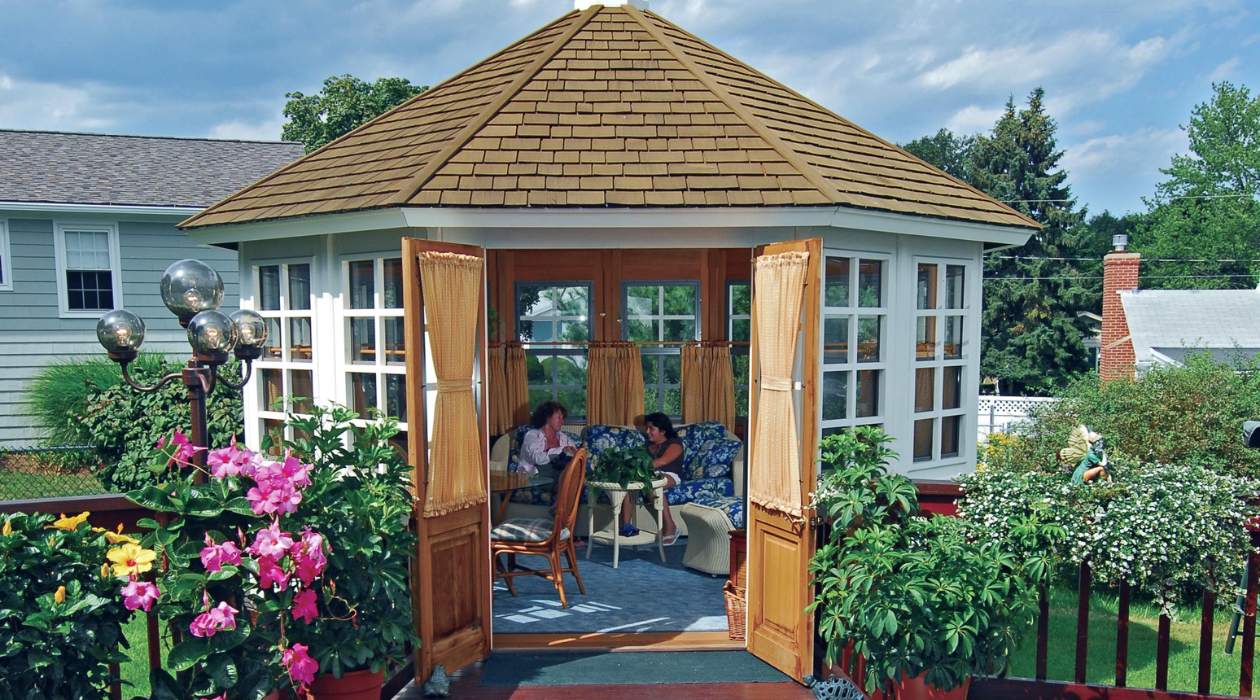
Welcome to our comprehensive guide on how to enclose a patio. If you’re looking to extend your living space or create a cozy outdoor retreat, enclosing your patio can be a fantastic solution. An enclosed patio offers numerous benefits, including protection from the elements, increased privacy, and the ability to enjoy your outdoor space year-round.
Whether you want to transform your patio into a sunroom, a screened porch, or a fully enclosed extension of your home, this step-by-step guide will provide you with all the information you need to get started. We’ll cover everything from assessing your patio and choosing the right enclosure option to measuring and ordering materials, as well as installation and finishing touches.
By following this guide, you’ll be able to confidently tackle the project and create a functional and beautiful enclosed patio that meets your specific needs and style preferences. So, let’s dive in and explore how you can bring your outdoor living dreams to life!
Key Takeaways:
- Transform your outdoor space into a cozy retreat by enclosing your patio. Consider factors like structural integrity, enclosure options, and proper preparation for a successful and functional transformation.
- Enjoy year-round outdoor living with an enclosed patio. From assessing your space to adding finishing touches, create a personalized and versatile area that offers protection, privacy, and relaxation.
Read more: What Is The Average Cost To Enclose A Patio
Step 1: Assessing Your Patio
The first step in the process of enclosing your patio is to assess the existing space. This involves taking a close look at your patio’s structure, size, and condition. Here are some key factors to consider during the assessment:
- Structural Integrity: Examine the overall stability and strength of your patio. Ensure that the foundation, walls, and roof (if applicable) are in good condition and can support the additional weight of an enclosure.
- Size and Layout: Measure the dimensions of your patio to determine how much space you have to work with. Consider the layout and shape of the area, as this will impact the type of enclosure that would be most suitable.
- Orientation and Sun Exposure: Observe how the sun moves across your patio throughout the day. This will help you determine the best location for windows or screens to maximize natural light and ventilation.
- Accessibility: Take note of any existing doors or entry points that lead to your patio. Consider how an enclosure might affect accessibility and whether you need to make any modifications to accommodate the new structure.
- Utilities: If you plan to use your enclosed patio for various activities, such as cooking or entertainment, consider the availability and location of utilities like electricity, water, and gas.
- Aesthetic Considerations: Think about how you want your enclosed patio to blend with the overall style of your home and outdoor space. Consider the materials, colors, and architectural features that will complement your existing design.
By thoroughly assessing these factors, you’ll gain a clear understanding of your patio’s potential and be able to make informed decisions when selecting an enclosure option. This initial evaluation will provide a solid foundation for the rest of the enclosure process, ensuring a successful and seamless transformation of your patio.
Step 2: Choosing the Right Enclosure Option
Once you’ve assessed your patio, it’s time to consider the different enclosure options available and choose the one that best suits your needs and preferences. Here are some popular choices to consider:
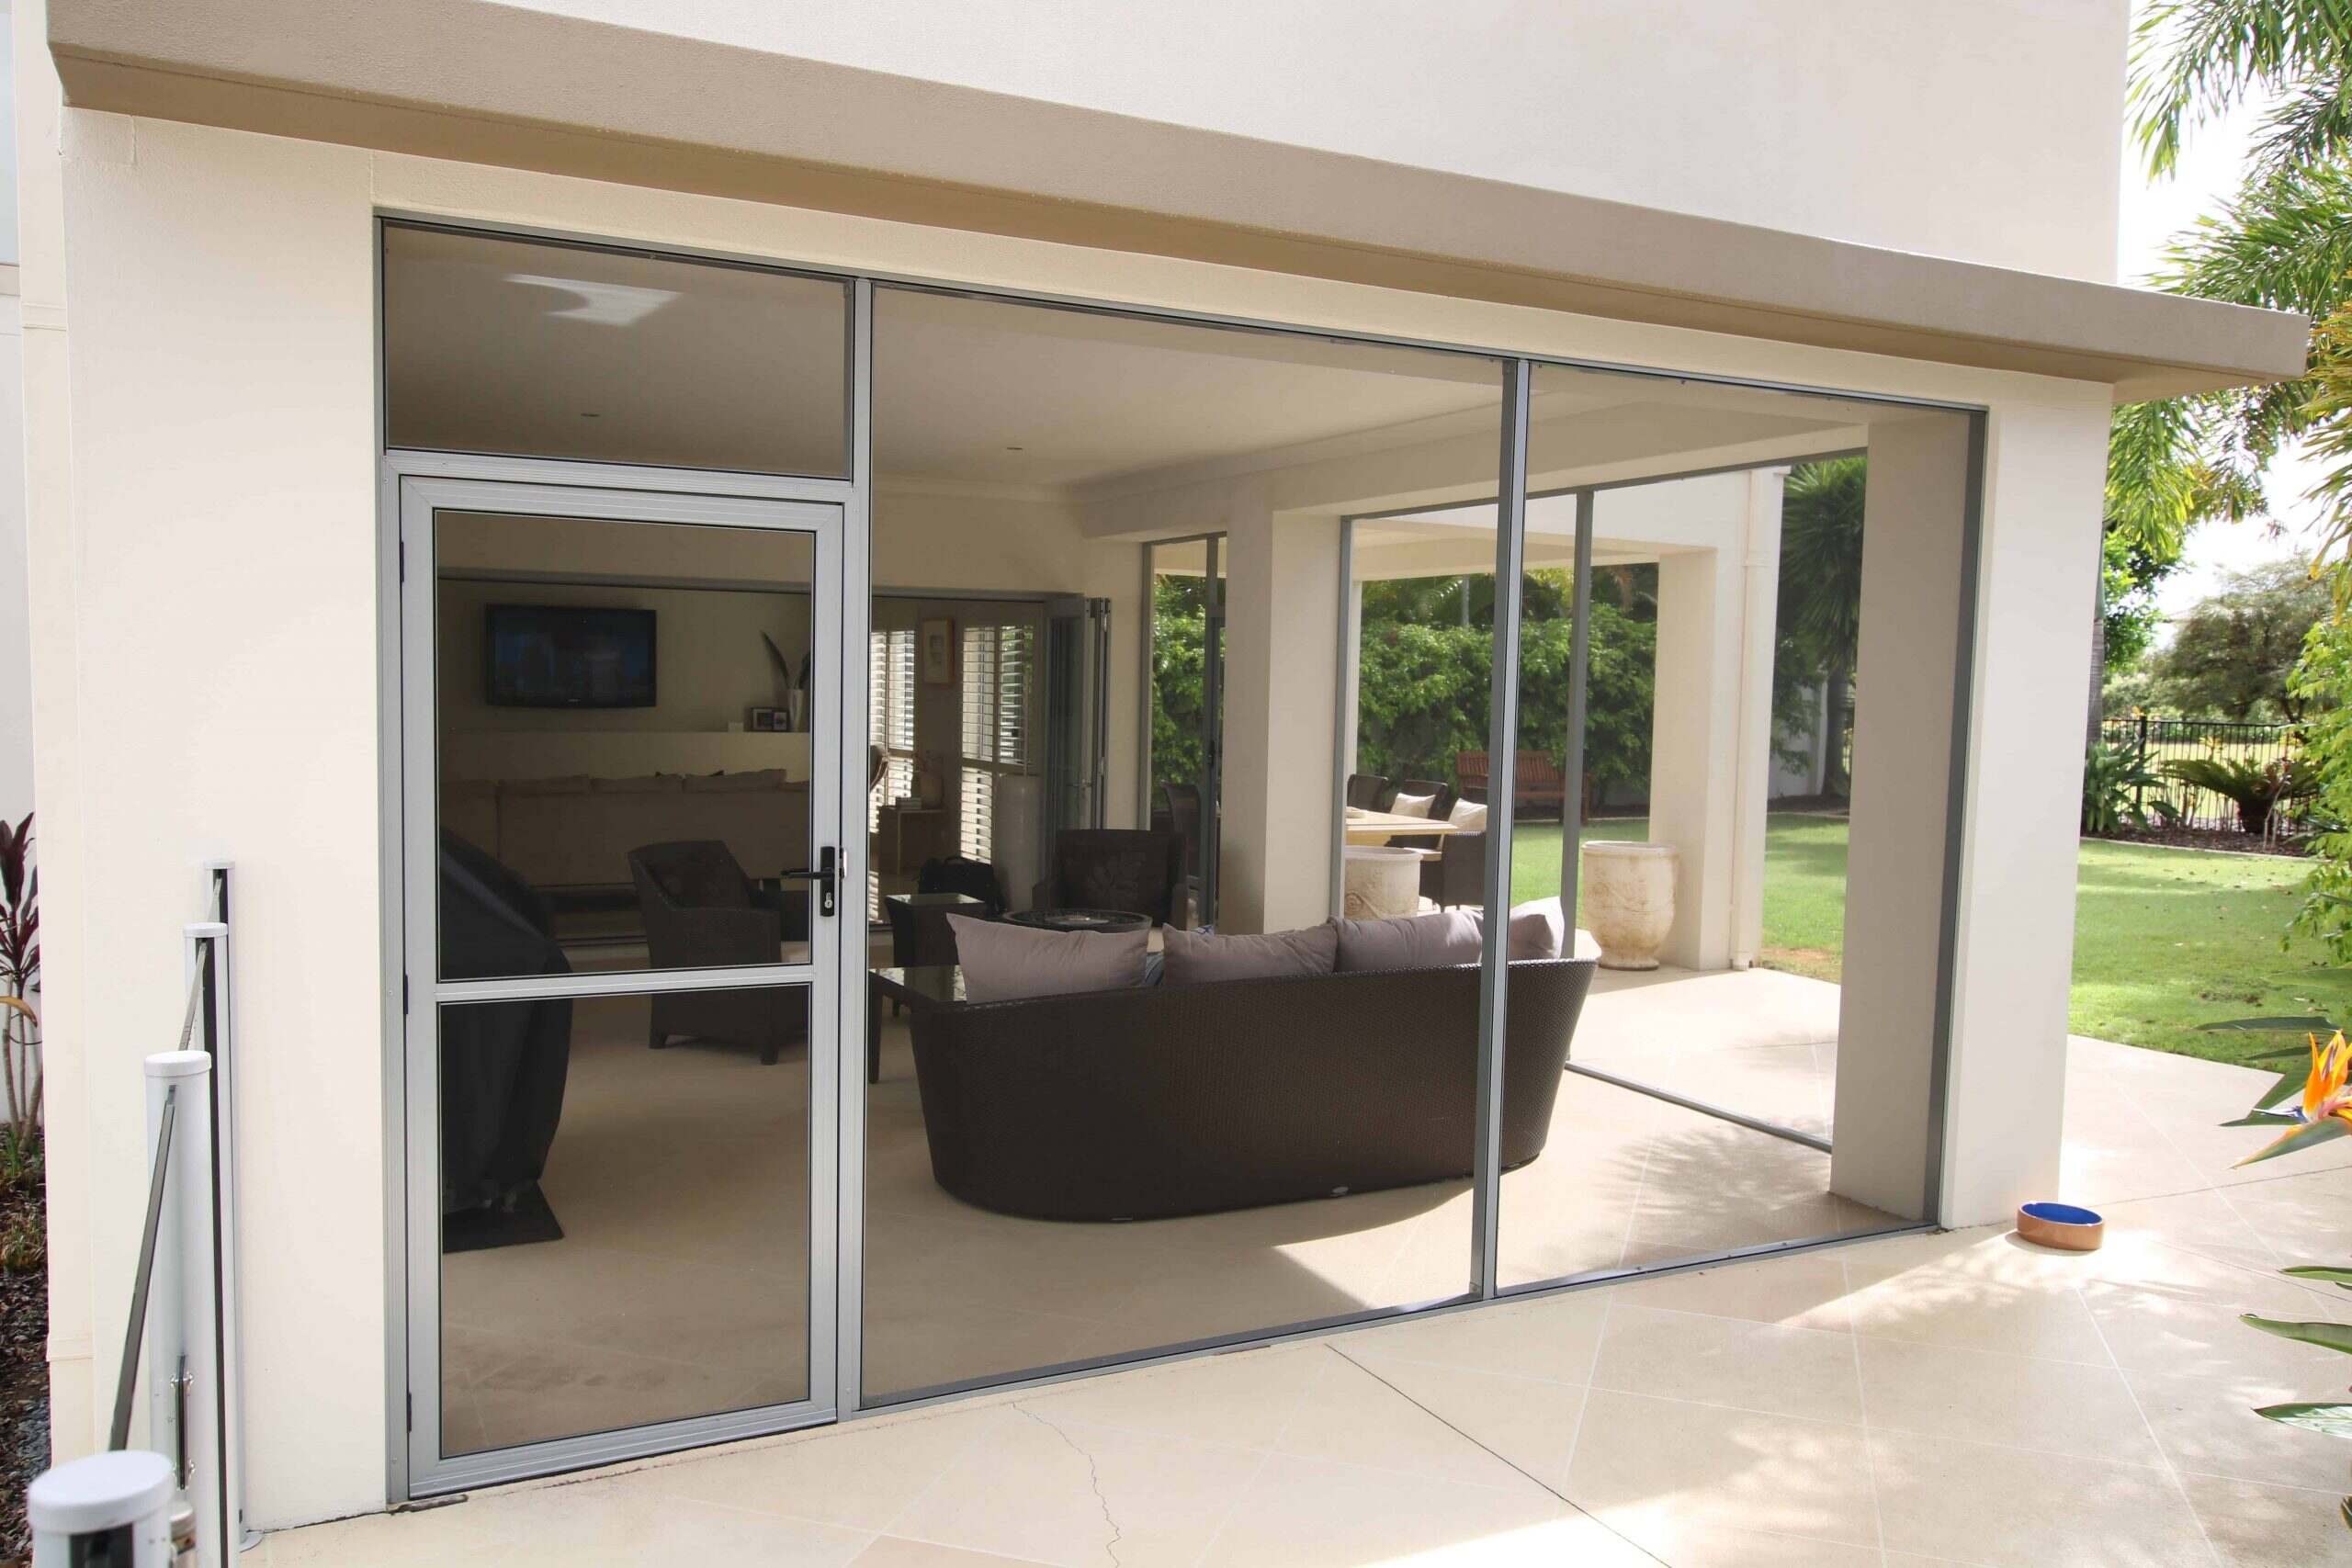
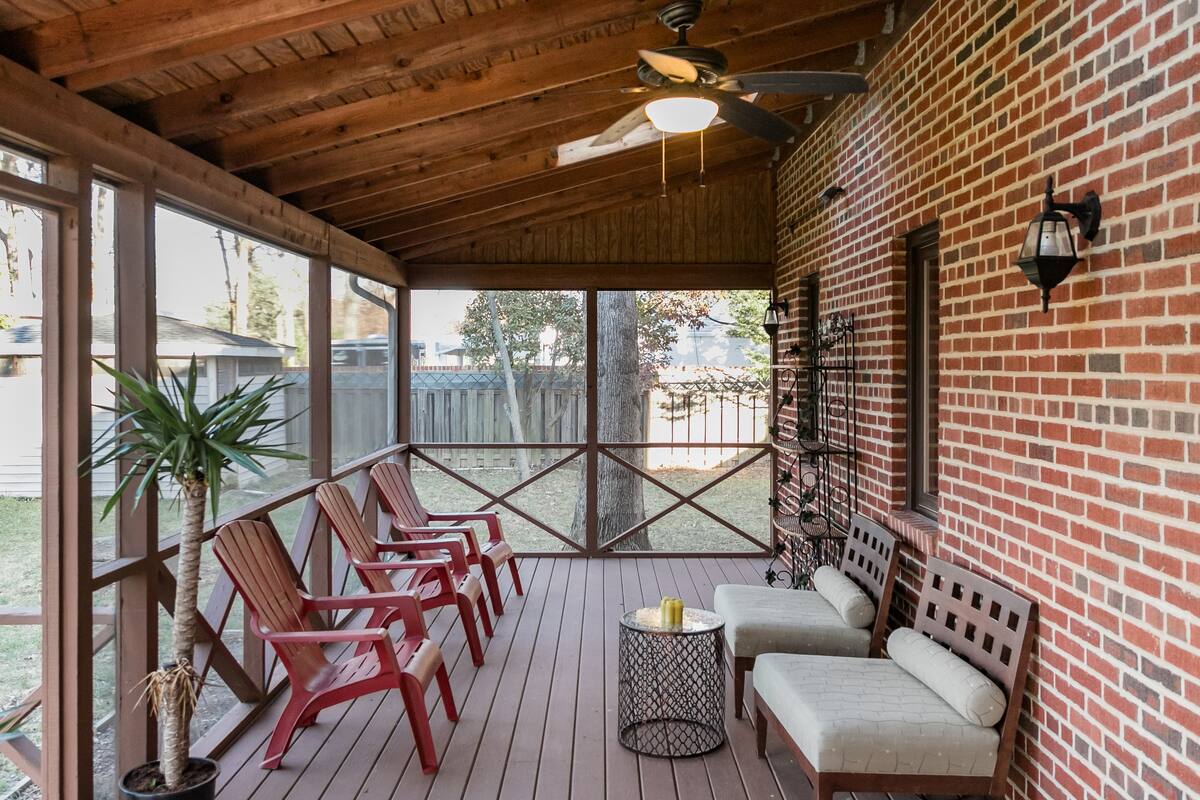
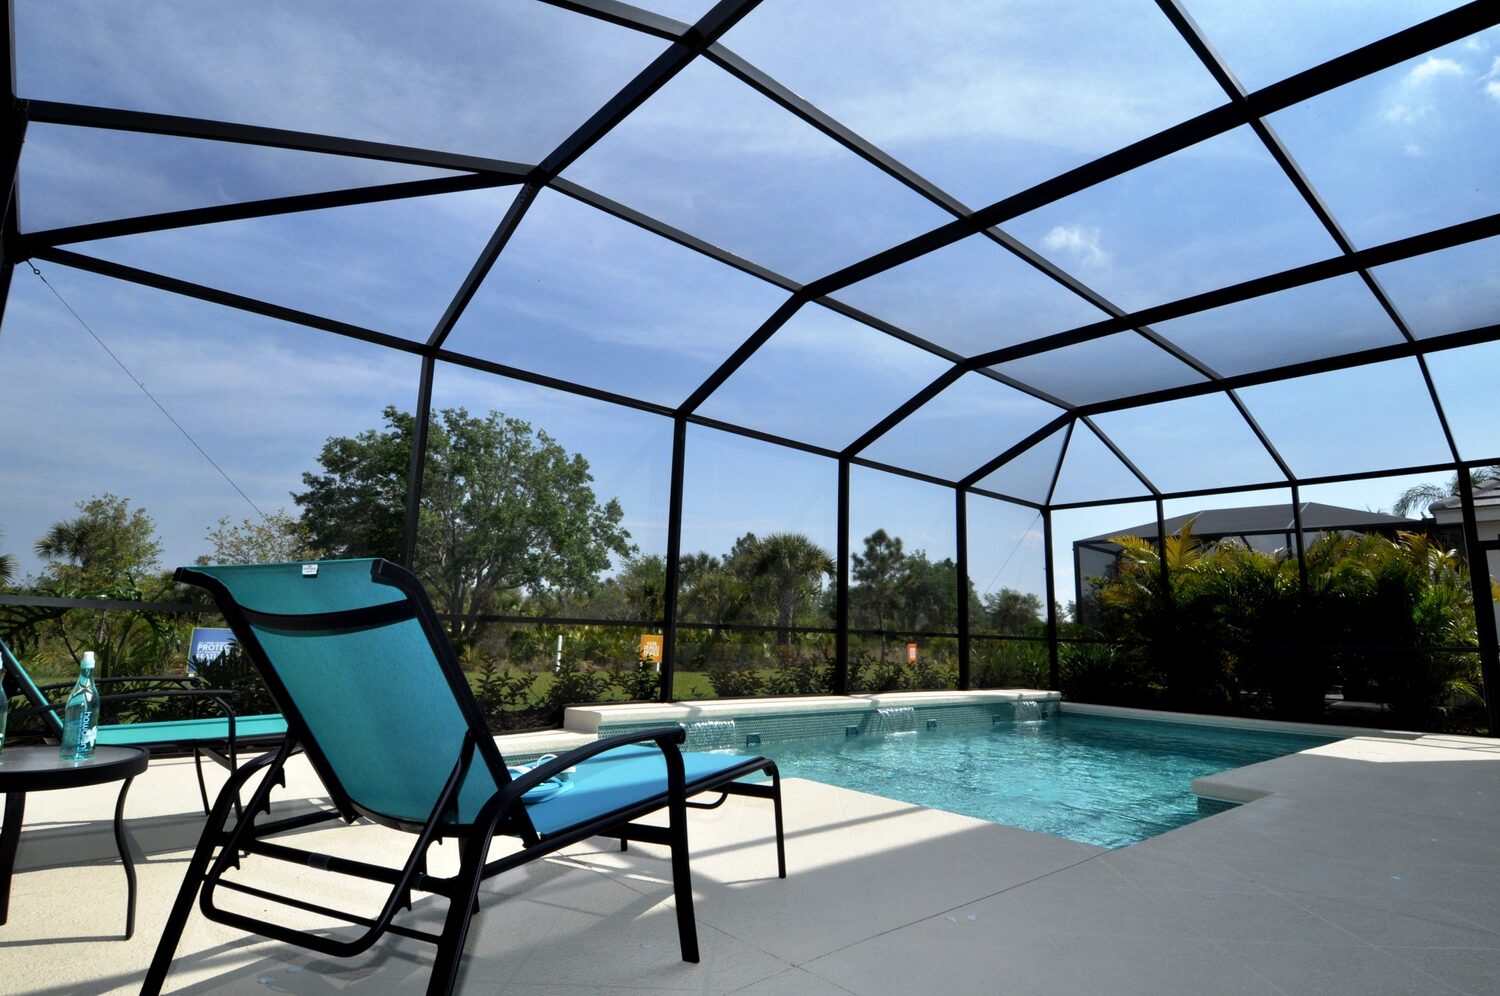
- Screened Enclosures: Screened enclosures provide an open-air feel while keeping out insects and debris. They are typically made with durable mesh screens that allow for good airflow and visibility. Screened enclosures are a great option if you want to enjoy the outdoors without fully enclosing your patio.
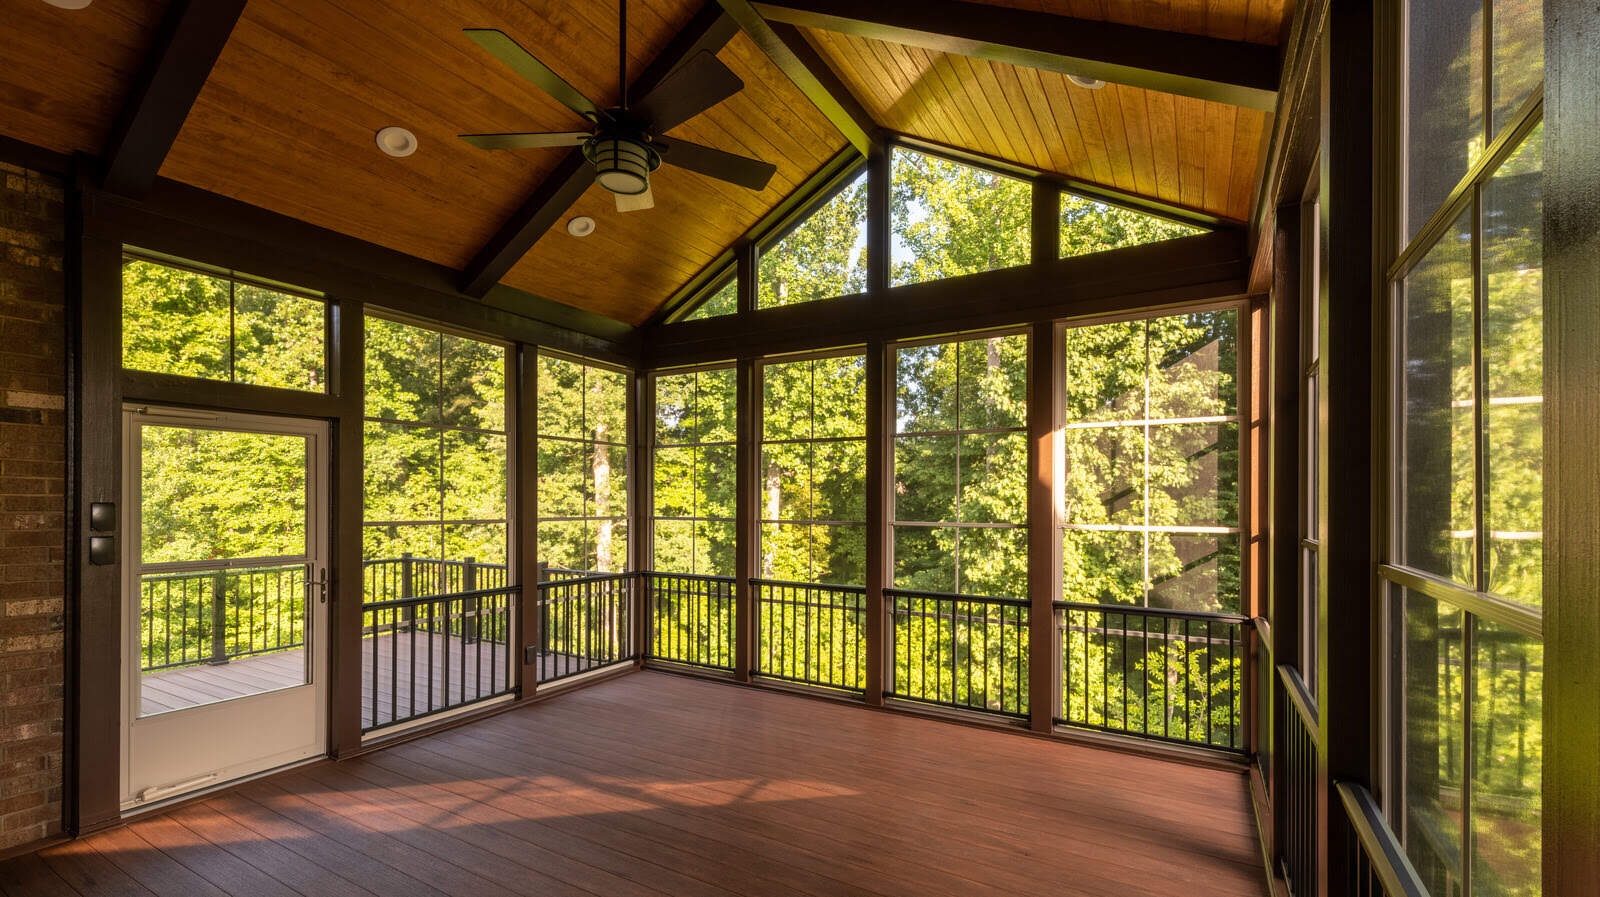
- Three-Season Rooms: Three-season rooms are similar to screened enclosures but offer a bit more protection from the elements. They typically have windows that can be opened or closed depending on the weather. Three-season rooms provide a comfortable space for use during spring, summer, and fall.
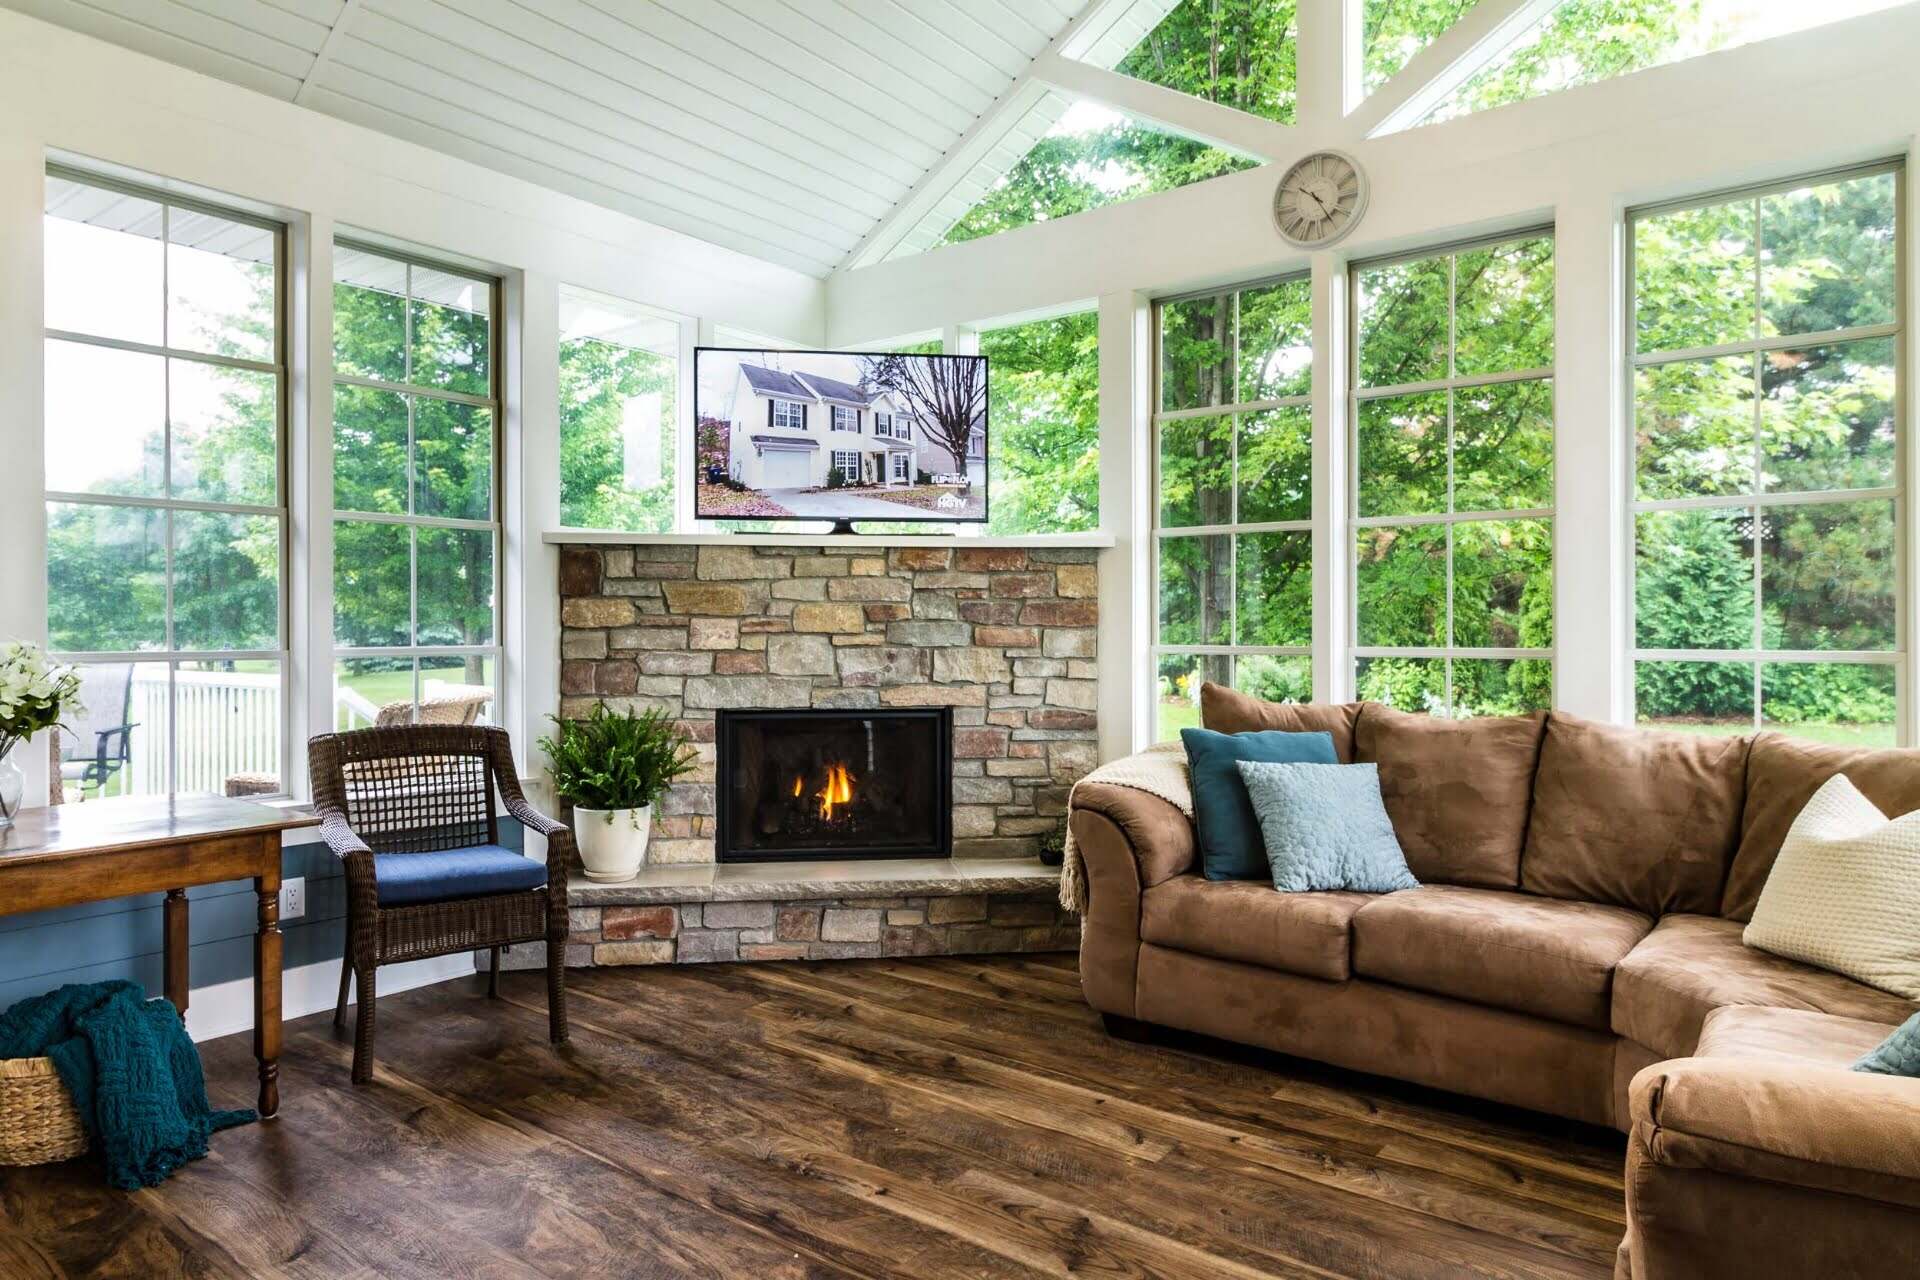
- Four-Season Rooms: If you want to enjoy your enclosed patio year-round, a four-season room is the way to go. These rooms are fully insulated and have HVAC systems to provide heating and cooling. With proper insulation, four-season rooms can be comfortable even in extreme weather conditions.
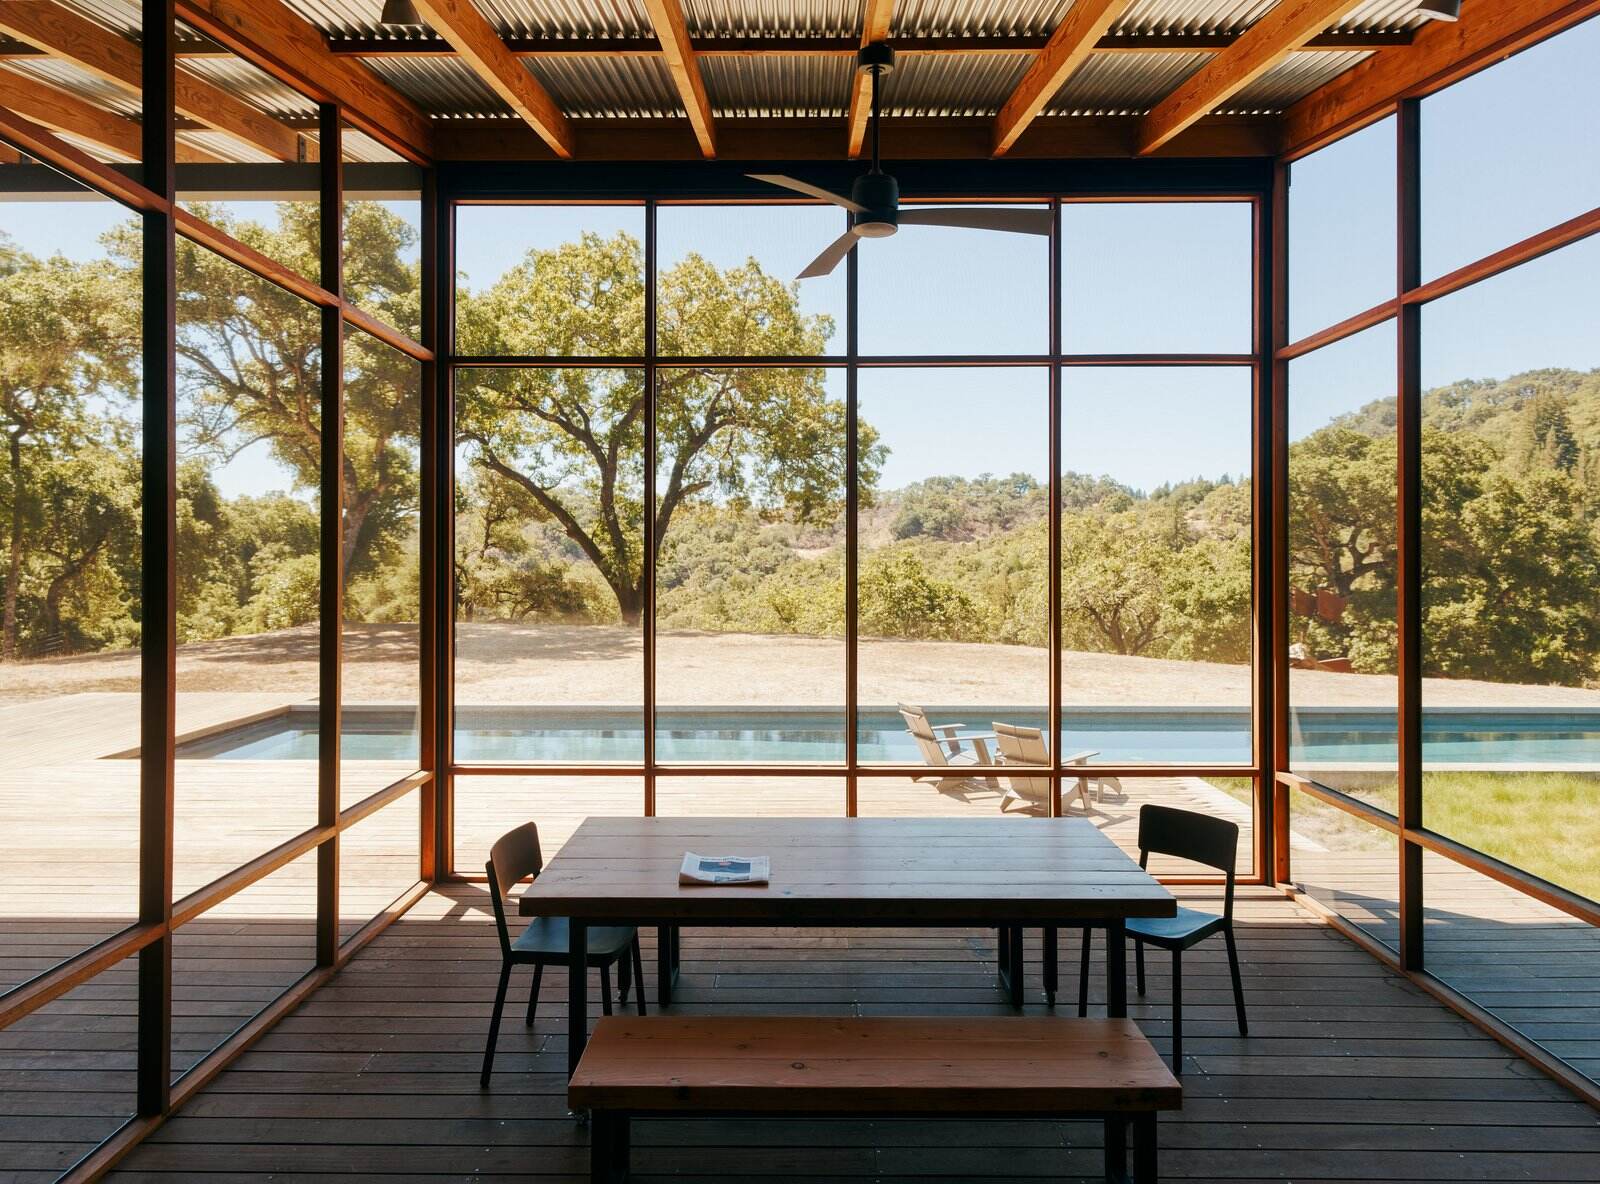
- Sunrooms: Sunrooms are designed to allow maximum sunlight penetration while offering protection from the elements. They feature large windows and may include skylights or glass roofs. Sunrooms are an excellent choice if you want a bright and airy space that can be enjoyed all year long.
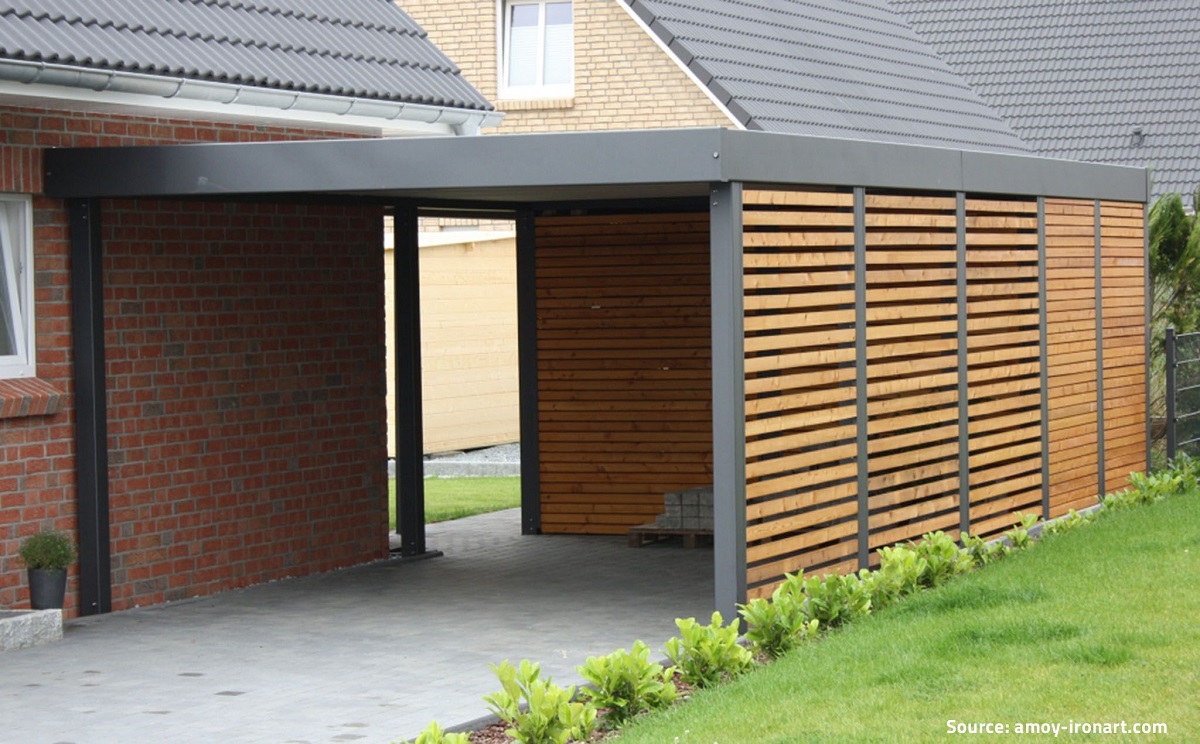
- Patio Covers: If you prefer a partially enclosed patio, a patio cover might be the right option for you. Patio covers are typically made of durable materials like aluminum or wood and provide shade and protection from the sun and rain. They can be freestanding or attached to your home.
Consider your specific needs, budget, and the climate in your area when choosing an enclosure option. Additionally, think about how you plan to use the enclosed patio and the level of maintenance you’re willing to undertake. Consulting with a professional contractor or designer can also help you make an informed choice.
Once you’ve chosen the right enclosure option, you can proceed to the next step of measuring and ordering the necessary materials. With careful consideration and planning, you’ll be one step closer to transforming your patio into a beautiful and functional enclosed space.
Step 3: Measuring and Ordering Materials
After deciding on the type of enclosure you want for your patio, it’s time to measure the area and order the necessary materials. Accurate measurements are crucial to ensure a proper fit and minimize any potential issues during installation. Here’s what you need to do:
- Measure the Patio: Use a tape measure to determine the length, width, and height of your patio. Measure each wall, noting any variations in height or width.
- Consider Framing Materials: Depending on your chosen enclosure option, you may need to select framing materials such as aluminum, PVC, or wood. Research the pros and cons of each material and choose one that suits your needs and budget.
- Order Enclosure Materials: Once you have the dimensions and framing materials decided, it’s time to order the specific materials for your enclosure. This may include screens, windows, walls, roof panels, and any additional accessories.
- Consult with Professionals: If you’re unsure about the measuring process or need assistance with ordering materials, don’t hesitate to reach out to professionals in the industry. They can provide guidance and ensure that you have all the necessary components for your enclosure.
When ordering the materials, always double-check your measurements and specifications to avoid any costly mistakes. It’s also a good idea to order extra materials to account for any unexpected changes or repairs that may be needed during the installation process.
Remember, each enclosure option may have specific requirements for the materials needed. Take into consideration factors such as climate, durability, and maintenance when selecting the materials. By carefully measuring and ordering the necessary materials, you’ll be well-prepared to move forward with the construction and installation of your patio enclosure.
Step 4: Preparing the Patio Area
Before you begin the installation of your patio enclosure, it’s important to properly prepare the patio area. This ensures a smooth and successful construction process. Here’s what you need to do:
- Clean the Patio: Remove any furniture, plants, or debris from the patio area. Give it a good cleaning, including sweeping or pressure washing the surface to remove dirt and grime.
- Repair Any Damage: Inspect the patio for any signs of damage, such as cracks or holes. Repair any necessary repairs before proceeding with the installation. Patching up cracks or replacing damaged sections will help ensure the structural integrity of the enclosure.
- Level the Surface: Check if the patio surface is level and even. If there are any uneven areas, use self-leveling concrete or other suitable methods to create a smooth and stable base for the enclosure.
- Consider Insulation: Depending on your climate and the type of enclosure you’re installing, you may want to consider adding insulation to the exterior walls and floor. This will help regulate temperature and minimize energy loss.
- Ensure Proper Drainage: Pay attention to the patio’s drainage system to prevent water pooling and potential damage. Clear any debris from gutters and downspouts and ensure that water flows away from the patio area.
- Check Permits and Regulations: Depending on your location, you may need to obtain permits or comply with specific regulations for patio enclosures. Check with your local building department to ensure that you’re in compliance with all necessary requirements.
By taking the time to prepare the patio area properly, you’ll create a solid foundation for the installation and ensure the long-term durability of your enclosure. It’s important to address any issues or repairs beforehand to avoid complications during the construction process. Once you’ve completed the preparation stage, you’re ready to move on to the next step of installing the frame or structure.
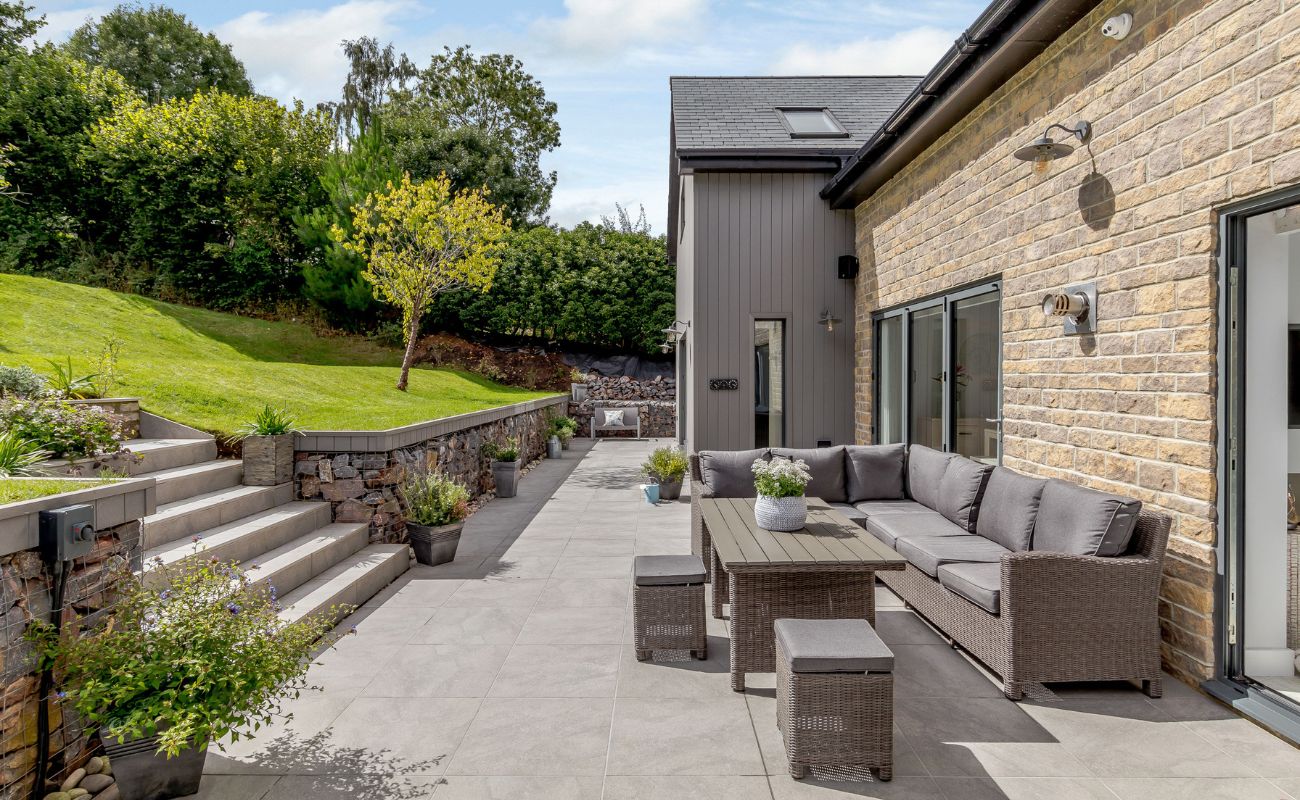
When enclosing a patio, consider using materials like glass, screens, or retractable panels to create a versatile space that can be used in any weather. This will help to protect the area from the elements while still allowing for an open feel.
Read more: How To Enclose A Balcony
Step 5: Installing the Frame or Structure
Now that you have prepared the patio area, it’s time to begin the installation process by assembling and installing the frame or structure of your enclosure. This step will provide the backbone and support for the rest of the enclosure components. Here’s how to proceed:
- Follow the Manufacturer’s Instructions: Review the manufacturer’s instructions for installing the frame or structure. Familiarize yourself with the parts and components, as well as any specific assembly techniques.
- Start with the Vertical Supports: Begin by installing the vertical supports or posts at the designated locations. Ensure that they are plumb and secure, using anchors or appropriate anchoring methods.
- Attach Horizontal Beams: Once the vertical supports are in place, attach the horizontal beams or framing members to create the framework of the enclosure. Use screws or brackets to securely fasten them together.
- Check for Squareness and Level: Throughout the installation process, periodically check for squareness and level to ensure that the frame is properly aligned. Make any necessary adjustments to maintain structural integrity.
- Install Roof Rafters or Trusses: Depending on the type of enclosure, you may need to install roof rafters or trusses. Follow the manufacturer’s instructions for proper installation, ensuring that they are securely attached to the frame.
- Strengthen the Frame: Consider adding additional support and reinforcement to the frame, especially in areas prone to high winds or heavy snowfall. This may involve installing cross braces or brackets for added stability.
Take your time during the installation process to ensure that the frame or structure is sturdy and properly aligned. If necessary, enlist the help of friends or family members to assist you in lifting and positioning the components. And don’t forget to wear appropriate safety gear, such as gloves and goggles, when working with tools and construction materials.
Once you have successfully installed the frame or structure, you’re ready to move on to the next step of adding walls or screens to enclose the space. Stay tuned for the next installment of our guide to learn more!
Step 6: Adding Walls or Screens
Now that the frame or structure of your patio enclosure is in place, it’s time to add the walls or screens to enclose the space. This step will help create a barrier between your patio and the outside elements while providing privacy and protection. Here’s how to proceed:
- Select Your Wall or Screen Material: Depending on your preference and the type of enclosure, choose the appropriate material for the walls or screens. Options include glass, acrylic panels, vinyl, or mesh screens.
- Measure and Cut the Material: Carefully measure the dimensions of each wall or screen panel and cut the selected material to fit. Use a saw or appropriate cutting tool based on the material you are working with.
- Secure the Panels to the Frame: Attach the panels to the frame using screws, clips, or other fastening methods recommended by the manufacturer. Ensure that the panels are securely attached and provide a tight fit.
- Consider Adding Doors: Decide if you want to include doors in your wall or screen installation. Doors provide easy access to the enclosed patio and enable seamless indoor-outdoor flow. Choose doors that match the style and functionality of your enclosure.
- Seal the Joints and Edges: To prevent any gaps or drafts, seal the joints and edges of the panels using weatherstripping or caulk. This will help improve insulation and keep out unwanted pests or moisture.
- Allow for Ventilation: Consider incorporating vents or openings in your enclosed patio walls or screens. Proper ventilation will help regulate temperature and prevent the buildup of moisture, making the space more comfortable.
Throughout the installation process, ensure that the walls or screens are level and aligned with the frame, making any necessary adjustments as needed. It’s also essential to follow all safety precautions, especially when working with glass or other fragile materials.
By adding walls or screens to your patio enclosure, you will create an enclosed space that offers both privacy and protection from the elements. The next step in the process is installing the roof or canopy, which we will cover in the next section of our guide.
Step 7: Installing the Roof or Canopy
With the walls or screens of your patio enclosure in place, it’s time to focus on installing the roof or canopy. The roof is an essential component that provides shelter and further enhances the functionality of your enclosed patio. Here’s how to proceed with this step:
- Determine the Roofing Material: Choose the appropriate roofing material based on your preferences and the style of your enclosure. Options include shingles, metal panels, polycarbonate sheets, or fabric canopies.
- Measure and Cut the Roofing Material: Measure the dimensions of the roof area and cut the roofing material to fit. Use a saw or cutting tool suitable for the chosen material.
- Attach the Roofing Material: Securely attach the roofing material to the frame or structure of the enclosure following the manufacturer’s instructions. Use screws, nails, or clips to ensure a secure and watertight installation.
- Consider Insulation and Ventilation: Depending on the climate in your area, you may want to insulate the roof to improve energy efficiency and maintain a comfortable temperature inside the enclosed patio. Additionally, incorporate vents or openings to allow proper airflow and prevent condensation.
- Seal the Roof Joints: Properly seal any joints or edges in the roof to prevent water leakage and improve overall durability. Use weatherstripping, sealant, or flashing to ensure a watertight seal.
- Test for Stability and Drainage: Once the roof is installed, check for stability and proper drainage. Ensure that water flows away from the enclosure and that there are no areas prone to pooling.
When installing the roof or canopy, it’s important to follow all safety precautions, especially if working at heights. Use appropriate equipment and enlist the help of others if necessary to ensure a safe and successful installation.
By completing this step, you will have fully enclosed your patio and created a weather-resistant and comfortable space. The next step is to add the finishing touches and decorations to personalize your enclosed patio. Stay tuned for the final step in our guide!
Step 8: Adding Finishing Touches and Decorations
Congratulations on reaching the final step of enclosing your patio! Now that the main structure of your enclosure is complete, it’s time to add the finishing touches and decorations to make your space cozy, inviting, and a reflection of your personal style. Here’s how to bring your enclosed patio to life:
- Flooring and Rugs: Consider adding flooring to your patio enclosure to define the space and create a more comfortable walking surface. Options include pavers, tiles, or outdoor rugs that can withstand various weather conditions.
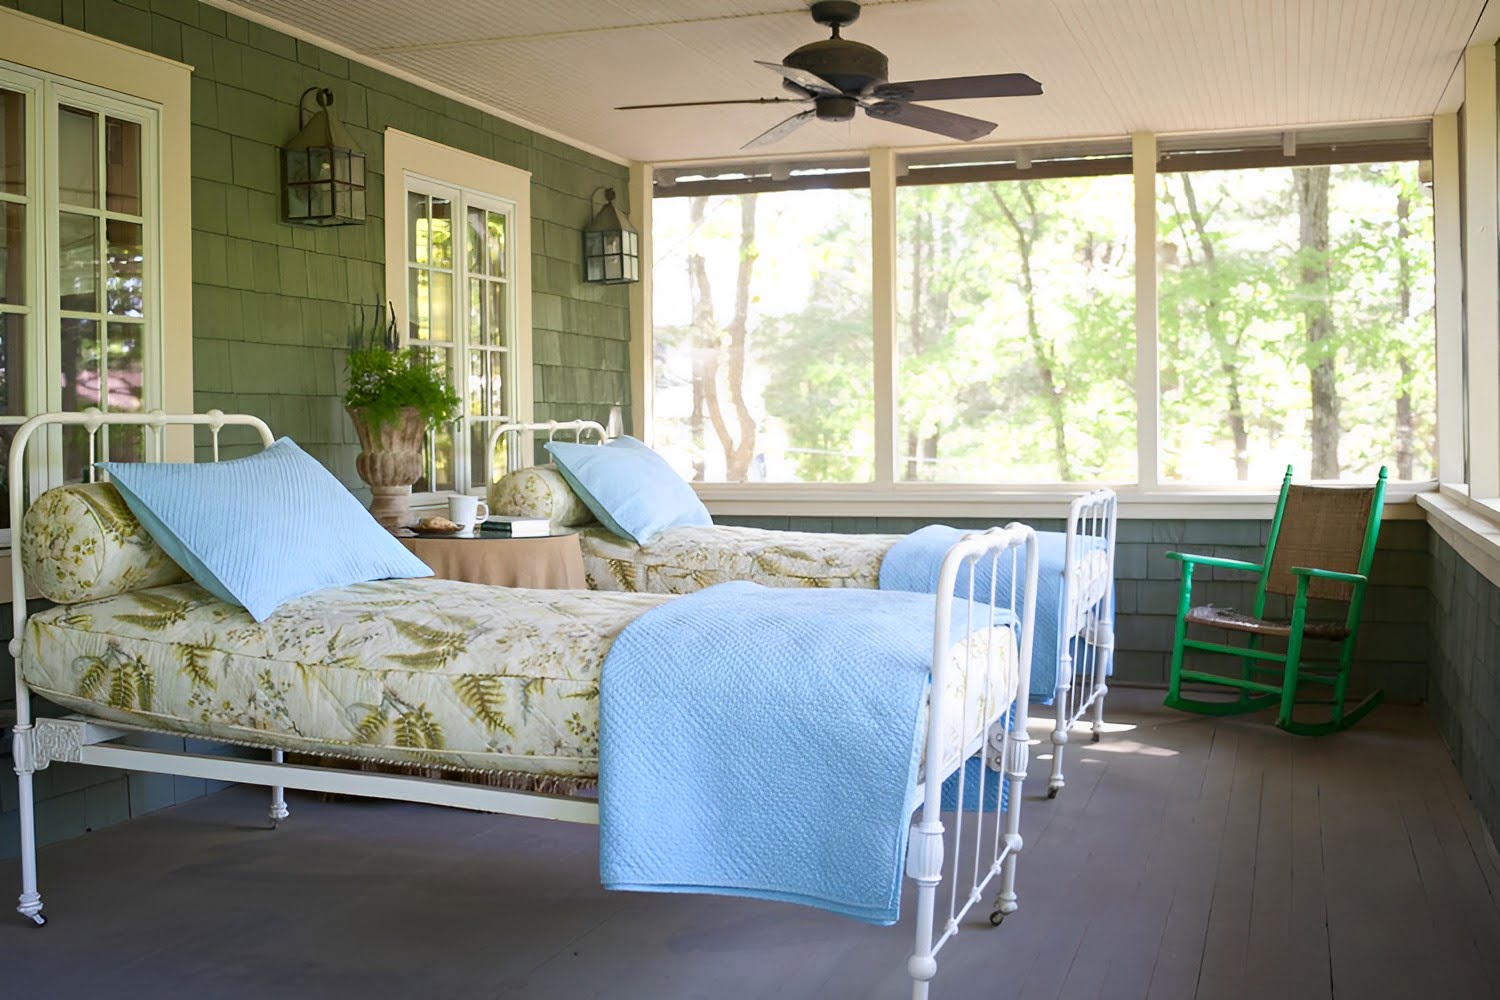
- Furniture and Seating: Choose durable and weather-resistant furniture for your enclosed patio. Options could include lounge chairs, sofas, dining sets, or hammocks. Arrange the furniture in a way that encourages relaxation and socializing.
- Lighting: Install appropriate lighting to enhance the ambiance and functionality of your enclosed patio. Utilize a mix of outdoor light fixtures, such as string lights, lanterns, or wall-mounted sconces. Consider adding dimmers or smart lighting for versatility.
- Plants and Greenery: Bring nature into your enclosed space by adding plants and greenery. Consider both potted plants and hanging baskets to add a touch of natural beauty and freshen up the atmosphere. Choose plants that thrive in your specific climate and lighting conditions.
- Window Treatments: If you have windows in your walls, consider adding window treatments like blinds, shades, or curtains. These not only provide privacy but also allow you to control the amount of natural light and ventilation in the space.
- Decorative Accents: Personalize your enclosed patio with decorative accents that reflect your personality and style. This can include artwork, mirrors, pillows, throws, outdoor rugs, and decorative items like lanterns or sculptures.
- Entertainment and Appliances: If desired, incorporate entertainment elements into your enclosed patio. This can include a sound system, outdoor television, or BBQ grill. Ensure that any electrical or gas appliances are properly installed and vented.
- Storage Solutions: Depending on the size of your enclosed patio, consider adding storage solutions to keep the space organized. This can include shelves, storage bins, or built-in cabinets to store outdoor necessities like cushions, gardening tools, or games.
Remember to make your enclosed patio a comfortable and functional space that suits your lifestyle and preferences. Select materials that can withstand outdoor conditions and require minimal maintenance. Regularly clean and maintain your patio enclosure to prolong its lifespan and keep it looking its best.
With the finishing touches and decorations in place, you can now enjoy your enclosed patio to the fullest, whether it’s for relaxation, entertaining guests, or enjoying outdoor activities year-round. Cheers to creating a wonderful space that adds value and joy to your home!
Read more: How To Enclose A Pergola
Conclusion
Congratulations on completing the process of enclosing your patio! You’ve taken the necessary steps to transform your outdoor space into a functional and inviting area that can be enjoyed throughout the year. By assessing your patio, choosing the right enclosure option, measuring and ordering materials, preparing the patio area, installing the frame or structure, adding walls or screens, installing the roof or canopy, and adding the finishing touches, you have created a beautiful and personalized enclosed patio.
An enclosed patio offers numerous benefits, including protection from the elements, increased privacy, and the ability to enjoy your outdoor space no matter the weather. You now have a versatile area that can be used for relaxation, entertaining guests, or pursuing various hobbies and activities.
Remember to regularly clean and maintain your patio enclosure to ensure its longevity and functionality. Pay attention to any signs of damage or wear and address them promptly to prevent further issues. Additionally, stay informed about any local regulations or permits required for patio enclosures to ensure compliance with building codes.
We hope this comprehensive guide has provided you with the knowledge and confidence to successfully enclose your patio. However, if you have any additional questions or need further assistance, don’t hesitate to consult with professionals in the field for guidance and support.
Enjoy your newly enclosed patio and create many cherished memories in your outdoor retreat. Cheers to a space that brings you joy, relaxation, and a deeper connection with your outdoor surroundings!
Frequently Asked Questions about How To Enclose A Patio
Was this page helpful?
At Storables.com, we guarantee accurate and reliable information. Our content, validated by Expert Board Contributors, is crafted following stringent Editorial Policies. We're committed to providing you with well-researched, expert-backed insights for all your informational needs.


0 thoughts on “How To Enclose A Patio”