Home>Gardening & Outdoor>Outdoor Structures>How To Paint A Pergola
Outdoor Structures
How To Paint A Pergola
Modified: May 6, 2024
Learn how to paint a pergola to enhance its appearance and protect it from outdoor elements. Follow our step-by-step guide for outdoor structures.
(Many of the links in this article redirect to a specific reviewed product. Your purchase of these products through affiliate links helps to generate commission for Storables.com, at no extra cost. Learn more)
Introduction
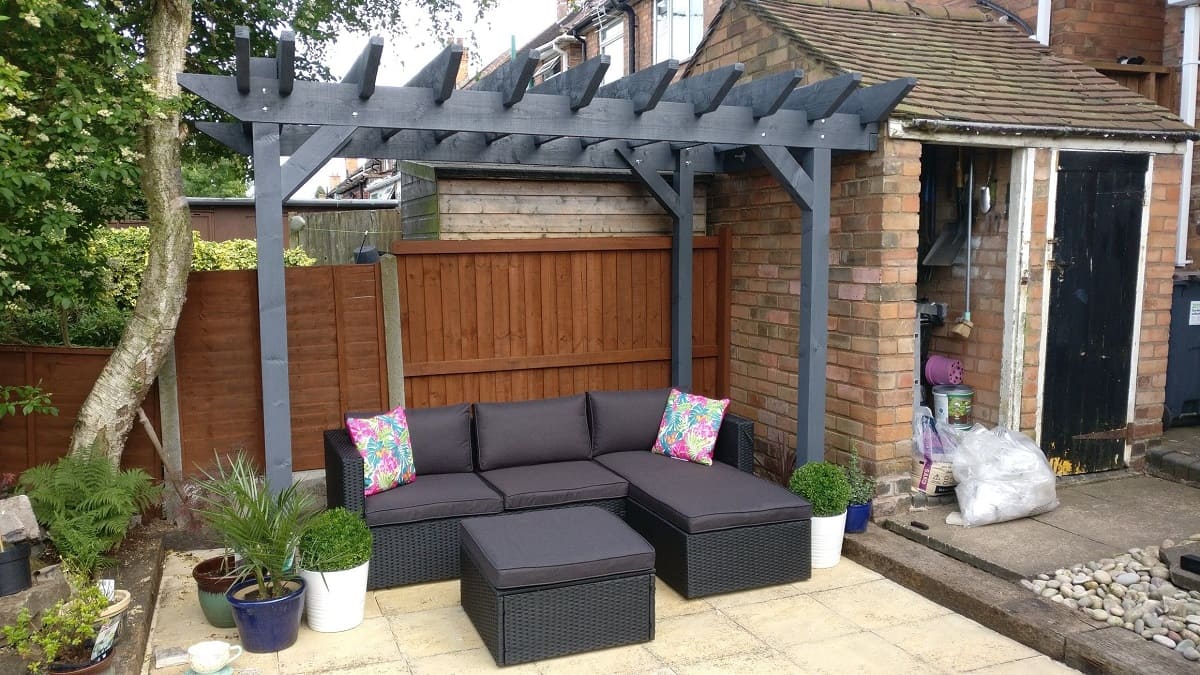
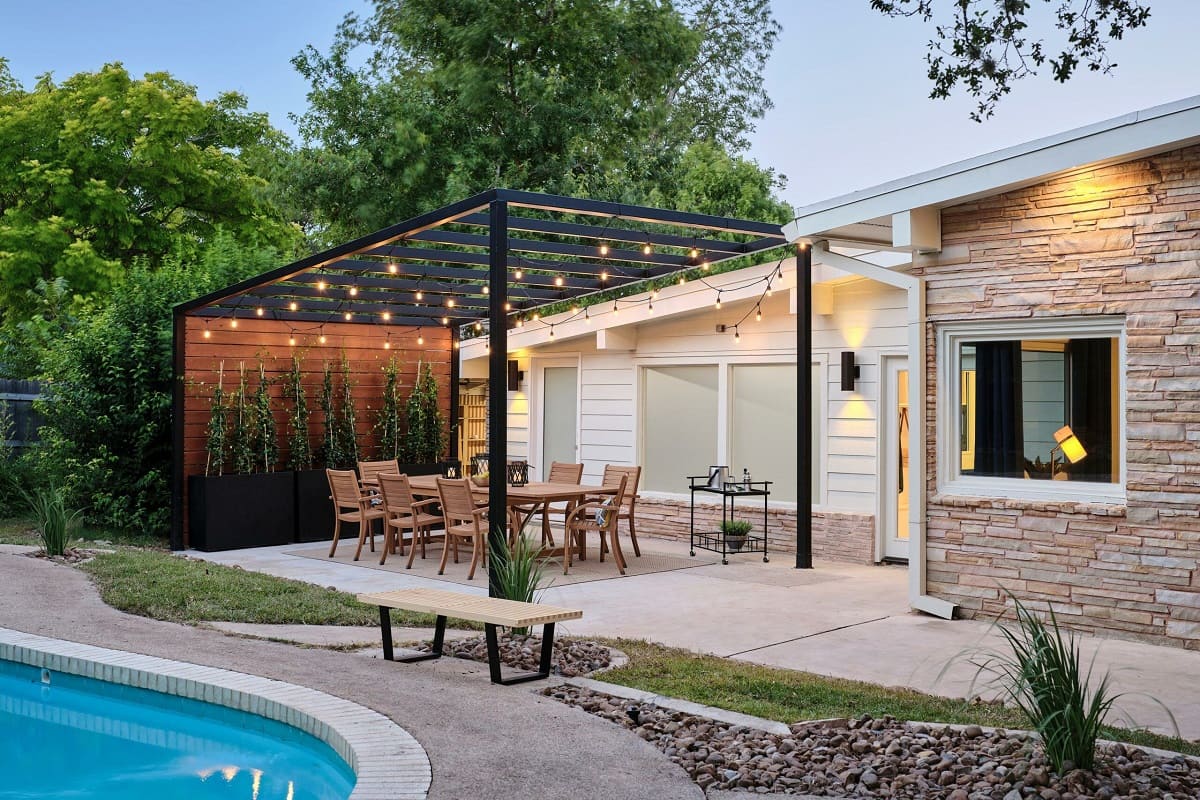
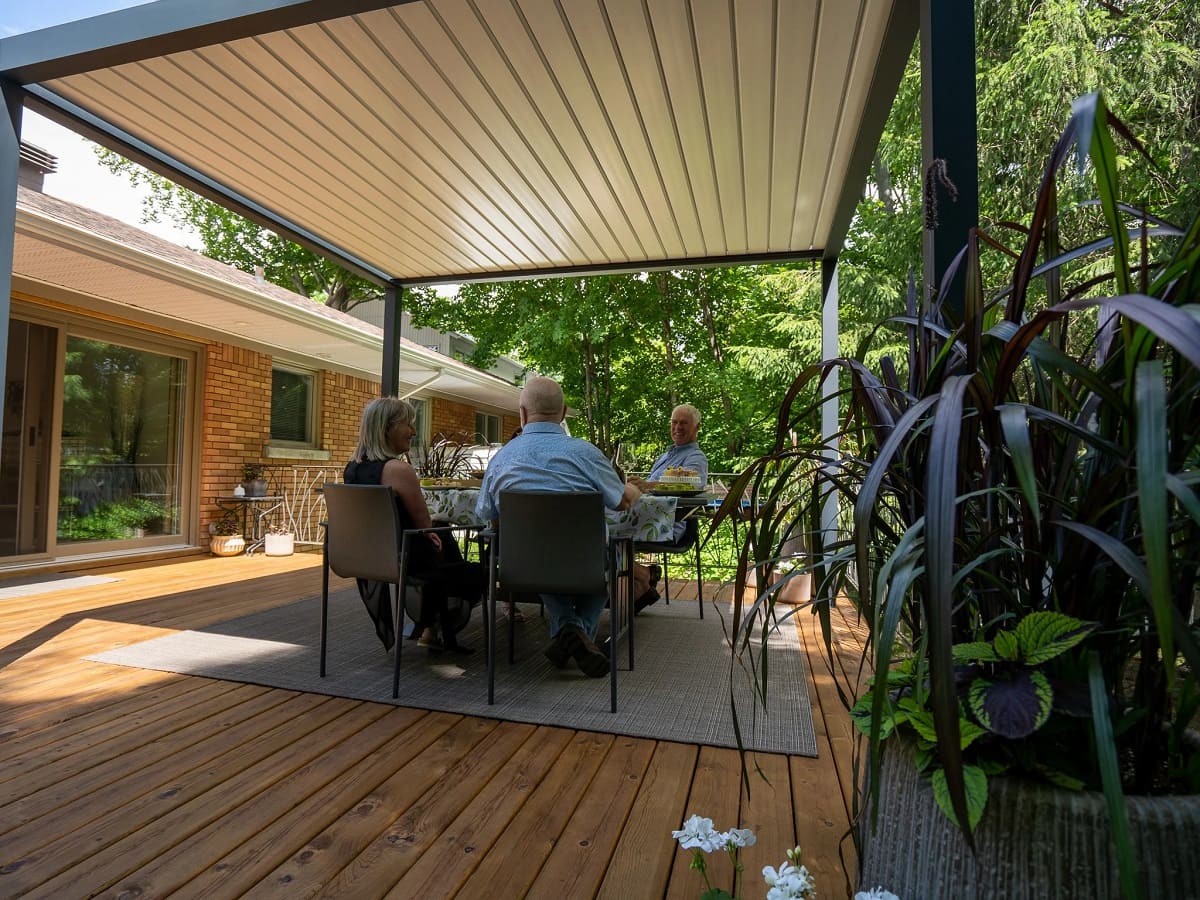
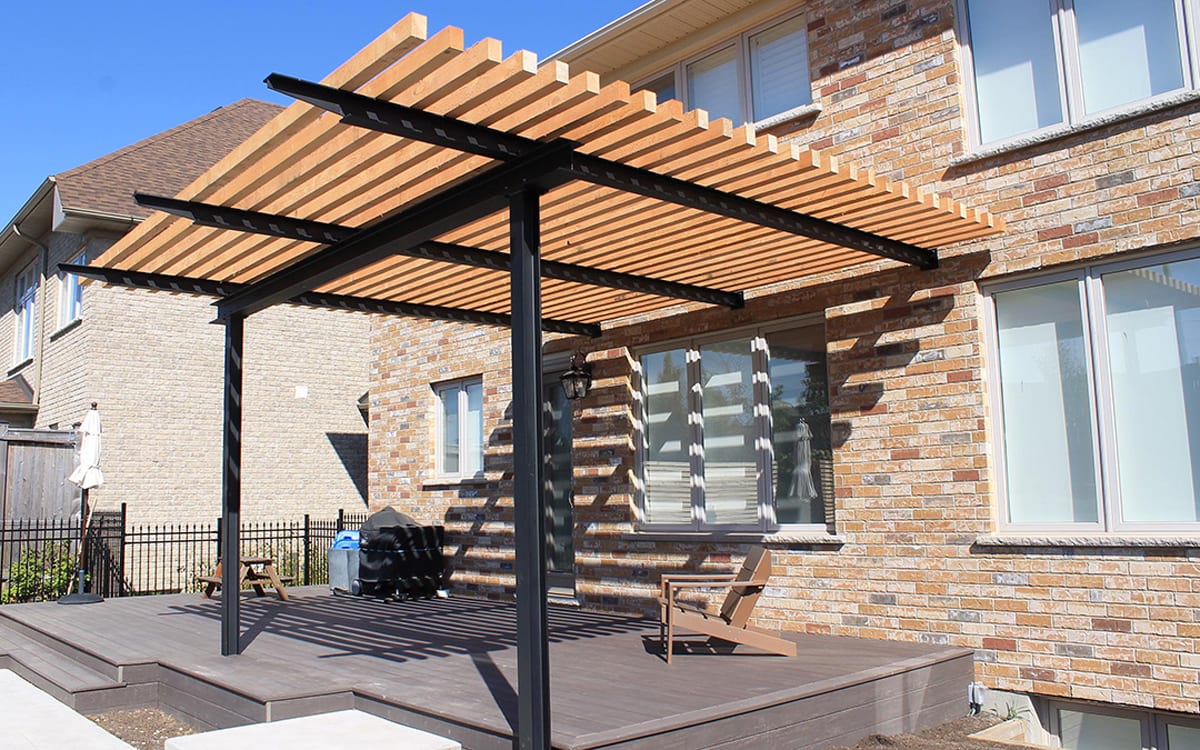
Welcome to the ultimate guide on how to paint a pergola! A pergola is not only a functional and stylish addition to any outdoor space, but it also serves as a focal point that enhances the overall aesthetics of your home. However, to maintain its beauty and protect it from the elements, giving your pergola a fresh coat of paint is essential.
In this comprehensive guide, we will walk you through the step-by-step process of painting your pergola, from selecting the right paint to applying the finishing touches. Whether you are a seasoned DIY enthusiast or a novice looking to take on a new project, this guide will equip you with the knowledge and confidence to transform your pergola into a stunning outdoor feature.
So, roll up your sleeves, gather your painting supplies, and let's dive into the world of pergola painting. By the end of this guide, you will have all the tools and insights you need to breathe new life into your pergola and elevate the charm of your outdoor living space. Let's get started!
Key Takeaways:
- Choose the right exterior acrylic latex paint for your pergola to withstand outdoor conditions and maintain vibrant color, while considering the material and style for a long-lasting and visually appealing finish.
- Thoroughly prepare and clean your pergola before painting to ensure optimal adhesion and a professional-quality finish, protecting it from environmental wear and tear for years to come.
Read more: How To Decorate A Pergola
Selecting the Right Paint
Choosing the right paint is crucial for achieving a long-lasting and visually appealing finish on your pergola. When it comes to selecting the paint type, consider using an exterior acrylic latex paint, which is specifically formulated to withstand outdoor conditions. This type of paint offers excellent durability and UV resistance, ensuring that your pergola maintains its vibrant color despite exposure to sunlight.
Furthermore, opt for a paint finish that complements the style of your outdoor space. For a classic and timeless look, a satin or semi-gloss finish is ideal, as it provides a subtle sheen while offering easy maintenance. If you prefer a more contemporary aesthetic, a matte finish can lend a modern touch to your pergola.
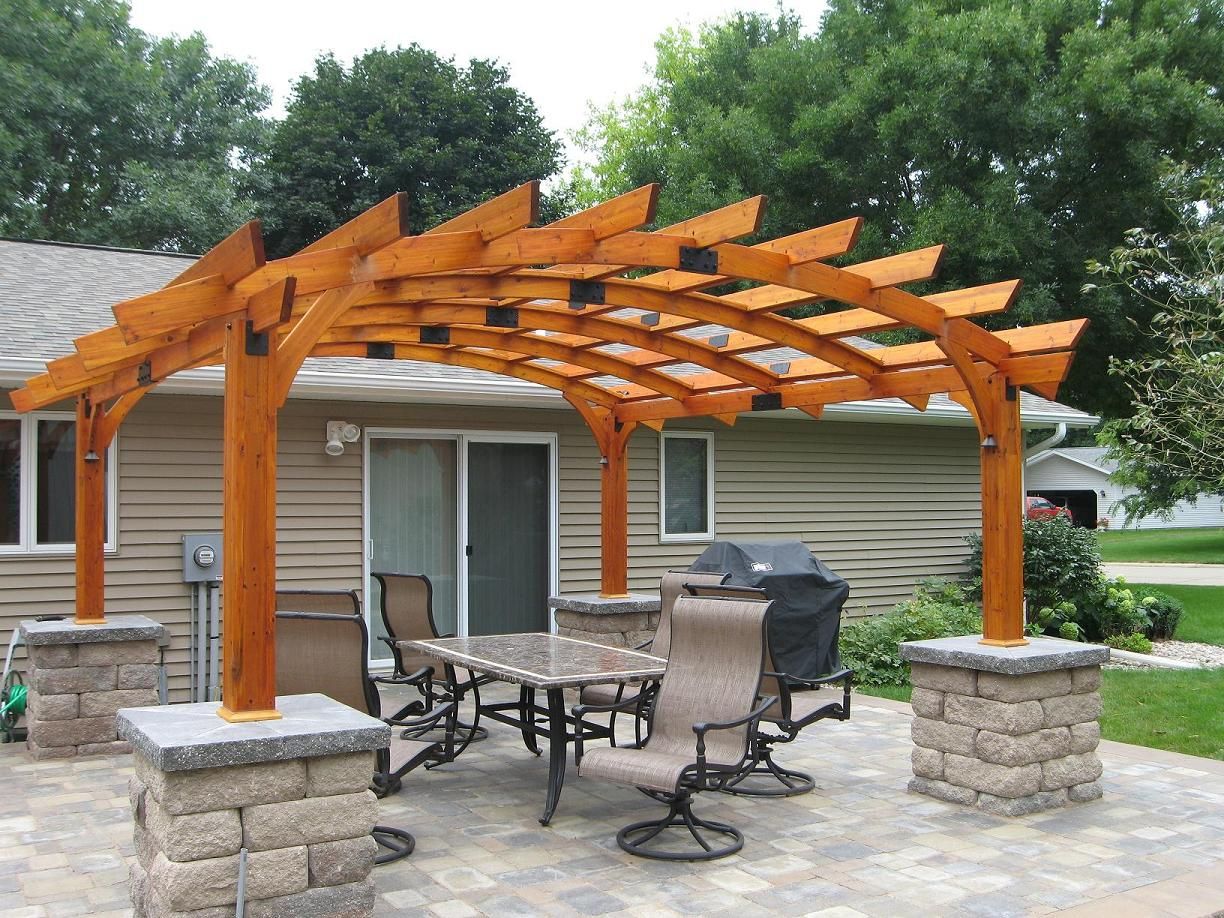
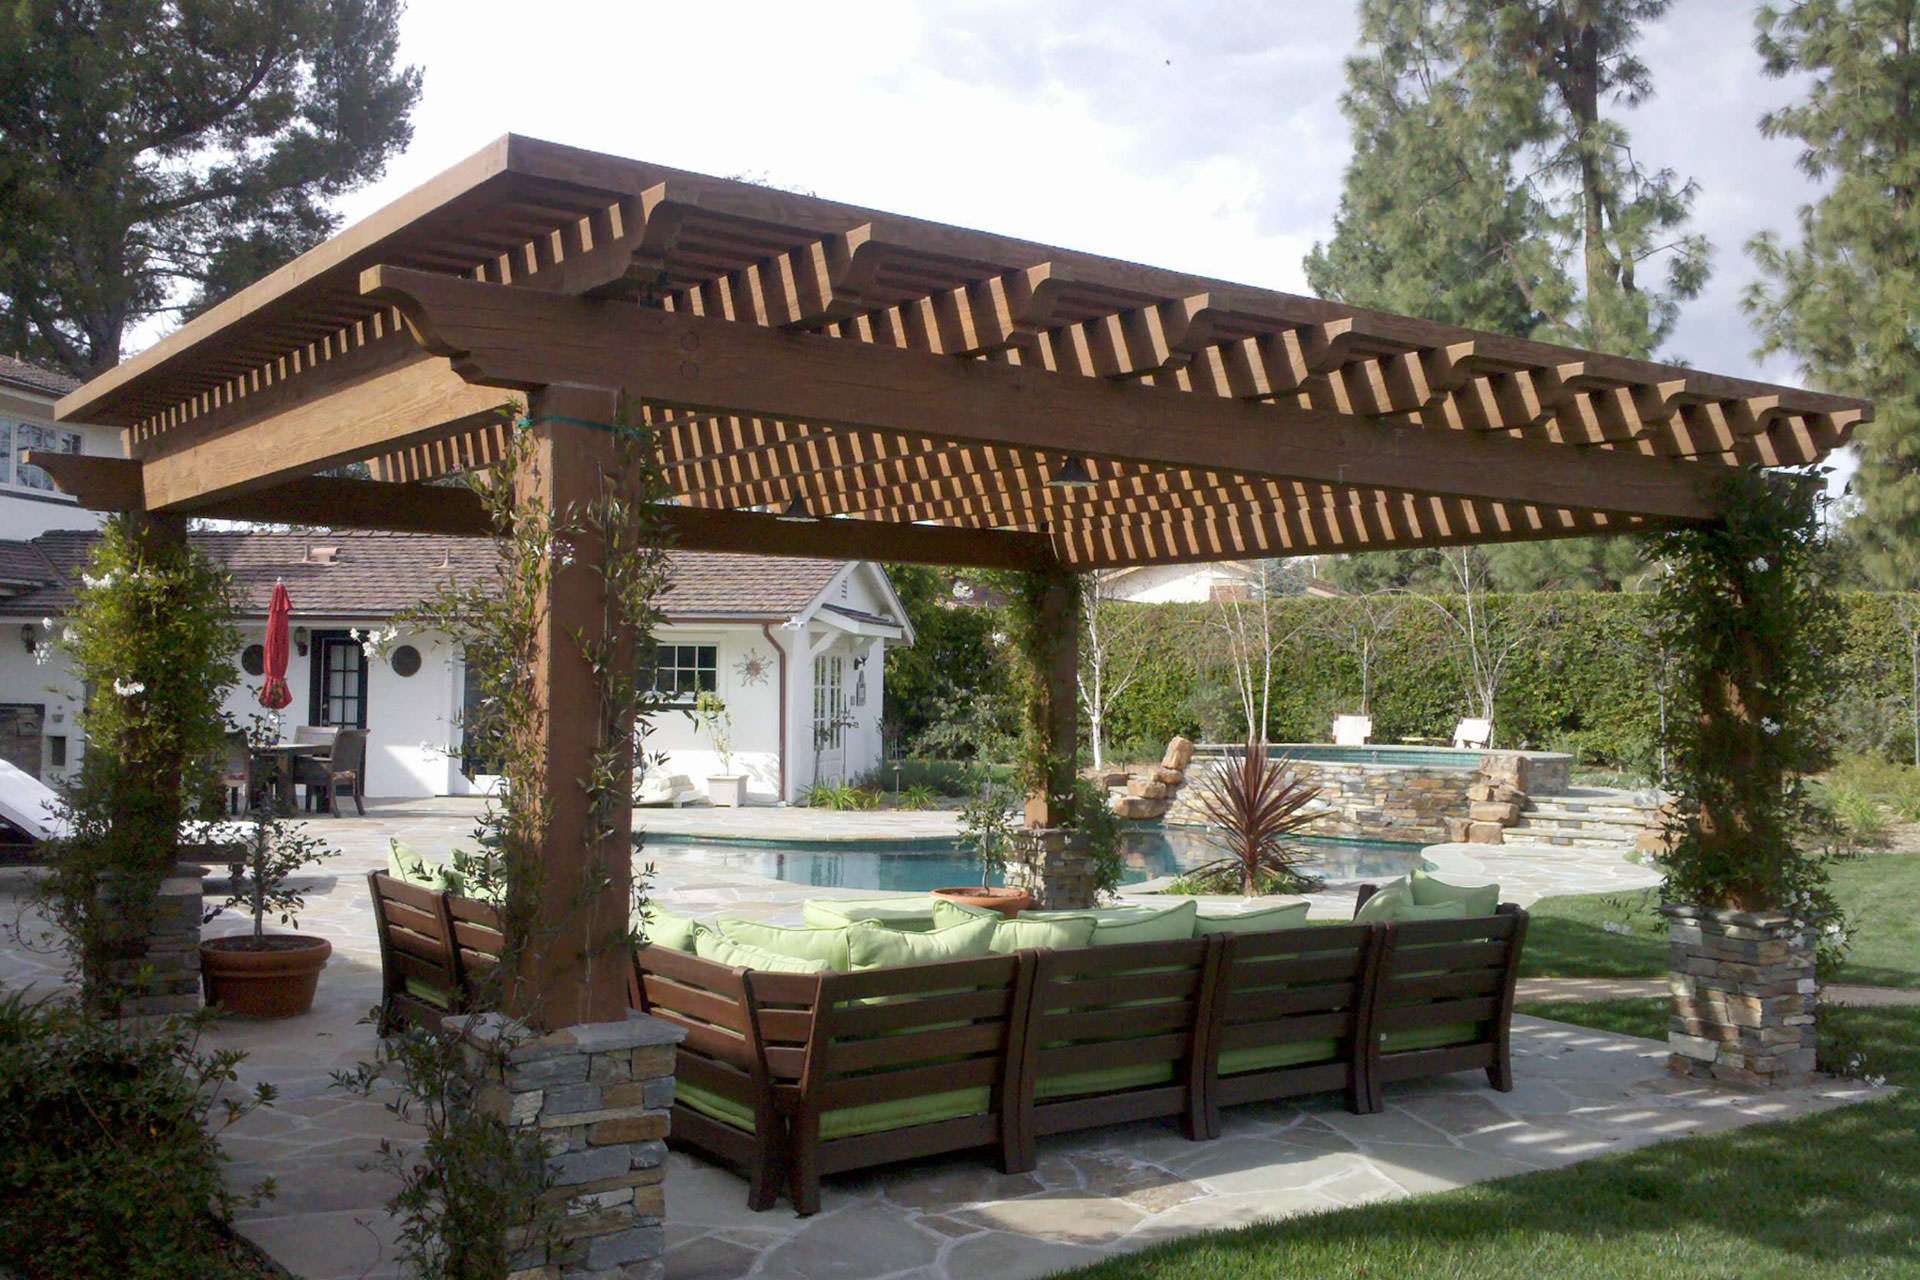
Before purchasing the paint, take into account the material of your pergola. If your pergola is made of wood, ensure that the paint is suitable for wooden surfaces and provides protection against moisture and rot. For metal pergolas, look for a rust-resistant paint that adheres well to metal substrates.
When it comes to color selection, the possibilities are endless. Whether you want to complement the existing color scheme of your outdoor space or make a bold statement with a vibrant hue, the key is to choose a color that resonates with your personal style and enhances the overall ambiance of your outdoor area.
Before making a final decision, it’s beneficial to consult with a paint specialist at your local home improvement store. They can provide valuable insights into the best paint options for your specific pergola material and environmental factors. Additionally, they can assist you in selecting the appropriate primer and any additional protective coatings that may be necessary to ensure the longevity of your paint job.
By carefully considering the type of paint, finish, and color that align with your preferences and the characteristics of your pergola, you are setting the stage for a successful painting project that will revitalize your outdoor space for years to come.
Preparing the Pergola
Before diving into the painting process, it’s essential to prepare the pergola to ensure optimal paint adhesion and a professional-quality finish. Proper preparation not only enhances the visual appeal of the painted surface but also contributes to the longevity of the paint job, protecting the pergola from environmental wear and tear.
The first step in preparing the pergola is to thoroughly clean the surface. Use a mild detergent or a dedicated outdoor surface cleaner to remove dirt, grime, and any existing paint flaking. A pressure washer can be a valuable tool for this task, effectively removing accumulated debris and preparing the surface for painting.
Once the pergola is clean and dry, inspect the entire structure for any signs of damage, such as cracks, rot, or loose hardware. Address any structural issues before proceeding with the painting process to ensure that your pergola remains in top condition for years to come.
Next, protect the surrounding area from paint splatters by covering nearby plants, furniture, and any other features that you want to shield from accidental paint exposure. Use drop cloths or plastic sheeting to safeguard the ground and surrounding surfaces, minimizing the risk of unintended paint stains.
If there are any metal components on the pergola, such as brackets or fasteners, inspect them for signs of rust. Use a wire brush or sandpaper to remove any rust and apply a rust-inhibiting primer to prevent future corrosion. This step is crucial for maintaining the structural integrity of the pergola and ensuring the longevity of the paint finish.
Finally, if the pergola has previously been painted, carefully inspect the existing paint for signs of peeling or flaking. If any areas are compromised, it’s essential to remove the loose paint by scraping and sanding the surface. This process creates a smooth and uniform base for the new paint, preventing the old paint from affecting the adhesion of the fresh coat.
By diligently preparing the pergola, you are laying the groundwork for a successful painting project that will result in a beautifully rejuvenated outdoor structure. The time and effort invested in thorough preparation will be reflected in the quality and longevity of the finished paint job, allowing you to enjoy your newly painted pergola for years to come.
Applying the Primer
Before applying the paint to your pergola, it’s essential to prime the surface to promote adhesion, enhance durability, and create a uniform base for the paint. The primer acts as a foundation, ensuring that the paint adheres securely to the pergola material and providing an added layer of protection against environmental elements.
When selecting a primer, opt for a high-quality exterior primer that is specifically formulated for the material of your pergola. If your pergola is made of wood, choose a primer that offers excellent adhesion and seals the surface to prevent moisture infiltration. For metal pergolas, look for a rust-inhibiting primer that provides a protective barrier against corrosion.
Prior to applying the primer, thoroughly stir the product to achieve a consistent texture and ensure that any settling or separation is properly mixed. Using a high-quality paintbrush, roller, or paint sprayer, apply the primer evenly across the entire surface of the pergola. Pay close attention to intricate details, such as decorative carvings or latticework, to ensure that the primer reaches all exposed areas.
Allow the primer to dry completely according to the manufacturer’s instructions. This typically involves waiting for the recommended drying time, ensuring that the primer cures thoroughly before proceeding with the paint application. Proper drying time is critical for the primer to establish a strong bond with the pergola surface, setting the stage for a successful and long-lasting paint finish.
Inspect the primed surface for any imperfections or areas that may require additional attention. If necessary, lightly sand any rough spots or drips to achieve a smooth and uniform base for the paint. This step is essential for ensuring a flawless finish and professional-quality results.
By applying a high-quality primer to your pergola, you are not only enhancing the adhesion and durability of the paint but also fortifying the structure against environmental factors. The primer serves as a crucial preparatory step, laying the foundation for a stunning and long-lasting paint finish that will revitalize your pergola and elevate the beauty of your outdoor space.
Before painting a pergola, make sure to clean and sand the surface to remove any dirt or old paint. Use a high-quality exterior paint and apply it evenly with a brush or sprayer for a professional finish.
Painting the Pergola
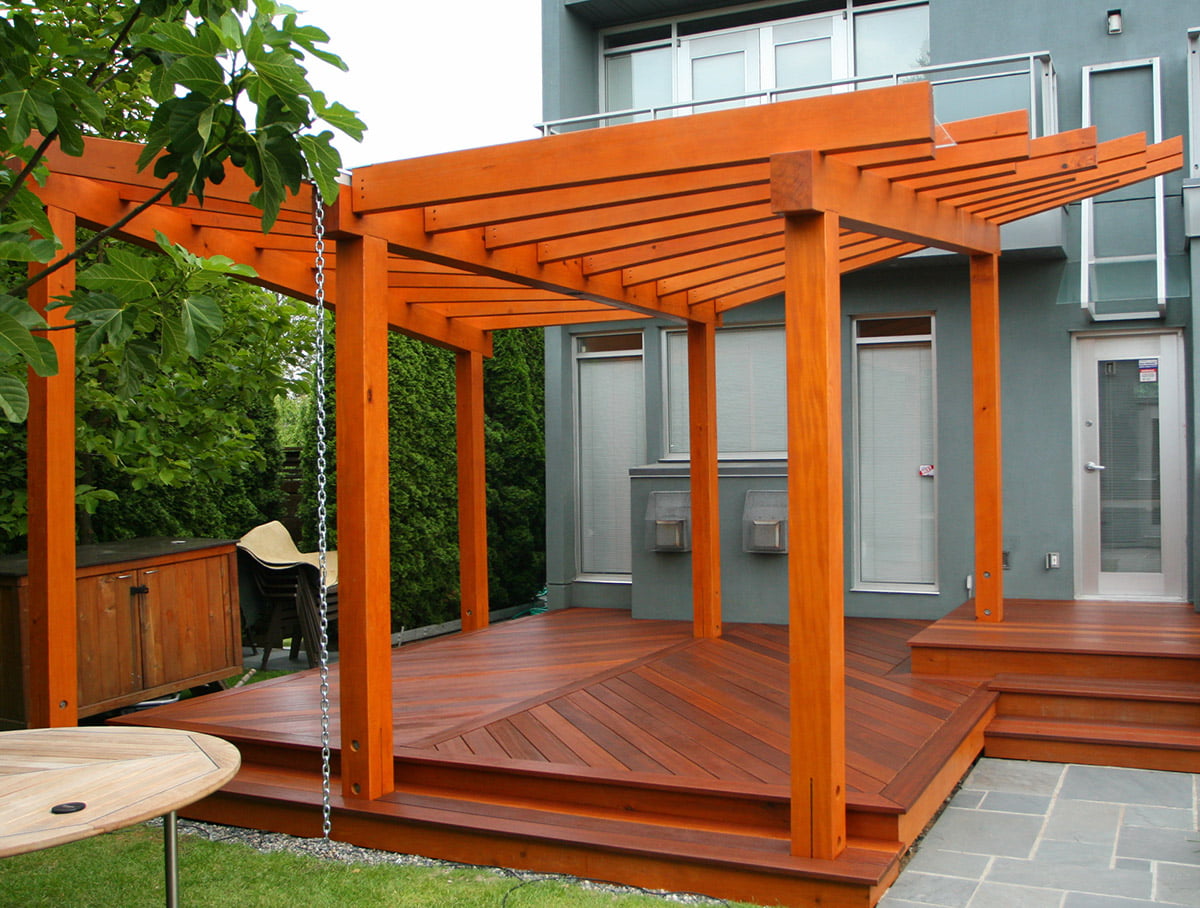
With the surface properly prepared and primed, it’s time to embark on the exciting phase of painting your pergola. This step is where your vision for the overall aesthetic of your outdoor space comes to life, as the chosen paint color transforms the pergola into a captivating focal point that complements your home’s architecture and landscaping.
Before diving into the painting process, carefully review the manufacturer’s instructions on the paint can to ensure optimal application and drying conditions. If painting in direct sunlight, consider the impact of heat on the paint’s drying time and adjust your schedule accordingly to achieve the best results.
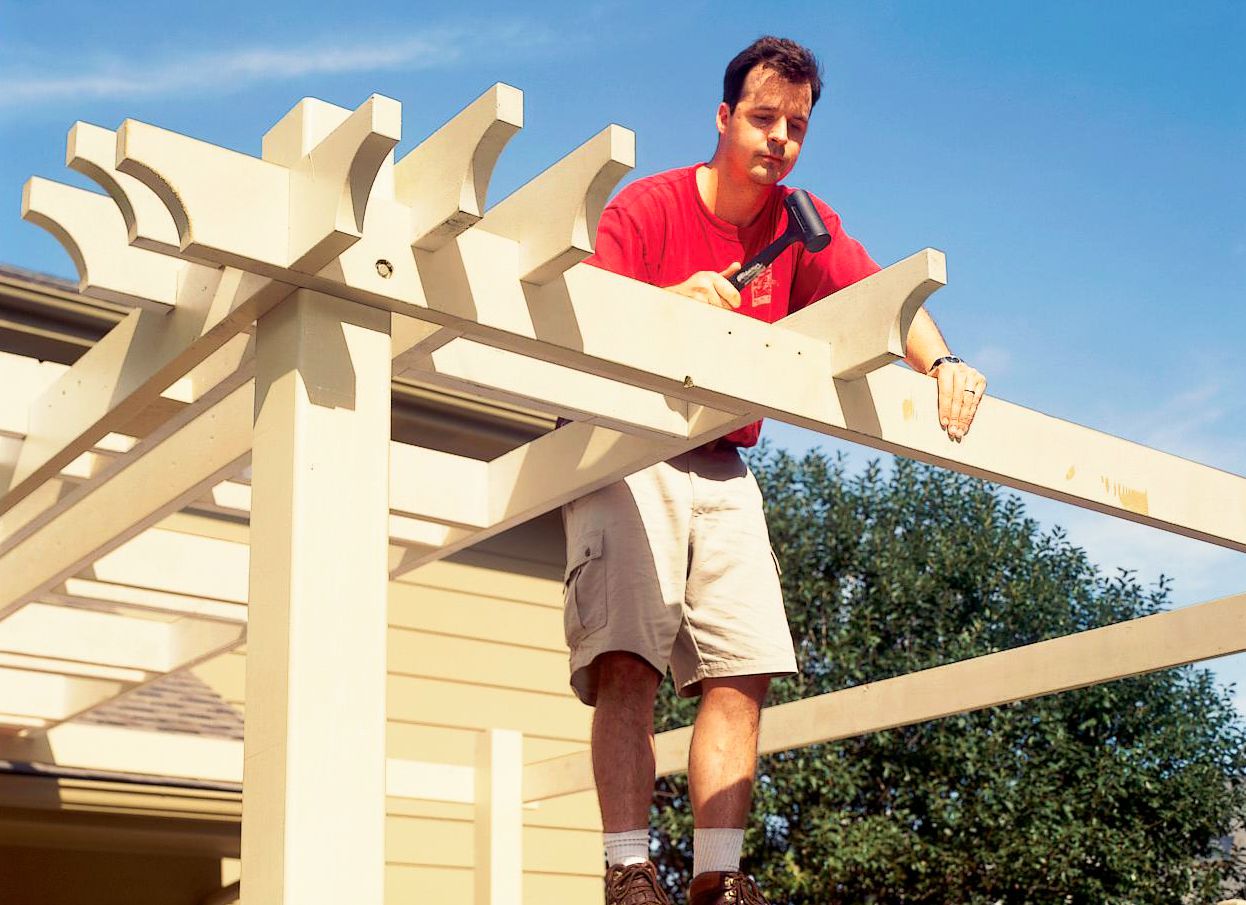
When applying the paint, use a high-quality paintbrush, roller, or paint sprayer, depending on the size and intricacy of the pergola’s design. Begin by carefully coating the main structural elements of the pergola, such as the posts, beams, and rafters, ensuring even coverage and paying attention to any decorative details or recessed areas.
If your pergola features latticework or intricate patterns, take your time to paint these elements meticulously, ensuring that the paint reaches all exposed surfaces. A small, angled brush can be invaluable for reaching tight spaces and achieving a professional finish on detailed areas.
As you progress through the painting process, periodically step back to assess the overall coverage and identify any missed spots or uneven areas. This visual inspection allows you to address any imperfections promptly, ensuring a consistent and flawless finish across the entire pergola.
Once the first coat of paint has been applied, allow it to dry completely according to the manufacturer’s recommendations. Depending on the paint type and environmental conditions, this may involve waiting for the specified drying time to ensure that the paint cures thoroughly before applying additional coats.
If a second coat is required for optimal color depth and durability, follow the same meticulous approach to ensure even coverage and a professional-quality finish. Multiple thin coats are preferable to a single heavy application, as they promote better adhesion and a more uniform appearance.
By investing care and attention into the painting process, you are not only enhancing the visual appeal of your pergola but also ensuring the longevity and durability of the paint finish. A beautifully painted pergola serves as a striking centerpiece in your outdoor space, elevating the ambiance and creating an inviting atmosphere for relaxation and entertainment.
Read more: How To Cover A Pergola
Finishing Touches
As the painting process nears completion, attention to detail during the finishing touches is crucial to achieving a polished and professional look for your pergola. These final steps not only enhance the aesthetic appeal of the painted surface but also contribute to the overall durability and longevity of the paint finish, ensuring that your pergola remains a stunning outdoor feature for years to come.
Once the final coat of paint has dried completely, carefully inspect the entire pergola for any imperfections or areas that may require touch-ups. Use a small brush to address any missed spots or uneven edges, ensuring that the paint coverage is uniform and flawless across the entire structure.
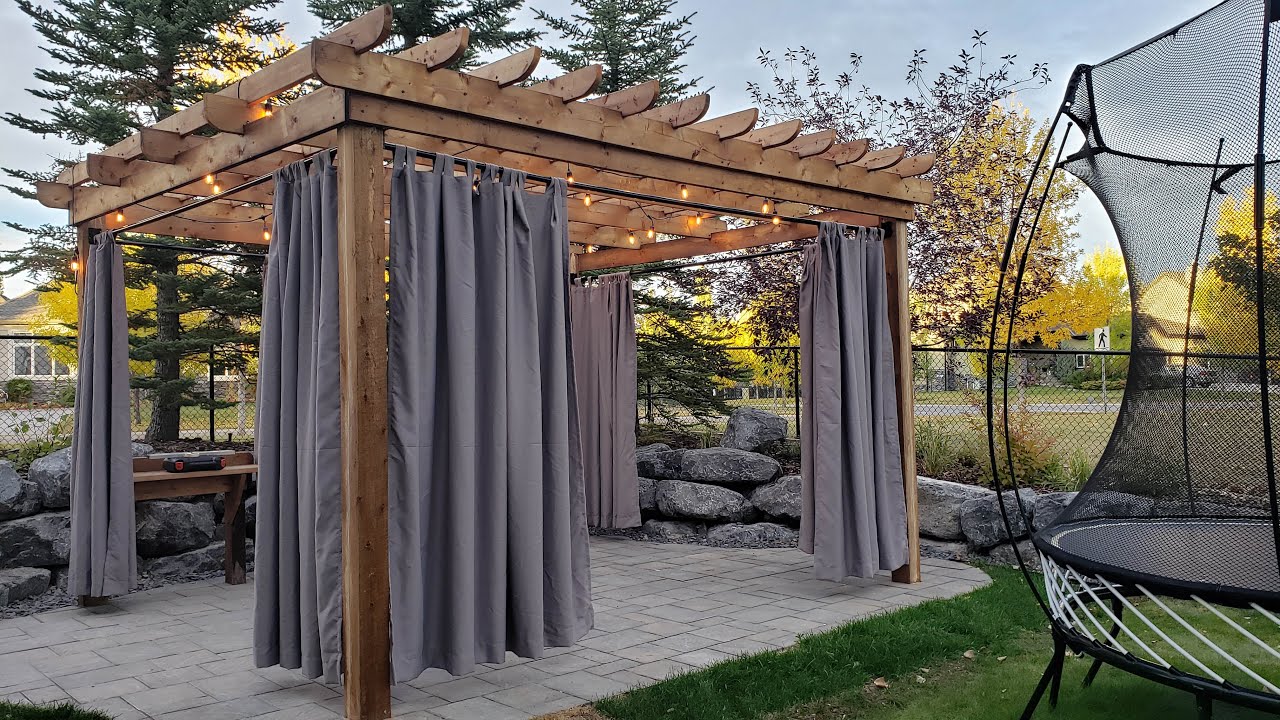
If your pergola features decorative elements, such as carvings, moldings, or trim, consider adding a contrasting or complementary accent color to highlight these details. This subtle touch can elevate the visual impact of the pergola, adding depth and dimension to its design and creating a captivating focal point in your outdoor space.
After completing the painting process, consider applying a clear protective topcoat to shield the paint from UV exposure, moisture, and general wear. A high-quality exterior polyurethane or varnish can provide an additional layer of defense, enhancing the resilience of the paint finish and extending the lifespan of your pergola’s rejuvenated appearance.
Once the topcoat has dried, remove any protective coverings or masking materials that were used to safeguard surrounding surfaces during the painting process. Take the time to clean the area thoroughly, ensuring that your outdoor space is free from any paint splatters or debris, and that your plants and furniture are returned to their original positions.
As a final touch, step back and admire the transformative impact of the freshly painted pergola on your outdoor living space. The vibrant colors, meticulous finish, and enhanced visual appeal of the pergola contribute to a welcoming and stylish atmosphere, inviting you and your guests to enjoy the beauty of your outdoor retreat.
By embracing the importance of finishing touches, you are not only elevating the aesthetic charm of your pergola but also reinforcing the resilience of the paint finish. These thoughtful details culminate in a stunning and enduring enhancement to your outdoor space, providing a captivating backdrop for relaxation, entertainment, and cherished moments with family and friends.
Conclusion
Congratulations on completing the transformative journey of painting your pergola! By following the comprehensive steps outlined in this guide, you have not only revitalized the appearance of your outdoor structure but also fortified it against the elements, ensuring lasting beauty and functionality.
From the initial selection of the right paint to the meticulous application of primer and paint, each step has contributed to the creation of a visually stunning and durable finish for your pergola. The care and attention invested in the preparation and painting process have resulted in a captivating outdoor feature that enhances the overall ambiance of your home.
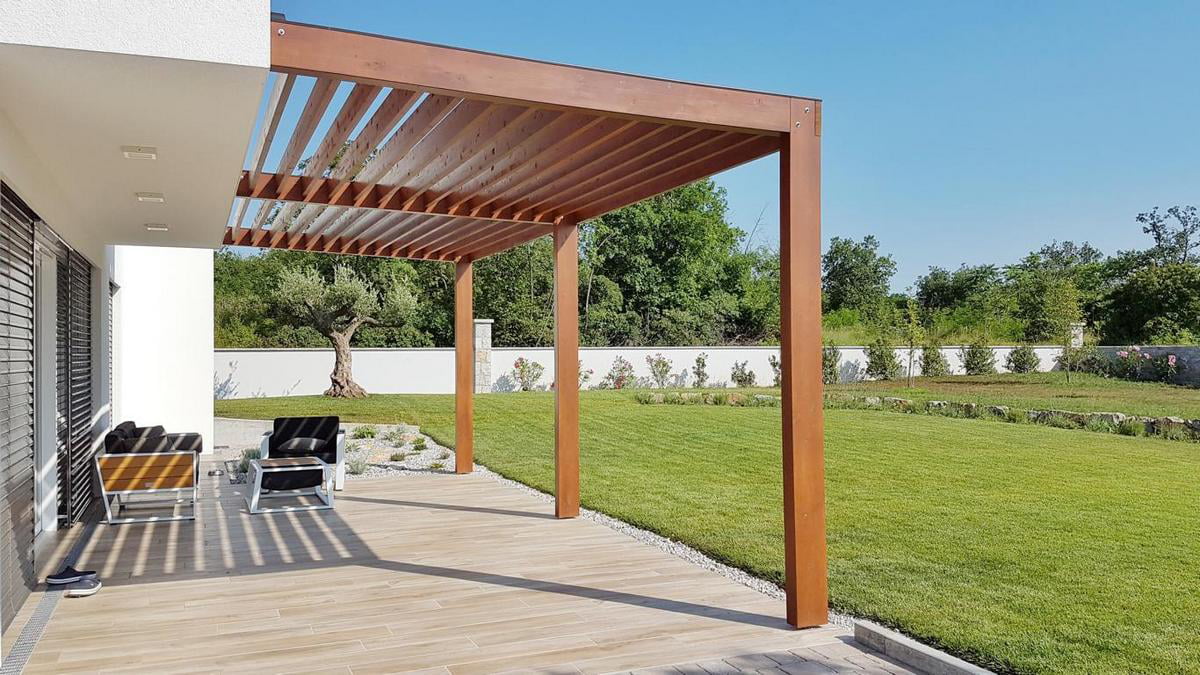
As you bask in the satisfaction of a beautifully painted pergola, take a moment to appreciate the impact of this transformation on your outdoor living space. The vibrant colors, flawless finish, and enhanced durability of the paint job have elevated the aesthetic appeal of your pergola, creating a captivating focal point that complements your home’s architecture and landscaping.
Furthermore, the rejuvenated pergola serves as an inviting backdrop for outdoor gatherings, relaxation, and cherished moments with loved ones. Whether you are hosting al fresco dinners, enjoying a tranquil afternoon in the shade, or simply admiring the beauty of your outdoor retreat, the painted pergola adds a touch of elegance and charm to your everyday experiences.
By embracing the process of painting your pergola, you have not only enhanced its visual appeal but also invested in the longevity and resilience of this beloved outdoor structure. The carefully selected paint, meticulous preparation, and thoughtful finishing touches have culminated in a stunning and enduring enhancement to your outdoor space.
As you reflect on the journey of transforming your pergola, take pride in the craftsmanship and dedication that have gone into this project. The results speak for themselves, as your freshly painted pergola stands as a testament to your commitment to creating a welcoming and stylish outdoor sanctuary.
With a beautifully painted pergola as the centerpiece of your outdoor space, you are poised to enjoy countless moments of relaxation, entertainment, and connection in a setting that exudes charm and sophistication. Your pergola is now more than just a structure; it is a reflection of your personal style and a symbol of the joy and comfort that your outdoor space brings to your life.
As you embark on future outdoor endeavors, may the painted pergola continue to inspire and enrich your experiences, providing a timeless backdrop for cherished memories and creating an inviting haven for all who gather in its shade.
Ready to tackle more DIY adventures? If you enjoyed learning how to refresh your pergola, why not dive into a whole range of outdoor projects? From simple builds to more elaborate setups, there’s something to stretch every skill level. Or perhaps you’re thinking about upgrading your backyard further. Consider exploring various garden structures that can transform your space into a cozy retreat. And for those with a passion for crafting, our selection of woodworking projects for the upcoming year offers exciting opportunities to create with confidence and flair.
Frequently Asked Questions about How To Paint A Pergola
Was this page helpful?
At Storables.com, we guarantee accurate and reliable information. Our content, validated by Expert Board Contributors, is crafted following stringent Editorial Policies. We're committed to providing you with well-researched, expert-backed insights for all your informational needs.

0 thoughts on “How To Paint A Pergola”