Articles
How To Build A Pergola Roof
Modified: August 17, 2024
Learn how to build a pergola roof with our informative articles. Discover step-by-step instructions, tips, and expert advice to create the perfect outdoor space.
(Many of the links in this article redirect to a specific reviewed product. Your purchase of these products through affiliate links helps to generate commission for Storables.com, at no extra cost. Learn more)
Introduction
Building a pergola roof is a great way to enhance the beauty and functionality of your outdoor space. Whether you want to create a cozy retreat, provide shade for outdoor gatherings, or simply add a stylish architectural element to your backyard, a pergola roof can be the perfect solution. In this article, we will guide you through the step-by-step process of building a pergola roof, from gathering materials and tools to adding the finishing touches.
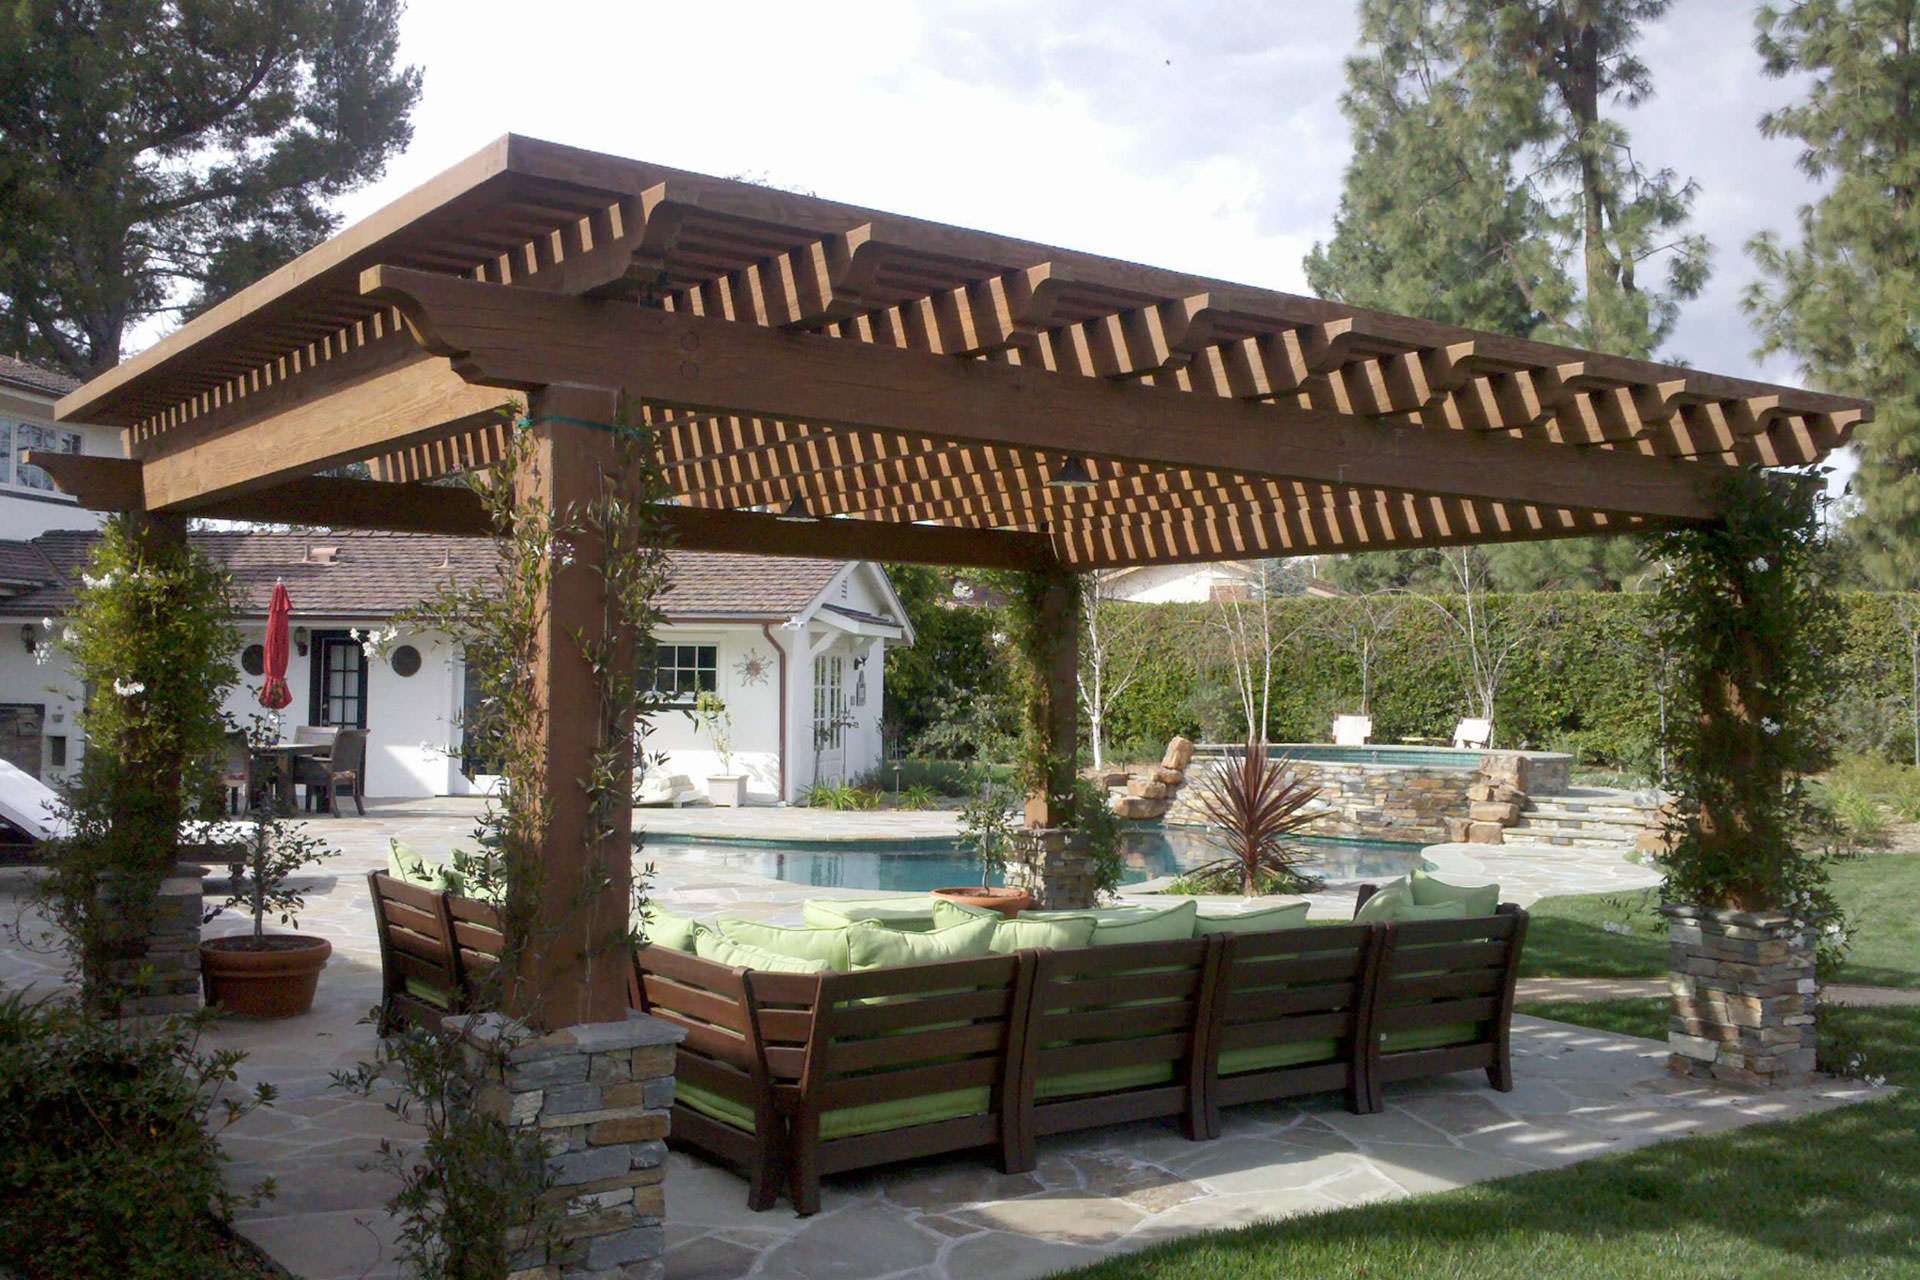
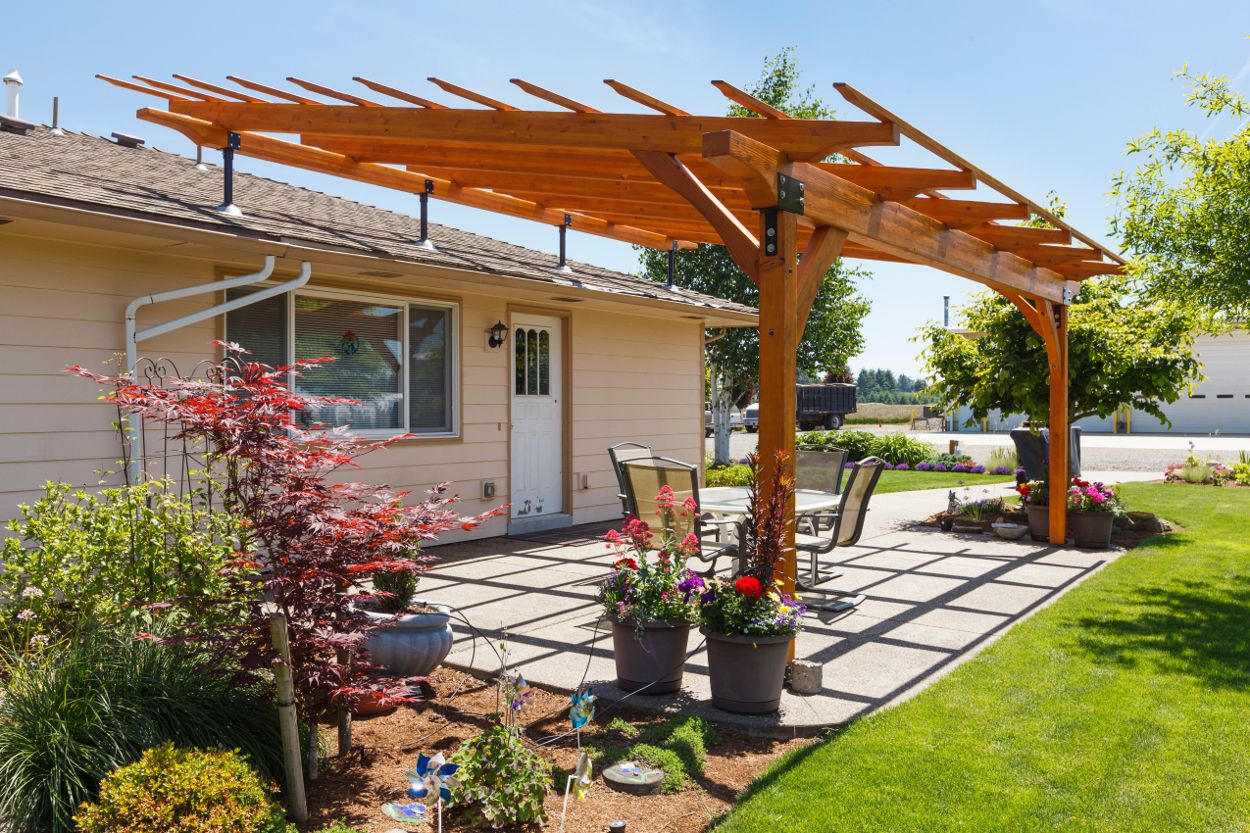
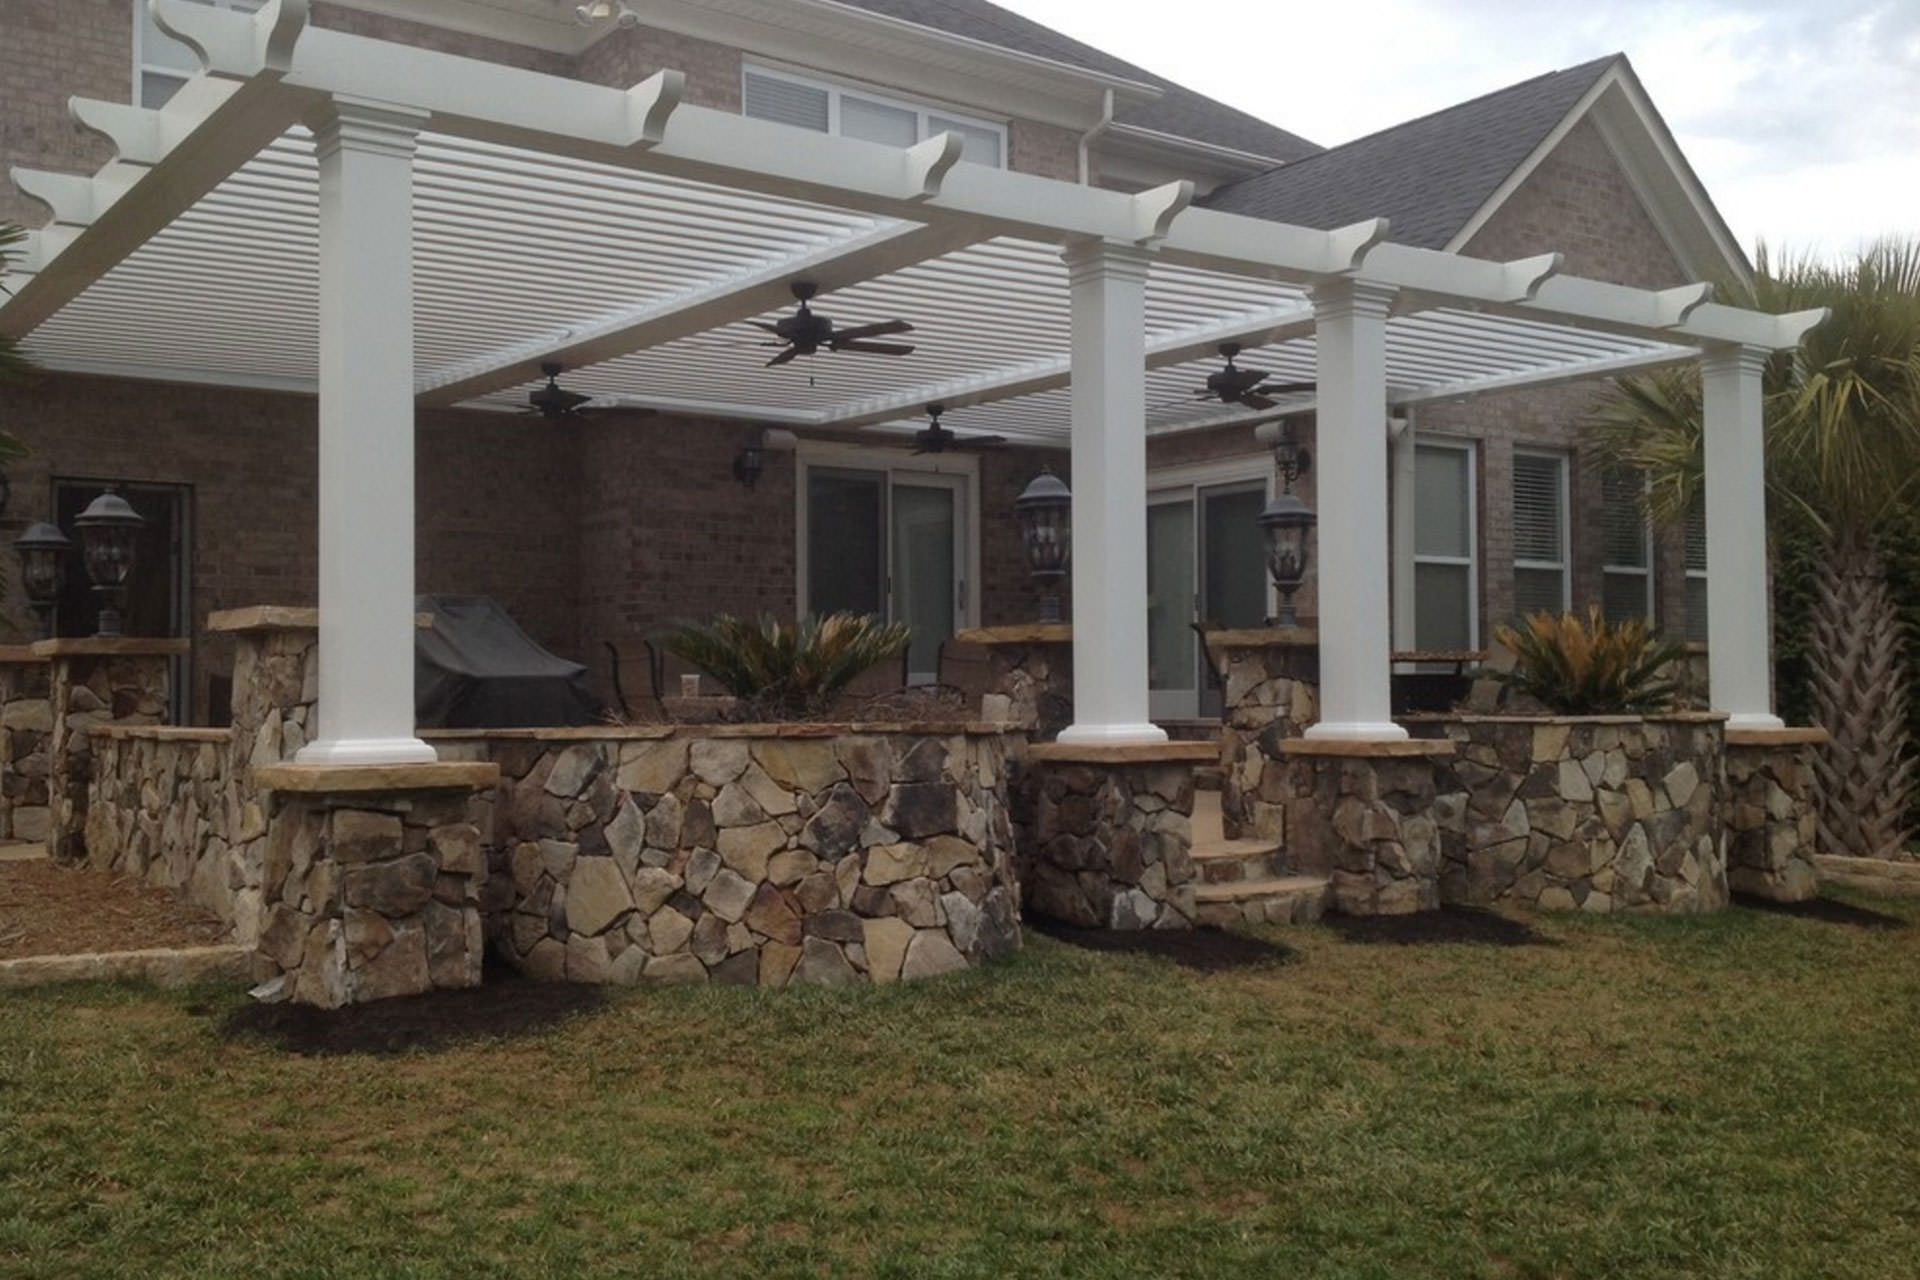
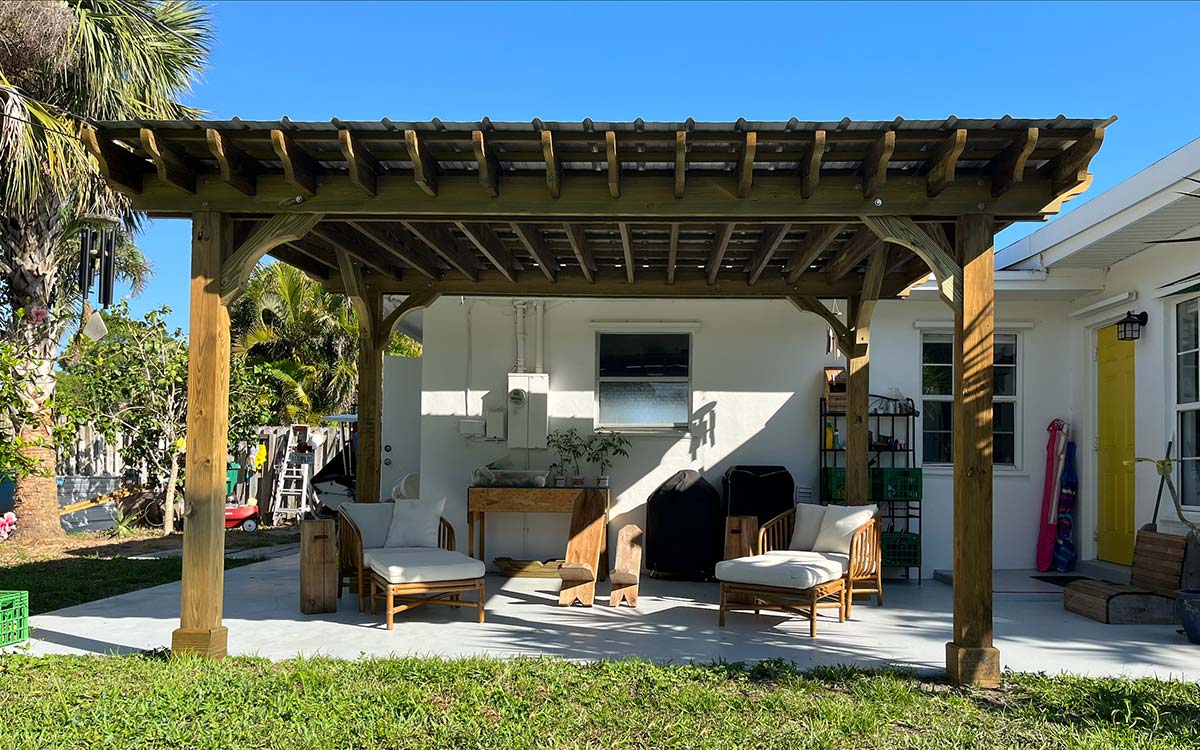
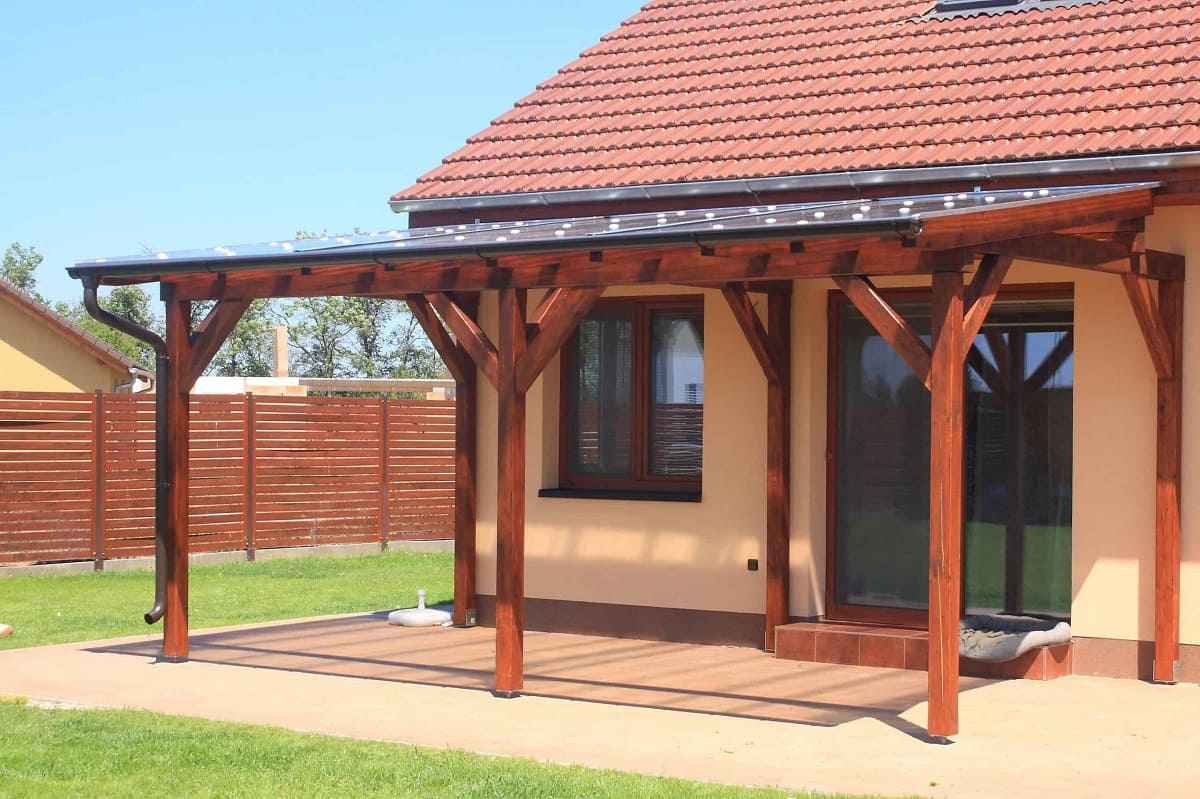
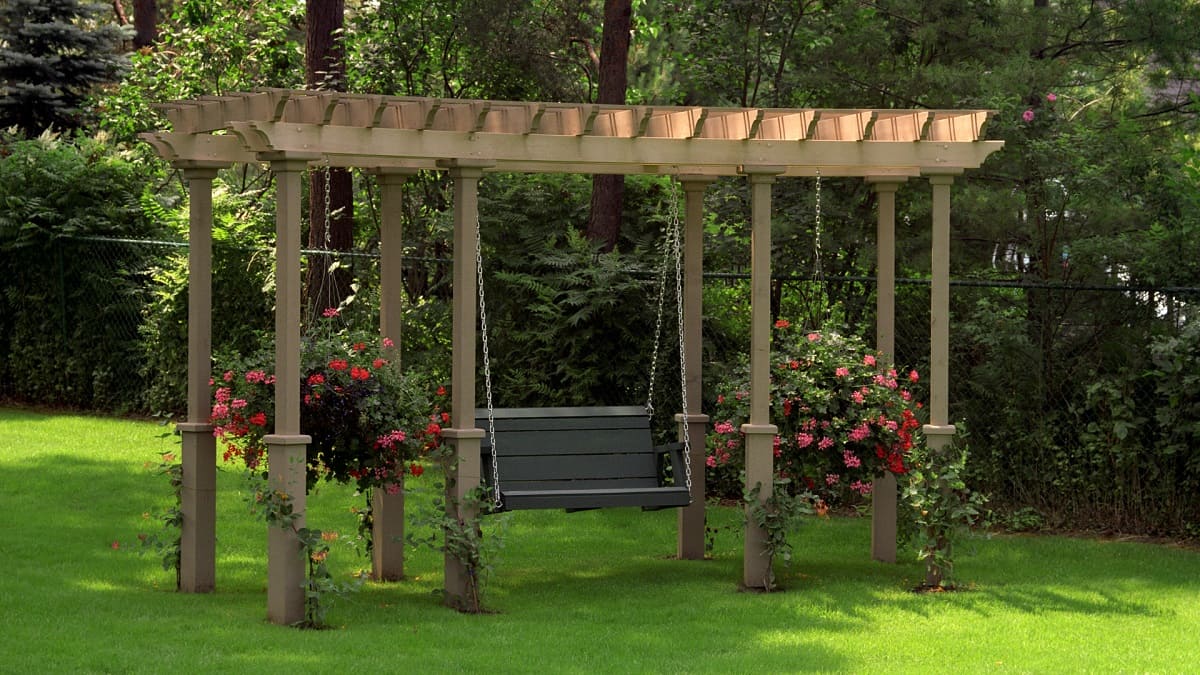
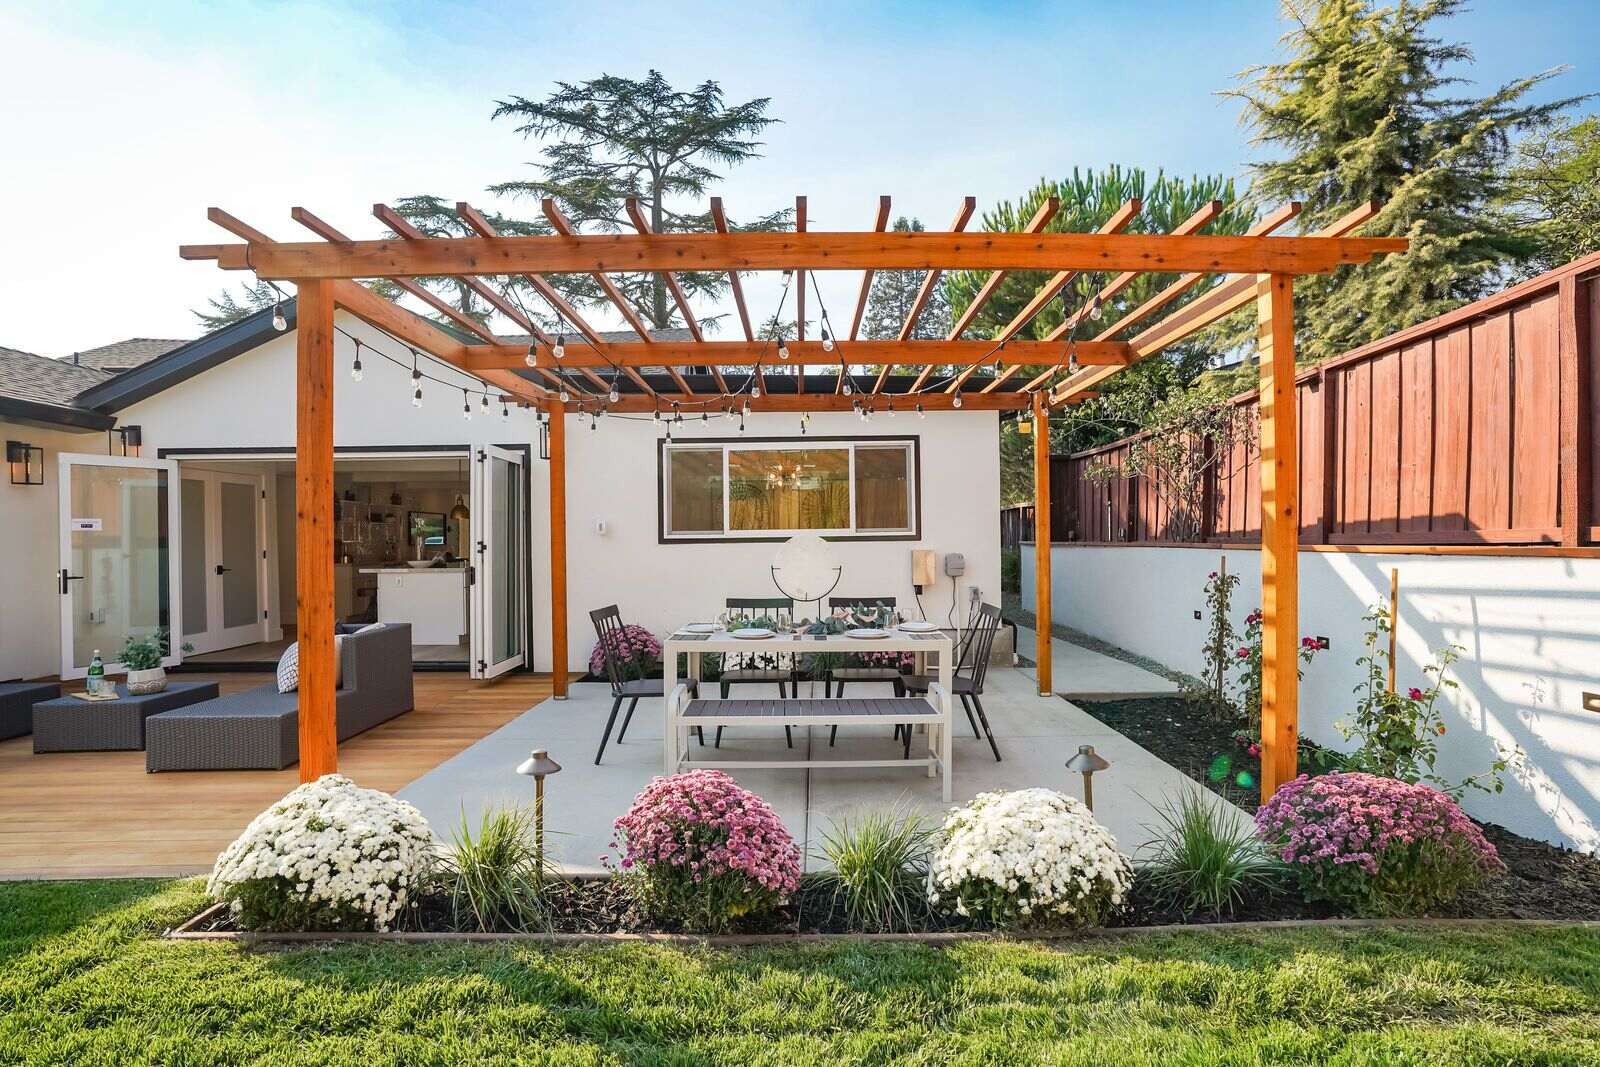
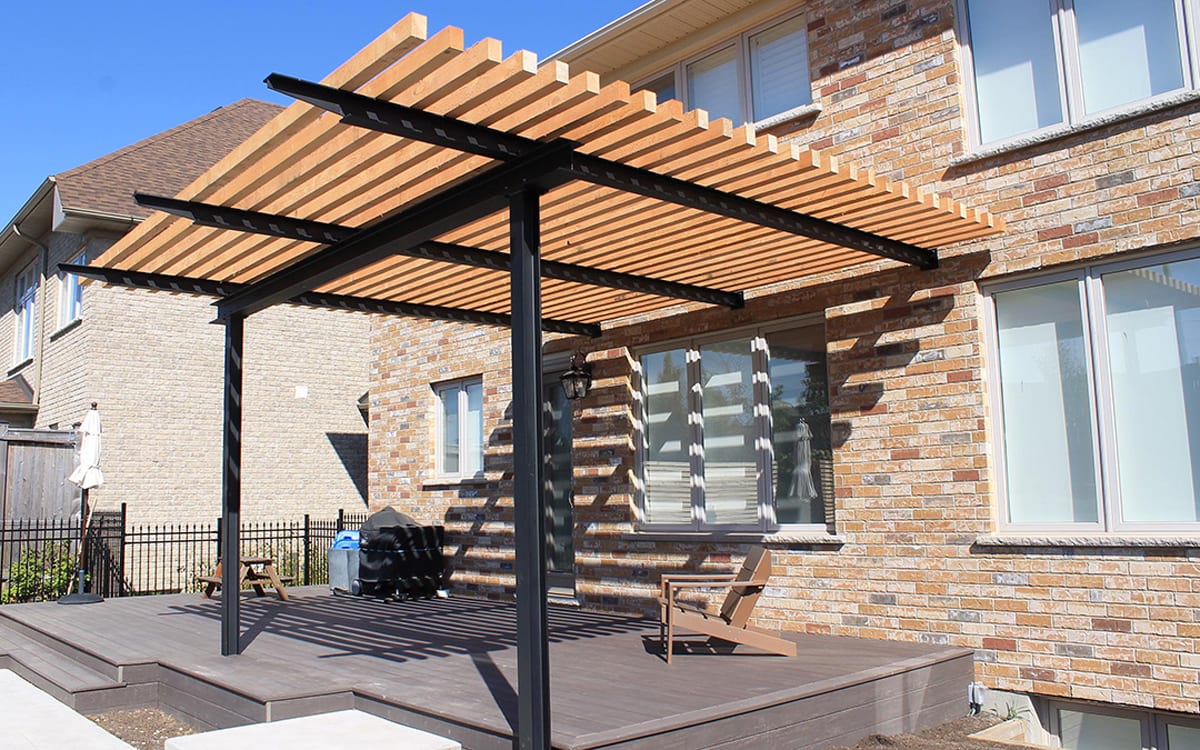
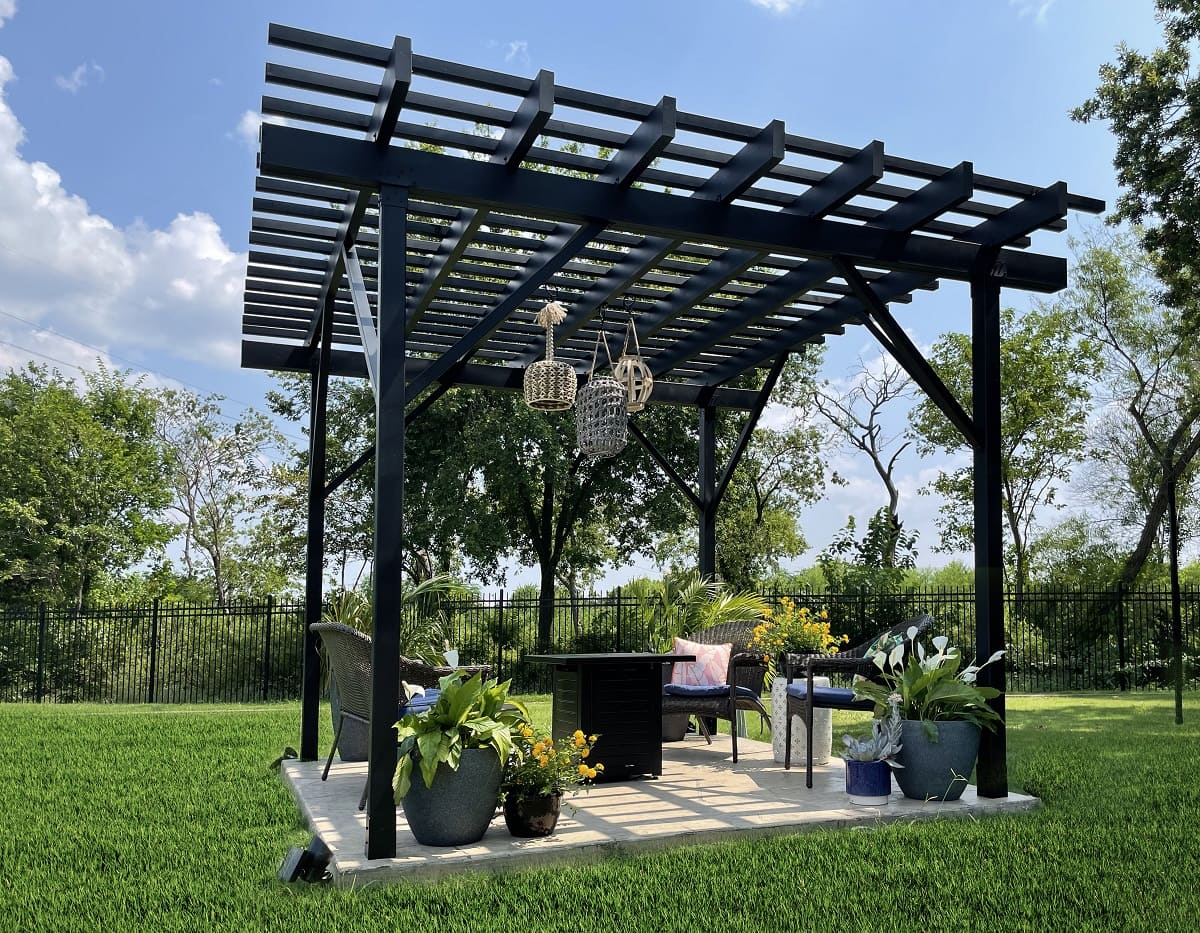
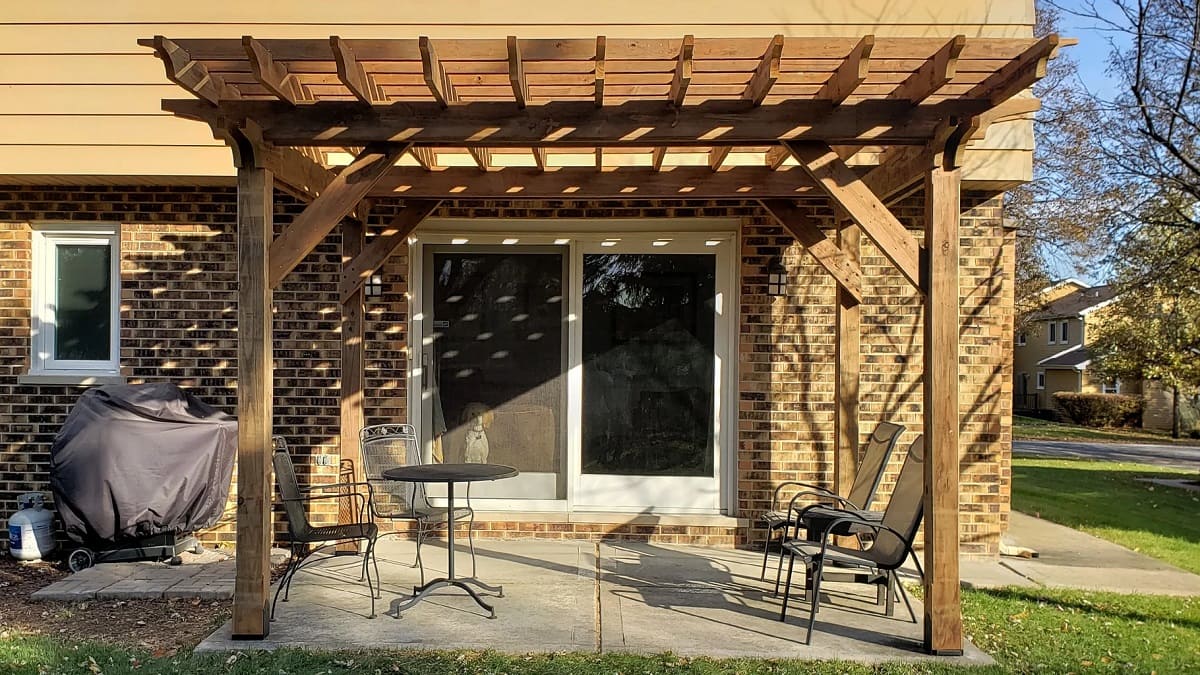
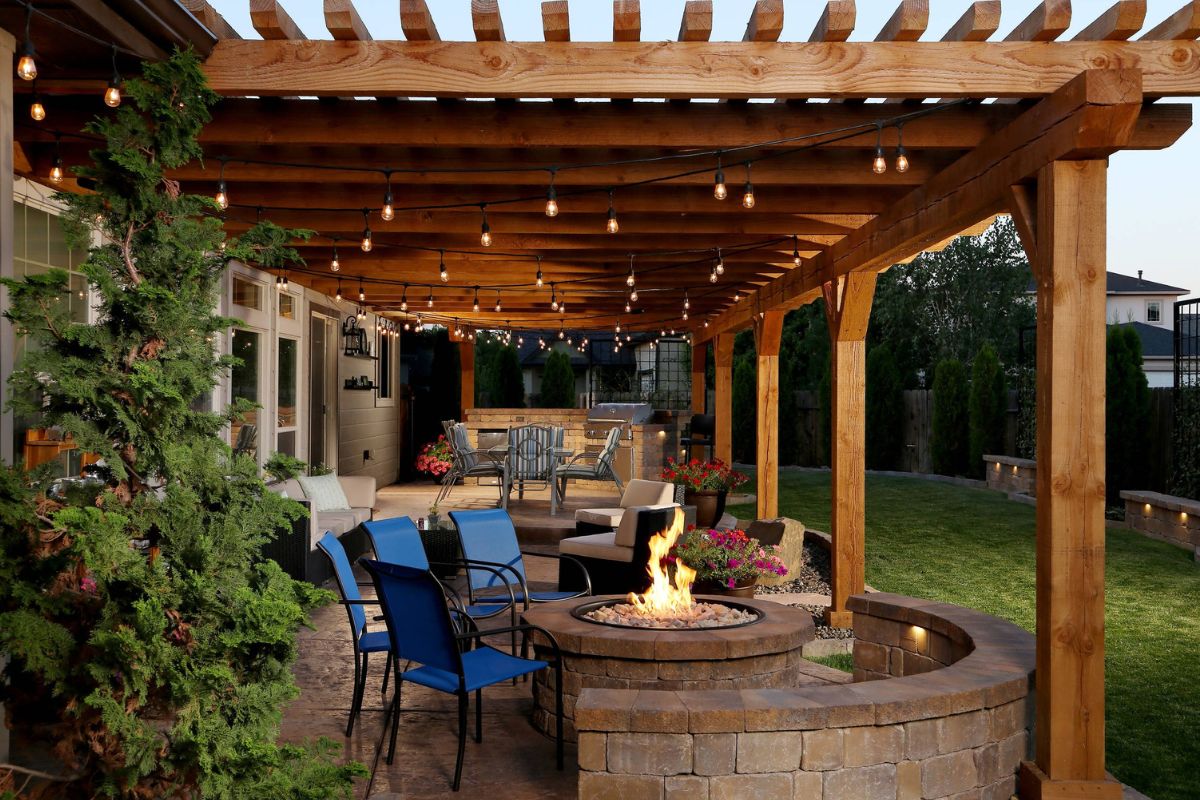
Before we dive into the details, let’s take a moment to understand what a pergola roof is. A pergola roof is a structure consisting of vertical posts supporting crossbeams and an open lattice or slatted roof. It provides partial shade and adds a touch of elegance to any outdoor space. Pergola roofs are versatile and can be customized to suit your style and needs.
Now that we have a clear understanding of what a pergola roof is, let’s get started on building one of our own. In the following steps, we will walk you through the process of gathering the necessary materials and tools, measuring and marking the area, installing support posts, attaching beams and crossbeams, installing roof rafters, adding shade elements or coverings, and applying finishing touches to ensure your pergola roof stands the test of time.
Key Takeaways:
- Building a pergola roof requires careful planning, precise measurements, and the right materials. From installing support posts to adding shade elements, each step contributes to creating a durable and stylish outdoor structure.
- Regular maintenance is essential for preserving the beauty and functionality of a pergola roof. From inspecting for wear and tear to adding finishing touches like lighting, proper care ensures years of enjoyment in your outdoor oasis.
Read more: How To Build A Pitched Roof Pergola
Step 1: Gathering Materials and Tools
Before you begin building your pergola roof, it’s essential to gather all the necessary materials and tools. Here is a list of items you will need:
- Pressure-treated lumber or cedar posts
- Pressure-treated lumber or cedar beams
- Pressure-treated lumber or cedar crossbeams
- Roof rafters
- Galvanized screws or nails
- Concrete mix or post anchors
- Level and measuring tape
- Circular saw or miter saw
- Drill with bits
- Socket wrench or adjustable wrench
- Shade elements or coverings (optional)
Once you have gathered all the necessary materials and tools, you can move on to the next step.
It’s important to choose the right type of lumber for your pergola roof. Pressure-treated lumber is a popular choice as it offers durability and resistance to rot, decay, and insect damage. Cedar is another excellent option known for its natural beauty and weather resistance. Consider the size and style of your pergola roof when selecting the dimensions of the lumber.
Additionally, depending on the desired size and height of your pergola roof, you may need to acquire specific lengths of beams and crossbeams to accommodate your design. It’s always a good idea to consult a professional or reference reliable online resources to determine the appropriate dimensions for your pergola roof.
Don’t forget to allocate enough time to gather all the necessary items before starting your project. This will help streamline the construction process and prevent delays. Once you have everything in order, you’re ready to move on to the next step: measuring and marking the area.
Step 2: Measuring and Marking the Area
Once you have gathered all the materials and tools for your pergola roof, it’s time to measure and mark the area where you will be installing it. Proper measurements and markings are essential to ensure that your pergola roof is positioned accurately and securely.
Start by determining the desired location for your pergola roof. Consider factors such as the available space, existing structures, and surrounding landscape. Once you have determined the ideal spot, mark the four corner points where the support posts will be placed.
Using a measuring tape, measure the length and width of the intended pergola roof area. It’s important to ensure that the area is level and square. If needed, use a level to double-check the ground’s evenness, and make any necessary adjustments.
With the measurements in hand, you can now mark the exact positions for the support posts. Use stakes or spray paint to clearly mark the locations of the four corners. Double-check the measurements and adjust if necessary to ensure accuracy.
Once all the corner points are marked, you can proceed to mark the positions for the beams and crossbeams. Typically, evenly spaced crossbeams are placed parallel to each other between the support posts, while beams are placed perpendicular to the crossbeams.
As you mark the positions for the beams and crossbeams, consider the desired amount of shade and structural integrity. It’s common to space the crossbeams evenly, typically 12 to 24 inches apart, to provide adequate support for the roof structure.
Make sure to double-check all the measurements and mark each position accurately. Taking the time to have precise measurements and markings at this stage will save you time and effort during the installation process.
With the area measured and marked, you are now ready to move on to the next step: installing the support posts.
Step 3: Installing the Support Posts
Now that you have measured and marked the area for your pergola roof, it’s time to install the support posts. The support posts will provide the foundation and stability for your pergola roof structure.
Begin by digging holes at each of the marked corner points for the support posts. The depth of the holes will depend on the desired height of your pergola roof and the recommendations of your local building codes. Typically, a depth of about one-third the length of the support post is sufficient.
Once the holes are dug, you can reinforce the stability of the support posts by using concrete. Mix the concrete according to the instructions and pour it into each hole. Make sure the posts are level and plumb while the concrete is still wet. Use a level and temporary supports to ensure the posts are straight and aligned.
If you prefer not to use concrete, there are alternative methods such as using post anchors or using compacted gravel or crushed stone in the bottom of the holes. These methods can offer stability while still allowing for adjustment and easier removal if needed in the future.
After the support posts are in place, allow the concrete to fully cure according to the instructions. This may take a day or two, so be patient and avoid putting any weight or stress on the posts during this time.
Once the concrete has cured, you can attach the beams and crossbeams to the support posts. Using galvanized screws or nails, secure the beams to the tops of the support posts, ensuring they are level and evenly spaced apart. Then, attach the crossbeams to the side of the support posts, resting on top of the beams. Again, use a level to ensure they are horizontal and parallel to each other.
With the support posts securely in place and the beams and crossbeams attached, your pergola roof structure is starting to take shape. In the next step, we will guide you through the process of attaching the remaining components to complete your pergola roof.
Step 4: Attaching the Beams and Crossbeams
With the support posts securely in place, it’s time to move on to attaching the beams and crossbeams to complete the framework of your pergola roof. The beams run parallel to each other, supported by the tops of the support posts, while the crossbeams span between the beams, providing additional stability and support.
Start by positioning the beams on top of the support posts, ensuring that they are level and evenly spaced apart. Use a level to make any necessary adjustments. Once the beams are in the desired position, attach them to the support posts using galvanized screws or nails. Make sure they are securely fastened and that the beams are aligned and parallel to each other.
Once the beams are attached, you can move on to installing the crossbeams. The number of crossbeams you use will depend on the size and design of your pergola roof. Typically, evenly spaced crossbeams are placed between the beams, providing additional support and serving as the base for the roof rafters.
Measure and mark the desired positions for the crossbeams along the length of the beams. Typically, crossbeams are placed at even intervals, usually 12 to 24 inches apart. Use a level to ensure they are horizontal and parallel to each other.
Next, attach the crossbeams to the beams, making sure they are securely fastened. Use galvanized screws or nails to firmly attach the crossbeams to the beams. Double-check the levelness and alignment before proceeding to the next step.
Once the beams and crossbeams are securely attached, your pergola roof structure will be strong and stable. In the next step, we will guide you through the process of installing the roof rafters, bringing your pergola roof closer to completion.
When building a pergola roof, make sure to use durable and weather-resistant materials such as cedar or pressure-treated lumber to ensure longevity and stability.
Read more: How To Build A Louvered Pergola Roof
Step 5: Installing the Roof Rafters
Now that the framework of your pergola roof is complete with the beams and crossbeams securely attached, it’s time to move on to installing the roof rafters. The roof rafters are the angled pieces that will provide support for the roof covering or shade elements. They will be attached to the beams and crossbeams, forming the structure for your pergola roof.
Start by marking the positions for the roof rafters along the length of the crossbeams. The spacing will depend on your design preferences, but generally, rafters are placed at even intervals, typically 24 to 36 inches apart.
Once the positions are marked, you can begin attaching the roof rafters. Place each rafter on top of the crossbeams, aligning it with the marks you made earlier. Use galvanized screws or nails to secure the rafters to the crossbeams, making sure they are firmly and evenly attached.
As you install each rafter, use a level to check its alignment and adjust as necessary. It’s important to ensure that all the rafters are level and that they form a uniform and stable structure.
Continue installing the roof rafters until you have covered the entire area of your pergola roof. Double-check the alignment and stability of each rafter before proceeding to the next step.
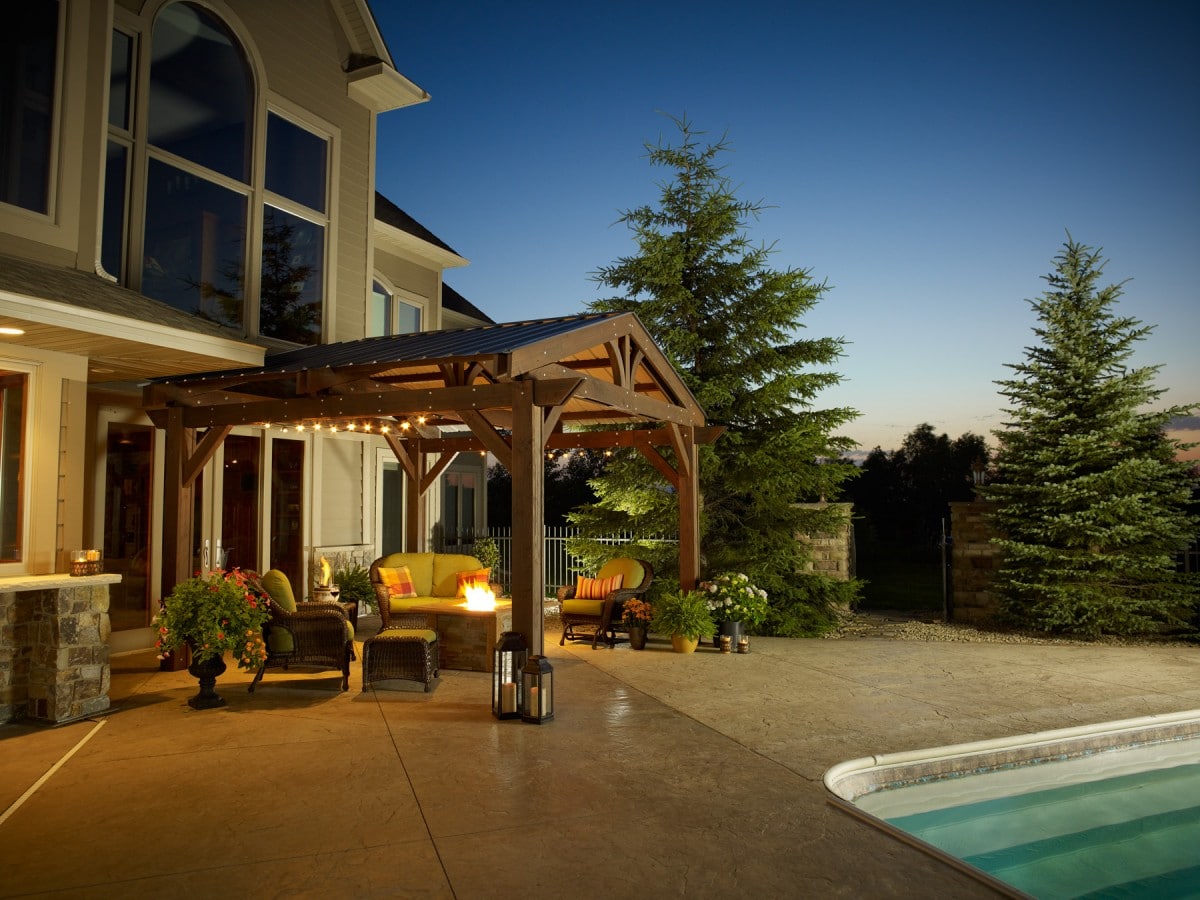
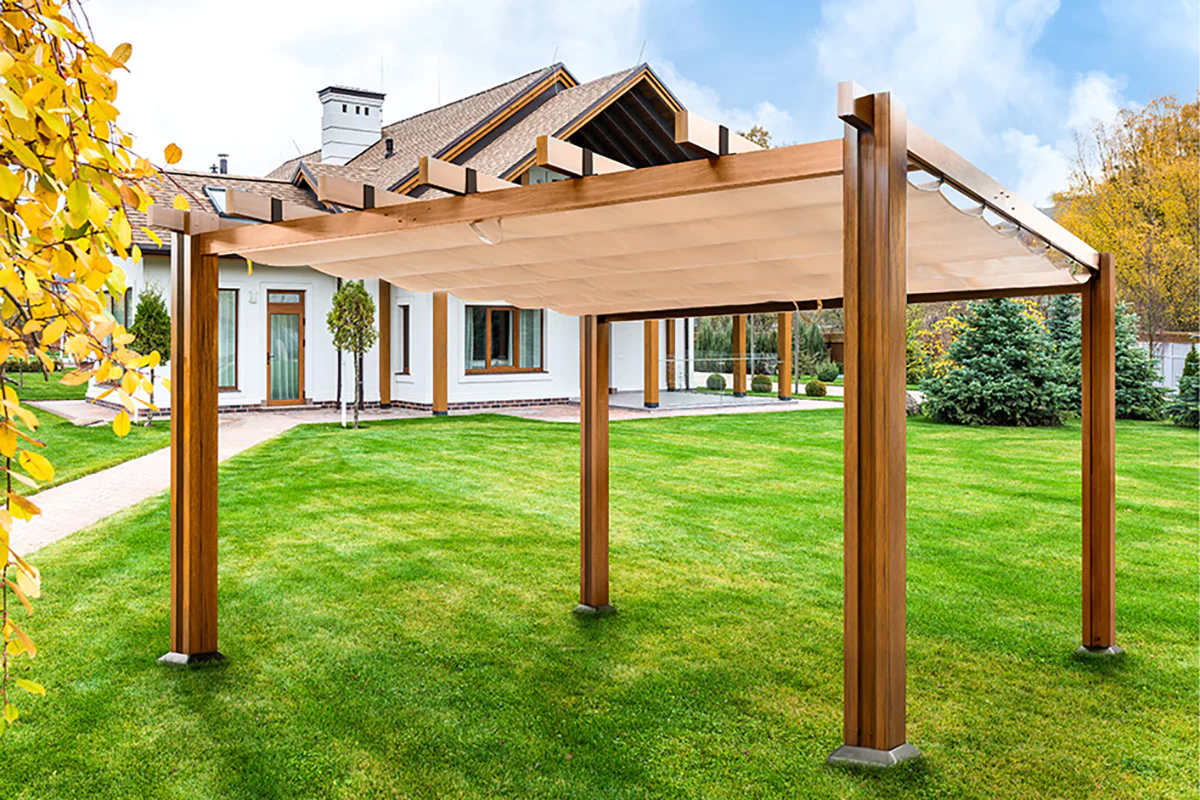
At this stage, your pergola roof structure is almost complete. However, depending on your preferences and desired level of shade or protection, you may want to consider adding shade elements or coverings. This can include fabric or retractable canopies, wooden slats, or even climbing plants to provide natural shade and privacy.
Installing the roof rafters brings you one step closer to enjoying the benefits of your pergola roof. In the next step, we will guide you through the process of adding shade elements or coverings to further enhance your pergola roof and create the ambiance you desire.
Step 6: Adding Shade Elements or Coverings
Adding shade elements or coverings to your pergola roof can enhance its functionality and aesthetics. Depending on your preferences and the desired level of shade and privacy, there are several options to consider.
One popular option is to install fabric or retractable canopies that can be easily adjusted to provide shade on sunny days or opened up to let in more sunlight. These canopies come in various colors and styles, allowing you to customize the look of your pergola roof. Install the canopies by attaching them to the roof rafters with hooks or clips.
Another option is to add wooden slats or panels to create a partially shaded roof. This provides a balance between sunlight and shade, allowing for a comfortable outdoor experience. Install the slats or panels by attaching them to the roof rafters, ensuring they are evenly spaced and aligned.
If you prefer a more natural and organic look, consider planting climbing plants such as vines or ivy. These plants can grow and cover the roof rafters, creating a living roof that provides shade and adds a touch of beauty to your pergola. Make sure to choose plants that are suitable for your climate and provide proper support for them to climb.
Adding shade elements or coverings not only offers protection from the sun but also adds an element of privacy to your outdoor space. It allows you to create a cozy and intimate atmosphere for lounging or entertaining.
Remember to consider the maintenance and longevity of the chosen shade elements or coverings. Some options may require regular cleaning, treatment, or replacement over time. Choose materials and plants that are durable and suited to your climate.
With the shade elements or coverings in place, your pergola roof is now complete, providing you with a comfortable and stylish outdoor space. In the final step, we will discuss some finishing touches and maintenance tips to ensure the longevity and enjoyment of your pergola roof.
Step 7: Finishing Touches and Maintenance
With your pergola roof now complete, it’s time to put the finishing touches and ensure proper maintenance for its longevity and optimal performance. Here are some final steps to consider:
First, inspect the entire structure for any loose screws or nails. Tighten them as needed to ensure everything is securely fastened. Check for any signs of wear or damage and address them promptly to prevent further issues.
If you opted for a wooden pergola roof, consider applying a protective sealant or stain to enhance its durability and resistance to weather elements. This will help prevent the wood from rotting or fading over time. Consult with a professional at your local hardware store for the best products to use.
Clean your pergola roof regularly to remove dirt, debris, and stains. Use a soft brush or sponge with mild soap and water to gently scrub the surface. Avoid using harsh chemicals or abrasive materials that could damage the finish or the materials of your pergola.
Inspect the shade elements or coverings regularly for any tears, fading, or signs of wear. Replace or repair them as needed to maintain their functionality and aesthetic appeal. Keep in mind that different types of coverings may require specific maintenance routines, so consult the manufacturer’s instructions for proper care.
Trim and prune any plants or vines that are growing on or around your pergola roof to maintain their health and prevent them from causing damage. Regularly monitor their growth and adjust any supports or structures as necessary.
Consider adding LED lights, string lights, or lanterns to enhance the ambiance of your pergola roof during the evening hours. Installing outdoor lighting can create a cozy and inviting atmosphere for gatherings or relaxation.
Finally, enjoy your newly built pergola roof! Whether you’re using it to host outdoor parties, enjoy meals with family and friends, or simply create a peaceful retreat, your pergola roof is a valuable addition to your outdoor space.
Remember that regular maintenance is key to preserving the beauty and functionality of your pergola roof. By taking the time to perform routine inspections and follow proper care guidelines, you can prolong its lifespan and continue to enjoy its benefits for years to come.
Congratulations on successfully building your pergola roof! It’s time to sit back, relax, and enjoy the shade and beauty it provides.
Conclusion
Building a pergola roof can greatly enhance the functionality and aesthetics of your outdoor space. With the step-by-step guide provided in this article, you now have the knowledge and understanding to embark on your own pergola roof construction project.
From gathering the necessary materials and tools to measuring and marking the area, installing the support posts, attaching the beams and crossbeams, installing the roof rafters, adding shade elements or coverings, and performing finishing touches and maintenance, each step is crucial in creating a sturdy and visually appealing pergola roof.
Remember to approach the construction process with creativity and a sense of style. By incorporating your own personal touches and considering different shade options, you can make your pergola roof unique and reflective of your personality and preferences.
Throughout the process, it’s important to pay attention to detail, ensuring proper measurements, alignment, and secure attachment of each component. Taking the time to execute each step carefully will result in a well-built pergola roof that will withstand the test of time and provide you with years of enjoyment.
Lastly, don’t forget to regularly maintain your pergola roof. Cleaning, inspecting, and making any necessary repairs or replacements will help preserve its beauty and functionality, ensuring that it remains a stunning addition to your outdoor living space for years to come.
Now that you have the knowledge and guidance to build your own pergola roof, it’s time to put them into action. Start planning, gather your materials, and get ready to transform your outdoor space into a beautiful and inviting oasis.
Ready to tackle more exciting projects? Our guide on how to build a DIY pergola covers everything you need to enhance your outdoor area with a functional and stylish structure. Fancy sprucing up your deck instead? Check out our ideas for colorful decor and simple add-ons for outdoor living, perfect for those who love to entertain or unwind outdoors. These reads are jam-packed with creative advice and straightforward steps to transform your space.
Frequently Asked Questions about How To Build A Pergola Roof
Was this page helpful?
At Storables.com, we guarantee accurate and reliable information. Our content, validated by Expert Board Contributors, is crafted following stringent Editorial Policies. We're committed to providing you with well-researched, expert-backed insights for all your informational needs.


0 thoughts on “How To Build A Pergola Roof”