Articles
How To Enclose Porch For Winter
Modified: January 24, 2024
Discover effective ways to enclose your porch for the winter season with our comprehensive articles. Stay warm and cozy all winter long!
(Many of the links in this article redirect to a specific reviewed product. Your purchase of these products through affiliate links helps to generate commission for Storables.com, at no extra cost. Learn more)
Introduction
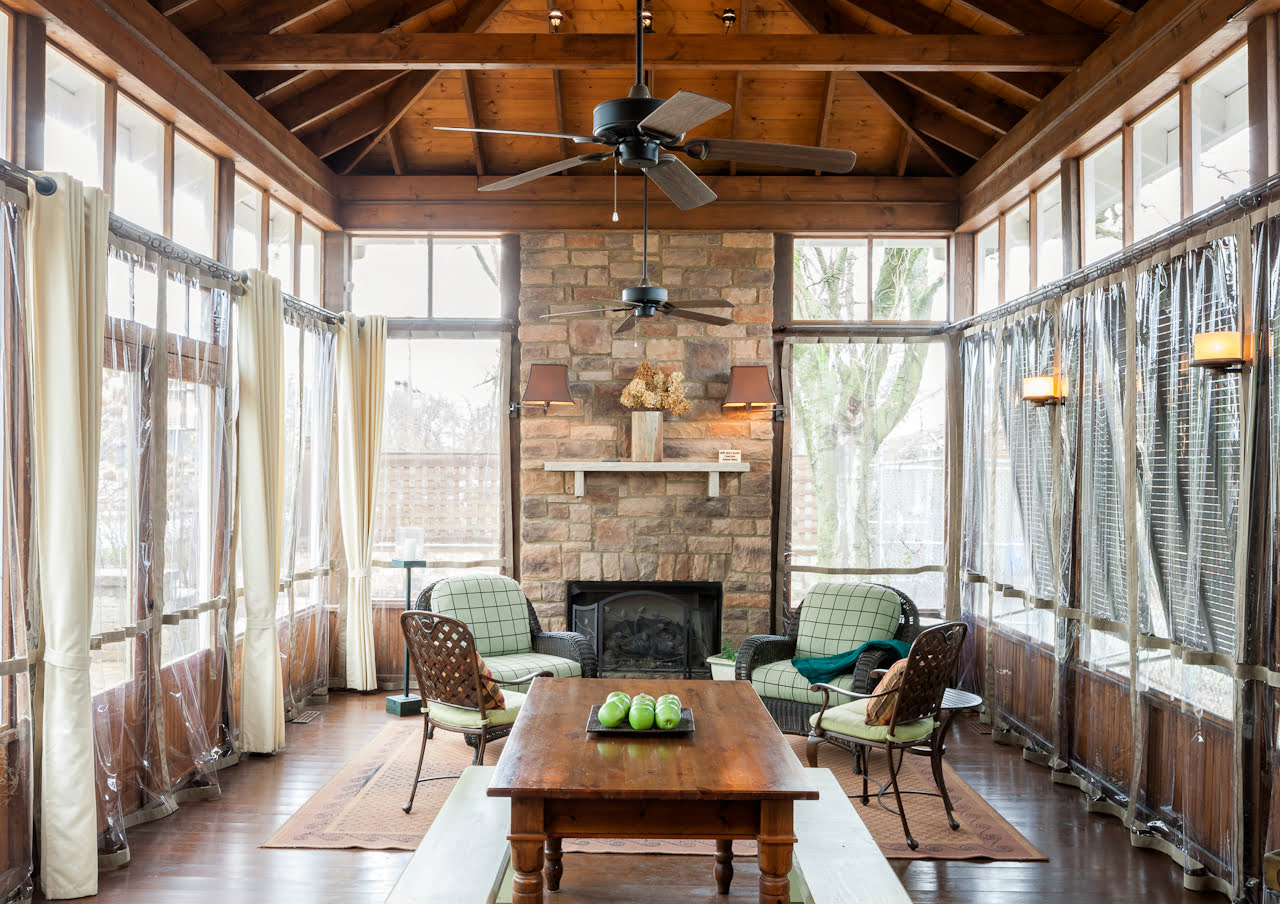
As the temperature drops and winter approaches, it can be a challenge to enjoy your porch during the colder months. However, with the right preparations, you can transform your porch into a cozy and comfortable space that can be enjoyed all year round. Enclosing your porch for the winter not only helps to keep out the chilly drafts but also allows you to create an additional room in your home to relax or entertain guests.
In this article, we will guide you through the steps on how to enclose your porch for winter. From assessing the porch to adding the final decorative touches, we will cover everything you need to know to ensure a successful transformation.
Before we begin, it’s important to note that the specific methods and materials used may vary depending on the design and structure of your porch. It is always recommended to consult with a professional or contractor to ensure proper implementation and adherence to building codes.
Key Takeaways:
- Transform your porch into a cozy winter retreat by assessing, cleaning, weatherproofing, insulating, and adding heaters. Personalize the space with decor for a truly enchanting winter escape.
- Enclosing your porch for winter involves assessing, cleaning, weatherproofing, insulating, adding a winter door, and personalizing with decor. Create a warm and inviting space to enjoy the beauty of the winter season.
Read more: What Is An Enclosed Porch
Step 1: Assessing the Porch
The first step in enclosing your porch for the winter is to assess its current condition. This will help you determine the necessary steps and materials needed to create a comfortable and weatherproof space.
Start by examining the structure of your porch. Check for any damage, such as cracks, rot, or weakened supports. Address any structural issues before proceeding with the enclosure process. It’s also important to ensure that your porch has a solid foundation and is in good overall condition.
Next, consider the layout and size of your porch. Measure the dimensions of the space and determine how you plan to utilize it during the winter months. This will help you determine the amount of insulation and materials needed.
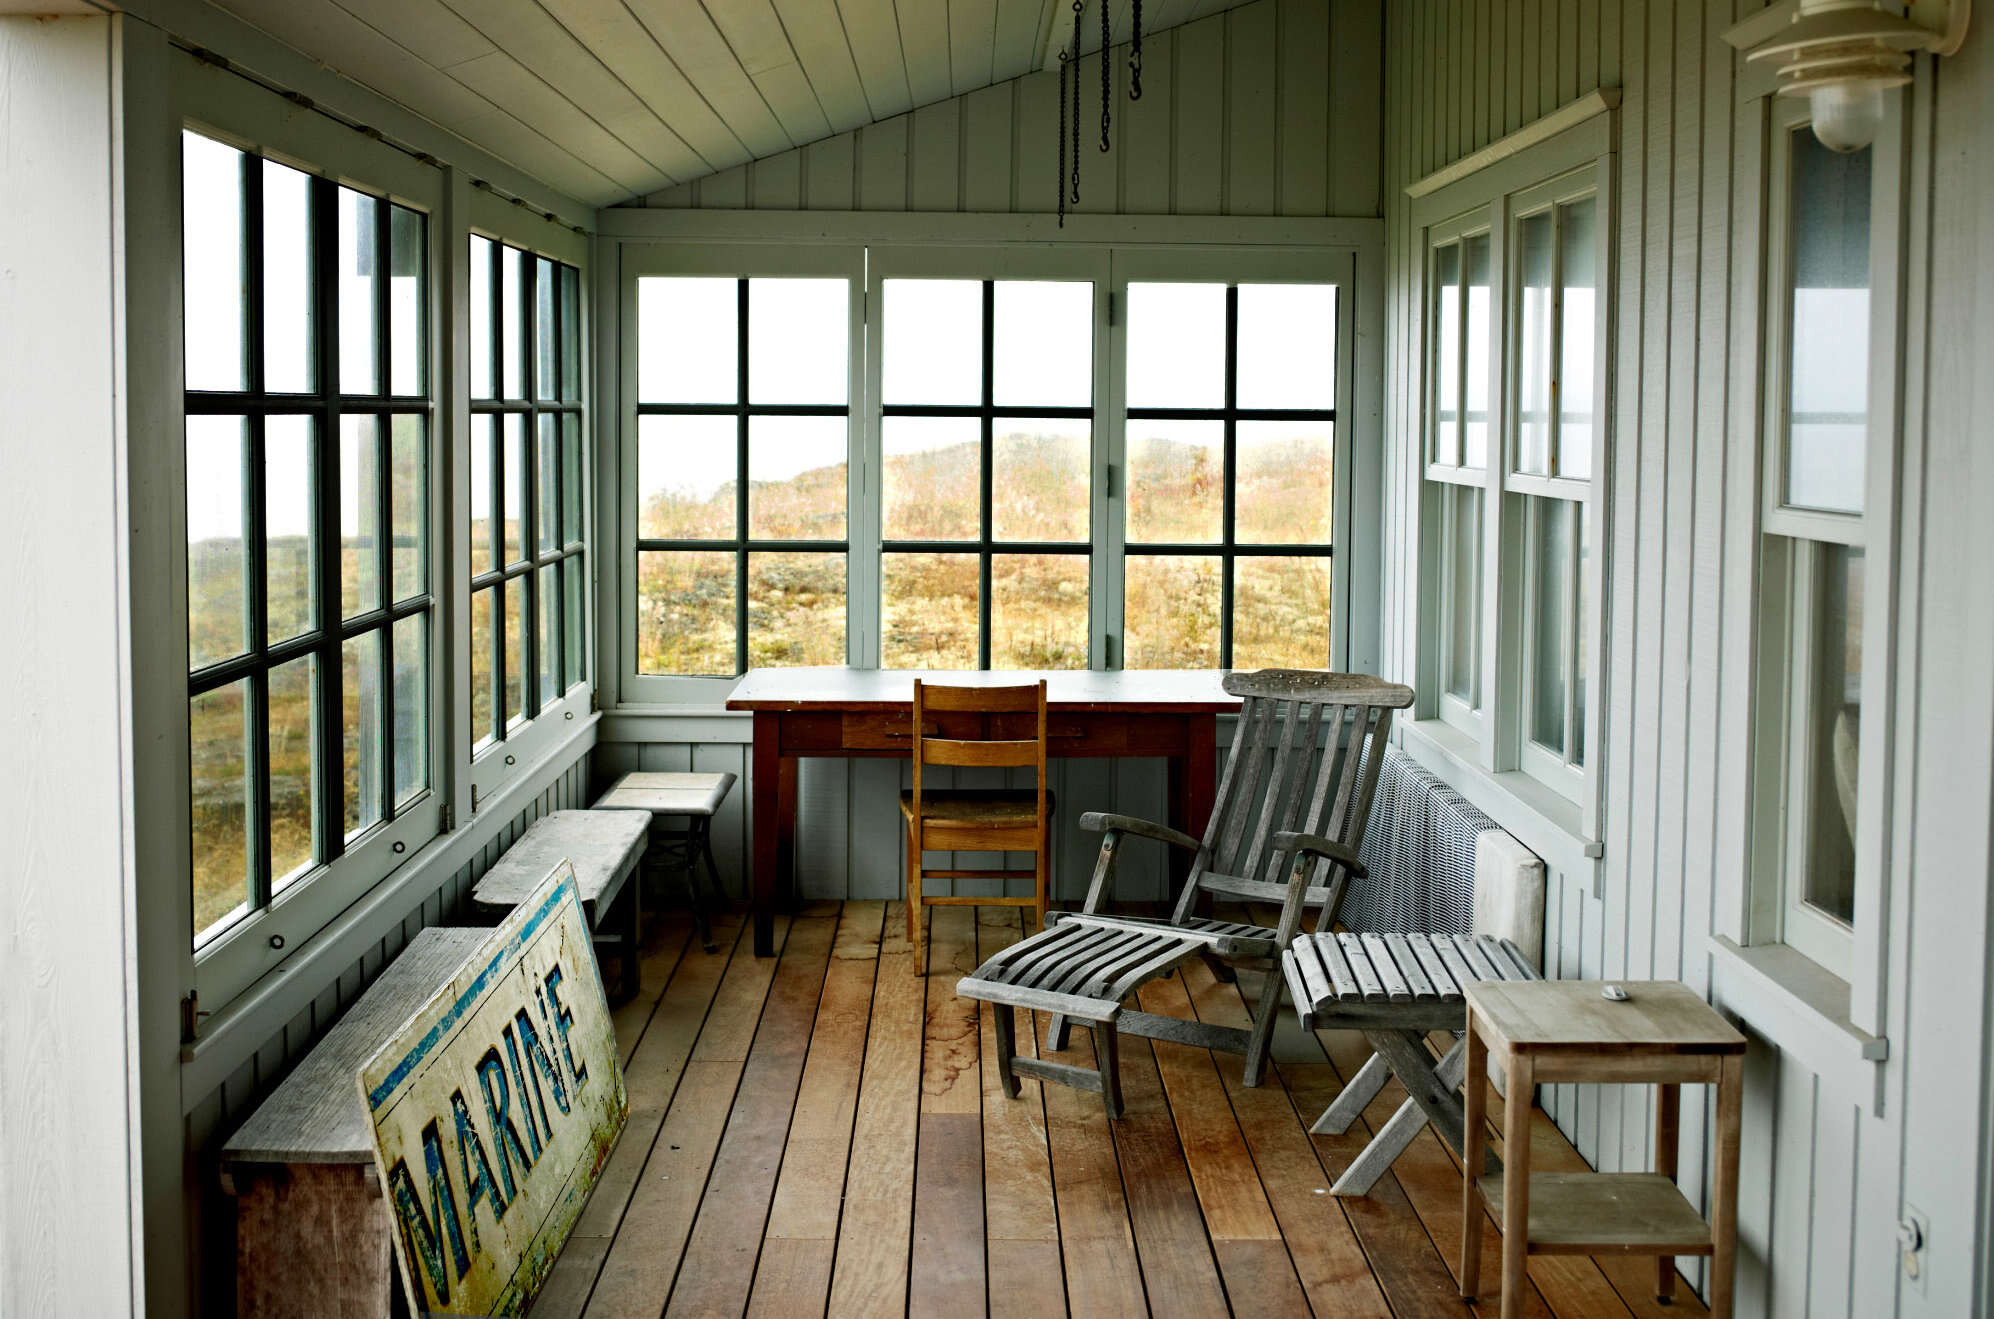
Additionally, consider the existing windows and doors on your porch. Assess their condition and evaluate whether they are suitable for winter use. If they are old or drafty, it may be necessary to replace or reinforce them for better insulation.
Take note of any electrical outlets or fixtures on your porch. Consider whether you will need to add additional lighting or heating elements and plan accordingly. If you’re unsure about electrical work, it’s best to consult with a professional to ensure proper installation and safety.
Lastly, think about the aesthetics of your porch. Consider the overall style and design of your home and how you want the enclosed porch to flow with the rest of the space. This will help you make decisions regarding materials, colors, and decor.
By thoroughly assessing your porch, you will have a clear understanding of its current condition and be able to plan effectively for the enclosure process. This will save you time and ensure that your enclosed porch is both functional and visually appealing.
Step 2: Cleaning and Preparation
Before you begin the process of enclosing your porch for winter, it is essential to clean and prepare the space. This step ensures that your porch is ready for the installation of materials and helps to create a clean and well-maintained environment.
Start by removing any furniture, decorations, or items from your porch. Clearing out the space will allow for easier access and maneuverability during the enclosure process. Store these items in a safe and dry location until the project is complete.
Next, thoroughly clean your porch. Sweep away any debris, dirt, or leaves that may have accumulated. Use a mild detergent and water solution to wash the floors, windows, and walls. Pay special attention to any stubborn stains or areas that require extra cleaning.
If your porch has screens, consider removing them at this stage. Screens are not designed to withstand winter conditions and may be easily damaged. Removing them will also create space for the installation of insulation or weatherproofing materials.
Inspect the surfaces of your porch for any signs of damage or decay. Repair or replace any damaged boards or panels, ensuring a solid and sturdy foundation for the enclosure. Also, check for any gaps or cracks where cold air or moisture may seep through. Fill these gaps with caulk or weatherstripping.
Once your porch is clean and in good condition, consider applying a fresh coat of paint or stain to enhance the aesthetics. Choose a waterproof and weather-resistant product that will protect the surfaces and provide a finished look.
Preparing your porch for enclosure is an important step in the process. It sets the foundation for a successful project and ensures that your enclosed porch is clean, secure, and ready to be transformed into a cozy winter retreat.
Step 3: Weatherproofing the Porch Windows
Windows are one of the main areas where heat can escape and cold drafts can enter. Therefore, properly weatherproofing your porch windows is crucial for creating a comfortable and energy-efficient space during the winter months.
Start by inspecting the condition of your windows. Check for any cracks, gaps, or damaged seals that may allow cold air to seep through. Replace or repair any damaged or deteriorated windows as necessary.
Next, consider adding window insulation film or window insulation kits. Window insulation film is a transparent plastic film that can be applied to the interior of your windows. It creates a barrier that reduces heat loss while still allowing natural light to enter. Window insulation kits typically include a shrink film that is attached to the window frame and heated with a hairdryer to create a tight seal.
If your porch has older or single-pane windows, consider upgrading to double-pane or energy-efficient windows. These windows provide better insulation and can significantly reduce heat loss. Consult with a professional window contractor to determine the best options for your porch.
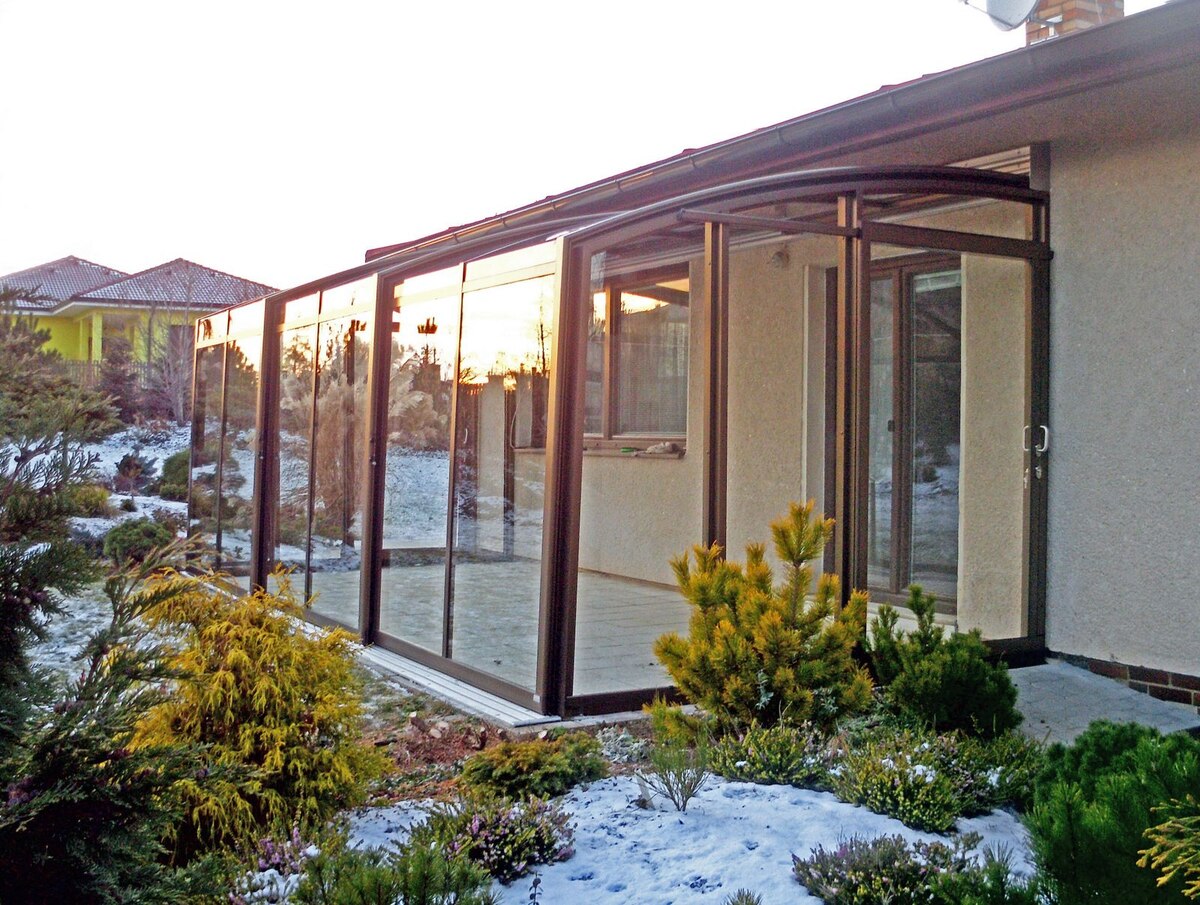
Another option for weatherproofing your porch windows is to install storm windows. Storm windows are installed on the exterior of existing windows and provide an additional layer of protection against the elements. They help to insulate the porch and reduce drafts, while still allowing you to enjoy the view.
Lastly, apply weatherstripping around the edges of your windows. Weatherstripping is a flexible material that helps to create a tight seal when the windows are closed. It prevents drafts and minimizes heat loss. There are various types of weatherstripping available, such as adhesive-backed foam tape or V-strip, so choose the one that best suits your needs.
By properly weatherproofing your porch windows, you can significantly reduce heat loss and drafts, creating a more comfortable and energy-efficient space for winter. This step plays a vital role in ensuring the success of your enclosed porch project.
Step 4: Insulating the Porch Ceiling and Walls
Insulating the porch ceiling and walls is a crucial step in creating a warm and cozy enclosed space for the winter. Proper insulation helps to maintain the desired temperature, prevents heat loss, and reduces energy costs.
Start by determining the type of insulation that is best suited for your porch. Common options include fiberglass batts, foam board insulation, or spray foam insulation. Consider factors such as R-value, ease of installation, and moisture resistance when choosing the right insulation material.
If your porch has an existing ceiling, consider installing insulation above it. Cut insulation batts or panels to fit between the ceiling joists, ensuring a snug fit. Secure the insulation in place using staples or adhesive. Make sure to wear protective clothing, gloves, and a mask when handling insulation materials.
For porch walls, remove any existing siding or paneling to access the wall cavities. Install insulation batts or panels, ensuring they are properly fitted between the studs. Secure the insulation in place using nails or staples. Replace the siding or paneling once the insulation is installed.
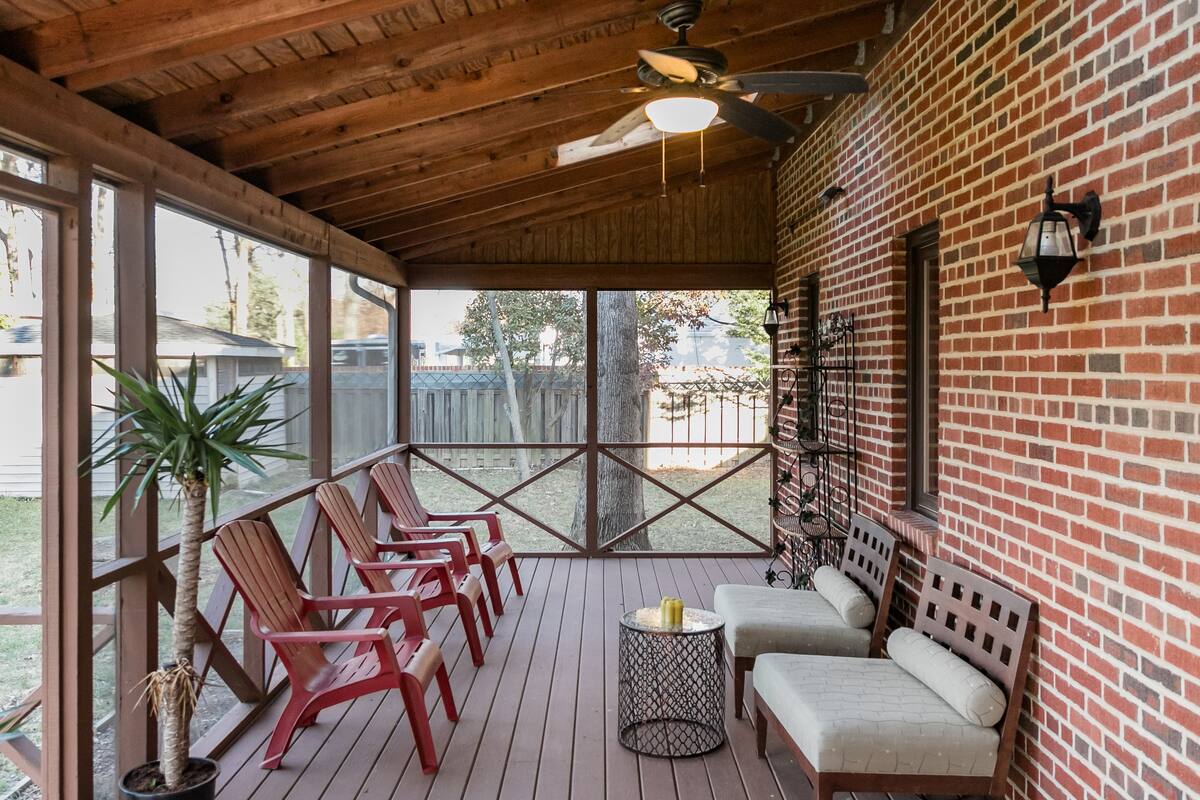
If your porch has exposed brick or stone walls, consider applying an insulation material directly to the surface. There are insulation boards available that can be adhered to the walls using special adhesive. This method allows for insulation without compromising the existing aesthetic of the porch.
Alternatively, you can consider using spray foam insulation for the ceiling and walls. Spray foam insulation expands to fill gaps and crevices, providing a seamless and airtight insulation barrier. However, professional installation may be required for this method.
Remember to insulate any exposed pipes or ducts on your porch as well. Insulating these elements will help prevent freezing and ensure that your heating system operates efficiently.
Properly insulating the porch ceiling and walls will significantly improve the thermal performance of your porch. It will create a warmer and more comfortable space, allowing you to enjoy your enclosed porch even on the coldest winter days.
Consider using clear vinyl panels to enclose your porch for winter. They provide a barrier against the cold while still allowing natural light to enter. Make sure to secure them tightly to prevent drafts.
Read more: How Much Is It To Enclose A Porch
Step 5: Installing a Winter Door
Installing a winter door is an important step in enclosing your porch for the colder months. A properly sealed and insulated door will help keep out drafts and maintain a comfortable temperature inside your enclosed space.
Start by measuring the dimensions of the doorway to ensure you choose a door that fits correctly. Consider the material, style, and durability of the door based on your needs and preferences.
If your porch already has an existing door, inspect it for any damage or wear. Replace any cracked or broken glass, and repair or replace any damaged hardware such as hinges or handles.
If your porch doesn’t have a door, you will need to frame the doorway and install a new door. Measure and mark the location of the door frame on the porch wall. Use a saw or other appropriate tools to create the opening, ensuring it is level and square.
Once the doorway is prepared, install the door frame and secure it in place using screws. Check that the frame is properly aligned and adjusted to ensure a proper fit for the door.
Install the door into the frame, making sure it opens and closes smoothly. Secure the hinges and latch according to the manufacturer’s instructions. Apply weatherstripping along the door edges and threshold to create a tight seal and prevent drafts.
If you want additional insulation and protection, consider applying a door insulation kit or adding storm doors. Door insulation kits include adhesive-backed foam tape or other insulation materials that can be applied to the interior side of the door.
Lastly, check the door for any gaps or air leaks. Seal these areas with weatherstripping or caulk to ensure maximum insulation and weatherproofing.
Installing a winter door is essential for maintaining a comfortable and well-insulated enclosed porch. It provides an effective barrier against cold drafts and contributes to the overall thermal performance of your space.
Step 6: Adding Heaters or Insulated Flooring
To create a truly cozy and warm space in your enclosed porch during the winter, it’s important to consider heating options and insulation for the flooring. These elements will help to maintain a comfortable temperature and prevent cold drafts from the ground up.
One option for heating your enclosed porch is to install electric or gas heaters. Electric heaters come in various sizes and styles, including wall-mounted units or portable options. Gas heaters, such as propane or natural gas heaters, can also provide efficient and effective heating. Consult with a heating professional to determine the best heating option for your porch based on its size, insulation, and energy requirements.
Another approach is to consider insulated flooring. Porches often have exposed or uninsulated floors, which can feel cold and uncomfortable during the winter. Insulating the flooring will not only provide a warmer and more pleasant surface to walk on but also help to retain heat within the enclosed space.
One way to insulate the flooring is by installing underlayment or thermal barrier mats. These mats provide a layer of insulation between the floor and the subfloor, preventing heat loss and creating a more comfortable environment. Underlayment can be particularly useful if you plan to install carpet or laminate flooring on your porch.
If you prefer a more permanent solution, consider insulating the floor from below. This involves adding insulation between the floor joists or installing insulation boards on the underside of the porch. Consult with a professional to determine the appropriate insulation material and method for your specific porch structure.
Remember to take into account any electrical requirements or safety guidelines when installing heaters or undertaking flooring insulation. Follow the manufacturer’s instructions and consider consulting with a professional electrician or contractor if needed.
By adding heaters and insulating the flooring, you can create a warm and inviting space in your enclosed porch during the winter. These elements work together to ensure a comfortable temperature and enhance your overall enjoyment of the space.
Step 7: Decorating and Final Touches
Now that you have enclosed your porch for the winter and made it comfortable and functional, it’s time to add the finishing touches that will make it truly inviting and personalized. Decorating your enclosed porch allows you to create a cozy and stylish space that reflects your unique taste and maximizes your enjoyment.
Consider the overall theme or style you want to achieve in your enclosed porch. This could be a rustic cabin retreat, a coastal oasis, a modern lounge, or any other aesthetic that resonates with you. Choose furniture, accessories, and colors that align with your chosen theme to create a cohesive and visually appealing space.
Select furniture that is comfortable and suitable for both lounging and entertaining. Opt for pieces with upholstery or cushions that provide warmth and coziness. Add soft throws and pillows in winter-inspired colors to create a cozy atmosphere. Arrange the furniture to create conversation areas or relaxation spots, ensuring that the layout maximizes the use of space and allows for easy movement.
Consider adding lighting fixtures that provide a warm and inviting glow. Combining different types of lighting, such as overhead lights, table lamps, or string lights, can create a pleasant ambiance in the evening. Make sure that the lighting is functional and adjustable to accommodate different activities and moods.
Don’t forget to incorporate decorative elements that enhance the winter theme. Hang seasonal wreaths, garlands, or wall art to bring a festive touch to the space. Include plants or potted greenery to add life and freshness, even during the colder months.
Lastly, add personal touches that reflect your own style and interests. Display photos, artwork, or mementos that hold sentimental value. Incorporate elements that showcase your hobbies or favorite pastimes, such as books, musical instruments, or collections.
Remember, the key is to create a space that feels welcoming and reflects your personality. Consider the functional needs of the space while allowing your creativity to shine through in the design and decor choices.
By decorating and adding final touches, you can transform your enclosed porch into a cozy and inviting retreat where you can relax, entertain, or simply enjoy the beauty of winter indoors.
Conclusion
Enclosing your porch for the winter is a rewarding project that allows you to create a comfortable and functional space all year round. By following the steps outlined in this article, you can transform your porch into a cozy sanctuary where you can escape the cold and enjoy the beauty of the winter months.
Assessing the condition of your porch and preparing it for enclosure sets the foundation for a successful project. Weatherproofing the windows and insulating the ceiling and walls helps to keep out cold drafts and maintain a comfortable temperature inside. Installing a winter door further enhances insulation and seals off the space from exterior elements.
Adding heaters or insulating the flooring ensures that your enclosed porch stays warm and comfortable even on the coldest days. By providing the right amount of heat and insulating the floor, you create a cozy environment that allows you to fully enjoy your enclosed space.
Finally, through decorating and adding final touches, you can personalize your enclosed porch to reflect your style and create a visually appealing space. From furniture arrangement to lighting and decor choices, these finishing touches transform your porch into a cozy and inviting retreat that you’ll love spending time in.
Remember to always consult with professionals or contractors when necessary to ensure proper implementation and adherence to building codes. Additionally, consider any electrical requirements or safety guidelines when installing heaters or undertaking any electrical work.
With the right planning, preparation, and execution, you can create a truly enchanting winter escape within your enclosed porch. Sit back, relax, and enjoy the warmth and comfort of your transformed space as you embrace the beauty of the winter season.
Frequently Asked Questions about How To Enclose Porch For Winter
Was this page helpful?
At Storables.com, we guarantee accurate and reliable information. Our content, validated by Expert Board Contributors, is crafted following stringent Editorial Policies. We're committed to providing you with well-researched, expert-backed insights for all your informational needs.


0 thoughts on “How To Enclose Porch For Winter”