Articles
How To Install Composite Siding
Modified: October 27, 2024
Looking for articles on how to install composite siding? Check out our comprehensive guide for step-by-step instructions and expert tips. Start your siding project with confidence!
(Many of the links in this article redirect to a specific reviewed product. Your purchase of these products through affiliate links helps to generate commission for Storables.com, at no extra cost. Learn more)
Introduction
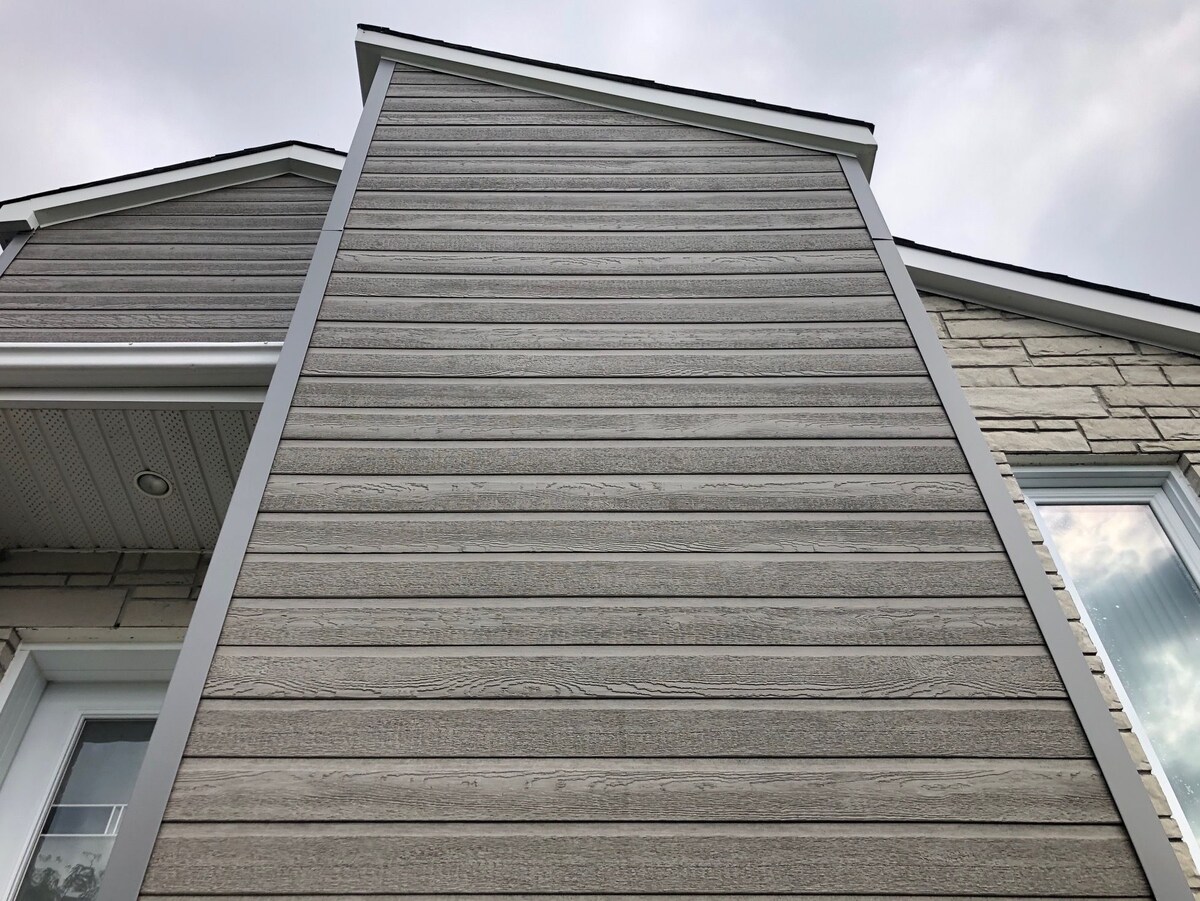
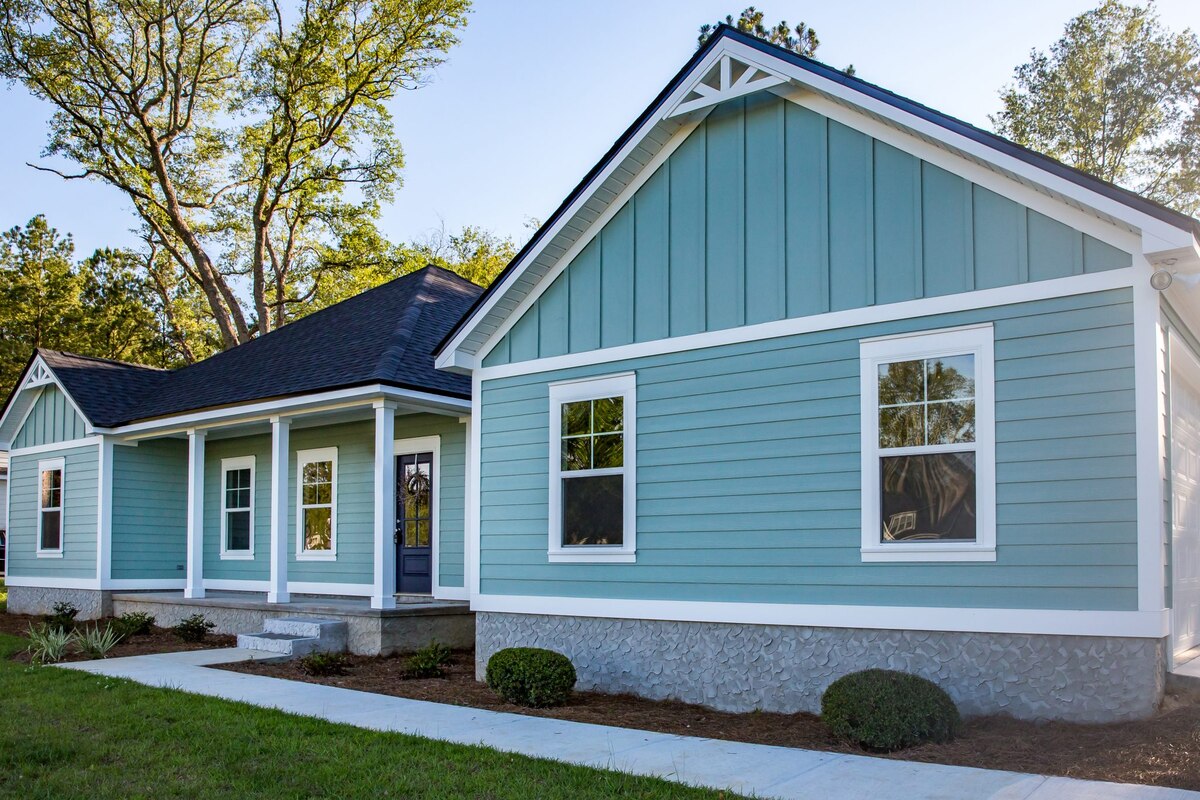
Welcome to this comprehensive guide on how to install composite siding. Whether you’re looking to give your home a fresh new look, increase its curb appeal, or improve its durability and weather resistance, installing composite siding is a great investment. Composite siding is made from a combination of wood fibers and resin, creating a strong and low-maintenance material that mimics the appearance of real wood.
While hiring professionals for the installation is an option, taking on the project yourself can be a satisfying and cost-effective endeavor. This guide will walk you through the step-by-step process of installing composite siding, providing you with all the necessary information and tips to ensure a successful installation.
Before you begin, it’s important to gather the right tools and materials for the job. Some of the essential items you’ll need include a measuring tape, circular saw with a fine-tooth blade, level, drill, hammer, nails or screws, and a pry bar for removing old siding if necessary. Additionally, make sure to prioritize your safety by wearing protective gear such as gloves, safety glasses, and a dust mask.
In the following sections, we’ll cover each step of the installation process in detail. From preparing the area to cutting and installing the composite siding, you’ll gain a thorough understanding of the entire process. We’ll also provide tips and techniques to help you tackle common challenges, such as working around windows, doors, and other obstacles.
Finally, we’ll explore the importance of proper cleaning and maintenance to ensure the longevity and attractiveness of your new composite siding. By following the tips and best practices outlined in this guide, you’ll be able to achieve professional-quality results and enjoy the many benefits of composite siding for years to come.
Key Takeaways:
- DIY installation of composite siding requires proper preparation, precise measurements, and attention to detail. Following manufacturer guidelines and safety precautions is crucial for a successful and satisfying project.
- Regular cleaning and maintenance are essential for preserving the appearance and longevity of composite siding. Gentle cleaning, prompt stain removal, and regular inspections will keep your siding looking new for years to come.
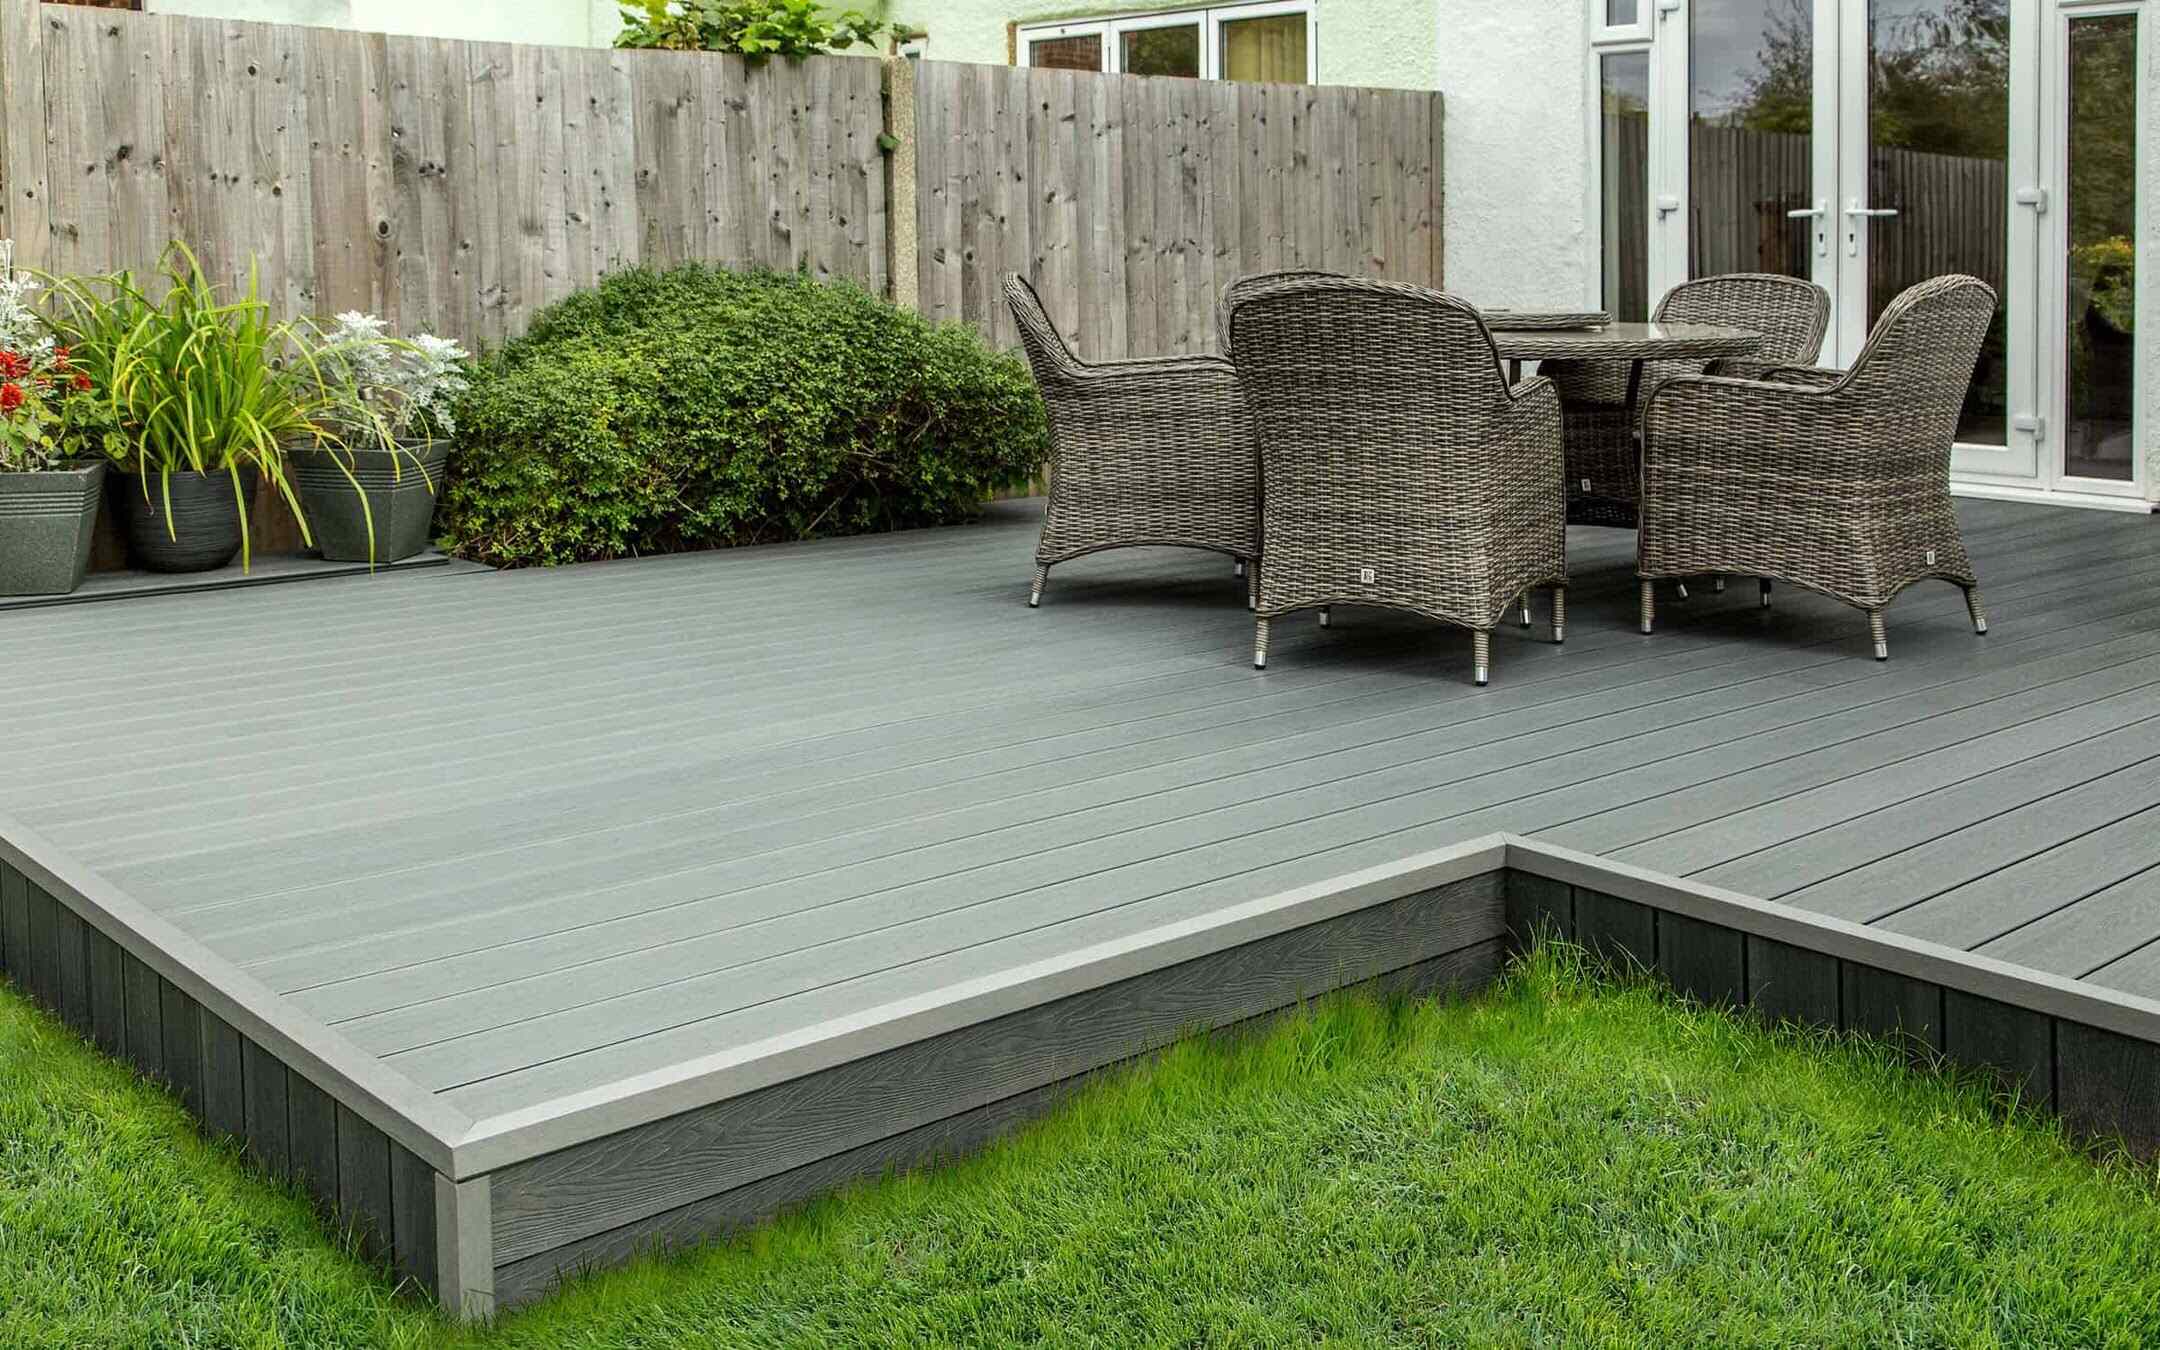
Read more: How To Install Composite Decking
Step 1: Preparation
Before you begin the installation process, it’s crucial to prepare yourself with the right tools and materials. Here’s a list of what you’ll need to have on hand:
- Measuring tape: For accurate measurements of the siding and trim pieces.
- Circular saw with a fine-tooth blade: To cut the composite siding to the desired size.
- Level: To ensure that the siding is installed straight and level.
- Drill: For creating pilot holes and fastening the siding in place.
- Hammer: To secure any trim pieces or accessories.
- Nails or screws: Depending on your preference, you’ll need appropriate fasteners to attach the siding.
- Pry bar: In case you need to remove any old siding before installation.
- Gloves: To protect your hands during the installation process.
- Safety glasses: To shield your eyes from debris and dust.
- Dust mask: To prevent inhaling any dust particles during cutting and sanding.
Once you have gathered all the necessary tools, it’s essential to consider some safety precautions before starting the installation process:
- Work area: Ensure that the area where you’ll be installing the siding is clear of any obstacles and debris.
- Protective gear: Wear gloves, safety glasses, and a dust mask to protect yourself from any potential hazards.
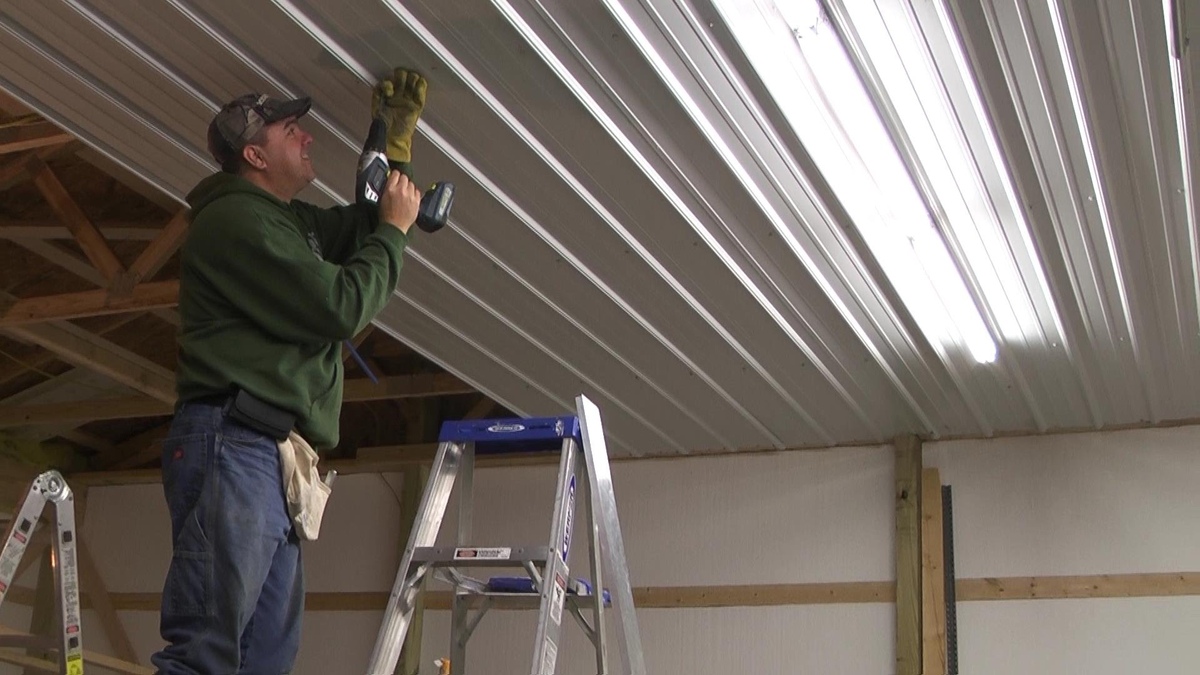
- Ladder safety: If you’ll be working at heights, make sure to use a sturdy ladder and follow proper ladder safety guidelines.
- Electrical safety: Be cautious of any overhead power lines or electrical outlets in the vicinity of your work area.
- Weather conditions: Avoid installing the siding during inclement weather conditions, such as heavy rain or extreme temperatures.
- Adhere to local building codes: Familiarize yourself with any specific regulations or permits required for siding installation in your area.
By taking these necessary precautions, you can ensure a safe and efficient installation process. Remember to prioritize your safety above all else.
Step 2: Remove old siding
Before installing composite siding, it’s important to evaluate the condition of your existing siding and determine if it needs to be removed. Here’s what you need to know:
Evaluating the condition of existing siding: Take a close look at your current siding to check for any signs of damage, rot, or mold. If the existing siding is severely deteriorated or if there are any underlying issues, it’s best to remove it completely before installing the new composite siding. Removing the old siding will allow you to address any underlying problems and ensure a clean and solid base for the new siding.
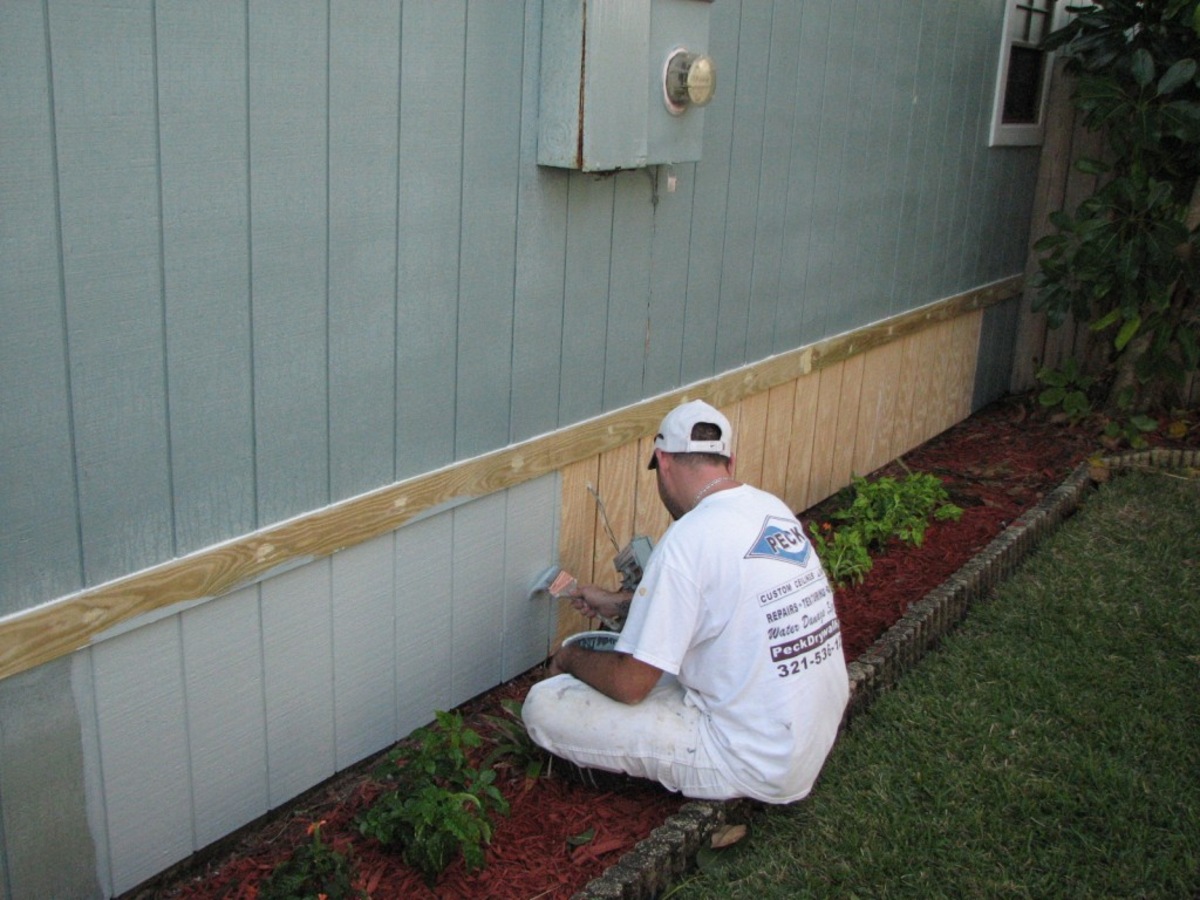
Proper removal techniques: To remove the old siding, start by using a pry bar to gently loosen and pry away each panel. Take care not to damage the sheathing beneath while removing the siding. Work in a methodical manner, moving from one end of the wall to the other and removing one panel at a time. Take care to remove any nails or fasteners left behind and clean up any debris as you go.
If you encounter any stubborn or hard-to-remove sections of siding, you may need to use a reciprocating saw with a fine-tooth blade to carefully cut through the material. Remember to exercise caution when working with power tools and wear appropriate safety gear.
Once you have removed all the old siding, take the time to inspect the sheathing for any damage or rot. Replace any damaged or deteriorated sheathing to ensure a solid and secure base for the new siding. This is also a good opportunity to check for any insect infestations or moisture issues that need to be addressed before installation.
By properly evaluating the condition of your existing siding and using the appropriate removal techniques, you’ll create a clean and sturdy foundation for the installation of the composite siding. This will help ensure a long-lasting and professional-looking result.
Step 3: Prepare the area
After removing the old siding, it’s time to prepare the area for the installation of the new composite siding. This step involves repairing any damaged sheathing and installing or checking the weather-resistant barrier. Here’s what you need to know:
Repairing and replacing any damaged sheathing: Inspect the sheathing for any signs of damage, rot, or deterioration. If you notice any issues, it’s crucial to address them before proceeding with the installation. Replace any damaged sheathing with new plywood or oriented strand board (OSB) to create a solid and stable surface for the siding. Ensure that the sheathing is properly secured and free of any deformities or weaknesses.
Installing or checking the weather-resistant barrier: The weather-resistant barrier is a crucial component of any exterior siding system. It helps to protect the sheathing and interior of the walls from moisture infiltration. If your home doesn’t already have a weather-resistant barrier installed, now is the time to add one. Use a high-quality building wrap or house wrap and follow the manufacturer’s instructions for proper installation.
If you already have a weather-resistant barrier in place, check it for any signs of damage, such as tears or punctures. Repair or replace any compromised sections to ensure the effectiveness of the barrier. Properly installing or maintaining the weather-resistant barrier will enhance the longevity and durability of the composite siding.
During this step, it’s also important to seal any gaps or cracks in the sheathing and around windows and doors. Use a high-quality sealant to prevent moisture penetration, drafts, and energy loss. Take your time to thoroughly inspect and prepare the area, as this will contribute to the overall performance and longevity of the composite siding.
By repairing any damaged sheathing and installing or checking the weather-resistant barrier, you’re ensuring a solid and well-protected foundation for the installation of the composite siding. These preparations will contribute to the durability and performance of the siding system, providing you with long-lasting and reliable protection for your home.
Step 4: Measure and cut the composite siding
Before you can start installing the composite siding, you’ll need to measure and cut the siding panels to the appropriate size. This step requires accuracy and careful consideration to ensure a proper fit. Here’s what you need to know:
Accurate measurement techniques: Start by measuring the height and width of the areas where the siding will be installed. Use a measuring tape and take multiple measurements to ensure accuracy. Take note of any openings, such as windows or doors, and measure their dimensions as well. It’s important to leave a small gap or allowance for expansion and contraction, as composite siding can expand and contract with changes in temperature.
Choosing the appropriate saw and blade: When it comes to cutting composite siding, a circular saw with a fine-tooth blade is typically the best choice. The fine teeth will help ensure clean and precise cuts. There are blades specifically designed for cutting composite materials available in the market. Choose a blade that is suitable for cutting composite siding to prevent any splintering or damage to the material.
Cutting the siding to size: Once you have measured the dimensions, mark the siding panel with a pencil or marker according to the measurements. Double-check all the measurements before making any cuts. Place the siding panel securely on a stable surface, ensuring that it won’t move during the cutting process. Using the circular saw, carefully follow the marked line and make the cut. Take your time to ensure a smooth and accurate cut without applying excessive force. Always prioritize safety by wearing protective gloves, safety glasses, and a dust mask.
It’s important to note that each manufacturer may have specific guidelines and recommendations for cutting their composite siding. Make sure to consult the manufacturer’s instructions and follow their recommendations for accurate measurement and cutting techniques.
By measuring accurately, choosing the appropriate saw and blade, and cutting the composite siding to the right size, you’ll ensure a seamless and professional-looking installation. Accurate cuts will contribute to the overall appearance and aesthetics of the siding, giving your home an attractive and polished finish.
When installing composite siding, make sure to properly prepare the surface by removing any existing siding, repairing any damaged areas, and applying a weather-resistant barrier to ensure a smooth and durable installation.
Read more: How To Install Composite Decking On Stairs
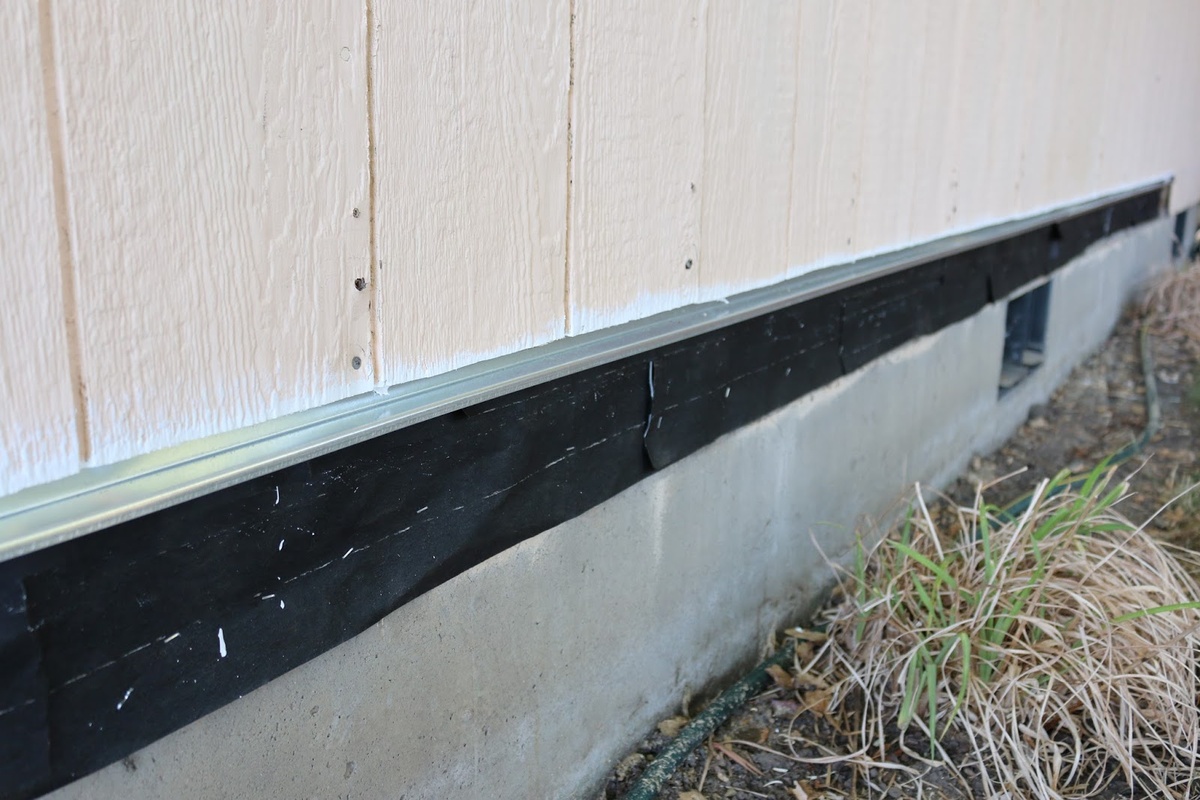
Step 5: Installing the starter strip and corner posts
Once you have measured and cut the composite siding panels, it’s time to start the installation process. One of the first steps is to install the starter strip and corner posts. These components provide stability and serve as a guide for the rest of the siding installation. Here’s what you need to know:
Proper placement and alignment of the starter strip: The starter strip is the bottom-most piece of siding that anchors the rest of the siding panels. It should be installed horizontally at the base of the wall, aligned with the bottom edge and secured firmly. Make sure to follow the manufacturer’s guidelines for the recommended distance from the ground and proper placement in relation to other building elements, such as foundation or trim. Use a level to ensure that the starter strip is straight and level before fastening it securely.
Installing corner posts for stability: Corner posts are essential for providing stability and a finished look to the outer corners of the wall. They also act as a guide for the placement of the siding panels. Start by positioning the corner posts vertically at the corners of the wall, making sure they are plumb and properly aligned. Secure them in place according to the manufacturer’s instructions, ensuring that they are firmly attached to the sheathing and framing.
When installing the starter strip and corner posts, it’s important to work carefully and precisely. Proper placement and alignment will ensure that the rest of the siding installation goes smoothly and that the finished result is visually appealing and structurally sound.
Take your time to measure and position each component accurately, double-checking the levelness and alignment. Secure the starter strip and corner posts firmly, using the recommended fasteners and techniques specified by the manufacturer. By investing time and attention to detail in this step, you’ll set a solid foundation for the rest of the composite siding installation.
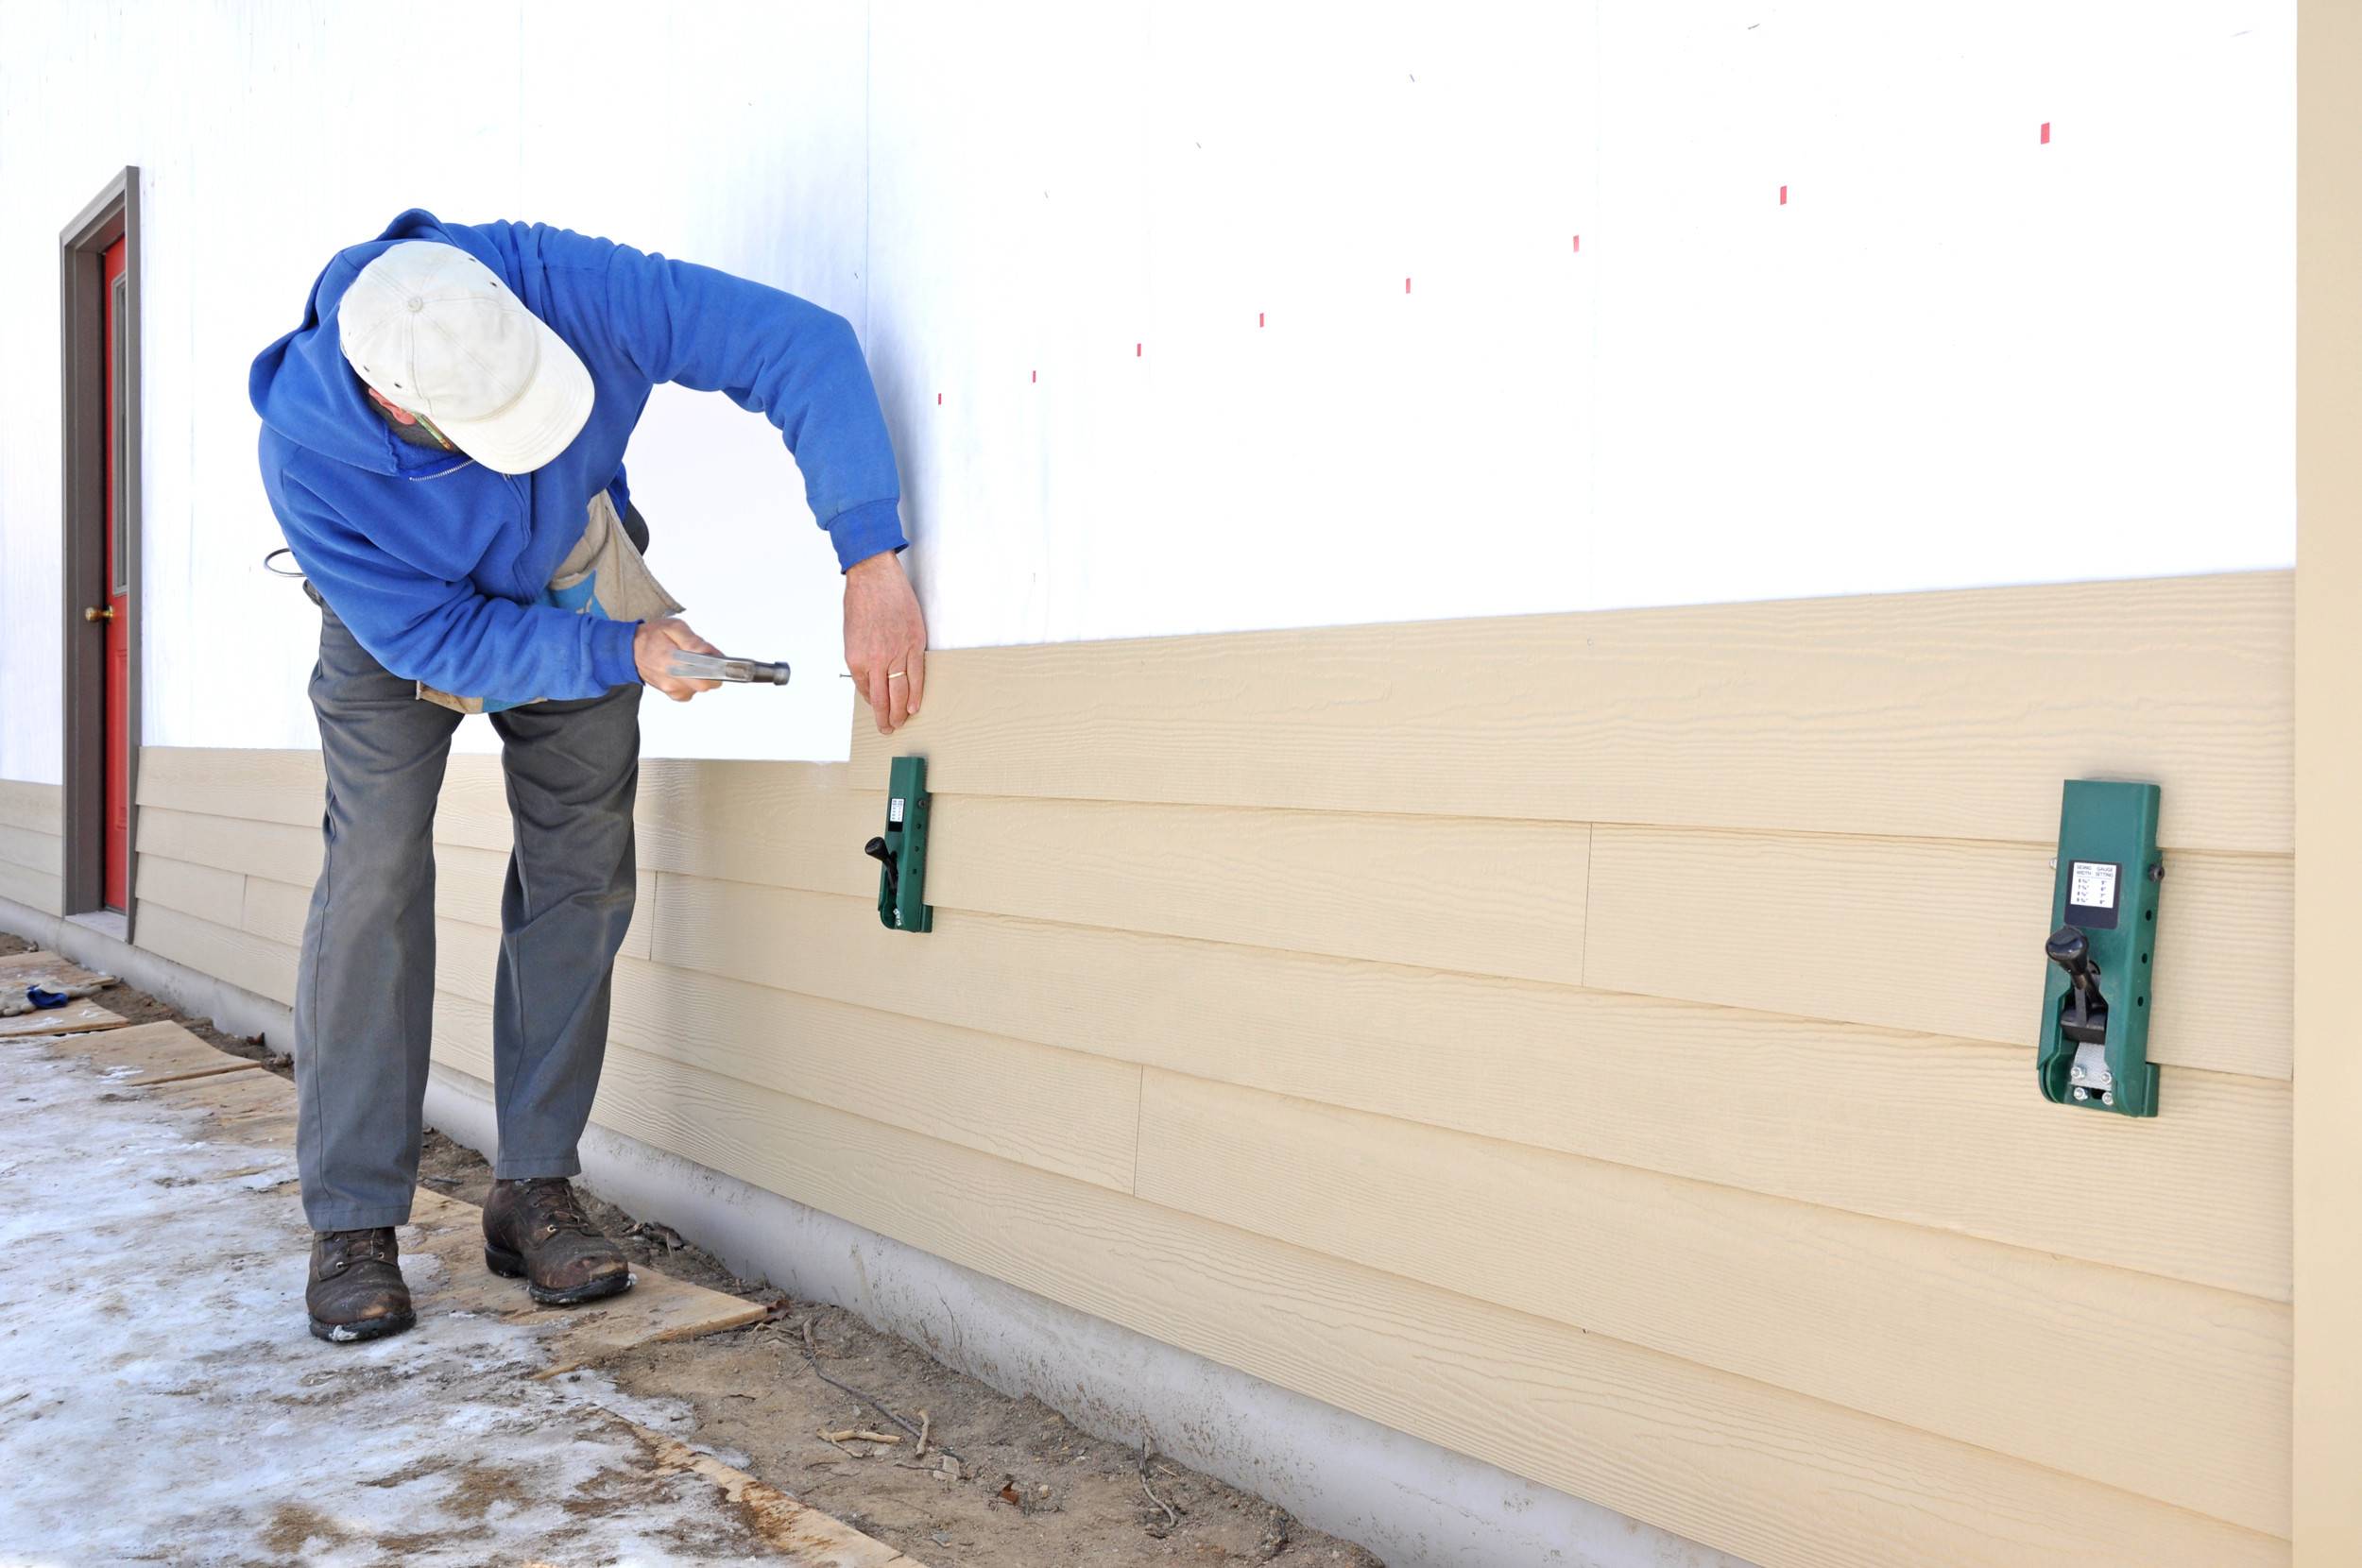
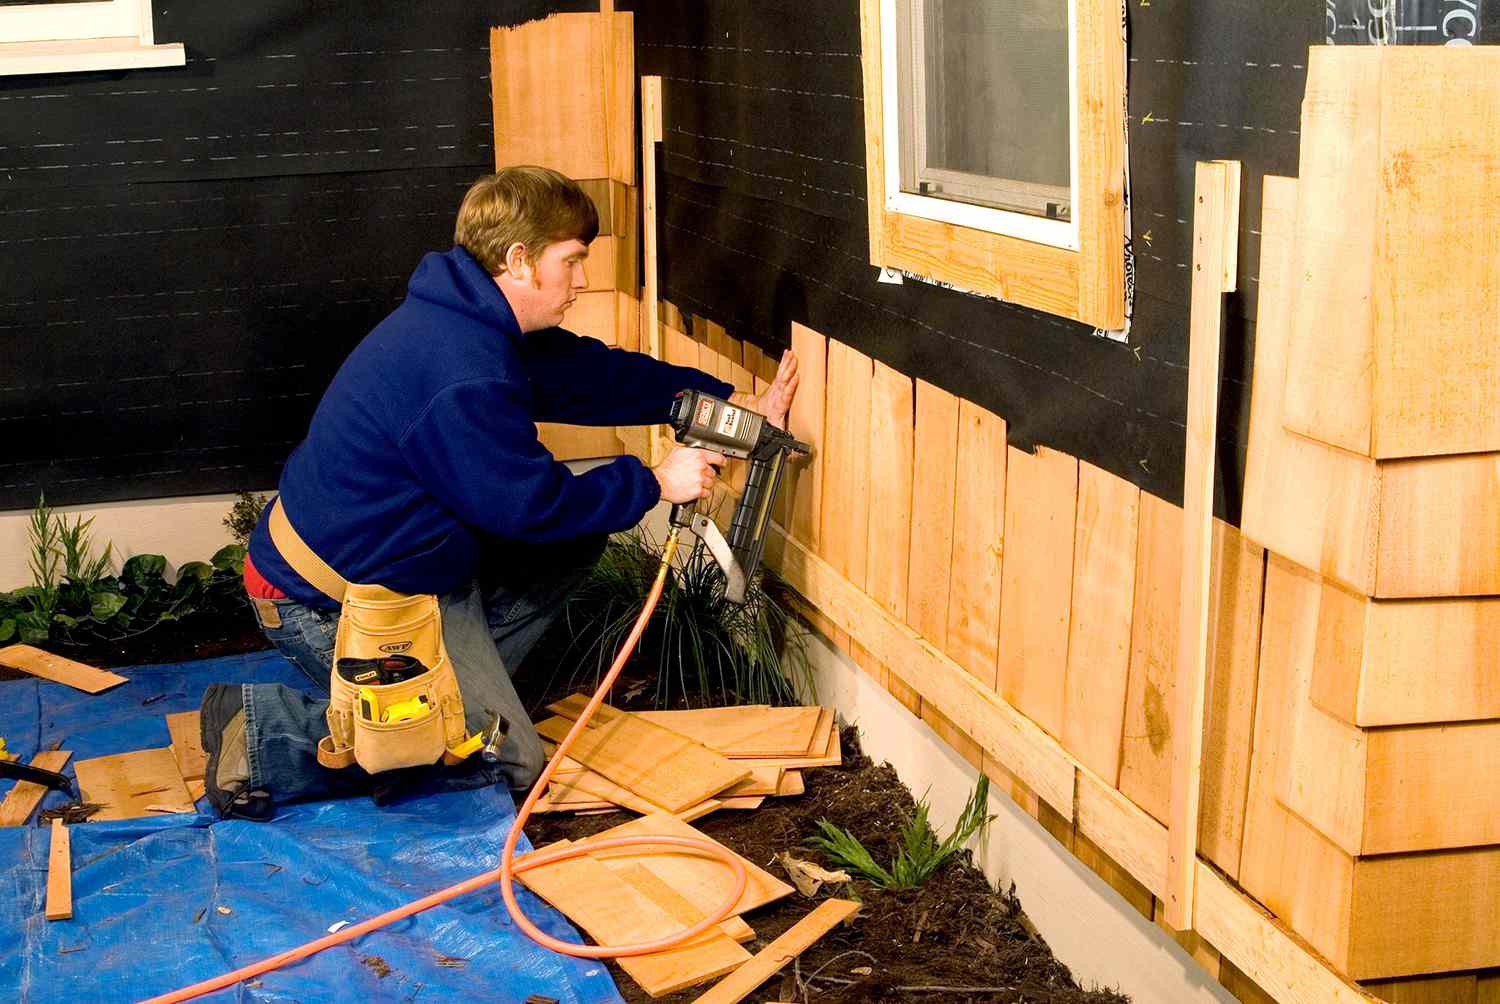
Step 6: Installing the siding panels
With the starter strip and corner posts in place, it’s time to install the composite siding panels. This step involves attaching the siding panels to the wall, ensuring proper spacing and alignment. Here’s what you need to know:
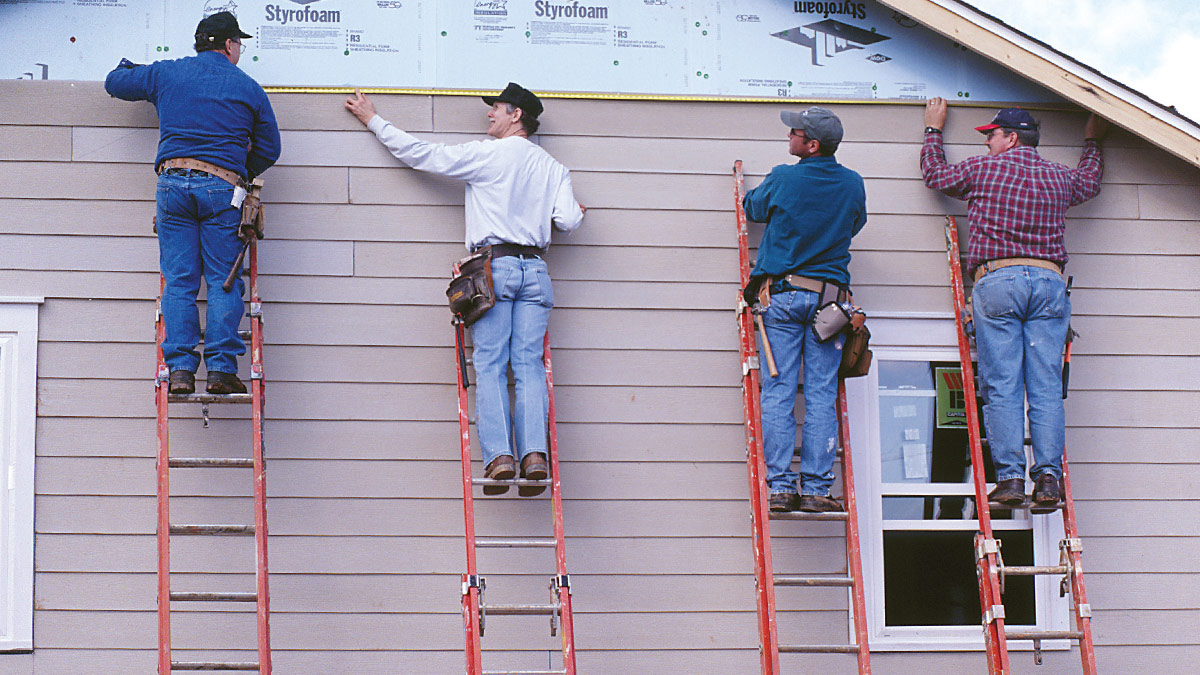
Horizontal or vertical installation method: Composite siding can be installed either horizontally or vertically, depending on your preference and the desired aesthetic. Horizontal installation is the most common method and provides a traditional look, while vertical installation can create a modern or contemporary appearance. Follow the manufacturer’s instructions and guidelines for the recommended installation method, as well as any specific requirements for layout and spacing.
Using nails or screws for attachment: When it comes to attaching the siding panels, you have the option to use either nails or screws. The choice between the two depends on personal preference and any manufacturer recommendations. If using nails, make sure they are corrosion-resistant and long enough to penetrate the sheathing and securely hold the siding in place. If using screws, choose the appropriate length and type recommended by the manufacturer. Drive the nails or screws into the pre-drilled holes or through the nailing/screwing flange of the siding panel.
Ensuring proper spacing and alignment: As you install each siding panel, it’s important to maintain consistent spacing between panels for a professional and uniform look. Follow the manufacturer’s instructions for the recommended spacing, which may vary depending on the type of siding and the specific installation requirements. Use a level or straight edge to ensure that each panel is straight and aligned properly with the starter strip and corner posts. Make any necessary adjustments to achieve a seamless and visually appealing result.
Take your time to carefully place and secure each siding panel, paying attention to spacing and alignment. Work methodically from one end of the wall to the other, ensuring a smooth transition between panels. Use appropriate fasteners and techniques specified by the manufacturer to secure the siding in place.
By installing the siding panels with precision and attention to detail, you’ll achieve a visually pleasing and professional result. Proper spacing and alignment will contribute to the overall appearance of the composite siding, enhancing the aesthetics of your home’s exterior.
Step 7: Dealing with windows, doors, and other obstacles
When installing composite siding, it’s important to address any windows, doors, or other obstacles that may be present on the wall. This step involves cutting and fitting the siding around these openings and installing J-channel and trim for a finished look. Here’s what you need to know:
Cutting and fitting siding around openings: Measure the dimensions of each window, door, or other opening where the siding needs to be installed. Use these measurements to mark and cut the siding panels accordingly. It’s important to leave a small gap or allowance around the opening to account for expansion and contraction of the siding. Use a fine-tooth circular saw or a specialized jigsaw to make precise cuts. Take care to ensure that the cuts are clean and accurate, as they will affect the overall appearance and fit of the siding.
Installing J-channel and trim: J-channel is a key component for finishing the edges around windows and doors. It provides a clean and professional look and helps to secure the siding in place. Install J-channel around the perimeter of each opening, following the manufacturer’s instructions for proper placement and fastening. Trim pieces, such as corner trims and decorative accents, can also be installed to enhance the overall aesthetic and provide a finished look. Secure the trim pieces securely using appropriate nails or screws.
When dealing with obstacles like windows and doors, take your time to ensure accurate measurements and precise cuts. Double-check the fit and alignment before securing the siding in place. Installing J-channel and trim will add the final touches, creating a polished and visually appealing appearance.
Throughout this step, it’s important to maintain consistency with spacing, alignment, and overall aesthetics. Regularly check the levelness and straightness of the siding panels and trim pieces, making any necessary adjustments to achieve a seamless and cohesive look.
By properly cutting and fitting the siding around openings and installing J-channel and trim, you’ll ensure a professional and visually pleasing installation. These finishing touches will elevate the appearance of your home’s exterior and contribute to the overall curb appeal.
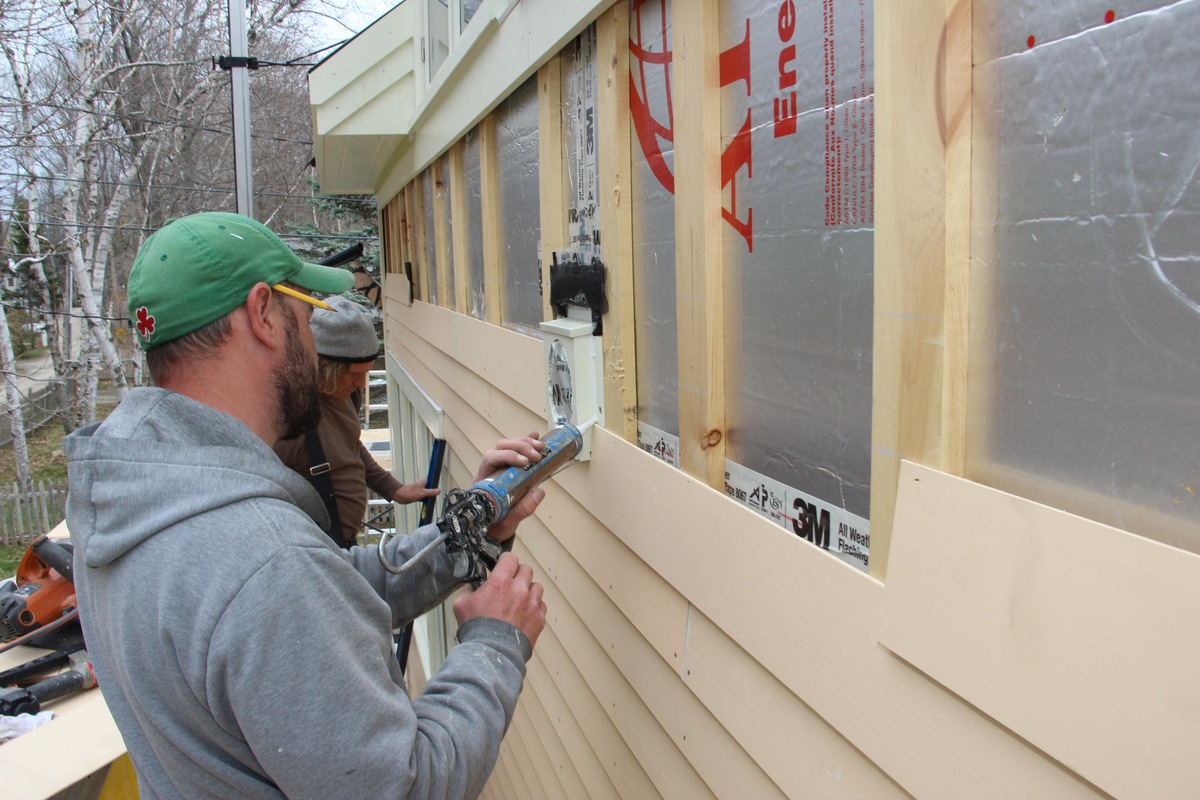
Step 8: Adding finishing touches
As you near the completion of the composite siding installation, it’s time to add the finishing touches that will enhance the overall appearance and durability. This step involves applying caulk and sealant to seal any gaps or joints and optionally painting or staining the siding. Here’s what you need to know:
Applying caulk and sealant: inspect the siding panels and trim pieces for any gaps or joints where water or air may penetrate. Use a high-quality exterior caulk or sealant to fill these gaps and create a watertight seal. Pay attention to areas around windows, doors, and where siding panels meet or overlap. Follow the manufacturer’s instructions for proper application and drying time. Caulking and sealing will help prevent moisture infiltration, improve energy efficiency, and prolong the life of your siding.
Painting or staining the siding (optional): If desired, you can further customize the appearance of your composite siding by painting or staining it. Before painting or staining, ensure that the siding is clean, dry, and free from any dust or debris. Choose a high-quality exterior paint or stain that is suitable for composite materials and follow the manufacturer’s instructions for application. Apply the paint or stain evenly with a brush or roller, working in small sections. Allow sufficient drying time before applying additional coats or finishing touches.
Adding caulk and sealant, as well as painting or staining, are final steps that will not only enhance the visual appeal of your home but also protect the siding from the elements. Good quality caulk and sealant will ensure that your siding remains weather-resistant and can withstand the test of time.
Remember, if you decide to paint or stain your composite siding, be sure to choose colors that complement your home’s overall aesthetic and blend well with the surrounding environment. Take into consideration any homeowner association guidelines or local regulations regarding colors and finishes.
By attending to these finishing touches, you’ll complete the installation of your composite siding with a professional and polished look. These final steps add both aesthetic and functional value, ensuring that your siding is well-protected and visually appealing for years to come.
Read more: How To Install Composite Decking Border
Step 9: Cleaning and maintenance
Cleaning and maintaining your composite siding is essential for preserving its appearance and ensuring its longevity. Regular upkeep will help keep your siding looking new and fresh for years to come. Here are some tips for maintaining the appearance of your composite siding:
Tips for maintaining the appearance of composite siding:
- Regular inspection: Periodically inspect your siding for any signs of damage, such as cracks, chips, or discoloration. Address any issues promptly to prevent further damage.
- Gentle cleaning: When it comes to cleaning your composite siding, a soft bristle brush or a cloth dipped in a mild soap-water solution is usually sufficient. Avoid using abrasive materials or harsh chemicals that can potentially damage the surface.
- Remove stains promptly: If you notice any stains on your siding, address them promptly. Depending on the nature of the stain, using a gentle cleaner or a mixture of vinegar and water can help remove it.
- Be cautious with pressure washing: While composite siding is generally durable, be cautious when pressure washing. Use low pressure and keep the nozzle at a distance to prevent any damage or water intrusion.
- Regularly clean gutters and downspouts: Keep gutters and downspouts clear from debris to prevent water from overflowing onto the siding, which can cause staining or damage.
- Keep plants and vegetation away: Trim any plants or trees that are in close proximity to the siding to prevent moisture retention and potential damage from branches or foliage.
Cleaning methods and frequency:
The frequency of cleaning your composite siding depends on factors such as your specific environment, weather conditions, and the level of dirt and debris accumulation. As a general guideline, aim for cleaning your siding at least once a year. However, you may need to clean it more frequently if you live in an area with heavy pollution or regularly experience harsh weather.
To clean your composite siding, follow these steps:
- Rinse the siding with a garden hose to remove loose debris and dirt.
- Prepare a mild soap-water solution in a bucket.
- Using a soft bristle brush or cloth, gently scrub the siding with the soap-water solution.
- Rinse thoroughly with a garden hose.
- Allow the siding to air dry.
By following these cleaning and maintenance tips, you can keep your composite siding looking beautiful and extend its lifespan. Regular upkeep will help protect your investment and ensure that your home’s exterior maintains its curb appeal.
Frequently Asked Questions about How To Install Composite Siding
Was this page helpful?
At Storables.com, we guarantee accurate and reliable information. Our content, validated by Expert Board Contributors, is crafted following stringent Editorial Policies. We're committed to providing you with well-researched, expert-backed insights for all your informational needs.


0 thoughts on “How To Install Composite Siding”