Home>Gardening & Outdoor>Outdoor Structures>How To Secure A Pergola To Concrete
Outdoor Structures
How To Secure A Pergola To Concrete
Published: January 18, 2024
Learn how to securely attach your outdoor structures to concrete with our step-by-step guide. Ensure your pergola stays put with these expert tips.
(Many of the links in this article redirect to a specific reviewed product. Your purchase of these products through affiliate links helps to generate commission for Storables.com, at no extra cost. Learn more)
Introduction
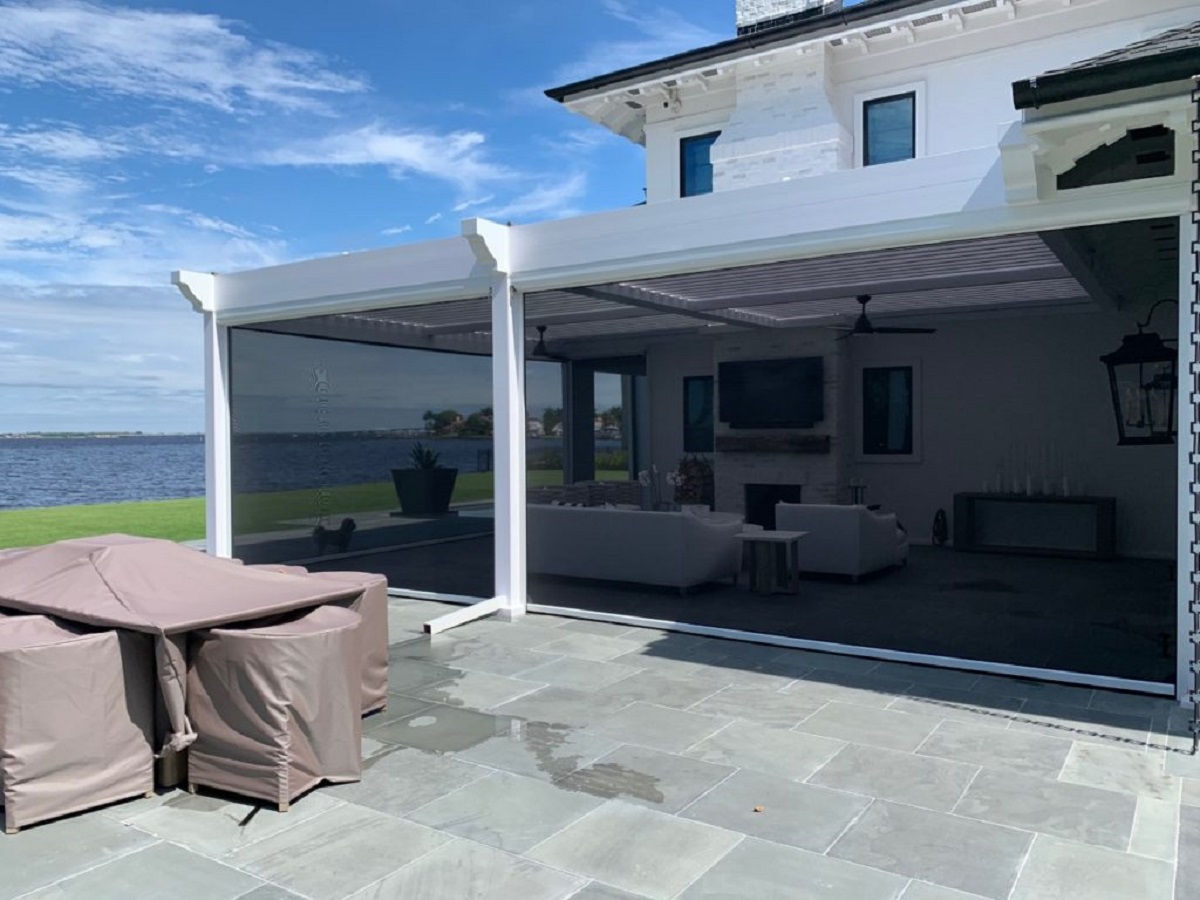
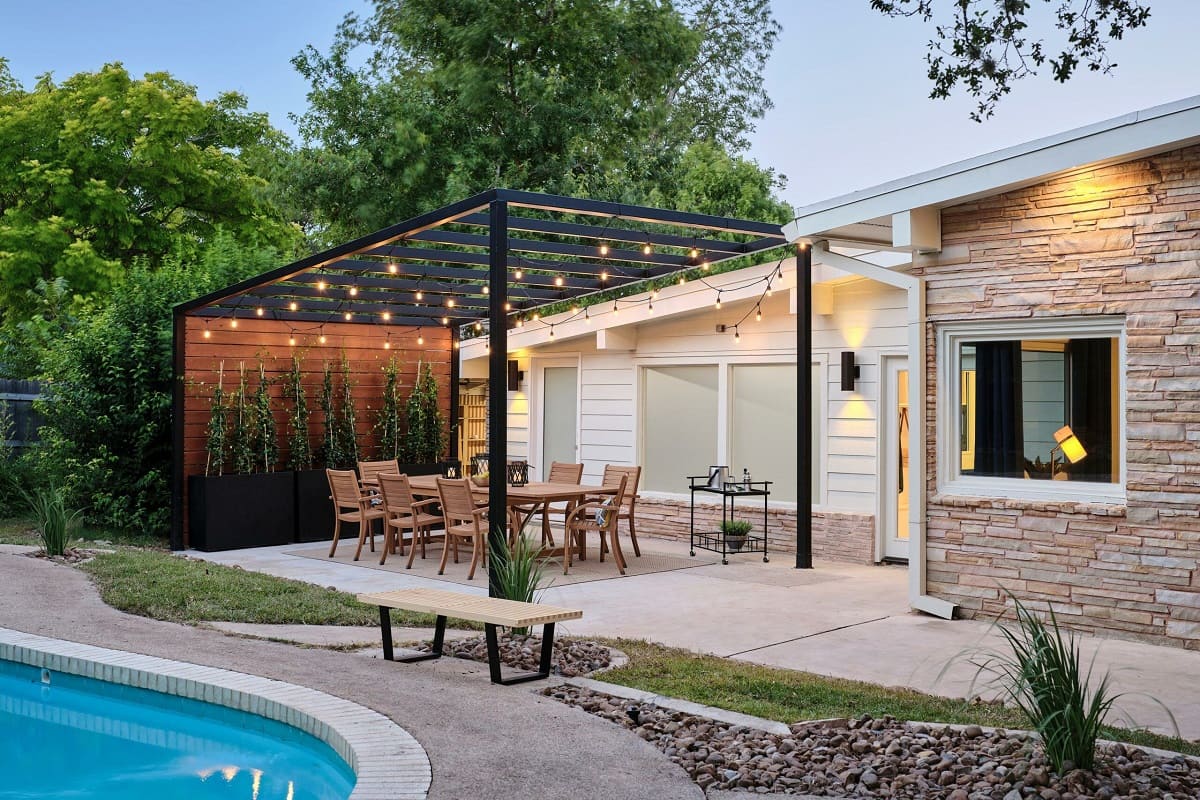
Adding a pergola to your outdoor space can transform it into a charming and functional area for relaxation and entertainment. However, to ensure its stability and durability, it’s essential to securely attach the pergola to a solid surface such as concrete. This not only provides a safe and sturdy structure but also enhances its overall aesthetic appeal.
In this comprehensive guide, we will walk you through the step-by-step process of securing a pergola to concrete. From gathering the necessary tools and materials to the final checks and adjustments, you’ll gain valuable insights into this essential outdoor structure installation. By following these instructions, you can confidently embark on this project, knowing that your pergola will stand the test of time and weather the elements with ease.
So, roll up your sleeves and get ready to elevate your outdoor space by learning how to securely anchor a pergola to concrete, creating a captivating and functional oasis for years to come.
Key Takeaways:
- Securely attaching a pergola to concrete requires careful preparation, precise drilling, and thorough final checks. This ensures a stable, durable, and visually appealing outdoor structure for years of enjoyment.
- By following the step-by-step process and gathering the necessary tools and materials, you can confidently anchor your pergola to concrete, creating a captivating and functional outdoor oasis.
Read more: How To Build A Pergola On Concrete
Tools and Materials
Before diving into the process of securing your pergola to concrete, it’s crucial to gather the necessary tools and materials. By having everything at hand, you can streamline the installation process and minimize any potential delays. Here’s what you’ll need:
Tools:
- Measuring tape
- Pencil or marker
- Hammer drill
- Masonry drill bit (suitable for concrete)
- Wrench or socket set
- Level
- Concrete screws or expansion anchors
- Socket wrench
- Protective eyewear
- Dust mask
- Work gloves
Materials:
- Pergola kit or custom-built pergola
- Concrete screws or expansion anchors (appropriate length and diameter)
- Wood shims (if necessary)
- Wood sealer or paint (for post bottoms, if desired)
- Concrete cleaner and brush (if the concrete surface needs cleaning)
By ensuring that you have all the essential tools and materials on hand, you can proceed with confidence, knowing that you are well-prepared for the task ahead. With these items at your disposal, you’ll be ready to embark on the process of securely attaching your pergola to concrete, creating a stable and inviting outdoor retreat.
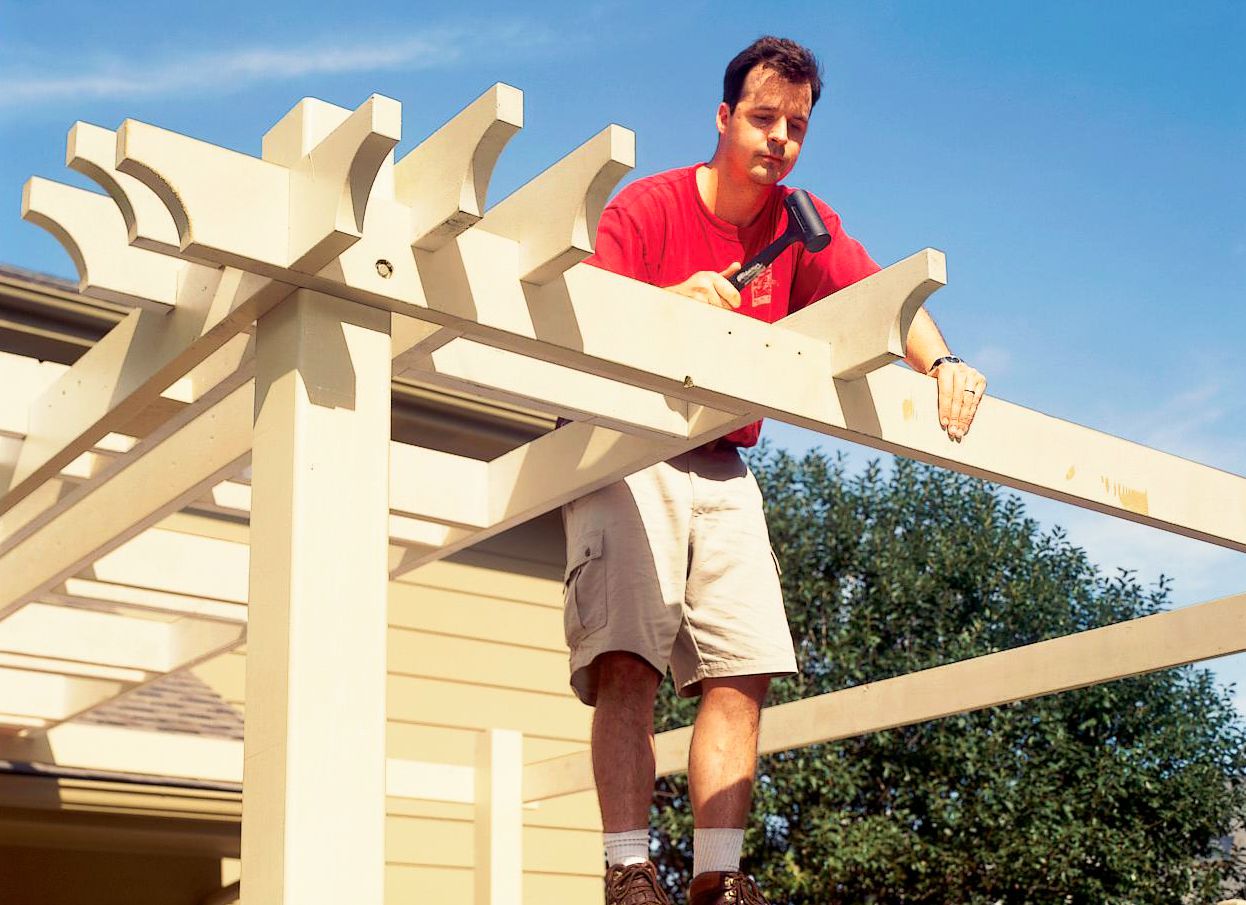
Preparing the Pergola
Before securing your pergola to concrete, it’s important to ensure that the structure itself is ready for installation. Whether you have a pre-made pergola kit or a custom-built design, taking the time to prepare the pergola will set the stage for a successful and secure attachment.
Here are the key steps to prepare your pergola for the installation process:
Read more: How To Attach A Pergola To A Concrete Patio
Inspect the Pergola:
Begin by thoroughly inspecting the pergola for any defects, damage, or inconsistencies. Check for straightness and structural integrity, ensuring that all components are in good condition and free from any defects that could compromise the installation.
Clean and Seal:
If your pergola is made of wood, consider applying a wood sealer or paint to the bottoms of the posts. This extra layer of protection can help safeguard the wood from moisture and potential deterioration over time.
Positioning:
Determine the ideal location for your pergola on the concrete surface. Take into account factors such as sun exposure, proximity to other structures, and the overall layout of your outdoor space. Once you’ve chosen the placement, mark the positions where the pergola will be anchored.
By carefully inspecting, cleaning, and positioning the pergola, you can ensure that it is primed for a secure and stable installation. With these preparatory steps completed, you are ready to move on to the next phase of the process: marking the drill holes for securing the pergola to the concrete surface.
Marking the Drill Holes
With the pergola prepared, the next crucial step in securing it to concrete is marking the drill holes. This process requires precision and attention to detail to ensure that the pergola will be anchored securely and evenly. Here’s how to proceed:
Read more: How To Secure A Pergola To Pavers
Measure and Mark:
Using a measuring tape and pencil or marker, carefully measure and mark the locations for the drill holes on the concrete surface. Ensure that the markings align with the predetermined positioning of the pergola. It’s essential to double-check the measurements and markings to avoid any errors that could impact the installation.
Spacing and Alignment:
Maintain consistent spacing between the drill hole markings to ensure uniform support for the pergola. Additionally, use a level to confirm that the markings are aligned correctly, preventing any potential issues with the final placement of the pergola.
Consider Clearance:
Take into account any clearance requirements for the pergola’s posts and hardware. Ensure that the drill hole positions allow for sufficient space to accommodate the attachment hardware without interfering with the structural integrity of the pergola.
By meticulously marking the drill holes with precision and foresight, you are laying the groundwork for a seamless and secure attachment of the pergola to the concrete surface. With the locations identified and marked, you are now ready to proceed to the next phase: drilling the holes in preparation for anchoring the pergola.
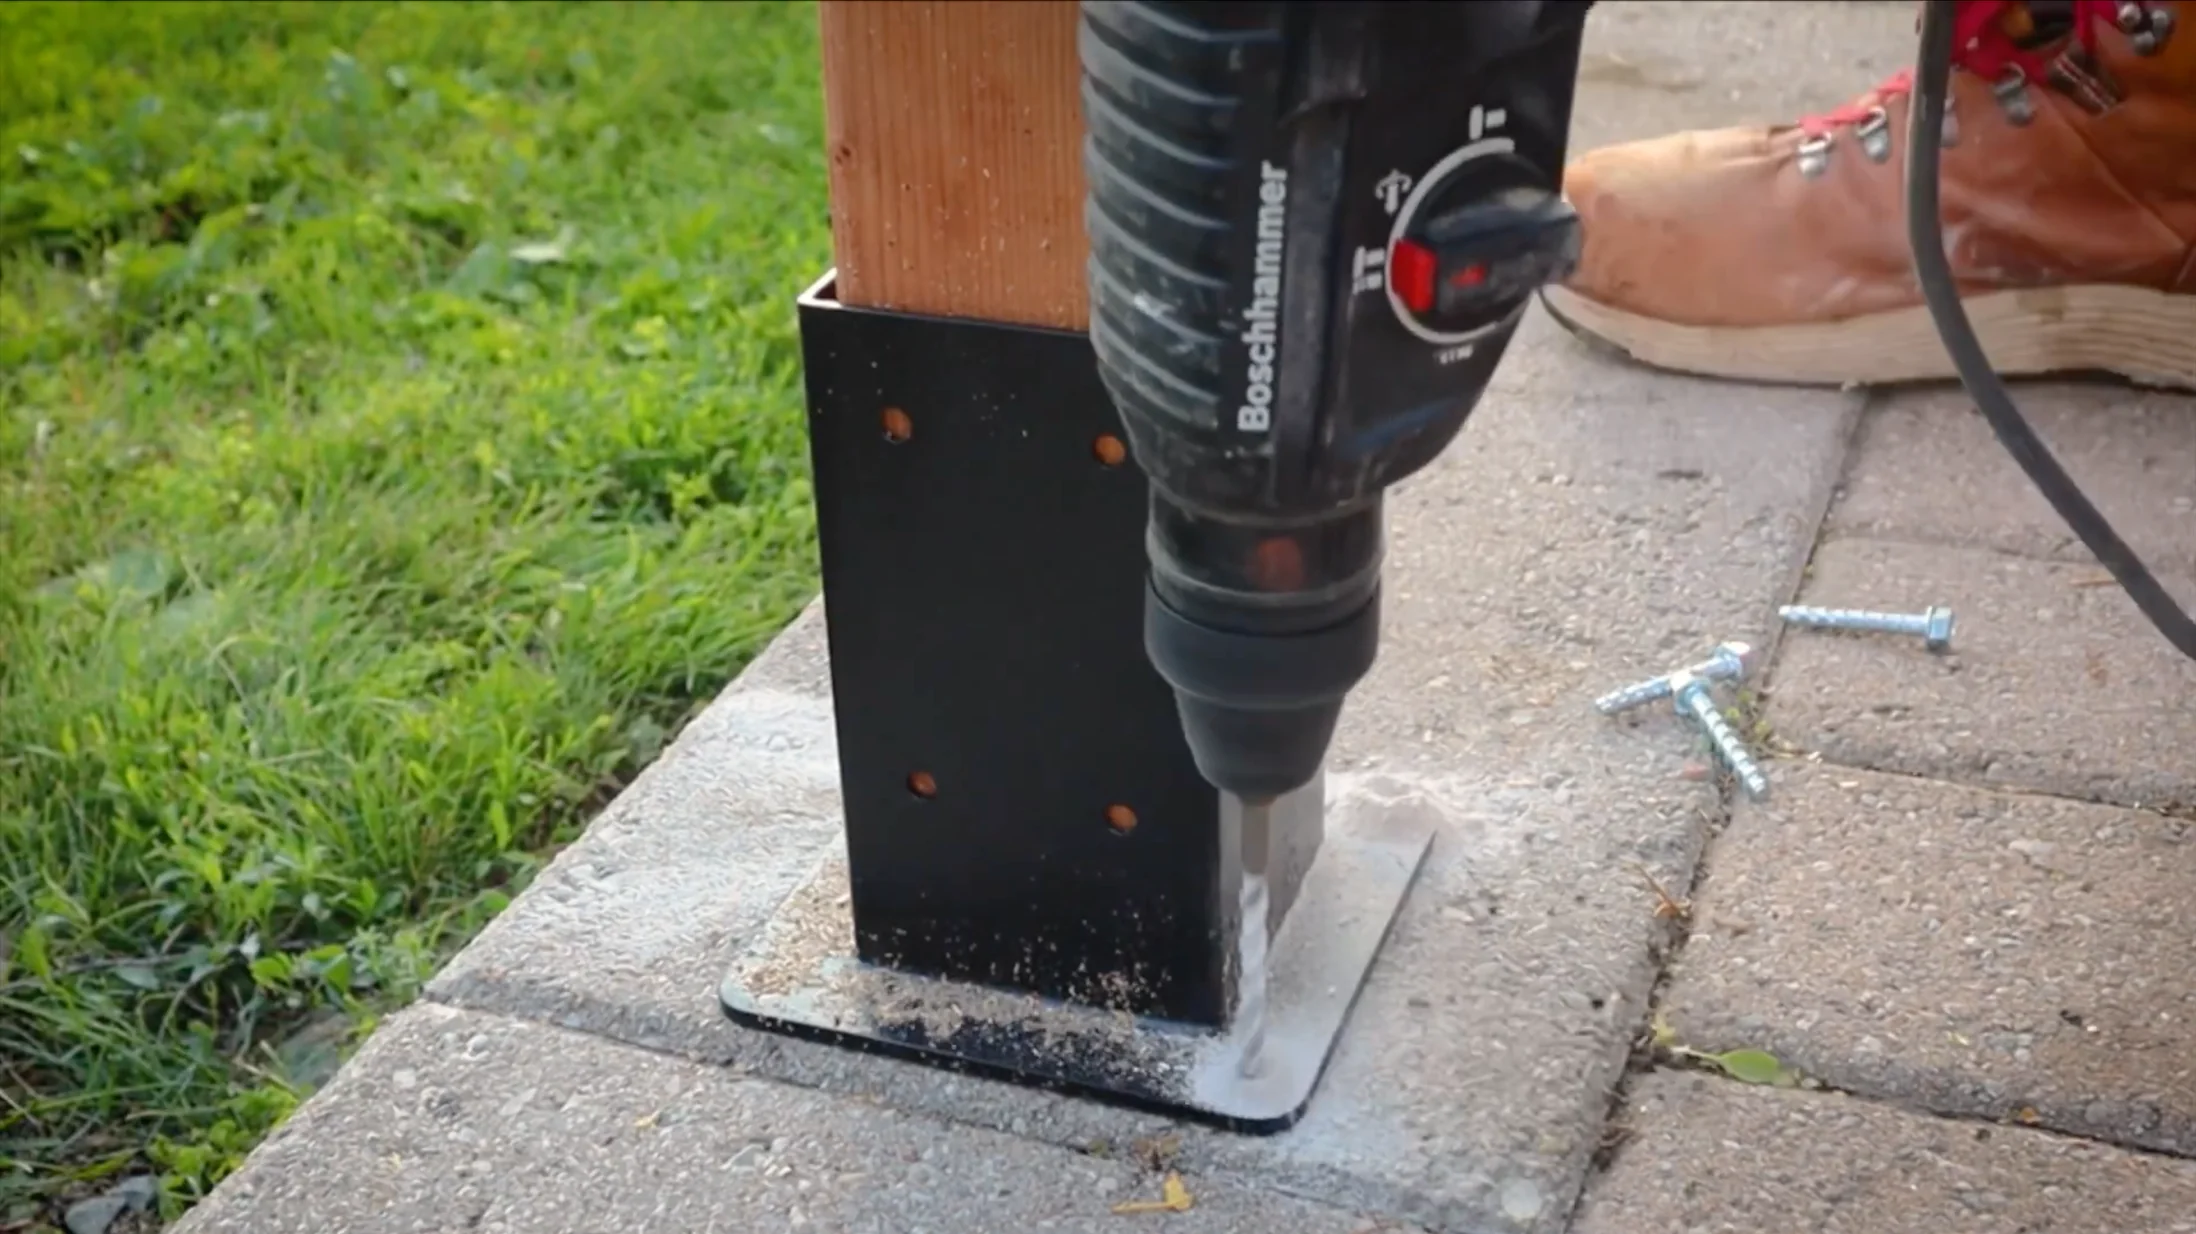
Drilling the Holes
As you embark on the process of securing your pergola to concrete, drilling the holes is a critical step that demands precision and care. This phase sets the stage for securely anchoring the pergola, ensuring its stability and longevity. Here’s a detailed guide on how to approach this pivotal stage:
Read more: How To Secure A Pergola To The Ground
Select the Right Drill Bit:
Choose a masonry drill bit that is suitable for drilling into concrete. The diameter of the drill bit should match the size of the concrete screws or expansion anchors you plan to use to secure the pergola.
Wear Protective Gear:
Before drilling, don protective eyewear, a dust mask, and work gloves to safeguard yourself from debris and potential hazards associated with drilling into concrete.
Drilling Technique:
Position the drill perpendicular to the concrete surface and apply steady, even pressure as you drill. To maintain accuracy, start with a smaller pilot hole before widening it to the required diameter. Ensure that the depth of the holes matches the length of the screws or anchors to be inserted.
Clean the Holes:
Once the holes are drilled, use a brush or compressed air to remove any concrete dust and debris. This step is crucial for creating a clean and secure fit for the screws or anchors.
By approaching the drilling process with precision and attention to detail, you can create the necessary anchor points for securely fastening the pergola to the concrete surface. With the holes drilled and prepared, you are now poised to move on to the pivotal stage of attaching the pergola to concrete, bringing you one step closer to completing this transformative outdoor project.
Read more: How To Secure Artificial Grass On Concrete
Attaching the Pergola to Concrete
Now that the preparatory steps are complete, it’s time to proceed with attaching the pergola to the concrete surface. This phase marks a significant milestone in the installation process, as it brings the vision of a stable and inviting outdoor retreat closer to reality. Follow these steps to securely fasten the pergola to the concrete:
Inserting the Anchors:
Begin by inserting the concrete screws or expansion anchors into the drilled holes. Ensure that they are snugly and securely positioned, ready to provide steadfast support for the pergola.
Aligning the Pergola:
With the assistance of a friend or family member, carefully position the pergola over the anchor points on the concrete surface. Take the time to align the structure accurately, ensuring that it sits level and true to your original plan.
Securing the Pergola:
Utilize a wrench or socket set to fasten the pergola to the concrete surface by tightening the screws or expansion anchors. Apply even pressure to ensure a secure and stable attachment, checking for any signs of shifting or instability as you proceed.
Read more: How To Secure Patio Furniture To Concrete
Adjustments and Alignment:
Once the pergola is secured to the concrete, make any necessary adjustments to ensure that it sits level and stable. Use a level to confirm that the structure is evenly positioned, making any minor tweaks as needed.
By meticulously following these steps, you can achieve a secure and reliable attachment of the pergola to the concrete surface. With the structure firmly anchored, you are now ready to move on to the final checks and adjustments, bringing you closer to the completion of this transformative outdoor project.
Final Checks and Adjustments
As you near the completion of the pergola installation process, conducting final checks and adjustments is crucial to ensuring that the structure is secure, stable, and visually appealing. By paying attention to these details, you can confidently wrap up the project, knowing that your pergola is ready to enhance your outdoor space. Here’s how to proceed:
Stability Assessment:
Take a moment to assess the stability of the pergola by gently applying pressure to various points. Check for any signs of wobbling or shifting, addressing any instability by tightening the attachment hardware or making necessary adjustments.
Level Confirmation:
Utilize a level to confirm that the pergola is sitting perfectly level on the concrete surface. Make any minor adjustments as needed to ensure that the structure is visually and functionally aligned.
Read more: How To Paint A Pergola
Visual Inspection:
Step back and visually inspect the pergola from various angles. Look for any aesthetic imperfections or irregularities that may detract from its overall appeal. Address any such issues by making minor cosmetic adjustments as necessary.
Functionality Test:
Test the functionality of the pergola by opening and closing any adjustable features, such as retractable canopies or louvered roof panels. Ensure that all moving parts operate smoothly and without impediment.
Finishing Touches:
Consider applying any finishing touches, such as sealing the attachment points or applying a protective coating to the pergola’s wood components. This additional step can enhance the structure’s longevity and visual appeal.
By conducting these final checks and adjustments, you can ensure that the pergola is not only securely attached to the concrete surface but also visually appealing and fully functional. With these details addressed, you can step back and admire the transformation of your outdoor space, knowing that your pergola is poised to provide years of enjoyment and relaxation.
Conclusion
Congratulations on successfully securing your pergola to concrete, a transformative endeavor that has elevated your outdoor space and created a captivating retreat for relaxation and entertainment. By following the comprehensive guide outlined here, you have gained valuable insights into the process of securely attaching a pergola to a solid surface, ensuring stability, durability, and visual appeal.
From the initial preparations and marking of drill holes to the meticulous drilling process and the final checks and adjustments, each step has contributed to the creation of a secure and inviting outdoor structure. By taking the time to gather the necessary tools and materials, prepare the pergola, and execute the installation with precision, you have set the stage for years of enjoyment in your revitalized outdoor space.
As you admire the newly installed pergola, take pride in the craftsmanship and attention to detail that have gone into this project. Whether you envision cozy gatherings with loved ones, tranquil moments of solitude, or vibrant outdoor celebrations, your securely anchored pergola is poised to fulfill those aspirations with grace and reliability.
As you bask in the satisfaction of a job well done, consider the endless possibilities that your enhanced outdoor space now offers. From al fresco dining experiences to leisurely afternoons spent lounging in the shade, your pergola stands as a testament to your commitment to creating a welcoming and functional outdoor oasis.
With the pergola securely anchored to concrete, you have not only added a captivating architectural element to your property but also established a focal point for cherished memories and meaningful experiences. Embrace the beauty and functionality of your newly installed pergola, knowing that it stands as a testament to your dedication to enhancing your outdoor living space.
As you embark on this exciting chapter of enjoying your revitalized outdoor space, may your securely anchored pergola become a cherished backdrop for countless moments of joy, relaxation, and connection with nature and loved ones. Here’s to the enduring beauty and tranquility that your pergola brings to your outdoor sanctuary.
Frequently Asked Questions about How To Secure A Pergola To Concrete
Was this page helpful?
At Storables.com, we guarantee accurate and reliable information. Our content, validated by Expert Board Contributors, is crafted following stringent Editorial Policies. We're committed to providing you with well-researched, expert-backed insights for all your informational needs.


0 thoughts on “How To Secure A Pergola To Concrete”