Home>Gardening & Outdoor>Outdoor Structures>How To Build A Pergola On Concrete
Outdoor Structures
How To Build A Pergola On Concrete
Modified: January 22, 2024
Learn how to build a sturdy pergola on concrete with our step-by-step guide. Create a beautiful outdoor space with our expert tips and advice. Ideal for enhancing your outdoor structures.
(Many of the links in this article redirect to a specific reviewed product. Your purchase of these products through affiliate links helps to generate commission for Storables.com, at no extra cost. Learn more)
Introduction
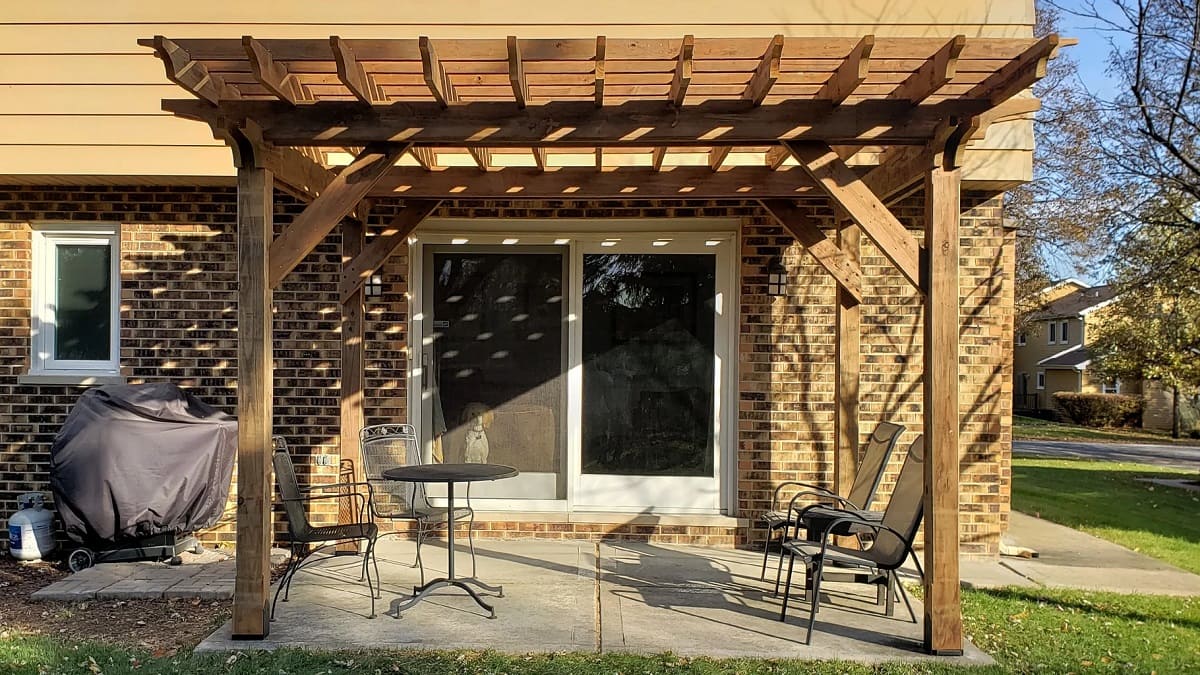
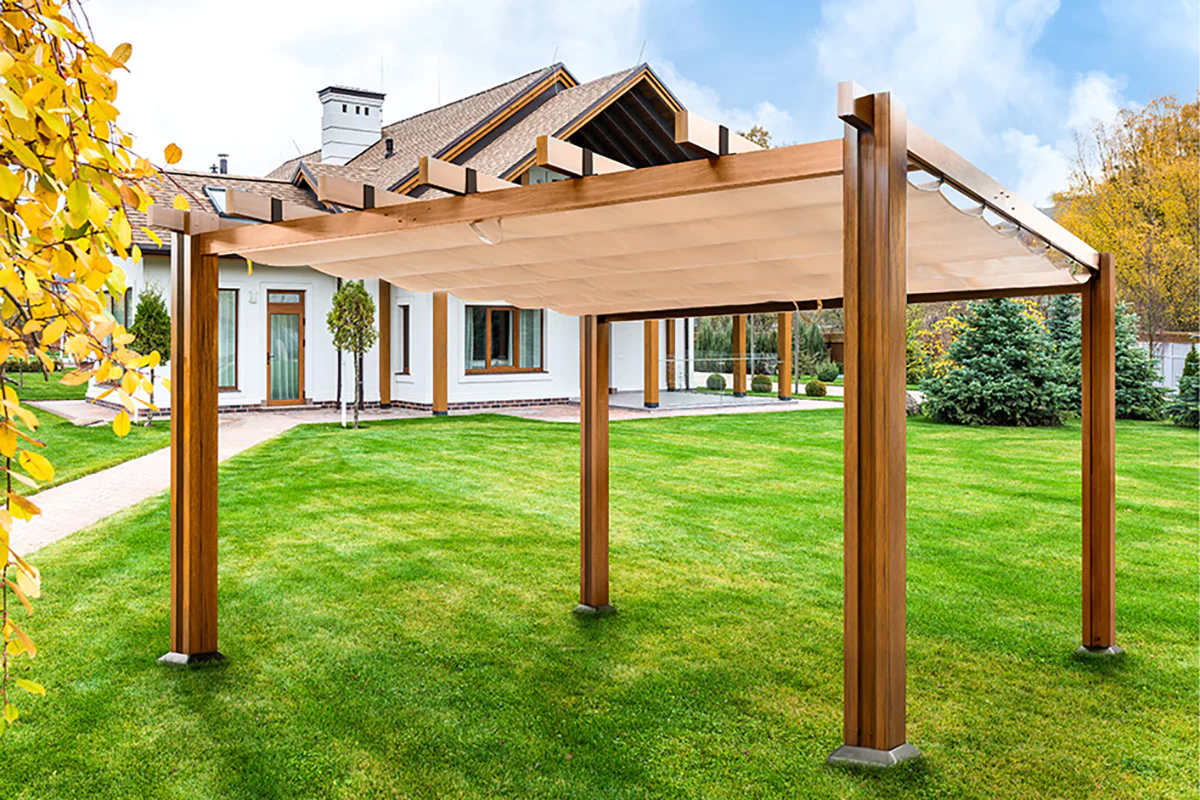
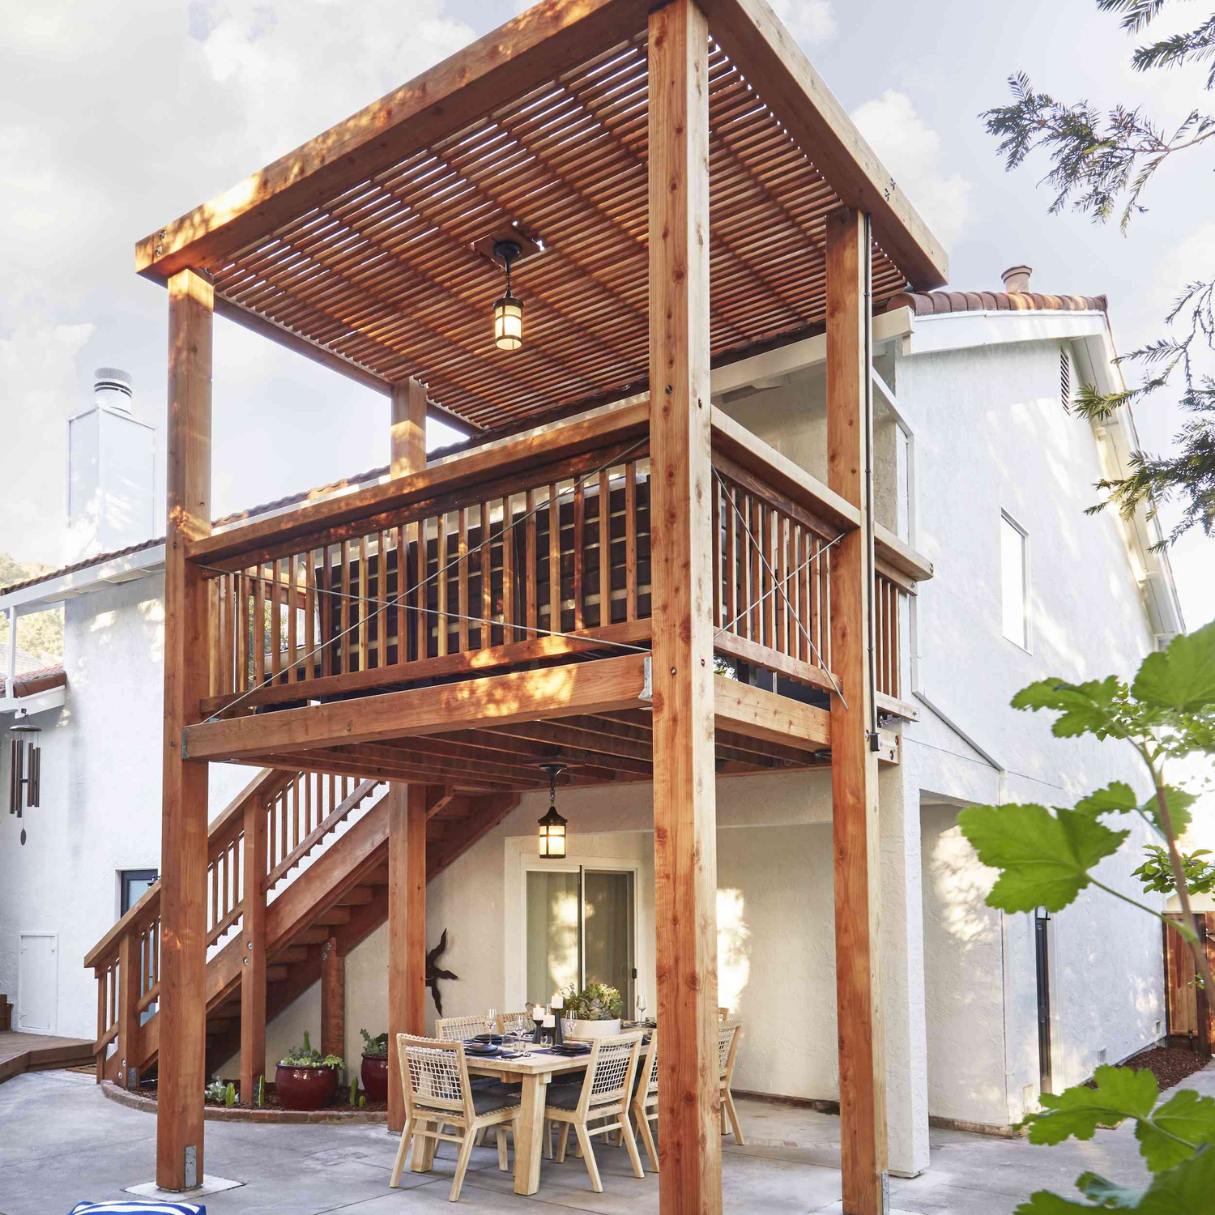
Welcome to the world of outdoor living! A pergola is a fantastic addition to any outdoor space, offering a perfect blend of functionality and aesthetic appeal. Whether you’re looking to create a cozy spot for al fresco dining or a tranquil retreat for relaxation, a pergola can transform your concrete patio into a captivating oasis. In this guide, we’ll take you through the step-by-step process of building a pergola on a concrete base, allowing you to elevate your outdoor experience and add value to your property.
Building a pergola on concrete requires careful planning, precise measurements, and the right tools and materials. From setting the footings to attaching the beams and rafters, each step plays a crucial role in ensuring the stability and longevity of your pergola. By following this comprehensive guide, you’ll gain the knowledge and confidence to embark on this rewarding DIY project and create a stunning outdoor retreat that reflects your personal style and enhances your outdoor living space.
So, roll up your sleeves, gather your tools, and let’s dive into the exciting world of building a pergola on concrete. Whether you’re a seasoned DIY enthusiast or a first-time builder, this guide will equip you with the essential know-how to bring your pergola vision to life. Get ready to unleash your creativity, embrace the beauty of outdoor living, and embark on a fulfilling journey of crafting your very own concrete-based pergola.
Key Takeaways:
- Building a pergola on concrete requires careful planning, precise measurements, and the right tools and materials. By following this guide, you’ll gain the knowledge and confidence to embark on this rewarding DIY project and create a stunning outdoor retreat.
- The careful preparation of the concrete base, setting of the footings, and installation of the pergola posts have established a solid and reliable foundation for your structure, ensuring its stability and longevity. The addition of beams, rafters, and finishing touches has elevated the visual allure of your pergola, creating a welcoming and enchanting outdoor space.
Read more: How To Attach A Pergola To A Concrete Patio
Step 1: Gather Materials and Tools
Before diving into the construction process, it’s essential to gather all the necessary materials and tools. This step sets the foundation for a smooth and efficient building experience, ensuring that you have everything at your fingertips as you progress through the project. Here’s a comprehensive list of materials and tools you’ll need:
Materials:
- Pressure-treated wood for the pergola structure
- Concrete mix for the footings
- Metal post anchors or post base brackets
- Galvanized screws and nails
- Wood sealer or stain for finishing
- Gravel or crushed stone for the base
- Anchor bolts
Tools:
- Measuring tape and level
- Post hole digger or auger
- Concrete mixer or wheelbarrow for mixing concrete
- Power drill with screwdriver bits
- Saw for cutting wood to size
- Adjustable wrench
- Paintbrush for applying wood sealer
- Work gloves and safety goggles
Once you’ve gathered all the materials and tools, it’s important to ensure that the wood is of high quality and treated to withstand outdoor conditions. Pressure-treated wood is an excellent choice for its durability and resistance to rot and pests. Additionally, selecting the right hardware, such as galvanized screws and metal post anchors, will contribute to the structural integrity and longevity of your pergola.
By taking the time to gather the essential materials and tools, you’ll be well-prepared to embark on the next steps of preparing the concrete base and setting the pergola footings. This thoughtful approach sets the stage for a successful and enjoyable construction journey, allowing you to focus on the craftsmanship and creativity involved in bringing your concrete-based pergola to life.
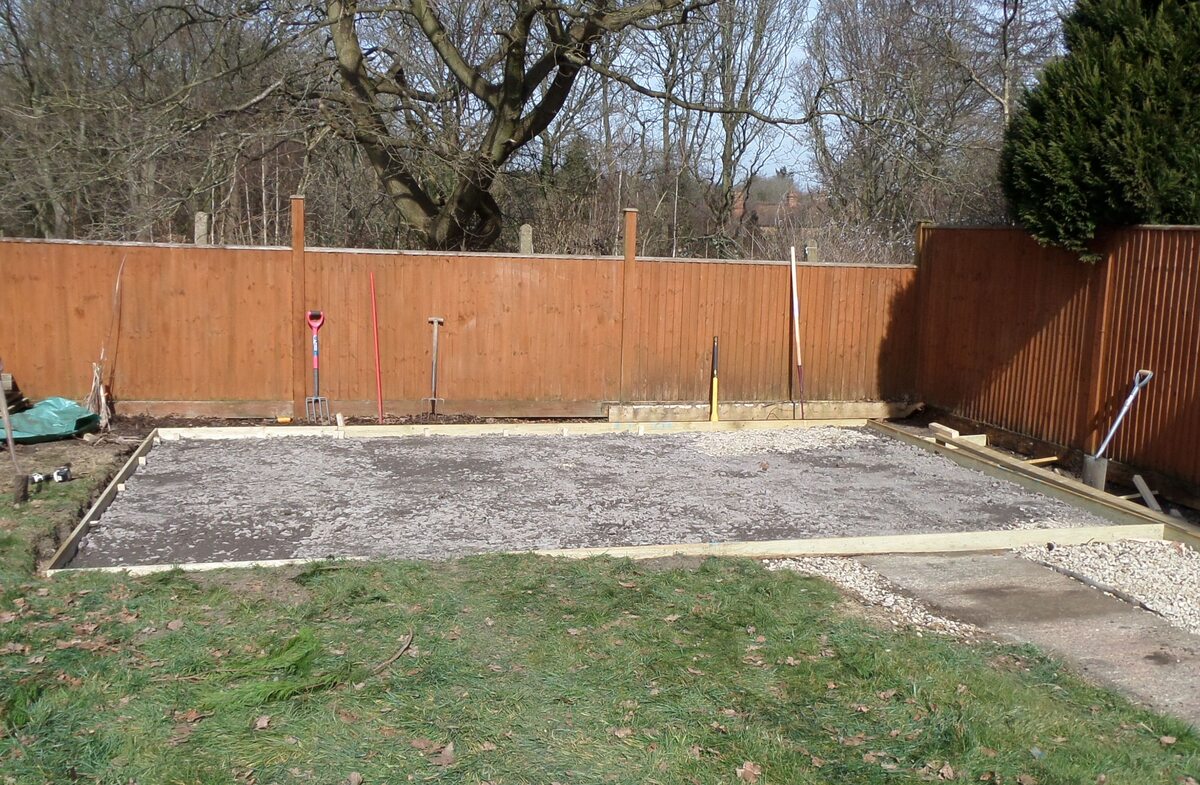
Step 2: Prepare the Concrete Base
Before setting the pergola footings, it’s crucial to prepare the concrete base to provide a stable and level foundation for your structure. Here’s a step-by-step guide to preparing the concrete base for your pergola:
1. Mark the Layout: Begin by marking the layout of your pergola on the concrete surface using chalk lines or marking paint. This visual guide will help you visualize the placement of the footings and ensure that the base aligns with your desired pergola dimensions.
2. Clear the Area: Clear the marked area of any debris, dirt, or obstructions to create a clean and level surface for the concrete base. This step is essential for achieving a smooth and uniform foundation for your pergola.
3. Excavate the Footing Locations: Use a post hole digger or auger to excavate the footing locations, ensuring that the holes are deep enough to accommodate the concrete footings. The depth of the holes will depend on the frost line in your region and the recommended depth for stable footings.
4. Add Gravel or Crushed Stone: Once the holes are excavated, add a layer of gravel or crushed stone to the bottom of each hole. This provides drainage and helps prevent the accumulation of water around the footings, contributing to the longevity of your pergola structure.
5. Mix and Pour the Concrete: Prepare the concrete mix according to the manufacturer’s instructions, either using a concrete mixer or a wheelbarrow. Carefully pour the concrete into each footing hole, ensuring that it reaches the desired level and is uniformly distributed within the holes.
6. Set the Anchor Bolts: While the concrete is still wet, place anchor bolts in the center of each footing to secure the pergola posts. The anchor bolts should be positioned at the correct height and aligned to correspond with the layout of your pergola.
7. Allow the Concrete to Cure: Once the concrete is poured and the anchor bolts are set, allow sufficient time for the concrete to cure and harden. Follow the recommended curing time provided by the concrete manufacturer to ensure that the footings achieve the necessary strength and stability.
By meticulously preparing the concrete base, you’re laying the groundwork for a durable and resilient foundation that will support your pergola for years to come. This essential step sets the stage for the subsequent installation of the pergola footings and the assembly of the structure, bringing you closer to the realization of your concrete-based outdoor retreat.
Read more: How To Build A Pergola Roof
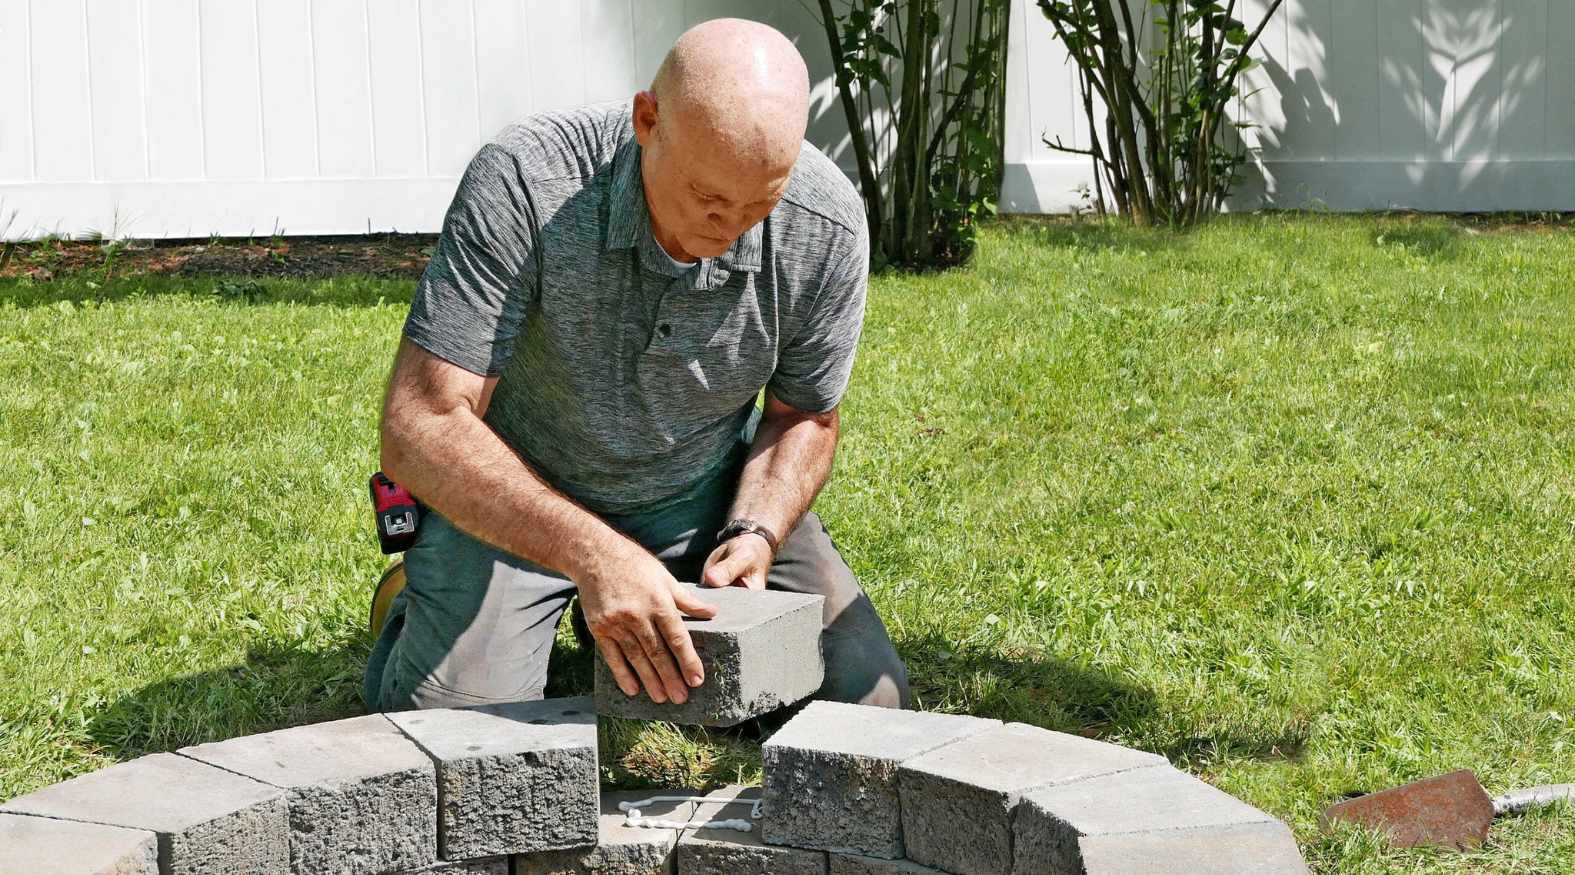
Step 3: Set the Pergola Footings
Setting the pergola footings is a critical phase in the construction process, as these footings provide the structural support and stability for your pergola. By following these steps, you’ll ensure that your pergola stands securely and withstands the elements for years to come:
1. Position the Post Anchors: Place the metal post anchors or post base brackets on top of the cured concrete footings, aligning them according to the layout of your pergola. These anchors will serve as the connection point between the footings and the pergola posts, providing a secure and stable attachment.
2. Attach the Anchors: Secure the post anchors to the concrete footings using anchor bolts and appropriate fasteners. Ensure that the anchors are firmly and evenly attached to the footings, creating a solid foundation for the pergola posts.
3. Install the Pergola Posts: With the post anchors in place, it’s time to install the pergola posts. Carefully position each post in its corresponding anchor, ensuring that they are plumb and aligned with the layout markings. Use a level to confirm that the posts are perfectly vertical and adjust them as needed.
4. Secure the Posts: Once the posts are in position, secure them to the post anchors using appropriate hardware, such as screws or bolts. This step is crucial for ensuring that the posts are firmly attached to the footings, creating a solid and reliable connection.
5. Verify Alignment and Level: Double-check the alignment and levelness of the pergola posts, making any necessary adjustments to ensure that they are perfectly positioned. This attention to detail will contribute to the overall stability and visual appeal of your pergola structure.
6. Allow for Settling: After setting the pergola footings and installing the posts, allow for a period of settling to ensure that the structure adjusts to its new foundation. This settling period allows any minor shifts to occur before proceeding to the next phase of the construction process.
By meticulously setting the pergola footings and installing the posts, you’re establishing a solid and reliable foundation for your pergola structure. This foundational phase sets the stage for the subsequent installation of beams and rafters, bringing you closer to the completion of your concrete-based pergola and the realization of your outdoor living vision.
Step 4: Install the Pergola Posts
With the footings in place, it’s time to focus on installing the pergola posts, a pivotal step that forms the structural backbone of your outdoor retreat. Follow these detailed steps to ensure a secure and visually appealing installation of the pergola posts:
1. Position the Posts: Carefully position each pergola post within its designated post anchor, ensuring that they align with the layout markings and are evenly spaced according to your design plan. Take the time to confirm the precise placement of each post before proceeding.
2. Check for Plumb and Alignment: Use a level to verify that each post is perfectly plumb, adjusting them as needed to achieve vertical alignment. Additionally, confirm that the posts are aligned with one another, maintaining consistent spacing and creating a balanced framework for the pergola structure.
3. Secure the Posts: Once the posts are positioned and aligned, secure them within the post anchors using appropriate fasteners, such as screws or bolts. This step is crucial for creating a sturdy connection between the posts and the footings, ensuring that the pergola stands firm and stable.
4. Add Decorative Post Bases (Optional): For an added touch of style and visual appeal, consider installing decorative post bases or trim around the base of each pergola post. These decorative elements can enhance the overall aesthetic of your pergola, adding a touch of elegance to the structure.
5. Apply Wood Sealer (Optional): If you desire a finished look for your pergola posts, consider applying a high-quality wood sealer or stain to protect the wood from weathering and enhance its natural beauty. This optional step adds a layer of protection and visual refinement to your pergola posts.
6. Allow for Setting and Curing: After installing the pergola posts, allow sufficient time for any adjustments to settle and for the connections to fully set and cure. This settling period ensures that the posts are firmly anchored and ready to support the subsequent installation of beams and rafters.
By methodically installing the pergola posts, you’re establishing the fundamental framework of your outdoor oasis, bringing you one step closer to the completion of your concrete-based pergola. This pivotal phase sets the stage for the addition of beams and rafters, culminating in the creation of a captivating and inviting outdoor space for relaxation and enjoyment.
When building a pergola on concrete, use anchor bolts to secure the posts to the concrete for stability and durability. Make sure to measure and align the bolts carefully before drilling.
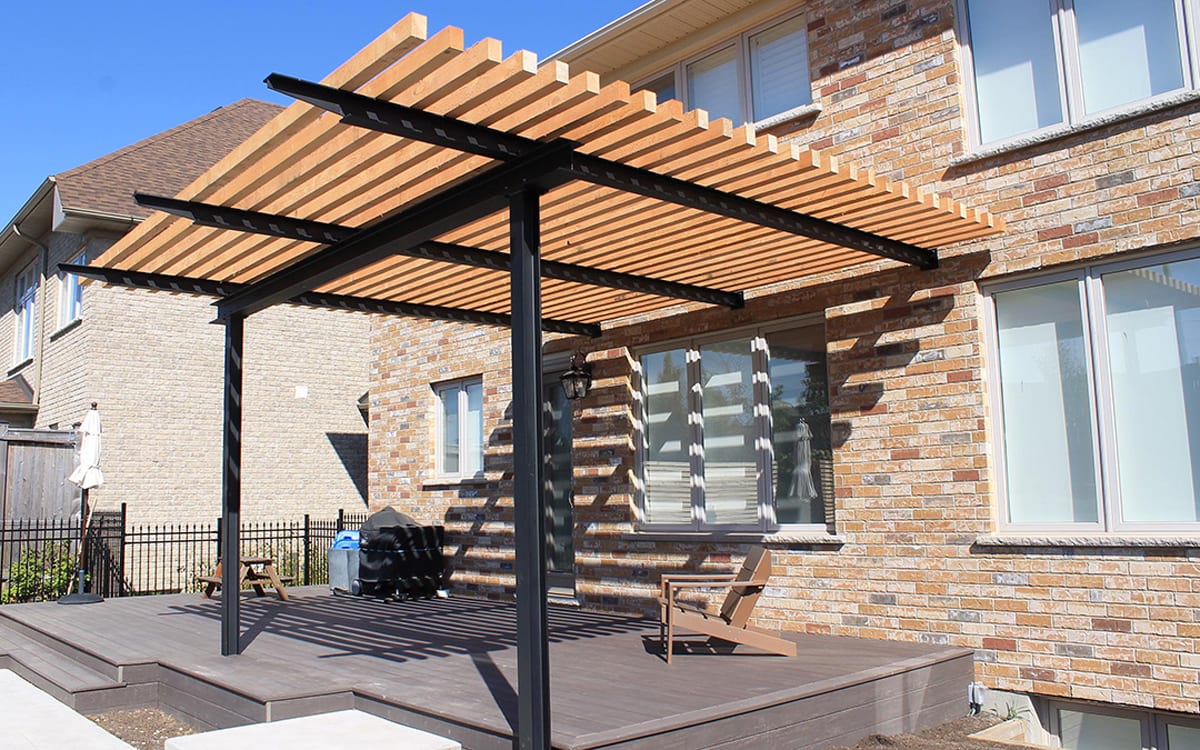
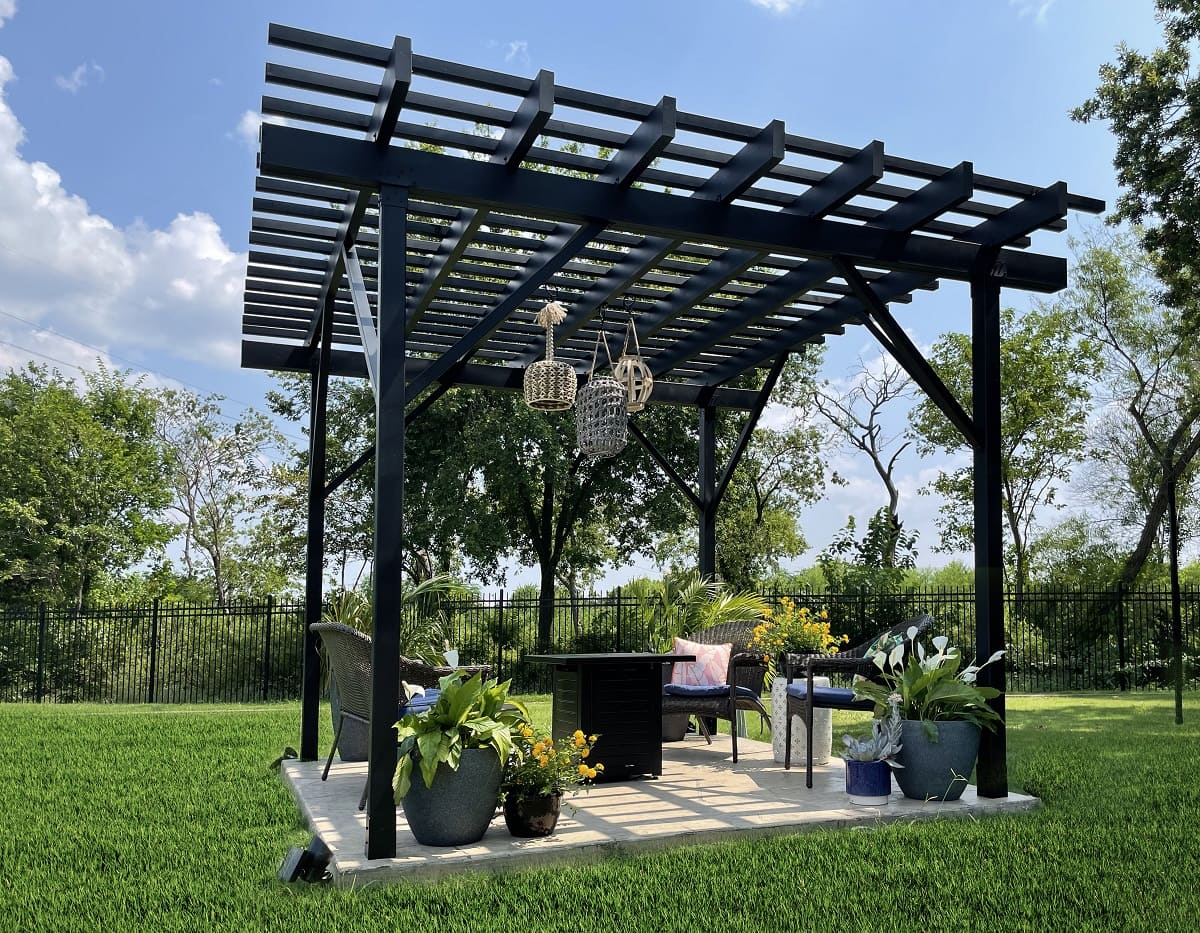
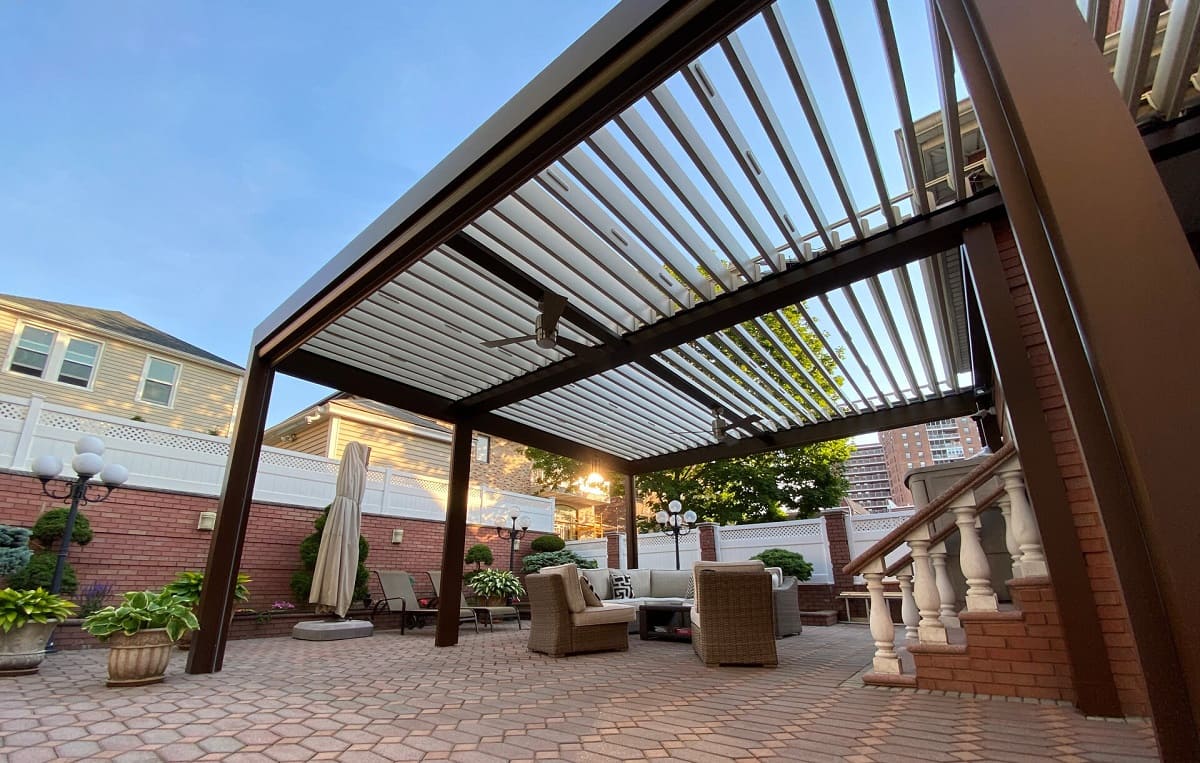
Step 5: Attach the Beams and Rafters
As you progress in building your pergola on a concrete base, the next crucial step is to attach the beams and rafters, creating the framework that defines the character and functionality of your outdoor space. Follow these detailed steps to ensure a seamless and visually striking installation of the beams and rafters:
1. Measure and Cut the Beams: Begin by measuring and cutting the beams to the desired length, ensuring that they align with your pergola design and provide adequate coverage for the concrete base. Precision in these measurements is essential to achieving a balanced and visually appealing structure.
2. Position the Beams: With the beams prepared, position them across the tops of the installed pergola posts, ensuring that they are evenly spaced and aligned with the layout markings. Take the time to confirm that the beams are level and parallel to one another, creating a symmetrical and polished framework.
3. Secure the Beams: Once the beams are positioned, secure them to the pergola posts using appropriate fasteners, such as screws or brackets. This step is pivotal for creating a sturdy and reliable connection, ensuring that the beams are firmly anchored and capable of supporting the subsequent installation of the rafters.
4. Install the Rafters: With the beams in place, it’s time to install the rafters, which run perpendicular to the beams and contribute to the overall structure and visual appeal of the pergola. Position the rafters across the beams, ensuring that they are evenly spaced and aligned with the design plan.
5. Secure the Rafters: Once the rafters are positioned, secure them to the beams using appropriate fasteners, ensuring a strong and secure connection. This step is essential for creating a cohesive and resilient framework that can withstand the elements and provide a captivating overhead canopy for your outdoor space.
6. Add Decorative End Cuts (Optional): For a touch of personalization and style, consider adding decorative end cuts to the beams and rafters. These custom cuts can enhance the visual appeal of your pergola, adding a unique and distinctive touch to the overall design.
7. Apply Wood Finish (Optional): If you desire a polished and refined look for your pergola, consider applying a high-quality wood finish or stain to the beams and rafters. This optional step adds a layer of protection and visual refinement, enhancing the natural beauty of the wood and extending its longevity.
By skillfully attaching the beams and rafters, you’re shaping the defining features of your pergola, creating an inviting and functional outdoor space that reflects your personal style and enhances your outdoor living experience. This pivotal phase brings you closer to the completion of your concrete-based pergola, setting the stage for the addition of finishing touches that will elevate its charm and allure.
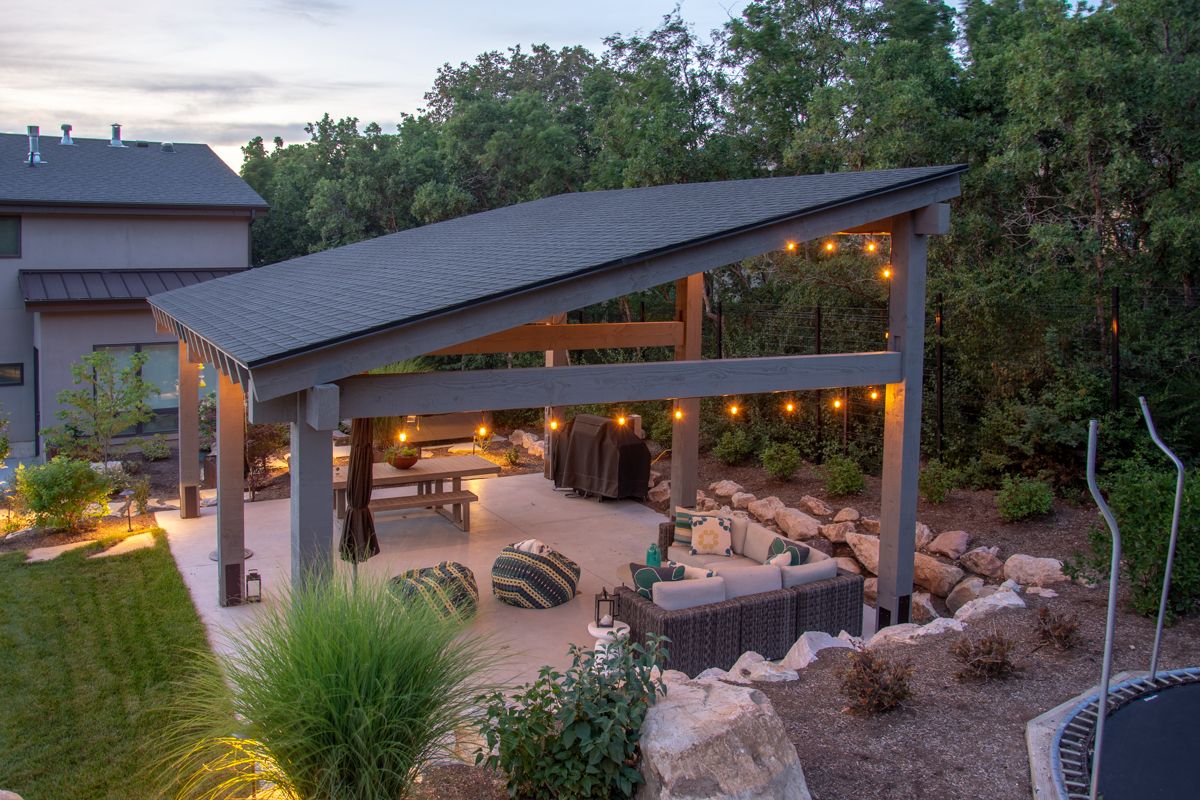
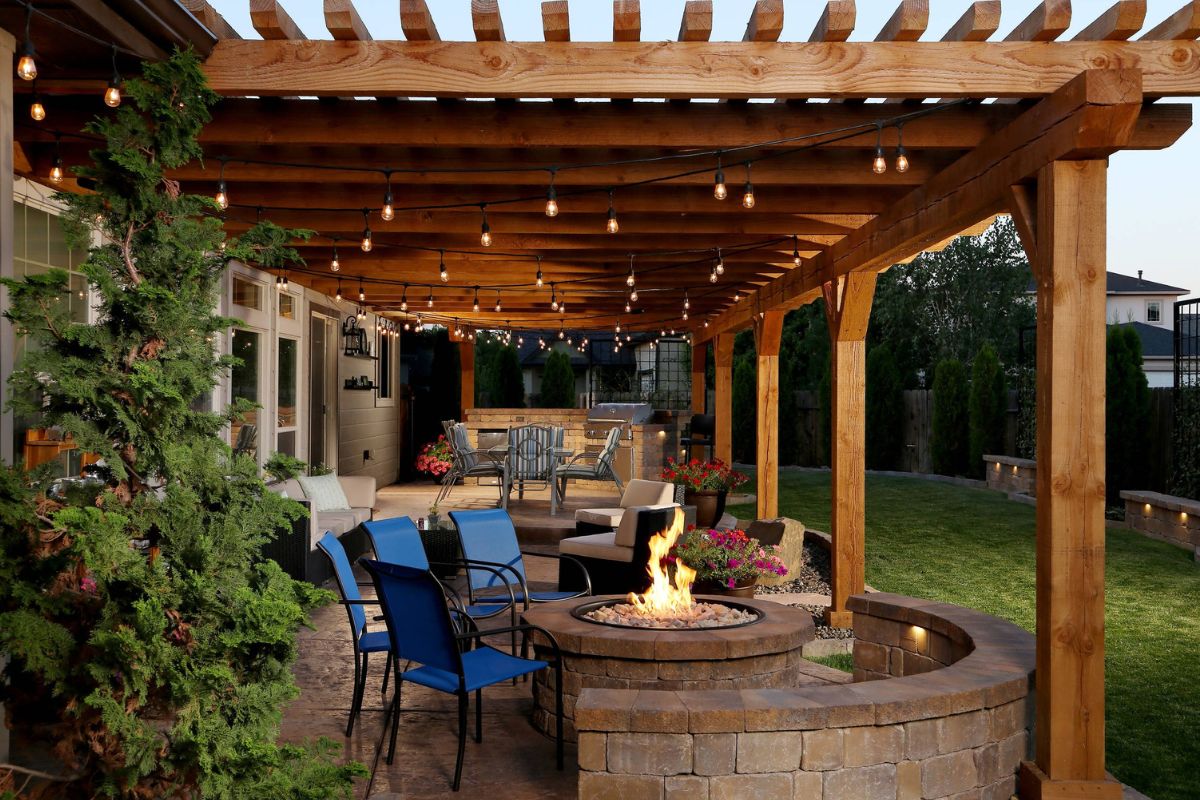
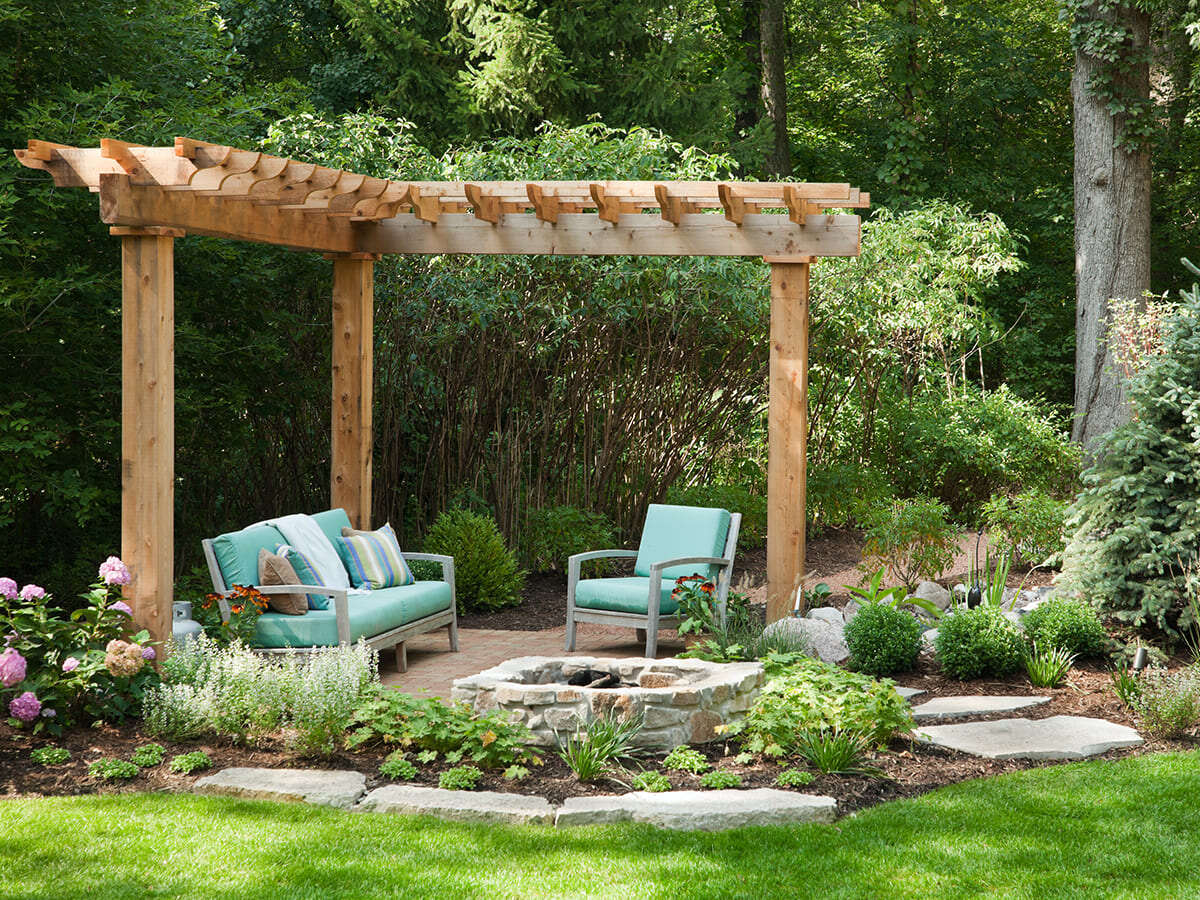
Step 6: Add Finishing Touches
As you near the completion of building your pergola on a concrete base, it’s time to add the finishing touches that will elevate the aesthetics and functionality of your outdoor retreat. These final details will enhance the overall appeal of your pergola, creating a captivating space for relaxation and entertainment. Follow these steps to add the perfect finishing touches to your concrete-based pergola:
1. Apply Wood Sealer or Stain: If you haven’t already applied a wood sealer or stain to the pergola structure, now is the time to do so. Choose a high-quality product that provides protection against the elements while enhancing the natural beauty of the wood. Apply the sealer or stain evenly to the entire structure, ensuring comprehensive coverage.
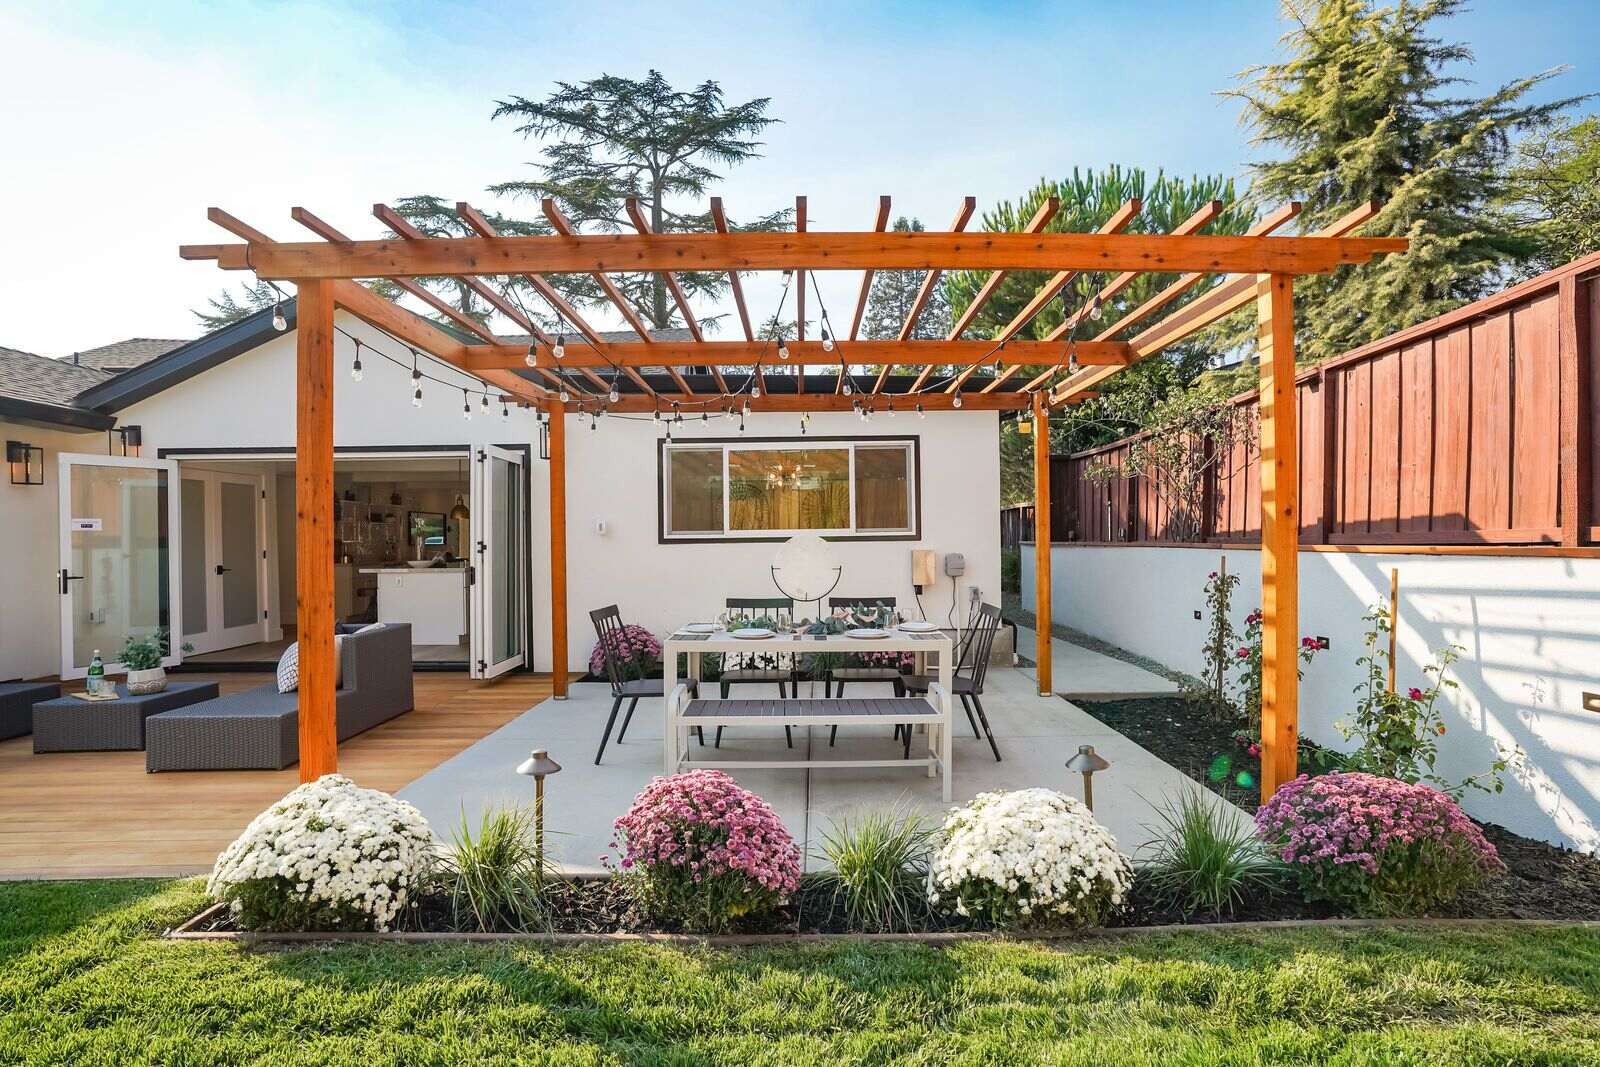
2. Incorporate Lighting Elements: Consider adding lighting elements to your pergola to extend its functionality into the evening hours. Options include string lights, lanterns, or even integrated LED fixtures. Strategically placed lighting can create a warm and inviting ambiance, making your pergola a welcoming space after the sun sets.
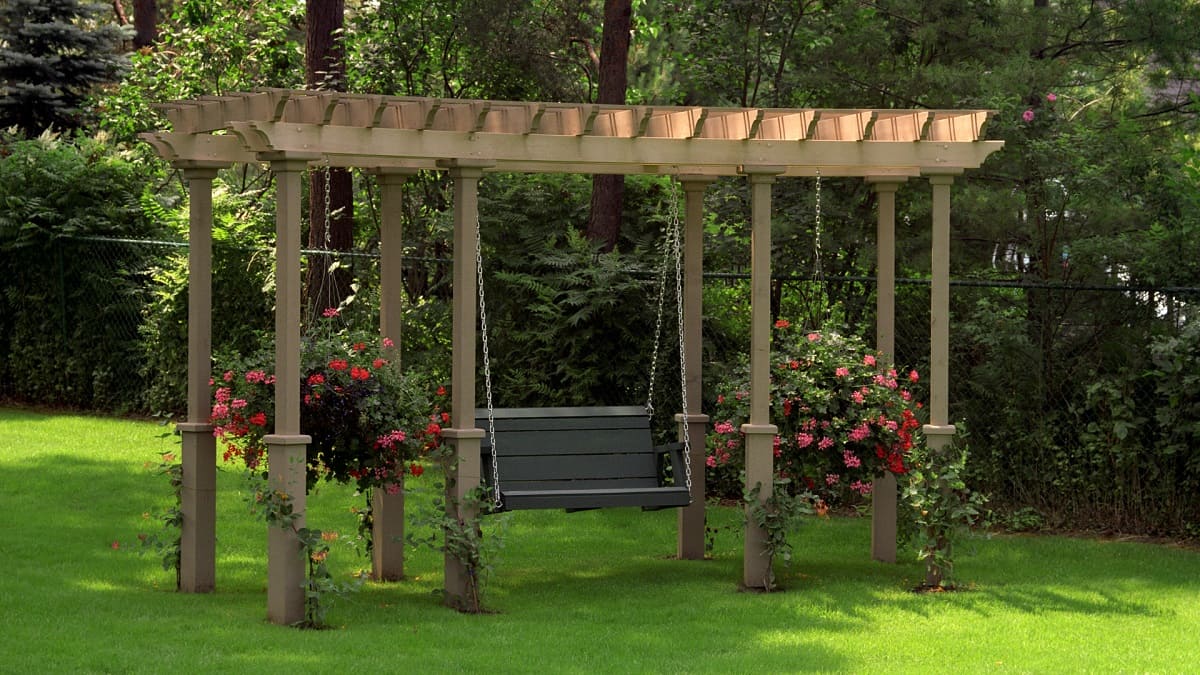
3. Introduce Climbing Plants or Vines: Enhance the natural charm of your pergola by introducing climbing plants or vines that will gracefully intertwine with the structure over time. Select varieties that thrive in your climate and provide visual interest and shade, adding a touch of greenery and natural beauty to your outdoor oasis.
4. Incorporate Outdoor Furniture: Complete the functionality of your pergola by incorporating outdoor furniture such as comfortable seating, a dining set, or lounge chairs. Choose pieces that complement the style of your pergola and create inviting spaces for relaxation, dining, or socializing.
5. Add Decorative Accents: Personalize your pergola with decorative accents such as outdoor rugs, throw pillows, and potted plants. These elements add personality and charm to the space, creating a welcoming and visually appealing environment for outdoor enjoyment.
6. Install a Shade Canopy (Optional): If you desire additional shade and protection from the sun, consider installing a retractable shade canopy or fabric cover. This optional addition provides flexibility in controlling sunlight and adds an element of comfort to your pergola space.
7. Create a Focal Point: Consider incorporating a focal point within your pergola, such as a decorative fire pit, water feature, or outdoor artwork. This focal element adds character and visual interest, elevating the overall appeal of your outdoor space.
By adding these finishing touches, you’re infusing your concrete-based pergola with personality, functionality, and visual allure. Each detail contributes to the creation of a captivating outdoor retreat that reflects your style and enhances your outdoor living experience. With the completion of these final steps, your pergola becomes a welcoming haven for relaxation, entertainment, and cherished moments with family and friends.
Read more: How To Build A Lean-To Pergola
Conclusion
Congratulations on successfully completing the construction of your pergola on a concrete base! Through meticulous planning, precise execution, and a touch of creativity, you’ve transformed your outdoor space into a captivating oasis that enhances the beauty and functionality of your property. As you admire the finished structure, take pride in the craftsmanship and dedication that have brought your pergola vision to life.
Your newly constructed pergola serves as more than just an outdoor structure; it’s a testament to your creativity and a reflection of your commitment to enhancing your outdoor living experience. By incorporating the following key elements, you’ve created a space that embodies both form and function:
- Structural Integrity: The careful preparation of the concrete base, setting of the footings, and installation of the pergola posts have established a solid and reliable foundation for your structure, ensuring its stability and longevity.
- Aesthetic Appeal: The addition of beams, rafters, and finishing touches, such as wood sealer, lighting, and decorative accents, has elevated the visual allure of your pergola, creating a welcoming and enchanting outdoor space.
- Functional Design: By integrating outdoor furniture, shade options, and decorative elements, you’ve crafted a space that invites relaxation, dining, and social gatherings, adding practicality and comfort to your outdoor retreat.
As you bask in the satisfaction of completing this rewarding DIY project, envision the countless moments of joy and tranquility that await you within the shelter of your pergola. Whether it’s savoring a meal with loved ones, unwinding with a good book, or simply relishing the beauty of nature, your pergola stands ready to enrich your outdoor lifestyle.
Remember that the journey doesn’t end with construction; it’s an ongoing evolution as your pergola becomes an integral part of your outdoor living experience. Embrace the opportunity to personalize and adapt your pergola to suit your changing needs and tastes, ensuring that it remains a cherished and functional asset for years to come.
With your pergola complete, take a moment to revel in the sense of accomplishment and the anticipation of countless delightful moments that lie ahead. Your concrete-based pergola is more than just a structure; it’s a testament to your creativity, a haven of relaxation, and a focal point for cherished memories in the great outdoors.
Frequently Asked Questions about How To Build A Pergola On Concrete
Was this page helpful?
At Storables.com, we guarantee accurate and reliable information. Our content, validated by Expert Board Contributors, is crafted following stringent Editorial Policies. We're committed to providing you with well-researched, expert-backed insights for all your informational needs.

0 thoughts on “How To Build A Pergola On Concrete”