Home>Furniture>Outdoor Furniture>How To Attach A Pergola To A Concrete Patio
Outdoor Furniture
How To Attach A Pergola To A Concrete Patio
Modified: October 22, 2024
Learn how to attach your outdoor furniture, such as a pergola, securely to a concrete patio with our step-by-step guide. Enhance your outdoor living space today!
(Many of the links in this article redirect to a specific reviewed product. Your purchase of these products through affiliate links helps to generate commission for Storables.com, at no extra cost. Learn more)
Introduction
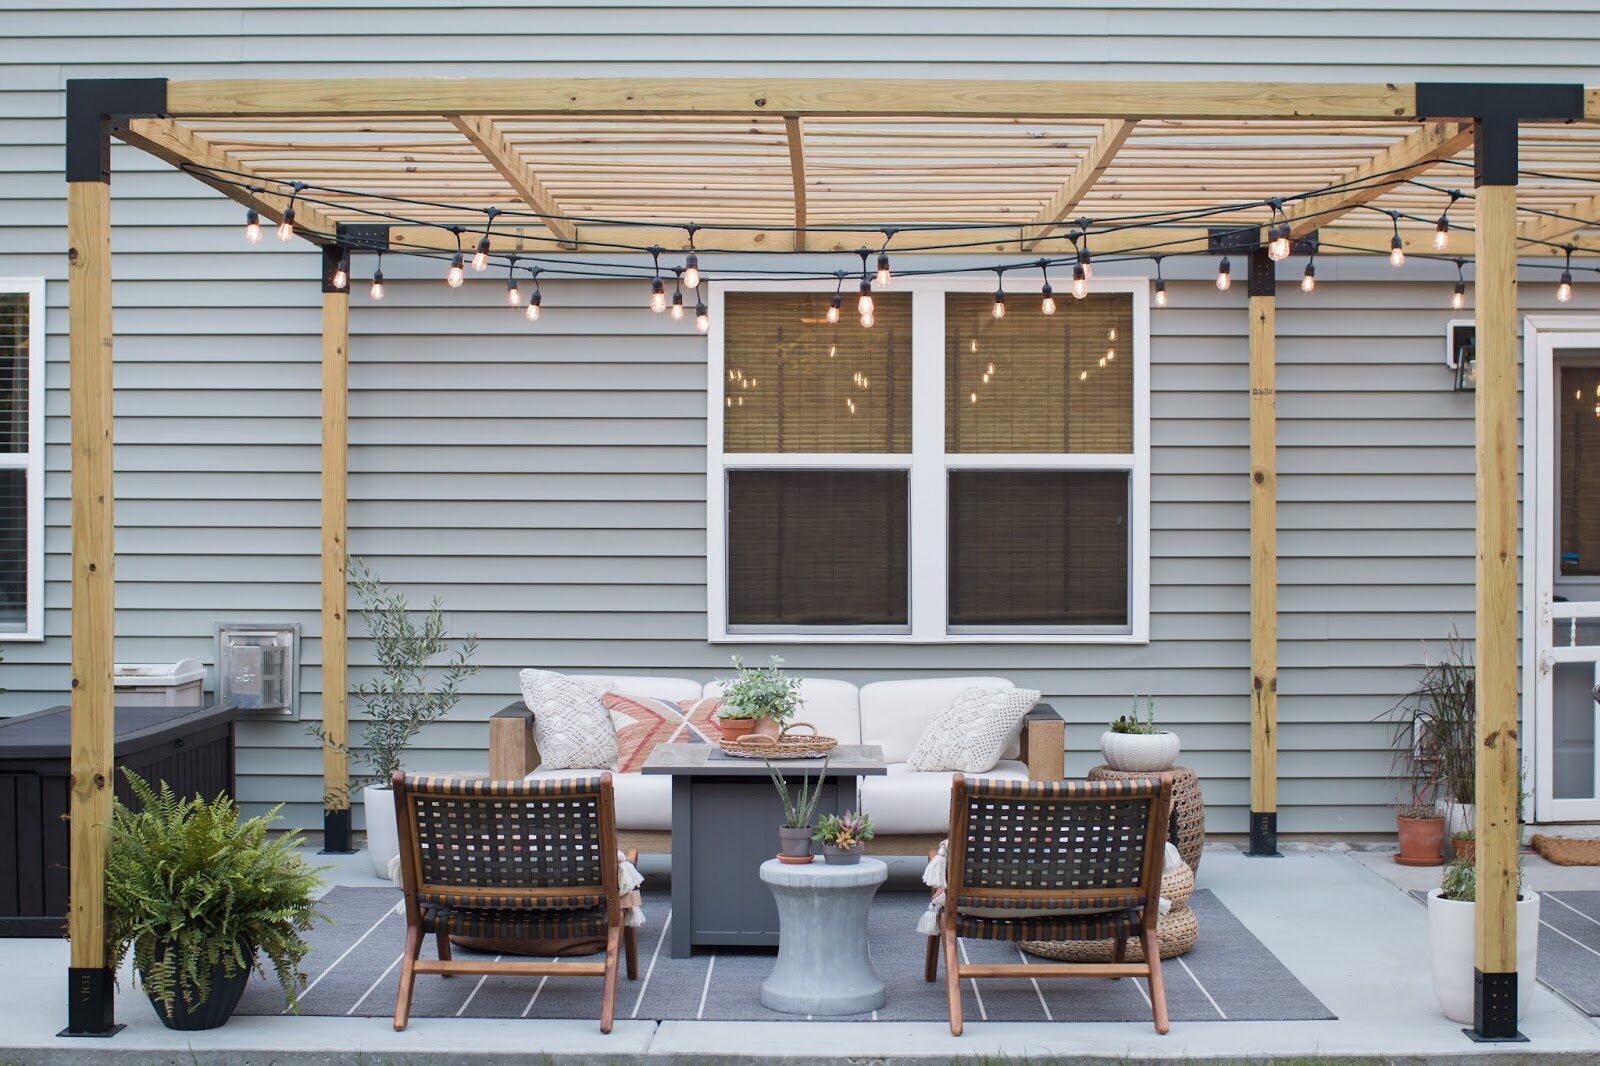
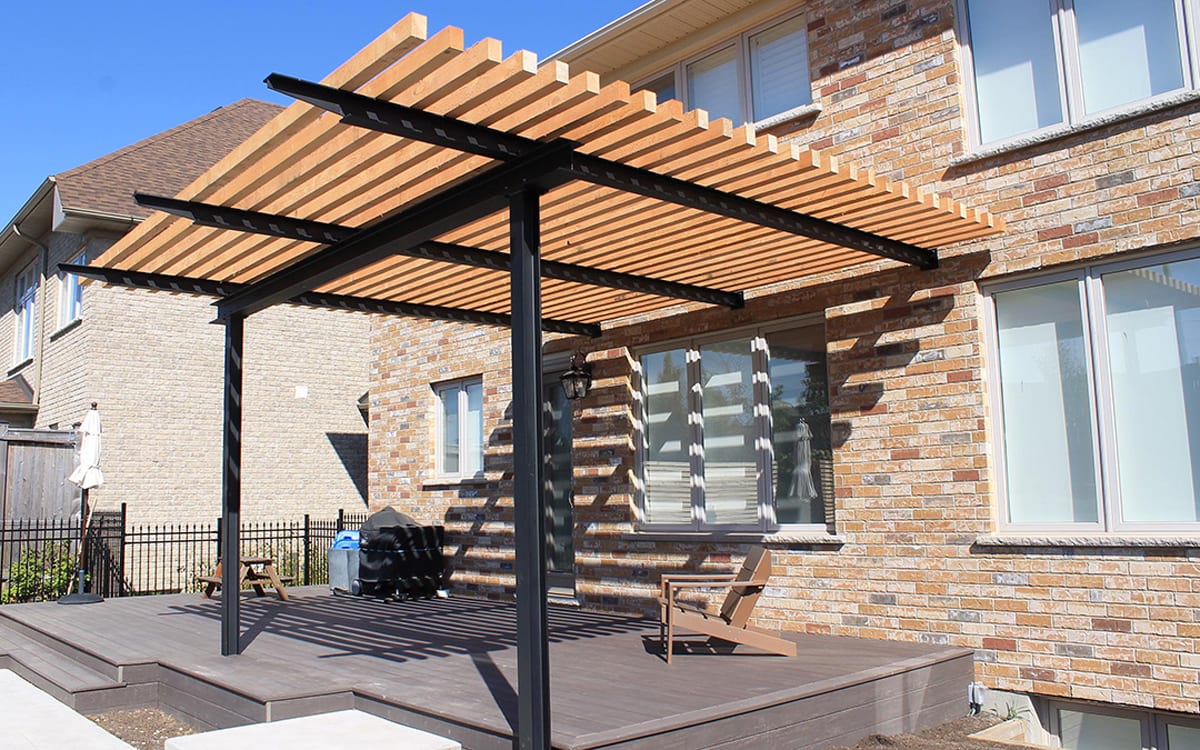
Adding a pergola to your outdoor space can transform it into a stylish and functional oasis. Whether you’re looking for a shady spot to relax or a place to entertain guests, a pergola provides the perfect solution. But how do you attach a pergola to a concrete patio? In this article, we will guide you through the step-by-step process, ensuring that your pergola is securely anchored to the concrete surface, providing stability and longevity.
Before we get started, it’s important to gather all the necessary materials and tools. You will need:
- Anchoring hardware (anchor bolts or concrete screws)
- Power drill with masonry bit
- Wrench or socket set
- Pergola kit or lumber for building a custom pergola
- Measuring tape
- Pencil or marker
- Safety glasses and gloves
- Level
- Hammer
Now that you have everything you need, let’s dive into the step-by-step process of attaching a pergola to a concrete patio.
Key Takeaways:
- Attaching a pergola to a concrete patio requires careful planning and precise execution. From measuring and marking the placement to securing the pergola, each step is crucial for a stable and long-lasting structure.
- After attaching the pergola, consider adding personal touches like retractable canopies or climbing plants to enhance its appearance and functionality. Regular maintenance will ensure its durability and safety for years to come.
Read more: How To Build A Pergola On Concrete
Materials and Tools Needed
Before you begin the process of attaching a pergola to a concrete patio, it’s important to gather all the necessary materials and tools. Here’s a list of what you’ll need:
Materials:
- Anchor bolts or concrete screws
- Pergola kit or lumber for building a custom pergola
Tools:
- Power drill with masonry bit
- Wrench or socket set
- Measuring tape
- Pencil or marker
- Safety glasses and gloves
- Level
- Hammer
The anchor bolts or concrete screws will be used to securely attach the pergola to the concrete patio. The choice between anchor bolts and concrete screws depends on the specific requirements of your project and the materials you’re working with. Anchor bolts are typically used for heavy-duty applications and provide a strong and secure connection. Concrete screws, on the other hand, are designed for lighter loads and offer a simpler installation process.
If you don’t already have a pergola, you’ll need to choose between purchasing a pergola kit or building a custom pergola using lumber. Pergola kits come with pre-cut and pre-drilled materials, making the assembly process easier. However, if you prefer a more customized design or want to save money, building a pergola from scratch using lumber allows for more flexibility.
Now that you have all the necessary materials and tools, you’re ready to move on to the next steps of attaching a pergola to a concrete patio. With careful planning and execution, you’ll soon be enjoying the beauty and functionality of your new pergola in your outdoor space.
Step 1: Measure and Mark Placement
The first step in attaching a pergola to a concrete patio is to measure and mark the placement of the pergola. This will ensure that your pergola is positioned correctly and aligns with your desired design and layout.
Start by determining the desired location and size of your pergola. Measure the dimensions of the pergola, including both the length and width. Take into consideration any existing structures or obstructions that may impact the placement of the pergola.
Once you have determined the location and dimensions, use a measuring tape to mark the placement of the pergola on the concrete patio. Use a pencil or marker to make clear and visible marks on the concrete surface.
It’s important to ensure that the placement of the pergola is level and aligned properly. Use a level to check that the marks are straight and level. Adjust the placement if necessary to ensure a proper alignment.
Take your time during this step to ensure accurate measurements and markings. Mistakes at this stage can lead to problems later in the installation process. Double-check your measurements and make any adjustments needed before moving on to the next step.
Once you have measured and marked the placement of the pergola, you’re ready to move on to the next step: preparing the concrete surface for installation.
Read more: How To Attach A Pergola To A Deck
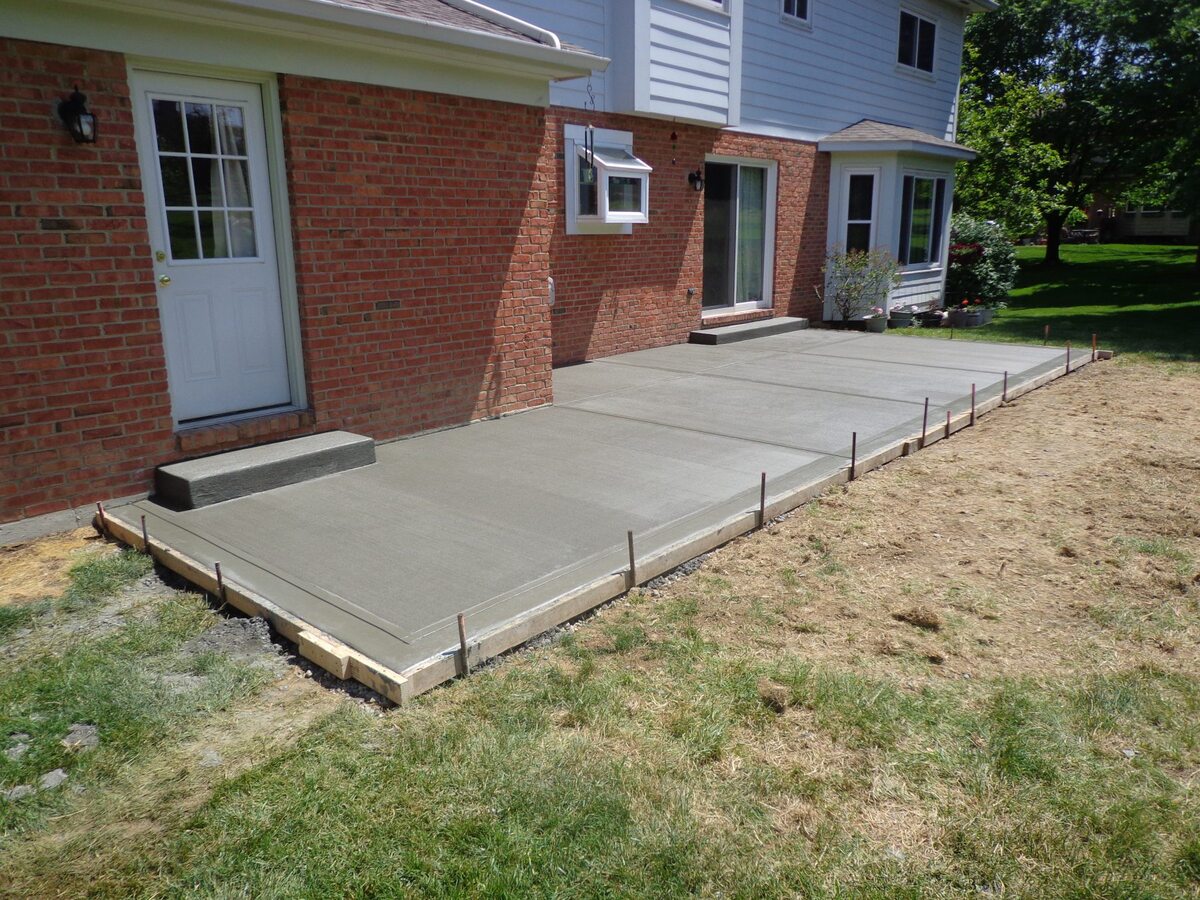
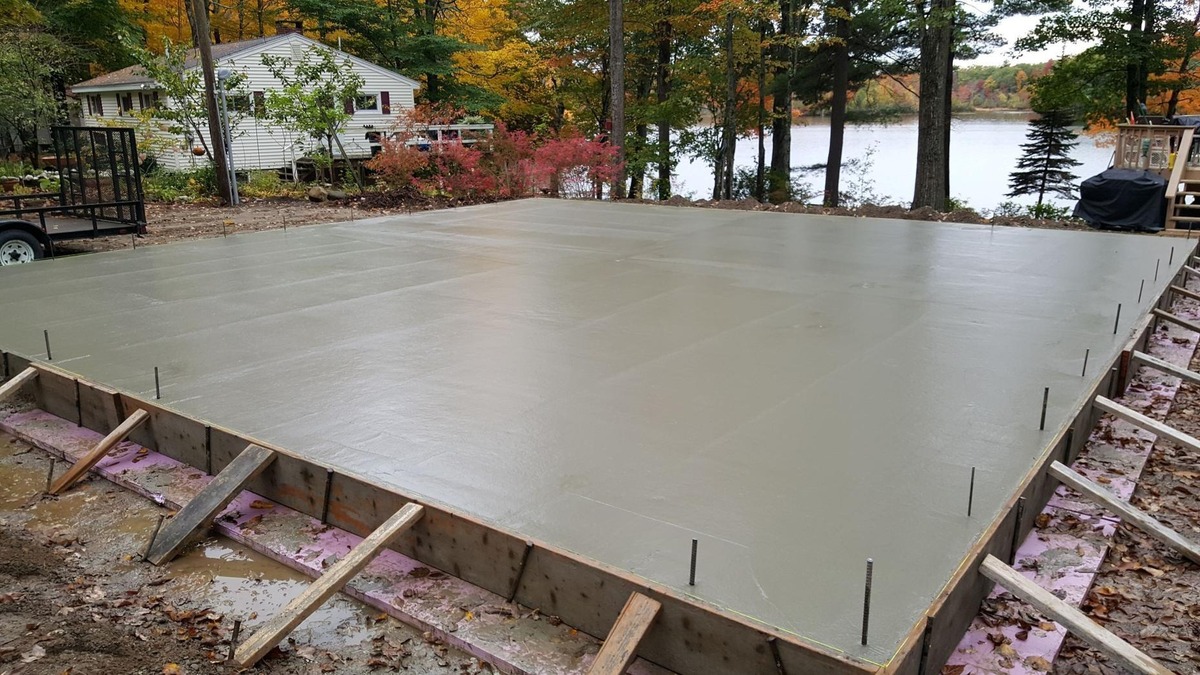
Step 2: Prepare the Concrete Surface
After measuring and marking the placement of your pergola on the concrete patio, the next step is to prepare the concrete surface for installation. Proper preparation of the concrete surface is crucial for achieving a secure and long-lasting attachment.
Start by clearing the area around the marked location of the pergola. Remove any furniture, plants, or debris that may interfere with the installation process. Sweep the concrete surface to ensure it is clean and free of any dirt or loose particles.
If there are any cracks or uneven areas on the concrete surface, it’s important to address them before proceeding. Small cracks can be filled with a concrete patching compound. Larger or deeper cracks may require professional repair. Smooth out any uneven areas using a concrete grinder or a leveling compound.
Once the surface is clean and smooth, it’s time to prepare the concrete for anchoring. Use a power drill with a masonry bit to drill holes into the concrete surface at the marked locations. The size and depth of the holes will depend on the type of anchor bolts or concrete screws you are using.
Follow the manufacturer’s instructions for drilling the holes, ensuring that they are the appropriate size and depth. It’s important to drill the holes straight and perpendicular to the concrete surface to ensure a proper fit and alignment.
After drilling the holes, use a brush or a vacuum to remove any dust or debris from the holes. This will ensure a clean and secure attachment when installing the anchor bolts or concrete screws.
With the concrete surface prepared, you’re now ready to move on to the next step: drilling the anchor holes into the concrete.
Step 3: Drill Holes into the Concrete
With the concrete surface cleaned and prepared, the next step in attaching a pergola to a concrete patio is to drill holes into the concrete. These holes will provide the necessary anchor points for securing the pergola.
Start by selecting a suitable masonry bit for your power drill. The size of the drill bit should match the diameter of your anchor bolts or concrete screws. Refer to the manufacturer’s instructions or consult with a hardware professional to determine the appropriate bit size.
Attach the masonry bit securely to your power drill. Make sure the bit is straight and aligned properly. If necessary, use a level or ruler to ensure the drill is perpendicular to the concrete surface.
Wear safety glasses and gloves for protection before starting the drilling process. Position the drill bit over the first marked hole and apply gentle pressure to begin drilling. Slowly increase the pressure and continue drilling until the desired depth is reached.
Take your time and maintain a steady pace while drilling. Excessive force or speed can cause the drill bit to overheat or break. If you encounter any resistance, stop drilling and check the drill bit for damage or dullness. Replace the bit if necessary.
Once the first hole is drilled, move on to the remaining marked locations and repeat the drilling process. Ensure that the holes are evenly spaced and aligned with your pergola’s design.
Periodically clean the drilled holes by removing dust and debris using a brush or vacuum. This will help achieve a proper fit and secure attachment when installing the anchor bolts or concrete screws.
After drilling all the necessary holes, you’re ready to move on to the next step: attaching the anchor bolts to the concrete.
Step 4: Attach Anchor Bolts
After drilling the holes into the concrete, the next step in attaching a pergola to a concrete patio is to attach the anchor bolts. Anchor bolts provide a strong and stable connection between the pergola and the concrete surface.
Start by inserting the anchor bolts into the drilled holes. Make sure the bolts are positioned straight and align with the holes. Use a wrench or socket set to tighten the bolts securely into place. The depth of the anchor bolts should match the depth of the drilled holes to ensure a proper fit.
It’s important to tighten the anchor bolts firmly, but avoid overtightening, as this could cause the concrete to crack or the bolt to break. Follow the manufacturer’s instructions for the proper torque or tension needed for the specific anchor bolts you are using.
Check that the anchor bolts are level and aligned with each other. Use a level to ensure the bolts are straight and perpendicular to the concrete surface. Adjust as needed to achieve a proper alignment.
Once all the anchor bolts are securely attached, double-check the tightness to ensure they are properly seated in the concrete. Give them a firm tug to make sure they are stable and not loose.
If you are using concrete screws instead of anchor bolts, the process will be slightly different. Follow the manufacturer’s instructions for drilling the screws into the concrete. It’s important to use the appropriate torque or tension to secure the screws.
With the anchor bolts or screws securely attached, you’re ready to move on to the next step: installing the pergola posts.
Use concrete anchors and brackets to attach the pergola to the concrete patio. Drill holes into the concrete, insert the anchors, and then attach the brackets to the anchors to secure the pergola in place.
Step 5: Install Pergola Posts
With the anchor bolts securely in place, it’s time to install the pergola posts. The posts will provide the main support for the pergola structure.
If you’re using a pergola kit, follow the manufacturer’s instructions for assembling and installing the posts. Typically, the posts will come pre-cut and pre-drilled, making the installation process straightforward.
If you’re building a custom pergola, you’ll need to cut the posts to your desired height and size. Measure and mark the posts according to your design specifications, ensuring that they are all the same length.
Place the first post onto the anchor bolt and slide it down until it reaches the desired height. Use a level to ensure that the post is straight and plumb. Adjust as needed until the post is perfectly vertical.
Secure the post to the anchor bolt by tightening the nut onto the bolt. Use a wrench or socket set to ensure a tight and secure fit. Repeat this process for each post, making sure that all posts are straight and aligned with each other.
Once all the posts are installed, double-check their alignment and adjust if necessary. Make sure that they are all at the same height and that the pergola structure is symmetrical.
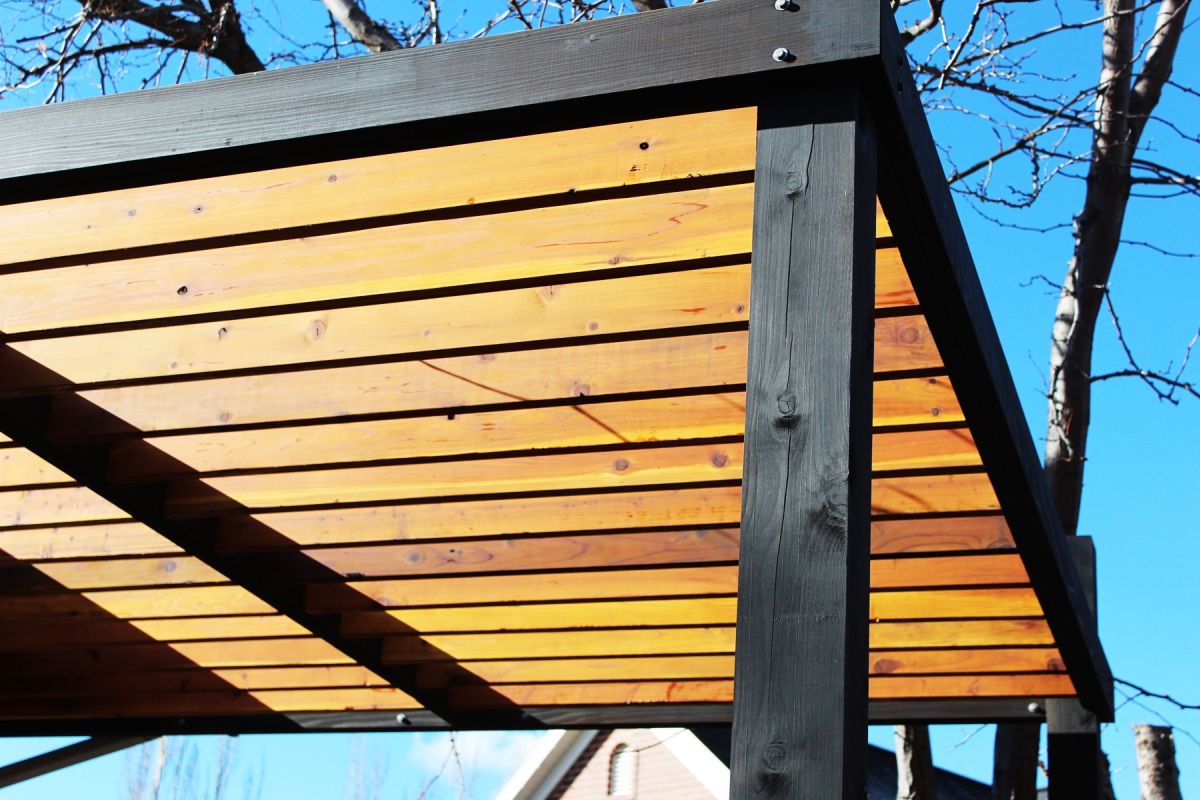
If your pergola design includes additional beams or cross members, you can now attach those to the posts. Follow the manufacturer’s instructions or your design plan for attaching and securing these elements.
With the pergola posts installed, you’re ready to move on to the next step: securing the pergola to the concrete.
Read more: How To Attach A Pergola To A Roof
Step 6: Secure Pergola to Concrete
After installing the pergola posts, the next step is to secure the pergola to the concrete surface. This will provide additional stability and ensure that the structure remains firmly in place, even during strong winds or storms.
Start by attaching the pergola to the anchor bolts. Slide the base of each post over the anchor bolt and ensure that it fits snugly. Use a wrench or socket set to tighten the nut onto the bolt, securing the pergola to the concrete surface.
Check the alignment and levelness of the pergola posts as you secure them. Use a level to ensure that the structure is straight and properly aligned. Adjust as necessary before fully tightening the nuts.
It’s important to have a second person assist you during this step to help hold the pergola in place as you secure it to the concrete. This will ensure that the structure remains stable and balanced during the installation process.
Once all the pergola posts are securely attached to the concrete, give the structure a firm shake to check for any wobbling or instability. If the pergola feels unstable, double-check the tightness of the anchor bolts and make any necessary adjustments.
For added security, you can also consider reinforcing the connection between the pergola and the concrete surface. Depending on your design, you may choose to add additional brackets, braces, or straps to further secure the structure.
With the pergola securely attached to the concrete, you’re now ready to move on to the final step: adding the finishing touches to complete your pergola installation.
Step 7: Finishing Touches
After securing the pergola to the concrete, it’s time to add the finishing touches to complete your installation. These final steps will help enhance the appearance and functionality of your pergola.
Start by ensuring that all the connections and hardware are properly tightened and secure. Double-check the tightness of the anchor bolts, nuts, and any additional fasteners used in the installation process. This will ensure that the pergola is structurally sound.
If you’re using a pergola kit, follow the manufacturer’s instructions for adding any remaining components, such as the rafters or cross beams. Attach these elements according to the provided guidelines, ensuring that they are properly aligned and securely fastened.
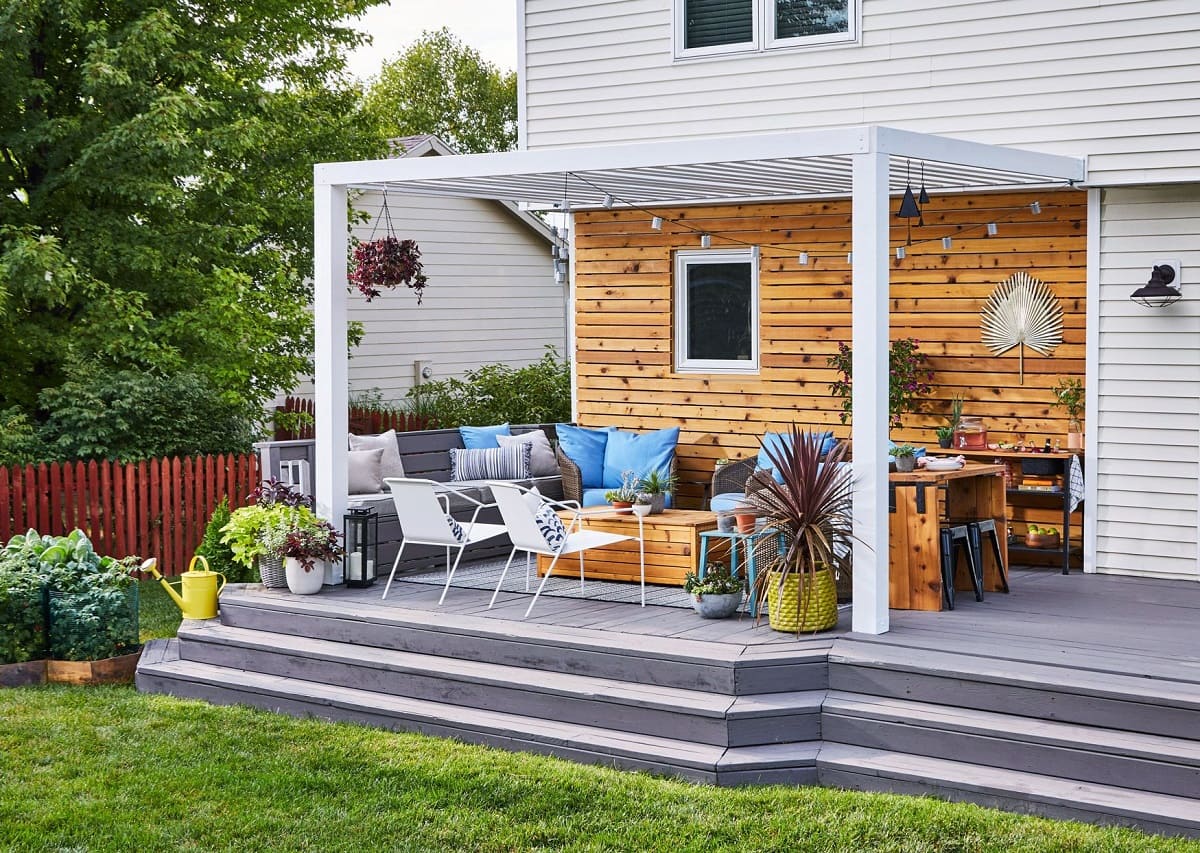
Consider adding additional features or accessories to your pergola. This could include installing a retractable canopy or shade cloth to provide protection from the sun. You can also add climbing plants or vines to create a natural and beautiful overhead canopy.
Take the time to clean and inspect the entire pergola structure. Remove any dust or debris that may have accumulated during the installation process. Inspect the wood or other materials for any damage, and make any necessary repairs or adjustments.
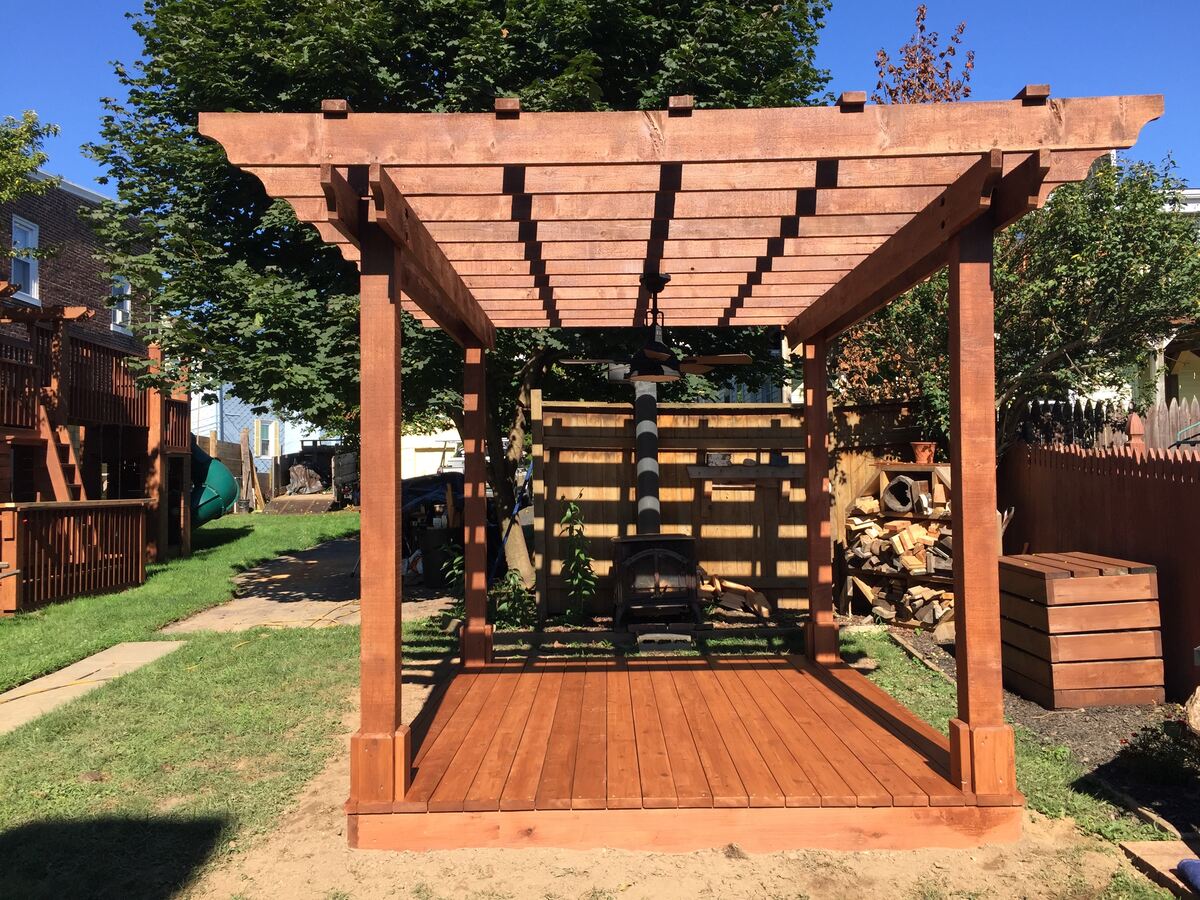
Lastly, step back and admire your completed pergola. Take a moment to enjoy the fruits of your labor and imagine the countless hours of enjoyment and relaxation that await you in your new outdoor space.
Remember to regularly inspect and maintain your pergola to ensure its longevity and safety. Check for any signs of wear and tear, such as loose screws or fading paint, and address any issues promptly.
By following these steps and adding the finishing touches, you have successfully attached a pergola to your concrete patio. Now, it’s time to invite friends and family over to share in the joy of your beautiful outdoor oasis.
Conclusion
Attaching a pergola to a concrete patio can greatly enhance the beauty and functionality of your outdoor space. By following the step-by-step process outlined in this article, you can securely anchor your pergola to the concrete surface, creating a stable and long-lasting structure.
Starting with measuring and marking the placement, preparing the concrete surface, drilling holes, attaching the anchor bolts, installing the pergola posts, securing the pergola to the concrete, and adding the finishing touches, each step is crucial for a successful installation.
Throughout the process, ensure that your measurements are accurate, the concrete surface is properly prepared, and the anchor bolts are tightly secured. Take your time to align and level the pergola posts, and double-check the stability of the structure once it is attached to the concrete.
With the pergola securely in place, you can add personal touches to enhance its appearance and functionality. Consider adding features like retractable canopies or shade cloths, as well as incorporating climbers or vines for a natural overhead canopy.
Remember to regularly inspect and maintain your pergola to ensure its durability and safety. Take pride in your completed installation and enjoy the countless hours of relaxation and entertainment that your new pergola will provide.
Now that you have the knowledge and steps to attach a pergola to a concrete patio, it’s time to bring your outdoor space to life and create a stunning and inviting oasis right in your own backyard.
Frequently Asked Questions about How To Attach A Pergola To A Concrete Patio
Was this page helpful?
At Storables.com, we guarantee accurate and reliable information. Our content, validated by Expert Board Contributors, is crafted following stringent Editorial Policies. We're committed to providing you with well-researched, expert-backed insights for all your informational needs.


0 thoughts on “How To Attach A Pergola To A Concrete Patio”