Home>Articles>7 Ways To Fasten An Interior Wall To Concrete For A Secure Hold
Articles
7 Ways To Fasten An Interior Wall To Concrete For A Secure Hold
Modified: January 9, 2024
Learn the top 7 articles that reveal effective ways to securely fasten interior walls to concrete, ensuring a strong hold and durability.
(Many of the links in this article redirect to a specific reviewed product. Your purchase of these products through affiliate links helps to generate commission for Storables.com, at no extra cost. Learn more)
Introduction
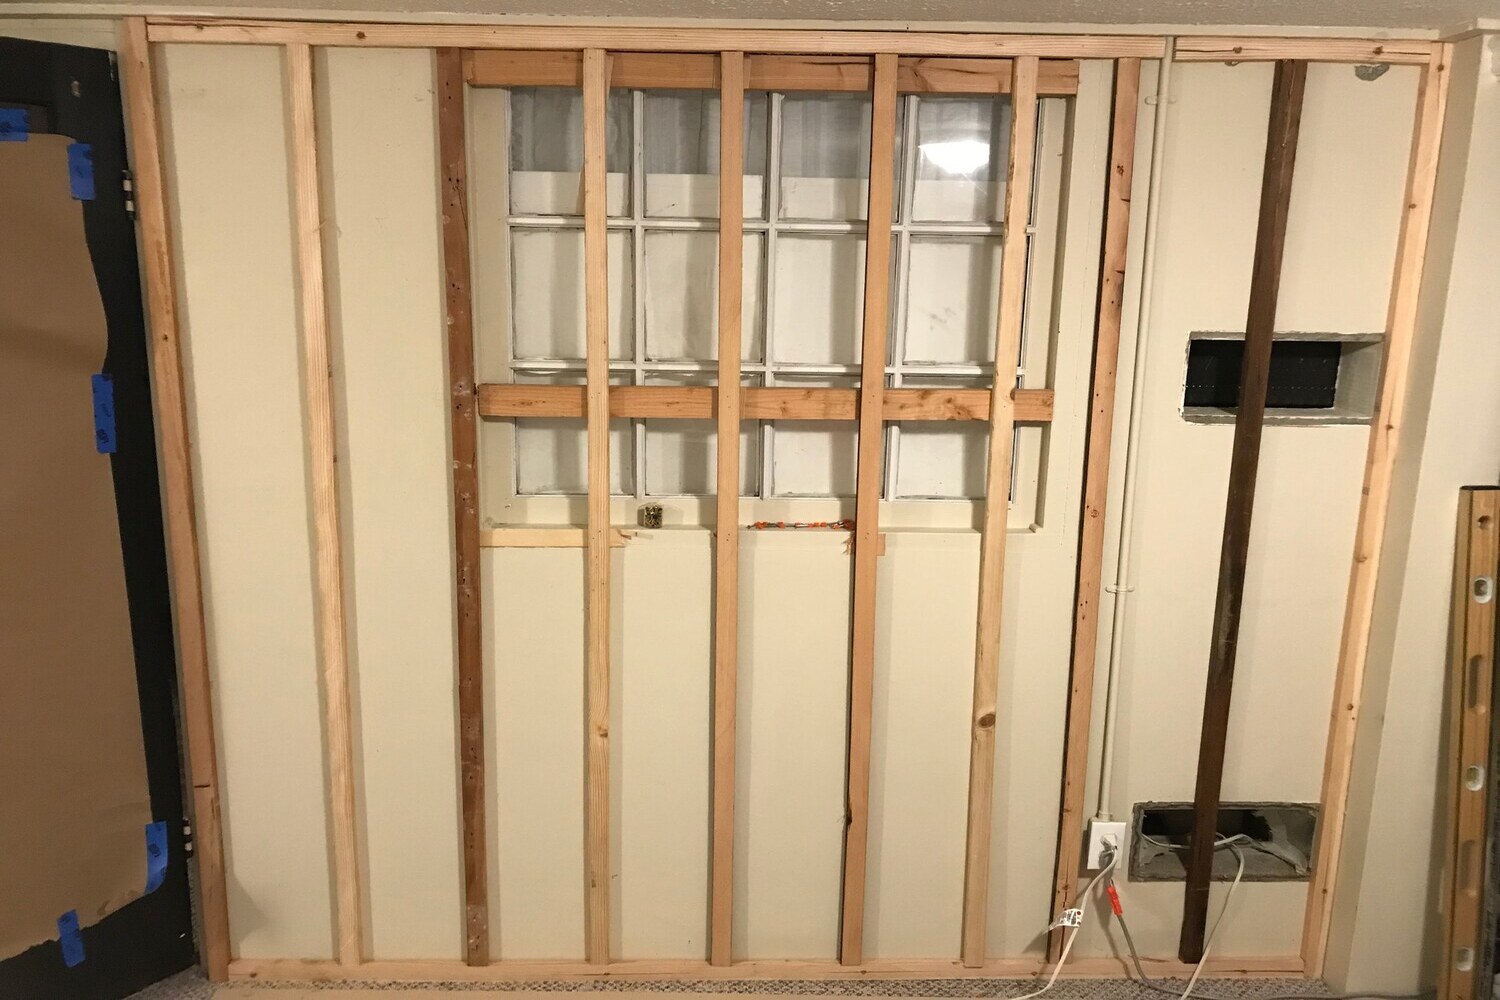
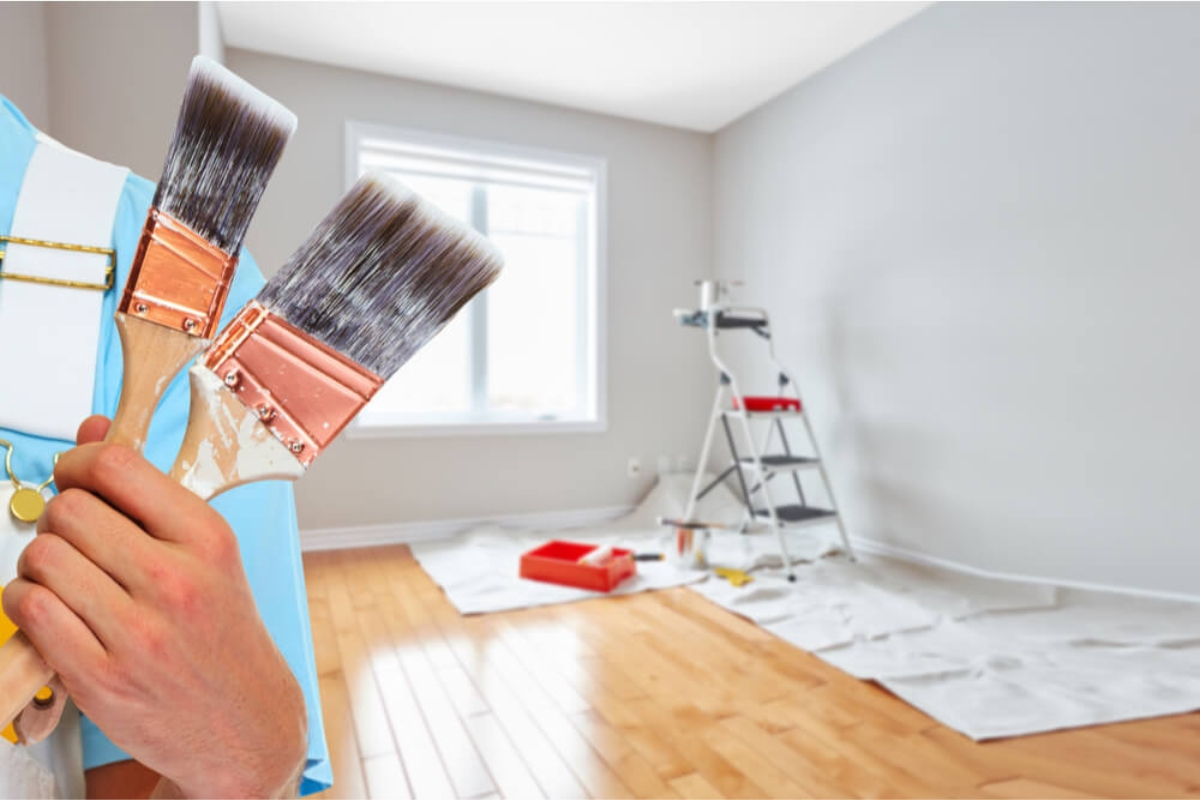
When it comes to fastening an interior wall to concrete, it’s crucial to ensure a secure and reliable hold. Whether you’re working on a home renovation project or installing a new wall in a commercial space, there are several methods to consider for fastening the wall to the concrete surface.
In this article, we’ll explore seven effective ways to fasten an interior wall to concrete. Each method has its own advantages and considerations, so it’s important to choose the right approach based on your specific needs and the characteristics of the concrete surface.
By following these methods, you can ensure that your interior wall is securely anchored to the concrete surface, providing stability and peace of mind for years to come. So let’s dive in and discover the different methods for fastening an interior wall to concrete!
Key Takeaways:
- Choosing the right method for fastening an interior wall to concrete is crucial for stability and longevity. Whether it’s adhesive anchors, expansion anchors, or powder-actuated tools, following proper installation techniques and considering safety measures is essential for a secure attachment.
- Each method, from Tapcon screws to wedge anchors, offers its own advantages and considerations. By carefully assessing the concrete surface, following step-by-step instructions, and prioritizing safety, you can achieve a successful and long-lasting interior wall installation.
Read more: How To Cover Stucco Interior Walls
Method 1: Adhesive Anchors
Overview:
Adhesive anchors are a popular choice when it comes to fastening an interior wall to concrete. These anchors rely on a strong adhesive to bond the wall to the concrete surface, providing a secure hold. Adhesive anchors are easy to install and offer excellent load-bearing capacity.
Step-by-step instructions:
- Clean the concrete surface: Before installing adhesive anchors, it’s important to ensure that the concrete surface is clean and free from dust, debris, and loose particles. Use a wire brush or a vacuum cleaner to thoroughly clean the area where the anchors will be installed.
- Prepare the adhesive: Follow the manufacturer’s instructions to prepare the adhesive. This usually involves mixing two components together and allowing the adhesive to set for a specific period of time.
- Apply the adhesive: Use a caulk gun or a specialized adhesive dispenser to apply the adhesive into the drilled holes in the concrete. Make sure to fill the holes completely with the adhesive.
- Insert the anchor: Immediately after applying the adhesive, insert the anchor into the drilled hole. Ensure that the anchor is fully inserted and seated properly in the hole.
- Allow the adhesive to cure: Give the adhesive sufficient time to cure and bond the anchor to the concrete. This usually takes several hours or overnight, depending on the specific adhesive used.
- Attach the wall: Once the adhesive has fully cured, you can attach the interior wall to the anchors. Use screws or bolts recommended by the adhesive manufacturer to secure the wall to the anchors.
Tips and considerations:
- Make sure to choose an adhesive that is specifically designed for anchoring to concrete. Different adhesives have different load-bearing capacities, so select one that meets your wall’s weight requirements.
- Follow the manufacturer’s instructions carefully when mixing and applying the adhesive. Incorrect mixing ratios or improper application can compromise the bond strength.
- Use the appropriate size and depth of drill bit to create the holes for the anchors. The hole should be slightly larger than the anchor diameter to allow for proper adhesive coverage.
- Consider using multiple adhesive anchors spaced evenly along the wall to distribute the load and provide better stability.
- Allow the adhesive to cure fully before subjecting the wall to any load or stress. This ensures maximum bond strength and long-lasting performance.
Adhesive anchors offer a reliable and efficient method for fastening an interior wall to concrete. By following the correct installation process and considering the tips mentioned, you can achieve a secure hold that withstands the test of time.
Method 2: Expansion Anchors
Overview:
Expansion anchors are another popular choice for fastening an interior wall to concrete. These anchors work by expanding within the drilled hole, creating a tight and secure hold. Expansion anchors are suitable for medium to heavy-duty applications and offer excellent load-bearing capacity.
Step-by-step instructions:
- Select the appropriate anchor type: Expansion anchors come in various types, including wedge anchors and sleeve anchors. Choose the anchor type based on the weight and load requirements of your interior wall.
- Drill the hole: Use a hammer drill and the appropriate size drill bit to create a hole in the concrete. The diameter and depth of the hole should match the specifications provided by the anchor manufacturer.
- Clean the hole: Remove any dust or debris from the drilled hole using a brush or a vacuum cleaner. A clean hole ensures proper expansion and anchoring of the anchor.
- Insert the anchor: Insert the expansion anchor into the drilled hole, ensuring that it is fully seated and flush with the surface of the concrete.
- Tighten the anchor: Using a wrench or a socket tool, tighten the nut on the anchor. This will cause the anchor to expand, creating a secure hold against the walls of the drilled hole.
- Attach the wall: Once the anchor is securely in place, you can attach the interior wall to the anchor. Use screws or bolts recommended by the anchor manufacturer to fasten the wall to the anchor.
Tips and considerations:
- Ensure that the drill bit used is specifically designed for drilling into concrete. Using the wrong type of bit can result in a poorly formed hole and compromised anchor hold.
- Check the load capacity and weight rating of the expansion anchors to ensure they are suitable for your interior wall. It’s better to choose anchors with a higher load capacity than what your wall actually requires.
- Consider using multiple expansion anchors spaced evenly along the wall to distribute the load and provide better stability.
- For hollow concrete walls, use a sleeve anchor that expands against the inside surface of the wall for a secure hold.
- Follow the manufacturer’s guidelines for tightening the anchor. Over-tightening can cause the anchor to fail, while under-tightening can result in a loose connection.
Expansion anchors offer a reliable and robust solution for fastening an interior wall to concrete. By following the proper installation steps and considering the tips provided, you can achieve a secure hold and ensure the longevity of your wall installation.
Method 3: Tapcon Screws
Overview:
Tapcon screws are specifically designed for fastening materials to concrete, making them a popular choice for securing interior walls. These screws have a unique thread design and are made from hardened steel to provide exceptional holding power and stability. Tapcon screws are easy to install and offer a reliable solution for fastening an interior wall to concrete.
Step-by-step instructions:
- Drill pilot holes: Use a hammer drill and the recommended size of masonry drill bit to drill pilot holes into the concrete. The depth of the pilot holes should be slightly longer than the length of the Tapcon screws.
- Clean the holes: Remove any dust or debris from the pilot holes using a brush or a vacuum cleaner. Clean holes ensure proper installation and a secure hold.
- Insert the Tapcon screws: Insert the Tapcon screw into the pilot hole, ensuring that it goes all the way in and sits flush with the surface of the wall.
- Drive the screws: Use a screwdriver or a drill with a screwdriver bit to drive the Tapcon screws into the pilot holes. Apply steady pressure and be careful not to over-tighten the screws.
- Check the stability: Once all the Tapcon screws are in place, give the wall a gentle shake or push to check its stability. If any screws feel loose or insecure, remove and replace them with new ones.
Tips and considerations:
- Make sure to use the correct size and type of masonry drill bit recommended by the Tapcon manufacturer.
- Use caution when drilling the pilot holes, as excessive force or incorrect technique can lead to the bit getting stuck or the hole being enlarged.
- Consider using a drill with a hammer function to facilitate easier and faster drilling into the concrete.
- Take into account any electrical or plumbing lines behind the wall before drilling the pilot holes to avoid damaging them.
- Ensure the Tapcon screws are driven straight and perpendicular to the surface of the wall to maintain a secure hold.
- Avoid over-tightening the screws, as this can cause the concrete to crack or the screws to strip.
Tapcon screws offer a reliable and straightforward method for fastening an interior wall to concrete. By following the proper installation steps and considering the tips provided, you can achieve a secure and stable wall attachment that withstands the test of time.
Method 4: Sleeve Anchors
Overview:
Sleeve anchors are a commonly used method for fastening an interior wall to concrete. These anchors consist of a cylindrical sleeve and a threaded bolt. When installed correctly, sleeve anchors provide a secure and durable hold. They are suitable for a wide range of applications and offer excellent load-bearing capacity.
Step-by-step instructions:
- Select the appropriate sleeve anchor: Consider the weight and load requirements of the interior wall to determine the size and type of sleeve anchor needed. Sleeve anchors come in various diameters and lengths to accommodate different wall thicknesses and load capacities.
- Drill the hole: Use a hammer drill and the recommended size of masonry drill bit to create a hole in the concrete. The diameter and depth of the hole should match the specifications provided by the sleeve anchor manufacturer.
- Clean the hole: Remove any dust or debris from the drilled hole using a brush or a vacuum cleaner. A clean hole ensures proper insertion and engagement of the sleeve anchor.
- Insert the sleeve anchor: Insert the sleeve anchor into the drilled hole, ensuring that the threads of the bolt are fully inside the sleeve and the flange is flush against the wall surface.
- Tighten the anchor: Using a wrench or a socket tool, turn the bolt clockwise to tighten the sleeve anchor. This will cause the sleeve to expand and grip the walls of the hole securely.
- Check the stability: Once the sleeve anchor is tightened, give the wall a gentle shake or push to check its stability. If the anchor feels loose or insecure, remove and replace it with a new one.
Tips and considerations:
- Ensure that the hole is drilled at the right depth to accommodate the length of the sleeve anchor. The sleeve should be fully embedded in the concrete for optimal strength.
- Take into account the thickness of the wall and the required embedment depth when selecting the sleeve anchor size.
- Consider using multiple sleeve anchors spaced evenly along the wall to distribute the load and provide better stability.
- Familiarize yourself with the specific torque requirements for the sleeve anchor you are using to ensure proper installation. Over-tightening can cause damage, while under-tightening can result in a weak hold.
- If working with hollow concrete blocks, consider using sleeve anchors designed for such applications. These anchors have a toggling mechanism to provide better hold in the hollow spaces.
Sleeve anchors offer a reliable and robust solution for fastening an interior wall to concrete. By following the proper installation steps and considering the tips provided, you can achieve a secure hold and ensure the stability and longevity of your wall installation.
When fastening an interior wall to concrete, use concrete screws or anchors for a secure hold. Pre-drill holes and use a hammer drill for best results.
Read more: What Nap For Interior Walls
Method 5: Wedge Anchors
Overview:
Wedge anchors are a commonly used method for fastening an interior wall to concrete. These anchors consist of a wedge-shaped clip, a threaded stud, and a nut and washer. Wedge anchors provide a strong and secure hold, making them suitable for heavy-duty applications. They are easy to install and offer excellent load-bearing capacity.
Step-by-step instructions:
- Choose the appropriate wedge anchor: Consider the weight and load requirements of the interior wall to determine the size and type of wedge anchor needed. Wedge anchors come in various diameters and lengths to accommodate different wall thicknesses and load capacities.
- Drill the hole: Use a hammer drill and the recommended size of masonry drill bit to create a hole in the concrete. The diameter and depth of the hole should match the specifications provided by the wedge anchor manufacturer.
- Clean the hole: Remove any dust or debris from the drilled hole using a brush or a vacuum cleaner. A clean hole ensures proper insertion and engagement of the wedge anchor.
- Insert the wedge anchor: Insert the wedge anchor into the drilled hole, ensuring that the threaded stud is fully inserted and the clip is flush against the wall surface.
- Tighten the anchor: Place a wrench or socket over the nut on the threaded stud and turn clockwise to tighten the wedge anchor. This drives the clip into the walls of the hole and creates a secure hold.
- Ensure proper expansion: When tightening the wedge anchor, ensure that the clip fully expands inside the hole. You can feel or hear the anchor gripping the walls of the hole.
- Check the stability: Once the wedge anchor is tightened, give the wall a gentle shake or push to check its stability. If the anchor feels loose or insecure, remove and replace it with a new one.
Tips and considerations:
- Ensure that the hole is drilled at the correct diameter and depth to accommodate the wedge anchor. The anchor should be fully embedded in the concrete for optimal strength.
- Take into account the thickness of the wall and the required embedment depth when selecting the wedge anchor size.
- Consider using multiple wedge anchors spaced evenly along the wall to distribute the load and provide better stability.
- Follow the manufacturer’s guidelines for tightening the wedge anchor to ensure proper expansion. Over-tightening can cause damage, while under-tightening can result in a weak hold.
- If working with brittle or low-strength concrete, it is recommended to pre-drill a larger diameter hole and use epoxy to provide additional reinforcement for the wedge anchor.
Wedge anchors offer a secure and reliable solution for fastening an interior wall to concrete. By following the proper installation steps and considering the tips provided, you can achieve a strong hold and ensure the stability and longevity of your wall installation.
Method 6: Concrete Screws
Overview:
Concrete screws are a versatile and straightforward method for fastening an interior wall to concrete. These screws are specially designed with hardened steel and sharp threads to grip tightly into concrete. Concrete screws can be easily installed and offer a reliable solution for securing interior walls with medium to heavy loads.
Step-by-step instructions:
- Drill pilot holes: Use a hammer drill and a masonry drill bit to drill pilot holes into the concrete. The size of the pilot hole should match the diameter of the concrete screws you are using.
- Clean the holes: Remove any debris or dust from the pilot holes using a brush or a vacuum cleaner. Clean holes will ensure proper insertion and threading of the concrete screws.
- Align the wall: Position the interior wall in the desired location against the concrete surface.
- Insert the concrete screws: Insert the concrete screws into the pilot holes, applying firm pressure to insert them fully into the concrete.
- Tighten the screws: Use a screwdriver or a drill with a screwdriver bit to tighten the concrete screws clockwise. Apply gradual and even pressure to ensure a secure hold without over-tightening.
- Check the stability: Once all the concrete screws are tightened, give the wall a gentle shake or push to check its stability. If any screws feel loose or insecure, remove and replace them with new ones.
Tips and considerations:
- Use the correct size and type of masonry drill bit recommended for the concrete screws you are using. This will ensure proper pilot hole size and prevent cracking or damage to the concrete.
- Consider using concrete screws with a corrosion-resistant coating, especially for applications in damp or outdoor environments.
- Ensure that the pilot holes are drilled deep enough to accommodate the length of the concrete screws, but not too deep to compromise the hold.
- Avoid excessive force when driving the concrete screws to prevent overtightening or stripping the threads.
- For longer walls or heavier loads, use multiple concrete screws spaced evenly along the wall to distribute the load and provide better stability.
Concrete screws offer a convenient and reliable method for fastening an interior wall to concrete. By following the proper installation steps and considering the tips provided, you can achieve a secure hold and ensure the stability and longevity of your wall installation.
Method 7: Powder-Actuated Tools
Overview:
Powder-actuated tools are powerful tools designed for fastening interior walls to concrete. These tools use explosive charges to drive specialized fasteners, such as pins or studs, into the concrete surface. Powder-actuated tools are commonly used in commercial and industrial settings due to their efficiency and high-strength results.
Step-by-step instructions:
- Prepare the work area: Ensure that the work area is clear of any obstructions or hazards. Make sure you wear appropriate personal protective equipment, including safety glasses and ear protection.
- Select the appropriate powder-actuated tool: Choose a powder-actuated tool suitable for your project’s requirements. Consider factors such as wall thickness and the type of fastener needed.
- Load the tool: Follow the manufacturer’s instructions to properly load the tool with the appropriate explosive charges and fasteners.
- Position the tool: Hold the tool against the concrete surface where you want to fasten the wall.
- Align the fastener: Ensure that the fastener is aligned with the desired placement on the wall.
- Fire the tool: Activate the tool by striking the firing pin with a hammer or pressing the trigger, depending on the specific tool’s design. The explosive charge will discharge, driving the fastener into the concrete.
- Check the stability: Once all the fasteners are in place, give the wall a gentle shake or push to check its stability. If any fasteners feel loose or insecure, remove and replace them with new ones.
Tips and considerations:
- Obtain the necessary permits and training before using powder-actuated tools, as they can be potentially dangerous if not handled properly.
- Ensure that the concrete surface can withstand the force of the fasteners and the powder-actuated tool. Consult a professional or conduct a test to assess the concrete’s strength.
- Follow all safety precautions and guidelines provided by the manufacturer of the powder-actuated tool, including proper handling, maintenance, and storage procedures.
- Consider conducting a trial run on a test surface to familiarize yourself with the tool’s operation and ensure correct placement and penetration of the fasteners.
- Be aware of any potential damage to the concrete or surrounding structures that may occur during the fastening process.
Powder-actuated tools offer a fast and efficient method for fastening interior walls to concrete. However, they require proper training and caution to ensure safety and accuracy. By following the provided instructions and considering the tips, you can achieve a secure and stable wall installation using powder-actuated tools.
Conclusion
Fastening an interior wall to concrete is a crucial step in ensuring stability and longevity in construction or renovation projects. By choosing the right method and following proper installation techniques, you can achieve a secure, reliable, and aesthetically pleasing wall attachment.
In this article, we explored seven effective methods for fastening an interior wall to concrete: adhesive anchors, expansion anchors, Tapcon screws, sleeve anchors, wedge anchors, concrete screws, and powder-actuated tools. Each method offers its own advantages and considerations, allowing you to choose the best option for your specific project requirements.
Adhesive anchors provide an easy-to-install solution with excellent load-bearing capacity. Expansion anchors offer a secure hold suitable for medium to heavy-duty applications. Tapcon screws are versatile and straightforward, specifically designed for fastening materials to concrete. Sleeve anchors provide a strong and durable attachment. Wedge anchors offer a reliable and high-strength solution. Concrete screws are convenient and reliable. Powder-actuated tools provide efficiency and fastening power in commercial and industrial settings.
Regardless of the method chosen, it is essential to follow the step-by-step instructions, consider the provided tips and recommendations, and prioritize safety throughout the process. This includes properly preparing the work area, using the correct tools and equipment, and wearing appropriate personal protective gear.
Before beginning any wall fastening process, carefully assess the concrete surface’s characteristics and strength. Consider factors such as wall thickness, load requirements, and any potential obstacles or risks.
By taking the time to ensure proper installation, you can create a secure and stable attachment between the interior wall and the concrete surface. This will not only provide peace of mind but also contribute to the overall durability and safety of the structure.
Remember to consult manufacturer guidelines and seek professional advice when needed. Whether you’re working on a home renovation project or a commercial construction endeavor, implementing the right fastening method will help you achieve a successful and long-lasting interior wall installation.
Frequently Asked Questions about 7 Ways To Fasten An Interior Wall To Concrete For A Secure Hold
Was this page helpful?
At Storables.com, we guarantee accurate and reliable information. Our content, validated by Expert Board Contributors, is crafted following stringent Editorial Policies. We're committed to providing you with well-researched, expert-backed insights for all your informational needs.


0 thoughts on “7 Ways To Fasten An Interior Wall To Concrete For A Secure Hold”