Home>Gardening & Outdoor>Plant Care & Gardening Tips>How To Make Wildflower Seed Mats
Plant Care & Gardening Tips
How To Make Wildflower Seed Mats
Published: December 24, 2023
Learn how to create beautiful wildflower seed mats with our expert plant care and gardening tips. Enhance your garden and attract pollinators with this simple DIY project.
(Many of the links in this article redirect to a specific reviewed product. Your purchase of these products through affiliate links helps to generate commission for Storables.com, at no extra cost. Learn more)
Introduction
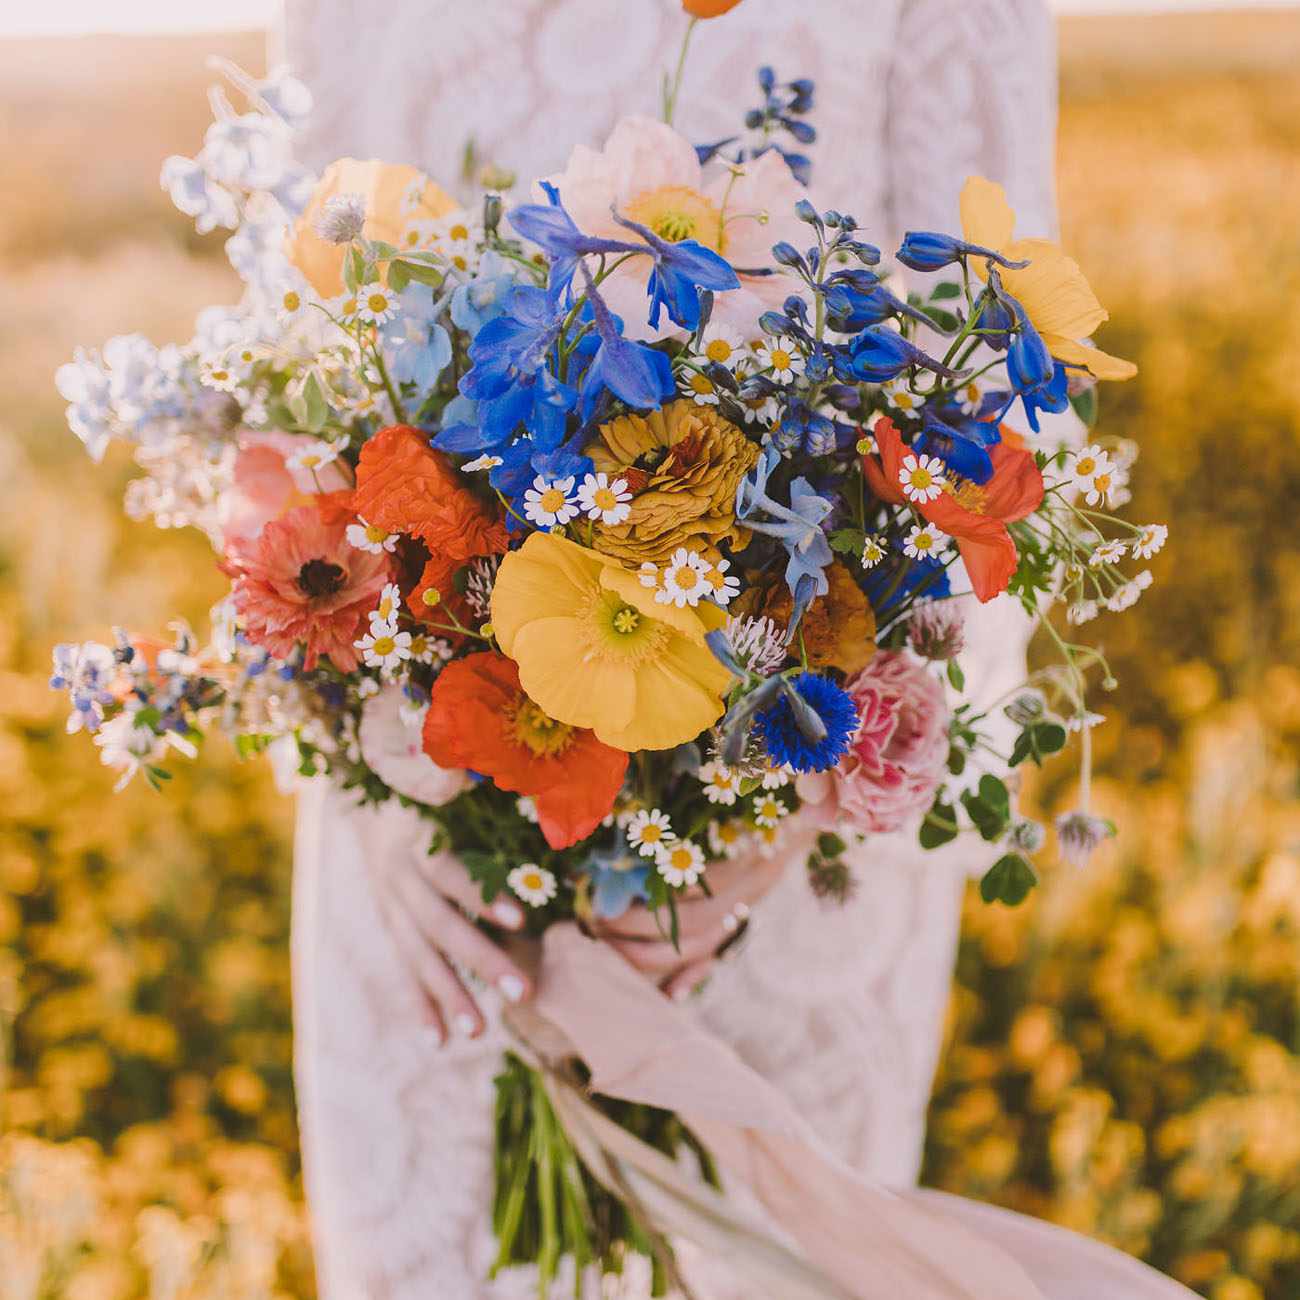
Welcome to the wonderful world of wildflowers! If you're an avid gardener or nature enthusiast, you're probably familiar with the beauty and ecological benefits of wildflowers. These vibrant and diverse blooms not only add a splash of color to your garden but also attract essential pollinators like bees and butterflies, contributing to a thriving ecosystem.
In this comprehensive guide, we'll delve into the art of creating wildflower seed mats, a delightful and practical way to cultivate these enchanting blooms in your garden. Whether you're a seasoned gardener or just starting your green-thumb journey, making your own wildflower seed mats is a rewarding and eco-friendly endeavor that allows you to witness the magic of nature unfold right in your backyard.
By following the simple steps outlined in this guide, you'll learn how to craft personalized seed mats that can be easily planted to yield a stunning array of wildflowers. Not only does this method make sowing wildflower seeds more convenient, but it also helps to prevent seed wastage and promotes even germination.
So, gather your gardening tools and unleash your creativity as we embark on this enchanting journey of crafting wildflower seed mats. Get ready to infuse your outdoor space with the vibrant hues and delightful fragrances of wildflowers, creating a haven for both you and nature's winged wonders. Let's dive in and explore the art of making wildflower seed mats from scratch!
Key Takeaways:
- Crafting wildflower seed mats is a fun and eco-friendly way to bring vibrant blooms to your garden while supporting local pollinators. It’s a creative project that helps reduce waste and promotes biodiversity.
- By making your own seed mats, you can create a haven for bees and butterflies while adding a splash of color to your outdoor space. It’s a rewarding and enchanting journey that anyone can enjoy!
Read more: When To Seed Wildflowers
Materials Needed
Before we dive into the exciting process of creating wildflower seed mats, let’s ensure that we have all the essential materials at hand. Gathering these supplies will set the stage for a smooth and enjoyable crafting experience. Here’s what you’ll need:
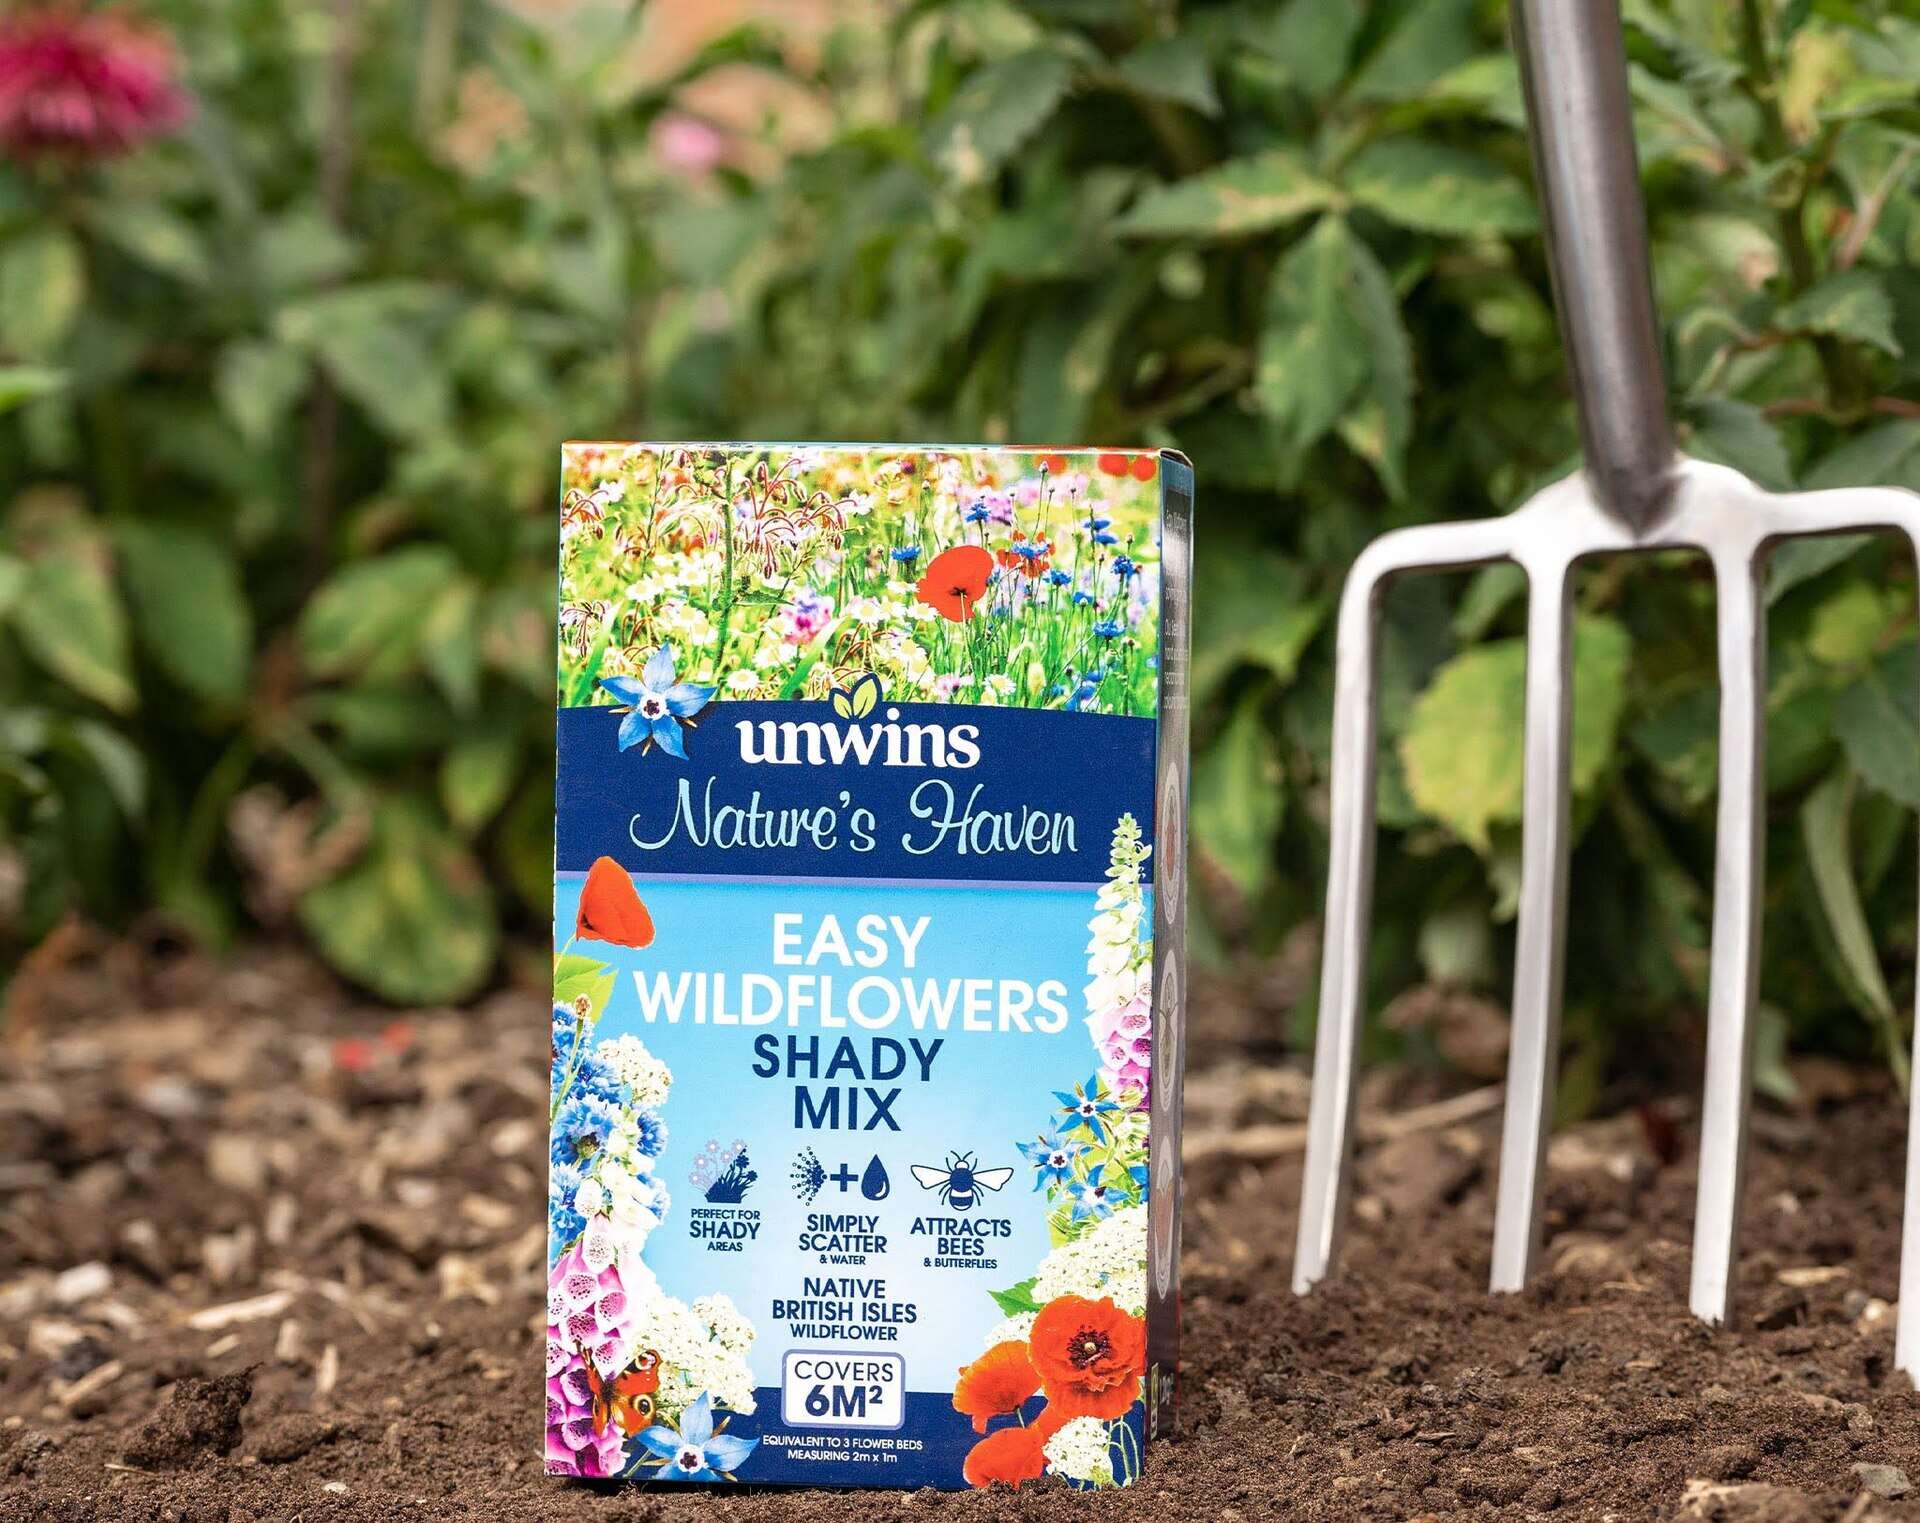
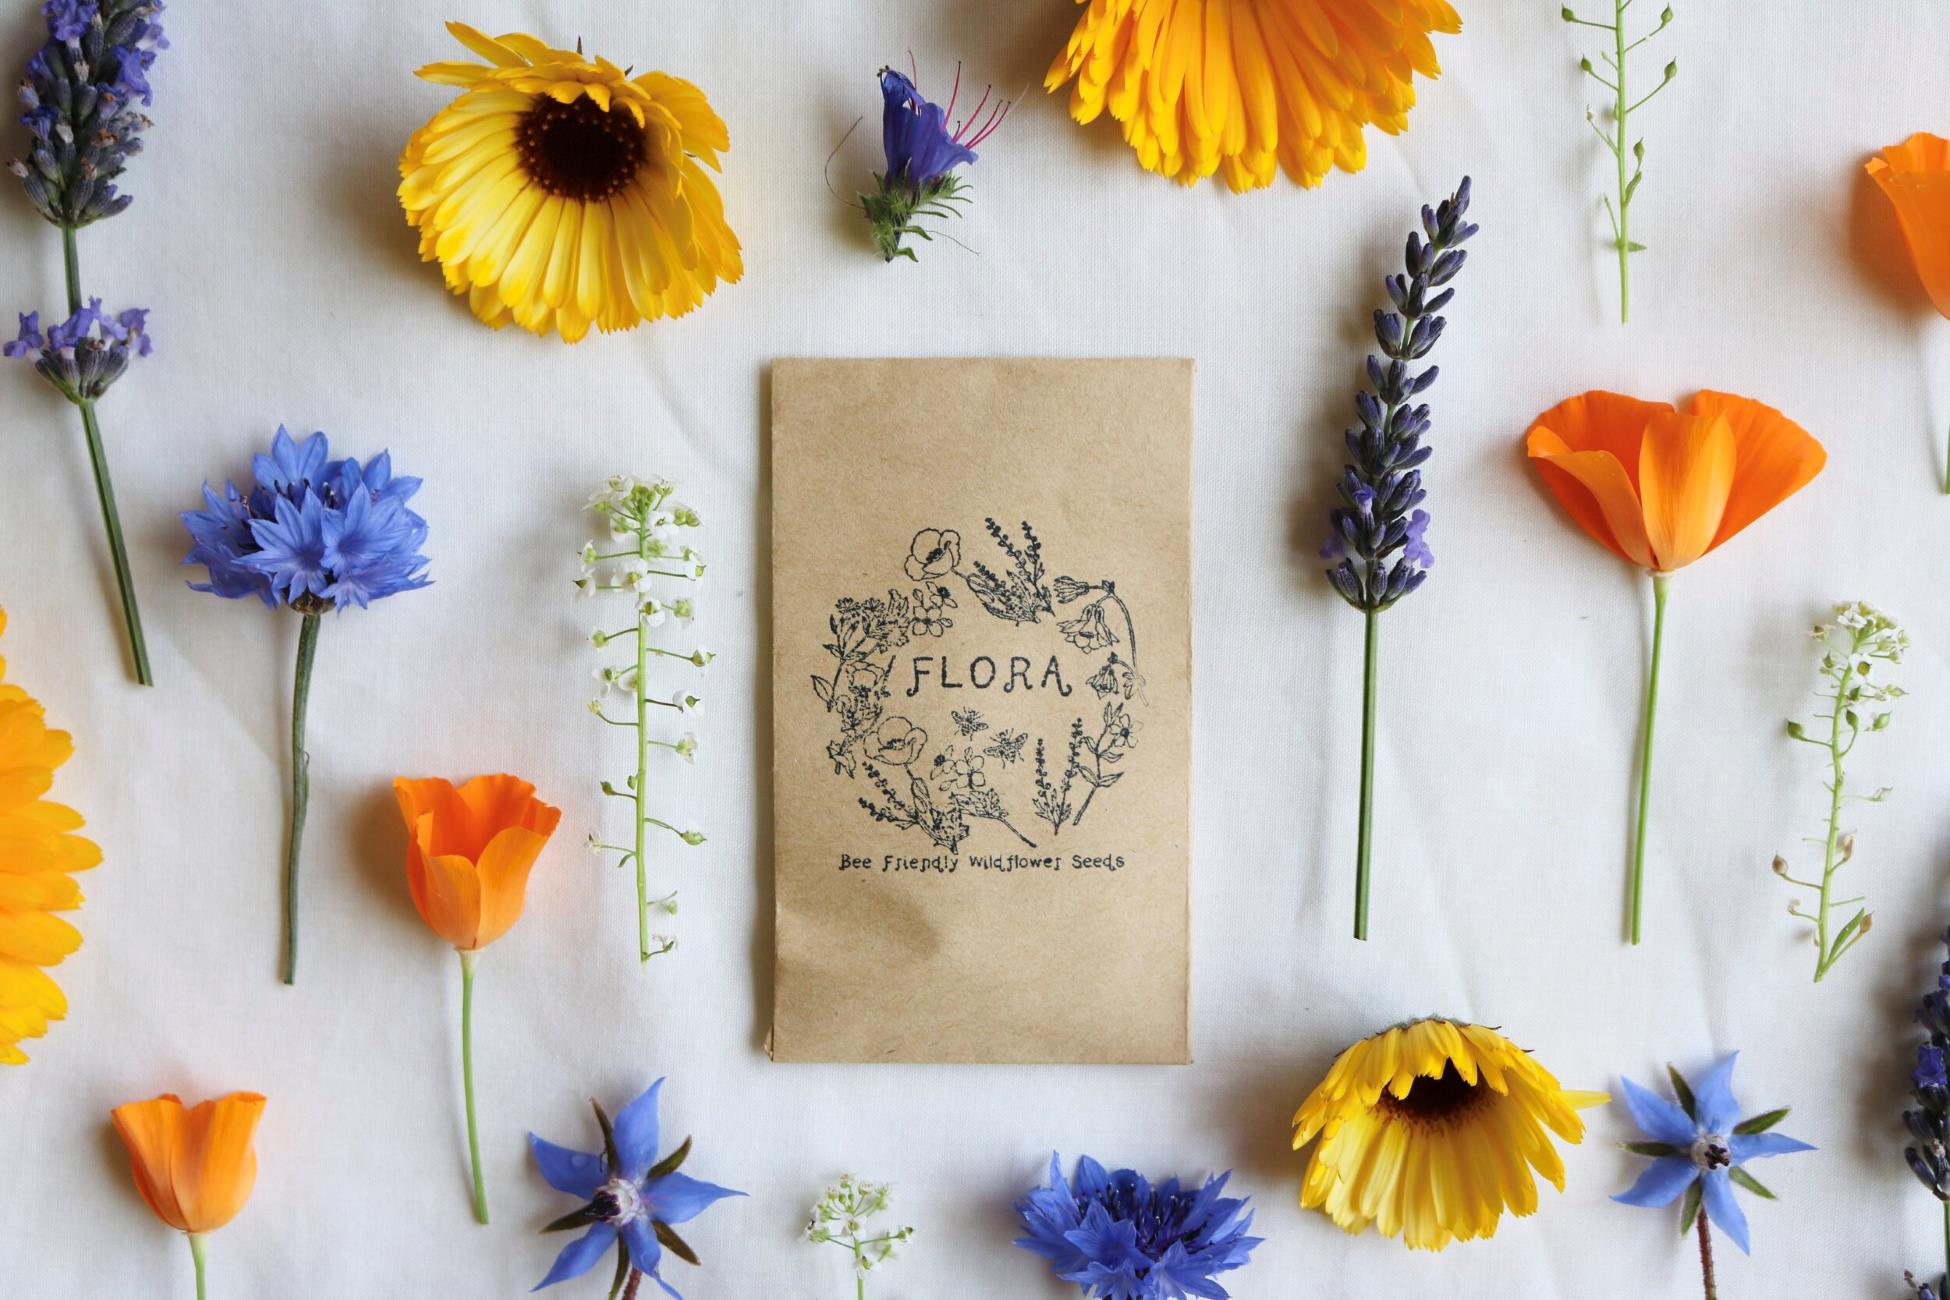
- Wildflower Seeds: Select a diverse mix of wildflower seeds that thrive in your specific growing zone. Opt for a variety of colors, shapes, and sizes to create a visually captivating display.
- Recycled Paper: Gather sheets of recycled paper, such as newspaper or cardboard, to serve as the base for your seed mats. Recycling paper for this purpose not only reduces waste but also adds an eco-friendly touch to your gardening endeavors.
- Flour: All-purpose flour will be used to create a natural adhesive that binds the wildflower seeds to the paper, ensuring they stay in place during planting.
- Water: Have a small bowl of water ready to mix with the flour, creating the adhesive paste for the seed mats.
- Large Bowl: A spacious bowl will be used to mix the wildflower seeds with the flour and water, forming a cohesive seed mixture for the mats.
- Paintbrush or Sponge: Select a paintbrush or sponge to apply the adhesive mixture to the paper, allowing for precise and even distribution.
- Scissors: Keep a pair of scissors handy for cutting the seed mats into desired shapes and sizes, catering to your garden’s layout and design.
- Drying Rack: Prepare a drying rack or flat surface where the seed mats can thoroughly dry before storage or planting.
- Optional Additions: Consider incorporating dried flower petals, natural dyes, or essential oils to infuse your seed mats with additional visual appeal and aromatic charm.
With these materials in your gardening arsenal, you’re all set to embark on the exciting journey of crafting wildflower seed mats. Now, let’s move on to the step-by-step process of creating these delightful botanical treasures!
Step 1: Prepare the Seed Mixture
Creating a well-balanced and nutrient-rich seed mixture is the first crucial step in crafting wildflower seed mats. This mixture will serve as the foundation for your mats, ensuring that each seed receives the essential support it needs to germinate and flourish. Let’s dive into the process of preparing the seed mixture:
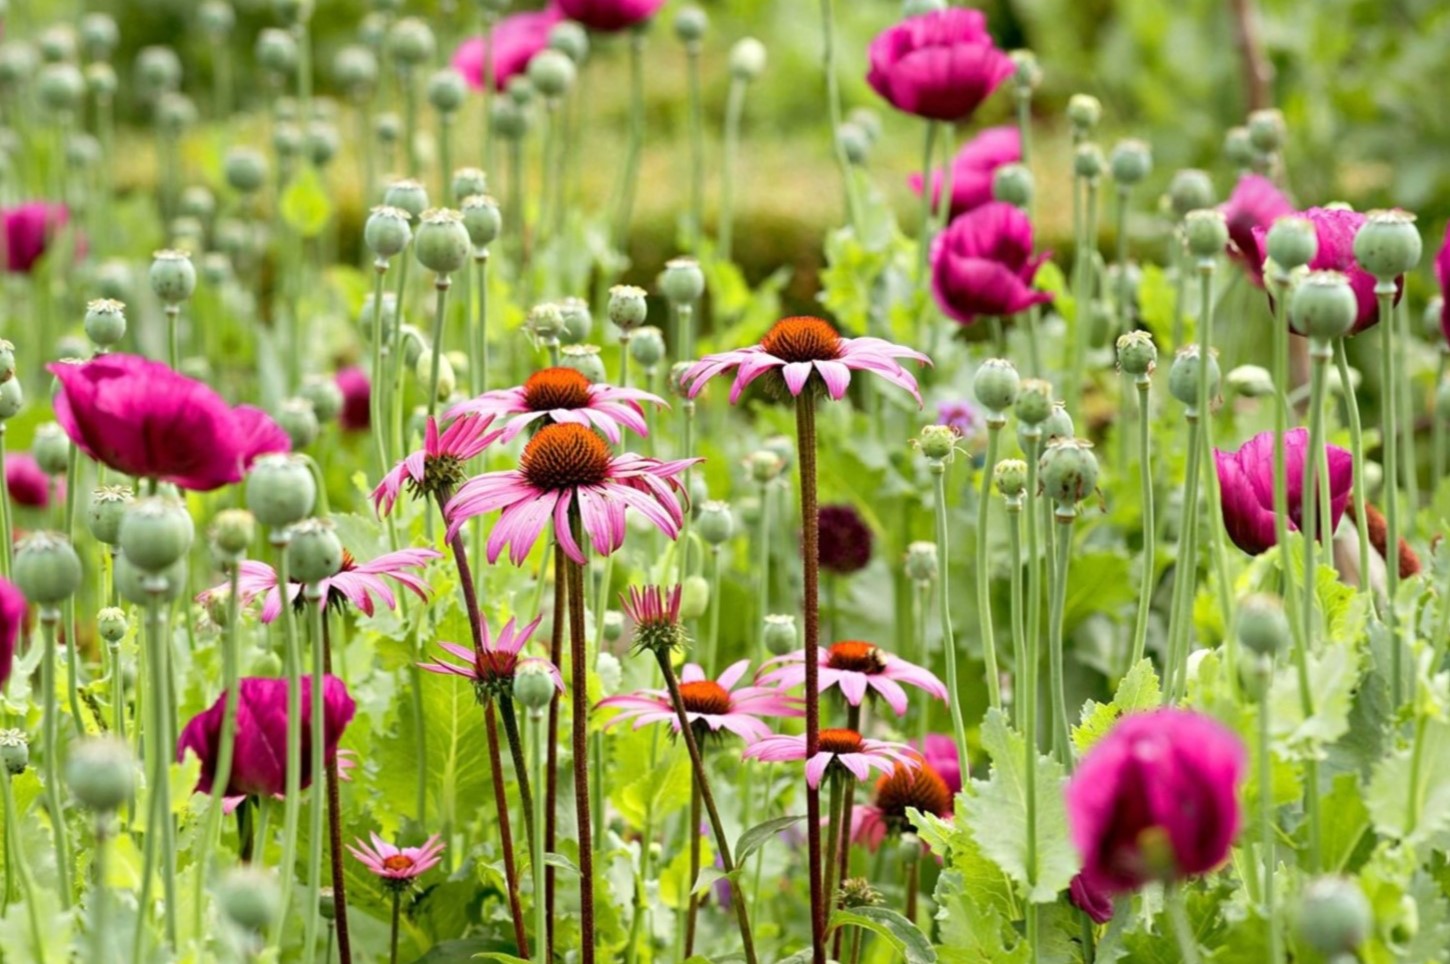
1. Selecting the Wildflower Seeds: Begin by carefully selecting a diverse array of wildflower seeds that are well-suited to your local climate and growing conditions. Opt for a mix of annuals and perennials, ensuring a continuous display of blooms throughout the seasons. Consider including native wildflowers to support local pollinators and enhance the ecological balance of your garden.
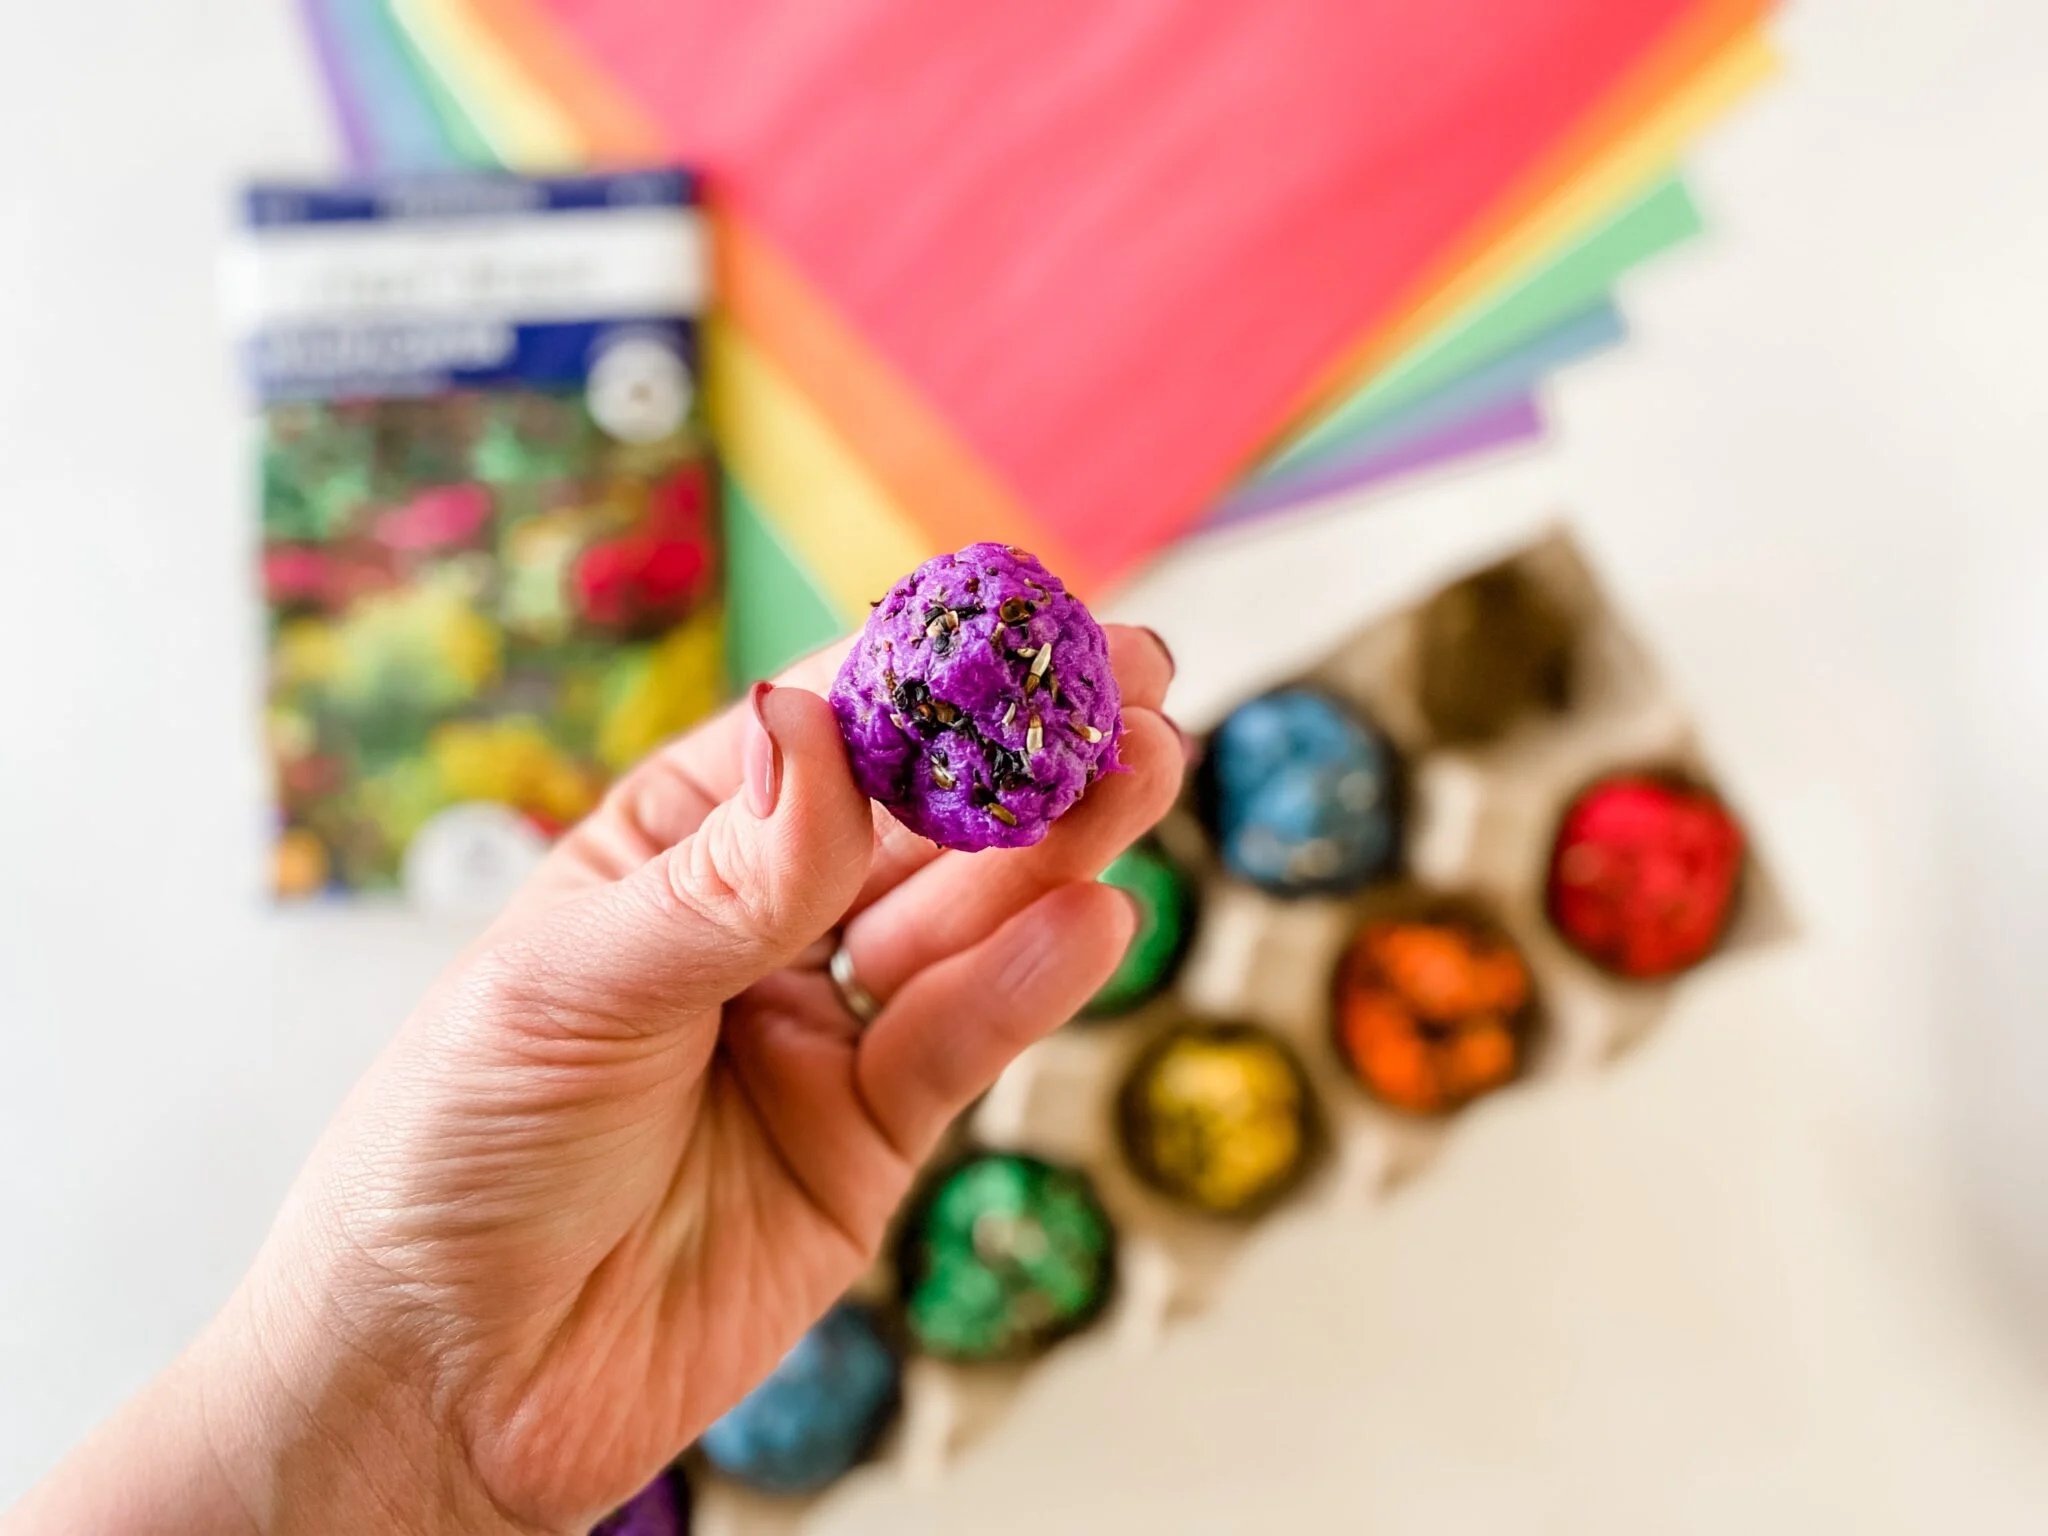
2. Mixing the Seeds: In a large bowl, combine the selected wildflower seeds, ensuring an even distribution of different varieties. This blend of seeds will contribute to a visually captivating and biodiverse display of wildflowers once the mats are planted and nurtured.
3. Creating the Adhesive Mixture: In a separate container, mix all-purpose flour with water to create a natural adhesive paste. Aim for a smooth and slightly thick consistency that will effectively adhere the seeds to the paper base. This adhesive will play a vital role in securing the seeds in place while allowing for successful germination upon planting.
4. Incorporating Optional Additions: To infuse an extra touch of creativity and allure into your seed mats, consider adding dried flower petals, natural dyes, or a few drops of essential oils to the adhesive mixture. These optional additions can imbue your seed mats with unique visual appeal and aromatic charm, creating a delightful sensory experience in your garden.
By meticulously preparing the seed mixture with attention to diversity, ecological harmony, and aesthetic allure, you’re laying the groundwork for a flourishing display of wildflowers. With the seed mixture ready, we can now proceed to the next step of creating the base for our enchanting wildflower seed mats.
Step 2: Create the Seed Mat Base
Now that we have meticulously prepared the seed mixture, it’s time to craft the sturdy and eco-friendly base that will hold the seeds in place and facilitate successful germination. The seed mat base, typically made from recycled paper, serves as the canvas for your wildflower masterpiece. Let’s explore the process of creating the seed mat base:
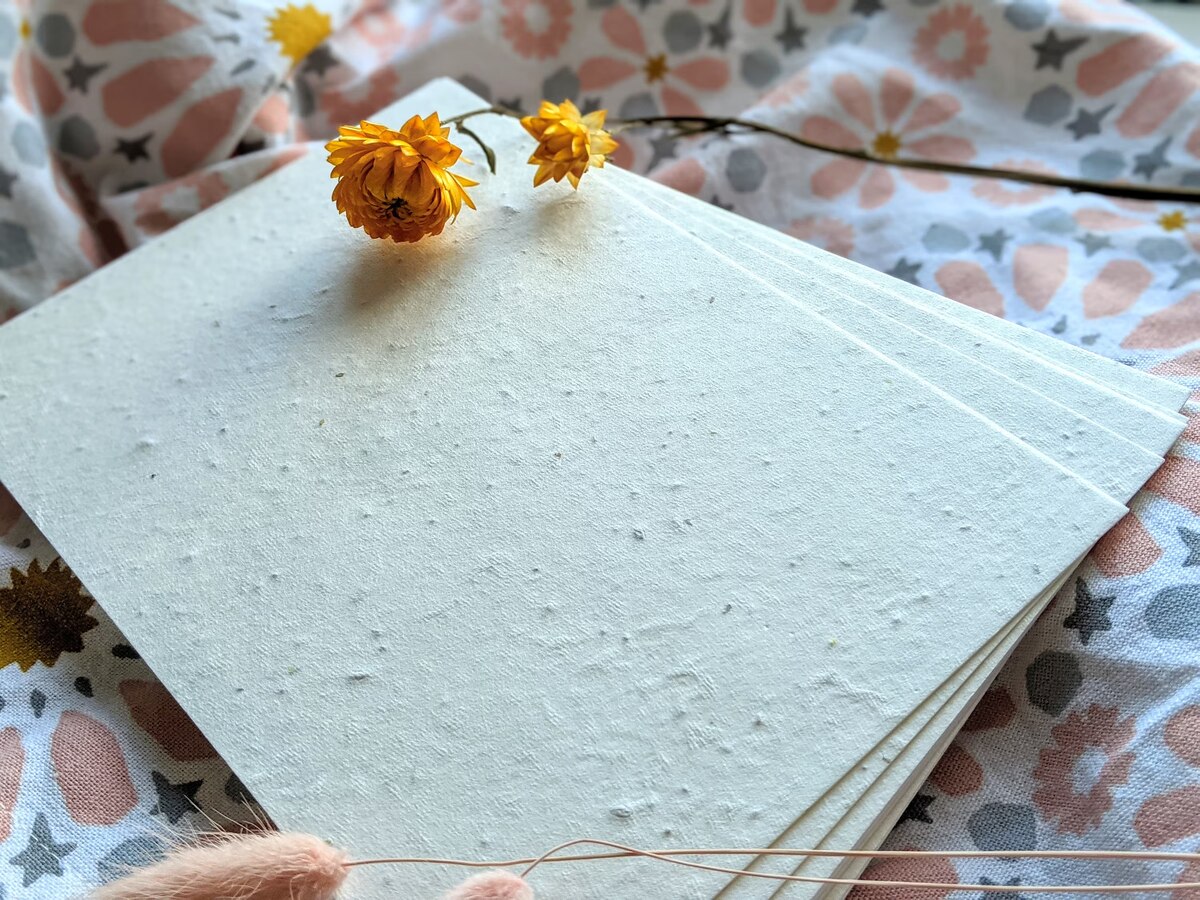
1. Selecting Recycled Paper: Gather sheets of recycled paper, such as newspaper or cardboard, to serve as the foundation for your seed mats. Embracing the use of recycled materials not only reduces waste but also aligns your gardening efforts with sustainable practices, nurturing both your garden and the environment.
2. Cutting the Paper Base: Using scissors, cut the recycled paper into desired shapes and sizes, catering to the layout and design of your garden beds or containers. Whether you prefer rectangular mats for linear planting or whimsical shapes for artistic expression, tailor the paper base to suit your gardening vision.
3. Preparing the Work Surface: Lay out the cut paper bases on a flat and spacious work surface, ensuring ample room to comfortably apply the seed mixture. This organized setup will streamline the process and allow for efficient assembly of the seed mats.
4. Applying the Adhesive Mixture: Using a paintbrush or sponge, carefully apply the prepared adhesive mixture onto the surface of each paper base. Ensure an even and thorough coating, as this adhesive will securely hold the wildflower seeds in place while providing essential nutrients for germination.
5. Allowing for Drying Time: Once the adhesive mixture has been applied, allow the paper bases to air dry, ensuring that the adhesive sets and forms a secure bond with the paper. This drying period is essential for preparing the seed mat bases for the next step of adding the seed mixture.
With the seed mat bases primed and ready, we’ve laid the groundwork for the enchanting wildflower display that will soon grace your garden. The next step will involve the exciting process of adding the meticulously prepared seed mixture to these eco-friendly bases, bringing us one step closer to witnessing the vibrant blooms of wildflowers in full splendor.
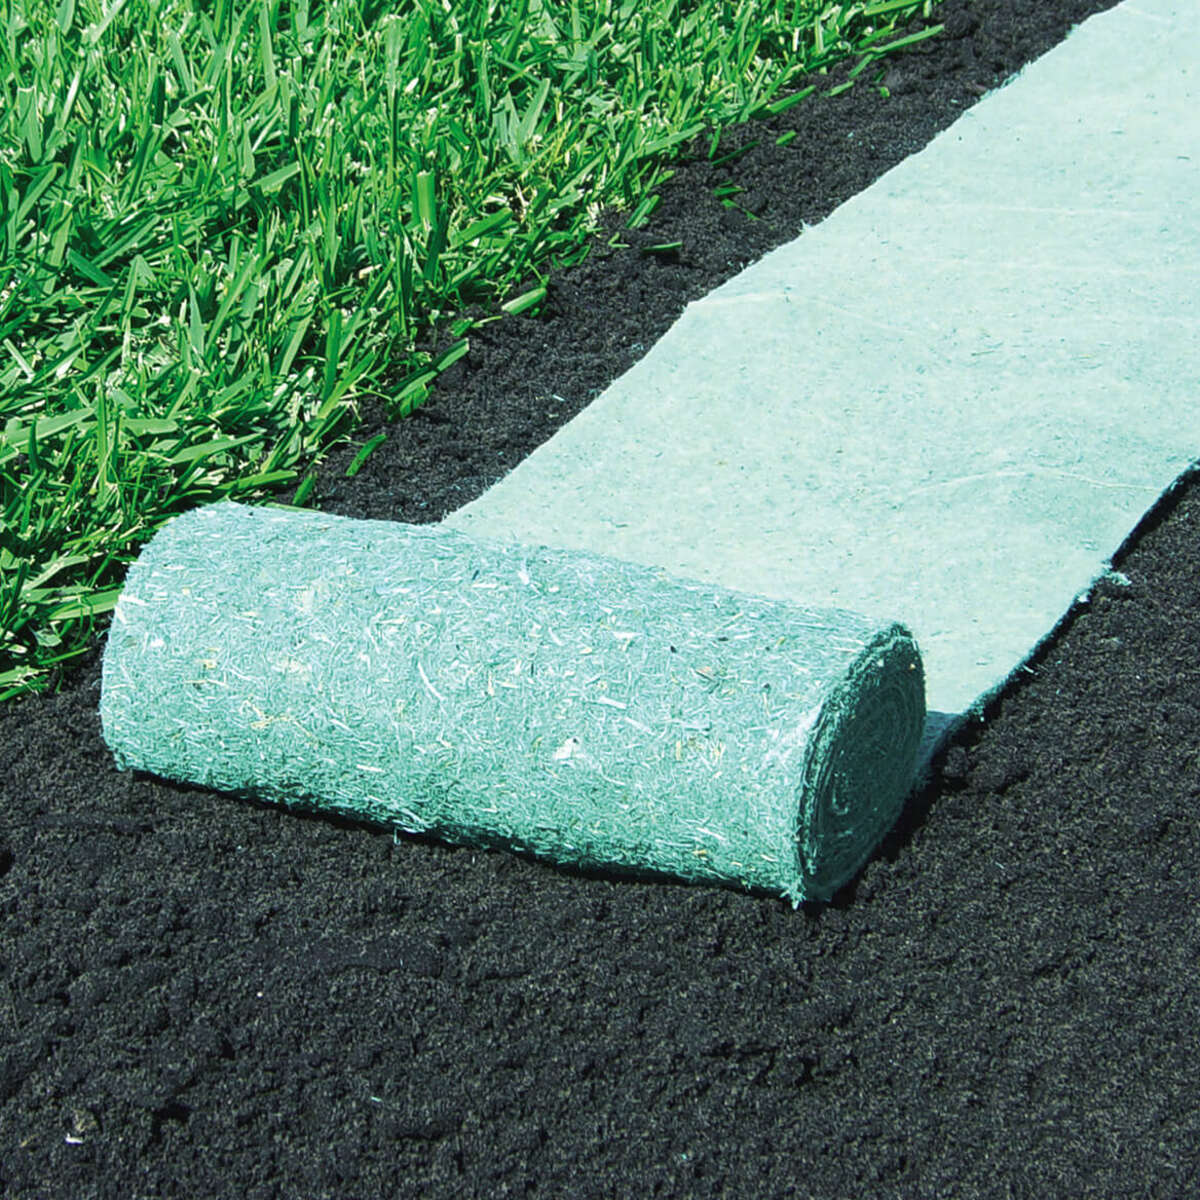
Mix wildflower seeds with a biodegradable paper pulp and water to create seed mats. Press the mixture into thin sheets and let them dry. Plant the mats in soil and water regularly for beautiful wildflowers.
Step 3: Add the Seed Mixture
With the seed mat bases prepared and the seed mixture meticulously crafted, it’s time to infuse these eco-friendly canvases with the vibrant potential of wildflowers. Adding the seed mixture to the prepared bases is a pivotal step that sets the stage for a flourishing display of blooms in your garden. Let’s delve into the process of adding the seed mixture:
1. Distributing the Seed Mixture: Take the prepared seed mixture and evenly distribute it over the adhesive-coated surface of each paper base. Ensure that the seeds are spread out in a balanced manner, allowing for ample space for growth and preventing overcrowding, which can impede the development of the wildflowers.
2. Pressing the Seeds Gently: Once the seed mixture has been applied, gently press the seeds into the adhesive-coated paper base using a light touch. This gentle pressing action helps secure the seeds in place, ensuring they remain nestled within the adhesive for successful germination upon planting.
3. Ensuring Even Coverage: Carefully inspect the seed-coated bases to confirm that the seeds are evenly distributed and firmly adhered to the adhesive. This even coverage will contribute to uniform germination and the eventual blooming of a diverse and visually captivating array of wildflowers.
4. Allowing for Settling Time: After adding the seed mixture and gently pressing the seeds into place, allow the seed mats to rest and settle, enabling the adhesive to form a secure bond with the seeds and the paper base. This settling time is crucial for ensuring that the seed mats are ready for the final step of drying and storage.
By adding the meticulously prepared seed mixture to the eco-friendly bases, you’ve set the stage for a bountiful display of wildflowers that will soon grace your garden with their vibrant hues and enchanting fragrances. With the seed mixture seamlessly integrated, we’re now ready to move on to the final step of drying and storing the seed mats, bringing us one step closer to witnessing the magic of wildflowers in full bloom.
Read more: How To Plant Wildflower Seed Paper
Step 4: Dry and Store the Seed Mats
As we near the completion of our enchanting wildflower seed mat crafting journey, the final step involves ensuring that the seed mats are thoroughly dried and properly stored, ready to be planted and nurtured. This crucial stage sets the foundation for successful germination and the eventual blossoming of a captivating wildflower display in your garden. Let’s explore the process of drying and storing the seed mats:
1. Allowing for Air Drying: After the seed mixture has been seamlessly integrated into the paper bases, transfer the seed mats to a drying rack or a flat surface where they can air dry undisturbed. Ensure that the seed mats are placed in a well-ventilated area, allowing for ample airflow to expedite the drying process.
2. Monitoring the Drying Progress: Regularly check the seed mats as they dry, ensuring that the adhesive and seed mixture are securely bonded to the paper base. This monitoring process allows you to make any necessary adjustments and ensures that the seed mats are progressing towards optimal readiness for planting.
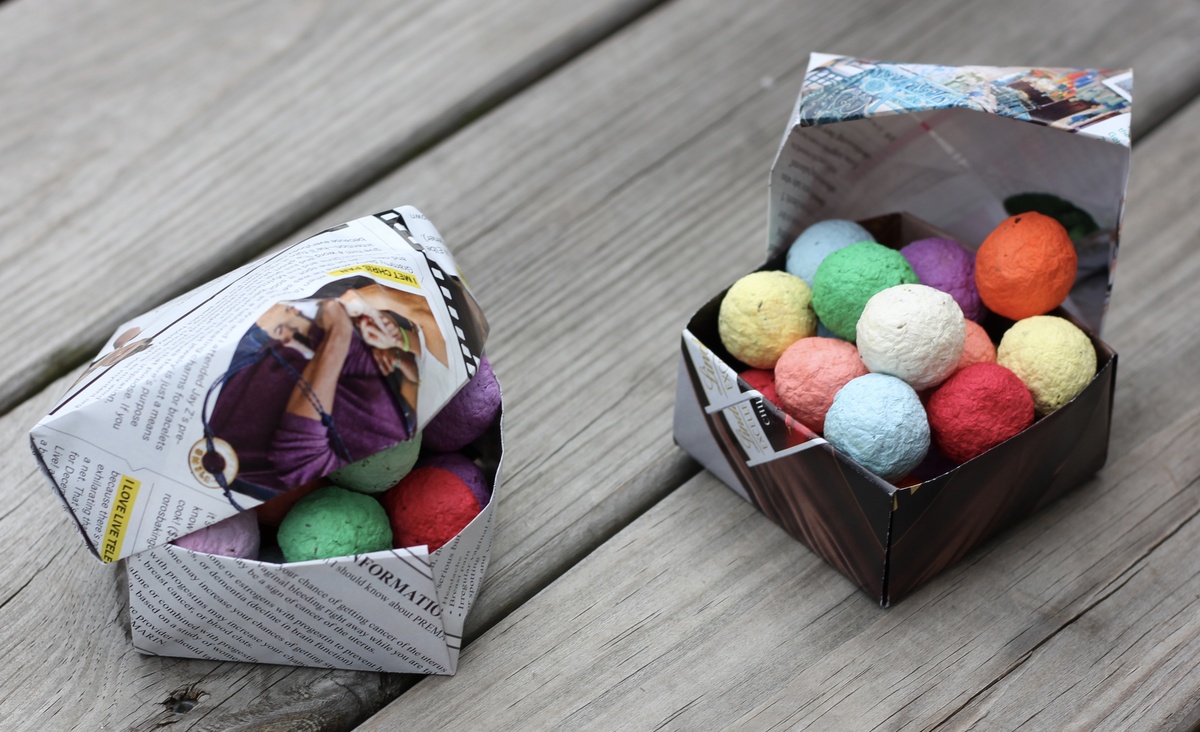
3. Storing the Seed Mats: Once the seed mats are thoroughly dried, store them in a cool, dry place until you’re ready to plant them in your garden. Consider stacking the seed mats in a flat and stable container, ensuring that they remain protected from moisture and excessive heat, preserving the integrity of the seeds and the adhesive until planting time.
4. Labeling and Organizing: To facilitate easy identification and planning, consider labeling each seed mat with the specific wildflower varieties it contains. This organized approach allows you to strategically plan the placement of the seed mats in your garden, creating a harmonious and visually stunning arrangement of wildflowers.
5. Preparing for Planting: When the time is right, prepare the planting area in your garden and gently lay the seed mats onto the soil surface. Lightly press the seed mats into the soil to ensure good seed-to-soil contact, and water them gently to initiate the germination process. With proper care and nurturing, the wildflower seed mats will soon yield a breathtaking tapestry of blooms, enchanting both you and the visitors to your garden.
With the seed mats thoroughly dried, stored, and primed for planting, you’ve successfully completed the captivating journey of crafting your own wildflower seed mats. Now, it’s time to witness the magic of nature unfold as the vibrant hues and delicate petals of wildflowers grace your garden, creating a haven for pollinators and a visual symphony for all to enjoy.
Conclusion
Congratulations on embarking on the delightful and eco-friendly journey of creating wildflower seed mats! By crafting these enchanting botanical treasures, you’ve not only infused your garden with the vibrant potential of wildflowers but also contributed to the preservation of local ecosystems and the nurturing of essential pollinators. As you prepare to witness the blossoming of these carefully crafted seed mats, let’s reflect on the enriching experience and the beauty it will soon bring to your outdoor space.
Through the meticulous preparation of the seed mixture, the creation of the sturdy paper bases, and the seamless integration of the seed mixture, you’ve woven a tapestry of biodiversity and natural allure. Your commitment to sustainable practices, from utilizing recycled materials to embracing native wildflower varieties, has laid the foundation for a thriving and harmonious garden ecosystem.
As you eagerly anticipate the germination and blooming of the wildflower seed mats, envision the kaleidoscope of colors and the symphony of fragrances that will soon grace your garden. Each bloom will not only captivate the eye but also serve as a vital source of nectar and pollen for the precious pollinators that play a crucial role in the cycle of life.
By nurturing these wildflower seed mats with care and attention, you’re fostering a sanctuary for biodiversity and natural wonder. The sight of bees, butterflies, and other pollinators dancing among the blossoms will serve as a testament to your dedication to environmental stewardship and the celebration of the natural world.
As you plant and tend to the wildflower seed mats, remember that you’re not only cultivating a garden but also sowing the seeds of inspiration and appreciation for the interconnectedness of all living beings. Your garden will become a living canvas, showcasing the artistry of nature and inviting moments of tranquility and reflection.
So, as you witness the wildflowers bloom and the garden teem with life, take a moment to revel in the beauty that you’ve coaxed from a simple seed mat. Your efforts have not only enriched your own surroundings but also contributed to the greater tapestry of the natural world. Embrace the joy of creating, nurturing, and witnessing the magic of wildflowers, and may your garden forever flourish with the vibrant hues and timeless allure of these enchanting blooms.
Happy gardening, and may your wildflower seed mats inspire a world of natural wonder and ecological harmony!
Frequently Asked Questions about How To Make Wildflower Seed Mats
Was this page helpful?
At Storables.com, we guarantee accurate and reliable information. Our content, validated by Expert Board Contributors, is crafted following stringent Editorial Policies. We're committed to providing you with well-researched, expert-backed insights for all your informational needs.


0 thoughts on “How To Make Wildflower Seed Mats”