Home>Garden Essentials>How To Make A Grass Mat At Home
Garden Essentials
How To Make A Grass Mat At Home
Modified: October 18, 2024
Learn how to make a beautiful grass mat for your garden using simple materials. Follow our step-by-step guide and create a stunning addition to your outdoor space.
(Many of the links in this article redirect to a specific reviewed product. Your purchase of these products through affiliate links helps to generate commission for Storables.com, at no extra cost. Learn more)
Introduction
Welcome to the world of gardening and DIY projects! If you’re looking to add a touch of nature to your home, why not consider making a grass mat? It’s a fun and creative way to bring the outdoors inside and create a unique decorative piece. Whether you’re a seasoned green thumb or a beginner in the gardening world, making a grass mat is a simple and rewarding project that anyone can enjoy.
Making your own grass mat not only allows you to personalize your indoor space, but it also gives you the opportunity to connect with nature and showcase your creativity. From choosing the type of grass to crafting the mat, every step of the process is an adventure in itself. So, let’s dive into the materials you’ll need and the step-by-step process of making a grass mat!
Key Takeaways:
- Create a unique grass mat by gathering grass, preparing it, and weaving it onto a sturdy foundation. Add finishing touches for a vibrant and durable DIY decor piece!
- Showcase your creativity and connect with nature by making a personalized grass mat. Enjoy the process and bring a touch of natural beauty to your home!
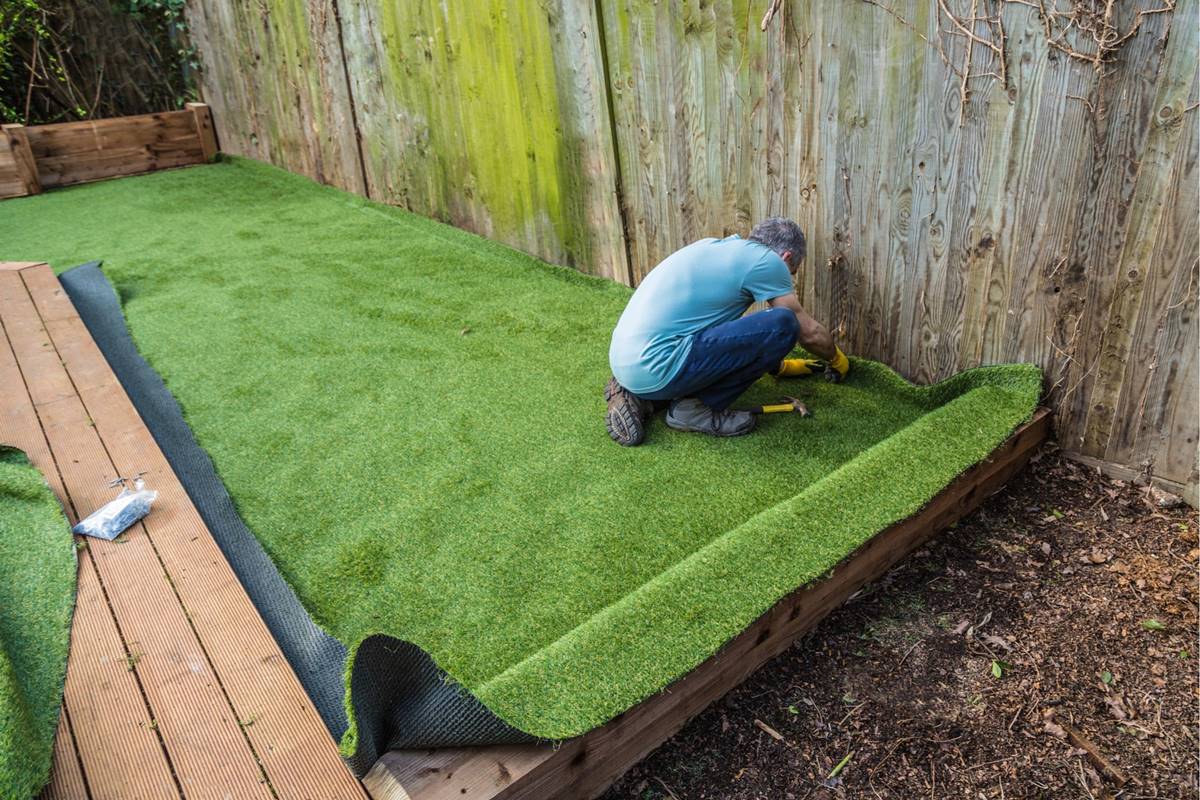
Read more: How To Lay Grass Mats
Materials Needed
Before you begin your grass mat project, it’s essential to gather all the necessary materials. Don’t worry; you won’t need anything too fancy or hard to find. Here’s a list of the materials you’ll need:
- Sheet of plywood or cardboard
- Serrated knife or scissors
- Fine mesh or screen
- Duct tape
- Pen or marker
- Spade or garden trowel
- Rake
- Grass seeds (such as Bermuda grass or fescue)
- Watering can or hose
- Fertilizer (optional)
- Spray bottle
- Measuring tape
- Gloves
- Bucket
Now that you have all the necessary materials, let’s move on to the next step: gathering the grass!
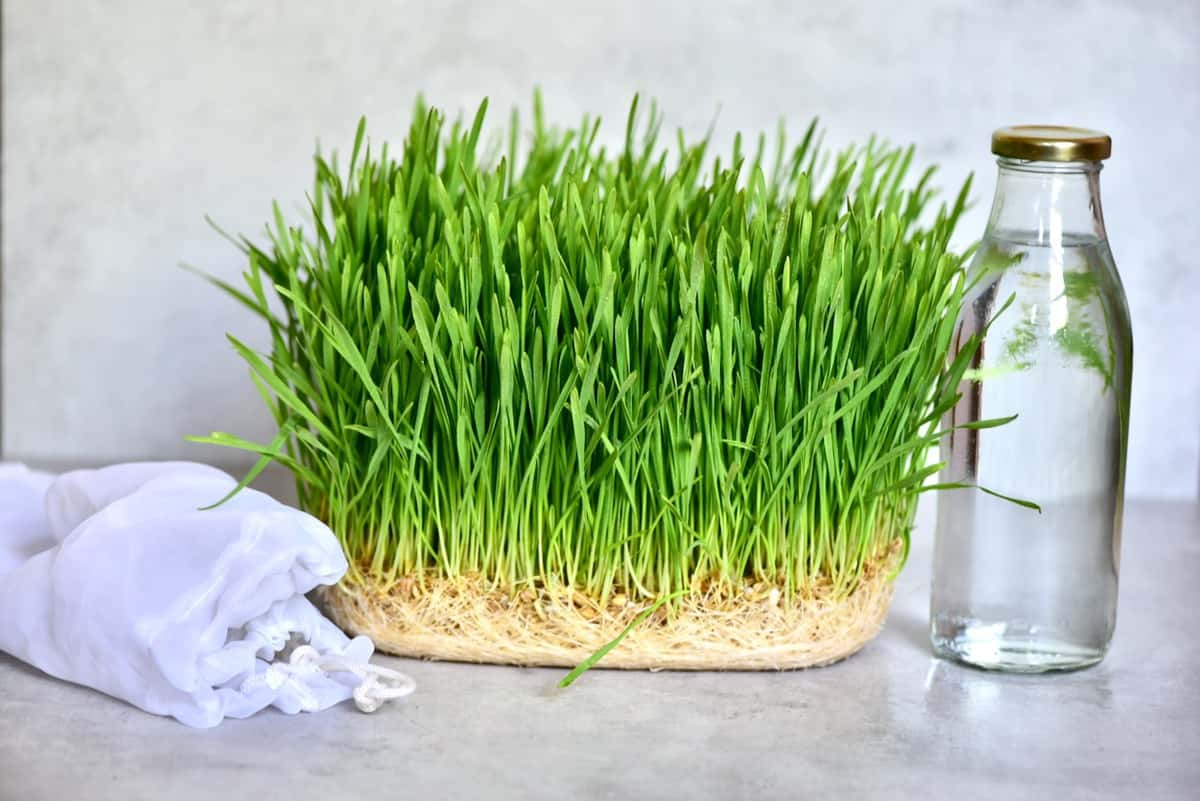
Step 1: Gathering the Grass
The first step in making a grass mat is gathering the grass itself. You have a few options when it comes to sourcing grass for your project. You can either use fresh-cut grass from your lawn or purchase grass seeds from a local garden center. Here’s how you can gather the grass:
- If you’re using fresh-cut grass, grab your spade or garden trowel and carefully dig up a small patch of grass from your lawn. Be sure to get both the grass and the roots to ensure successful transplantation.
- If you’re using grass seeds, prepare the area where you plan to grow the grass by clearing any debris and loosening the soil with a rake. Follow the instructions on the grass seed packet for the recommended seeding rate and spread the seeds evenly on the prepared area.
- Water the freshly dug-up grass or the seeded area generously to promote growth. Keep the soil consistently moist until the grass is ready for harvesting.
- Allow the grass to grow for a few weeks or until it reaches a height of about 4-6 inches. This will give you enough material to work with for creating the grass mat.
Now that you have gathered the grass, it’s time to prepare it for the grass mat weaving process. Let’s move on to the next step!
Step 2: Preparing the Grass
Now that you’ve gathered the grass for your grass mat, it’s time to prepare it for weaving. Preparing the grass involves trimming and drying it properly to ensure that it is in the best condition for the mat-making process. Here are the steps to follow:
- Take your serrated knife or scissors and carefully trim the grass blades to a length of about 1-2 inches. This will make it easier to work with and create a more uniform look for your grass mat.
- Spread out the trimmed grass in a well-ventilated area, preferably outdoors or in a dry, sunny spot. Allow the grass to dry completely for about a day or two. This will prevent any potential mold or mildew issues and make the grass more pliable for weaving.
- While the grass is drying, it’s a good idea to turn it occasionally to ensure even drying. This will help prevent any moisture buildup and ensure that all sides of the grass are evenly dried.
- If you’re in a hurry or don’t have the patience to wait for the grass to dry naturally, you can use a dehydrator or oven set to a low temperature to speed up the drying process. However, be cautious and regularly monitor the grass to prevent it from getting burnt or damaged.
Once your grass is dry and ready, it’s time to move on to the next step: creating the foundation for your grass mat!
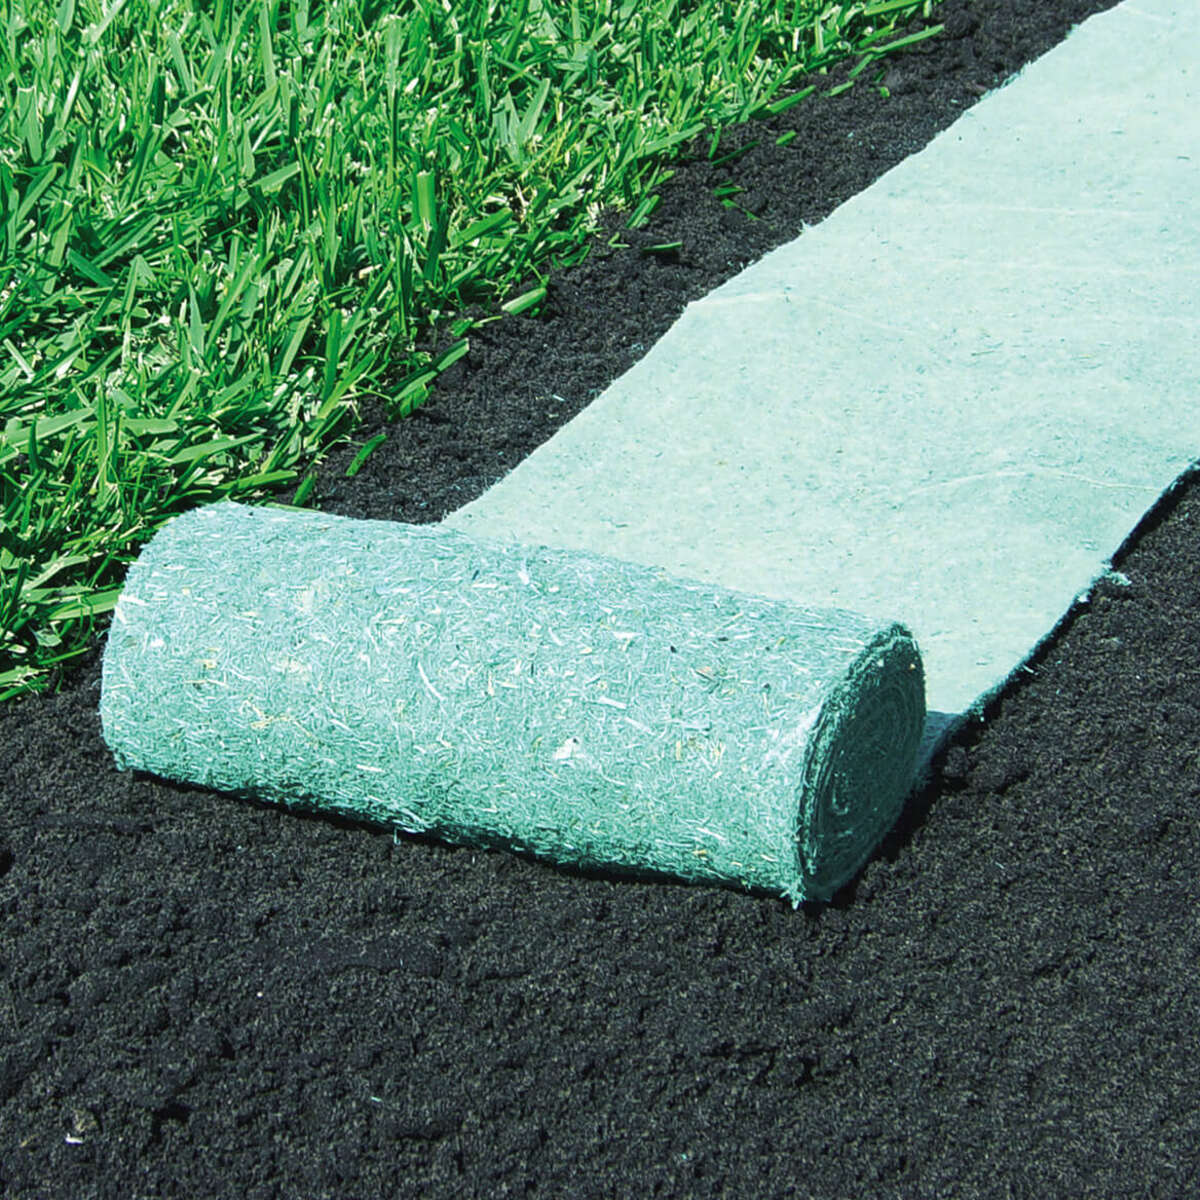
To make a grass mat at home, gather fresh grass and lay it out in a flat, even layer. Then, cover it with a damp cloth and press it down with a heavy object. Leave it to dry for a few days before carefully removing the cloth.
Step 3: Creating the Foundation
With the grass prepared and dried, it’s time to create the foundation for your grass mat. The foundation provides stability and structure for the weaving process. Here’s how you can create the foundation:
- Take your sheet of plywood or cardboard and place it on a flat surface. This will serve as the base for your grass mat.
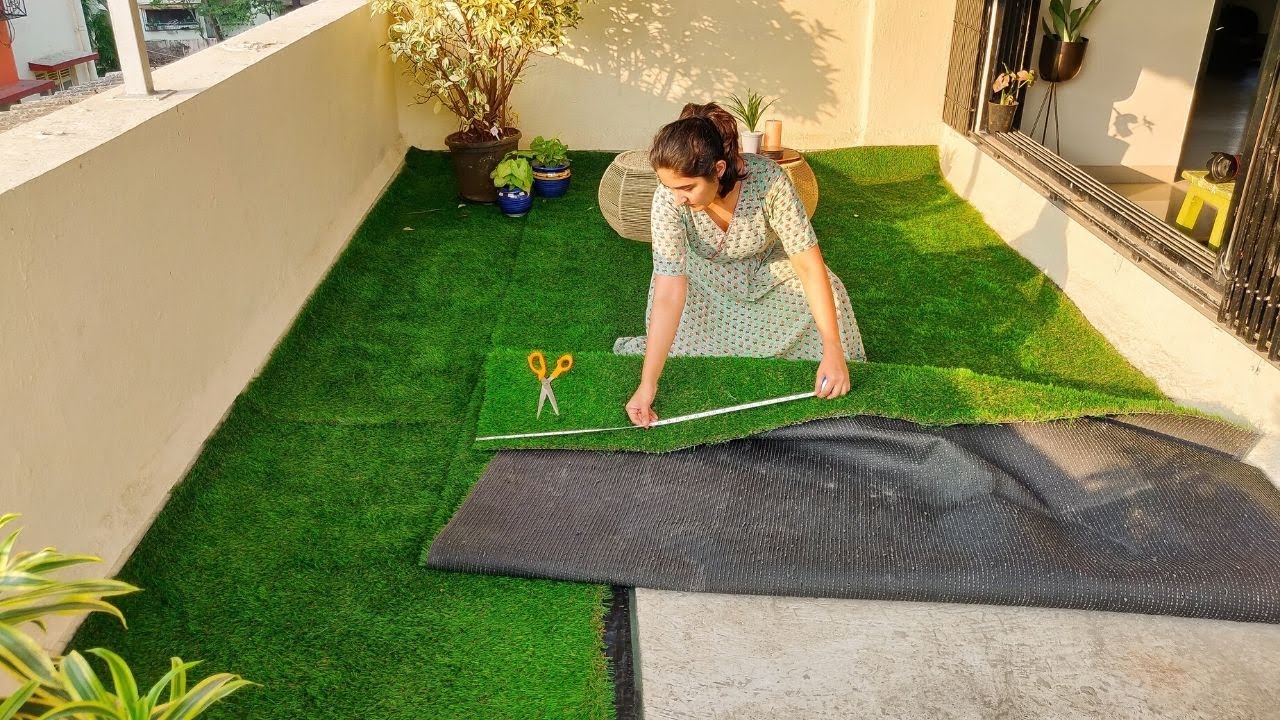
- Measure and mark the desired size for your grass mat on the plywood or cardboard. Use a measuring tape and a pen or marker to make accurate measurements. This will help guide you during the weaving process and ensure you create a mat of the desired dimensions.
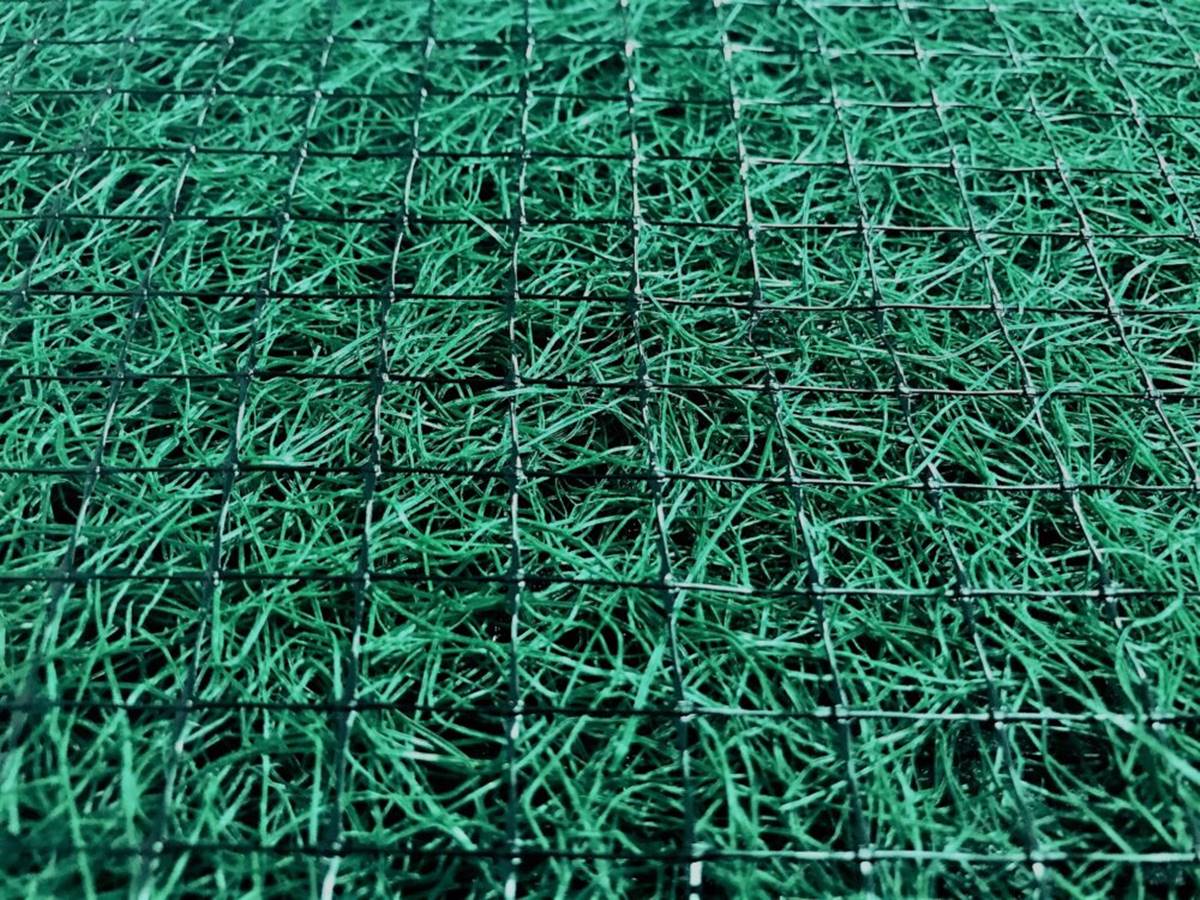
- Next, lay a fine mesh or screen over the marked area on the plywood or cardboard. Make sure the mesh is securely fastened to the base using duct tape. This will provide support and prevent the grass from falling through the gaps as you weave it.
- Once the mesh is securely in place, it’s time to start weaving the grass onto the foundation. Take a handful of dried grass and position it horizontally on top of the mesh, aligning it with one edge of your marked area. Press it down gently to create a firm base for weaving.
- Continue adding more handfuls of grass, working your way from one edge to the other. Make sure each handful overlaps with the previous one to create a seamless and sturdy weaving pattern.
Take your time and be patient during the weaving process. It may take some practice to get the hang of it, but with each row, you’ll see your grass mat start to take shape. Once you’ve completed the weaving process, it’s time for the finishing touches!
Read more: How To Use Kusha Grass Mat
Step 4: Weaving the Grass Mat
Now comes the exciting part – weaving the grass mat! This is where you’ll see the fruits of your labor as the mat begins to come together. Follow these steps to weave the grass mat:
- Take a handful of dried grass and position it vertically on top of the previous row of grass, aligning it with the edge of the mat. Press it down gently to secure it in place.
- Take another handful of grass and weave it horizontally over and under the vertical grass strands. This creates an interlocking pattern that holds the mat together. Press it down gently to ensure a tight weave.
- Repeat the process, alternating between vertical and horizontal weaving, until you reach the end of the mat. Make sure to tightly pack each row to create a durable and cohesive mat.
- If you run out of grass during the weaving process, simply gather more dried grass and continue where you left off. It’s important to maintain the same length of grass strands throughout the mat to achieve a uniform look.
- Continue weaving and adding more rows until you reach the desired size for your grass mat. Remember to periodically press down on the mat to ensure it is tightly woven and secure.
As you weave the grass, be sure to check for any loose strands or gaps and fill them in as you go. This will create a polished and professional-looking grass mat.
Once you’ve completed the weaving process, step back and admire your handiwork! All that’s left is a few finishing touches to ensure the longevity of your grass mat.
Step 5: Finishing Touches
Congratulations on weaving your own grass mat! Now it’s time to add the finishing touches to enhance its durability and longevity. Here are some steps to complete your grass mat:
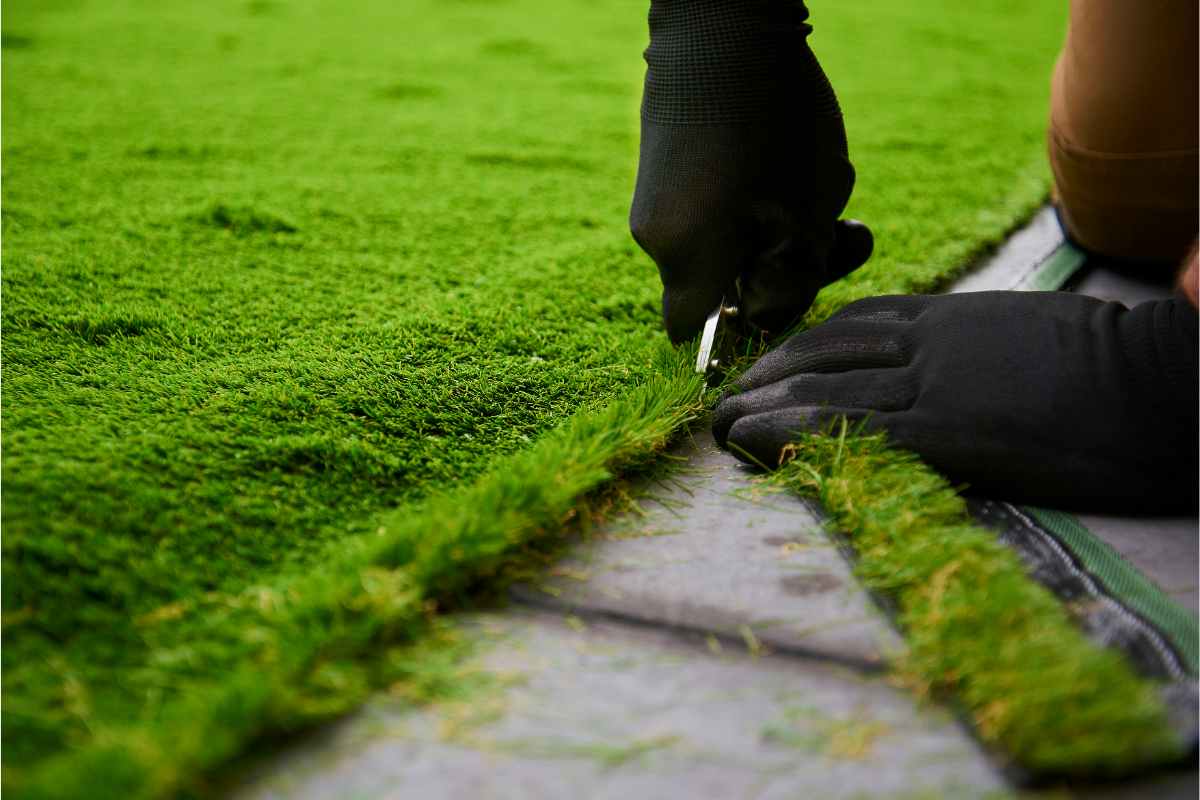
- Trim any excess or uneven grass strands along the edges of the mat using scissors or a serrated knife. This will give your mat a clean and neat appearance.
- Inspect the woven grass mat for any loose or weak spots. If you find any areas that need reinforcement, use a spray bottle filled with water to moisten the area slightly. Then, gently press down on the grass to tighten the weave.
- If desired, you can apply a layer of diluted fertilizer to the grass mat to promote its health and growth. Follow the instructions on the fertilizer packaging for the appropriate dilution ratio. Use a spray bottle to apply the fertilizer evenly across the mat.
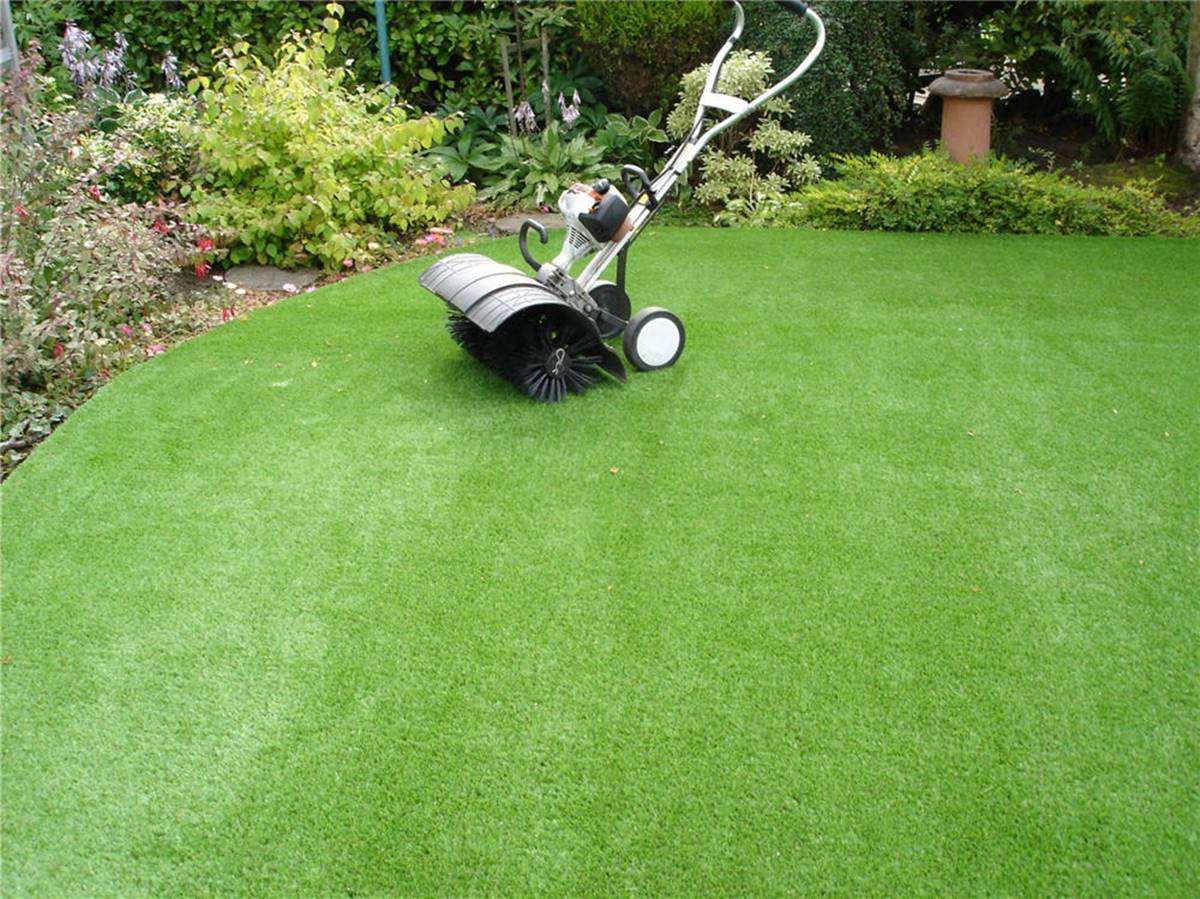
- Place your grass mat in a sunny spot or under a grow light to encourage further growth of the grass. This will give your mat a lush and vibrant appearance.
- Regularly water your grass mat to keep it hydrated, especially during dry periods. You can use a watering can or hose with a fine spray attachment to avoid disrupting the grass strands.
Remember, maintenance is key to keeping your grass mat vibrant and healthy. Trim any overgrown grass with scissors to maintain a uniform height, and remove any debris or dead grass as needed.
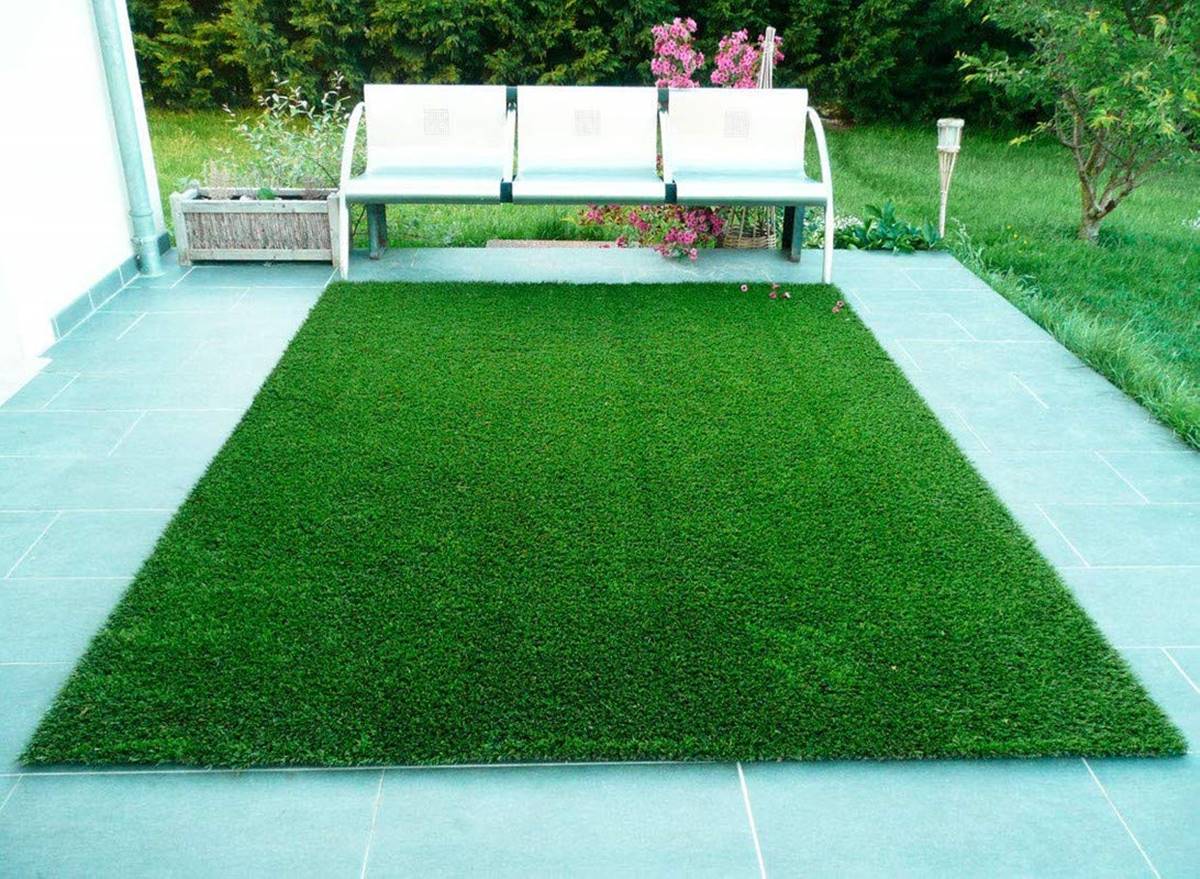
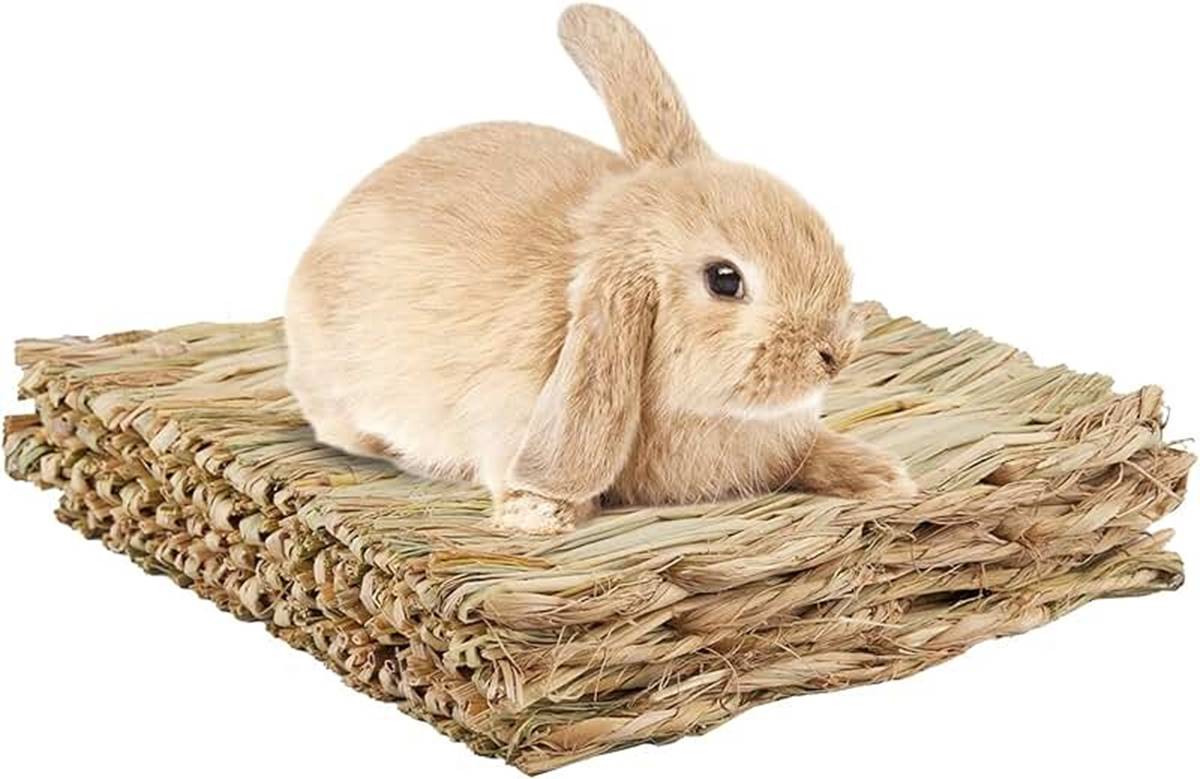
Your grass mat is now complete and ready to be displayed! You can use it as a decorative element on your patio, balcony, or even indoors. It adds a natural and cozy feel to any space.
Creating your own grass mat is a fulfilling and creative project that allows you to connect with nature and showcase your DIY skills. So, gather your materials, follow each step carefully, and enjoy the process of making something beautiful out of natural materials. Happy crafting!
Conclusion
Making a grass mat at home is a wonderful way to add a touch of nature to your living space. It allows you to showcase your creativity, connect with nature, and bring the outdoors inside. Throughout this DIY project, you’ve learned the step-by-step process of creating a grass mat from gathering the grass to weaving it into a beautifully crafted piece.
By using simple materials like plywood or cardboard, scissors or a serrated knife, and grass seeds or fresh-cut grass, you can create a unique and personalized grass mat that reflects your style and taste. The process of gathering the grass, preparing it, creating the foundation, and weaving the grass strands together requires patience and attention to detail, but the result is a stunning and durable grass mat that you can proudly display.
Remember to give your grass mat the finishing touches it deserves by trimming any excess strands, reinforcing weak spots, and ensuring proper maintenance through regular watering and fertilization. This will ensure the longevity and vibrancy of your grass mat.
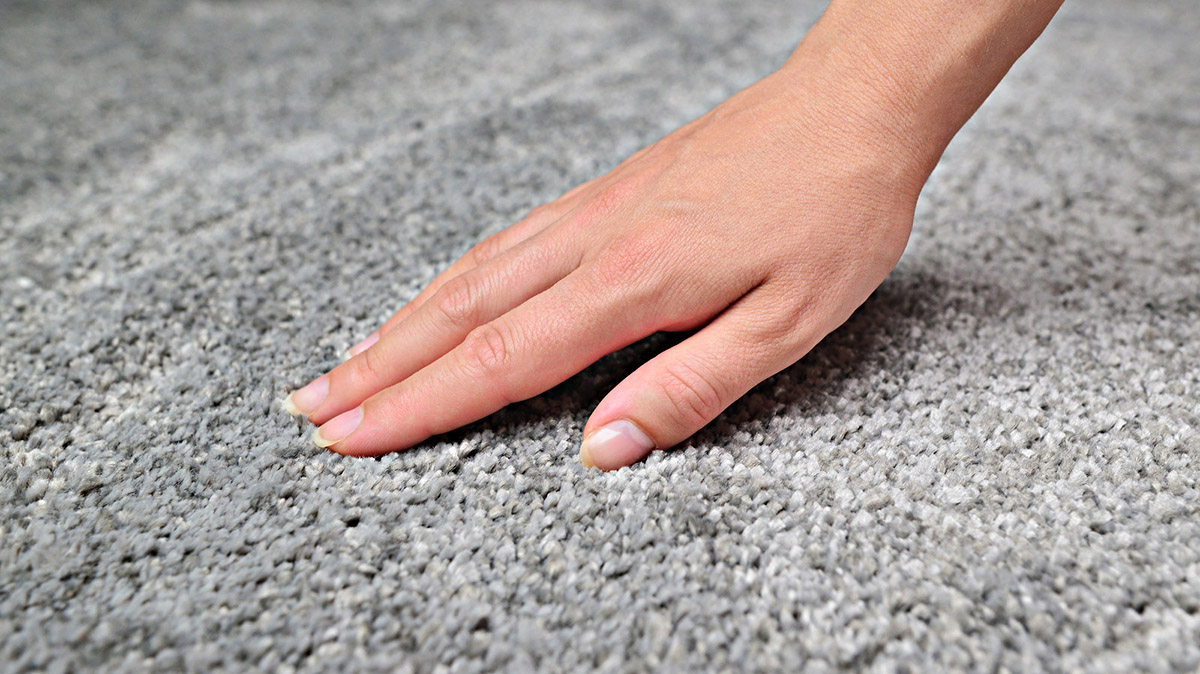
Whether you place your grass mat on a patio, balcony, or inside your home, it will bring a sense of natural beauty and tranquility to your space. The soft and distinct texture of the grass provides a unique visual element that blends seamlessly with a variety of decor styles.
Now that you have the knowledge and the skills to create your own grass mat, it’s time to embark on this creative journey. Enjoy the process, embrace your creativity, and let nature inspire you as you craft a one-of-a-kind grass mat that will enhance the ambiance of your home.
So, gather your materials, find the perfect spot for your grass mat, and let your creativity grow!
Frequently Asked Questions about How To Make A Grass Mat At Home
Was this page helpful?
At Storables.com, we guarantee accurate and reliable information. Our content, validated by Expert Board Contributors, is crafted following stringent Editorial Policies. We're committed to providing you with well-researched, expert-backed insights for all your informational needs.


0 thoughts on “How To Make A Grass Mat At Home”