Home>Home Appliances>Bathroom Appliances>How Long To Thaw Pipes With A Hair Dryer
Bathroom Appliances
How Long To Thaw Pipes With A Hair Dryer
Modified: August 17, 2024
Learn how to safely use a hair dryer to thaw frozen pipes in your bathroom. Get expert tips on thawing bathroom appliances quickly and effectively.
(Many of the links in this article redirect to a specific reviewed product. Your purchase of these products through affiliate links helps to generate commission for Storables.com, at no extra cost. Learn more)
Introduction
Dealing with frozen pipes can be a frustrating and potentially damaging issue for any homeowner. When the temperatures plummet, the water inside your pipes can freeze, leading to blockages and even bursts. If you find yourself in this situation, it's crucial to take swift and effective action to thaw the pipes and prevent further complications. One of the methods commonly used to thaw pipes is the application of a hair dryer. In this article, we will delve into the process of using a hair dryer to thaw pipes, including the precautions to take and the potential risks involved. Understanding this process can help you address the issue confidently and protect your home from the perils of frozen pipes.
Key Takeaways:
- Thawing frozen pipes with a hair dryer is effective for accessible areas, but safety is crucial. Follow step-by-step guidelines and safety precautions to prevent accidents and protect your home.
- Understanding the freezing process and using a hair dryer responsibly can help homeowners confidently address frozen pipes, but professional assistance may be needed for complex issues.
Read more: How To Thaw Outdoor Water Pipes
Understanding the Freezing Process
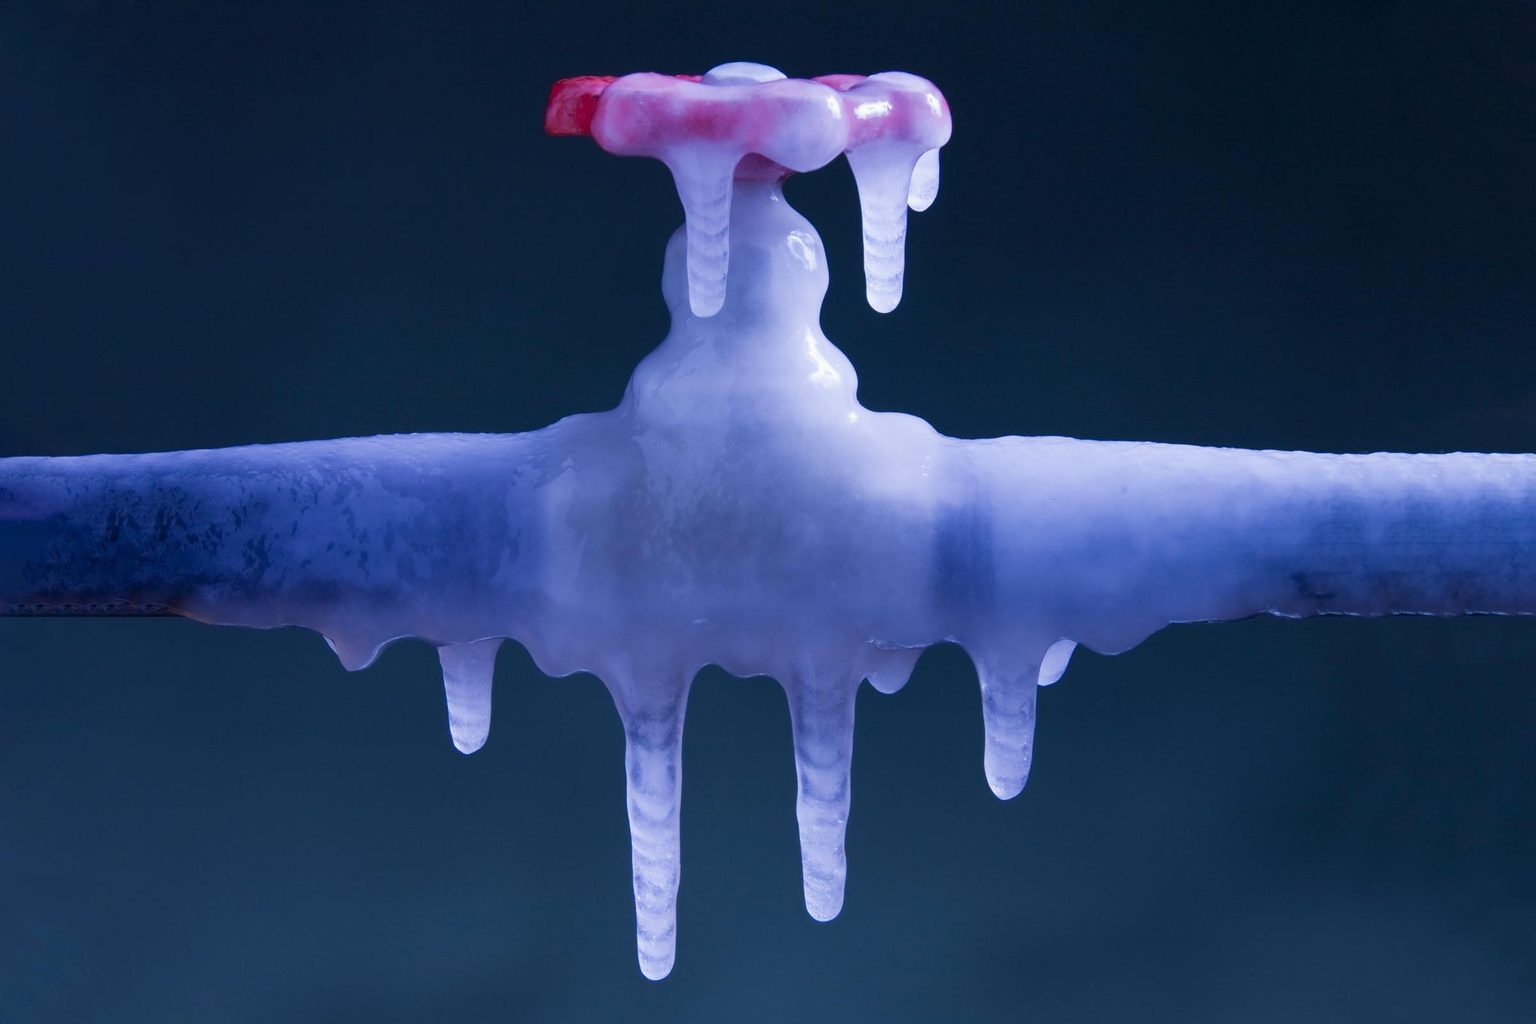
Before delving into the specifics of using a hair dryer to thaw pipes, it’s important to understand how pipes freeze in the first place. When the ambient temperature drops significantly, the water inside the pipes can freeze, leading to a blockage. As water freezes, it expands, creating immense pressure within the confines of the pipe. This pressure can cause the pipe to burst, resulting in extensive water damage and costly repairs.
It’s essential to note that not all pipes are equally susceptible to freezing. Exposed pipes in unheated areas of the home, such as basements, attics, and crawl spaces, are particularly vulnerable. Additionally, pipes located along exterior walls or in poorly insulated areas are at a higher risk of freezing. Understanding the factors that contribute to frozen pipes can help homeowners take proactive measures to prevent the issue.
Furthermore, the severity of the freezing can vary based on the duration of exposure to low temperatures. Prolonged exposure to subfreezing conditions increases the likelihood of pipe freezing, especially if the pipes are inadequately insulated or if there are significant air leaks in the vicinity. By recognizing the conditions that can lead to frozen pipes, homeowners can implement insulation and heating solutions to mitigate the risk.
By gaining insight into the freezing process, homeowners can better appreciate the urgency of addressing frozen pipes and the importance of employing safe and effective thawing methods, such as utilizing a hair dryer.
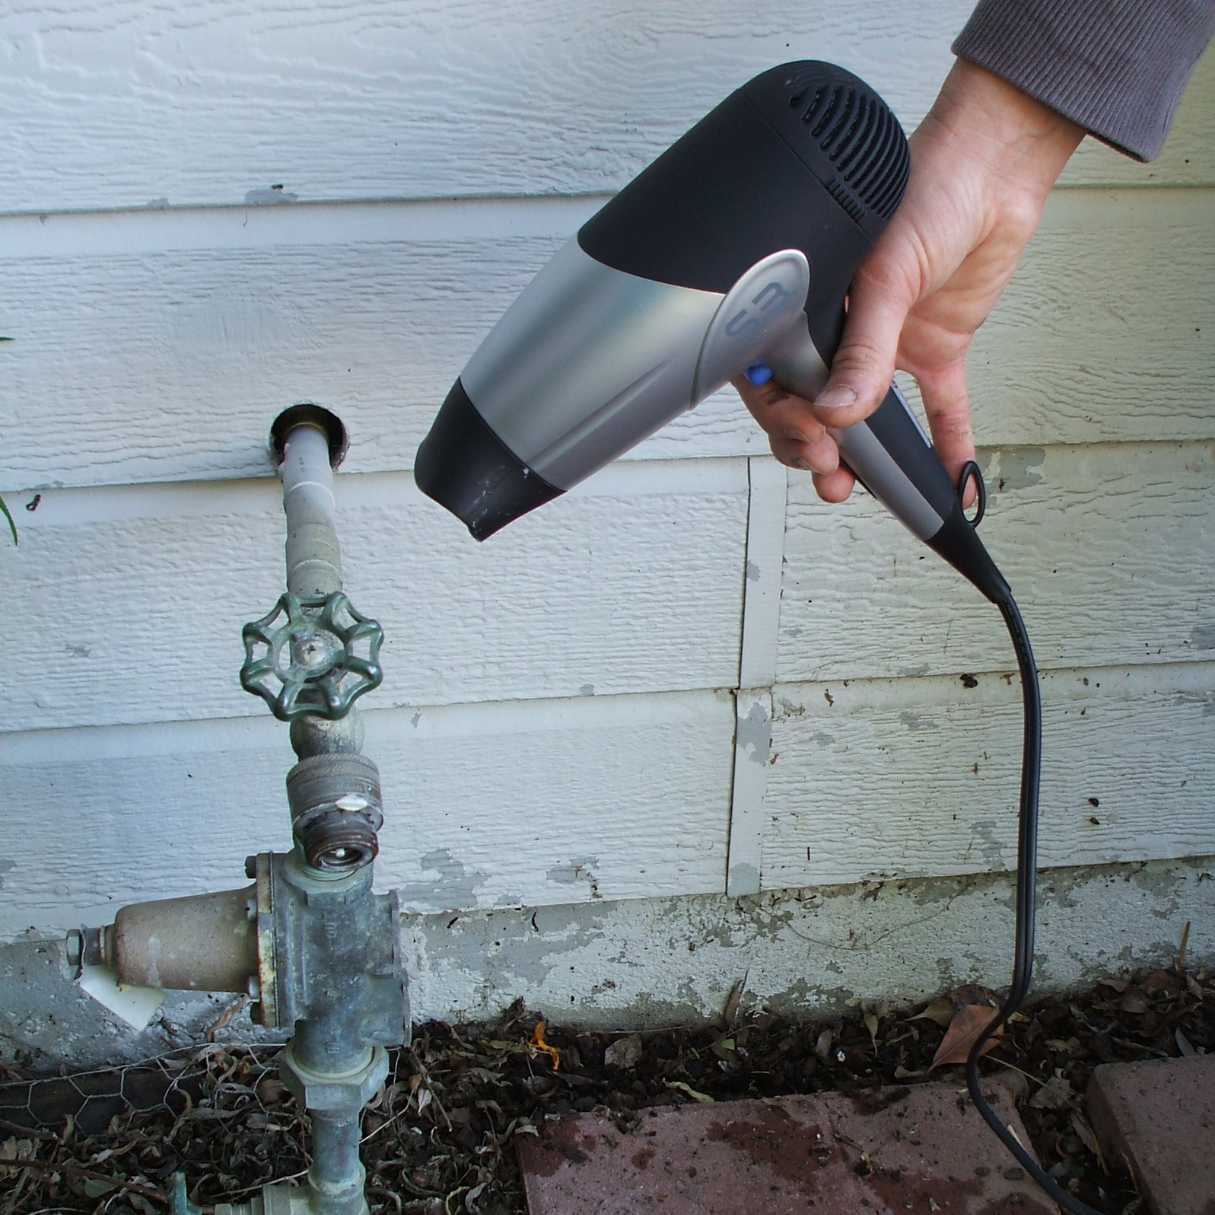
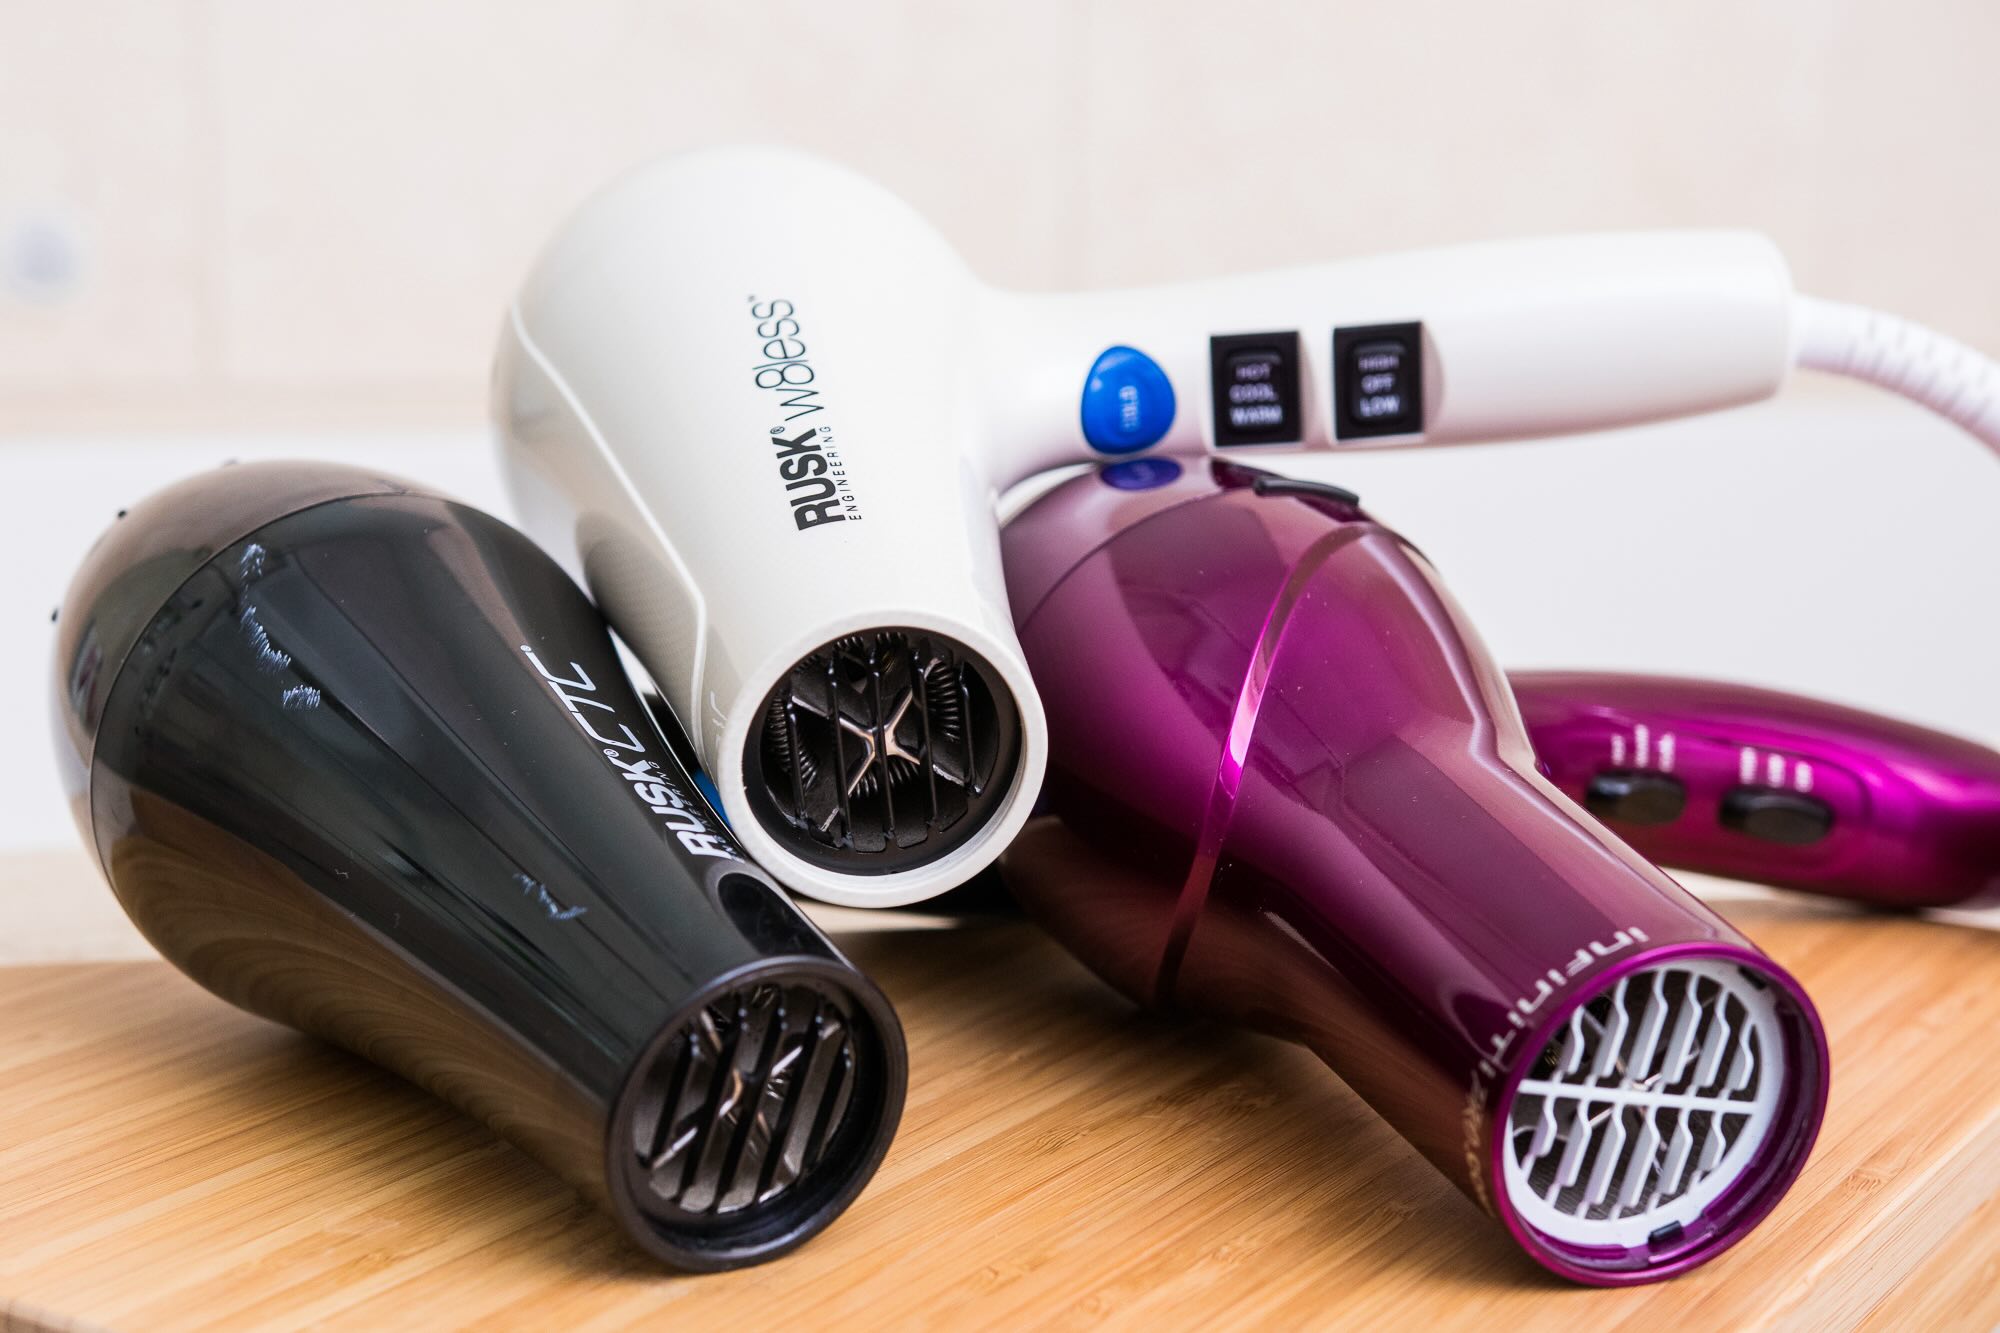
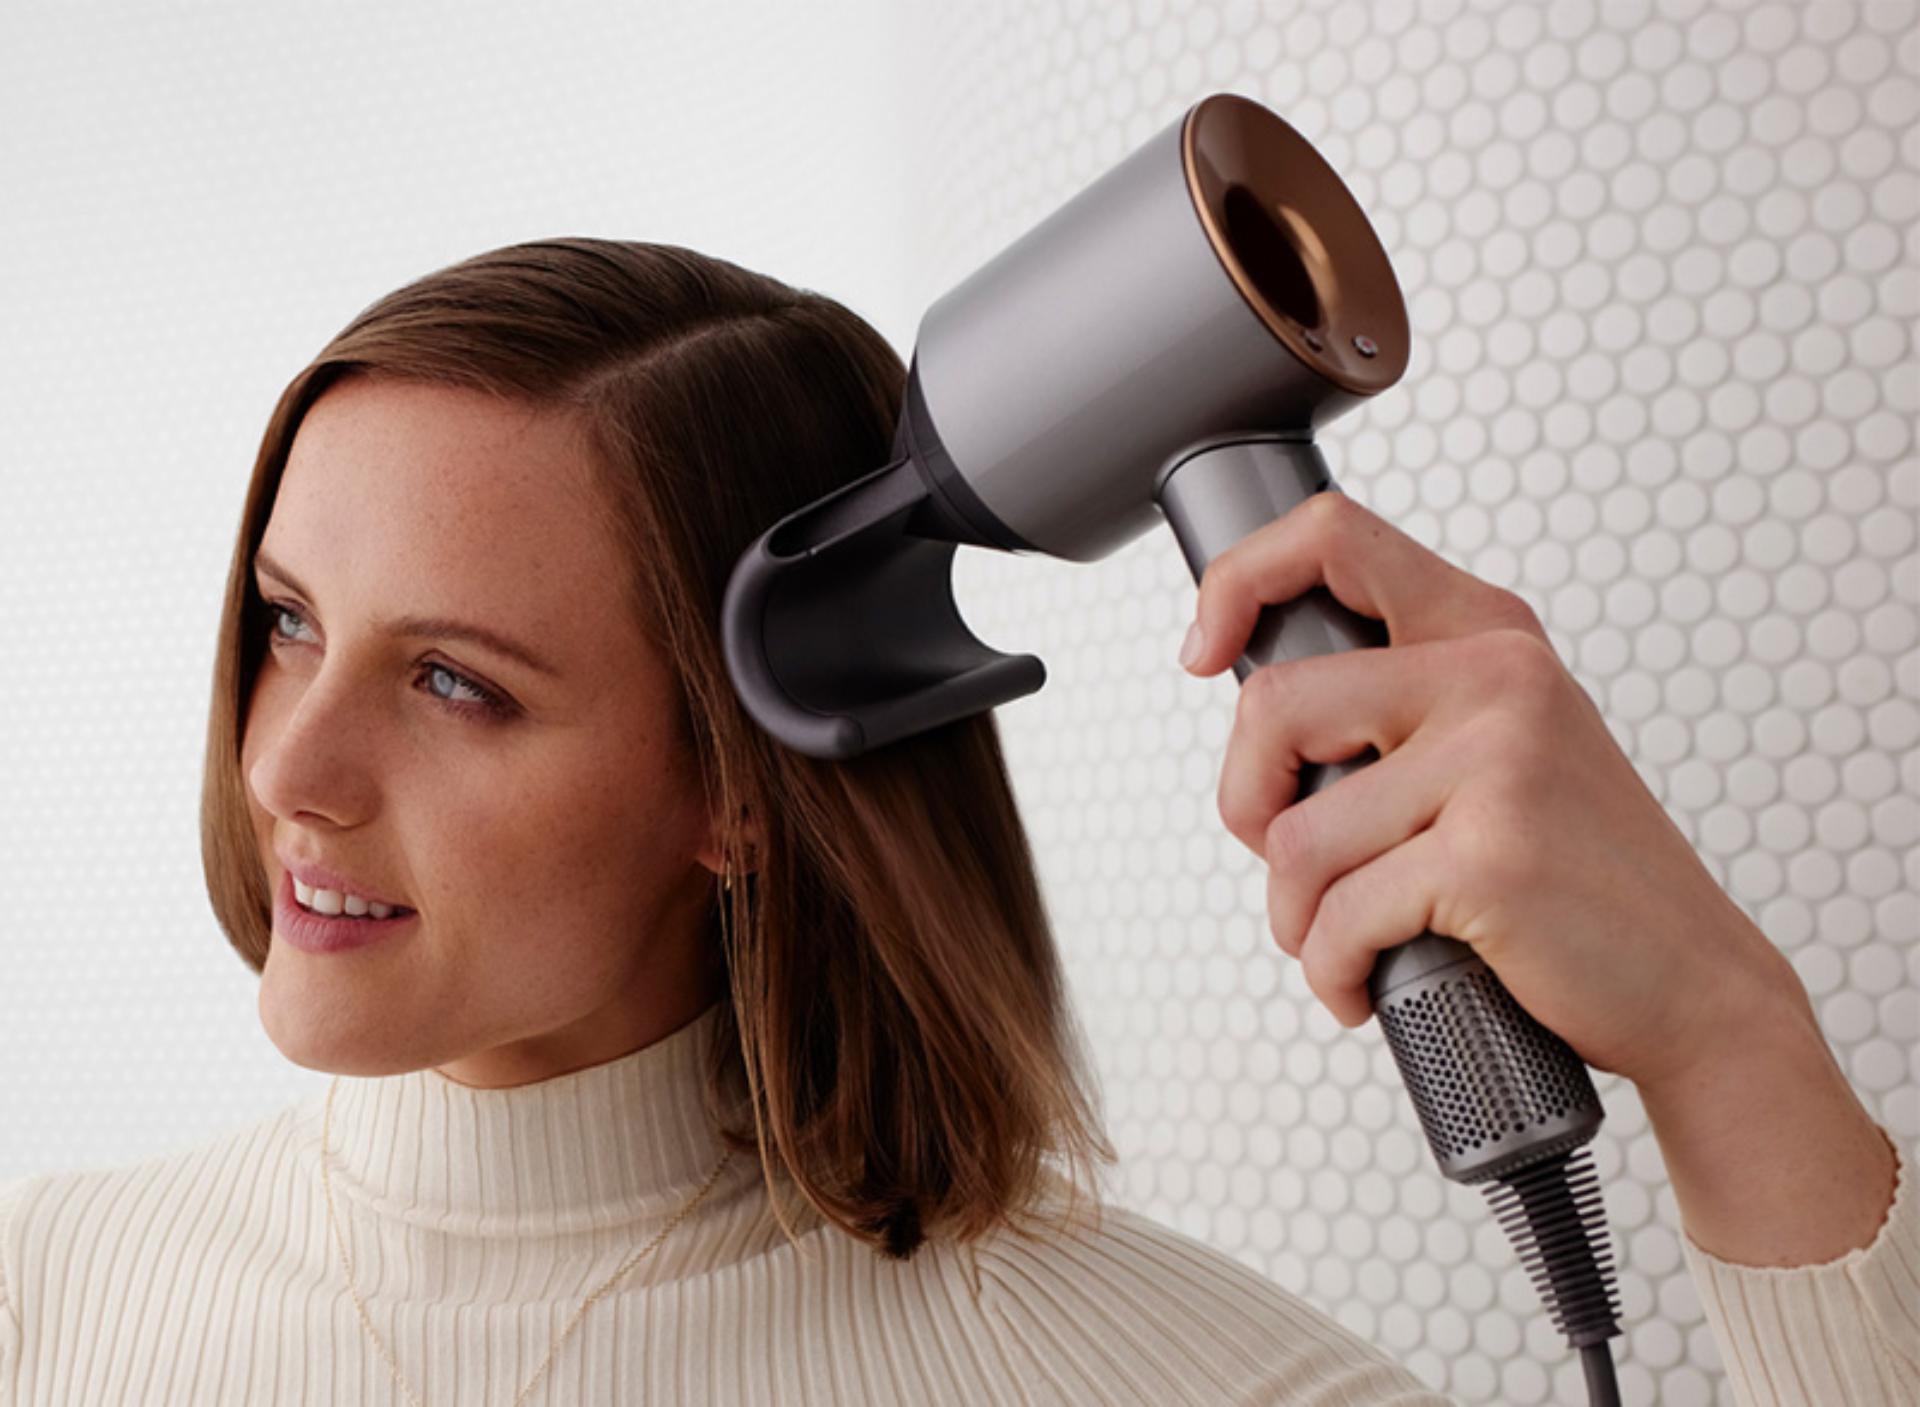
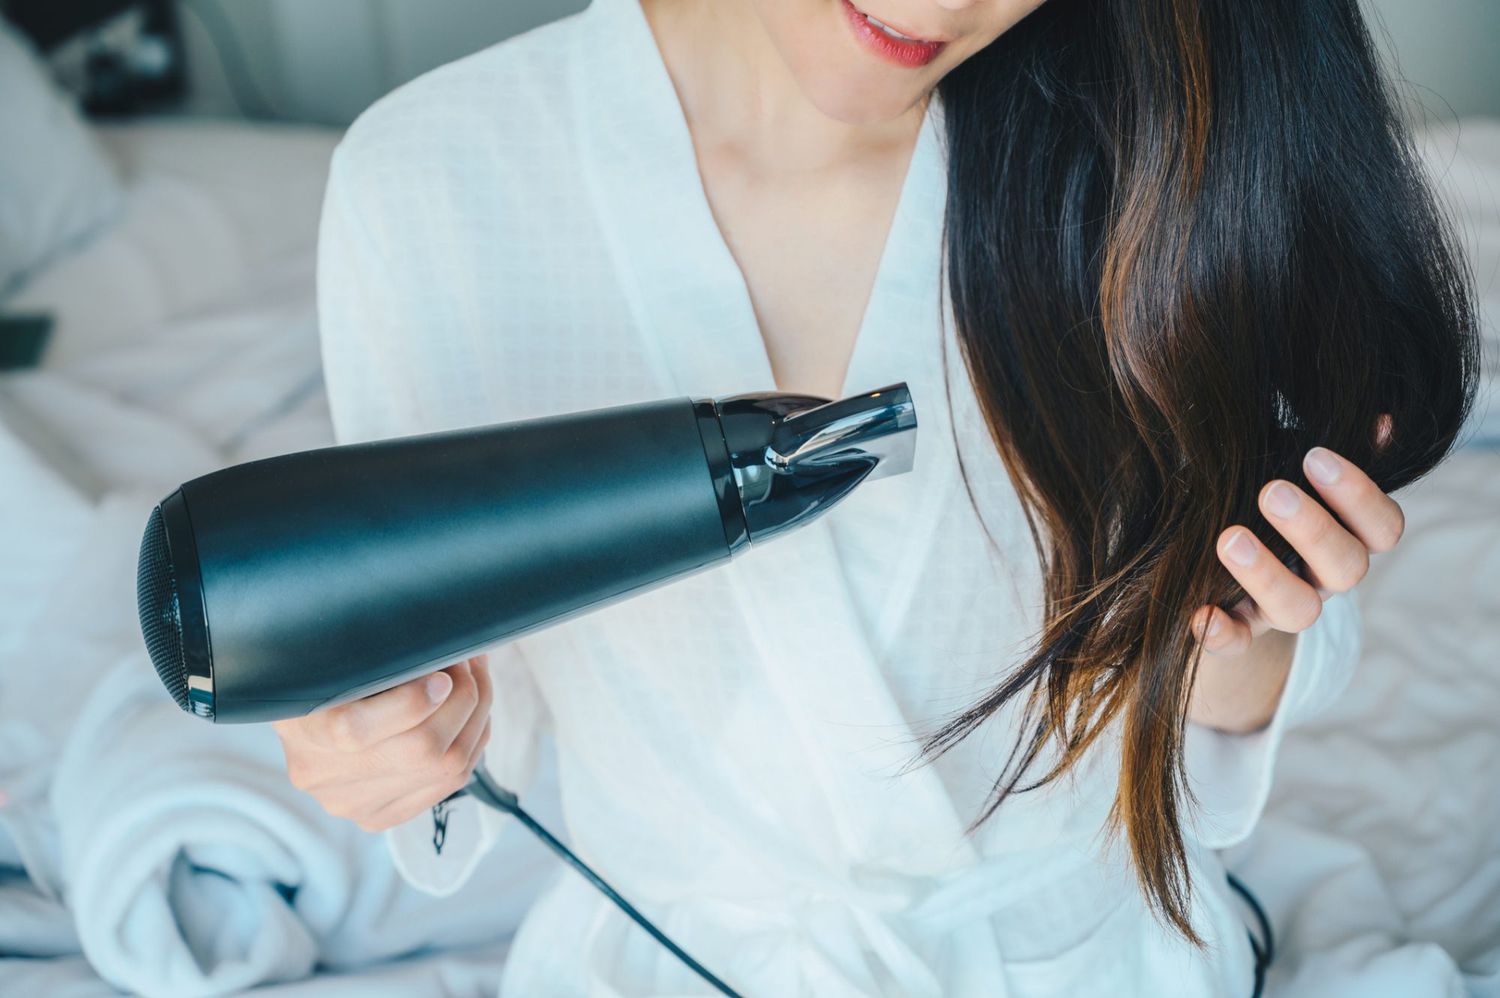
Using a Hair Dryer to Thaw Pipes
When confronted with frozen pipes, a hair dryer can be a valuable tool for thawing the ice and restoring the flow of water. This method is particularly effective for accessible pipes in areas such as kitchens, bathrooms, and utility rooms. Here’s a step-by-step guide to using a hair dryer to thaw pipes:
- Locate the Affected Pipes: Begin by identifying the sections of the plumbing system where the pipes are frozen. Look for areas where the water flow has ceased or where there are visible frost or ice accumulation on the exterior of the pipes.
- Prepare the Area: Ensure that the area around the frozen pipes is clear and dry. Remove any flammable materials or obstacles that could pose a hazard during the thawing process.
- Plug in the Hair Dryer: Use an outlet that is safely distanced from any water sources. It’s crucial to prioritize electrical safety during this process.
- Adjust the Settings: Set the hair dryer to a low or medium heat setting. Avoid using the high heat setting to prevent potential damage to the pipes or surrounding materials.
- Apply Heat to the Pipes: Direct the warm airflow from the hair dryer onto the frozen sections of the pipes. Move the hair dryer back and forth along the affected areas to ensure even heating.
- Monitor the Thawing Process: As the ice begins to melt, you may hear the sound of water starting to flow within the pipes. Continue applying heat until the water flows freely and the pipes are completely thawed.
- Check for Leaks: After the pipes have thawed, inspect the entire plumbing system for any signs of leaks or damage. Address any issues promptly to prevent water damage.
It’s important to exercise patience during the thawing process and avoid using excessive heat, as this can lead to thermal shock and potential damage to the pipes. Additionally, be mindful of the hair dryer’s cord to prevent it from coming into contact with water or wet surfaces.
While using a hair dryer can be effective for thawing pipes in certain situations, it’s essential to consider the limitations of this method. For instance, inaccessible or underground pipes may require alternative thawing techniques, and professional assistance may be necessary for complex or extensive freezing issues.
By following these guidelines and using a hair dryer responsibly, homeowners can mitigate the effects of frozen pipes and restore the functionality of their plumbing system.
When using a hair dryer to thaw frozen pipes, start at the faucet end and work your way towards the blockage. Keep the dryer moving to avoid overheating the pipe.
Safety Precautions
When employing a hair dryer to thaw pipes, it’s paramount to prioritize safety to prevent accidents and mitigate potential hazards. Here are essential safety precautions to observe during the process:
- Electrical Safety: Ensure that the hair dryer is plugged into a ground-fault circuit interrupter (GFCI) outlet to minimize the risk of electrical shocks. Avoid using extension cords, and keep the hair dryer away from water sources and wet surfaces.
- Flammability Awareness: Be mindful of any flammable materials in the vicinity of the pipes. Keep the area clear of items such as paper, cloth, or cleaning supplies that could ignite if exposed to the heat from the hair dryer.
- Heat Application: Use the hair dryer’s low or medium heat setting to thaw the pipes. Avoid directing the airflow onto plastic components or other vulnerable materials that could be damaged by excessive heat.
- Cord Management: Pay attention to the hair dryer’s cord to prevent tripping hazards and entanglement. Keep the cord away from water and ensure that it does not come into contact with hot surfaces.
- Ventilation: Maintain adequate ventilation in the area where the hair dryer is being used. Proper airflow can help dissipate any heat buildup and prevent the accumulation of fumes or odors.
- Protective Gear: Consider wearing heat-resistant gloves to shield your hands from the heat generated by the hair dryer. Additionally, eye protection can safeguard against any potential splashes or debris dislodged during the thawing process.
- Professional Consultation: If you have any concerns about the safety of using a hair dryer to thaw pipes, or if the frozen pipes are located in challenging or inaccessible areas, it’s advisable to seek professional assistance from a licensed plumber or a qualified technician.
By adhering to these safety precautions, homeowners can mitigate the risks associated with using a hair dryer to thaw pipes and ensure a safe and effective resolution to the issue of frozen plumbing.
Conclusion
Dealing with frozen pipes can be a stressful experience, but with the proper knowledge and precautions, homeowners can effectively address this issue and protect their plumbing system from damage. Using a hair dryer to thaw pipes can be a practical and accessible solution for minor instances of pipe freezing, particularly in areas where the pipes are easily accessible.
Understanding the freezing process and the application of safe thawing methods, such as utilizing a hair dryer, empowers homeowners to take proactive measures to address frozen pipes swiftly and effectively. By following the step-by-step guidelines for using a hair dryer to thaw pipes and observing essential safety precautions, individuals can mitigate the risks associated with frozen plumbing and restore the functionality of their water supply.
It’s important to recognize that while a hair dryer can be a valuable tool for thawing pipes in certain situations, there are instances where professional assistance may be necessary, especially for complex or inaccessible freezing issues. Consulting a licensed plumber or a qualified technician can provide peace of mind and ensure the thorough resolution of frozen pipe concerns.
Ultimately, by being informed about the freezing process, exercising caution, and utilizing appropriate thawing methods, homeowners can navigate the challenges of frozen pipes with confidence and safeguard their homes from the potential perils of plumbing issues.
Remember, when faced with frozen pipes, patience, safety, and informed decision-making are key to effectively resolving the issue and preserving the integrity of your plumbing system.
Frequently Asked Questions about How Long To Thaw Pipes With A Hair Dryer
Was this page helpful?
At Storables.com, we guarantee accurate and reliable information. Our content, validated by Expert Board Contributors, is crafted following stringent Editorial Policies. We're committed to providing you with well-researched, expert-backed insights for all your informational needs.


0 thoughts on “How Long To Thaw Pipes With A Hair Dryer”