Home>Home Maintenance>How To Cut A Dryer Vent Pipe
Home Maintenance
How To Cut A Dryer Vent Pipe
Modified: March 6, 2024
Learn how to properly cut a dryer vent pipe for your home maintenance needs. Expert tips and step-by-step instructions to ensure a safe and efficient process.
(Many of the links in this article redirect to a specific reviewed product. Your purchase of these products through affiliate links helps to generate commission for Storables.com, at no extra cost. Learn more)
Introduction
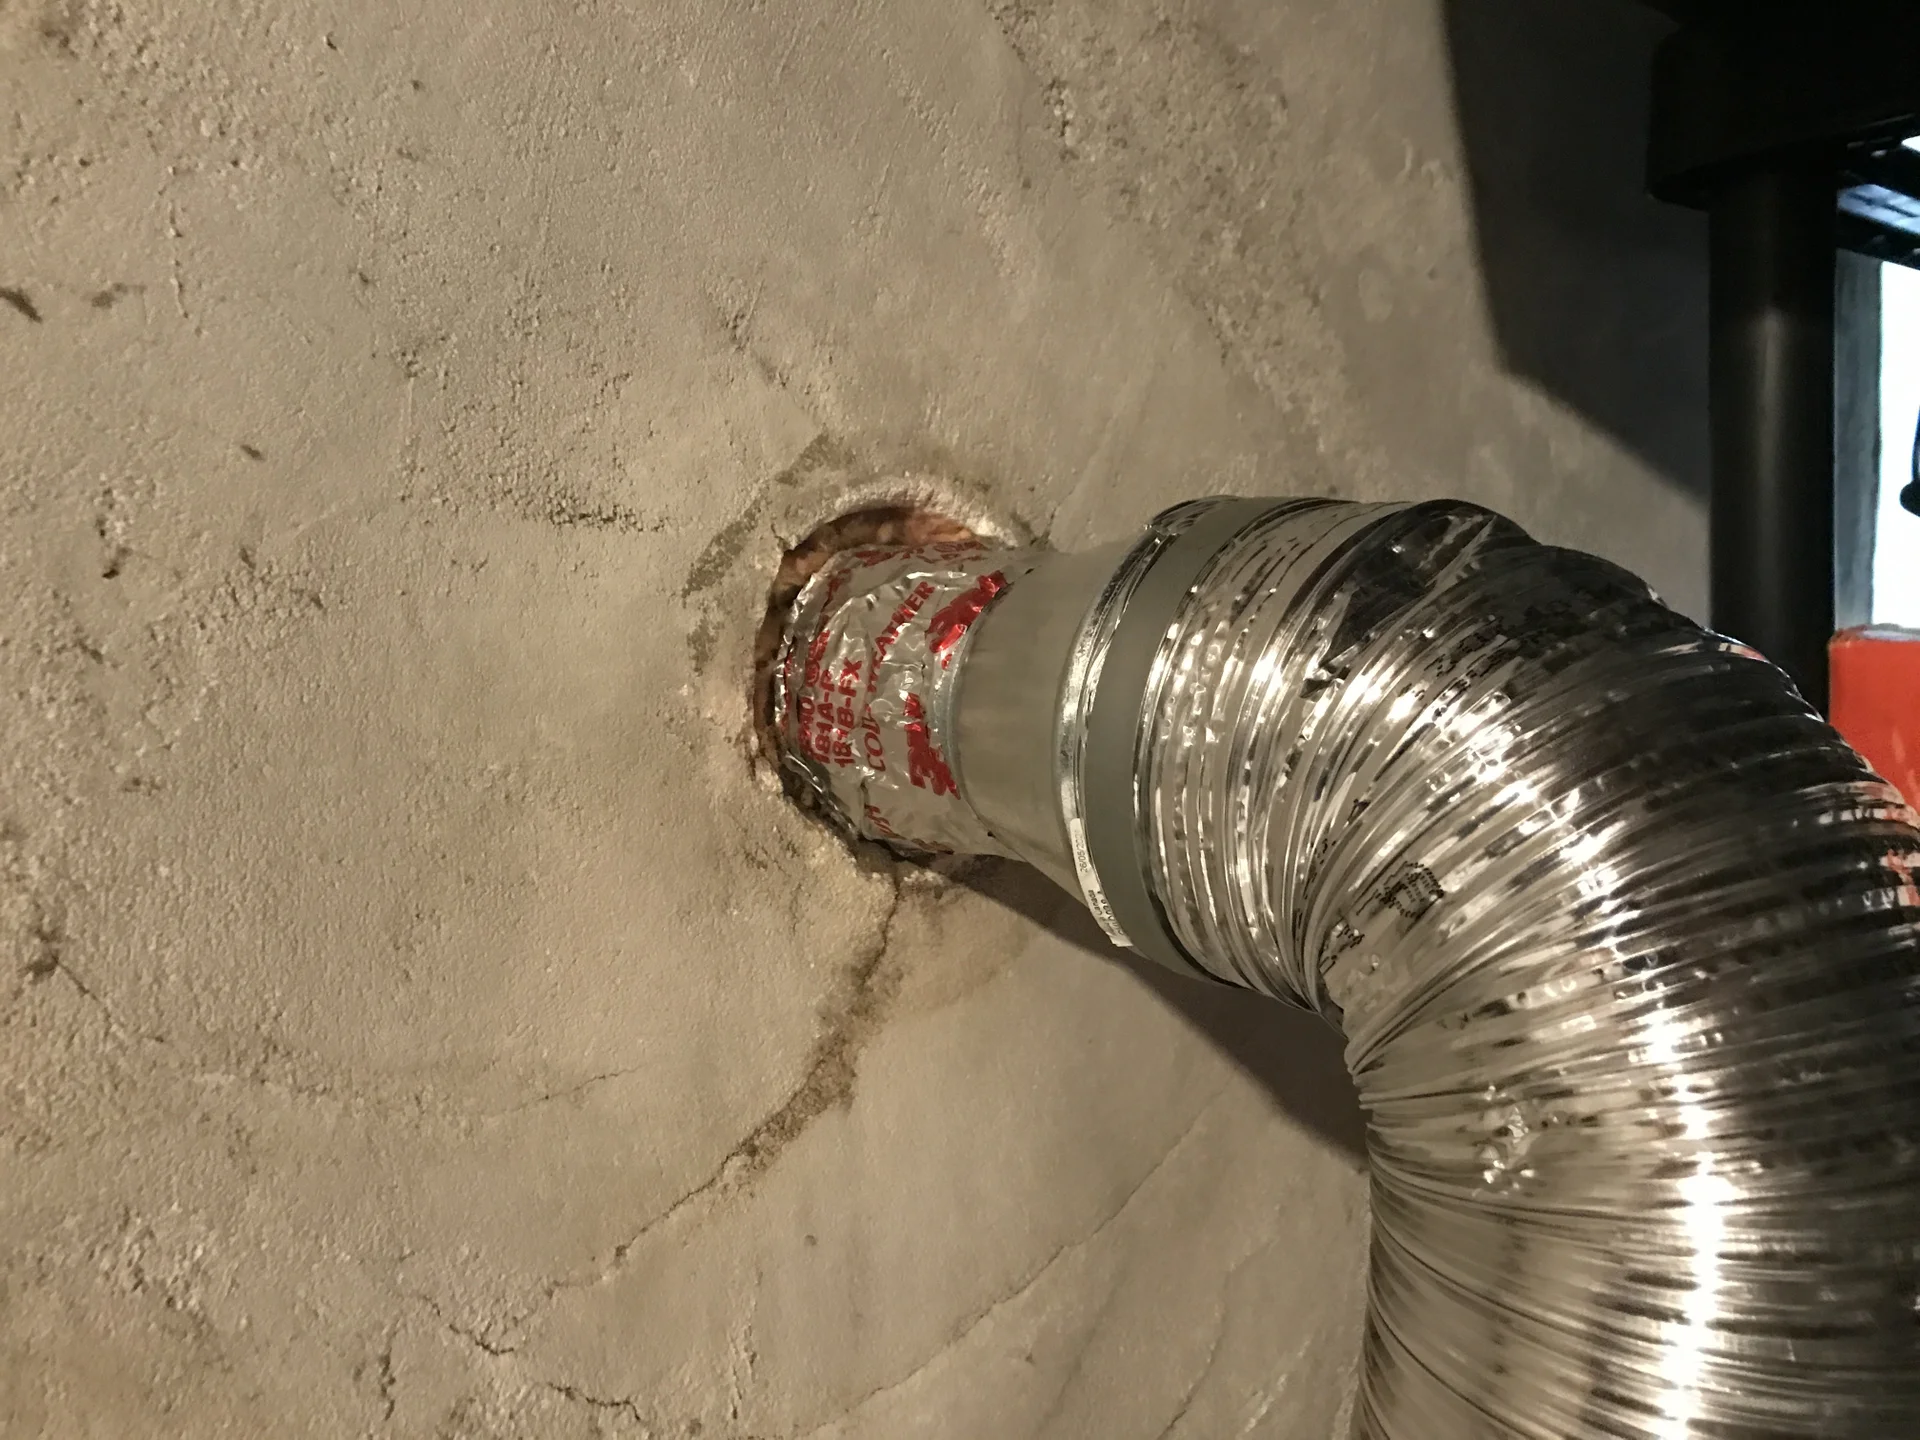
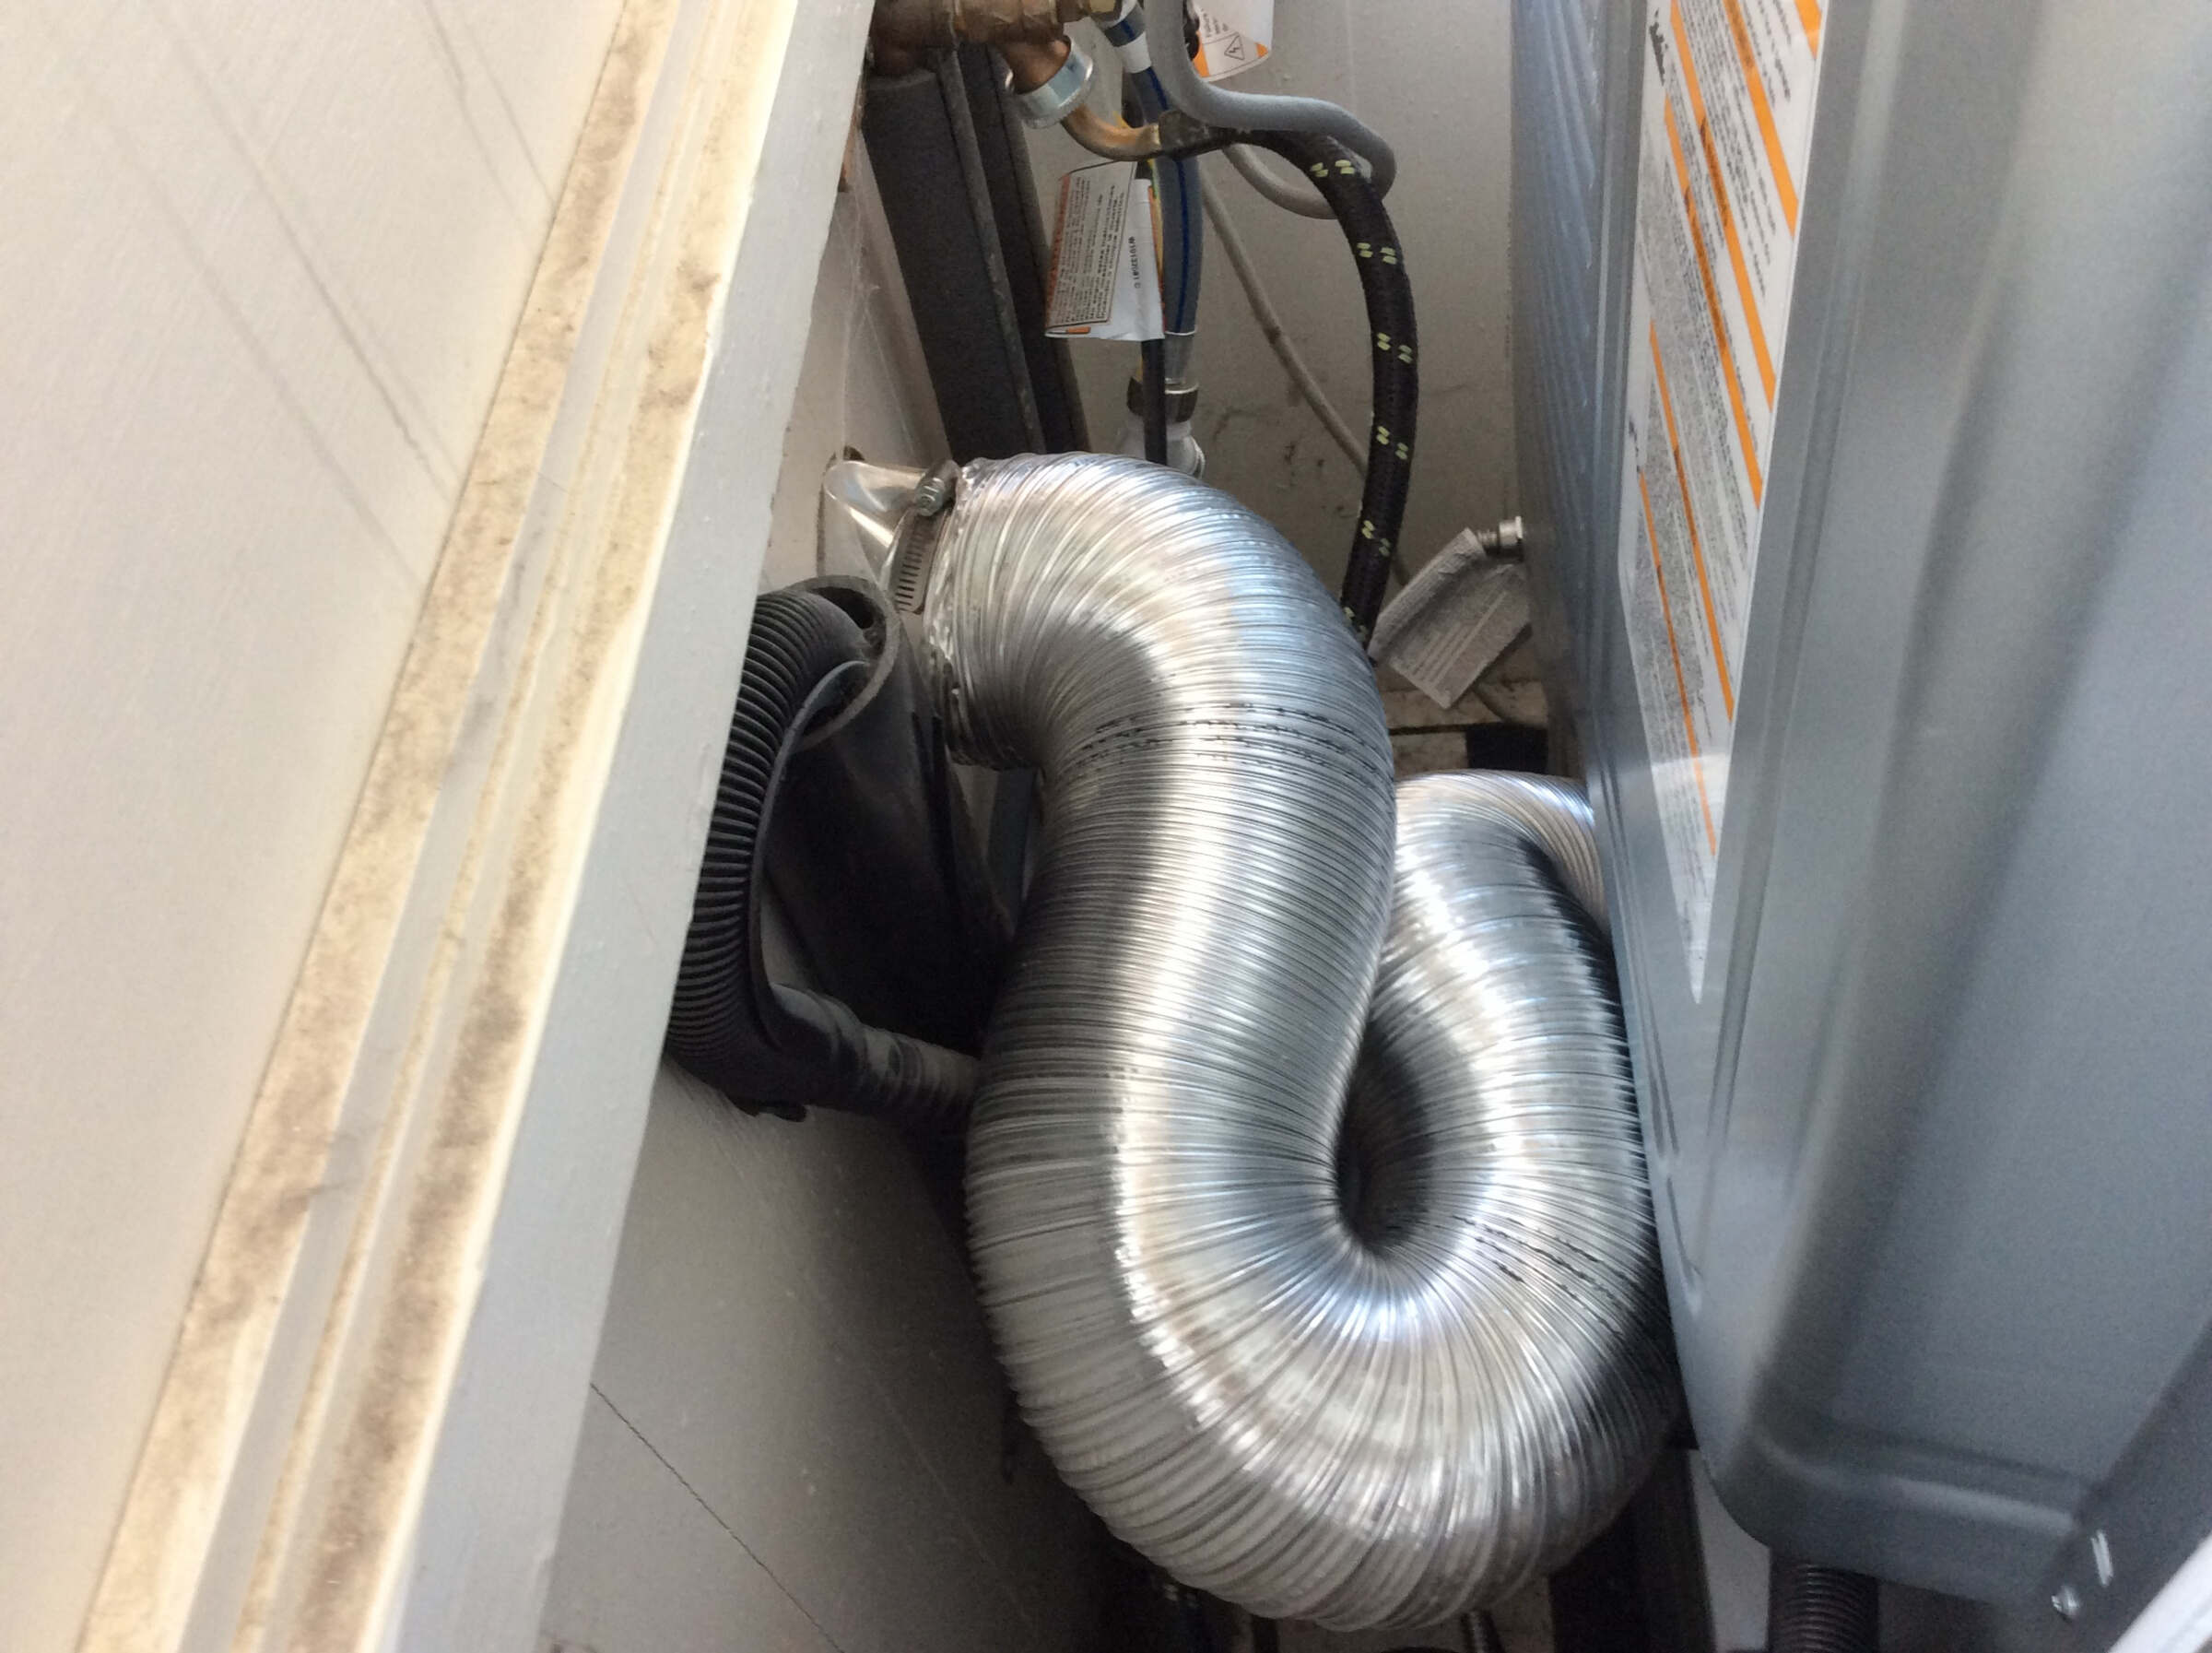
Giving your dryer proper ventilation is crucial to maintaining its efficiency and preventing potential safety hazards. A well-installed dryer vent pipe helps to expel hot air, lint, and moisture from your dryer to the outside of your home, reducing the risk of fire and ensuring that your dryer runs effectively.
One important step in installing a dryer vent is cutting the vent pipe to the correct size. Whether you’re replacing an old dryer vent pipe or installing a new one, this guide will provide you with step-by-step instructions on how to cut a dryer vent pipe.
Before starting the project, gather the necessary tools and materials: a measuring tape, a marker, a reciprocating saw or tin snips, safety goggles, a file or sandpaper, and a vent cover.
Now, let’s dive into the detailed steps for cutting a dryer vent pipe.
Key Takeaways:
- Properly cutting and installing a dryer vent pipe is essential for keeping your dryer safe and efficient. Gather the right tools, measure, cut, clean, and install the vent cover for a successful DIY project.
- Regularly maintain your dryer vent pipe to ensure optimal performance. Keep it clean, check for blockages, and inspect for damage. Enjoy the benefits of a well-ventilated dryer and peace of mind!
Read more: How To Insulate A Dryer Vent Pipe
Materials Needed
Before you begin cutting the dryer vent pipe, make sure you have the following materials:
- Measuring tape
- Marker or pen
- Reciprocating saw or tin snips
- Safety goggles
- File or sandpaper
- Vent cover
The measuring tape will help you accurately measure the length of the vent pipe you need to cut. The marker or pen will be used to mark the cutting points on the pipe. A reciprocating saw or tin snips will be used to make the actual cuts in the vent pipe.
Since safety is a top priority, it’s important to wear safety goggles to protect your eyes from any debris or metal particles that may be produced during the cutting process. A file or sandpaper will be needed to smooth out any rough or sharp edges on the cut pipe.
Lastly, a vent cover is essential to ensure that the outside of your home is protected from the elements while still allowing proper ventilation for your dryer.
Having these materials prepared in advance will make the cutting process smoother and more efficient. Now let’s move on to the step-by-step instructions for cutting the dryer vent pipe.
Step 1: Measure and Mark
The first step in cutting a dryer vent pipe is to accurately measure and mark the length you need. This will ensure that the pipe fits perfectly and allows for proper airflow.
Start by measuring the distance from the dryer to the outside wall where the vent will be installed. Use a measuring tape to get an accurate measurement, making sure to account for any bends or turns in the vent route.
Once you have determined the correct length, use a marker or pen to clearly mark the cutting points on the pipe. Make sure to mark the measurements on all sides of the pipe for easier cutting and alignment.
Remember to double-check your measurements before proceeding to the cutting step. Accuracy is key to ensure a tight and secure fit for the vent pipe.
With the measurements and cutting marks in place, you are ready to move on to the next step of preparing the vent pipe.
Step 2: Prepare the Vent Pipe
After measuring and marking the desired length for the dryer vent pipe, it’s time to prepare the pipe for cutting. This step involves ensuring that the pipe is clean and free of any obstructions or debris that could hinder the cutting process.
Start by inspecting the vent pipe for any accumulated lint or dirt. Use a brush or cloth to remove any debris from the surface of the pipe. It’s important to have a clean and smooth surface for accurate cutting.
Next, check the inside of the pipe for any lint buildup or obstructions. This can be done by shining a flashlight inside the pipe and inspecting its interior. If you notice any blockages or excessive lint, use a vent brush or compressed air to clear it out.
Make sure to wear safety goggles during this process to protect your eyes from any dust or debris that may be dislodged.
Once the vent pipe is clean and clear, visually inspect it for any dents or damage. If you notice any significant dents or deformities, it’s advisable to replace the pipe to ensure proper airflow.
With the vent pipe clean and in good condition, you are now ready to move on to the exciting part – cutting the vent pipe to the correct length.
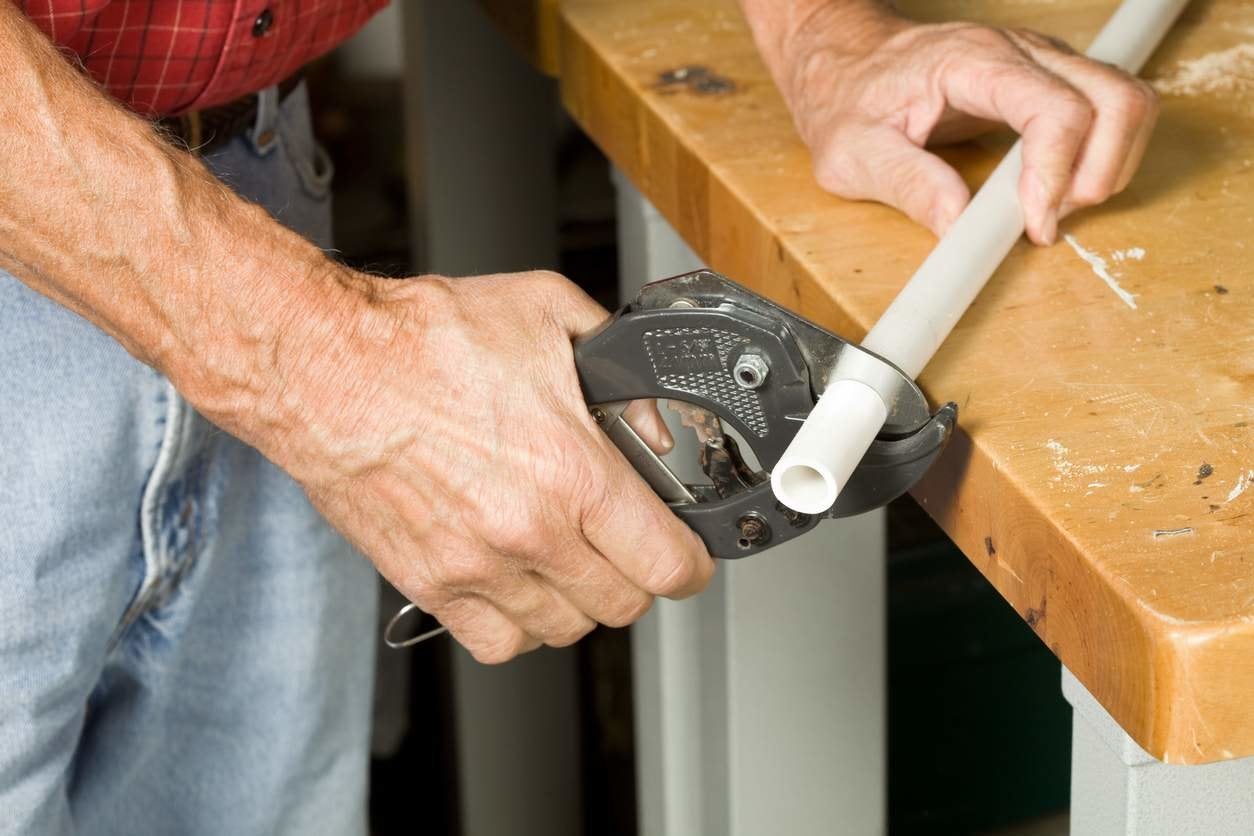
When cutting a dryer vent pipe, use a metal snips or a rotary tool with a metal-cutting blade. Measure and mark the pipe before cutting, and wear safety goggles and gloves to protect yourself from sharp edges.
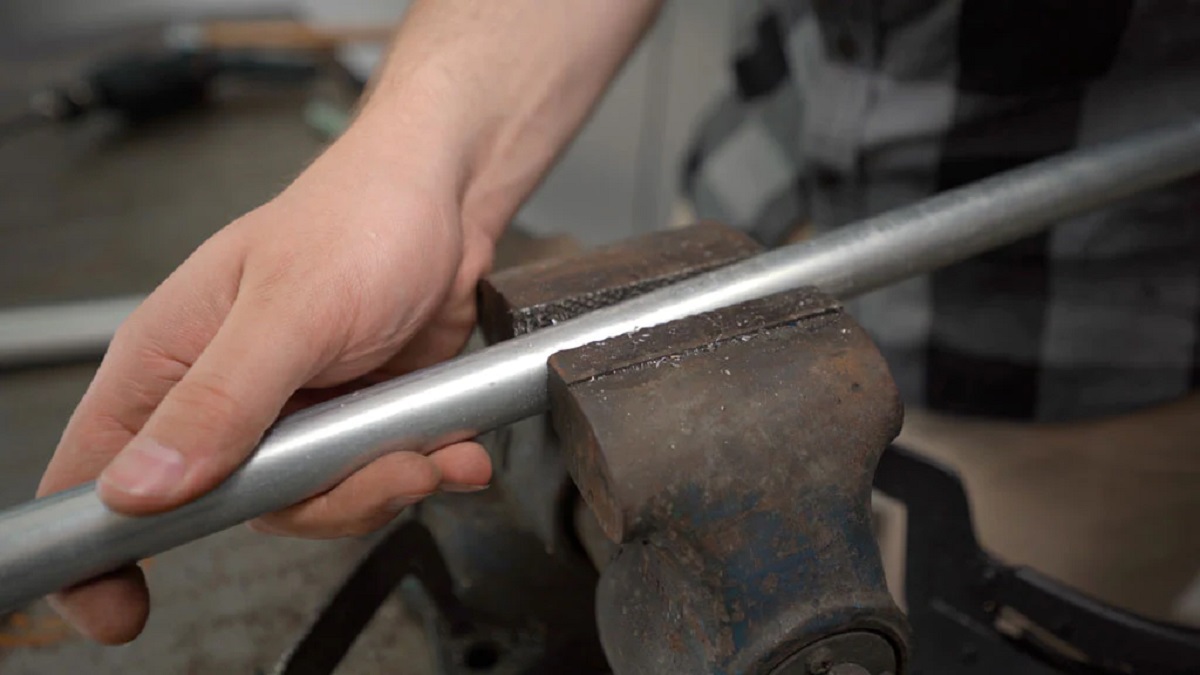
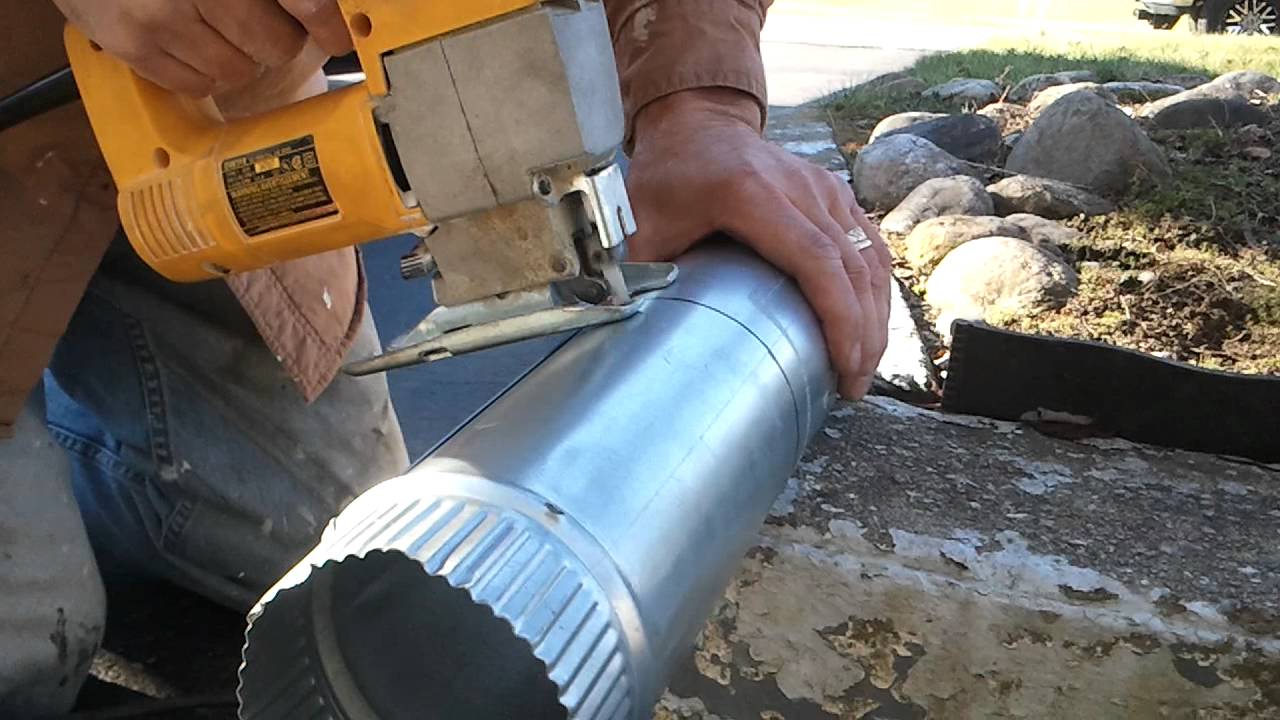
Step 3: Cut the Vent Pipe
Now that you have prepared the vent pipe, it’s time to make the necessary cuts to achieve the desired length.
If you are using a reciprocating saw, affix a metal-cutting blade to it. Ensure that you are wearing safety goggles before proceeding.
Align the blade of the saw with one of the cutting marks on the vent pipe. Hold the saw firmly and start cutting along the marked line. Use a steady and controlled motion to prevent the saw from jumping or slipping.
Alternatively, if you are using tin snips, place the teeth of the snips at the starting point of the cut. Apply firm pressure and use a snipping motion to gradually cut through the pipe. Continue along the marked line until the cut is complete.
Remember to follow the marked lines accurately to achieve a clean and precise cut. Take your time and make controlled movements to ensure safety and accuracy.
If you are cutting through a metal vent pipe, expect some noise and vibration during the process. This is normal, but always prioritize safety and proceed with caution.
Once you have made the cut, inspect the edges to ensure they are clean and free from any jagged or sharp edges. We will address this in the next step.
Now that you have successfully cut the vent pipe, proceed to the next step to ensure a safe and neat finish.
Read more: How To Clean A Dryer Vent Pipe
Step 4: Clean the Cut Edges
After cutting the vent pipe to the desired length, it’s essential to clean and smoothen the cut edges. This step helps to prevent any injuries and ensures a proper fit when connecting the pipe together.
Start by inspecting the cut edges of the vent pipe. If you notice any sharp or jagged edges, use a file or sandpaper to gently smooth them out. Work in a back-and-forth motion to remove any burrs or rough spots.
Take care not to apply too much pressure, as this could distort or deform the vent pipe. The goal is to create a clean and even surface along the cut edges.
Once you have finished filing or sanding, run your hand along the edges to check for any remaining roughness. If necessary, continue smoothing the edges until they are completely smooth and safe to handle.
It’s important to prioritize safety during this step. Wear gloves to protect your hands from any sharp edges and be mindful of any metal shavings that may be produced during the process.
By cleaning and smoothening the cut edges of the vent pipe, you ensure a secure connection and reduce the risk of any potential injuries or damage during installation.
With the cut edges now clean and smooth, it’s time to proceed to the final step – installing the vent cover.
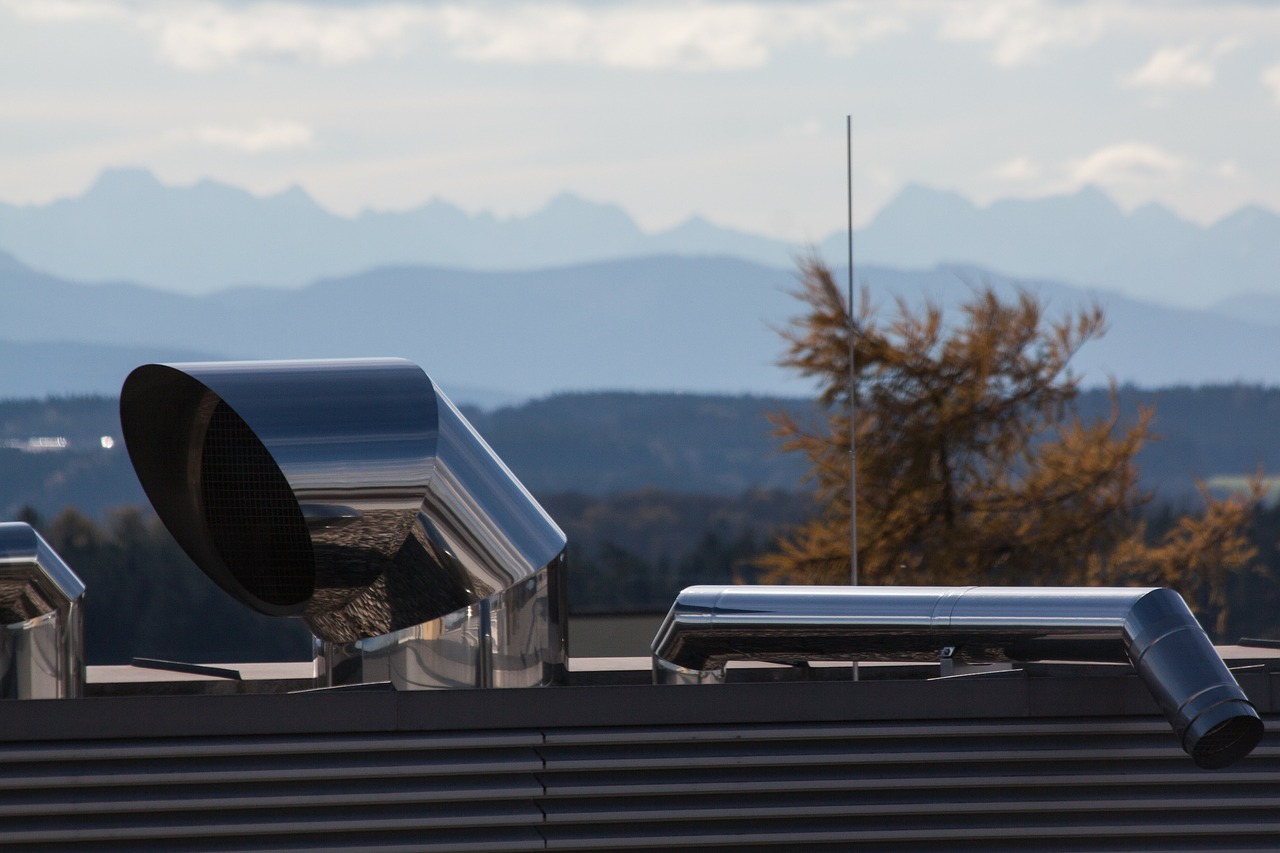
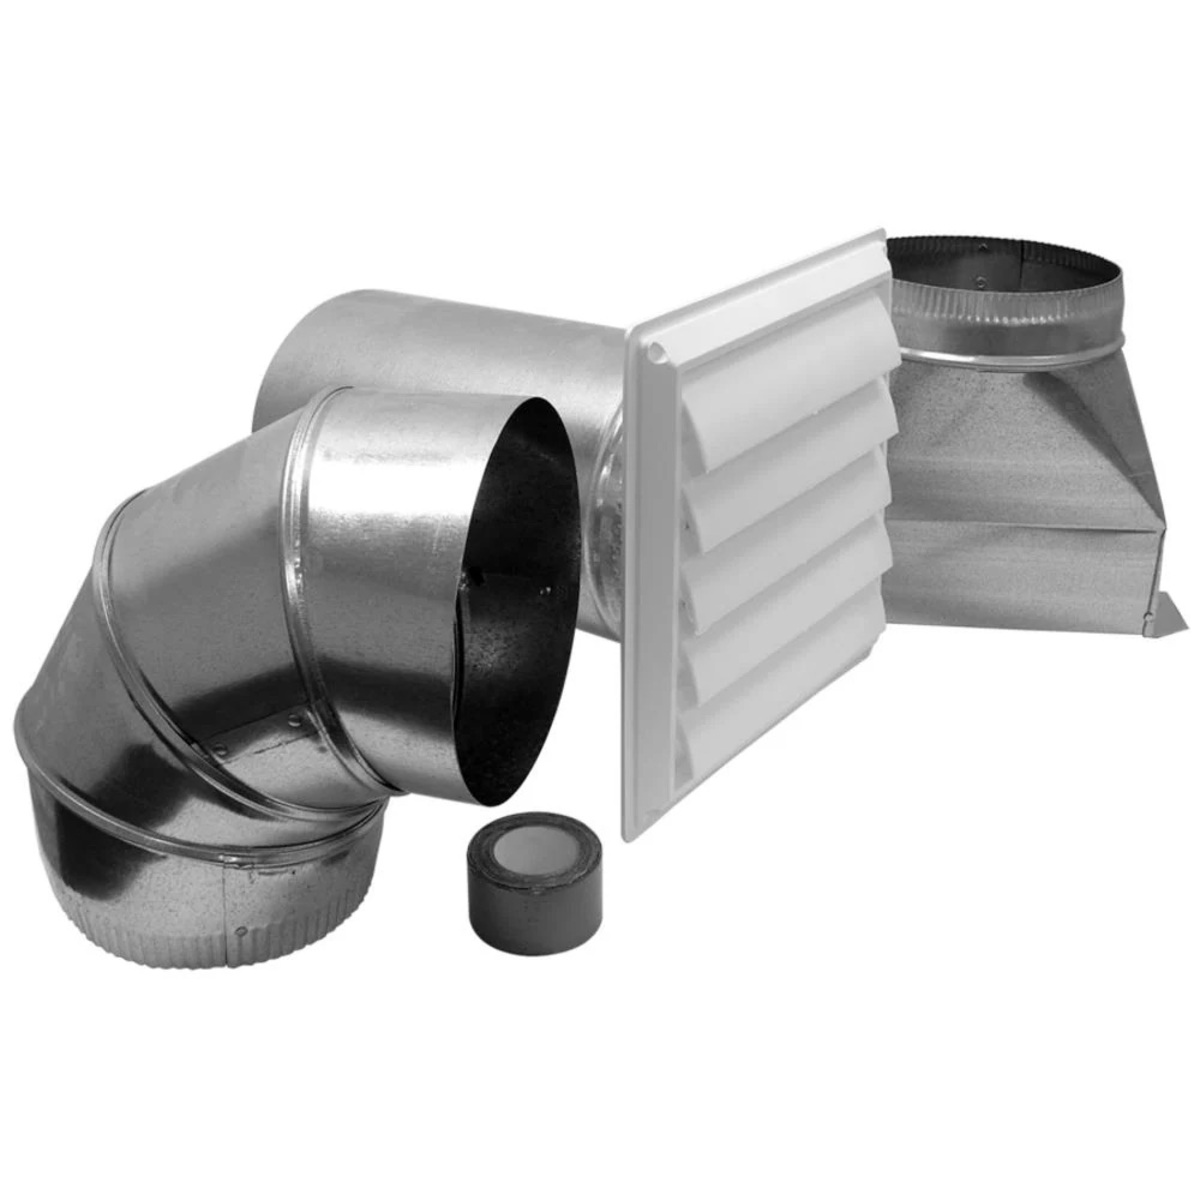
Step 5: Install the Vent Cover
After cutting and preparing the vent pipe, the final step is to install the vent cover. This step is crucial to protect the vent pipe and ensure proper airflow while preventing debris or animals from entering the system.
Start by positioning the vent cover over the cut end of the vent pipe. Align the screw holes on the cover with the corresponding holes on the pipe.
Using a screwdriver or drill with the appropriate screwdriver bit, secure the vent cover to the vent pipe by inserting screws into the holes. Tighten the screws until the cover is securely attached to the pipe, but avoid over-tightening to prevent damage to the cover or the pipe.
Ensure that the vent cover is flush against the exterior surface of your home and the screws are fully tightened for a secure fit.
Once the vent cover is installed, take a moment to visually inspect it and ensure it is properly aligned and sitting flat against the wall. This will help prevent any external elements from entering the vent system.
Lastly, test the vent system by running your dryer and checking for the proper flow of air outside your home. Make sure there are no obstructions and that the vent cover is allowing air to pass through freely.
With the vent cover securely in place and the vent system functioning properly, you have successfully completed the installation of the dryer vent pipe!
Remember, maintaining a clean and well-functioning dryer vent is crucial for the safety and efficiency of your dryer. Regularly clean the vent pipe and check for any blockages or damage to ensure optimal performance.
Now that you have learned how to cut and install a dryer vent pipe, you can confidently tackle this DIY project and ensure proper ventilation for your dryer.
Thank you for following this step-by-step guide. Happy cutting and installing!
Conclusion
Properly cutting and installing a dryer vent pipe is a vital step in maintaining the safety and efficiency of your dryer. By following the step-by-step instructions outlined in this guide, you can confidently tackle this DIY project and ensure that your dryer is properly ventilated.
Remember to gather all the necessary materials before starting the project, including a measuring tape, marker, reciprocating saw or tin snips, safety goggles, file or sandpaper, and a vent cover.
Measure and mark the desired length of the vent pipe, ensuring accuracy for a secure fit. Prepare the vent pipe by cleaning it of any debris and checking for damage or dents.
Next, carefully cut the vent pipe using a reciprocating saw or tin snips, paying attention to follow the marked lines accurately. Take your time and prioritize safety during the cutting process.
Once the vent pipe is cut to the correct length, clean the cut edges with a file or sandpaper to remove any sharp or jagged edges. This step promotes safety and ensures a proper fit when connecting the pipe.
Finally, install the vent cover by aligning it with the cut end of the vent pipe and securing it with screws. Ensure that the vent cover is securely attached and sitting flush against the exterior surface of your home.
By completing these steps, you can ensure that your dryer vent pipe is properly installed and functioning effectively. Regularly check the vent system for any blockages or damage to maintain optimal performance.
With this comprehensive guide, you are now equipped with the knowledge and confidence to successfully cut and install a dryer vent pipe. Enjoy the benefits of a well-ventilated dryer and peace of mind knowing that you have taken the necessary steps to maintain its safety and efficiency.
Thank you for following this guide, and happy DIY vent pipe cutting!
Frequently Asked Questions about How To Cut A Dryer Vent Pipe
Was this page helpful?
At Storables.com, we guarantee accurate and reliable information. Our content, validated by Expert Board Contributors, is crafted following stringent Editorial Policies. We're committed to providing you with well-researched, expert-backed insights for all your informational needs.