Home>Home Maintenance>How To Insulate A Dryer Vent Pipe
Home Maintenance
How To Insulate A Dryer Vent Pipe
Modified: August 28, 2024
Learn how to properly insulate your dryer vent pipe to improve home maintenance and prevent energy loss. Step-by-step guide for insulating your dryer vent pipe.
(Many of the links in this article redirect to a specific reviewed product. Your purchase of these products through affiliate links helps to generate commission for Storables.com, at no extra cost. Learn more)
Introduction
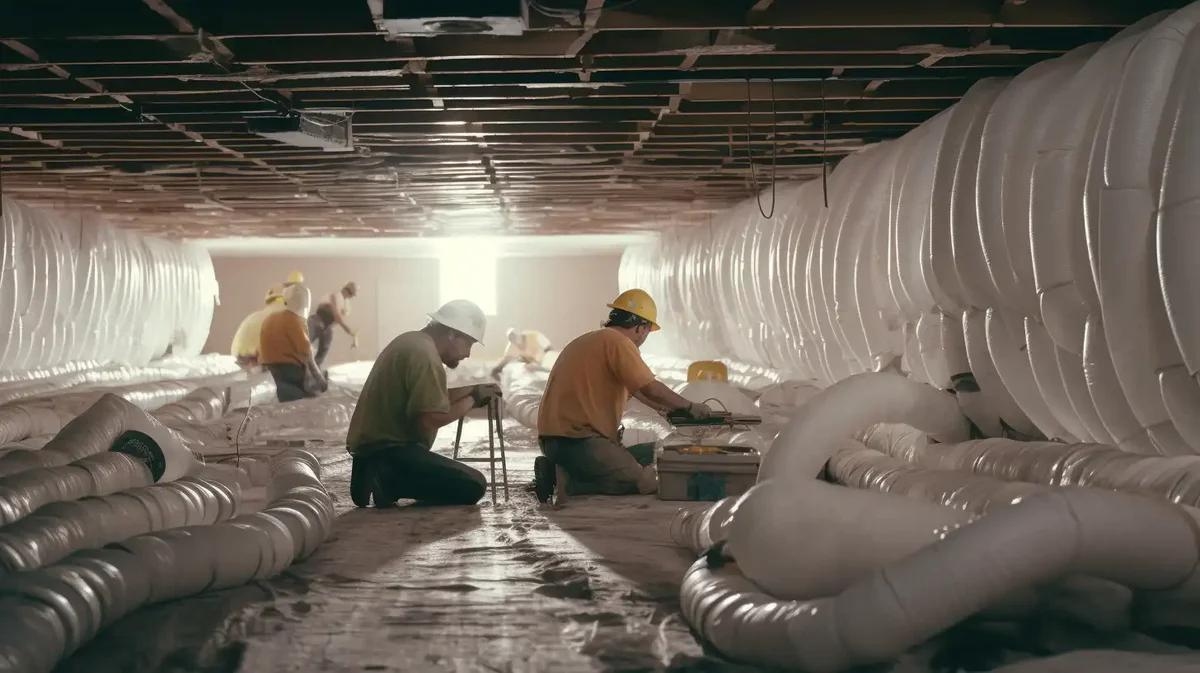
When it comes to home maintenance, one area that often gets overlooked is the dryer vent pipe. While it may seem like a small and insignificant component, the dryer vent pipe plays a crucial role in safely removing hot air and moisture from your dryer to the outside of your home.
However, without proper insulation, the dryer vent pipe can become a source of energy loss, potentially leading to increased utility bills and even potential safety hazards. Insulating the dryer vent pipe is a simple and cost-effective solution that can provide numerous benefits, including improved energy efficiency, enhanced dryer performance, and reduced risk of lint buildup and fire hazards.
In this article, we will guide you through the steps to properly insulate a dryer vent pipe, ensuring that your dryer operates efficiently while keeping your home safe and comfortable.
Key Takeaways:
- Insulating your dryer vent pipe can improve energy efficiency, enhance dryer performance, and reduce the risk of lint buildup and fire hazards, keeping your home safe and comfortable.
- By properly insulating the vent opening outside your house, you can prevent drafts, minimize heat loss, and optimize your dryer’s performance, leading to improved energy efficiency.
Read more: How To Cut A Dryer Vent Pipe
Understanding the Importance of Insulating a Dryer Vent Pipe
Insulating a dryer vent pipe may not seem like a top priority when it comes to home maintenance, but it can have a significant impact on both the performance of your dryer and the energy efficiency of your home. Here’s why insulating your dryer vent pipe is essential:
- Improved Energy Efficiency: Insulating the dryer vent pipe helps to prevent heat loss during the drying process. When hot air from the dryer escapes through the vent pipe, it wastes energy and forces your dryer to work harder and longer to dry your clothes. By insulating the vent pipe, you can keep the hot air inside, allowing your dryer to operate more efficiently and reducing energy consumption.
- Enhanced Dryer Performance: When the dryer vent pipe is properly insulated, it creates a more controlled and efficient airflow. This means that air can flow smoothly through the vent pipe, preventing any blockages or restrictions that can hinder the performance of your dryer. By improving the airflow, you can ensure that your dryer dries your clothes faster and more effectively.
- Reduced Risk of Lint Buildup: A dryer vent pipe that is not insulated can become excessively cold during the winter months. This cold temperature can cause the moisture in the hot air to condense inside the pipe, leading to the formation of lint, which can accumulate and create blockages. Insulating the vent pipe helps to maintain a consistent temperature, preventing condensation and reducing the risk of lint buildup.
- Prevention of Fire Hazards: Lint buildup in the dryer vent pipe is a common cause of residential fires. When lint accumulates, it becomes highly flammable, and if ignited, it can quickly lead to a dangerous fire. Proper insulation helps to minimize lint buildup by maintaining a steady airflow and preventing the formation of blockages. This significantly reduces the risk of fire hazards associated with the dryer vent pipe.
By understanding the importance of insulating your dryer vent pipe, you can take the necessary steps to ensure its proper functioning and minimize energy waste and potential safety risks. Now that you’re aware of the benefits, let’s move on to the tools and materials you’ll need to insulate your dryer vent pipe.
Tools and Materials Needed
Before you start insulating your dryer vent pipe, it’s essential to gather all the necessary tools and materials. Here’s what you’ll need:
- Insulation Material: Look for insulation specifically designed for dryer vent pipes. The most common type is foil-backed fiberglass insulation, as it provides both thermal and moisture resistance. Ensure that the insulation material is suitable for the diameter of your vent pipe.
- Measuring Tape: You’ll need a measuring tape to measure the length of your dryer vent pipe accurately. This will help you determine the amount of insulation material required.
- Scissors or Utility Knife: You’ll need a sharp pair of scissors or a utility knife to cut the insulation material to the required length and shape.
- Duct Tape or Zip Ties: You’ll need either duct tape or zip ties to secure the insulation wrap around the dryer vent pipe. Both options are effective in keeping the insulation in place.
- Protective Gear: Although not essential, it’s advisable to wear gloves and a dust mask when handling insulation material to protect yourself from any potential irritants.
Once you have gathered all the necessary tools and materials, you’re ready to move on to the next step: measuring the length of your dryer vent pipe.
Step 1: Measure the Length of the Dryer Vent Pipe
The first step in insulating your dryer vent pipe is to measure its length accurately. This will help you determine the amount of insulation material needed. Here’s how to do it:
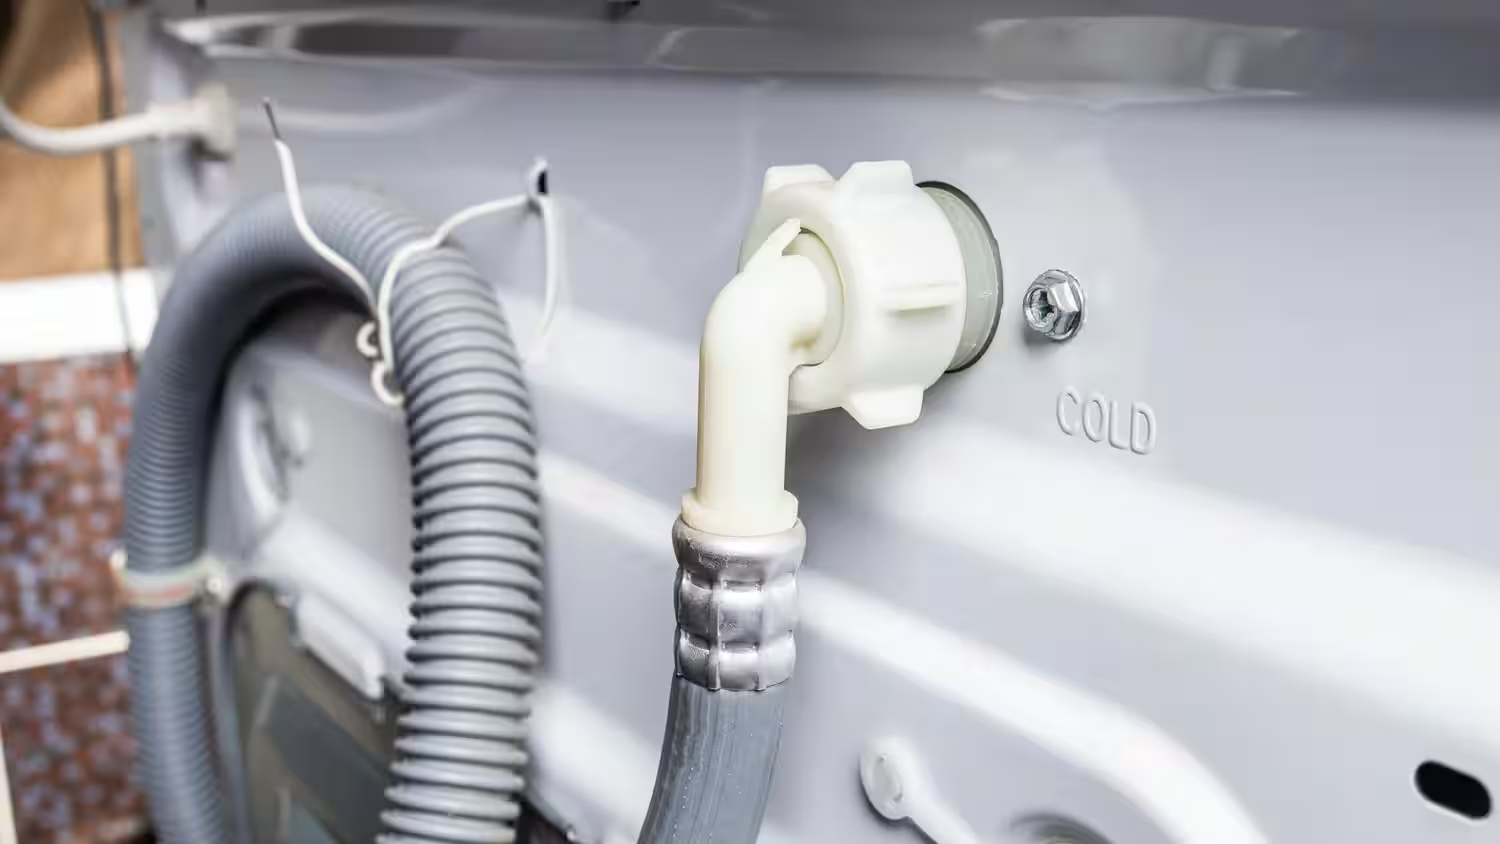
- Locate the dryer vent pipe, which is typically located at the back of the dryer and extends through an exterior wall or roof.
- Using a measuring tape, carefully measure the entire length of the dryer vent pipe, from the connection point at the back of the dryer to the exit point outside your home. Make sure to measure along the path the vent pipe takes, taking into account any bends or curves.
- Jot down the measurement, ensuring that you note it accurately.
It’s important to measure the vent pipe precisely to ensure that you purchase the right amount of insulation material. If the vent pipe has any elbows or turns, it’s helpful to add a few extra inches to account for the additional length required to wrap around those areas.
Once you have measured the length of your dryer vent pipe, you’re ready to move on to the next step: cutting the insulation material to fit the pipe length.
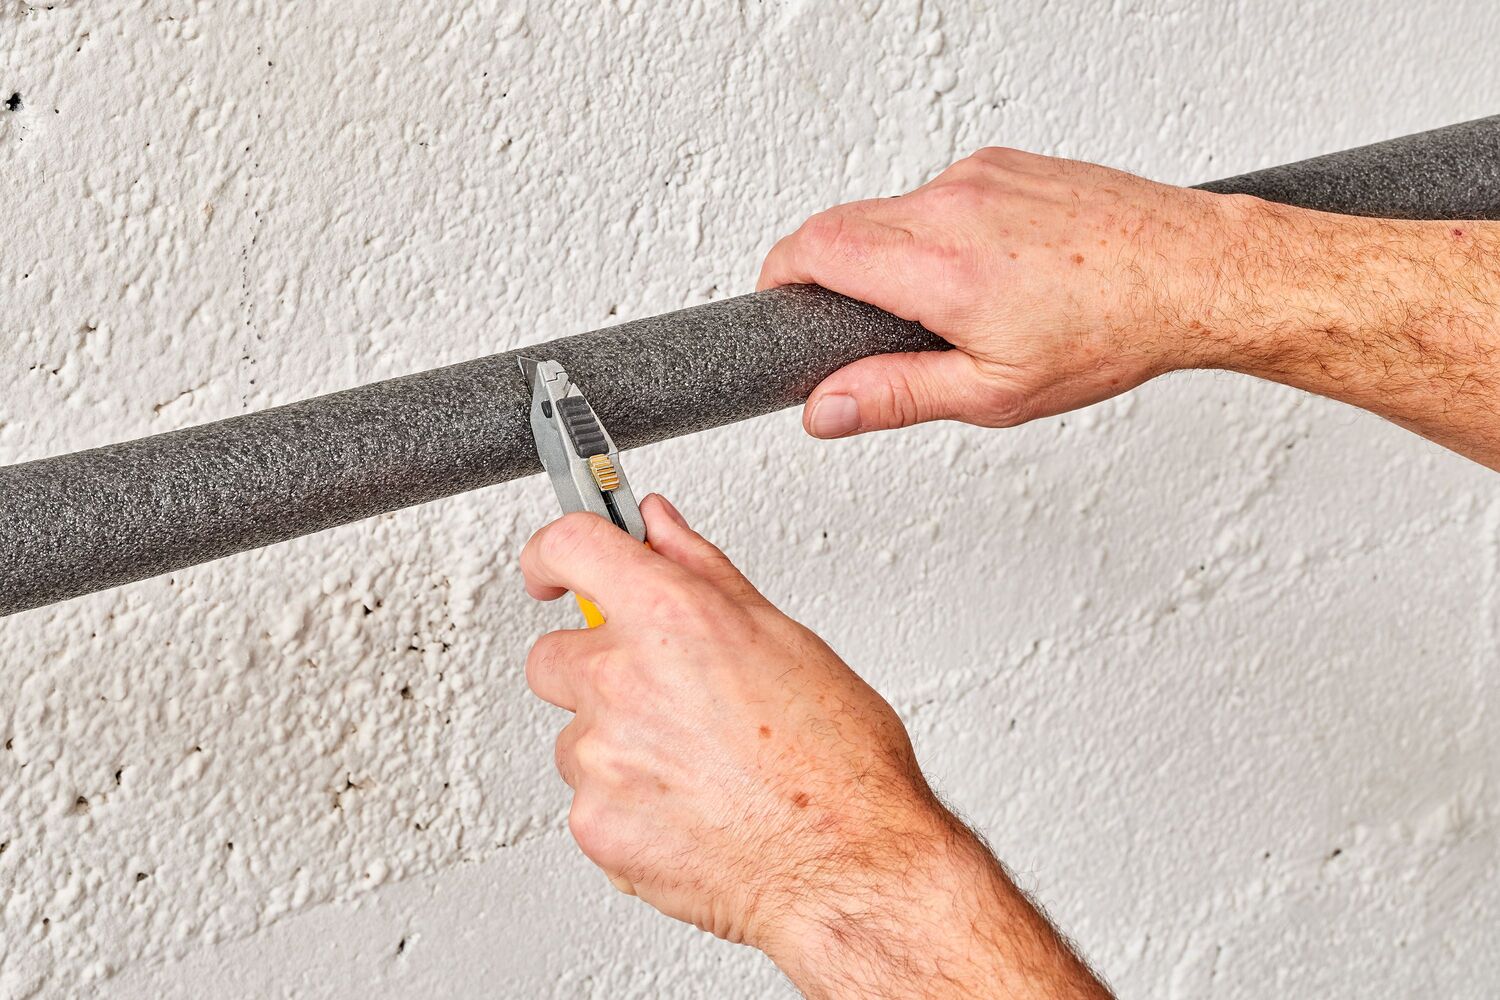
Step 2: Cut the Insulation Material to Fit the Pipe Length
Now that you have measured the length of your dryer vent pipe, it’s time to cut the insulation material to fit the pipe length accurately. Here’s a step-by-step guide on how to do it:
- Take the insulation material and unroll it on a clean, flat surface.
- Using a measuring tape, measure and mark the length of the dryer vent pipe on the insulation material. Make sure to account for any additional length needed to wrap around elbows or curves in the vent pipe.
- Using a sharp pair of scissors or a utility knife, carefully cut along the marked line to create a strip of insulation material.
- If there are any bends or curves in the vent pipe, you may need to cut the insulation material into smaller sections to fit around those areas. Ensure that each section is long enough to cover the entire circumference of the pipe.
- Repeat this process for the number of insulation sections required to cover the entire length of the vent pipe.
It’s crucial to cut the insulation material accurately to ensure a proper and secure fit around the dryer vent pipe. Cutting it too short may leave gaps, while cutting it too long may make it challenging to wrap tightly around the pipe. Taking your time and double-checking your measurements will help you achieve the best results.
Once you have cut the insulation material to fit the pipe length, you’re ready to proceed to the next step: wrapping the insulation around the dryer vent pipe.
Read more: How To Clean A Dryer Vent Pipe
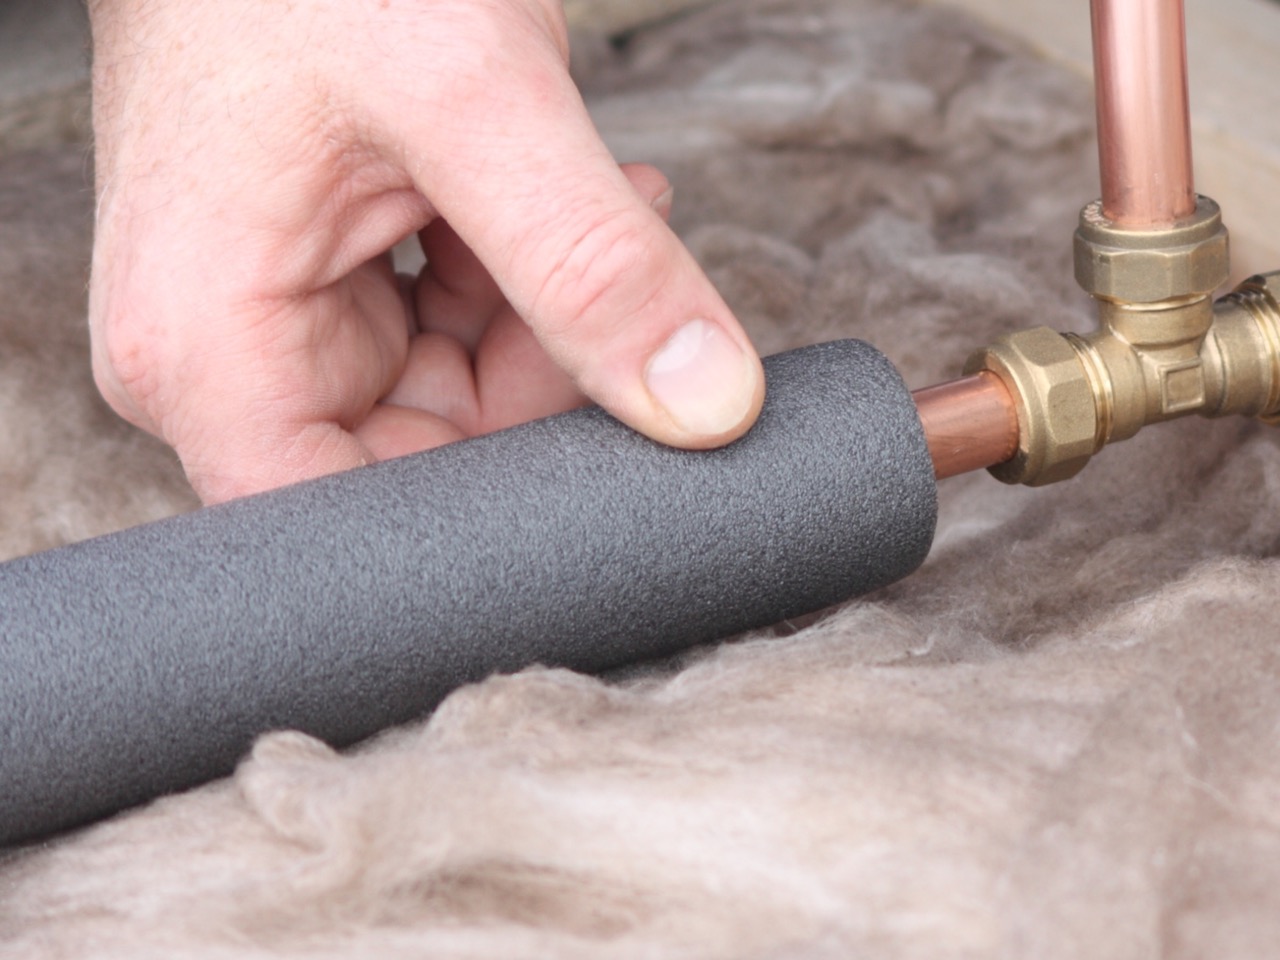
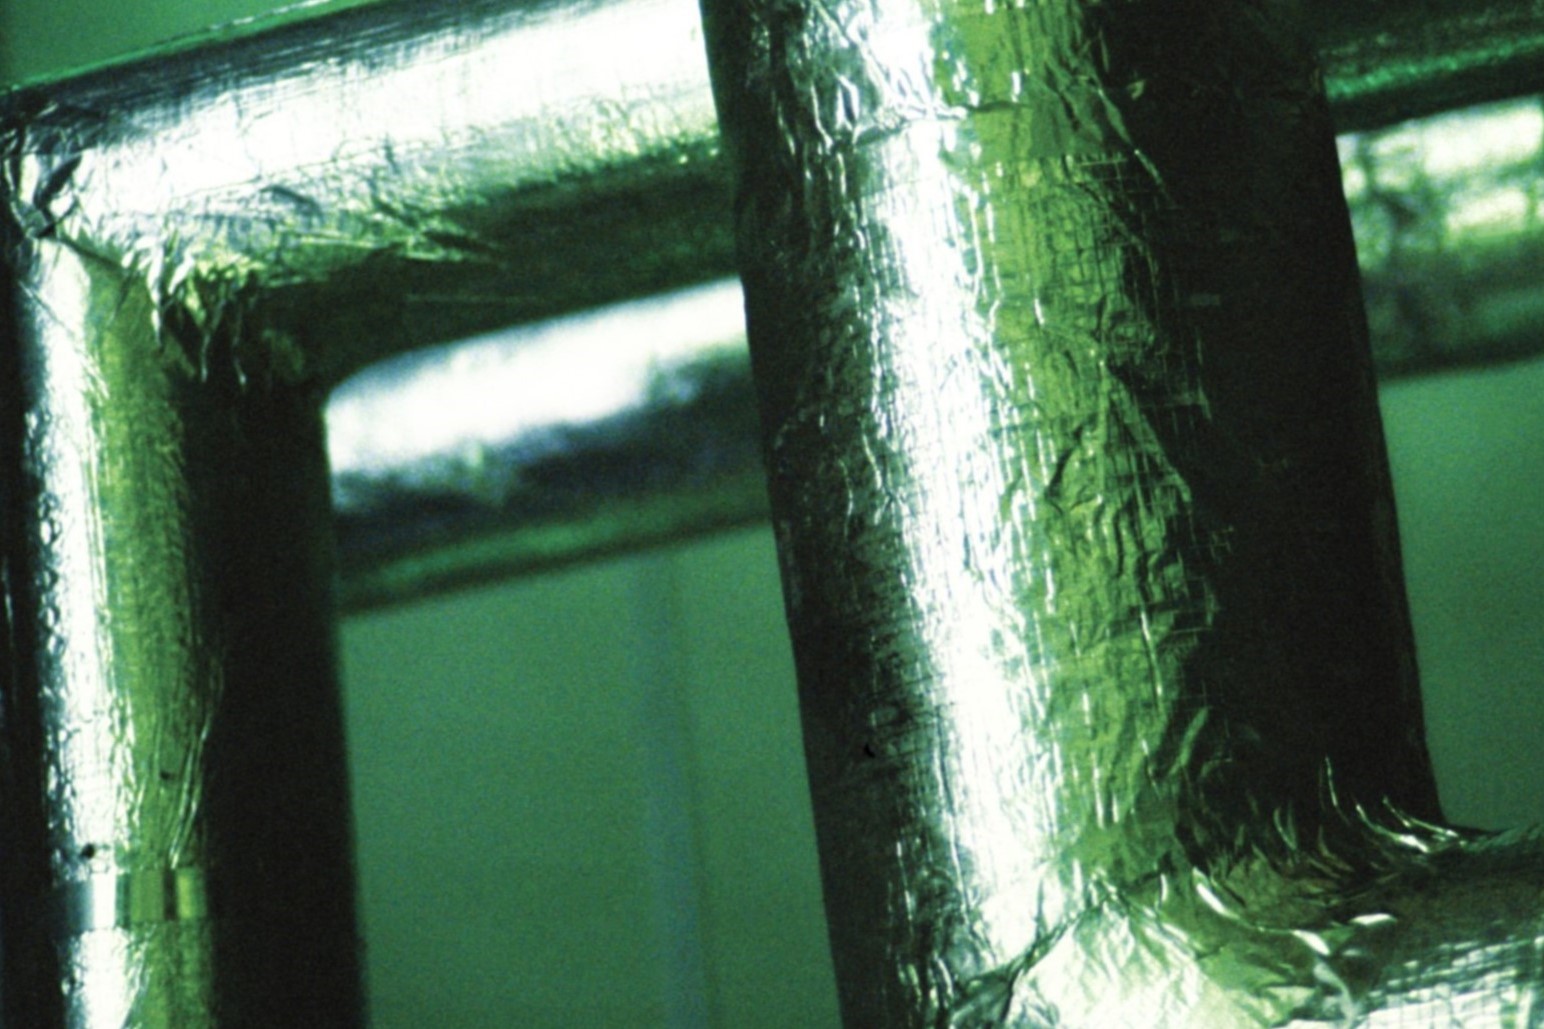
Step 3: Wrap the Insulation Around the Dryer Vent Pipe
With the insulation material cut to the appropriate length, it’s time to start wrapping it around the dryer vent pipe. Here’s a step-by-step guide on how to do it:
- Start at one end of the dryer vent pipe and position the insulation strip so that the foil side faces outwards.
- Gradually and tightly wrap the insulation around the pipe, ensuring that it overlaps slightly with each turn to provide complete coverage.
- Continue wrapping the insulation until you reach the other end of the vent pipe.
- If you have multiple insulation sections, make sure to stagger the seams, overlapping them slightly to create a continuous and secure wrapping.
- Smooth out any wrinkles or bulges in the insulation material as you go along to ensure a neat and snug fit.
- Secure the insulation in place using either duct tape or zip ties. If using duct tape, wrap it tightly around the insulation and the vent pipe at regular intervals along the length. If using zip ties, fasten them around the insulation and tighten them to secure it firmly.
It’s important to wrap the insulation tightly and securely to prevent it from coming loose or slipping off the vent pipe. This will ensure that the insulation remains in place and functions effectively in retaining heat.
Once you have wrapped the insulation around the dryer vent pipe and secured it, you can proceed to the next step: checking for any gaps or loose ends in the insulation.
Use foil tape to seal the joints of the dryer vent pipe to prevent air leaks. Insulate the pipe with a layer of duct insulation to improve energy efficiency and prevent condensation.
Step 4: Secure the Insulation with Duct Tape or Zip Ties
After wrapping the insulation around the dryer vent pipe, it’s crucial to secure it in place to ensure it remains intact and effective. Here’s how to secure the insulation using either duct tape or zip ties:
- If using duct tape, start by tearing off a section of tape long enough to wrap around the insulation and the vent pipe.
- Position the tape over the insulation and the pipe, ensuring that it covers the overlapping edges and holds them together securely.
- Wrap the tape tightly around the insulation and the pipe, pressing it firmly to ensure a strong bond.
- Continue applying duct tape at regular intervals along the length of the dryer vent pipe, securing the insulation in place. Make sure to overlap each strip of tape slightly to create a continuous seal.
- If using zip ties, loop a zip tie around the insulation and the vent pipe, ensuring that it is tight enough to hold them together firmly.
- Fasten the zip tie and trim off any excess length.
- Place additional zip ties at regular intervals along the length of the vent pipe, ensuring that the insulation remains securely fastened.
By securely fastening the insulation with either duct tape or zip ties, you can prevent it from coming loose or shifting over time. This will ensure that the insulation remains in place and provides optimal thermal efficiency.
Once you have successfully secured the insulation, you can move on to the next step: checking for any gaps or loose ends in the insulation.
Step 5: Check for any Gaps or Loose Ends in the Insulation
After securing the insulation around the dryer vent pipe, it’s essential to inspect it carefully for any gaps, loose ends, or areas that may need extra attention. Here’s how to check for and address any issues:
- Inspect the entire length of the insulation, making sure there are no gaps between the overlaps or any areas where the insulation may have come loose.
- If you notice any gaps or loose ends, reposition the insulation and adjust it to ensure that it covers the entire surface of the vent pipe.
- If necessary, add additional strips or sections of insulation to fill in any gaps and ensure complete coverage.
- Smooth out any wrinkles, bulges, or uneven areas in the insulation by gently pressing and adjusting it with your hands.
- Ensure that the insulation is tightly wrapped around the vent pipe and that there are no areas where the insulation is hanging loose or improperly secured.
- If using duct tape, reinforce any areas where the tape may have come loose or is not holding the insulation securely. Add additional strips of tape as needed.
- If using zip ties, double-check that each tie is tightened properly and that there are no loose ends sticking out.
By thoroughly inspecting the insulation and addressing any gaps or loose ends, you can ensure that it provides effective thermal insulation and prevents air leakage. This will help maximize energy efficiency and improve the overall performance of your dryer.
Once you have checked and addressed any issues with the insulation, you can move on to the next step: insulating the vent opening outside the house.
Step 6: Insulate the Vent Opening Outside the House
In addition to insulating the dryer vent pipe, it’s also important to insulate the vent opening outside your house. This step ensures that the hot air from the dryer is retained and that cold air from outside doesn’t seep in. Here’s how to insulate the vent opening:
- Locate the vent opening on the exterior wall or roof of your house where the dryer vent pipe exits.
- Carefully remove any obstructions such as debris or lint buildup around the opening, ensuring that it is clear and unobstructed.
- Measure the dimensions of the vent opening, taking note of the diameter and any irregularities in shape.
- Choose an appropriate insulation material for the vent opening, such as a foam or rubber seal. Ensure that it is weather-resistant and can withstand outdoor conditions.
- Cut the insulation material to fit the dimensions of the vent opening, making sure it covers the entire area adequately.
- Attach the insulation material to the vent opening using adhesive or screws, following the manufacturer’s instructions. Ensure that it is securely fastened and provides a tight seal.
- Press and compress the insulation material to ensure a firm and snug fit around the vent opening. Check for any gaps or areas that may require additional sealing.
- Inspect the insulation regularly to ensure that it remains intact and in good condition. Replace or repair any damaged or worn-out insulation as needed.
Insulating the vent opening outside your house completes the insulation system for your dryer vent. It helps to maintain the efficiency of the insulation, prevents drafts, and minimizes heat loss. By properly insulating both the vent pipe and vent opening, you can optimize your dryer’s performance and energy efficiency.
With the vent opening now insulated, you’re ready to move on to the final step: testing the effectiveness of the insulation.
Read also: 14 Superior Dryer Vent Pipe For 2025
Step 7: Test the Effectiveness of the Insulation
After completing the insulation process for your dryer vent, it’s crucial to test its effectiveness to ensure that it is functioning as intended. Here’s how to test the insulation:
- Start by running your dryer on a typical drying cycle with a load of laundry.
- Monitor the temperature of the air expelled from the dryer vent. It should feel warm but not excessively hot. If the air feels significantly hotter than usual, it may indicate that there is an issue with the insulation or other components of the dryer vent system.
- Observe the drying time for your laundry. If the insulation is effective, you should notice that your clothes dry within a reasonable amount of time, similar to previous drying cycles.
- Check for any excessive moisture or condensation around the dryer vent pipe and vent opening. Proper insulation should help prevent the formation of condensation and moisture buildup.
- Inspect the vent opening outside your house. Ensure that there are no signs of air leakage, such as drafts or cold air entering the vent opening.
- If you notice any issues during the testing process, such as excessive heat, prolonged drying times, or signs of air leakage, it may indicate that there are still areas in the insulation that require attention. Revisit the appropriate steps to address any gaps, loose ends, or areas that need further sealing.
By testing the effectiveness of the insulation, you can identify any potential problems and address them promptly to ensure optimal performance and energy efficiency. It’s a good practice to periodically check the insulation and perform these tests to maintain the efficiency of your dryer vent system.
With the insulation successfully tested and any necessary adjustments made, you have completed the process of insulating your dryer vent. By taking the time to properly insulate the vent pipe and vent opening, you can enjoy improved energy efficiency, enhanced dryer performance, and increased safety in your home.
Now that you have successfully insulated your dryer vent, you can take pride in knowing that you have taken proactive steps to maintain your home and optimize your dryer’s functionality.
Remember, regular maintenance and inspection of your dryer vent system, along with proper insulation, will go a long way in preventing energy loss and potential safety hazards.
Conclusion
Insulating your dryer vent pipe and vent opening is a crucial step in home maintenance that often goes overlooked. However, by taking the time to properly insulate these components, you can reap numerous benefits for your home and dryer performance.
Throughout this article, we’ve discussed the importance of insulating a dryer vent pipe, the tools and materials you’ll need, and the step-by-step process to successfully insulate your dryer vent. From measuring the length of the vent pipe to securing the insulation with duct tape or zip ties, every step plays a vital role in ensuring optimal performance and energy efficiency.
By insulating the dryer vent pipe, you can reduce heat loss, enhance dryer performance, prevent lint buildup, and minimize fire hazards. Adding insulation to the vent opening outside your house further improves thermal efficiency and prevents drafts and air leaks.
Remember to regularly check and maintain your dryer vent system, including the insulation, to ensure it remains in good condition. Perform tests to gauge the effectiveness of the insulation and make any necessary adjustments or repairs.
By insulating your dryer vent, you’re not only optimizing the energy efficiency of your home but also promoting safe and effective operation of your dryer. So take the necessary steps and give your dryer vent the insulation it needs to keep your home comfortable and your energy bills in check.
With proper insulation, you can enjoy peace of mind, knowing that you’ve taken proactive measures towards maintaining a well-functioning and efficient home.
Frequently Asked Questions about How To Insulate A Dryer Vent Pipe
Was this page helpful?
At Storables.com, we guarantee accurate and reliable information. Our content, validated by Expert Board Contributors, is crafted following stringent Editorial Policies. We're committed to providing you with well-researched, expert-backed insights for all your informational needs.