Home>Home Appliances>Cleaning Appliances>How To Fix A Spin Mop Bucket
Cleaning Appliances
How To Fix A Spin Mop Bucket
Modified: August 17, 2024
Learn how to fix a spin mop bucket and keep your cleaning appliances in top condition. Discover expert tips for maintaining and repairing your mop bucket.
(Many of the links in this article redirect to a specific reviewed product. Your purchase of these products through affiliate links helps to generate commission for Storables.com, at no extra cost. Learn more)
Introduction
Welcome to the ultimate guide on fixing a spin mop bucket! A spin mop is a fantastic cleaning tool, but like any appliance, it may encounter issues over time. Whether it's a broken pedal, a malfunctioning spin mechanism, or a leaky bucket, knowing how to troubleshoot and repair these problems can save you time and money. In this comprehensive guide, we'll walk you through the step-by-step process of identifying, addressing, and resolving common issues with your spin mop bucket.
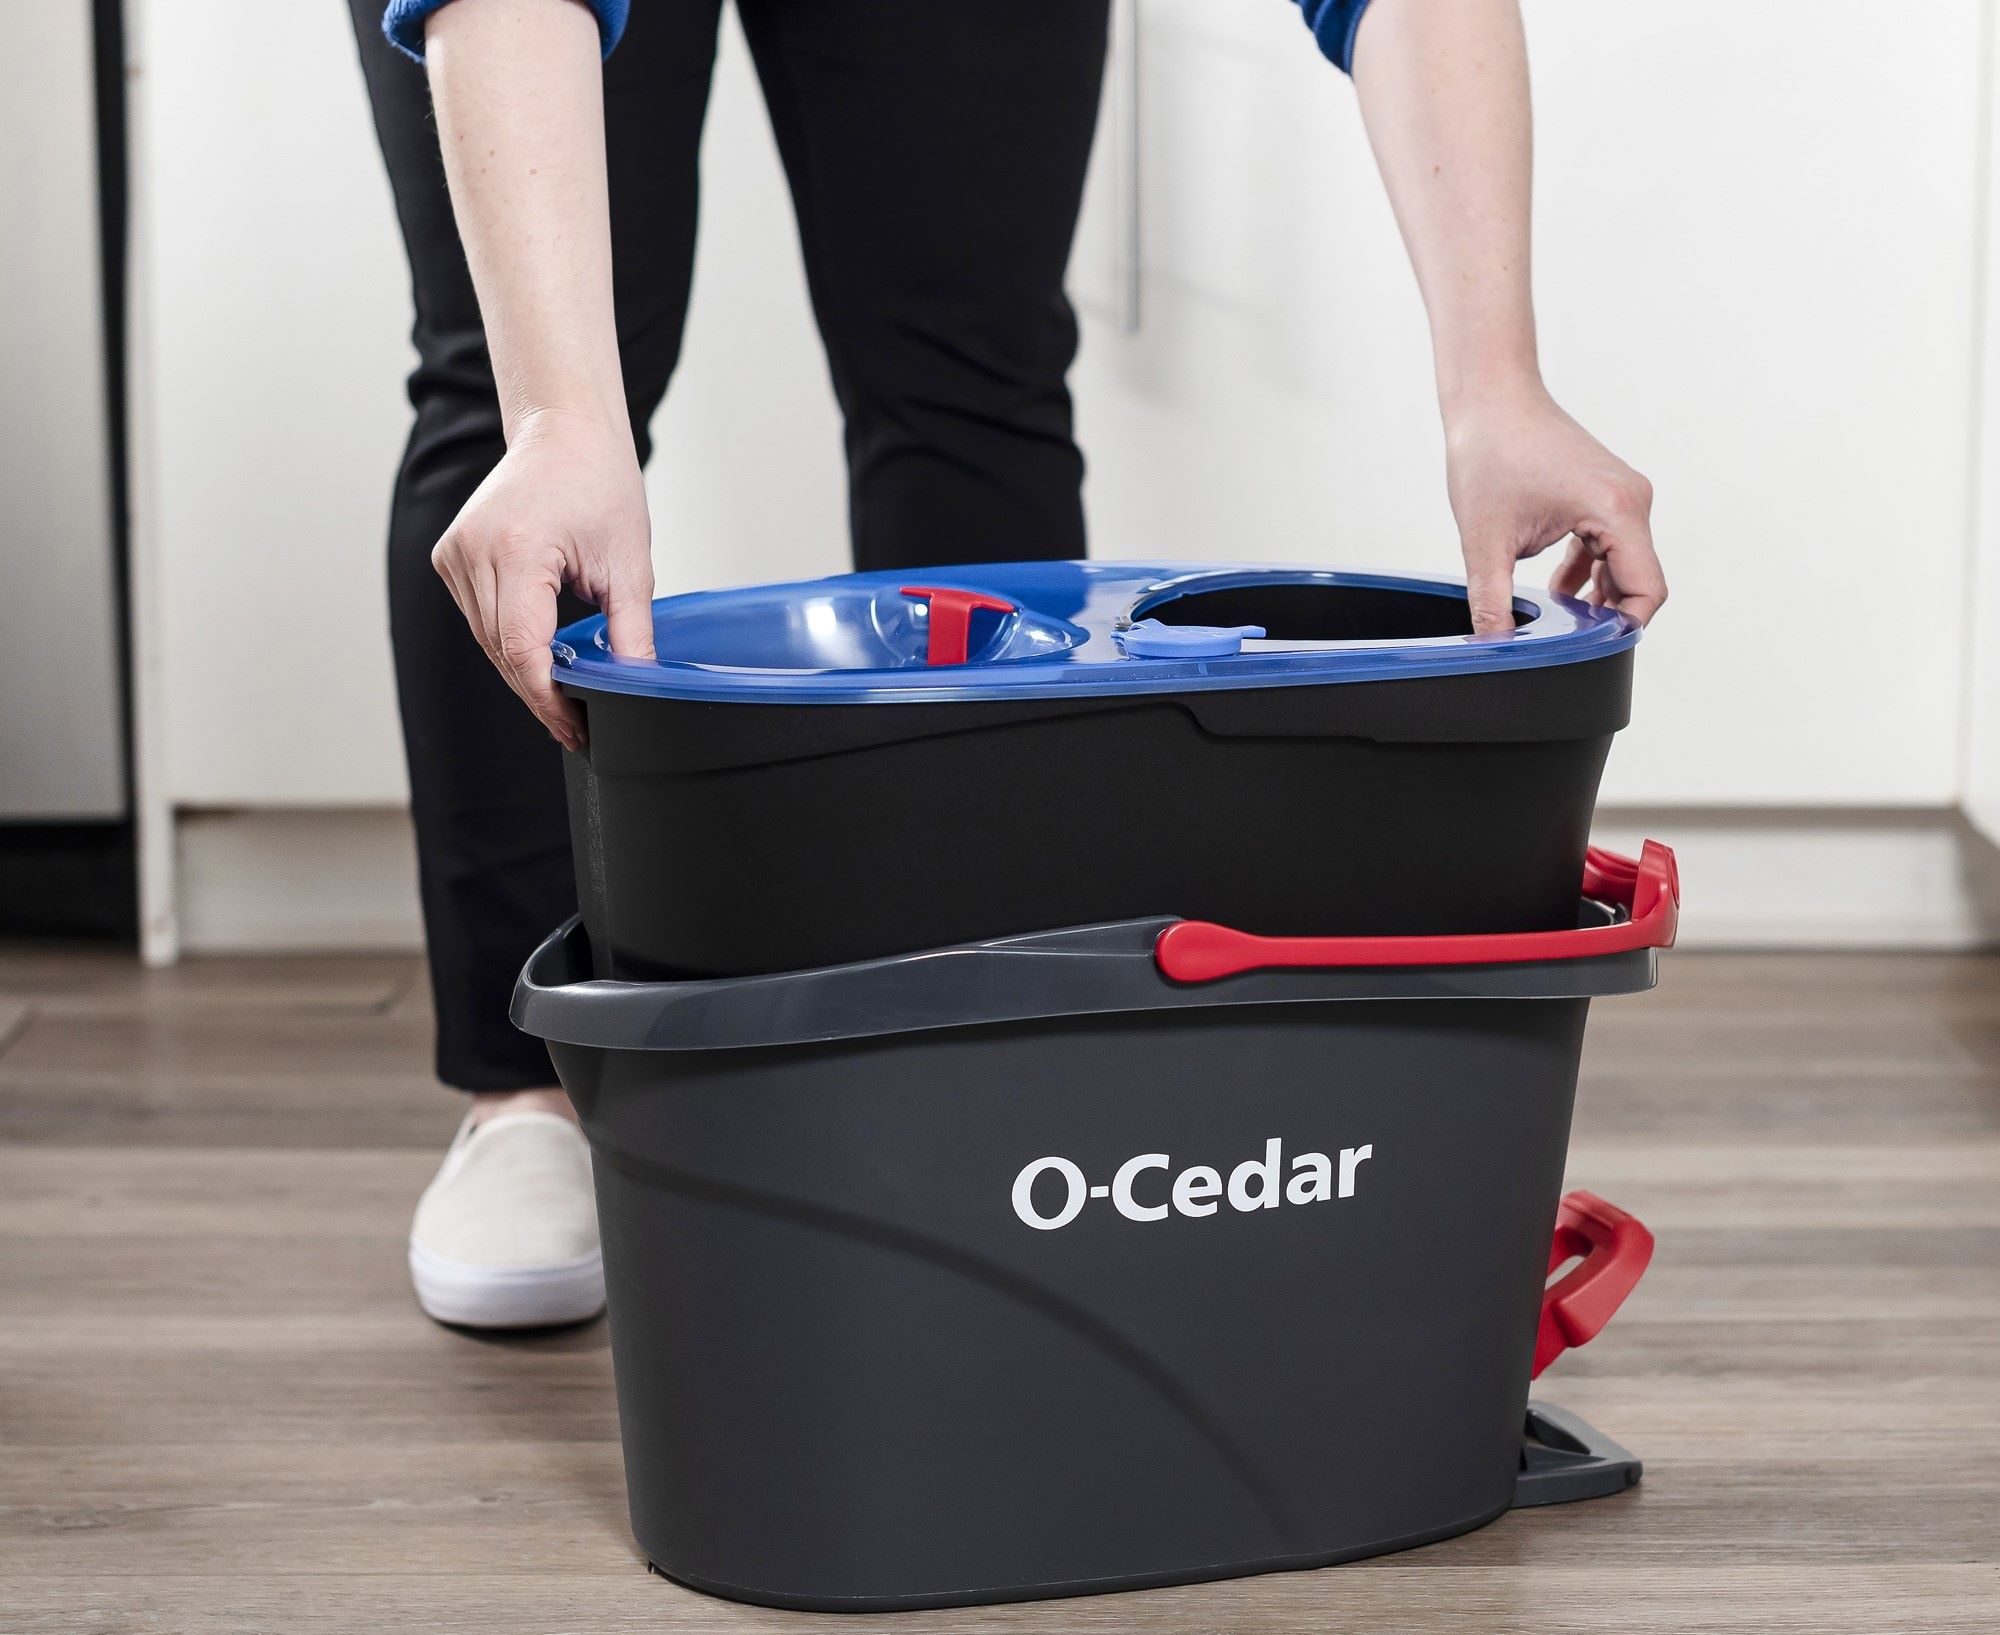
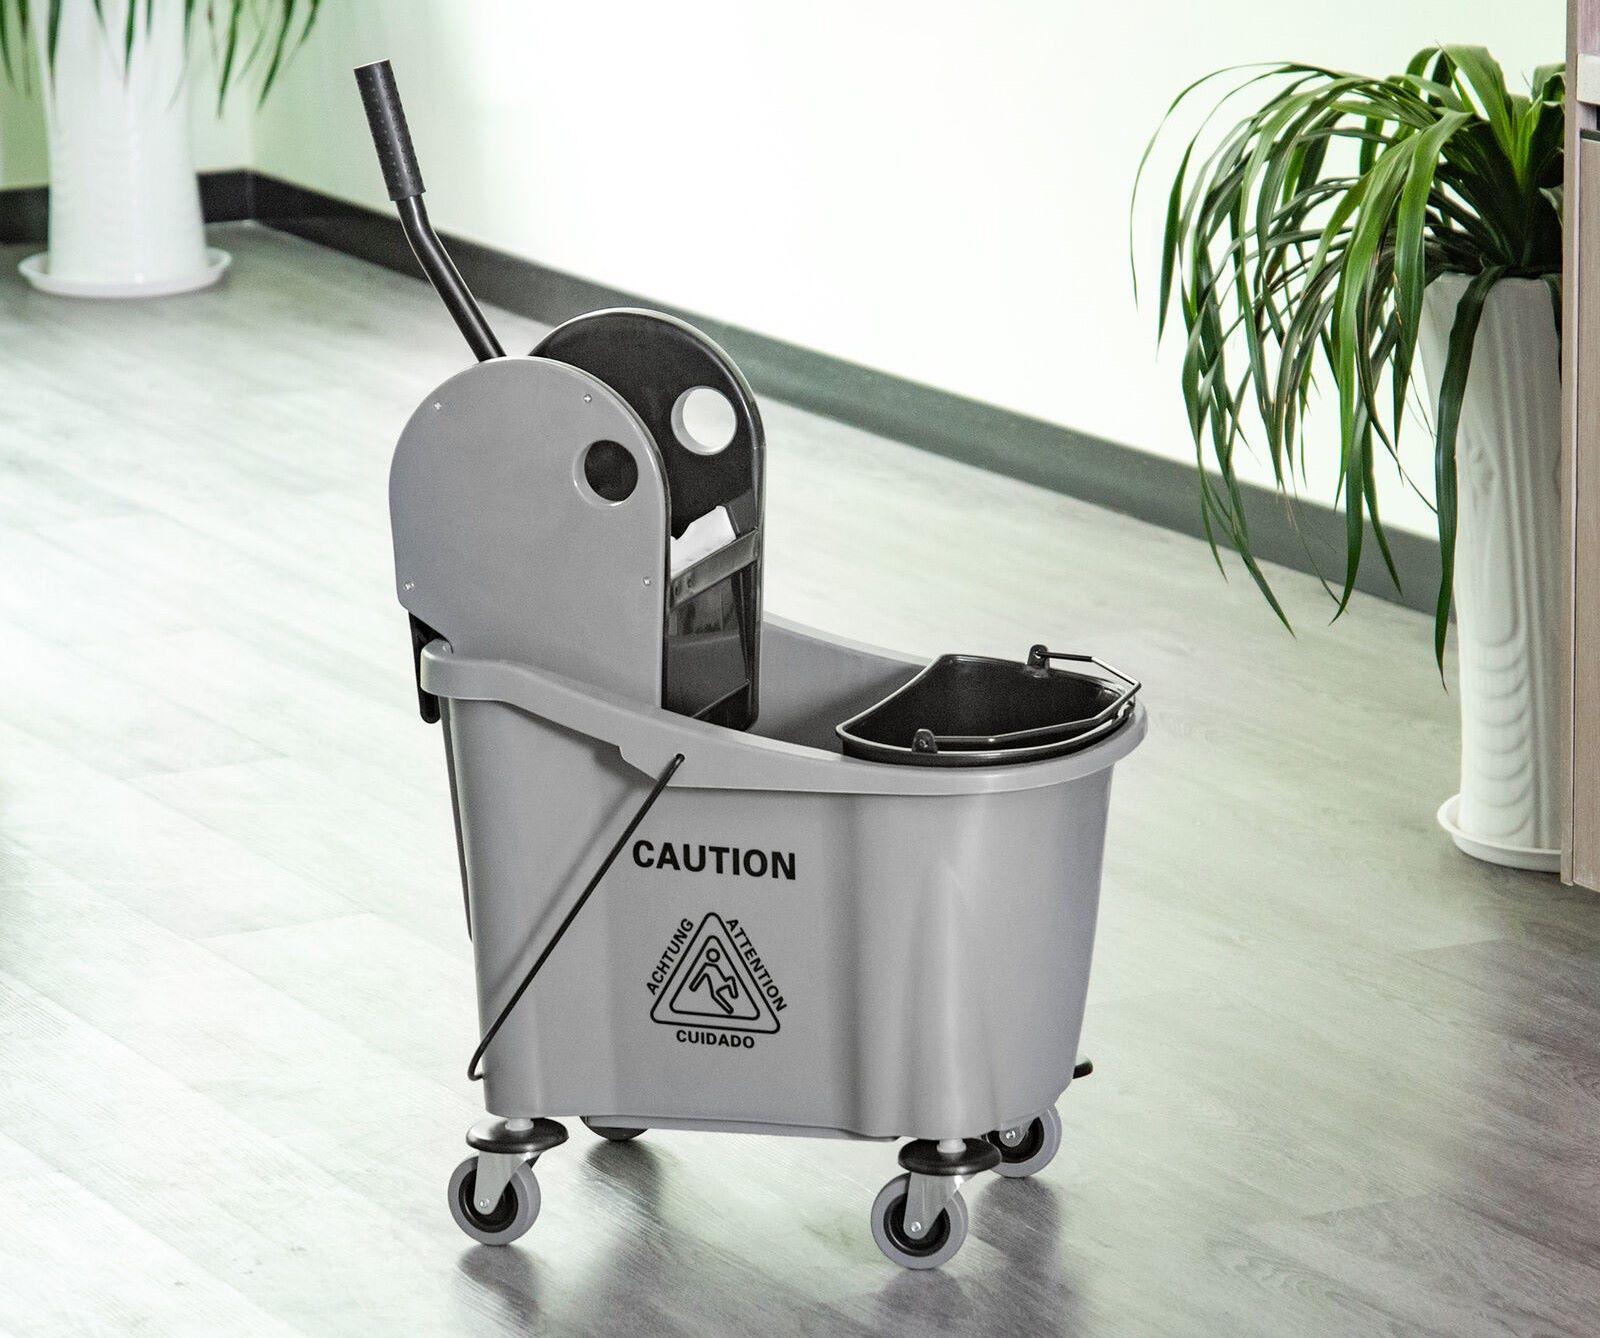
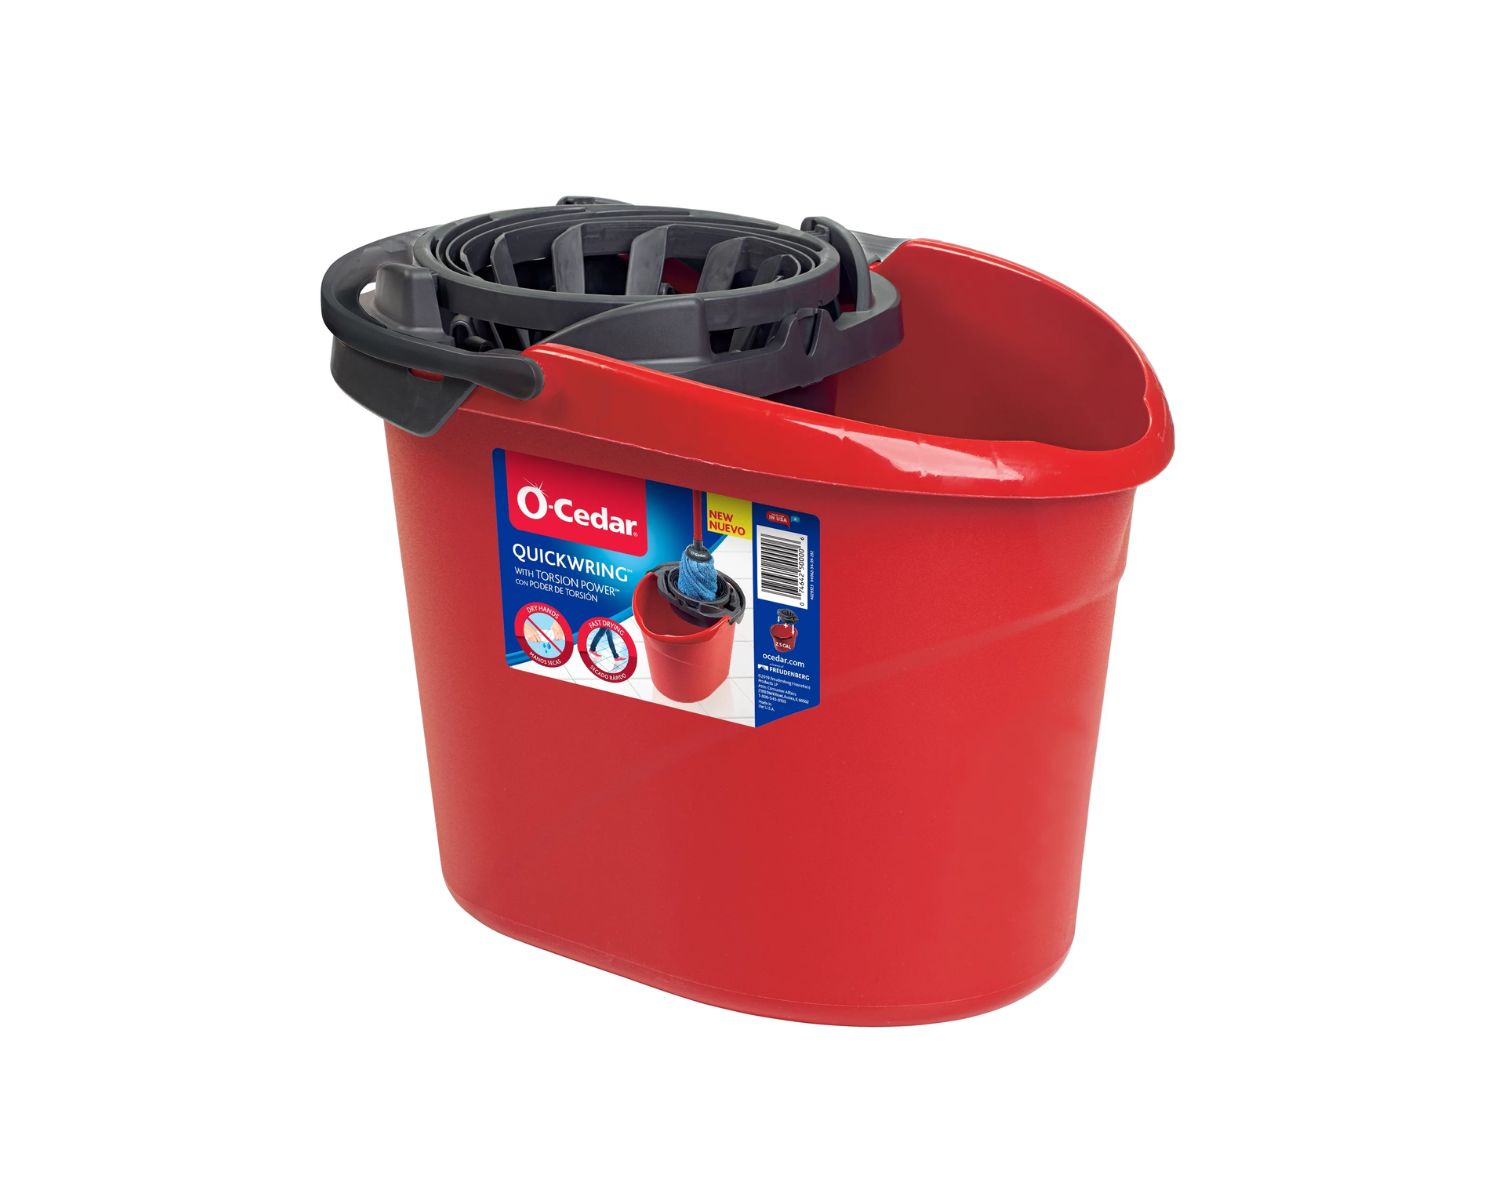
A spin mop bucket is a vital component of a spin mop system, designed to make mopping more efficient and less strenuous. It comprises several parts, including the bucket itself, the spin basket, the wringer, and the handle. When any of these components malfunction, it can hinder the mop's functionality and make cleaning a chore rather than a breeze. However, fear not! With the right knowledge and a bit of elbow grease, you can restore your spin mop bucket to its former glory.
Throughout this guide, we'll cover everything from assessing the issue and disassembling the spin mop bucket to identifying the problem, repairing or replacing parts, reassembling the bucket, and testing the fixed spin mop. By the end, you'll have the confidence and expertise to tackle any spin mop bucket issue that comes your way.
So, if you're ready to roll up your sleeves and dive into the world of spin mop bucket repair, let's get started!
Key Takeaways:
- Don’t panic if your spin mop bucket breaks! Assess, disassemble, identify, repair, and reassemble with precision. Thorough testing ensures it’s back to making cleaning a breeze.
- Regular maintenance and care can extend the life of your spin mop bucket. Seek professional help if needed, and enjoy a smoothly functioning cleaning appliance.
Read more: How To Fix Mop Bucket Wringer
Assessing the Issue
Before diving into the repair process, it's essential to assess the issue affecting your spin mop bucket. Start by observing the symptoms and identifying any visible damage or irregularities. Here are a few common problems you might encounter:
- Broken Pedal: If the pedal that operates the spin mechanism is unresponsive or damaged, it can hinder the bucket's functionality.
- Spin Mechanism Malfunction: Issues with the spin mechanism can result in the basket not spinning properly or failing to wring out the mop effectively.
- Leaky Bucket: A leaky bucket can lead to messy spills and make the mopping process more cumbersome.
- Handle or Component Damage: Inspect the handle, spin basket, wringer, and other components for any signs of wear, breakage, or misalignment.
Once you've identified the specific problem or symptoms, consider the history of the spin mop bucket. Has it been subjected to any accidents, heavy usage, or harsh cleaning chemicals? Understanding the potential causes can provide valuable insights into the underlying issue.
Additionally, take note of any unusual sounds or odors emanating from the bucket during operation. These can be indicators of internal damage or malfunctioning parts.
Finally, consider the age and overall condition of the spin mop bucket. If it's an older model or has undergone extensive wear and tear, certain components may require more comprehensive repairs or replacements.
By thoroughly assessing the issue and gathering relevant information, you'll be better equipped to proceed with disassembling the spin mop bucket and pinpointing the root cause of the problem. Remember, a methodical approach to assessment sets the stage for successful repair and ensures that no underlying issues are overlooked.
Disassembling the Spin Mop Bucket
Now that you've assessed the issue and have a clear understanding of the symptoms affecting your spin mop bucket, it's time to begin the disassembly process. This step is crucial for gaining access to the internal components and identifying the specific areas that require attention. Here's a detailed guide on how to disassemble the spin mop bucket:
- Empty the Bucket: Start by ensuring that the bucket is completely empty of water and mop heads. This will prevent any spills or mess during the disassembly process.
- Remove the Spin Basket: Most spin mop buckets feature a removable spin basket. Lift it out of the bucket and set it aside in a safe, dry area.
- Detach the Wringer: If your spin mop bucket has a built-in wringer, carefully detach it from the bucket. This may involve unscrewing or releasing locking mechanisms, depending on the design.
- Inspect the Handle and Pedal: Examine the handle and pedal assembly for any visible screws, fasteners, or locking mechanisms. Depending on the design, you may need to unscrew or release these components to separate the handle from the bucket.
- Separate the Bucket Components: With the handle and pedal detached, you can now focus on separating the various components of the bucket. Look for any additional screws, clips, or fasteners that hold the bucket together, and carefully disassemble them.
As you disassemble the spin mop bucket, take note of the arrangement and orientation of the components. This will be helpful when reassembling the bucket later on. Additionally, keep track of any screws, nuts, or bolts that are removed, ensuring they are safely stored for reassembly.
By following these steps, you can safely and methodically disassemble the spin mop bucket, gaining access to its internal mechanisms and components. This sets the stage for identifying the specific problem areas and undertaking the necessary repairs or replacements with confidence.
Identifying the Problem
With the spin mop bucket disassembled, you now have a clear view of its internal components, allowing you to pinpoint the specific problem areas. Here are the key steps to help you identify the problem:
- Inspect for Visible Damage: Thoroughly examine each component for visible signs of damage, such as cracks, breakage, or misalignment. Pay close attention to the spin mechanism, pedal assembly, handle, and any seals or gaskets within the bucket.
- Test the Spin Mechanism: If the issue pertains to the spin mechanism, manually rotate the spin basket to assess its smoothness and resistance. Listen for any unusual sounds or grinding sensations, which may indicate internal damage.
- Check for Leaks: If a leaky bucket is the concern, inspect the interior and exterior for cracks, holes, or compromised seals. Fill the bucket with water and observe for any signs of leakage, paying attention to the base and seams.
- Assess the Handle and Pedal: Examine the handle, pedal, and their respective connections for wear, breakage, or irregular movement. Operate the pedal to gauge its responsiveness and the corresponding action of the spin mechanism.
It’s important to approach the problem identification process with a keen eye for detail, as even minor issues can have a significant impact on the spin mop bucket’s functionality. By systematically inspecting each component and mechanism, you’ll be able to uncover the root cause of the problem and proceed with the appropriate repairs or replacements.
Additionally, consider consulting the spin mop bucket’s user manual or online resources for troubleshooting guidance specific to your model. Manufacturers often provide valuable insights into common issues and their respective solutions, aiding in the problem identification process.
Once you’ve identified the problem areas and potential causes, you’ll be well-prepared to move on to the next crucial steps: repairing or replacing the affected parts to restore the spin mop bucket to optimal working condition.
To fix a spin mop bucket, first check for any loose or broken parts. Tighten or replace any loose or broken components to ensure the bucket functions properly. If the spin mechanism is not working, make sure the handle is securely attached and the spin mechanism is not jammed with debris.
Repairing or Replacing Parts
After successfully identifying the problem areas within your spin mop bucket, the next step involves addressing the issues through repair or replacement of the affected parts. Here’s a comprehensive guide to help you navigate this crucial phase of the repair process:
- Repairing Damaged Components: If the issue involves minor damage, such as a cracked handle or a loose connection, consider repairing the components using suitable adhesives, sealants, or fasteners. Ensure that the repairs are sturdy and secure to withstand the rigors of regular use.
- Replacing Worn or Broken Parts: For components that are extensively worn or irreparably damaged, it’s advisable to replace them with genuine replacement parts from the manufacturer. This may include the pedal assembly, spin mechanism, handle, or any seals and gaskets that are compromised.
- Utilizing Manufacturer Resources: Consult the spin mop bucket’s user manual or contact the manufacturer to obtain the correct replacement parts and detailed instructions for the replacement process. This ensures that you use compatible components and adhere to the manufacturer’s guidelines.
- Ensuring Proper Fit and Functionality: When replacing parts, carefully align and secure them according to the manufacturer’s specifications. Test the functionality of the repaired or replaced components to ensure they operate smoothly and effectively.
It’s crucial to prioritize safety and quality when repairing or replacing parts within the spin mop bucket. Always use appropriate tools and equipment for the task, and follow recommended safety precautions to prevent accidents or damage to the appliance.
Furthermore, if you encounter challenges or uncertainties during the repair process, don’t hesitate to seek assistance from professional repair services or knowledgeable experts. They can provide valuable guidance and expertise, ensuring that the repairs are carried out with precision and adherence to industry standards.
By effectively addressing the problem areas through meticulous repair or replacement, you’ll be one step closer to restoring your spin mop bucket to its optimal working condition, ready to tackle cleaning tasks with efficiency and reliability.
Read more: How To Mop With Two Buckets
Reassembling the Spin Mop Bucket
With the necessary repairs or part replacements completed, it’s time to reassemble the spin mop bucket, bringing together its components to restore full functionality. Follow these step-by-step guidelines to ensure a seamless reassembly process:
- Refer to Documentation: If available, consult the spin mop bucket’s user manual or any documentation provided by the manufacturer for reassembly instructions and component orientation.
- Arrange Components: Lay out the disassembled components in an organized manner, ensuring that all necessary parts, including screws, nuts, and bolts, are readily accessible for reassembly.
- Handle and Pedal Assembly: Begin by reattaching the handle and pedal assembly to the bucket, following the specific instructions provided by the manufacturer. Ensure that the connections are secure and aligned correctly.
- Integrate the Spin Mechanism: If the spin mechanism was repaired or replaced, carefully integrate it back into the bucket, aligning it with the designated mounting points and ensuring smooth operation.
- Reattach the Spin Basket and Wringer: Place the spin basket back into the bucket, ensuring that it fits securely. If applicable, reattach the wringer, ensuring proper alignment and functionality.
- Secure Fasteners: Utilize the appropriate screws, nuts, or bolts to secure the components in place, following the specified tightening torques and sequences if provided by the manufacturer.
As you reassemble the spin mop bucket, pay close attention to the alignment and fit of each component, ensuring that they integrate seamlessly and function as intended. Double-check the connections and fastenings to guarantee the stability and reliability of the reassembled bucket.
Throughout the reassembly process, maintain a methodical approach and refer to the manufacturer’s guidelines whenever necessary. This ensures that the spin mop bucket is reassembled according to the recommended procedures, minimizing the risk of errors or operational issues.
By completing the reassembly phase with precision and attention to detail, you’ll be ready to move on to the final step: testing the fixed spin mop bucket to confirm its restored functionality and performance.
Testing the Fixed Spin Mop Bucket
After reassembling the spin mop bucket, it’s crucial to conduct thorough testing to ensure that the repairs or replacements have effectively resolved the identified issues. Follow these essential steps to test the fixed spin mop bucket:
- Operate the Pedal and Spin Mechanism: Test the functionality of the pedal and spin mechanism by engaging the spin basket. Ensure that the pedal responds smoothly and activates the spin mechanism without any resistance or irregularities.
- Check for Leaks: If the issue involved a leaky bucket, fill the bucket with water and observe for any signs of leakage. Verify that the repaired or replaced components effectively prevent water from escaping the bucket.
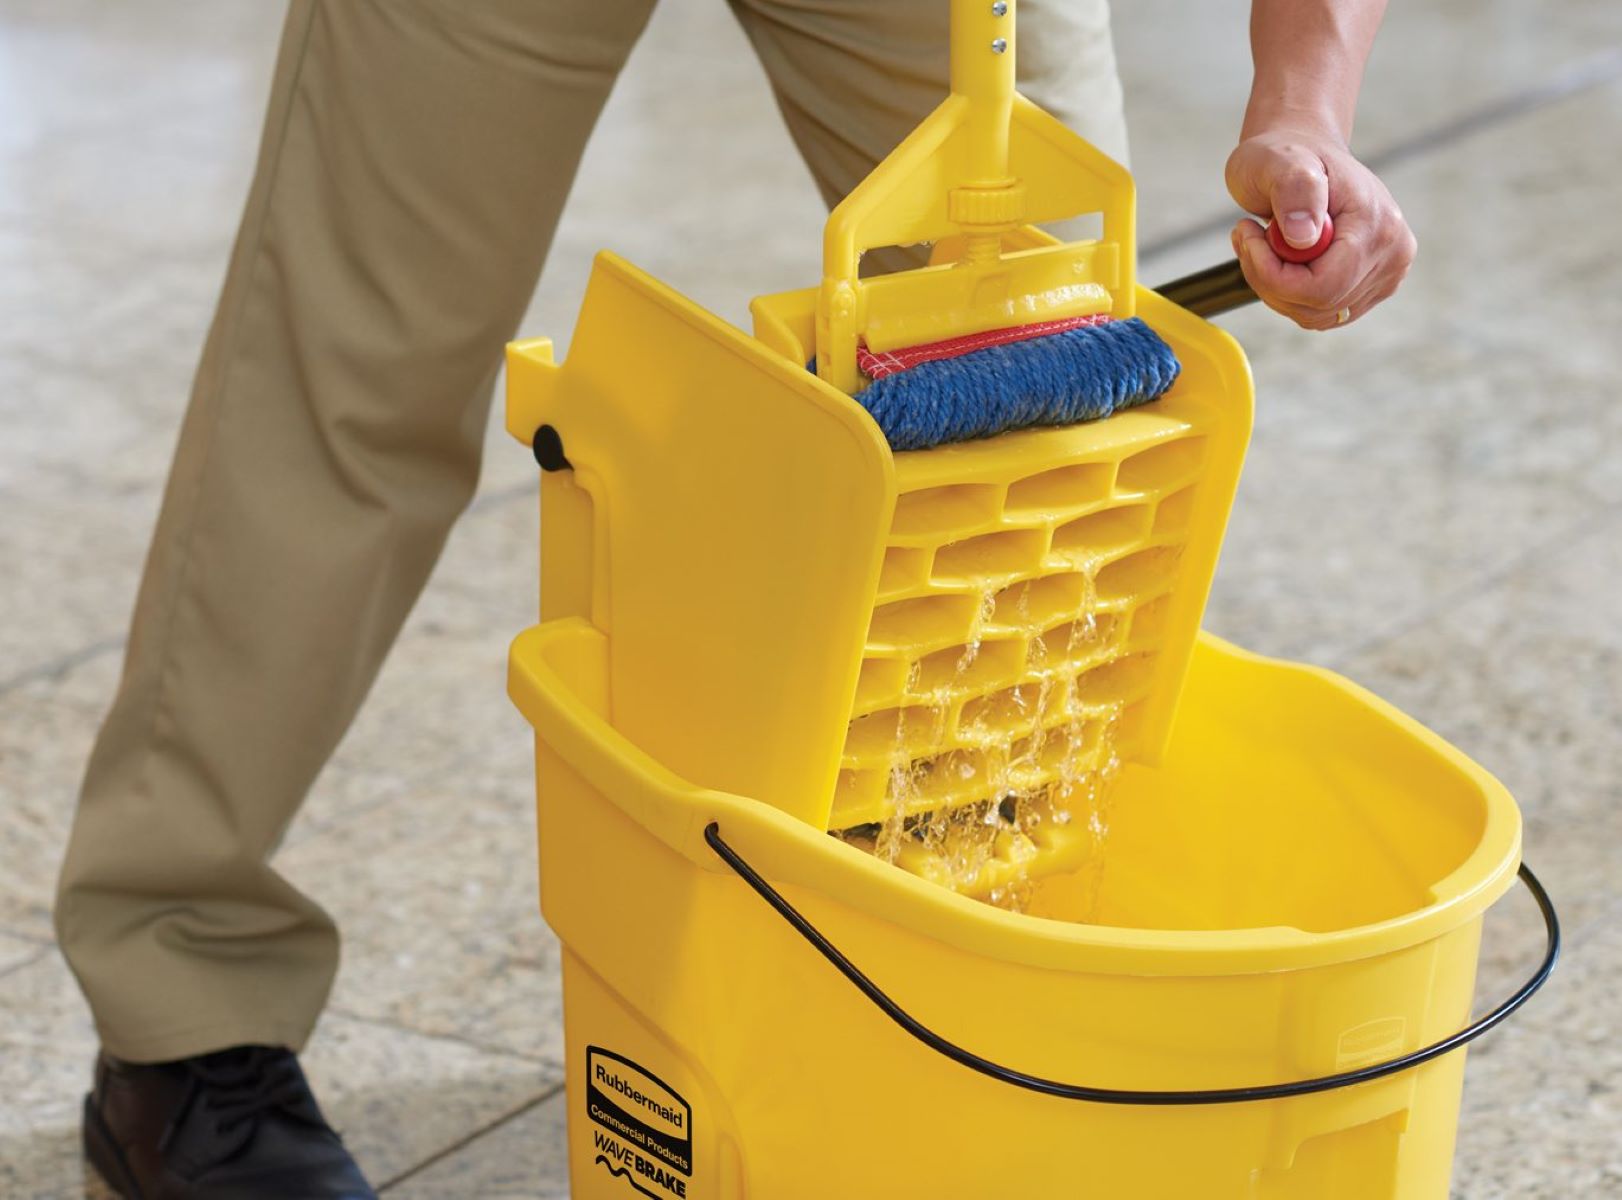
- Test the Wringer: If the spin mop bucket includes a wringer, test its functionality by wringing out a damp mop head. Ensure that the wringer operates smoothly and effectively removes excess moisture from the mop.
- Assess Overall Stability and Functionality: Move the spin mop bucket around and simulate typical cleaning motions to assess its overall stability and functionality. Verify that all components remain securely in place and that the bucket operates as intended.
During the testing phase, pay attention to any unusual sounds, movements, or operational issues that may indicate lingering problems. If you encounter any unexpected issues during testing, carefully inspect the relevant components and mechanisms to identify and address the underlying causes.
It’s also advisable to conduct a test mopping session to evaluate the spin mop bucket’s performance in a real-world cleaning scenario. This allows you to assess its maneuverability, water retention, and overall effectiveness in completing cleaning tasks.
By meticulously testing the fixed spin mop bucket, you can confidently confirm that the repairs or replacements have effectively addressed the initial issues, ensuring that the appliance is fully operational and ready to streamline your cleaning endeavors once again.
Conclusion
Congratulations on successfully navigating the process of fixing your spin mop bucket! By following the comprehensive steps outlined in this guide, you’ve gained valuable insights into assessing, disassembling, identifying, repairing, and reassembling the spin mop bucket to restore its optimal functionality. As you conclude this repair journey, here are some key takeaways to keep in mind:
- Thorough Assessment is Key: Taking the time to assess the issue and understand the symptoms is crucial for pinpointing the root cause of the problem within the spin mop bucket.
- Methodical Disassembly and Inspection: The disassembly process provides a clear view of the internal components, enabling a detailed inspection to identify the specific areas requiring attention.
- Precision in Repair and Replacement: When addressing the problem areas, prioritizing precision in repair or replacement ensures that the spin mop bucket is restored to optimal working condition with reliable functionality.
- Thorough Testing for Validation: Concluding the repair process with thorough testing allows for the validation of the fixed spin mop bucket’s performance, ensuring that the identified issues have been effectively resolved.
Remember, regular maintenance and care can help prolong the lifespan of your spin mop bucket and minimize the likelihood of future issues. Additionally, staying informed about proper usage and cleaning techniques can contribute to the appliance’s longevity and reliable operation.
If you encountered challenges during the repair process or have concerns about the spin mop bucket’s performance, don’t hesitate to seek assistance from professional repair services or the manufacturer’s support channels. Their expertise and guidance can provide valuable insights and solutions to further optimize the appliance’s functionality.
With your newly acquired expertise in spin mop bucket repair, you’re well-equipped to tackle future maintenance tasks and ensure that your cleaning appliance continues to serve you effectively. Here’s to a seamlessly functioning spin mop bucket, ready to simplify your cleaning routines with efficiency and reliability!
With your spin mop bucket back in action, why stop there? Maintaining a home goes beyond occasional fixes. Dive into our guide on home maintenance, where we cover essential routines to keep every nook and cranny of your living space in pristine condition. Learn practical ways to prevent common household issues before they arise, ensuring your home remains a sanctuary for you and your family.
Frequently Asked Questions about How To Fix A Spin Mop Bucket
Was this page helpful?
At Storables.com, we guarantee accurate and reliable information. Our content, validated by Expert Board Contributors, is crafted following stringent Editorial Policies. We're committed to providing you with well-researched, expert-backed insights for all your informational needs.

0 thoughts on “How To Fix A Spin Mop Bucket”