Home>Home Appliances>Cleaning Appliances>How To Change The Mop Head
Cleaning Appliances
How To Change The Mop Head
Modified: October 21, 2024
Learn how to easily change the mop head on your cleaning appliances with our step-by-step guide. Keep your floors spotless with this simple maintenance task.
(Many of the links in this article redirect to a specific reviewed product. Your purchase of these products through affiliate links helps to generate commission for Storables.com, at no extra cost. Learn more)
Introduction
Welcome to the comprehensive guide on how to change the mop head. Over time, the mop head of your cleaning appliance can become worn out, reducing its effectiveness and leaving your floors less than spotless. Fortunately, replacing the mop head is a relatively simple process that can breathe new life into your cleaning routine. In this guide, we will walk you through the step-by-step process of changing the mop head on your cleaning appliance, ensuring that you can maintain a sparkling clean home with ease.
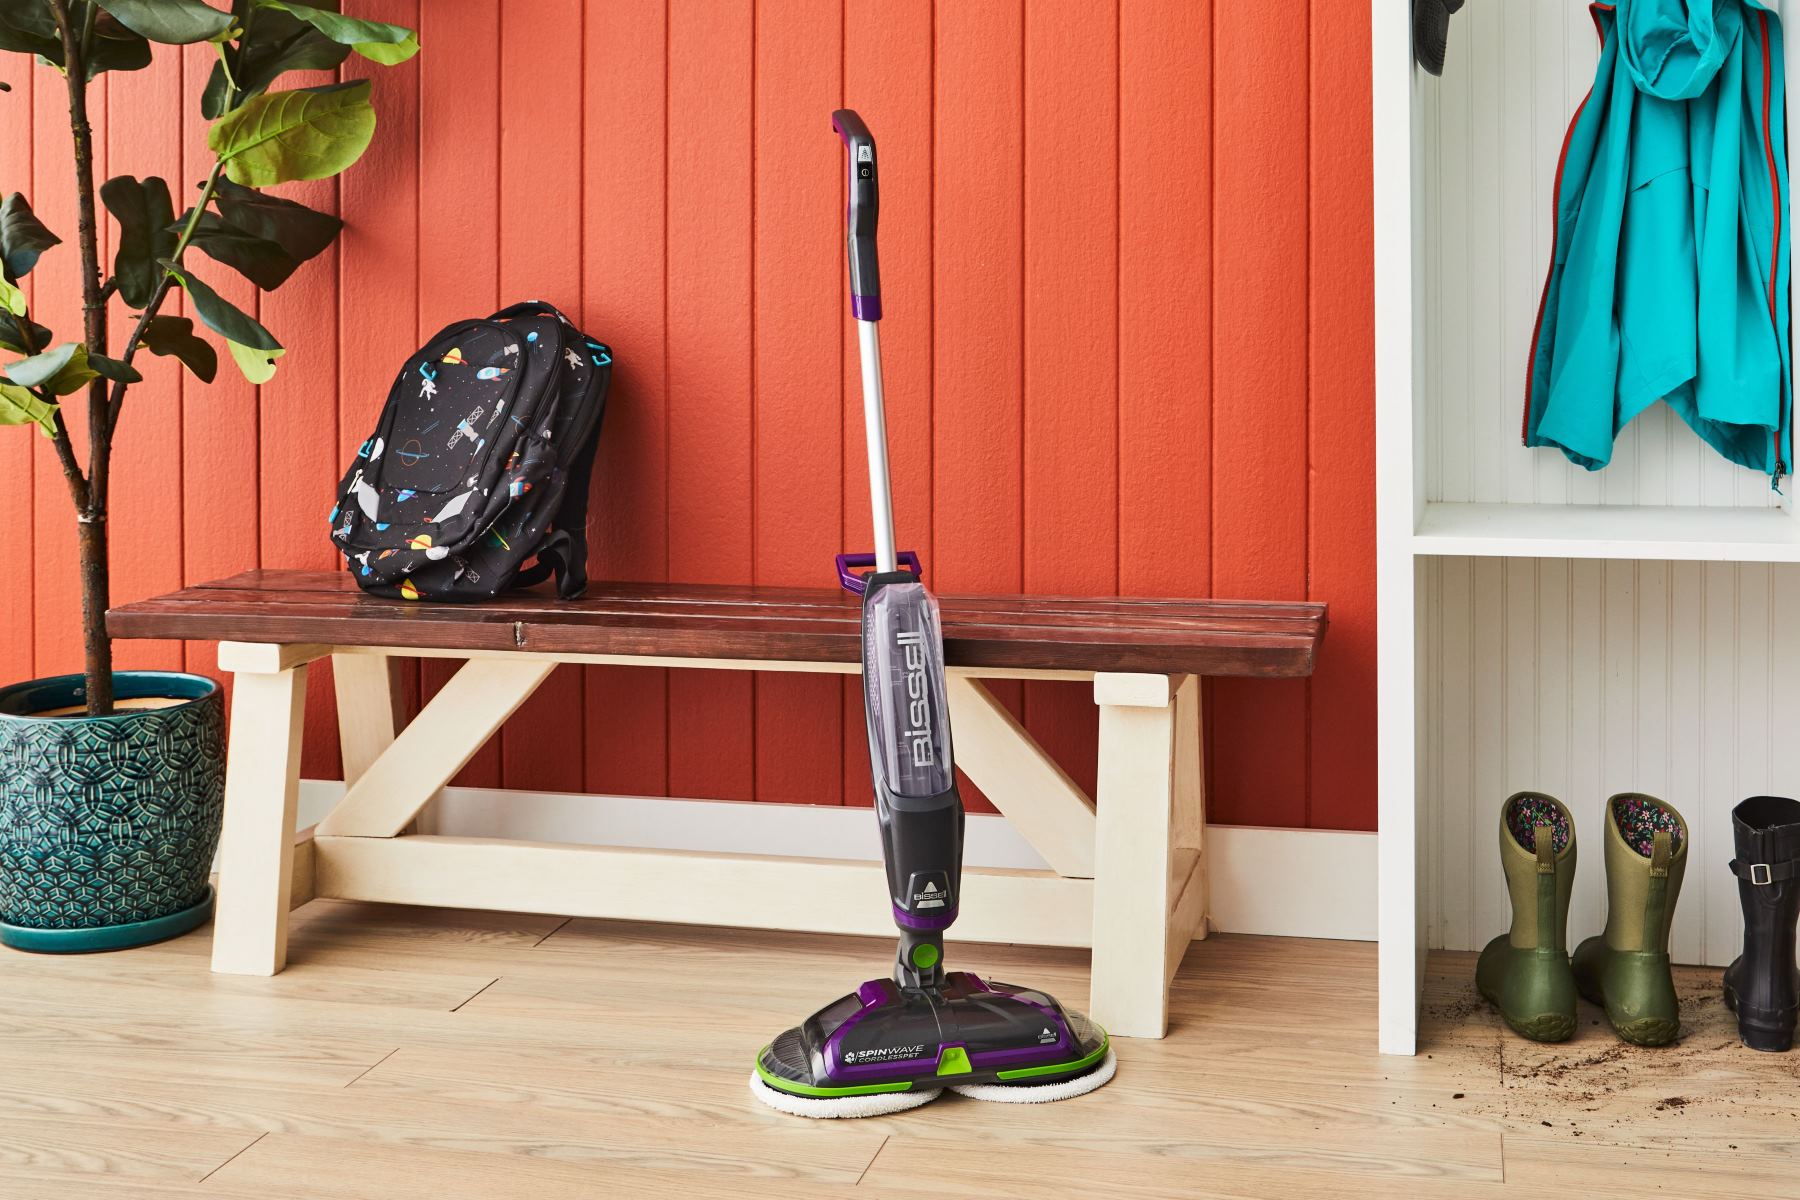
Whether you’re dealing with a traditional string mop, a flat mop, or a steam mop, the principles for changing the mop head remain relatively consistent. By following the instructions outlined in this guide, you can extend the lifespan of your cleaning appliance and continue to achieve pristine floors with minimal effort. So, without further ado, let’s dive into the step-by-step process of refreshing your mop with a new mop head.
Key Takeaways:
- Keep your cleaning appliance in top shape by regularly changing the mop head. It’s a simple task that can make a big difference in maintaining clean and sparkling floors with minimal effort.
- Before attaching the new mop head, inspect it for defects and pre-treat if necessary. Ensure a snug fit when attaching and test its functionality to confirm its cleaning performance.
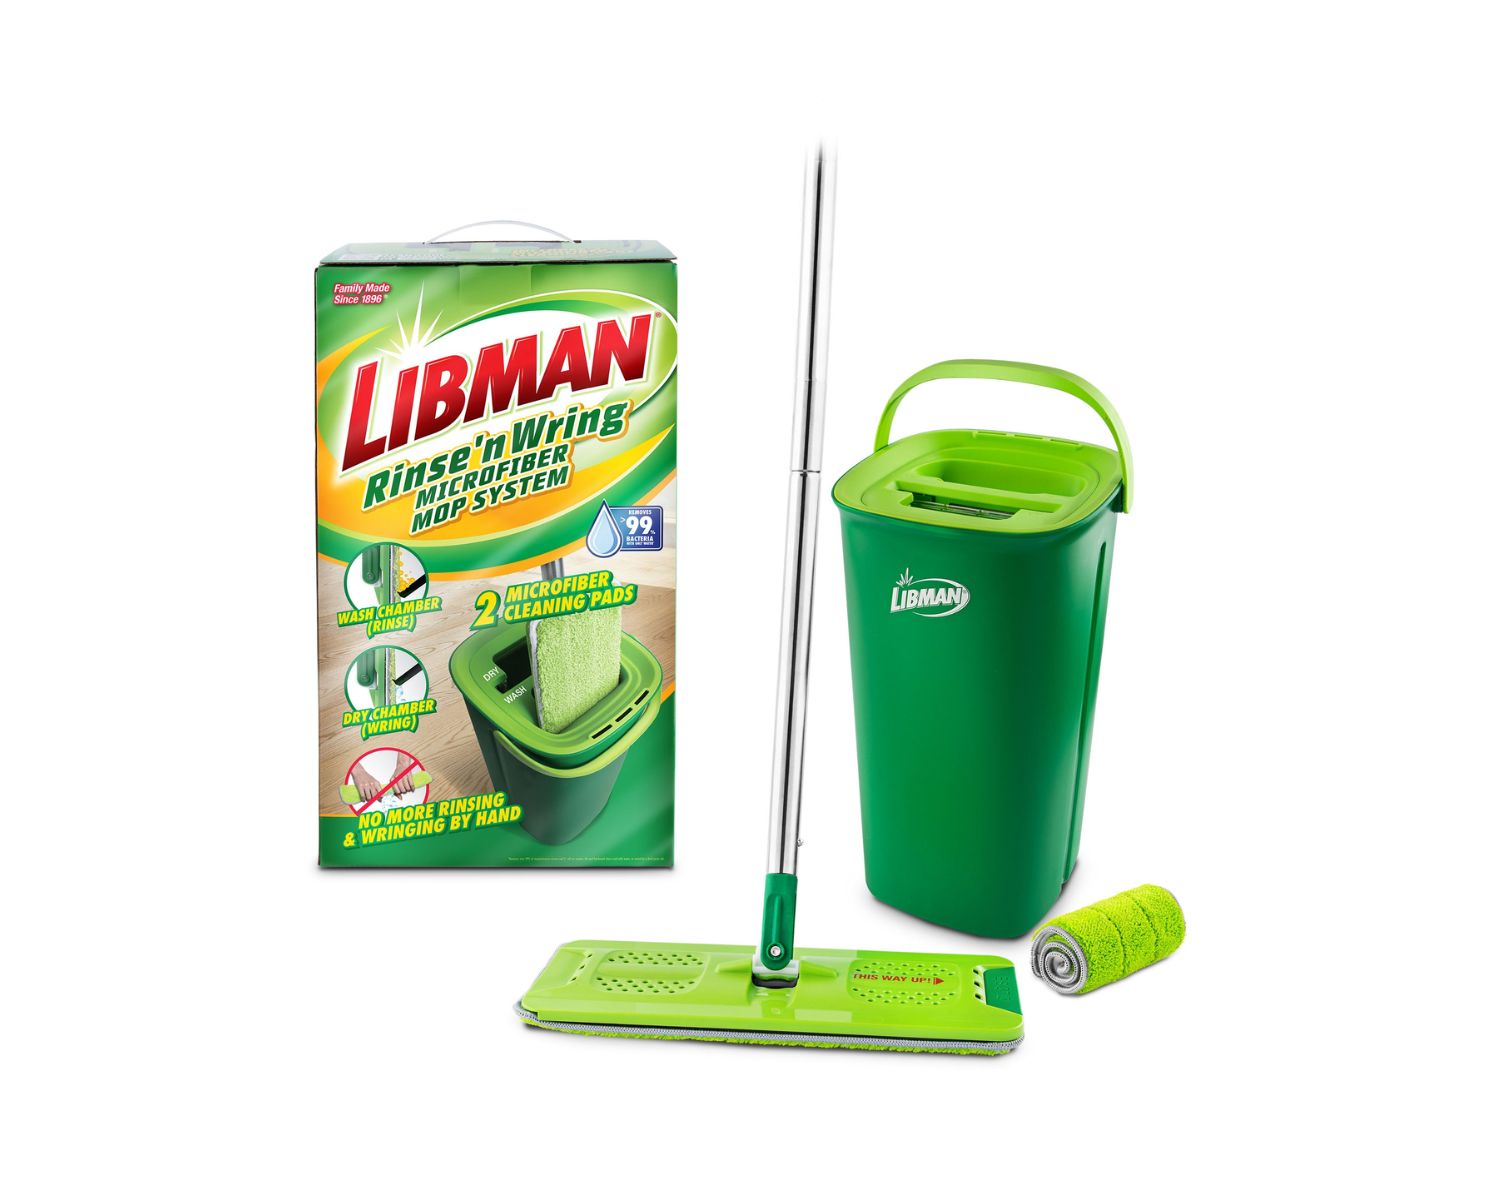
Read more: How To Change Mop Head On Libman Mop
Step 1: Gather the necessary materials
Before embarking on the task of changing the mop head, it’s essential to gather all the necessary materials. This ensures a smooth and efficient process, allowing you to complete the task without any interruptions. Here’s what you’ll need:
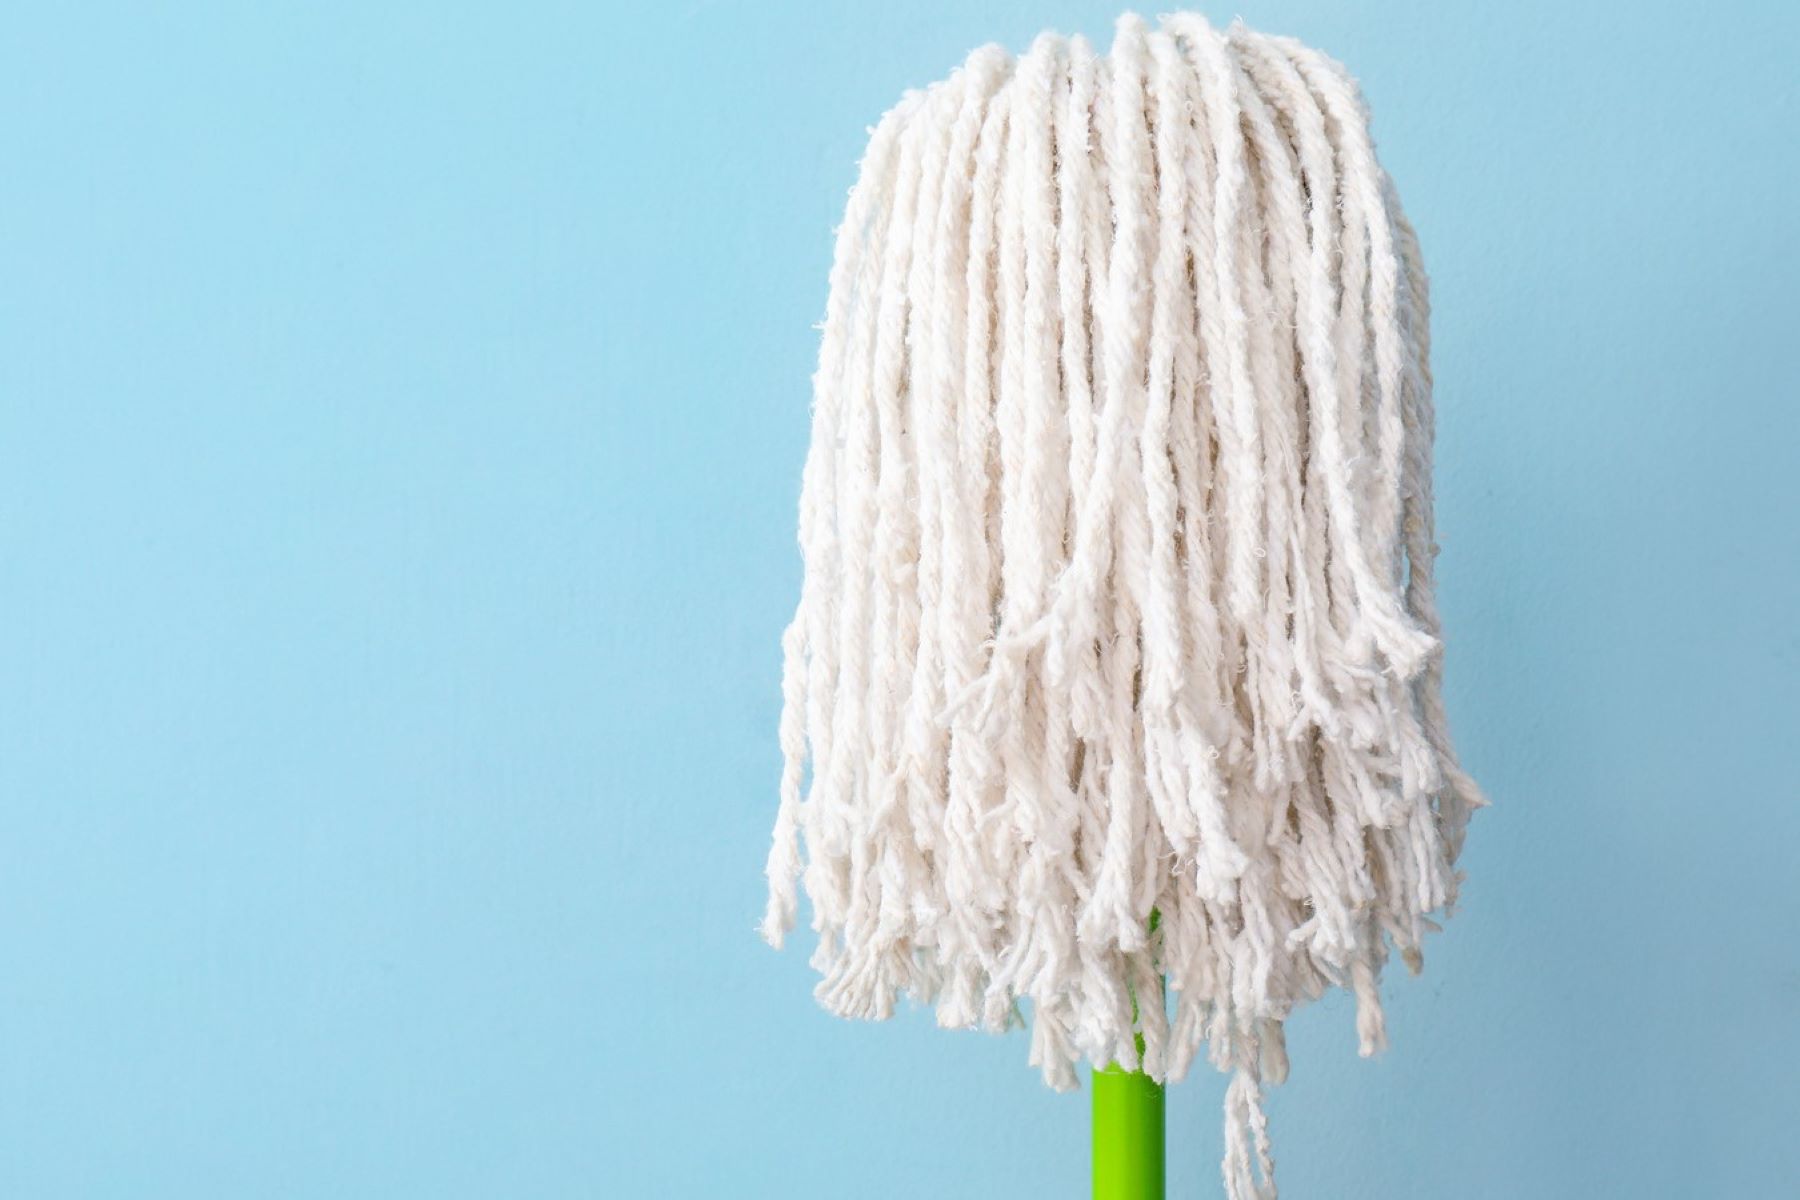
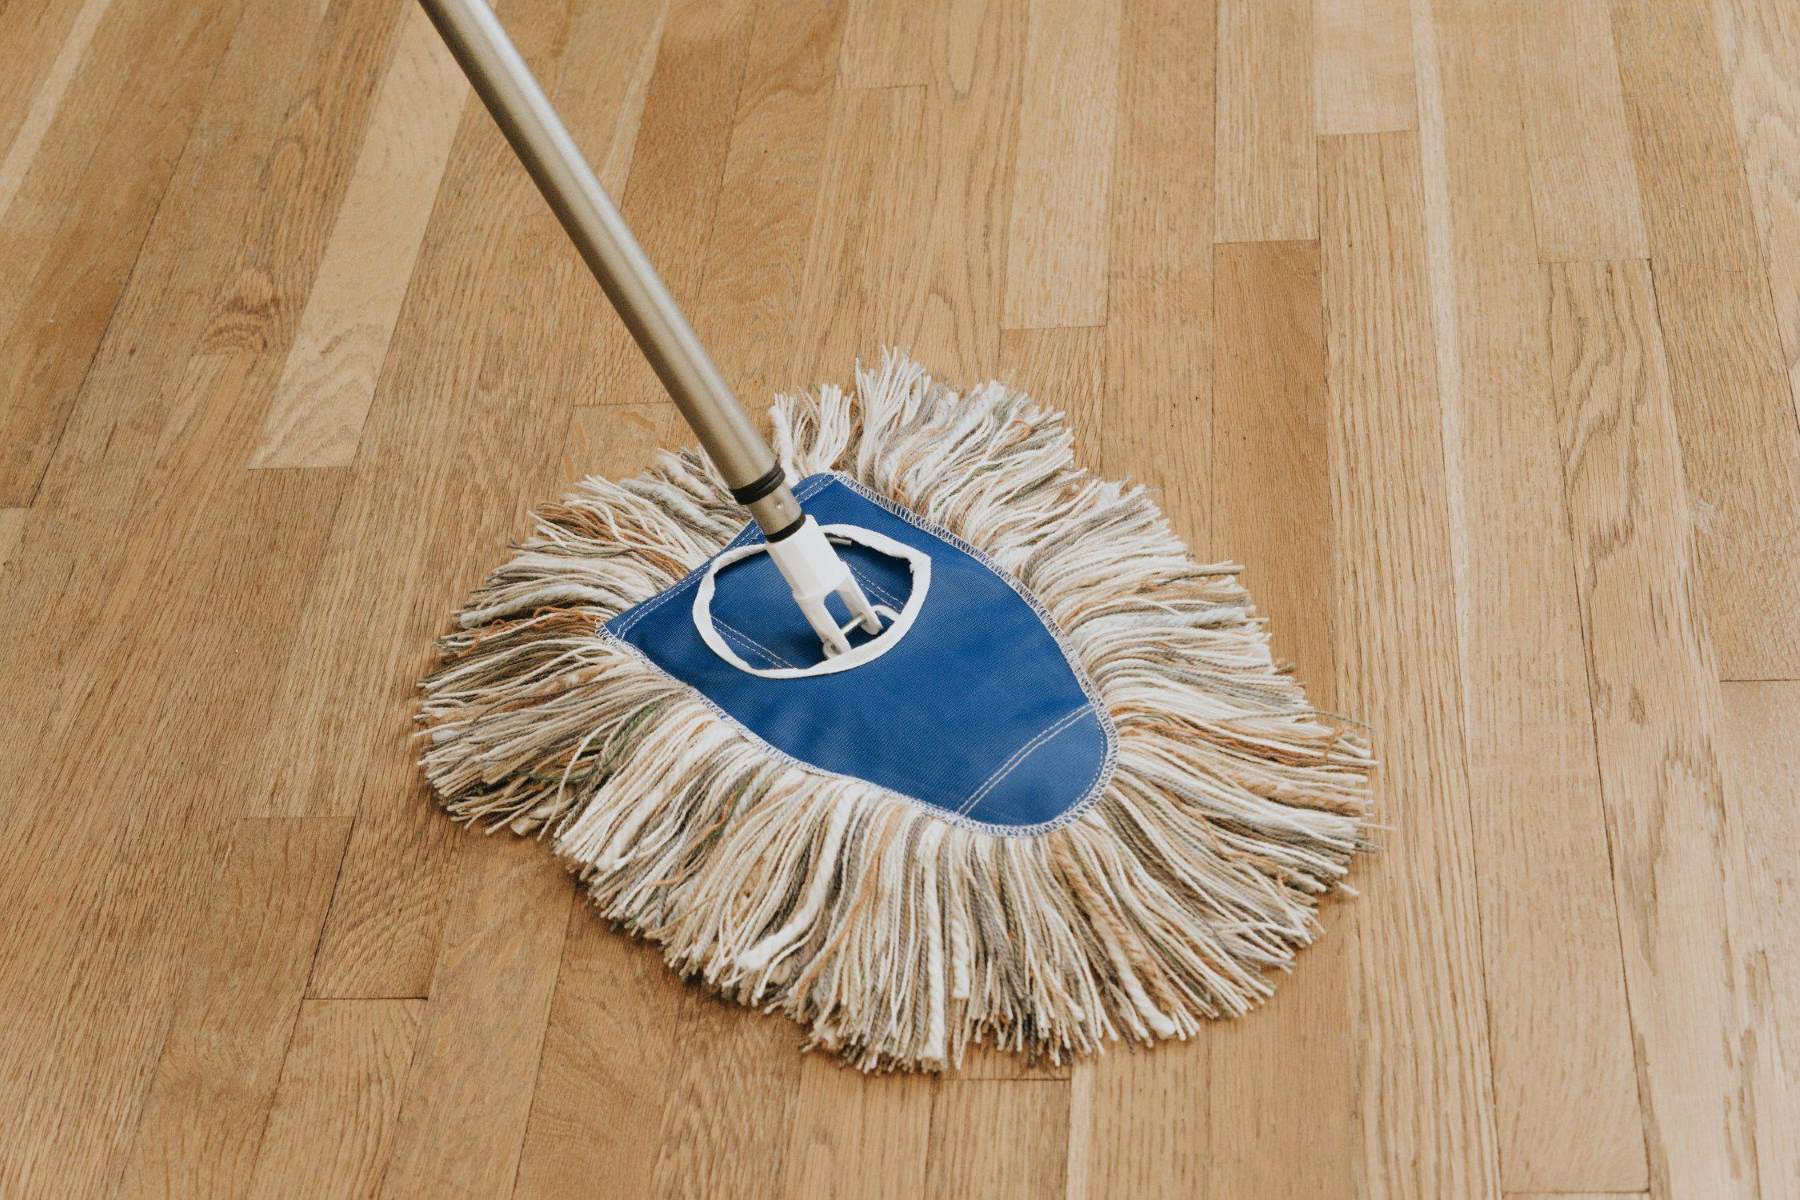
- New mop head: Depending on the type of mop you have, you may need a replacement string mop head, flat mop head, or steam mop pad. Ensure that the new mop head is compatible with your specific cleaning appliance.
- Clean, dry hands: It’s important to start the process with clean and dry hands to prevent any dirt or grime from transferring onto the new mop head.
- Clear workspace: Choose a well-lit and spacious area to work in, providing ample room to maneuver and access the cleaning appliance without any obstructions.
- Optional cleaning solution: If you’re using a traditional or flat mop, you may want to have a suitable cleaning solution on hand to pre-treat the new mop head before its first use.
- Trash bag: Have a trash bag nearby to dispose of the old mop head responsibly.
By ensuring that you have all these materials within reach, you can streamline the process of changing the mop head and minimize any potential delays. With everything in place, you’re ready to move on to the next step of removing the old mop head.
Step 2: Remove the old mop head
With the necessary materials gathered, it’s time to proceed with removing the old mop head from your cleaning appliance. The specific method for removing the mop head may vary depending on the type of cleaning tool you have. Here’s a general outline of how to remove the old mop head:
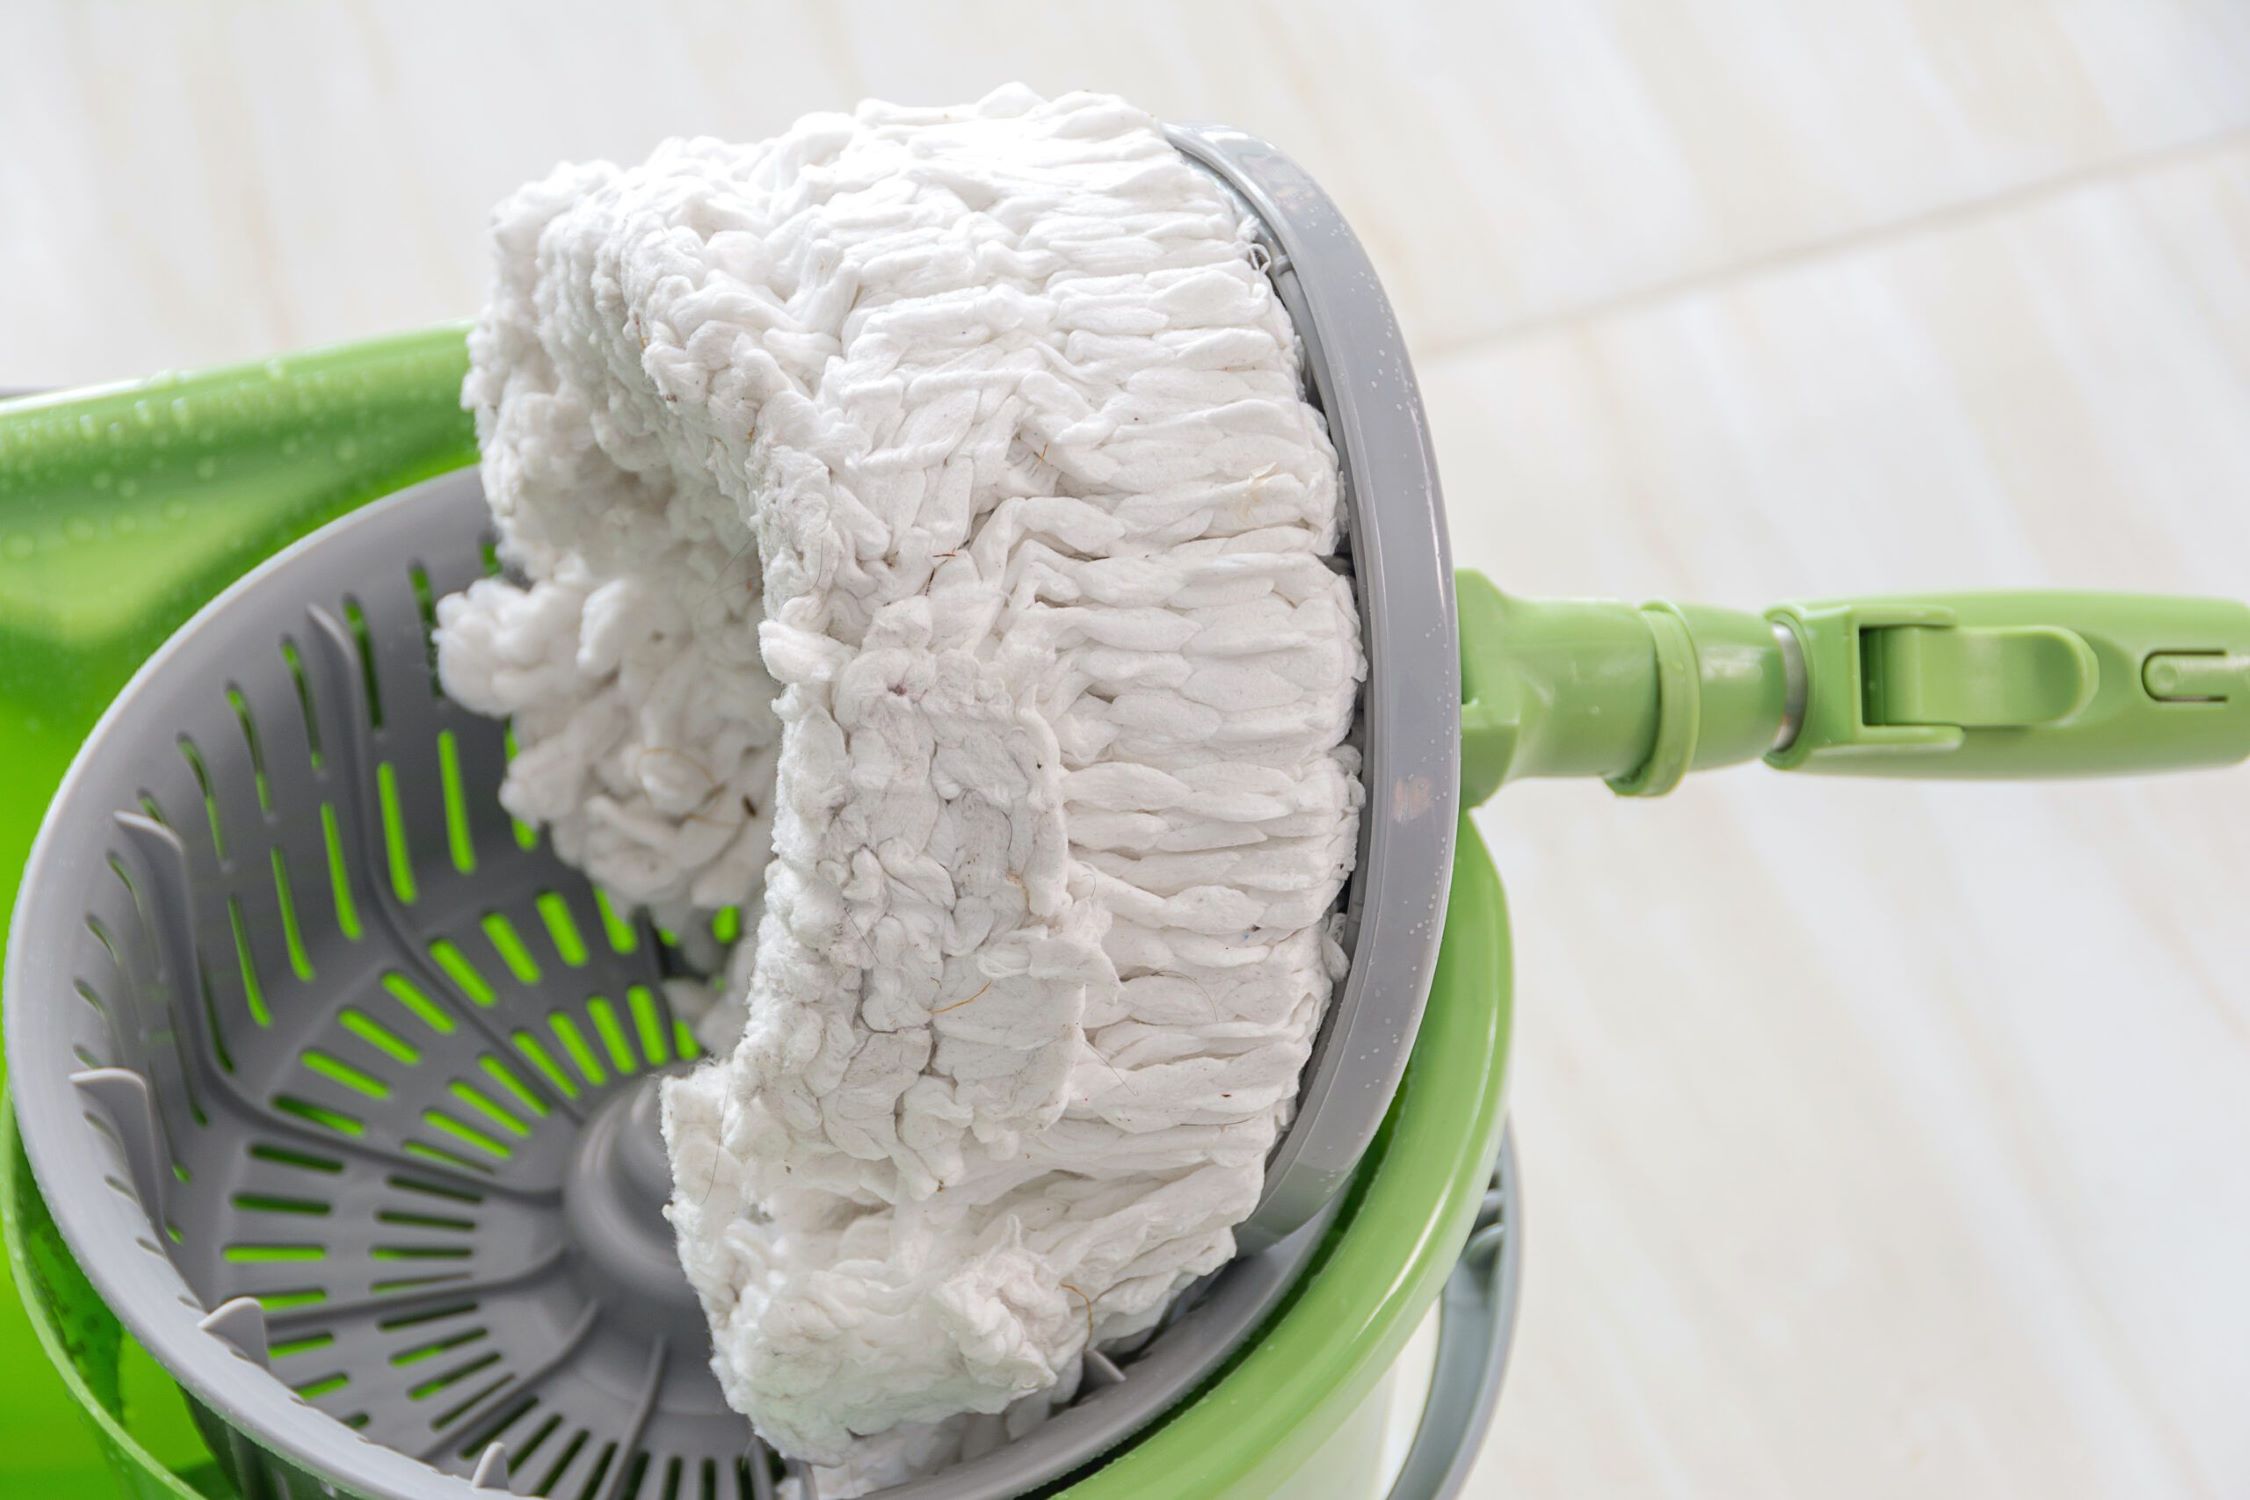
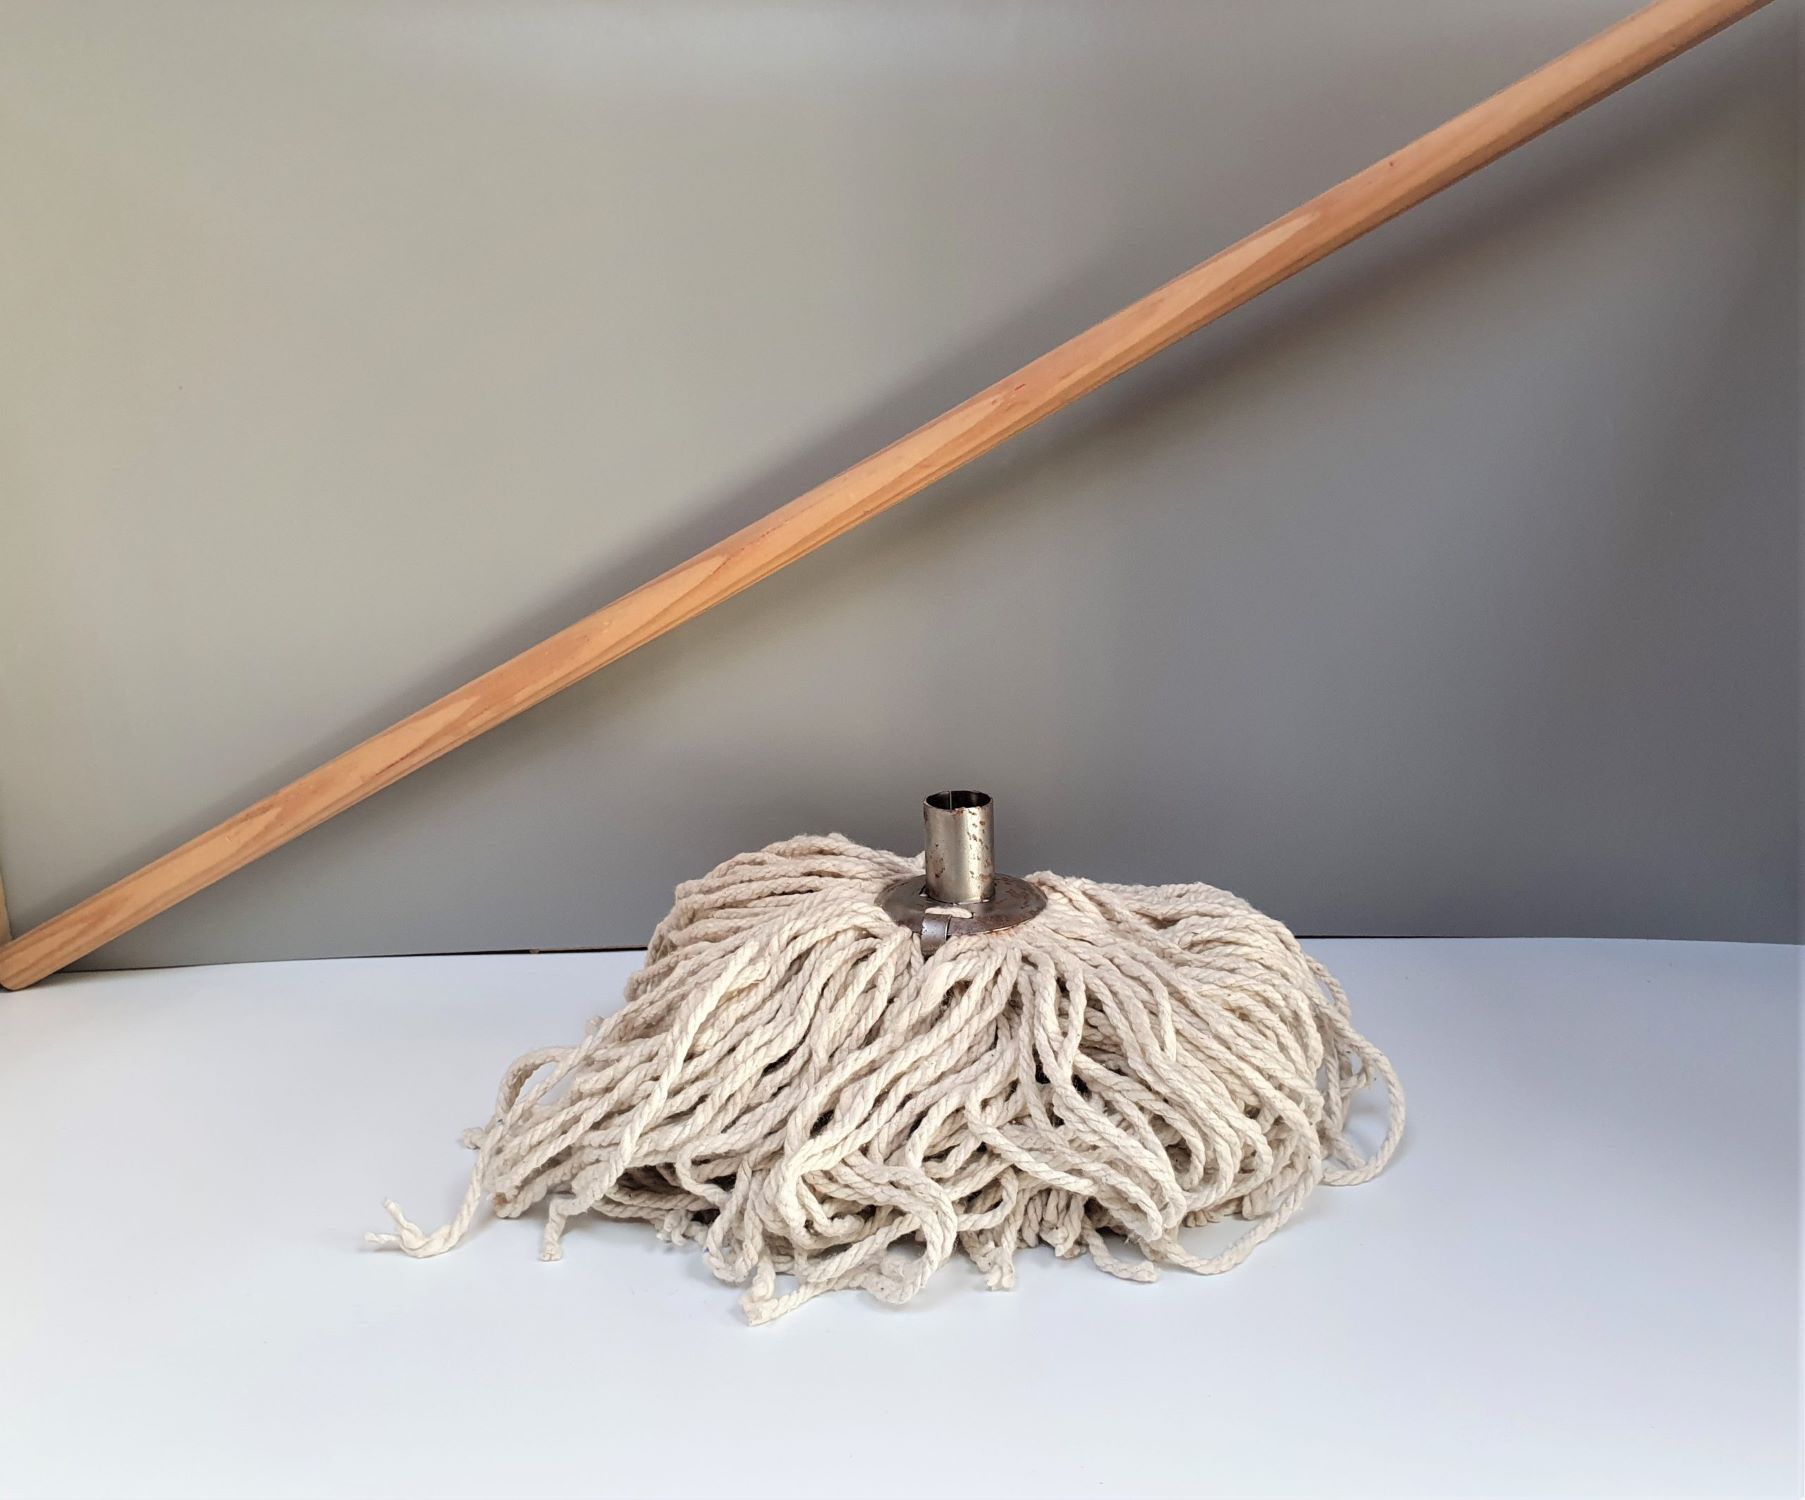
- Unscrew or release the mop head: If you have a traditional string mop with a screw-on head, begin by unscrewing the head from the mop handle. For flat mops or steam mops, look for a release mechanism that allows you to detach the mop head from the base.
- Dispose of the old mop head: Once the old mop head is detached, place it directly into the trash bag to keep your workspace tidy. If the mop head is particularly soiled, consider giving the area a quick wipe down before proceeding.
- Inspect the mop handle: While the old mop head is removed, take a moment to inspect the mop handle for any signs of wear or damage. If the handle shows significant wear, it may be worth considering a replacement to ensure optimal performance.
By carefully following these steps, you can safely and efficiently remove the old mop head, clearing the way for the installation of a fresh, clean replacement. With the old mop head out of the way, it’s time to prepare the new mop head for attachment.
Step 3: Prepare the new mop head
Now that the old mop head has been removed, it’s essential to prepare the new mop head for attachment. Properly preparing the new mop head ensures that it is clean, secure, and ready to deliver optimal cleaning performance. The preparation process may vary slightly depending on the type of mop head you are working with, so be sure to follow any specific manufacturer instructions that accompany the new mop head. Here are the general steps for preparing the new mop head:
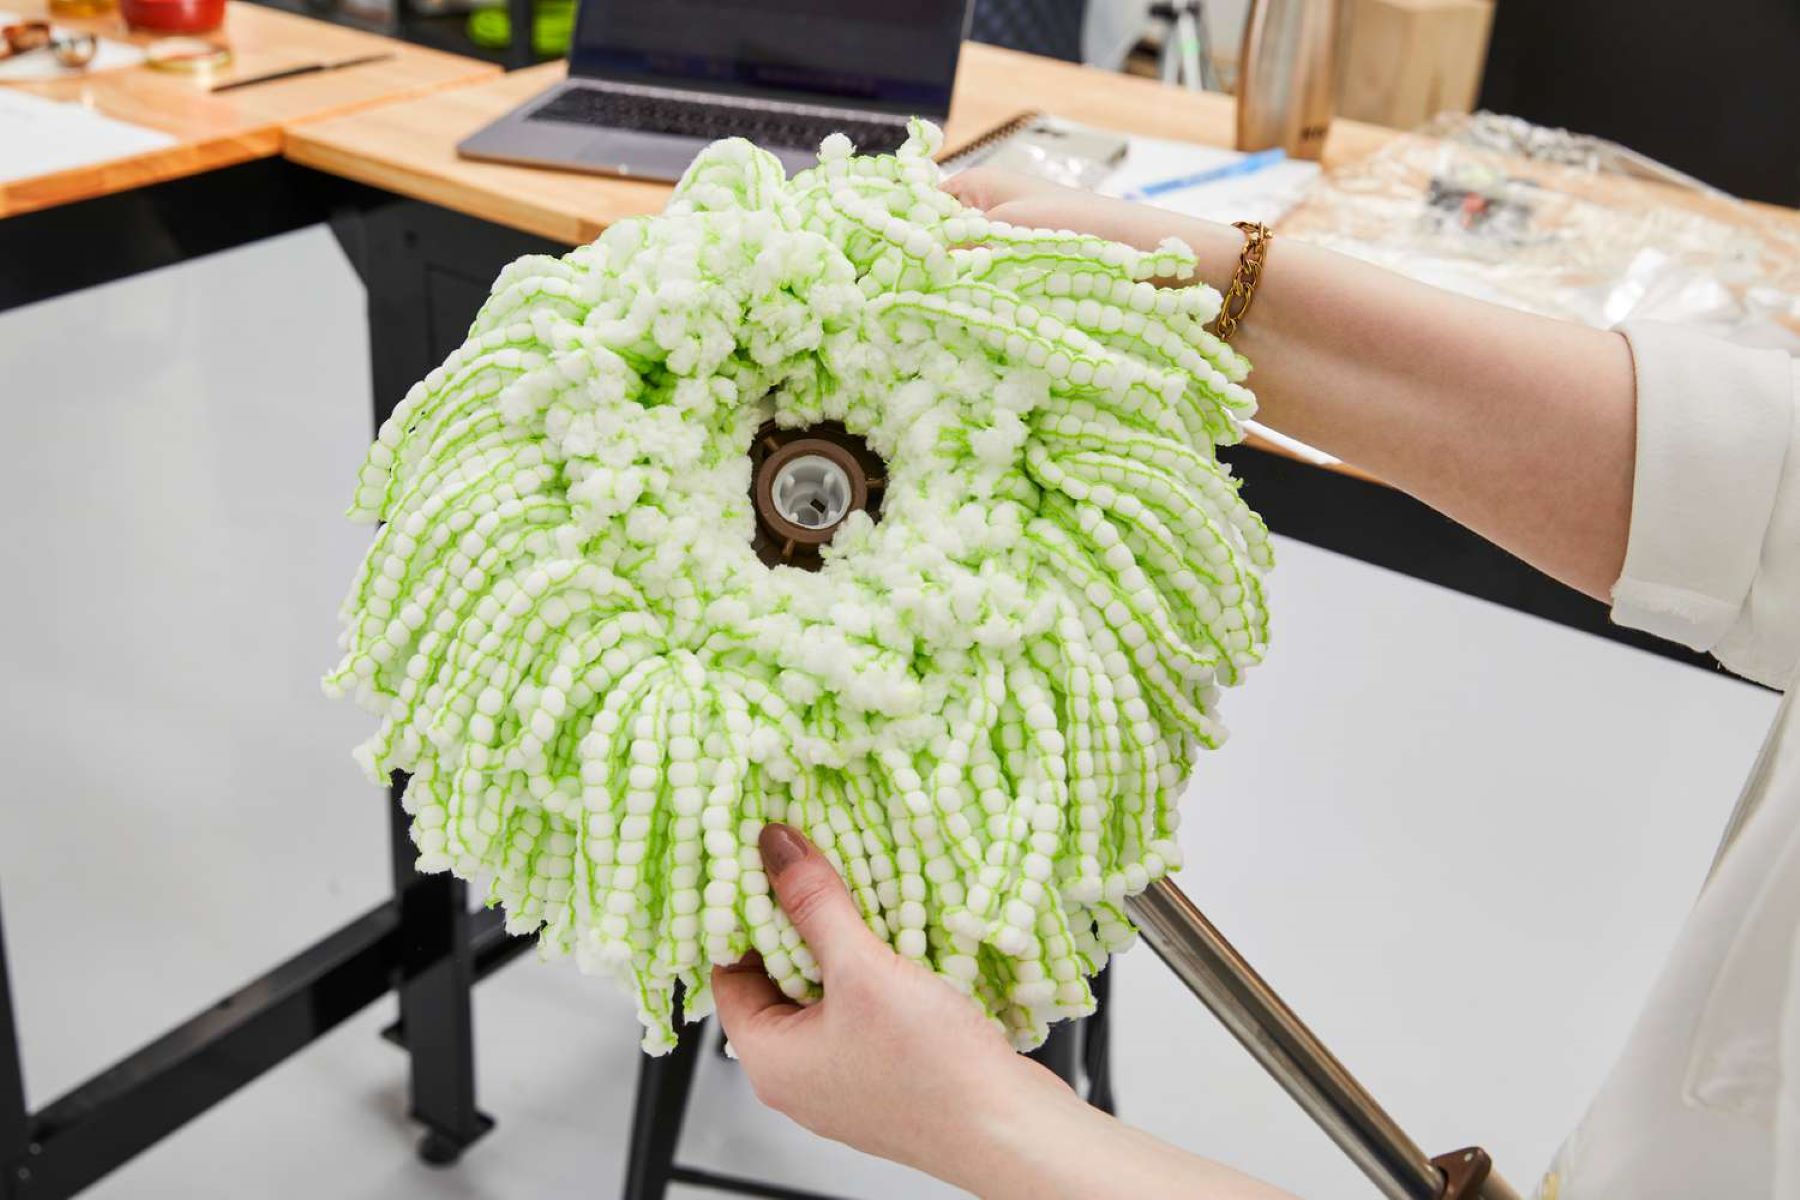
- Inspect the new mop head: Before attaching the new mop head to your cleaning appliance, carefully inspect it for any defects or irregularities. Check for loose threads, tears, or any other issues that may affect its performance.
- Pre-treat if necessary: If you are using a traditional or flat mop, you may want to pre-treat the new mop head with a suitable cleaning solution. This step can help prime the mop head for effective cleaning and ensure that it is free from any manufacturing residues.
- Follow manufacturer guidelines: Some mop heads may have specific preparation requirements outlined by the manufacturer. Be sure to review any accompanying instructions to ensure that you are preparing the new mop head in accordance with the provided guidelines.
By taking the time to properly prepare the new mop head, you can ensure that it is in optimal condition for attachment and use. Once the new mop head is inspected and prepared, you’re ready to move on to the next step of attaching it to your cleaning appliance.
To change the mop head, unscrew the old head and remove it from the mop handle. Then, attach the new mop head by screwing it onto the handle until it is secure.
Step 4: Attach the new mop head
With the new mop head inspected and prepared, it’s time to proceed with attaching it to your cleaning appliance. The method for attaching the new mop head will vary depending on the type of cleaning tool you have, so it’s important to follow the specific instructions for your particular model. Here’s a general outline of how to attach the new mop head:
- Align the mop head: Position the new mop head in alignment with the mop handle or base, ensuring that it is oriented correctly for attachment. Pay attention to any indicators or alignment marks that may be present.
- Secure the attachment mechanism: Depending on your cleaning appliance, this may involve screwing the new mop head onto the handle, snapping it into place, or engaging a locking mechanism to secure it firmly.
- Ensure a snug fit: Once the attachment is in place, give the new mop head a gentle tug or shake to confirm that it is securely fastened to the cleaning appliance. A snug fit is essential for effective cleaning performance.
By following these general steps, you can confidently attach the new mop head to your cleaning appliance, setting the stage for revitalized cleaning capabilities. With the new mop head securely in place, it’s time to proceed to the final step of testing its functionality.
Read more: How To Change Mop Head On Spin Mop
Step 5: Test the new mop head
With the new mop head successfully attached to your cleaning appliance, it’s crucial to test its functionality to ensure that it is ready for use. Testing the new mop head allows you to confirm that it is secure, responsive, and capable of delivering the cleaning performance you expect. Here’s how to test the new mop head:
- Perform a dry run: Before using any cleaning solution, give the new mop head a dry run on your floors. Move the mop back and forth to assess its maneuverability and ensure that it remains securely attached to the cleaning appliance.
- Apply cleaning solution if necessary: If you are using a traditional or flat mop and plan to use a cleaning solution, apply a small amount of the solution to the mop head and repeat the testing process. This allows you to evaluate how the mop head handles the application of cleaning agents.
- Observe the cleaning performance: As you test the new mop head, pay attention to its cleaning performance. Note how it glides across the floor, its absorbency, and whether it effectively picks up dirt and debris. This evaluation helps ensure that the new mop head meets your cleaning needs.
By conducting a thorough test of the new mop head, you can confirm that it is ready to tackle your cleaning tasks with efficiency and effectiveness. If the new mop head performs admirably during testing, you can proceed with confidence, knowing that your cleaning appliance is equipped with a fresh and capable mop head.
Conclusion
Congratulations! You have successfully navigated the process of changing the mop head on your cleaning appliance. By following the step-by-step instructions outlined in this guide, you have revitalized your cleaning tool, ensuring that it is equipped with a fresh and effective mop head ready to tackle dirt, spills, and grime.
Changing the mop head is a simple yet impactful maintenance task that can significantly enhance the performance of your cleaning appliance. With a new mop head in place, you can look forward to achieving sparkling clean floors with ease and efficiency.
Remember, regular maintenance, including replacing worn-out mop heads, is essential for preserving the effectiveness and longevity of your cleaning tools. By staying proactive with maintenance tasks, you can continue to enjoy a clean and inviting living space while extending the lifespan of your cleaning appliances.
Now that you’ve successfully changed the mop head, take a moment to appreciate the refreshed capabilities of your cleaning tool. Whether you have a traditional string mop, a flat mop, or a steam mop, the process of changing the mop head remains a fundamental aspect of maintaining a hygienic and welcoming home environment.
Thank you for following this guide, and may your newly equipped cleaning appliance continue to serve you well in keeping your floors spotless and inviting.
Frequently Asked Questions about How To Change The Mop Head
Was this page helpful?
At Storables.com, we guarantee accurate and reliable information. Our content, validated by Expert Board Contributors, is crafted following stringent Editorial Policies. We're committed to providing you with well-researched, expert-backed insights for all your informational needs.


0 thoughts on “How To Change The Mop Head”