Home>Home Appliances>Cleaning Appliances>How To Fix A Mop Head
Cleaning Appliances
How To Fix A Mop Head
Modified: August 17, 2024
Learn how to easily fix a mop head with these simple cleaning appliance tips. Keep your mop in top condition for effective cleaning.
(Many of the links in this article redirect to a specific reviewed product. Your purchase of these products through affiliate links helps to generate commission for Storables.com, at no extra cost. Learn more)
Introduction
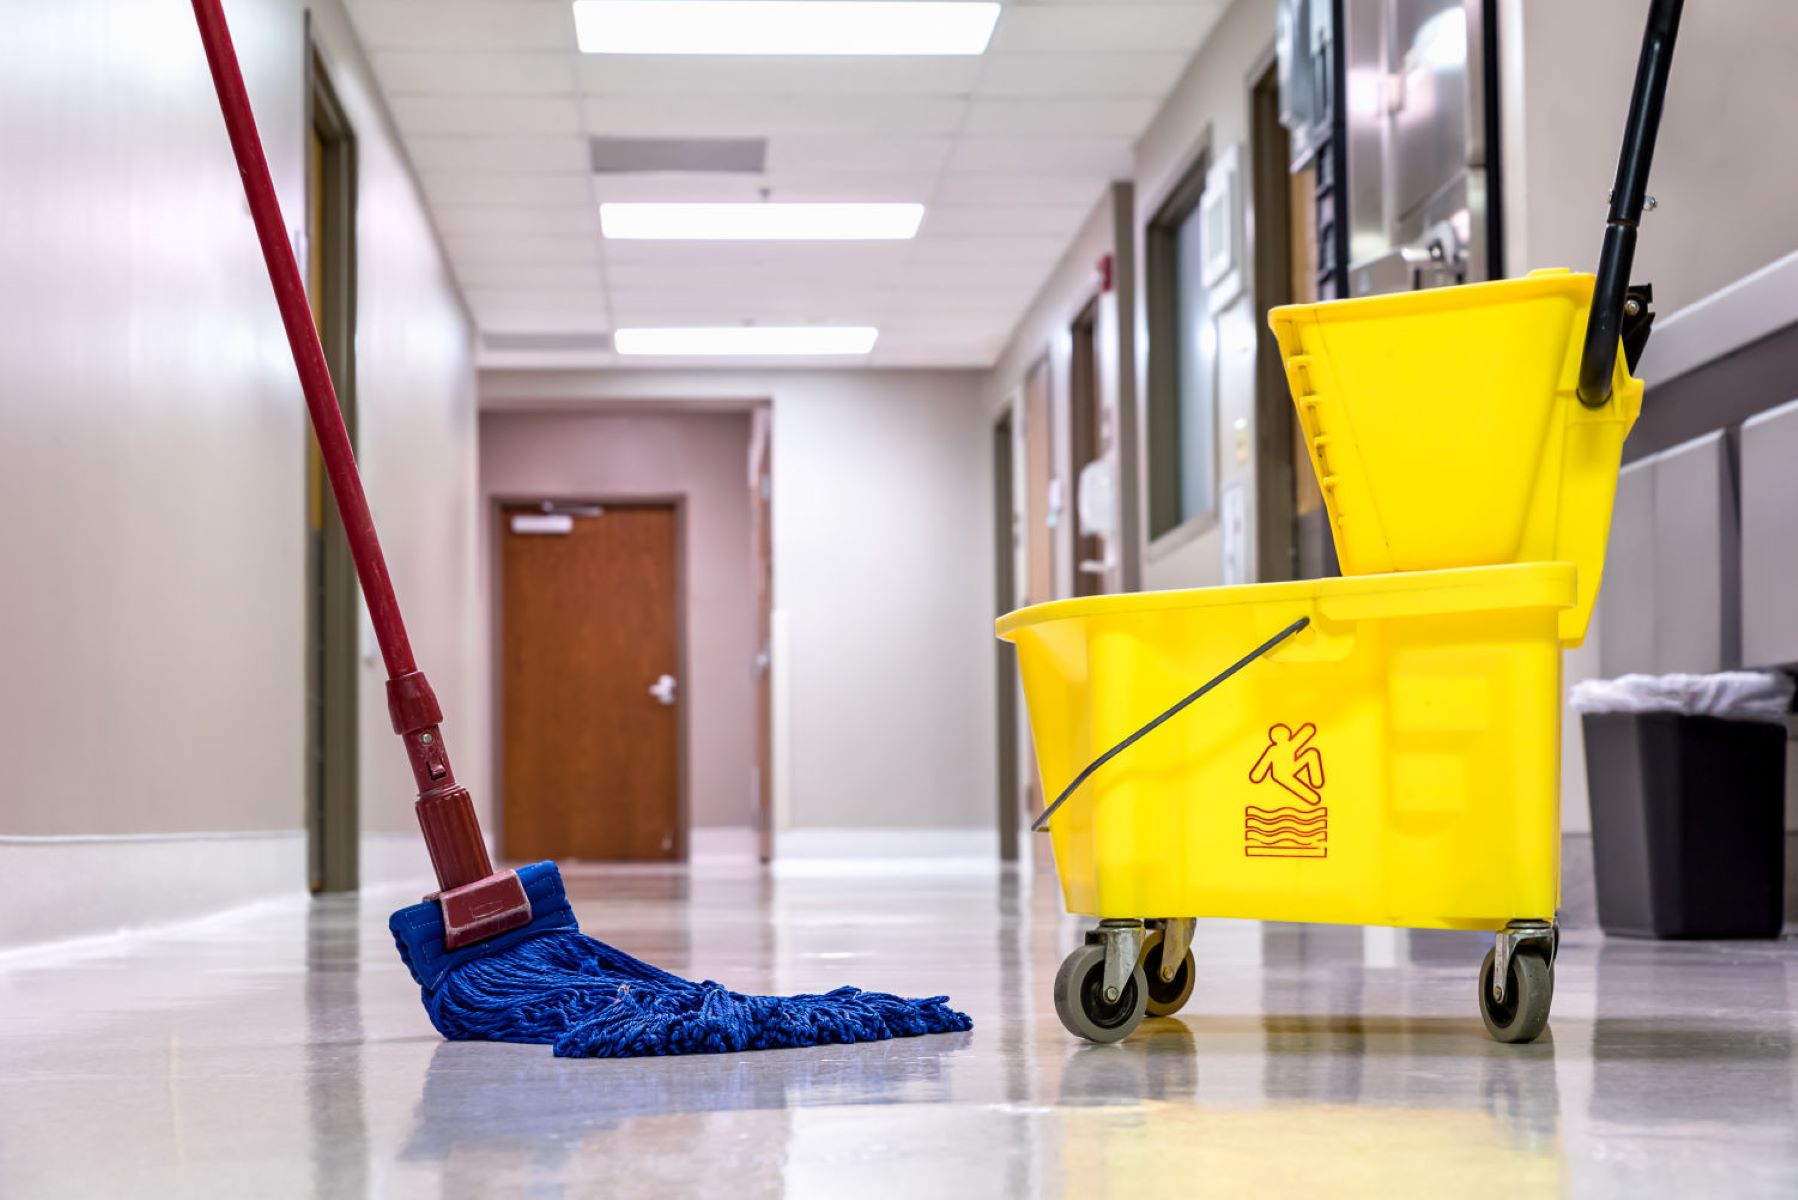
Cleaning your home can be a chore, but it's a necessary one for maintaining a healthy and comfortable living space. One essential tool for keeping your floors sparkling clean is a mop. However, over time, the mop head can become dirty, worn out, or damaged, affecting its cleaning performance. Fortunately, you don't always need to rush out to buy a new mop when the head starts to show signs of wear and tear. With a few simple steps, you can learn how to fix a mop head, saving you time and money in the long run.
In this comprehensive guide, we will walk you through the process of reviving your mop head, extending its lifespan, and restoring its cleaning effectiveness. Whether your mop head is made of microfiber, cotton, or another material, these steps will help you rejuvenate it and get back to cleaning your floors with ease.
So, if you're ready to breathe new life into your trusty mop, let's dive into the steps to fix a mop head and get it back in top shape for your next cleaning session.
Key Takeaways:
- Revive your mop head by cleaning and repairing it, saving money and extending its lifespan. Follow simple steps to remove, clean, repair, and reattach the mop head for sparkling clean floors.
- Learning to fix a mop head helps maintain a clean home, saves money, and contributes to sustainable cleaning practices. Take care of your mop head to keep your floors spotless and healthy.
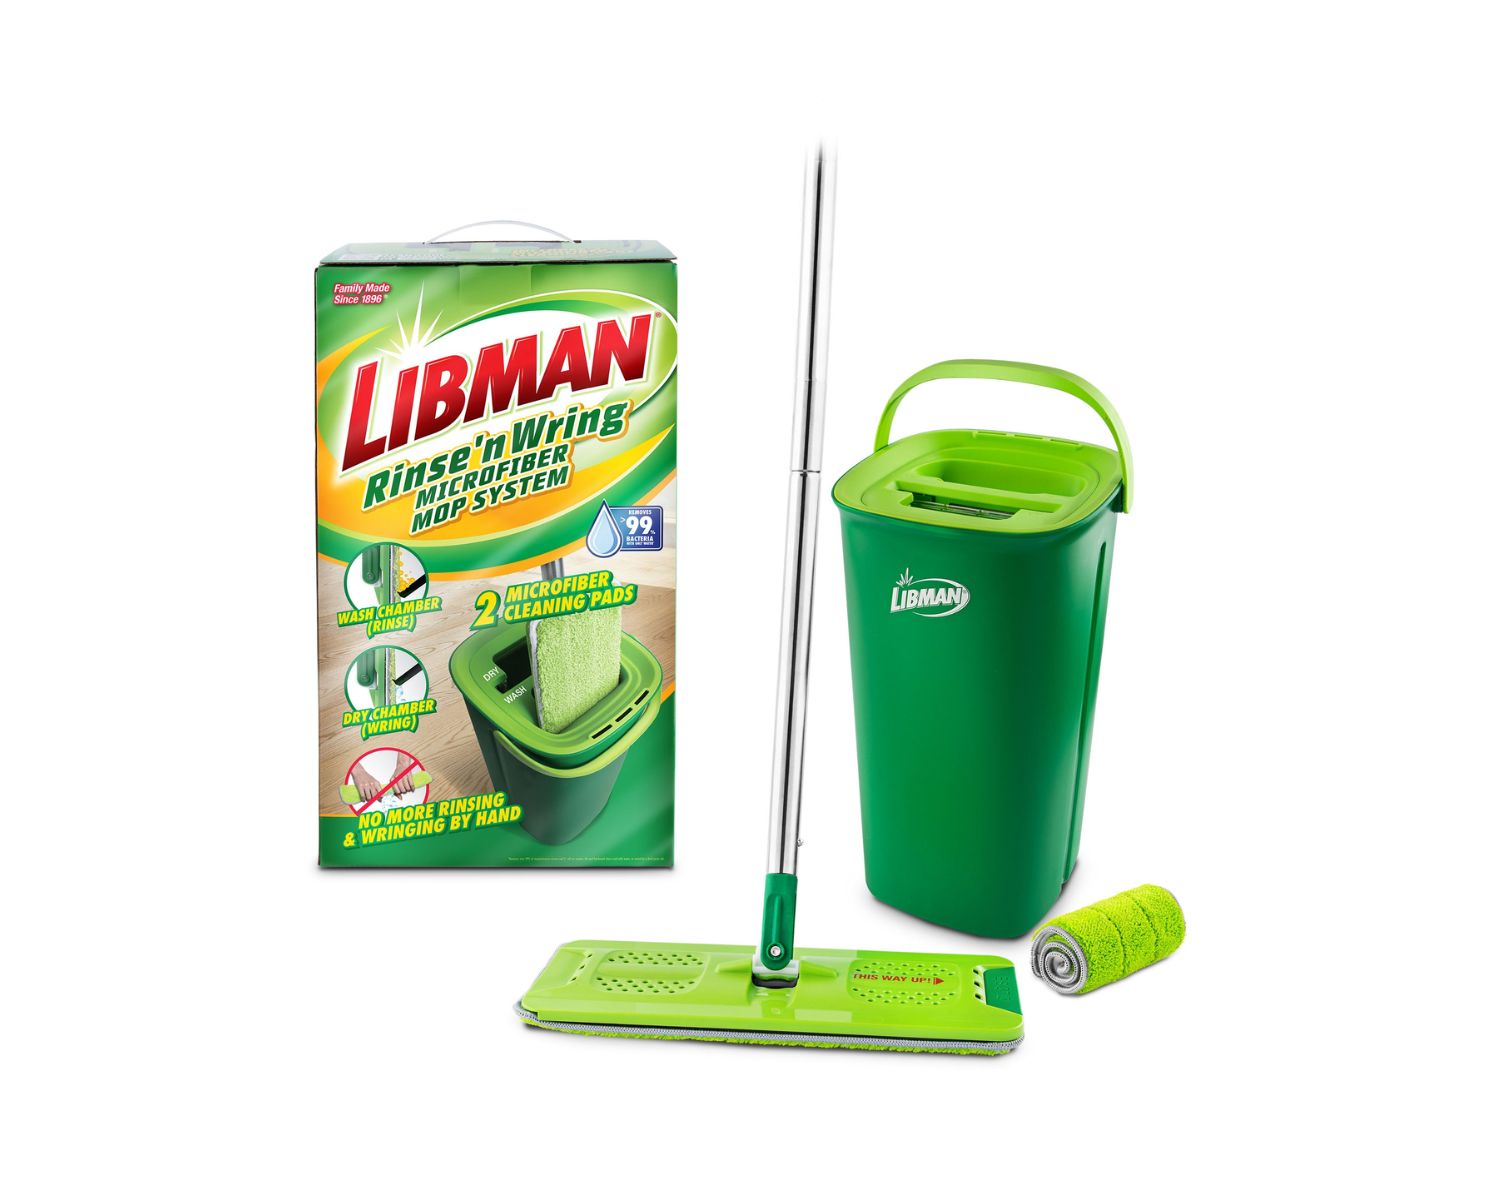
Read more: How To Change Mop Head On Libman Mop
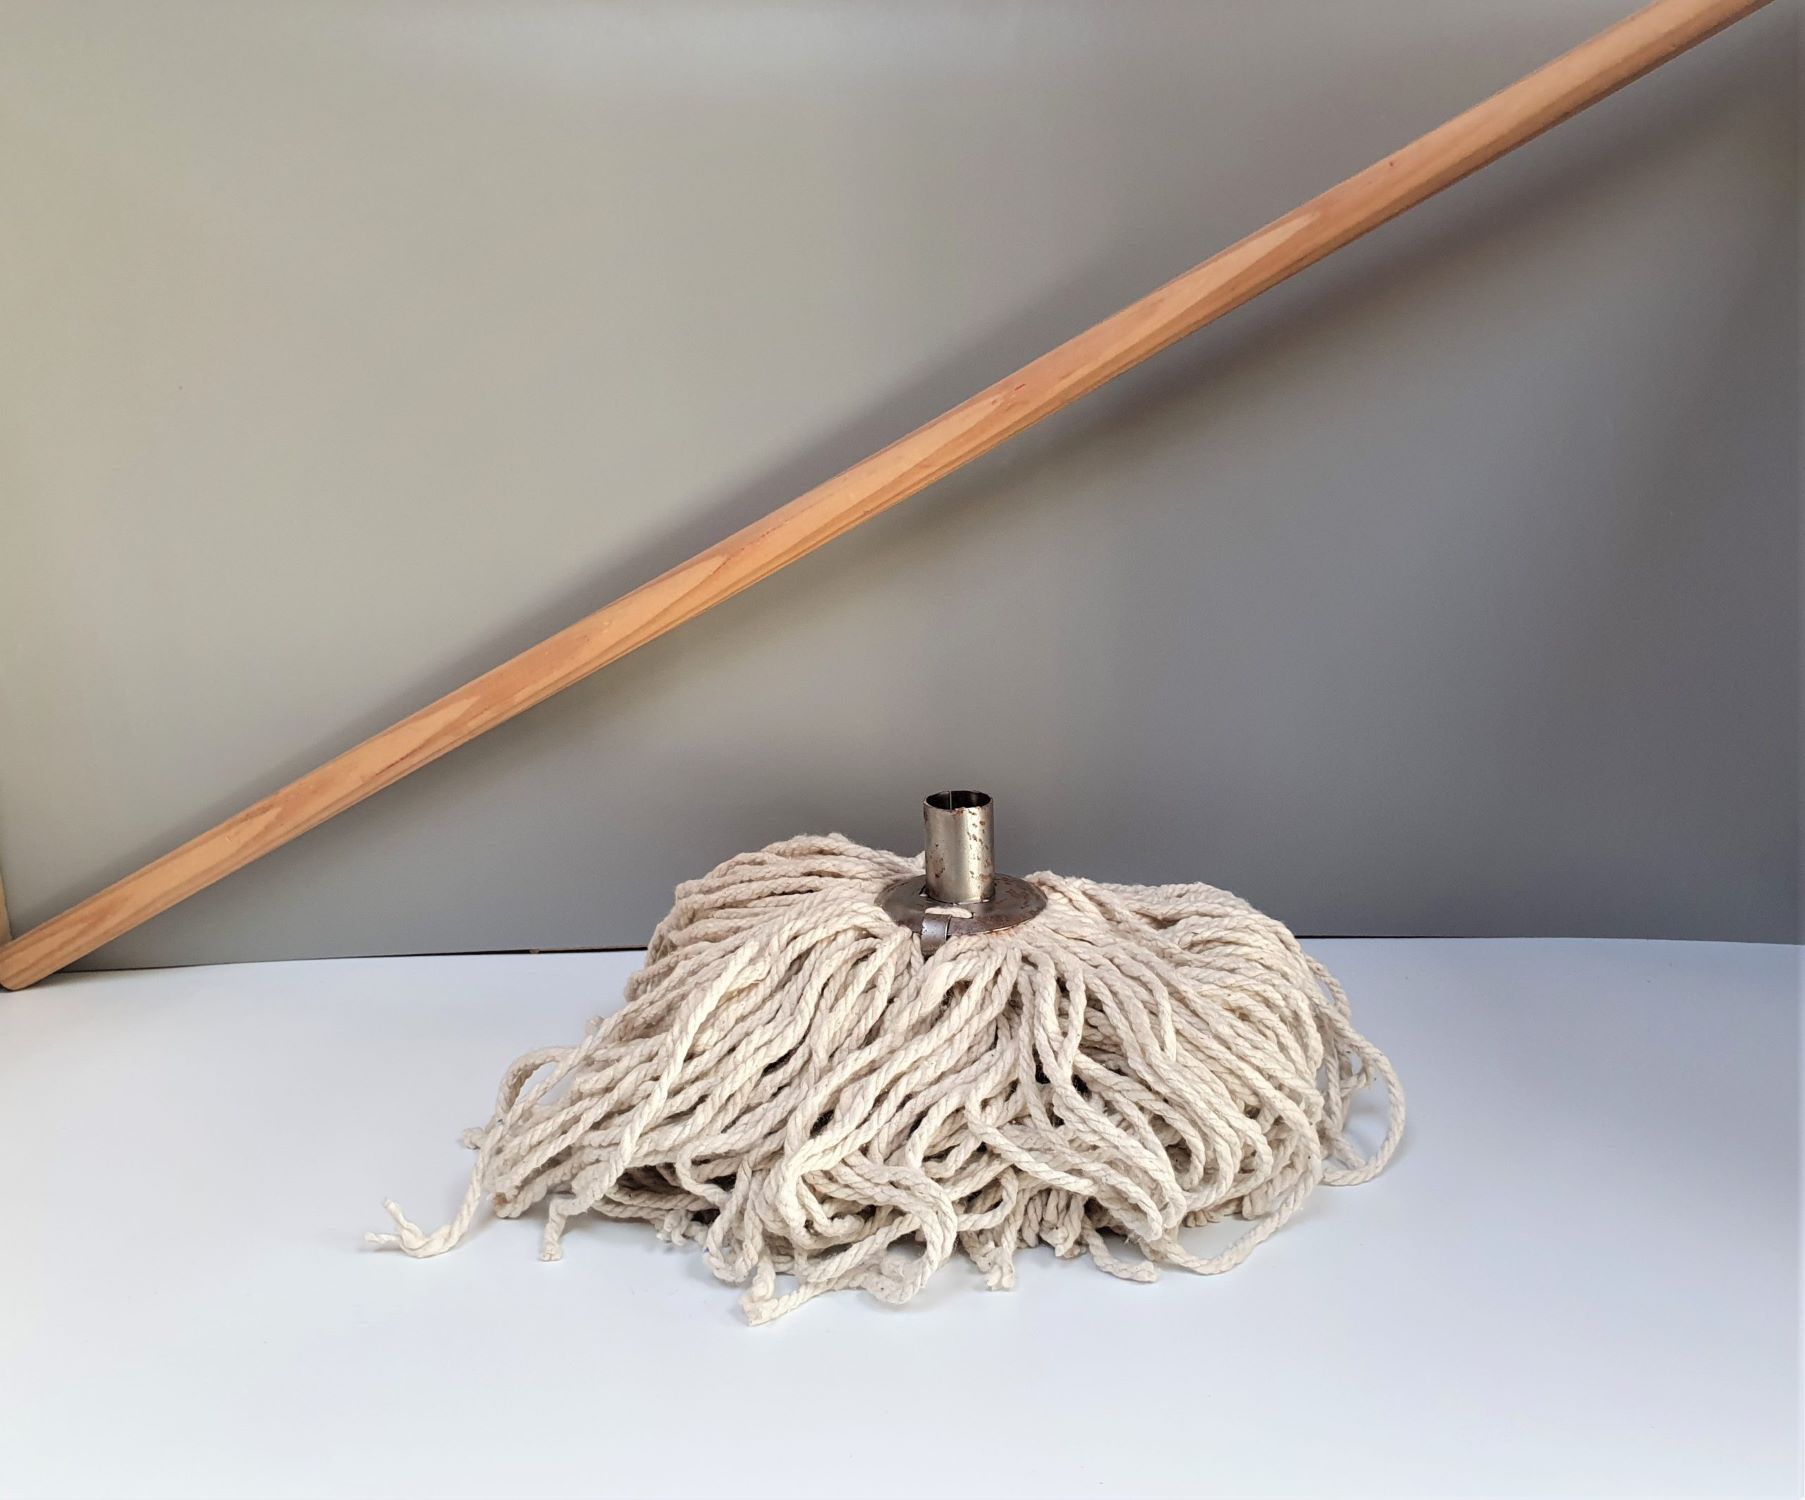
Step 1: Remove the Mop Head
Before you can begin fixing your mop head, you’ll need to remove it from the mop handle. The process for removing the mop head can vary depending on the type of mop you have. Here are the general steps to follow:
- Unscrew or Unclip: If your mop has a screw-on or clip-on mechanism to secure the mop head to the handle, start by loosening the screw or unclipping the attachment. This will release the mop head from the handle, allowing you to proceed with the removal process.
- Slide Off: For mops with a sliding mechanism, carefully slide the mop head off the handle. Be gentle to avoid damaging the mop head or the handle during this step.
- Follow Manufacturer’s Instructions: Some mops may have specific instructions for removing the mop head. If you have the manufacturer’s manual or guidelines, refer to them for the recommended way to detach the mop head.
Once you have successfully removed the mop head from the handle, you can move on to the next step of cleaning and repairing it. Taking the time to remove the mop head properly will ensure that you can work on it without any obstructions and give it the attention it needs.
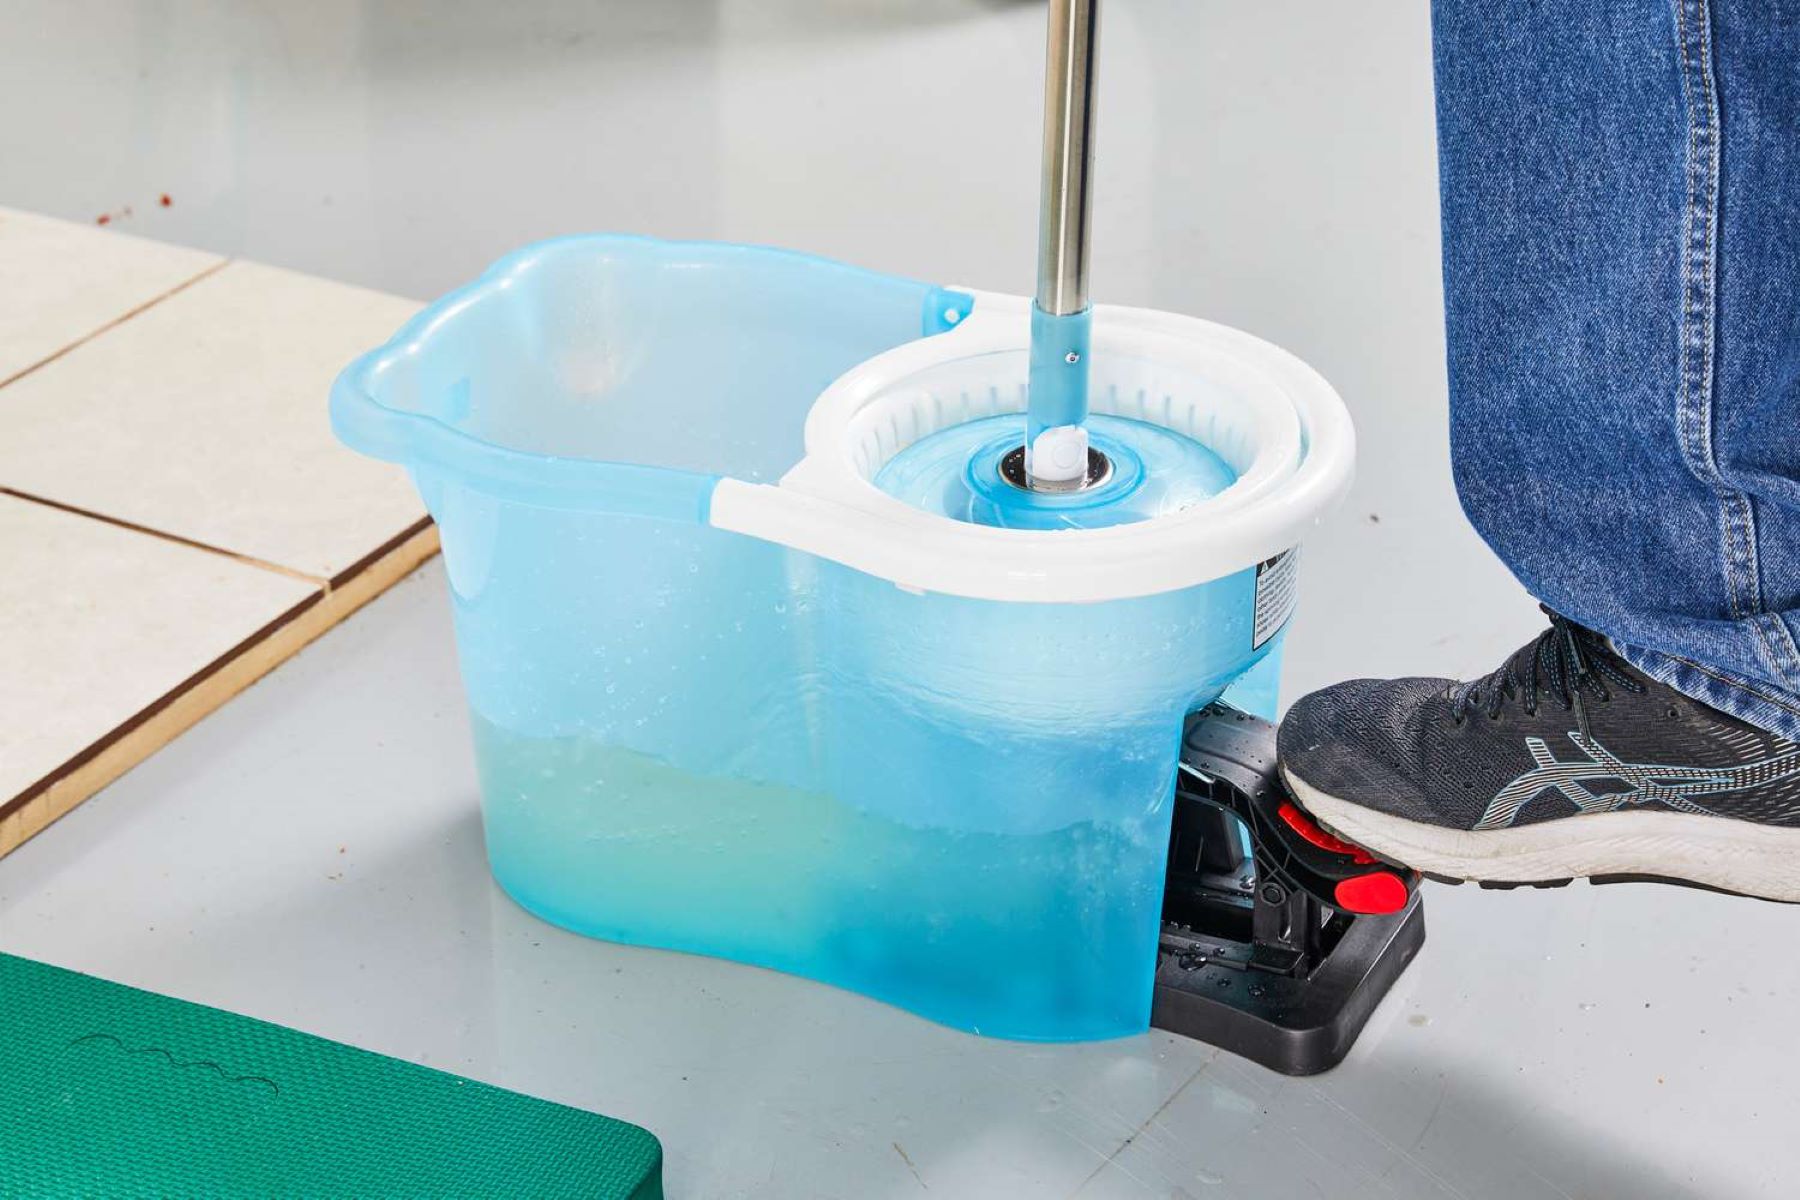
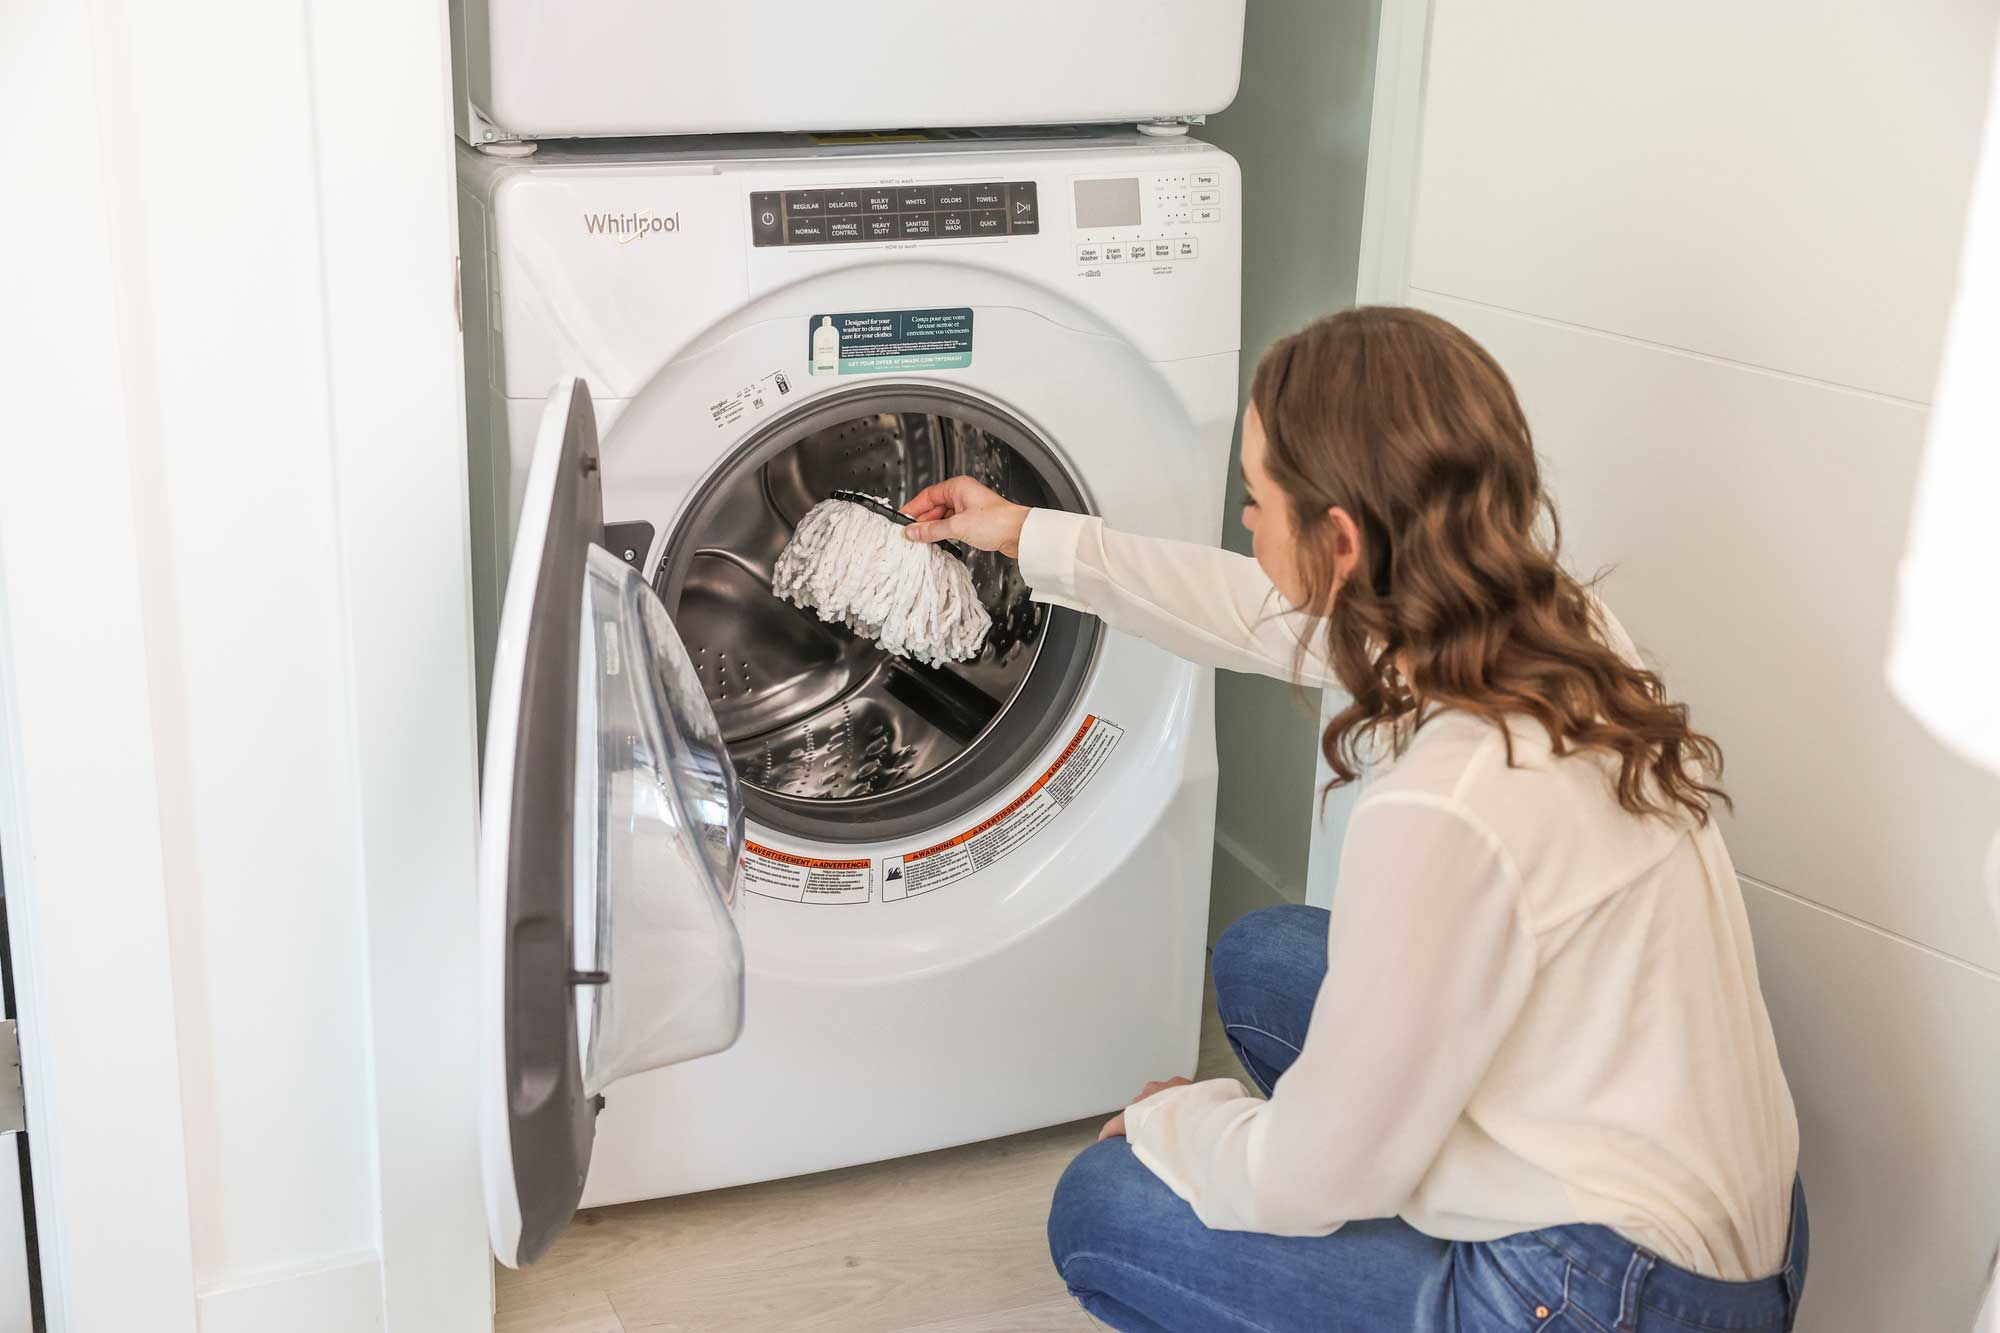
Step 2: Clean the Mop Head
After removing the mop head from the handle, it’s time to give it a thorough cleaning to remove dirt, grime, and any built-up residue. Cleaning your mop head regularly not only helps to maintain its effectiveness but also prevents the spread of bacteria and odors during the cleaning process. Here’s how to clean your mop head effectively:
- Check the Care Label: Before you begin, check the care label on the mop head for any specific cleaning instructions or restrictions. Different materials may require different cleaning methods, so it’s important to follow any guidelines provided by the manufacturer.
- Pre-Treat Stains: If there are visible stains or spots on the mop head, consider pre-treating them with a stain remover or a mixture of water and mild detergent. Allow the pre-treatment to sit for a few minutes to help loosen the stains before proceeding to the next step.
- Machine Wash or Hand Wash: Depending on the material of the mop head, you can either machine wash it or hand wash it. For machine washing, place the mop head in a laundry bag or pillowcase to protect it during the wash cycle. Use a gentle detergent and wash it on a delicate or gentle cycle. If hand washing, fill a bucket or sink with warm water and detergent, then agitate the mop head in the soapy water, paying attention to heavily soiled areas.
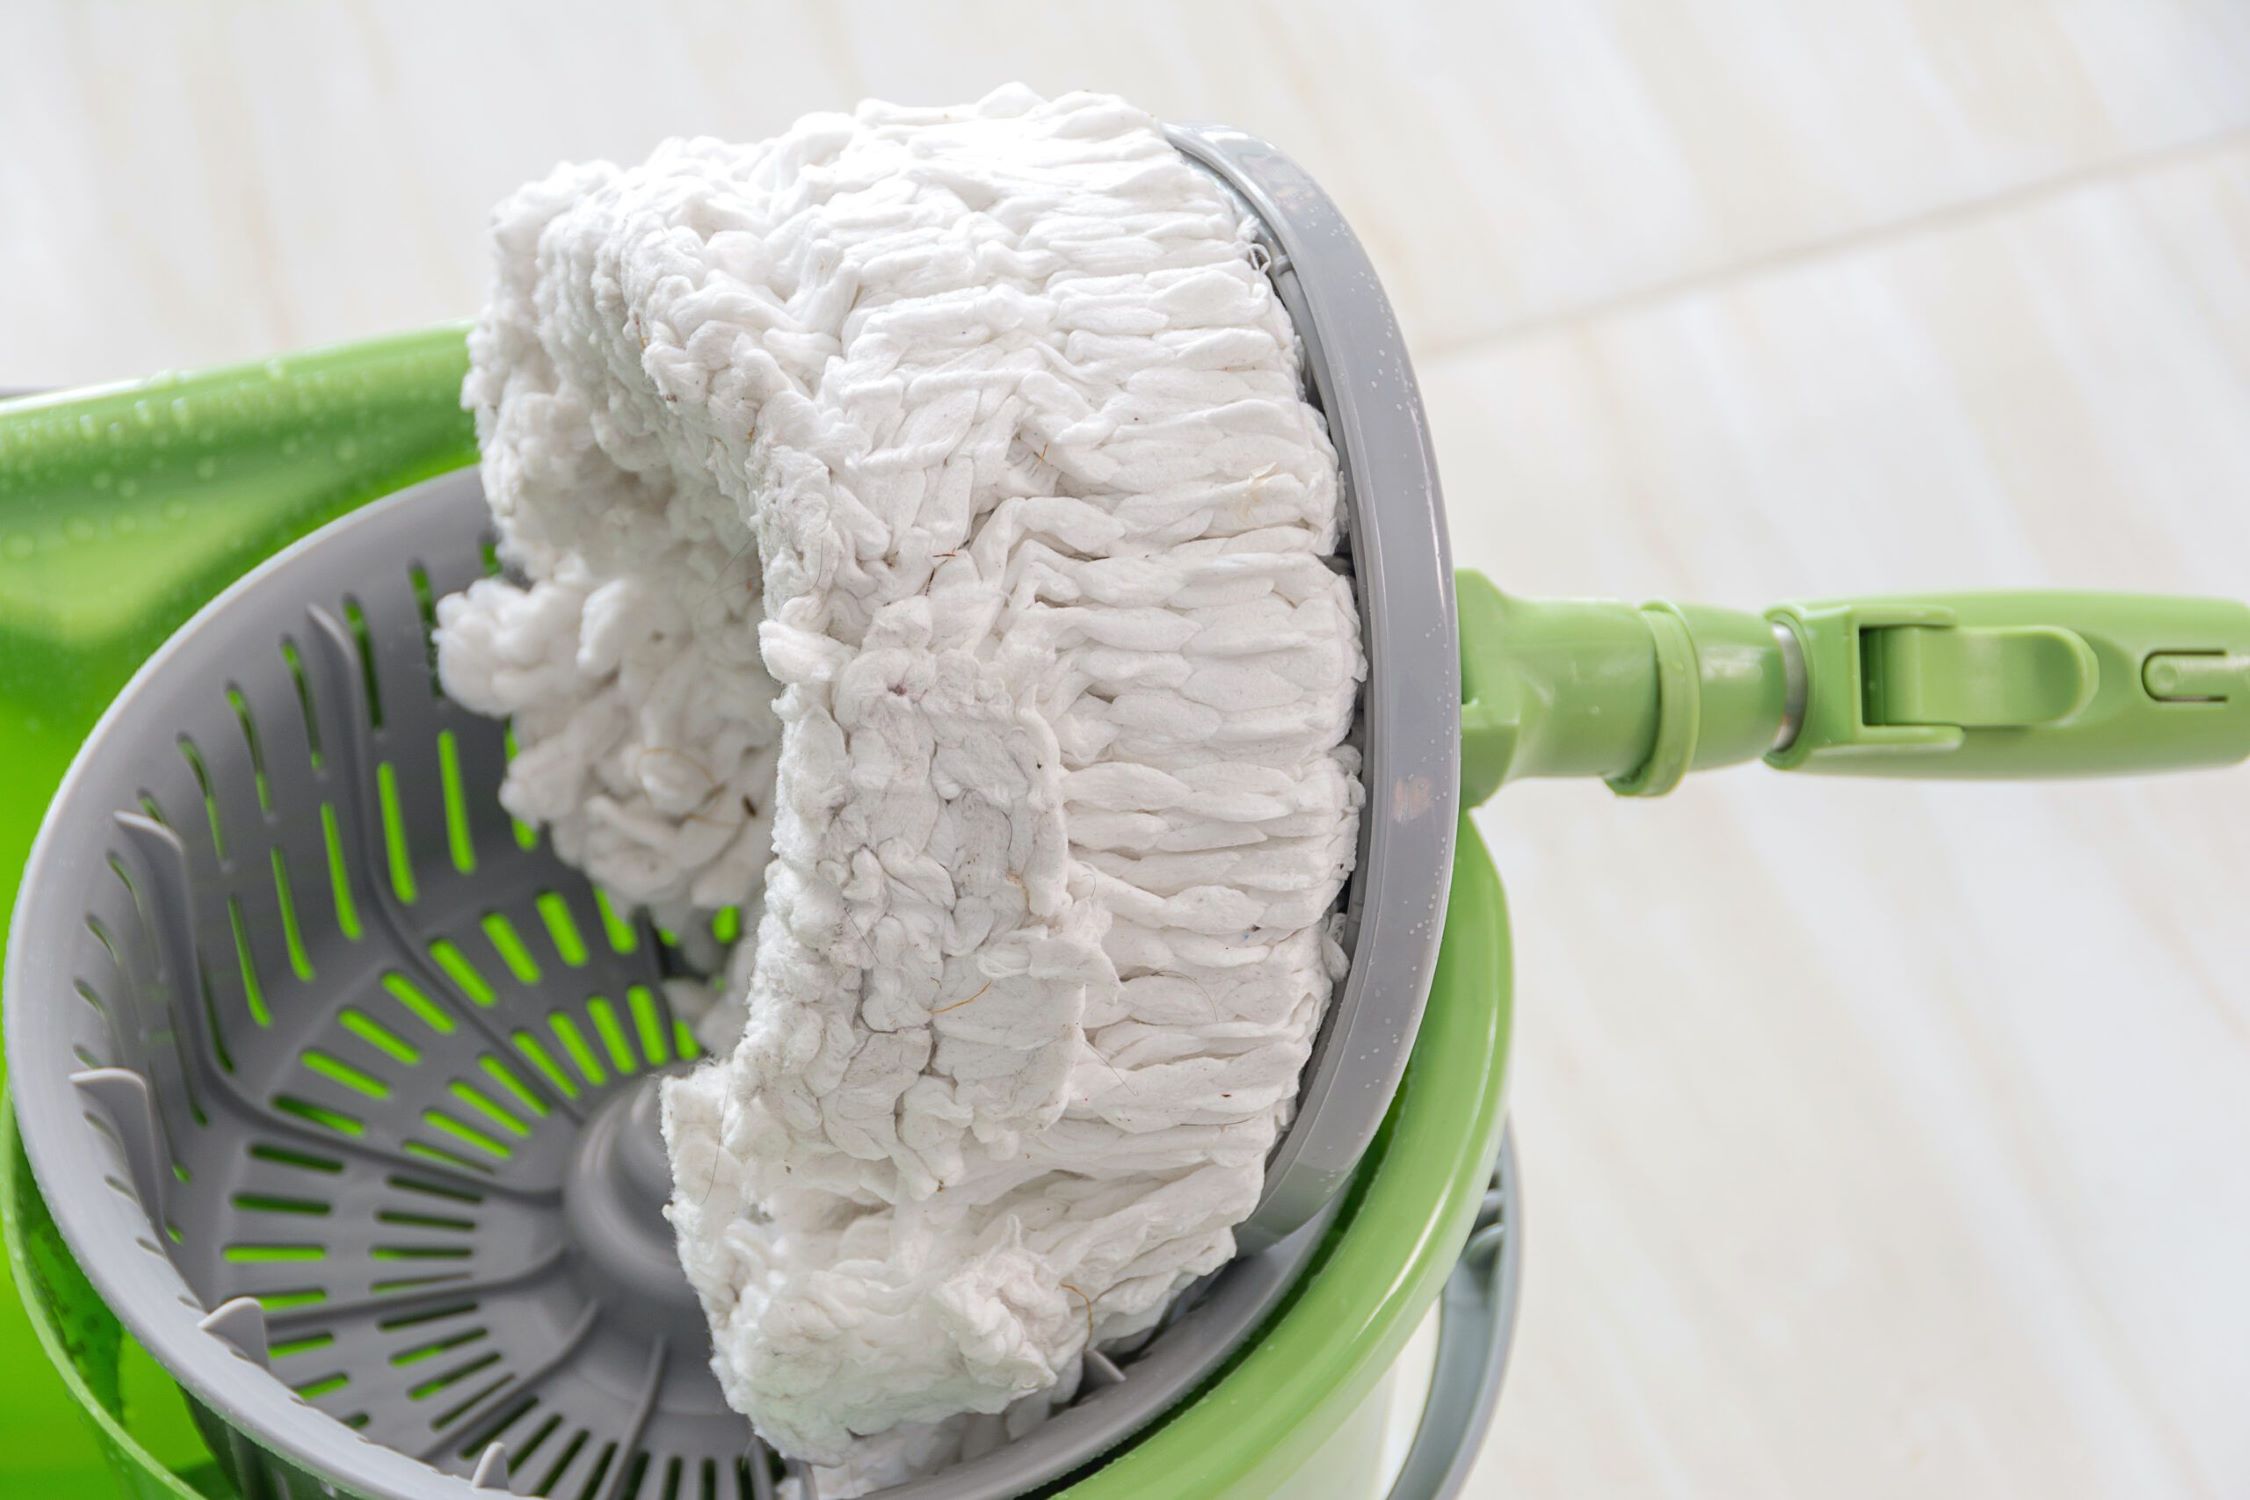
- Rinse Thoroughly: After washing, thoroughly rinse the mop head to remove any soap residue. If hand washing, you may need to rinse and wring out the mop head multiple times until the water runs clear, indicating that the soap has been completely removed.
- Dry Completely: Once clean, allow the mop head to air dry completely. Hang it outdoors on a clothesline or drying rack, or lay it flat on a clean surface. Ensure that it is fully dry before moving on to the next step to prevent mildew or musty odors from developing.
By following these cleaning steps, you can effectively remove dirt and grime from your mop head, leaving it fresh and ready for the next stage of repair or use. A clean mop head not only improves its cleaning performance but also contributes to a hygienic cleaning environment in your home.
To fix a mop head, try soaking it in a mixture of hot water and vinegar to remove any buildup. Then, comb through the strands to remove any tangles and let it air dry completely before using it again.
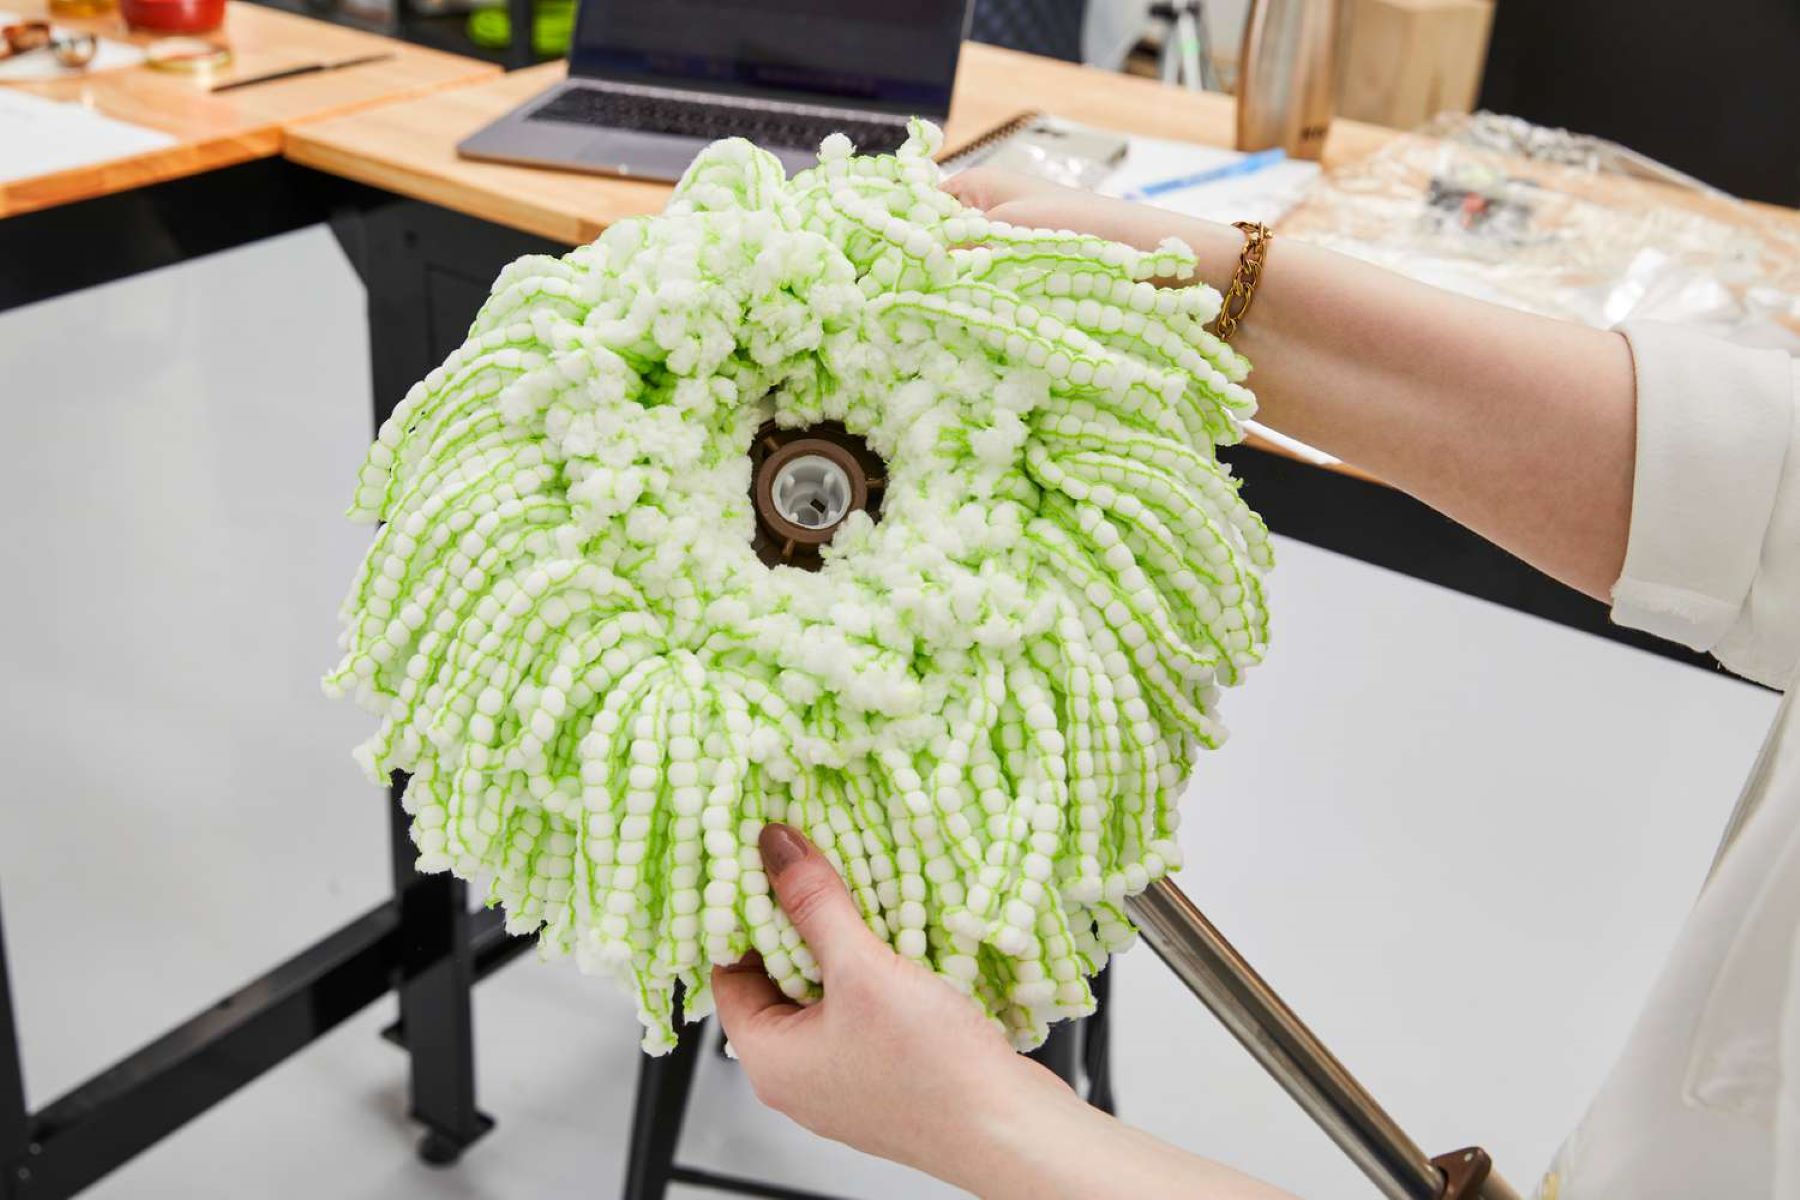
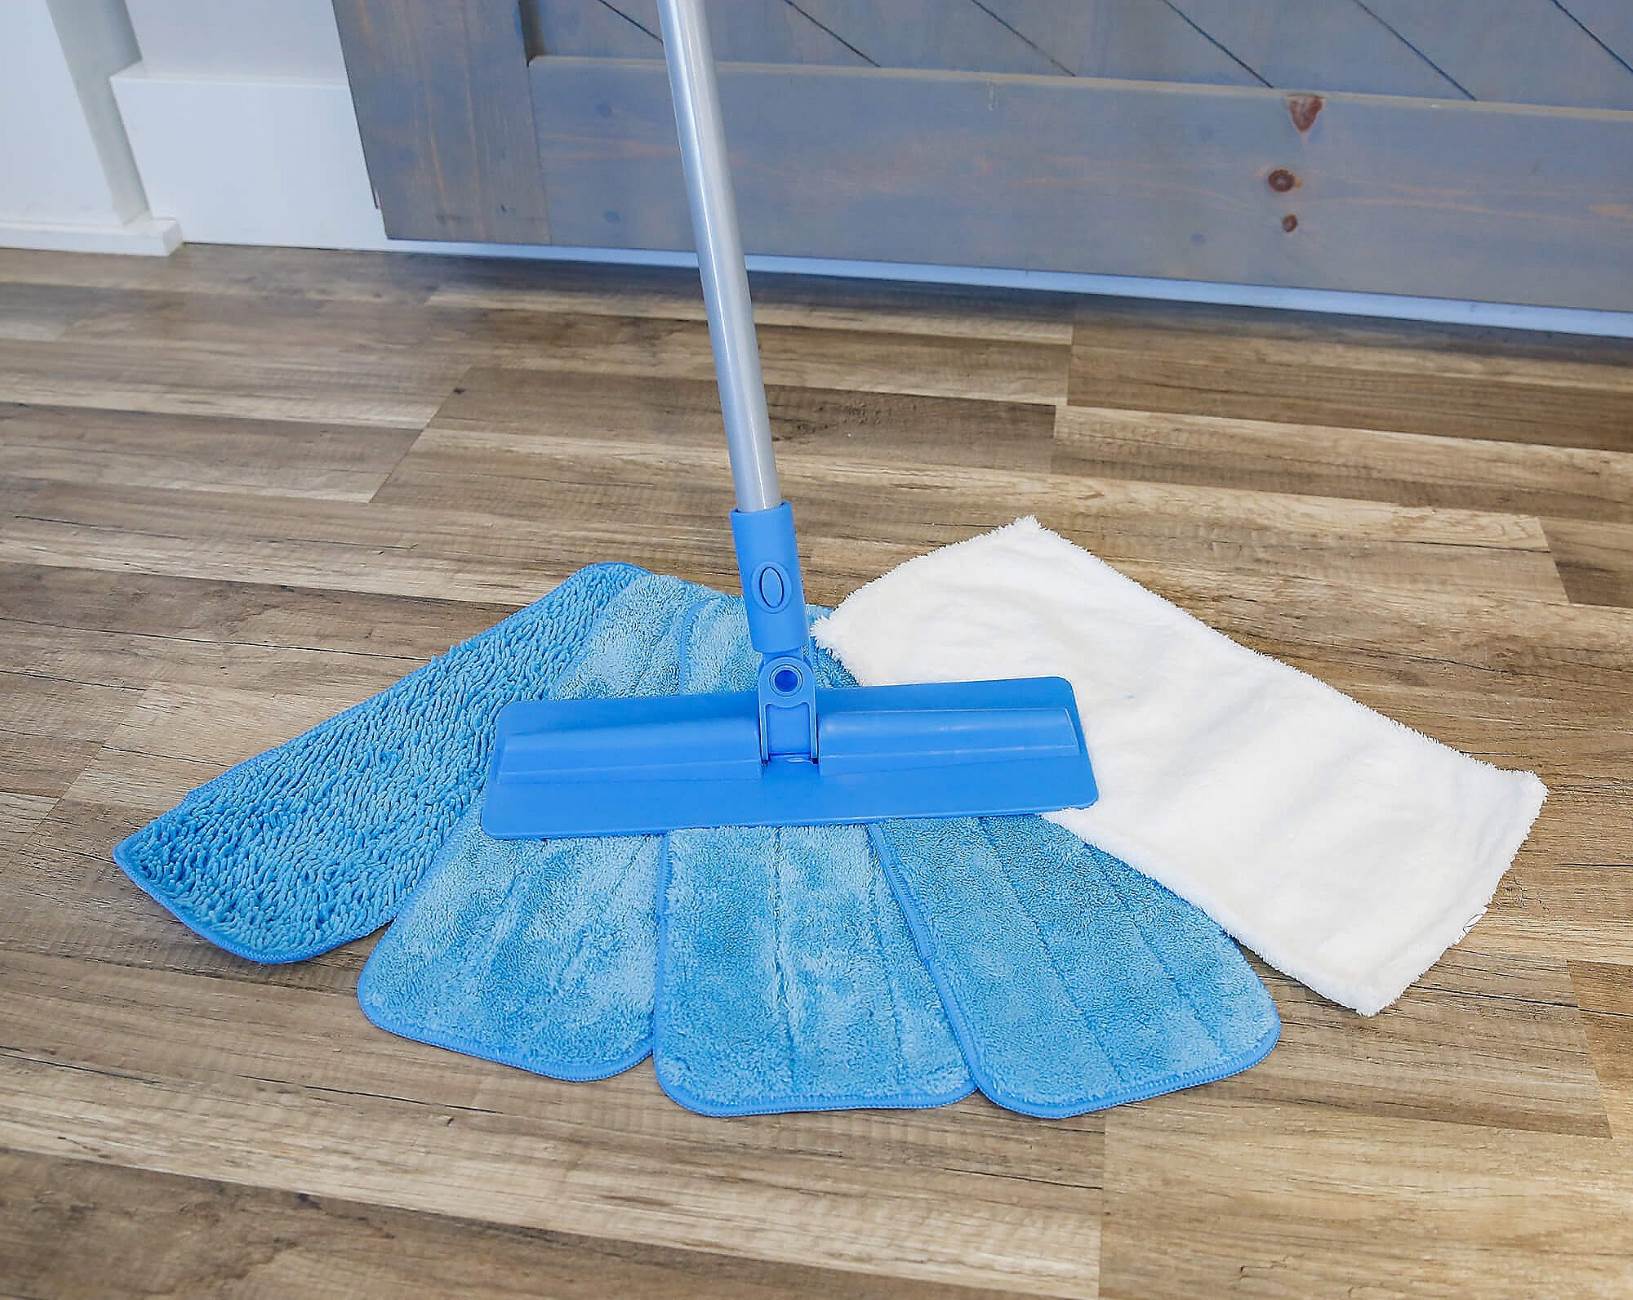
Step 3: Repair or Replace the Mop Head
Once your mop head is clean and dry, it’s time to assess its condition and determine whether it can be repaired or if it’s time for a replacement. Repairing the mop head can help extend its lifespan and save you money, but sometimes a replacement may be necessary for optimal cleaning performance. Here’s how to decide whether to repair or replace the mop head:
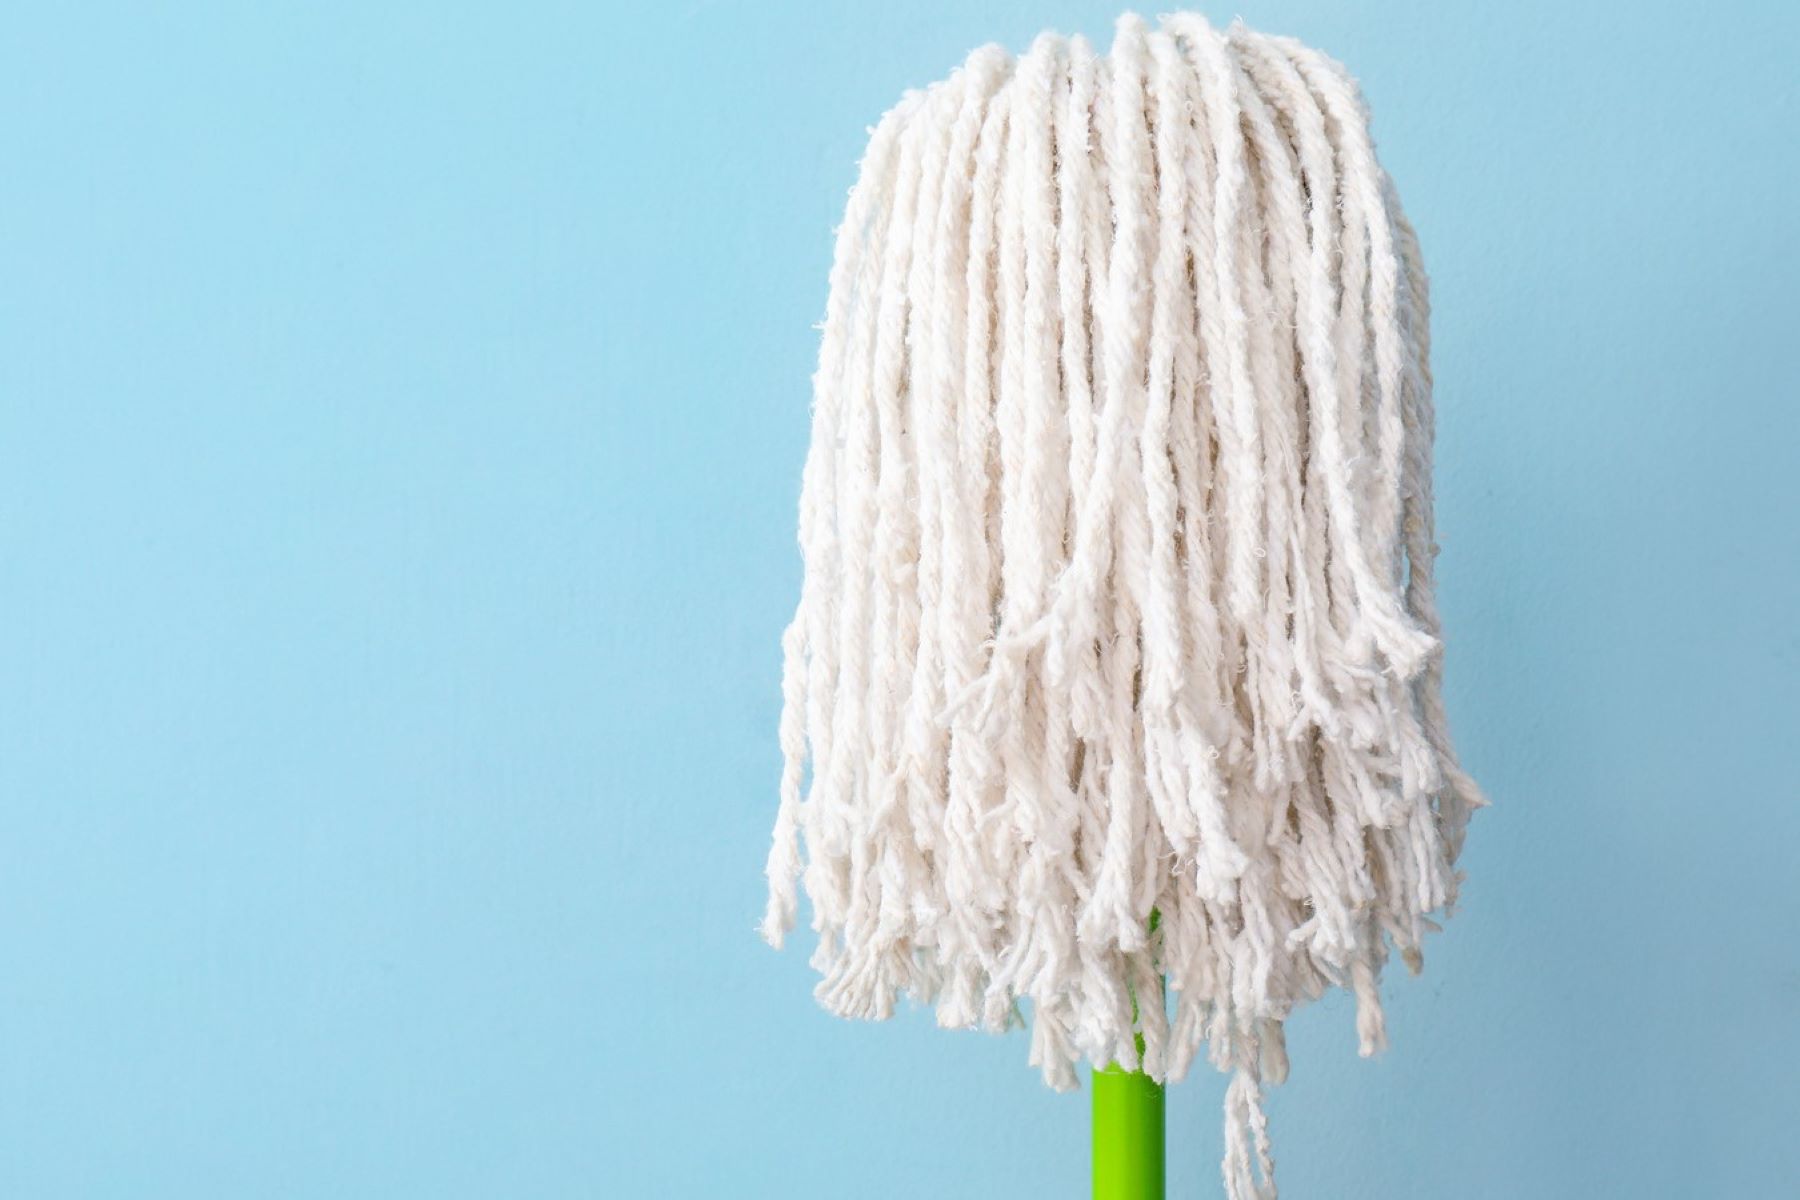
- Inspect for Damage: Carefully examine the mop head for signs of wear, tear, or damage. Look for frayed strands, holes, or excessive matting that may affect its ability to clean effectively. If the damage is minimal and localized, it may be possible to repair the mop head.
- Repair Options: If the mop head has minor damage, such as loose strands or small tears, you can consider repairing it. Use a needle and thread to sew up any small tears or reinforce loose strands to prevent further unraveling. For microfiber mop heads, a small amount of fabric glue can help secure loose fibers in place.
- Consider Replacement: If the mop head shows extensive damage, such as large tears, significant matting, or an overall diminished cleaning ability, it may be time to replace it. Additionally, if the mop head has reached the end of its lifespan and shows signs of excessive wear, a replacement may be the best option for maintaining efficient cleaning results.
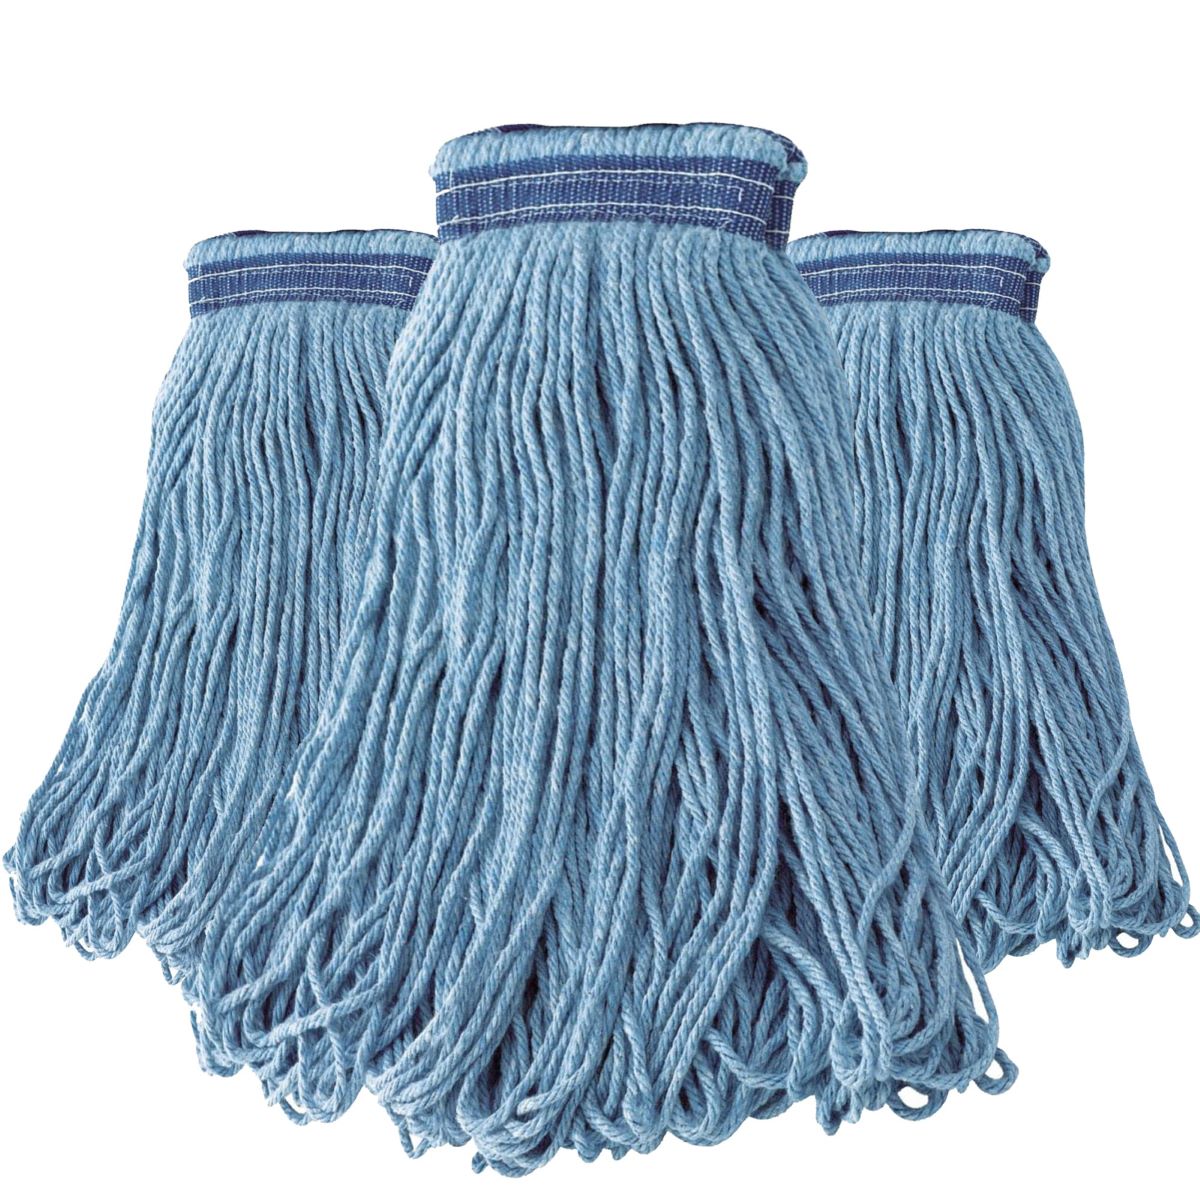
- Material-Specific Considerations: Different mop head materials may have specific considerations for repair or replacement. For example, cotton mop heads may be more prone to wear and tear over time, while microfiber mop heads may have different repair options due to their unique composition.
By carefully assessing the condition of the mop head and considering repair options, you can make an informed decision on whether to repair or replace it. Choosing the right course of action will help ensure that your mop continues to deliver effective cleaning results and contributes to a healthy, hygienic home environment.
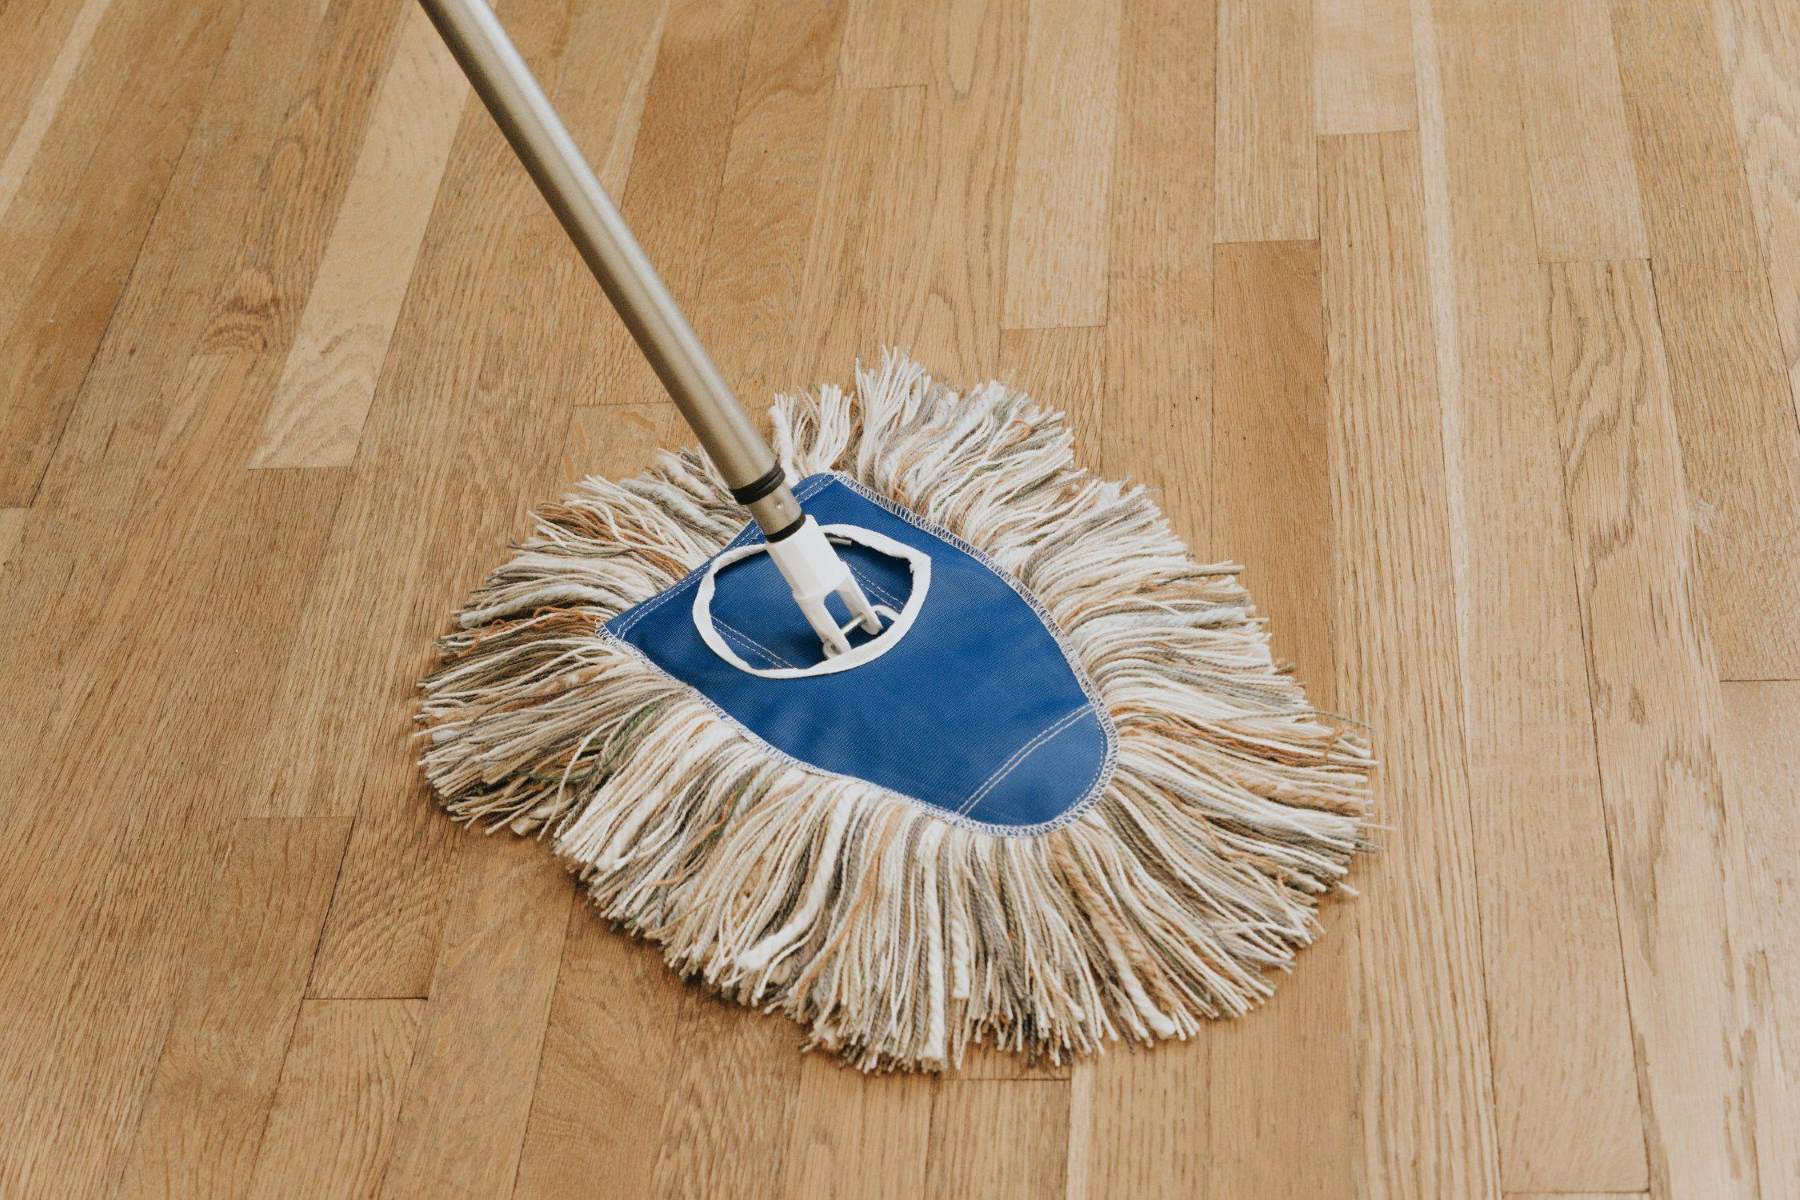
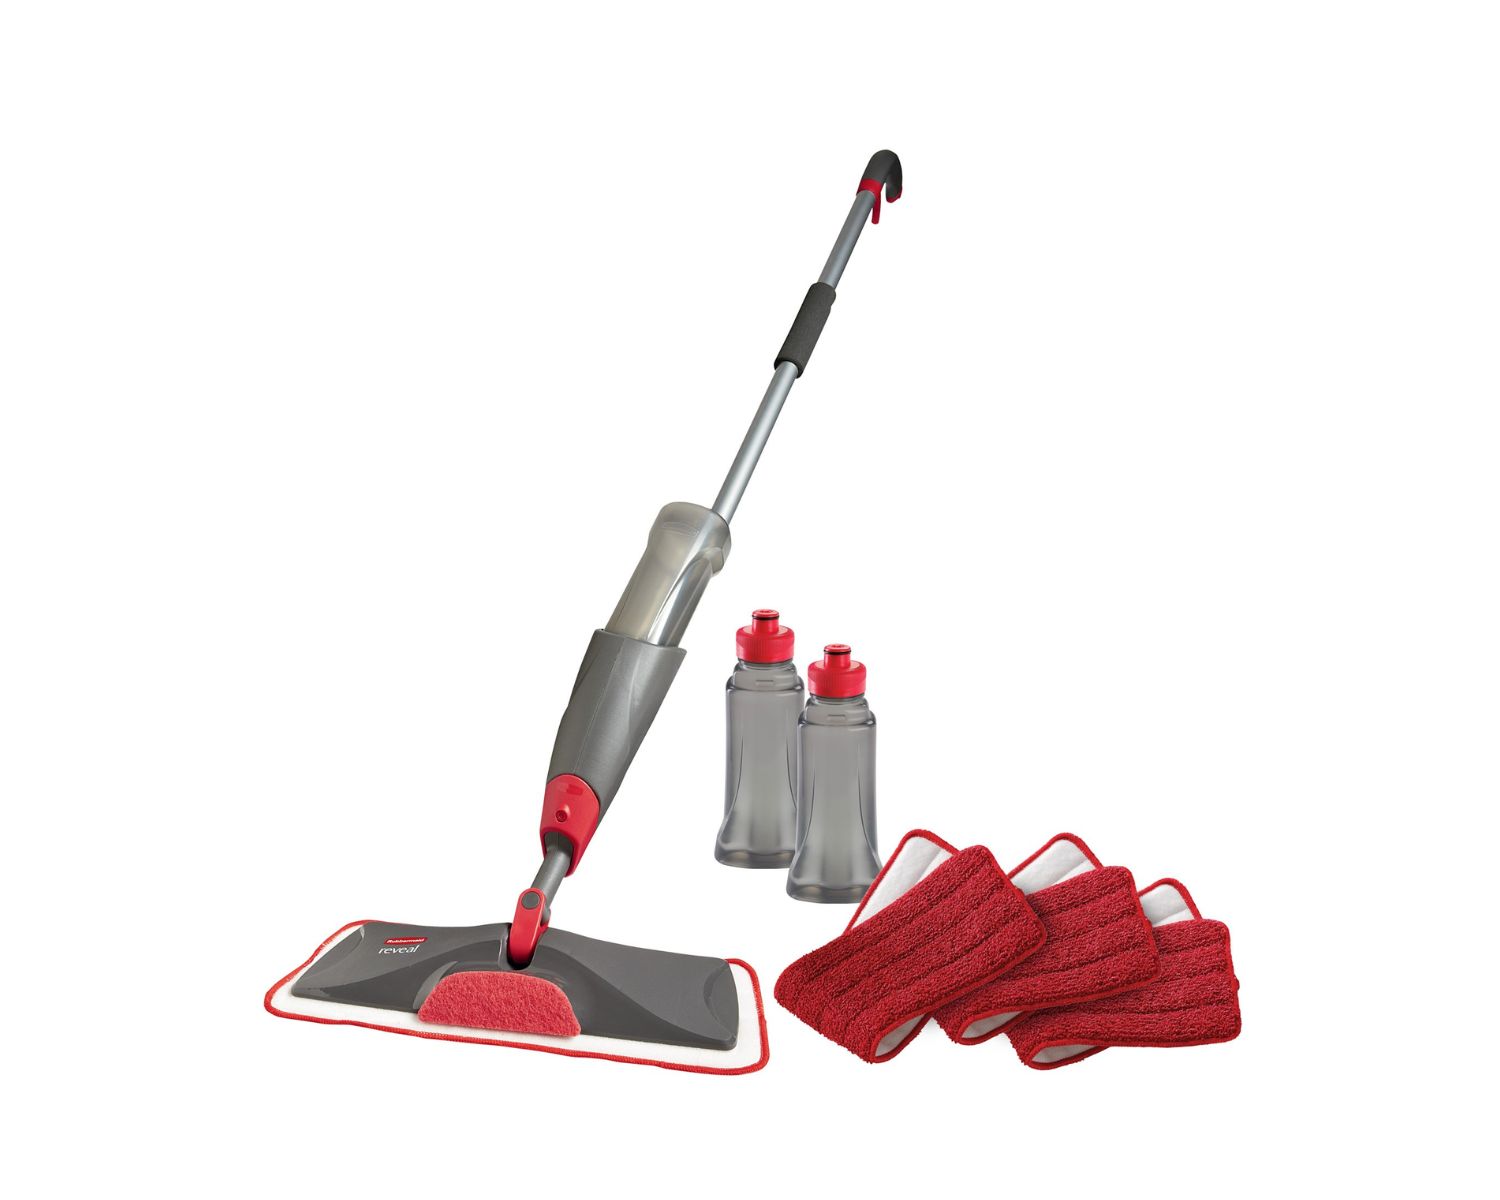
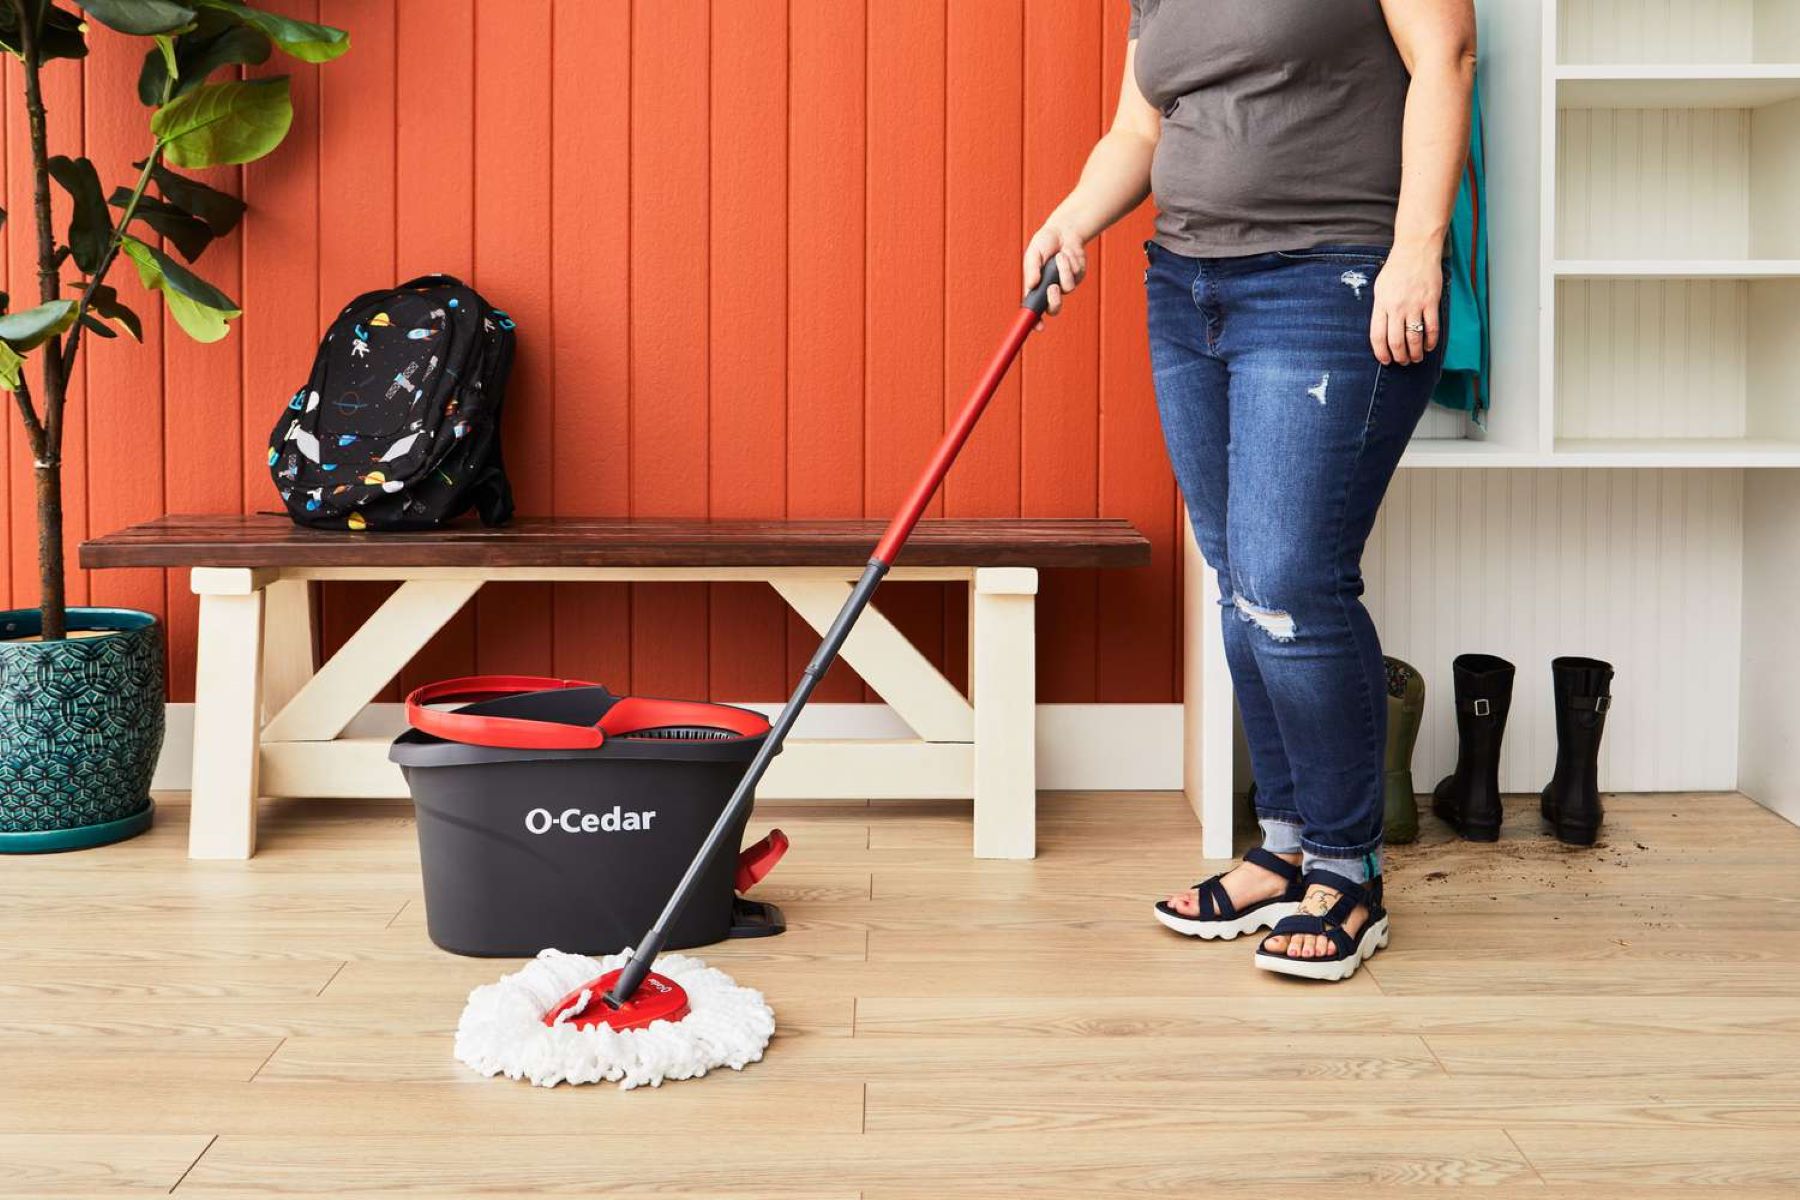
Step 4: Reattach the Mop Head
After cleaning and repairing or replacing the mop head, the final step is to reattach it to the mop handle. Properly securing the mop head ensures that it remains stable during use and allows you to resume your cleaning tasks with ease. Here’s how to reattach the mop head to the handle:
- Align the Attachment Mechanism: If your mop uses a screw-on, clip-on, or sliding mechanism to attach the mop head, ensure that the attachment mechanism on the mop head aligns with the corresponding part on the handle. This alignment is crucial for a secure and stable connection.
- Secure the Mop Head: Follow the specific instructions for securing the mop head to the handle based on the type of attachment mechanism. For screw-on attachments, tighten the screw securely to hold the mop head in place. If using a clip-on mechanism, ensure that the clips snap into position firmly. For sliding attachments, slide the mop head onto the handle until it locks into place.
- Test for Stability: Once the mop head is attached, give it a gentle tug or shake to ensure that it is securely fastened to the handle. A stable attachment prevents the mop head from coming loose during use, allowing you to clean your floors efficiently.
- Adjust as Needed: If the mop head feels loose or unstable, double-check the attachment to ensure it is properly secured. Make any necessary adjustments to achieve a tight and stable connection between the mop head and the handle.
By following these steps, you can successfully reattach the mop head to the handle, preparing it for use in your cleaning routine. A securely attached mop head ensures that you can maneuver the mop with confidence and achieve optimal cleaning results on your floors.
Read more: How To Change Mop Head On Spin Mop
Conclusion
Learning how to fix a mop head is a valuable skill that can help you maintain a clean and healthy home environment while prolonging the life of your cleaning tools. By following the steps outlined in this guide, you can effectively revive your mop head, address any cleaning performance issues, and ensure that it remains a reliable tool for keeping your floors spotless.
From removing the mop head and giving it a thorough cleaning to assessing its condition for repair or replacement, each step plays a crucial role in revitalizing your mop head and preparing it for continued use. By taking the time to care for your mop head, you can save money on frequent replacements and contribute to a more sustainable approach to household cleaning.
Remember to follow any specific care instructions provided by the manufacturer for your particular mop head, as different materials may require tailored cleaning and maintenance methods. Additionally, regular maintenance and cleaning of your mop head can help prevent the buildup of bacteria, odors, and dirt, ensuring that it remains an effective tool for maintaining clean floors in your home.
With a revitalized and well-maintained mop head, you can approach your cleaning tasks with confidence, knowing that you have a reliable tool to help you achieve sparkling, pristine floors. So, roll up your sleeves, follow these steps, and give your mop head the care it deserves for a cleaner, healthier home.
Frequently Asked Questions about How To Fix A Mop Head
Was this page helpful?
At Storables.com, we guarantee accurate and reliable information. Our content, validated by Expert Board Contributors, is crafted following stringent Editorial Policies. We're committed to providing you with well-researched, expert-backed insights for all your informational needs.

0 thoughts on “How To Fix A Mop Head”