Home>Home Appliances>Home Automation Appliances>Why Isn’t My Thermostat Turning On
Home Automation Appliances
Why Isn’t My Thermostat Turning On
Modified: January 9, 2024
Discover common reasons why your home automation appliances, like thermostats, may not be turning on. Learn troubleshooting tips to resolve the issue.
(Many of the links in this article redirect to a specific reviewed product. Your purchase of these products through affiliate links helps to generate commission for Storables.com, at no extra cost. Learn more)
Introduction
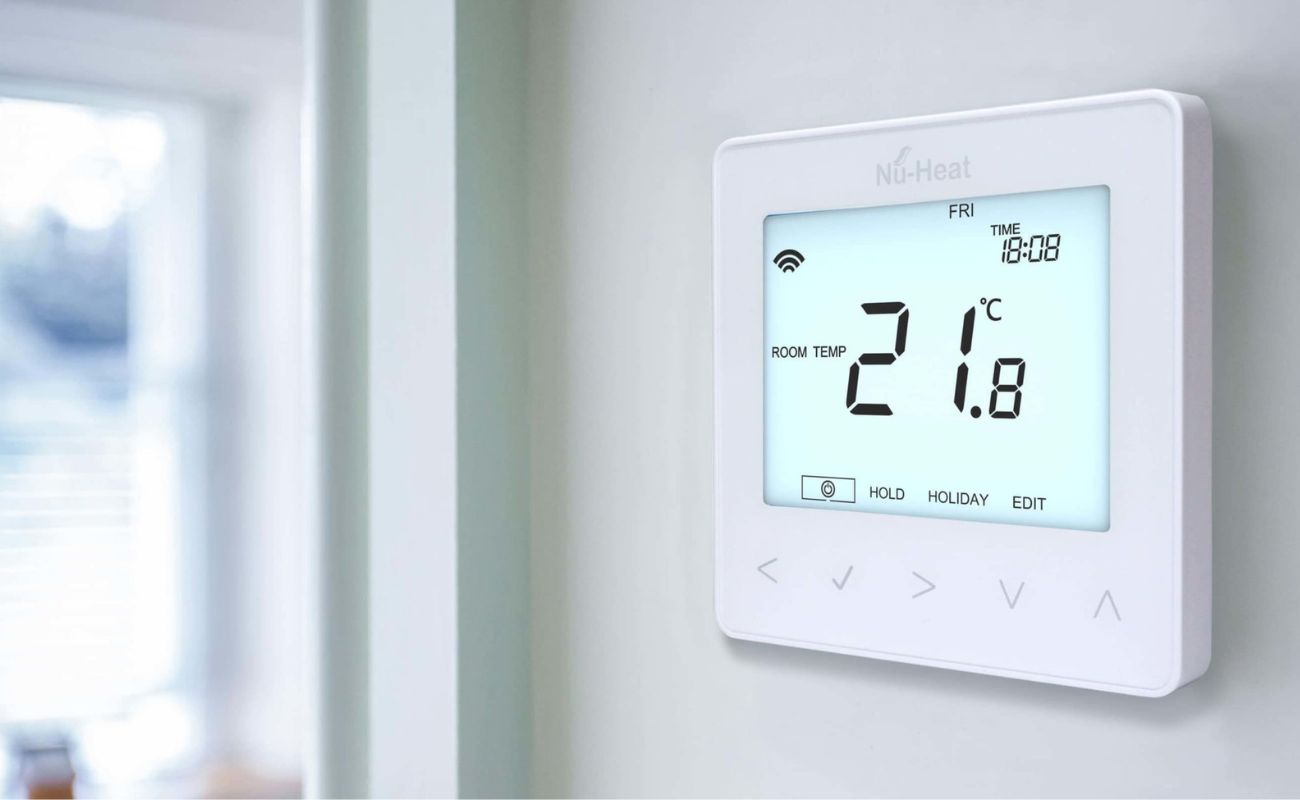
So, your thermostat isn't turning on, and you're left wondering what could be causing this inconvenience. A malfunctioning thermostat can disrupt your home's comfort and lead to potential temperature issues. Before you start to worry, let's explore some common reasons why your thermostat might not be turning on and discuss potential solutions to get it back up and running smoothly.
A thermostat serves as the command center for your heating, ventilation, and air conditioning (HVAC) system. It's the device that allows you to set and adjust the desired temperature in your home, ensuring a comfortable environment regardless of the weather outside. When it fails to function properly, it can be frustrating and disruptive.
In this comprehensive guide, we'll delve into the potential causes of a non-responsive thermostat, offering troubleshooting tips and insights to help you identify and resolve the issue. From checking the power source to examining the wiring and assessing the location of the thermostat, we'll cover various aspects to help you regain control over your home's climate control system.
So, if you're ready to unravel the mystery behind your unresponsive thermostat and reclaim a cozy, well-regulated indoor atmosphere, let's dive into the troubleshooting process together. By the end of this guide, you'll be equipped with the knowledge and confidence to address the issue and restore functionality to your thermostat. Let's get started!
Key Takeaways:
- Troubleshooting your thermostat involves checking power, settings, wiring, HVAC system, and location to restore functionality and maintain a comfortable home environment.
- By following the troubleshooting steps and seeking professional help when needed, you can ensure your thermostat operates smoothly, providing a cozy and inviting atmosphere in your home.
Read more: Why Does My Thermostat Turn Off
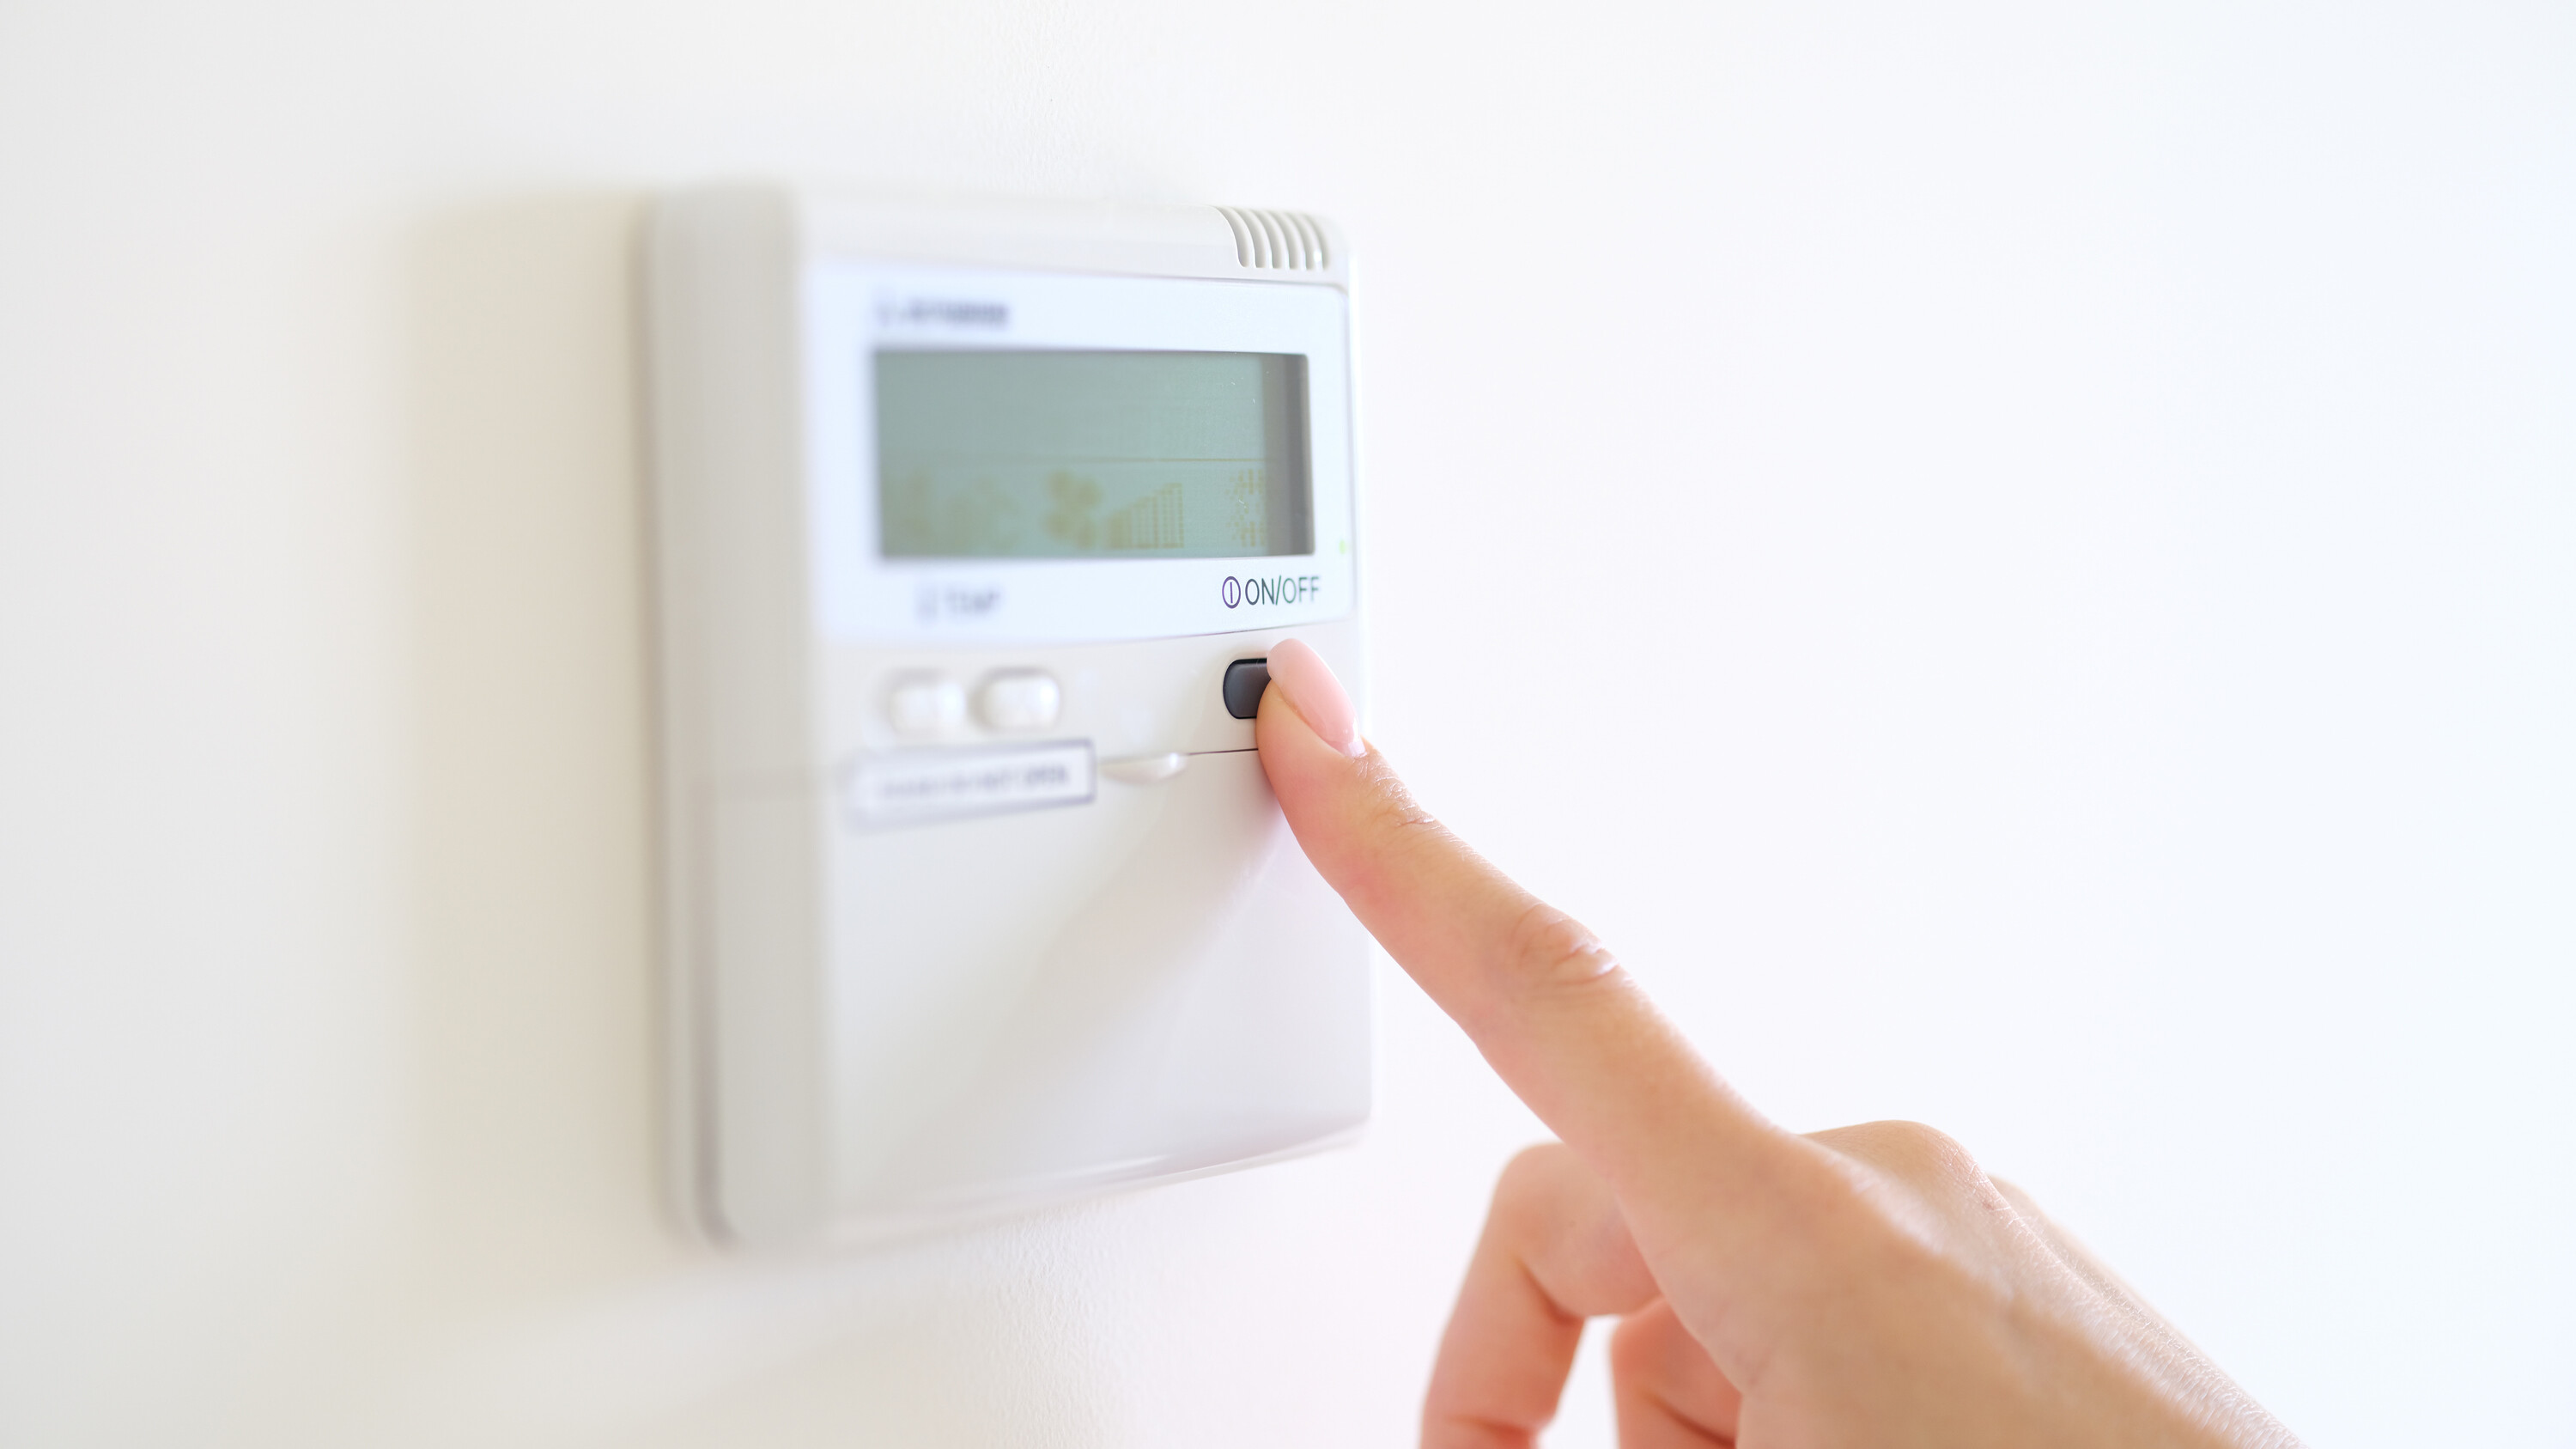
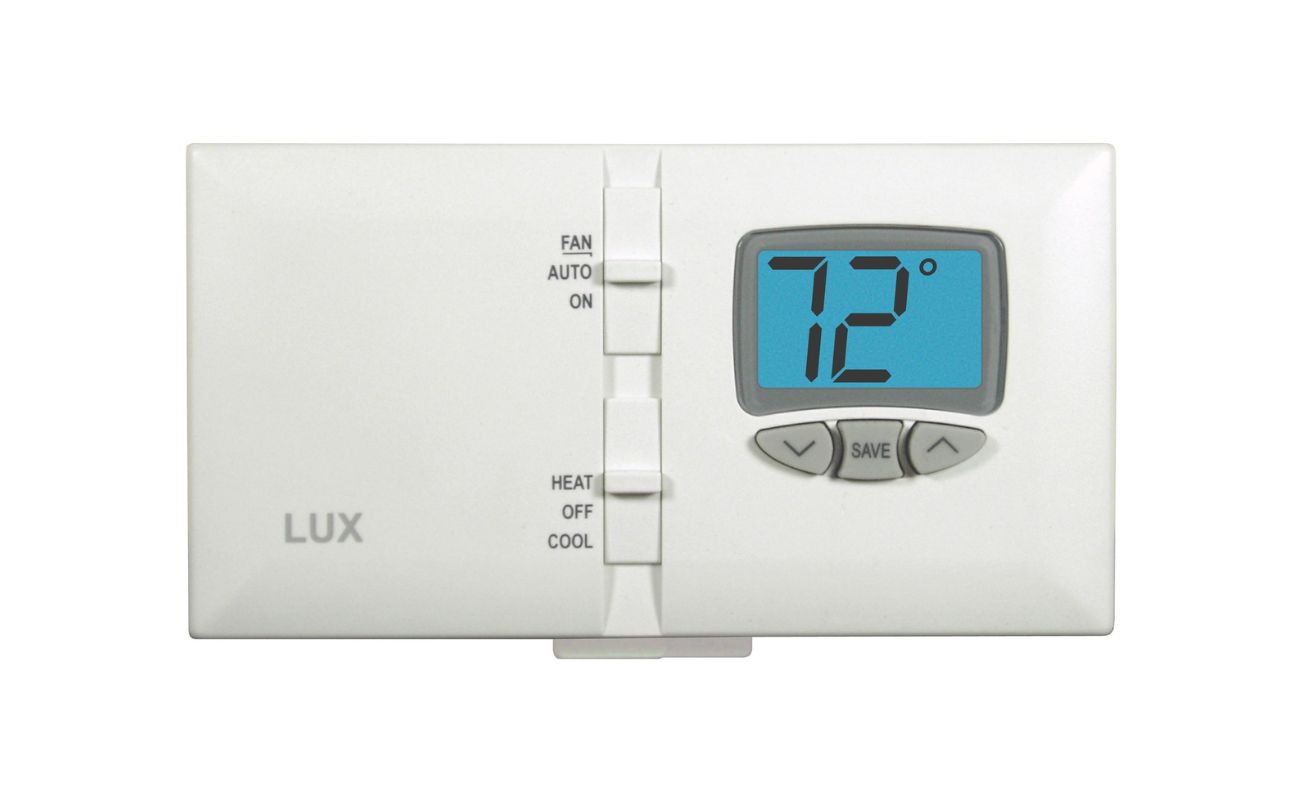
Check the Power Source
When your thermostat refuses to turn on, the first step is to verify that it’s receiving power. Start by checking the display to see if it’s completely blank or showing any error messages. If the display is blank, it’s a strong indicator that the thermostat is not receiving power. Here are some essential steps to troubleshoot the power source:
- Check the Circuit Breaker: Locate your home’s circuit breaker panel and inspect the breaker corresponding to the HVAC system. Sometimes, a tripped breaker can cut off power to the thermostat, causing it to become unresponsive. If you find a tripped breaker, reset it and observe if the thermostat powers up.
- Inspect the Fuse: If your HVAC system is equipped with a fuse, check if it has blown. A blown fuse can disrupt the power supply to the thermostat, rendering it inoperable. Replace the fuse if necessary and monitor the thermostat for any signs of power restoration.
- Verify the Power Switch: Ensure that the power switch for your HVAC system is turned on. This switch is typically located near the indoor unit and resembles a regular light switch. If it’s turned off, flipping it on may restore power to the thermostat.
- Test the Power Supply: Using a multimeter, you can test the voltage at the thermostat’s wiring connections to determine if it’s receiving the proper power supply. If the voltage readings are abnormal or nonexistent, it could indicate a wiring issue or a faulty power source.
By systematically examining the power source and addressing any issues that arise, you can eliminate power-related problems as the cause of your thermostat’s malfunction. Once you’ve ruled out power supply issues, it’s time to move on to the next troubleshooting steps to uncover the root of the problem.
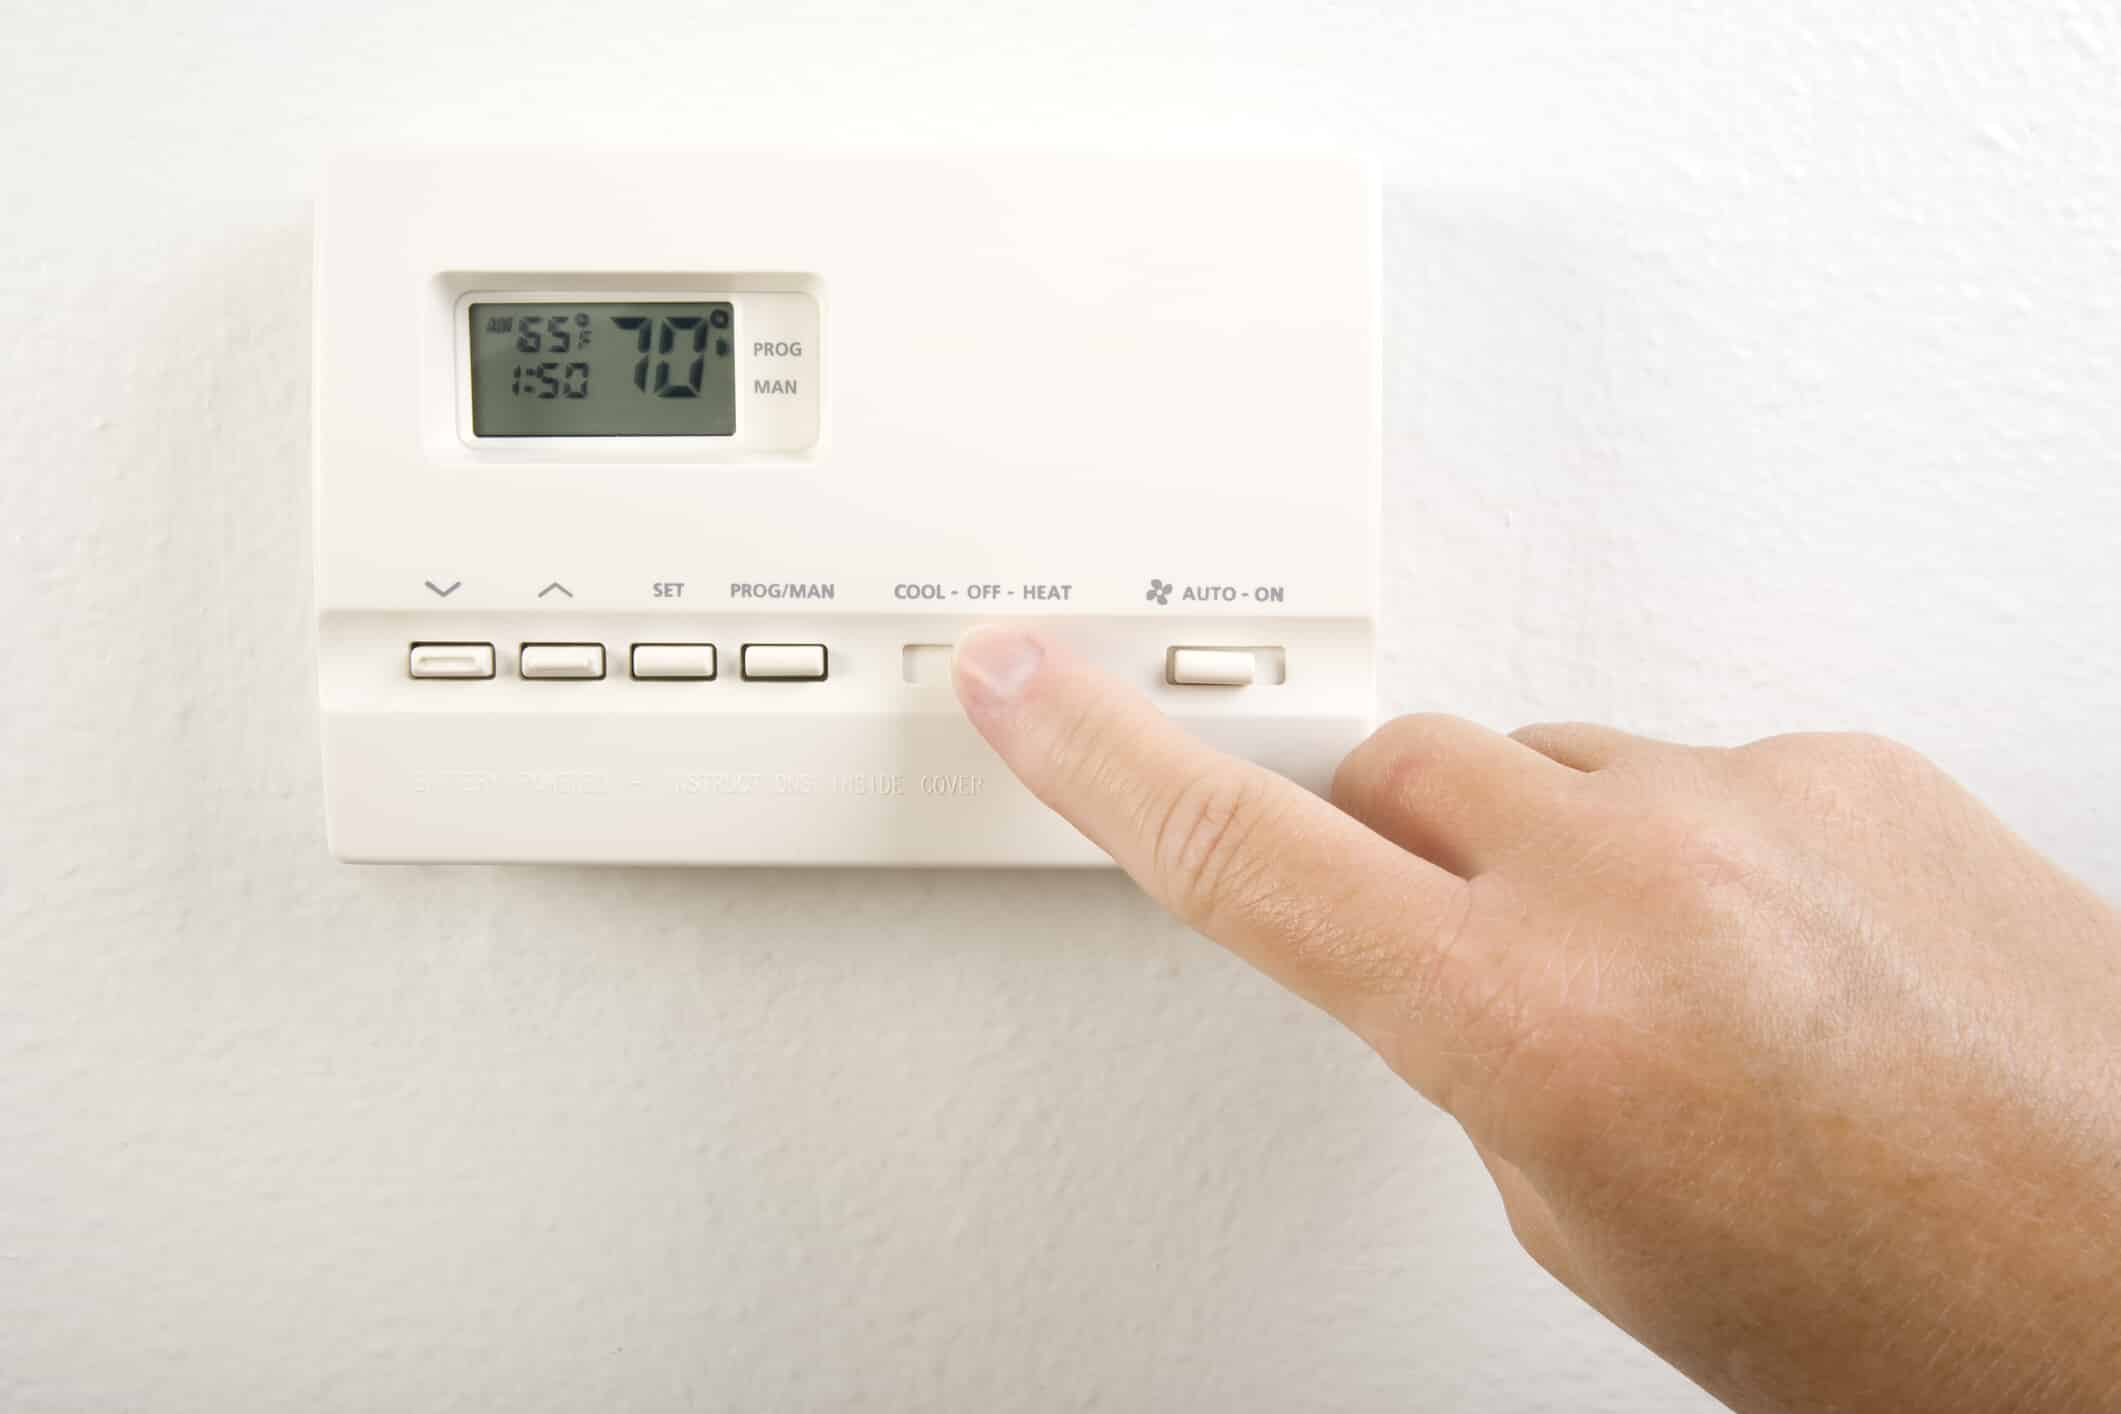
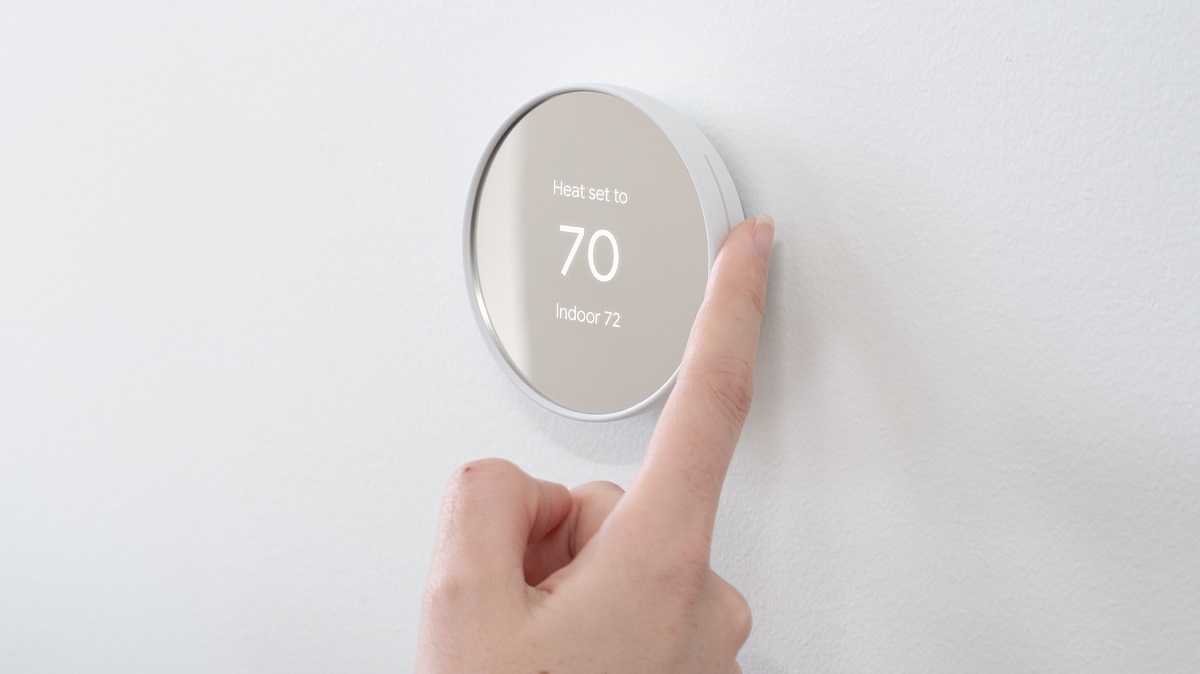
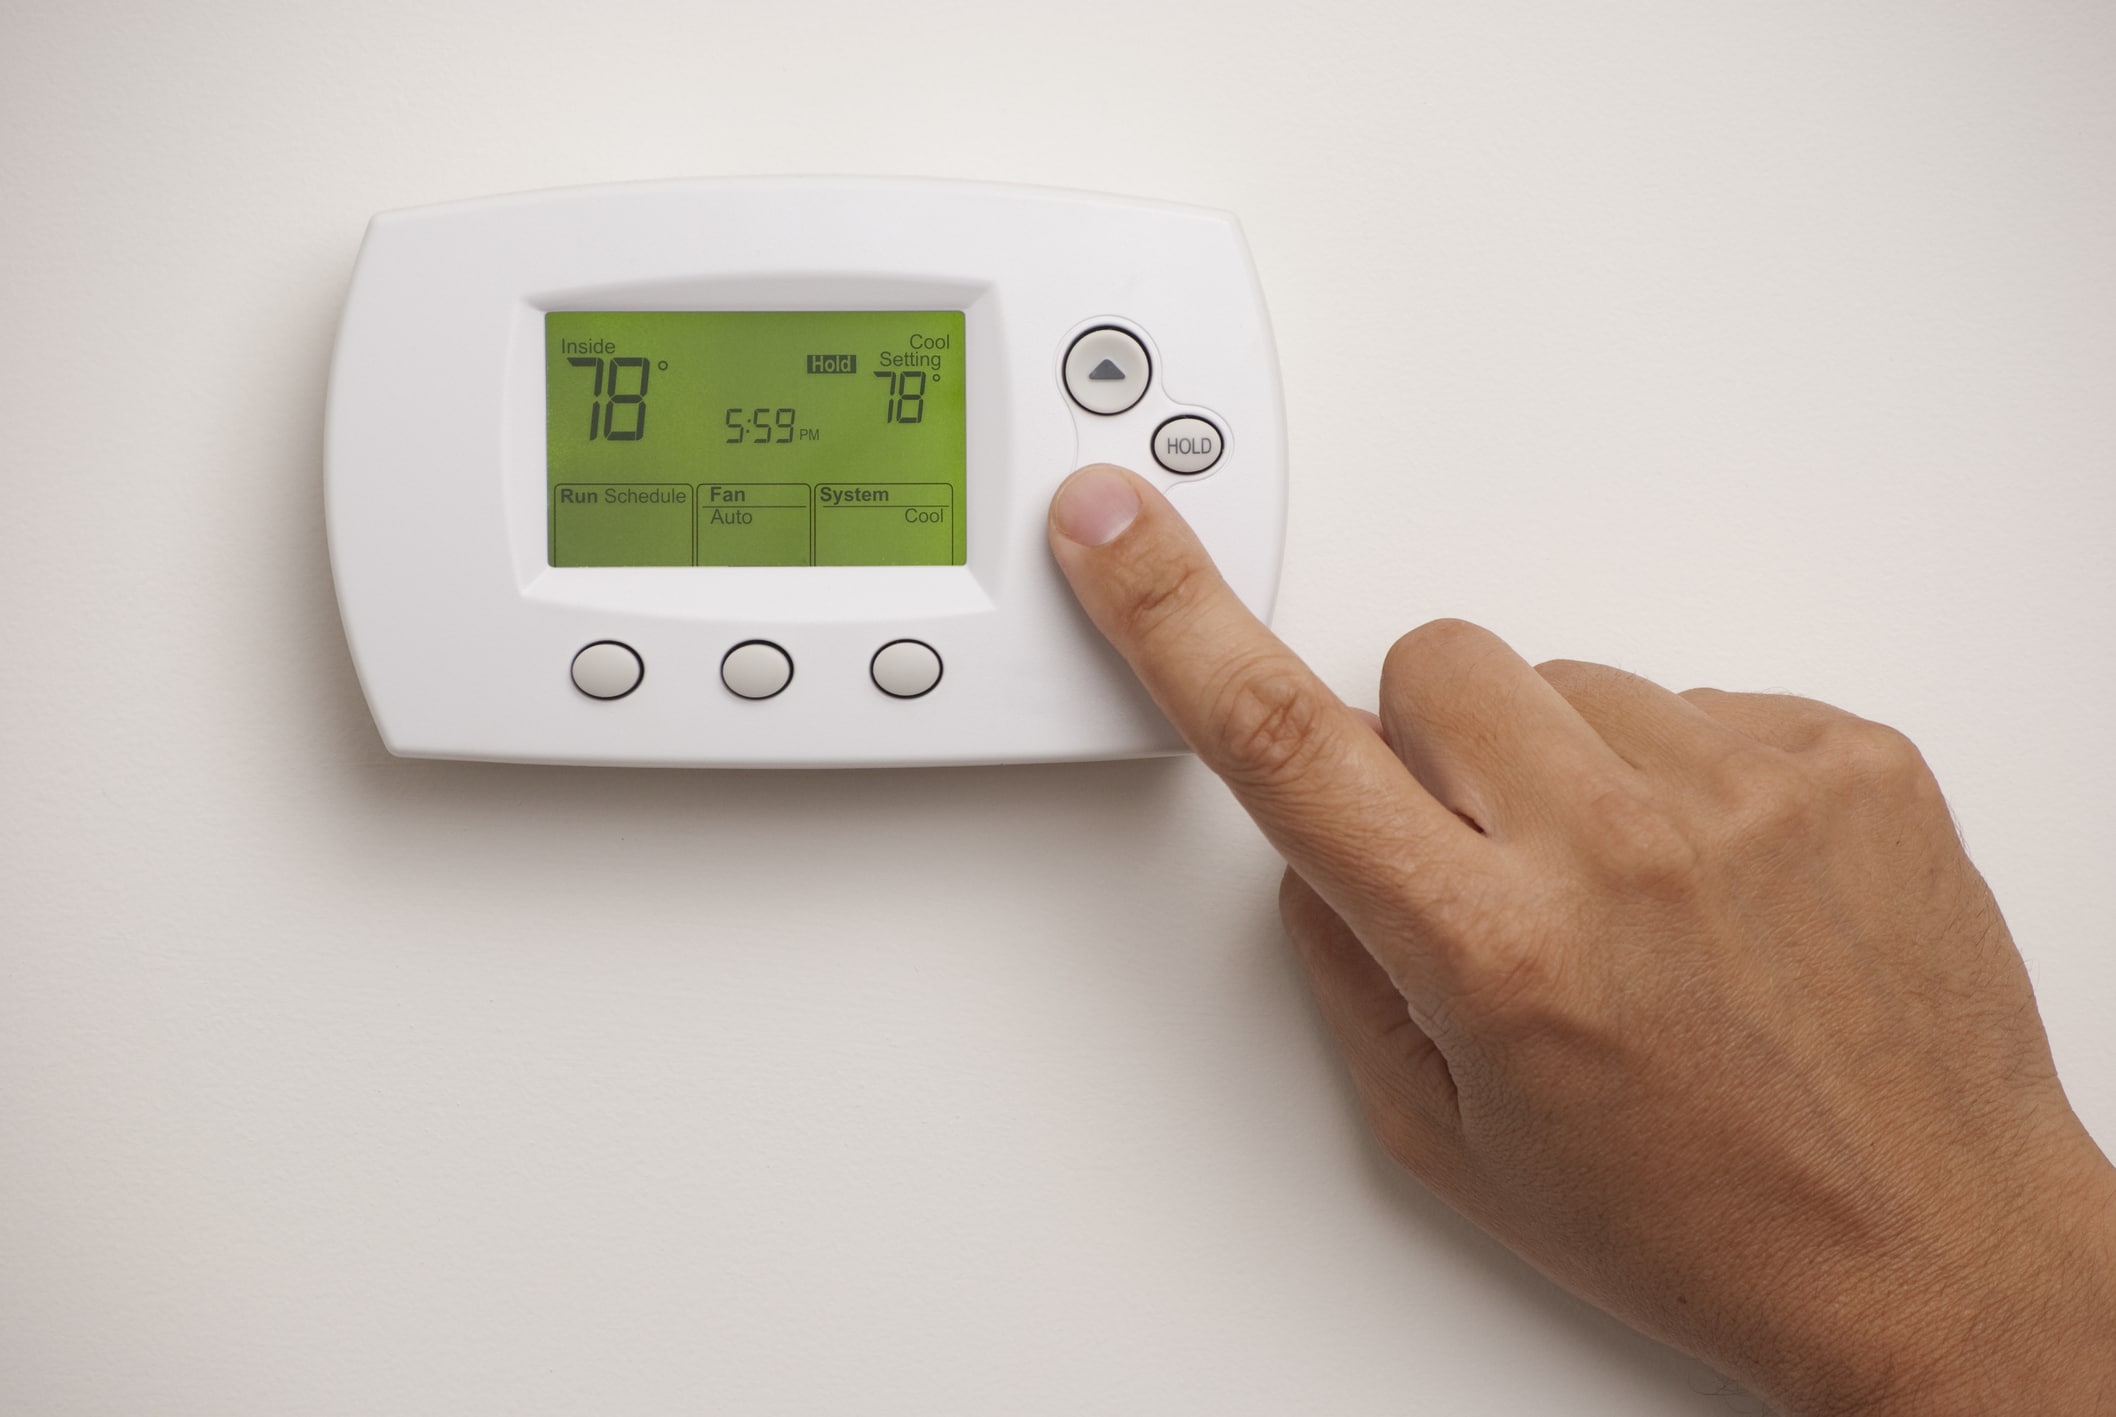
Inspect the Thermostat Settings
After confirming that the power source is not the culprit behind your unresponsive thermostat, the next step is to inspect the thermostat settings. Even a minor misconfiguration or overlooked setting can lead to operational issues. Here’s how you can delve into the thermostat settings to identify and resolve potential issues:
- Check the Mode: Ensure that the thermostat is set to the appropriate mode, whether it’s heating, cooling, or the fan-only mode. Sometimes, accidental mode changes can occur, causing the system to remain inactive when it should be running.
- Verify the Temperature Setting: Double-check the temperature setting to see if it aligns with your comfort preferences. If the set temperature is too high or too low, the HVAC system may not engage, leading to a lack of heating or cooling in your home.
- Inspect the Schedule: If your thermostat operates on a programmed schedule, review the programmed settings to ensure that they reflect your current needs. A conflicting or outdated schedule can prevent the system from activating at the desired times.
- Reset the Thermostat: Consider performing a soft or hard reset on the thermostat to clear any potential glitches or software malfunctions. Refer to the manufacturer’s instructions for the specific reset procedures applicable to your thermostat model.
By meticulously examining the thermostat settings and making necessary adjustments, you can eliminate the possibility of configuration errors causing the unresponsiveness of your thermostat. Once you’ve verified the settings, it’s time to move on to the next troubleshooting steps to further diagnose and resolve the issue.
Examine the Wiring
When troubleshooting an unresponsive thermostat, it’s crucial to inspect the wiring connecting the thermostat to the HVAC system. Faulty or damaged wiring can impede the communication between the thermostat and the heating or cooling equipment, resulting in operational issues. Here’s how you can methodically examine the wiring to identify and address potential issues:
- Turn Off the Power: Before inspecting the wiring, turn off the power to your HVAC system at the circuit breaker to ensure safety during the process. This precautionary measure prevents accidental electrical shocks or damage to the system.
- Check for Loose Connections: Carefully remove the thermostat cover and inspect the wiring connections. Look for any loose or disconnected wires and ensure they are securely fastened to their respective terminals. Loose connections can disrupt the flow of signals between the thermostat and the HVAC system.
- Assess for Damage: Examine the condition of the wiring for any signs of wear, fraying, or damage. Damaged wires can compromise the integrity of the electrical connections, leading to erratic thermostat behavior or complete unresponsiveness.
- Test the Continuity: Using a multimeter set to measure continuity, test the wiring connections to verify that there is a continuous electrical path from the thermostat to the HVAC system. Inconsistent continuity readings may indicate wiring issues that require attention.
- Inspect the HVAC System’s Wiring: Follow the wiring from the thermostat to the HVAC system, checking for any visible damage or disconnections along the route. Ensure that the wiring is properly secured and protected from potential sources of damage, such as sharp edges or excessive bending.
By carefully examining the wiring and addressing any identified issues, you can mitigate the impact of wiring-related problems on the functionality of your thermostat. Once you’ve thoroughly assessed the wiring, it’s time to proceed to the next troubleshooting steps to continue the diagnostic process.
Check the power source and make sure the thermostat is set to “heat” or “cool” mode. If the issue persists, consider replacing the batteries or calling a professional for further assistance.
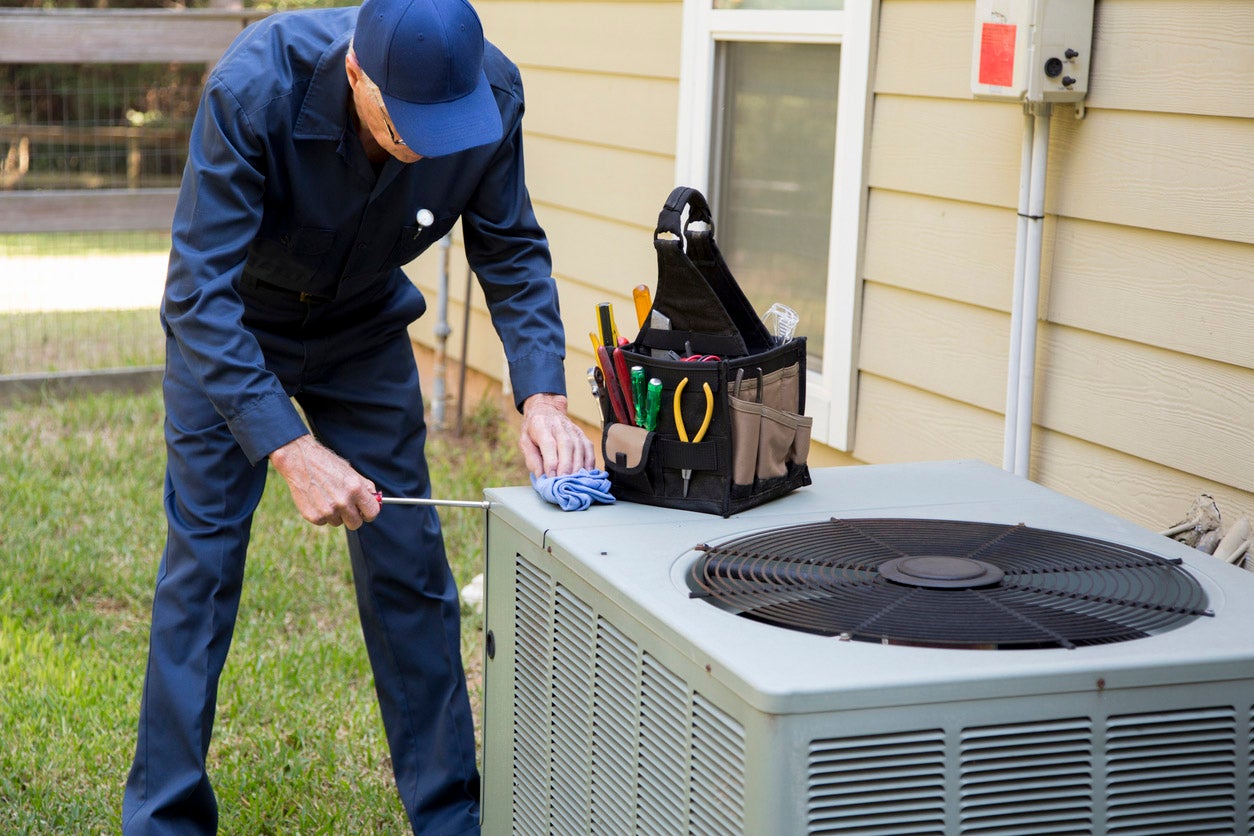
Test the Furnace or AC Unit
When dealing with an unresponsive thermostat, it’s essential to evaluate the functionality of the furnace or air conditioning (AC) unit to ensure that they are operational. A malfunctioning HVAC system can contribute to the perceived unresponsiveness of the thermostat. Here’s how you can systematically test the furnace or AC unit to identify and address potential issues:
- Switching Modes: If your thermostat is set to heating mode, try adjusting it to cooling mode and vice versa. This switch can help determine if the HVAC system responds differently when prompted for heating or cooling, indicating a potential issue specific to one mode.
- Manually Activating the System: Locate the control panel or access panel on your HVAC system and attempt to manually activate the heating or cooling function. This direct activation bypasses the thermostat and provides insight into the system’s independent operation.
- Check the Air Filter: A clogged or dirty air filter can restrict airflow and strain the HVAC system, potentially leading to reduced performance or system shutdown. Inspect the air filter and replace it if it appears dirty or clogged to improve the system’s efficiency.
- Listen for System Activity: While the thermostat may not be triggering the HVAC system, listen for any sounds of activity, such as the furnace igniting or the AC unit’s compressor starting. These auditory cues can indicate if the system is receiving and responding to commands from the thermostat.
- Inspect the System’s Components: Visually inspect the furnace or AC unit for any visible signs of damage, irregular operation, or error codes displayed on the unit’s control panel. These observations can provide valuable clues about the system’s condition and potential malfunctions.
By thoroughly testing the furnace or AC unit and addressing any identified issues, you can ensure that the HVAC system is functioning as intended, eliminating it as a contributing factor to the thermostat’s unresponsiveness. Once you’ve assessed the system’s performance, it’s time to proceed to the next troubleshooting steps to continue the diagnostic process.
Read more: Why Doesn’t My Thermostat Turn On
Consider the Thermostat Location
The physical placement of your thermostat within your home can significantly impact its performance and responsiveness. Incorrect positioning or exposure to external factors can lead to inaccurate temperature readings and operational issues. Here’s how you can evaluate the thermostat’s location and consider potential adjustments to optimize its functionality:
- Avoid Direct Sunlight: If the thermostat is exposed to direct sunlight for extended periods, it can register higher temperatures than the actual ambient conditions, leading to inaccurate temperature readings and system mismanagement.
- Minimize Drafts and Airflow: Placing the thermostat near drafts, air vents, or areas with excessive airflow can disrupt its temperature sensing capabilities, causing it to inaccurately gauge the indoor climate and adjust the HVAC system accordingly.
- Assess Proximity to Heat Sources: Avoid positioning the thermostat near heat-emitting sources such as lamps, appliances, or electronic devices, as the proximity to these heat sources can influence its temperature readings and affect its operational accuracy.
- Consider Room Averaging: If your home features significant temperature variations across different areas, consider utilizing a thermostat with room averaging capabilities or installing multiple thermostats to accurately reflect the diverse climate zones within your living space.
- Optimal Height Placement: Position the thermostat at an optimal height within your home, typically at eye level and away from potential obstructions or impediments that could hinder its ability to sense and regulate the indoor temperature effectively.
By carefully considering the thermostat’s location and making necessary adjustments to mitigate external influences, you can enhance its accuracy and responsiveness, contributing to a more precisely controlled indoor climate. Once you’ve evaluated the thermostat’s placement, it’s time to proceed to the next troubleshooting steps to continue the diagnostic process.
Conclusion
Unraveling the mystery behind an unresponsive thermostat involves a systematic approach to troubleshooting and addressing potential issues that may disrupt its functionality. By methodically examining the power source, thermostat settings, wiring, HVAC system, and thermostat location, you can pinpoint the root cause of the problem and implement effective solutions to restore your thermostat’s responsiveness.
Throughout this comprehensive guide, we’ve explored essential steps to diagnose and address the unresponsiveness of a thermostat, empowering you to regain control over your home’s climate control system. From checking the power source and inspecting the thermostat settings to examining the wiring and testing the HVAC system, each troubleshooting step has provided valuable insights into the potential factors contributing to the issue.
As you navigate the troubleshooting process, it’s important to approach each step with patience and attentiveness, carefully observing and addressing any identified issues along the way. Whether it’s a simple power supply problem, a configuration error, a wiring issue, or a location-related challenge, each aspect plays a crucial role in ensuring the optimal performance of your thermostat.
By leveraging the knowledge and insights gained from this guide, you’re equipped to tackle thermostat unresponsiveness with confidence and precision. Remember that seeking professional assistance from a qualified HVAC technician is advisable if you encounter complex issues or are unsure about performing certain troubleshooting tasks.
Ultimately, by understanding the intricacies of your thermostat and its interconnectedness with your HVAC system, you’re better positioned to maintain a comfortable and well-regulated indoor environment. With the troubleshooting process completed and potential issues addressed, you can look forward to enjoying the seamless operation and reliable performance of your thermostat once again.
As you embark on the journey to restore your thermostat’s functionality, may your home be filled with comfort and warmth, perfectly tailored to your preferences. Here’s to a smoothly running thermostat and a cozy, inviting atmosphere within your cherished living space.
Frequently Asked Questions about Why Isn't My Thermostat Turning On
Was this page helpful?
At Storables.com, we guarantee accurate and reliable information. Our content, validated by Expert Board Contributors, is crafted following stringent Editorial Policies. We're committed to providing you with well-researched, expert-backed insights for all your informational needs.

0 thoughts on “Why Isn’t My Thermostat Turning On”