Home>Home Appliances>Home Automation Appliances>How To Turn On My Nest Thermostat
Home Automation Appliances
How To Turn On My Nest Thermostat
Modified: January 4, 2024
Learn how to easily turn on your Nest thermostat and control your home automation appliances with these simple steps. Take control of your smart home today!
(Many of the links in this article redirect to a specific reviewed product. Your purchase of these products through affiliate links helps to generate commission for Storables.com, at no extra cost. Learn more)
Introduction
Welcome to the world of smart home technology, where convenience and efficiency converge to simplify everyday living. With the Nest Thermostat, you can effortlessly control the temperature of your home from anywhere using your smartphone. Whether you're returning from a long day at work or simply seeking to create a comfortable environment, the Nest Thermostat offers a seamless solution.
In this guide, we will explore the step-by-step process of turning on your Nest Thermostat. From downloading the Nest app to adjusting settings and preferences, you'll gain a comprehensive understanding of how to maximize the functionality of this innovative device. By the end of this tutorial, you'll be well-equipped to harness the full potential of your Nest Thermostat, ensuring a tailored and enjoyable living experience.
Let's embark on this journey into the realm of smart home automation and discover the simplicity of managing your home's climate with the Nest Thermostat.
Key Takeaways:
- Get started with your Nest Thermostat by downloading the Nest app, creating a Nest account, and adding the thermostat to the app. Then, power it on and customize settings for a comfortable and energy-efficient home.
- The Nest Thermostat offers seamless control of your home’s temperature. By adjusting settings and preferences in the Nest app, you can personalize your thermostat to match your lifestyle and contribute to a more sustainable world.
Read more: How To Add My Nest Thermostat To Google Home
Step 1: Downloading the Nest App
The first step in setting up your Nest Thermostat is to download the Nest app, which serves as the central hub for controlling and managing your smart home devices. The app is available for both iOS and Android platforms, making it accessible to a wide range of users.
To begin, open the App Store (for iOS users) or the Google Play Store (for Android users) on your smartphone or tablet. In the search bar, type “Nest” and select the official Nest app from the search results. Once you’ve located the app, tap the “Download” or “Install” button to initiate the download process.
After the app has been successfully downloaded and installed on your device, tap the Nest app icon to launch it. You’ll be prompted to sign in or create a Nest account if you don’t already have one. If you’re new to Nest, proceed to the next step to create your account. If you already have a Nest account, simply sign in using your existing credentials.
By downloading the Nest app, you’re taking the crucial first step toward integrating your Nest Thermostat into your smart home ecosystem. With the app at your fingertips, you’ll have the power to remotely control your thermostat, set schedules, and monitor energy usage with unparalleled convenience.
Now that you’ve downloaded the Nest app, let’s move on to the next step: creating a Nest account to unlock the full potential of your smart thermostat.
Step 2: Creating a Nest Account
Creating a Nest account is essential for harnessing the full functionality of your Nest Thermostat and accessing its array of features. With a Nest account, you can seamlessly manage your thermostat settings, receive energy usage reports, and integrate your thermostat with other smart home devices.
To create a Nest account, open the Nest app on your smartphone or tablet. If you’re a new user, tap on the “Sign Up” or “Create Account” option to initiate the account creation process. You’ll be prompted to enter your email address and create a password for your Nest account. Ensure that your password is secure and meets the specified criteria to safeguard your account’s security.
Once you’ve provided the required information, follow the on-screen instructions to complete the account creation process. You may be asked to verify your email address to finalize the account setup. After your Nest account has been successfully created, you’ll gain access to a range of personalized features and settings tailored to your preferences.
By creating a Nest account, you’re paving the way for a seamless and personalized smart home experience. Your Nest account will serve as the gateway to controlling and customizing your Nest Thermostat, allowing you to optimize energy efficiency and comfort within your living space.
With your Nest account in place, you’re now ready to proceed to the next step: adding the Nest Thermostat to the app and initiating the setup process.
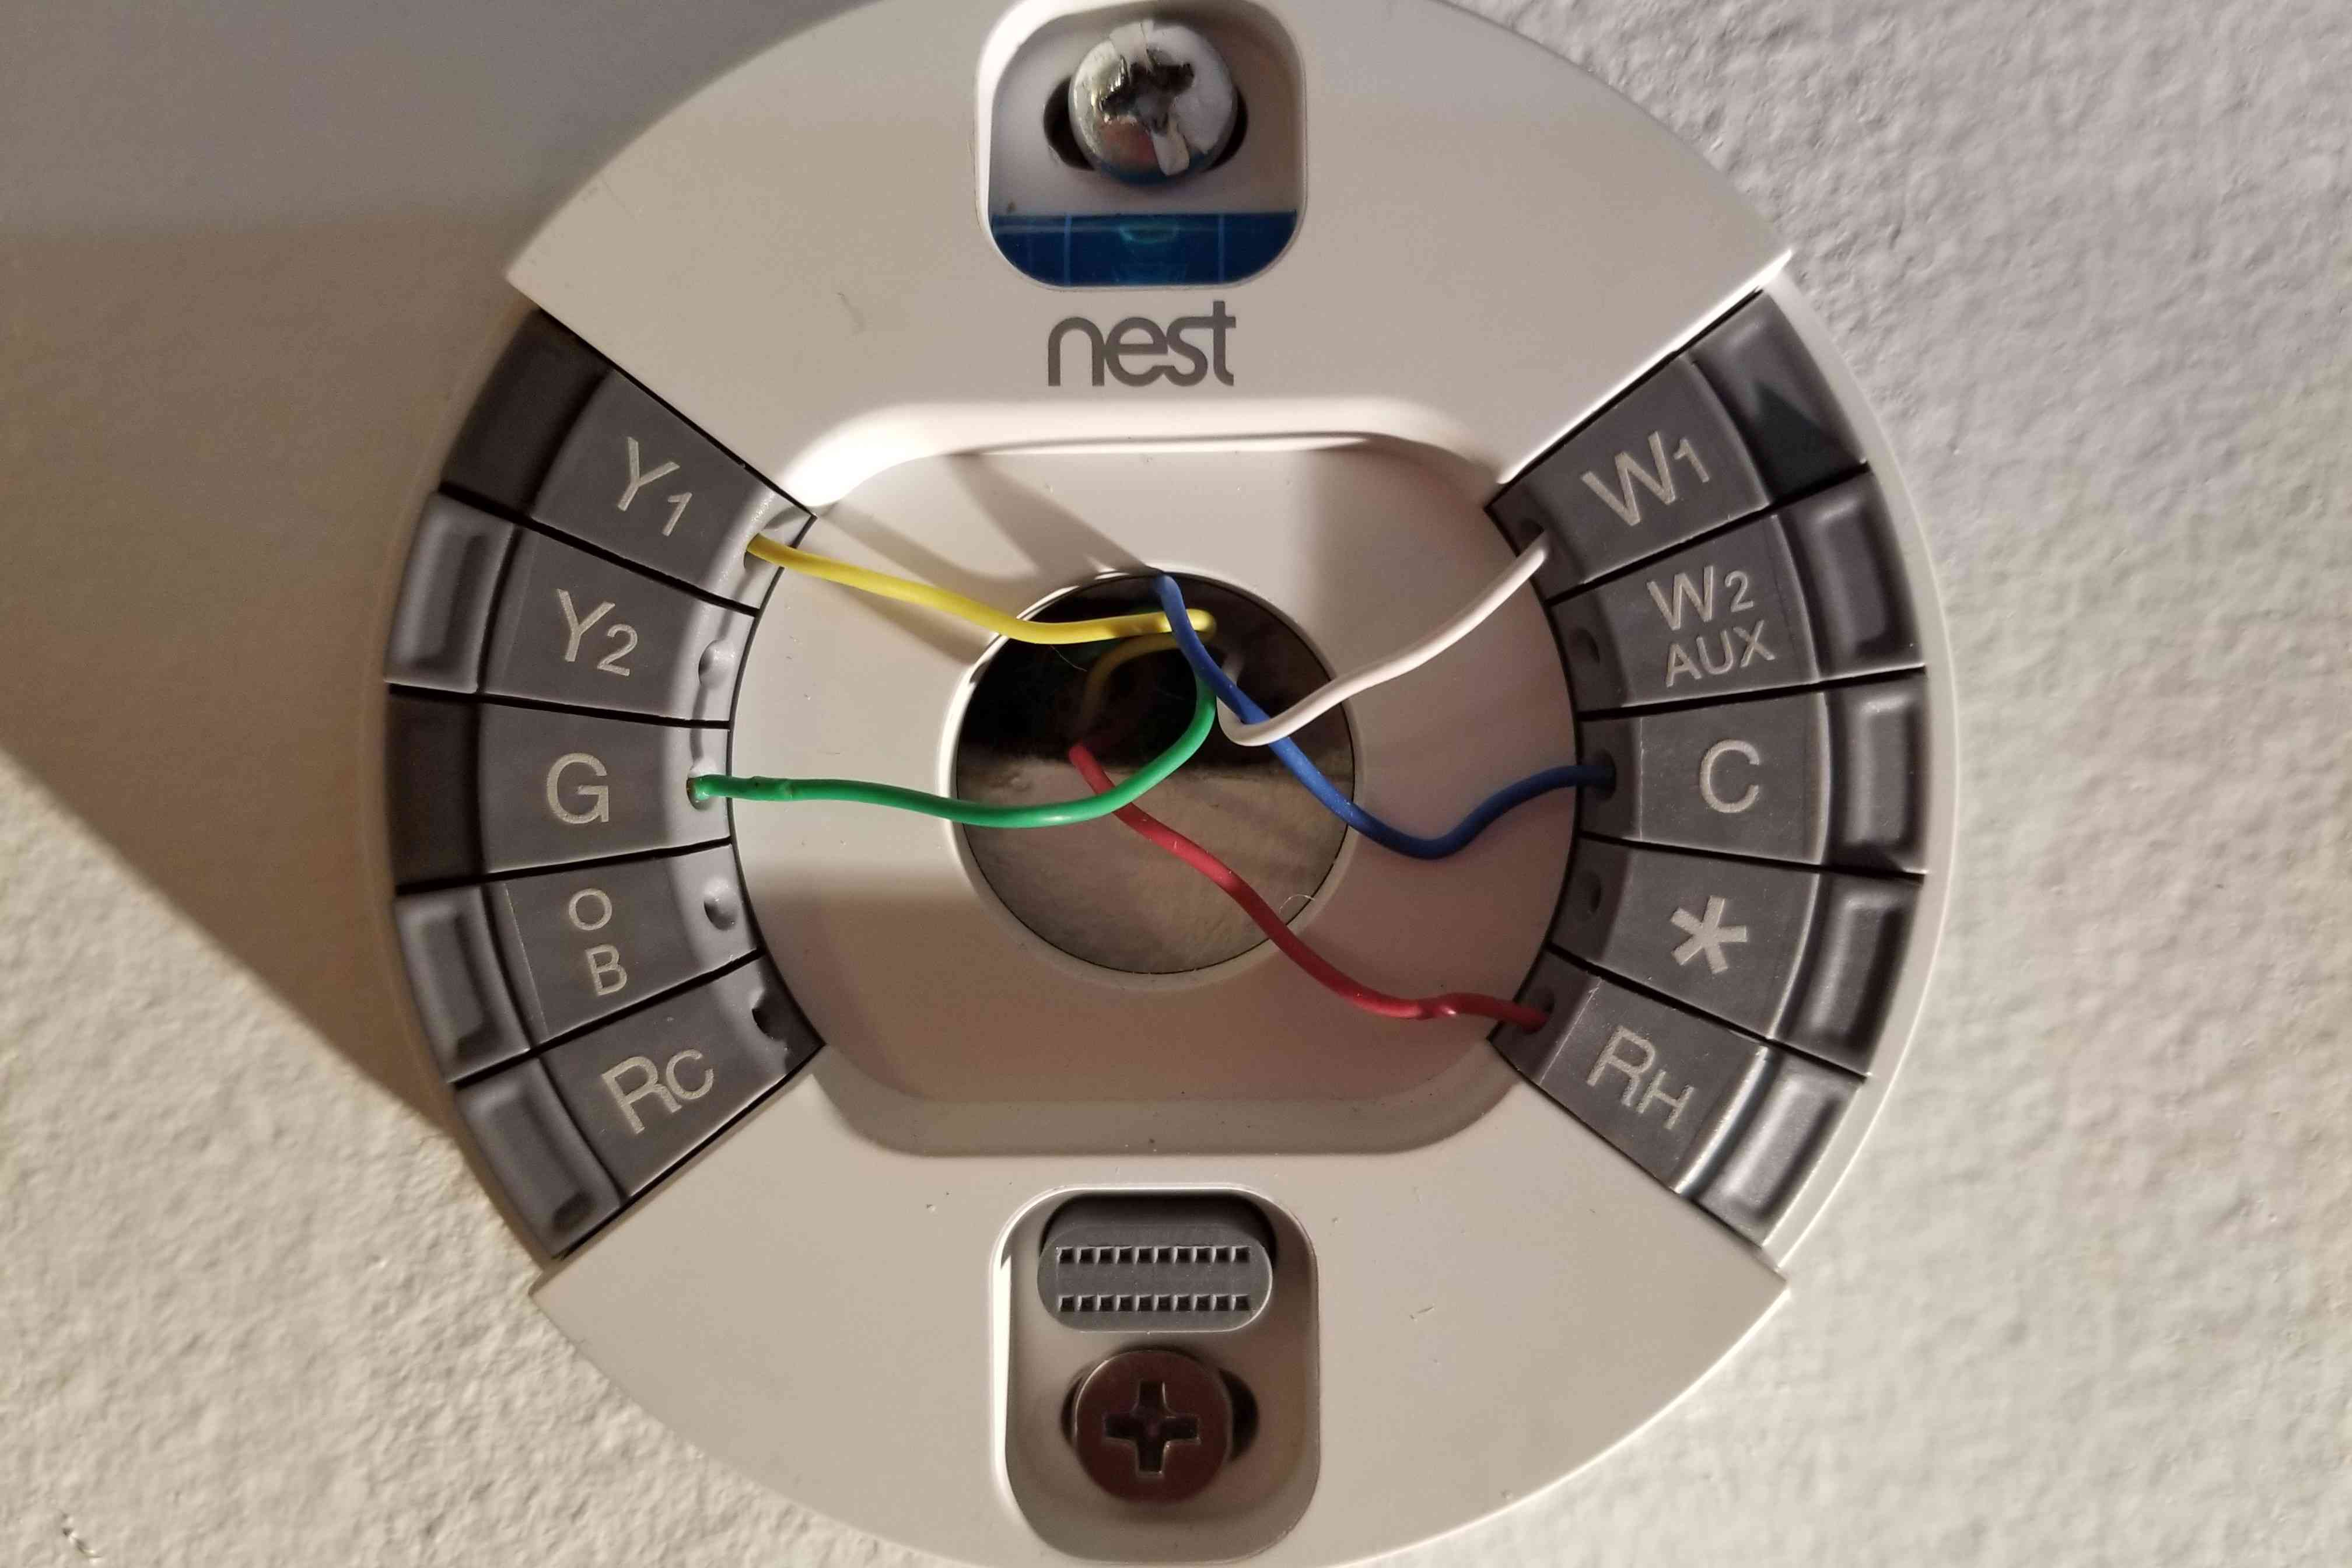
Step 3: Adding the Nest Thermostat to the App
Now that you’ve downloaded the Nest app and created your Nest account, it’s time to add your Nest Thermostat to the app and begin the setup process. This pivotal step will establish the connection between your thermostat and the app, enabling seamless control and monitoring of your home’s temperature settings.
Begin by ensuring that your Nest Thermostat is powered on and connected to your home’s Wi-Fi network. With the thermostat ready, open the Nest app on your smartphone or tablet and sign in to your Nest account if you’re not already logged in.
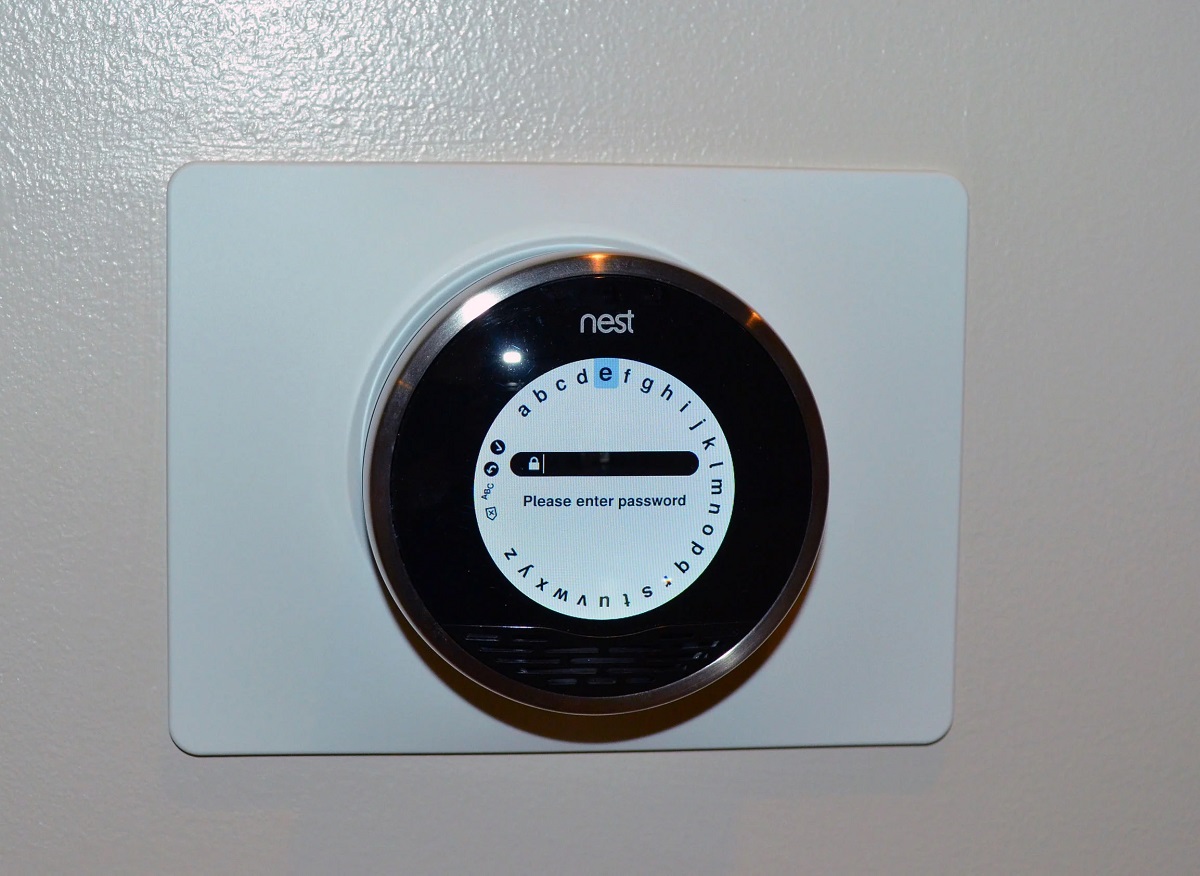
Once you’re logged in, navigate to the “Add Product” or “Add Device” option within the app. Select “Thermostat” from the list of available Nest products. The app will then prompt you to scan the QR code located on your Nest Thermostat or enter the unique entry key provided with the device. This step is crucial for identifying and pairing your specific thermostat with the app.
After successfully scanning the QR code or entering the entry key, the app will initiate the process of adding your Nest Thermostat to your account. Follow the on-screen instructions to complete the setup, including specifying the location of the thermostat within your home and configuring initial settings such as preferred temperature ranges and scheduling preferences.
Once the setup process is complete, your Nest Thermostat will be seamlessly integrated into the Nest app, ready to be controlled and customized to suit your individual comfort needs. This integration marks a significant milestone in your journey toward harnessing the full potential of your smart thermostat.
With your Nest Thermostat successfully added to the app, you’re now prepared to proceed to the next step: turning on the Nest Thermostat and initiating its functionality to create a comfortable and energy-efficient home environment.
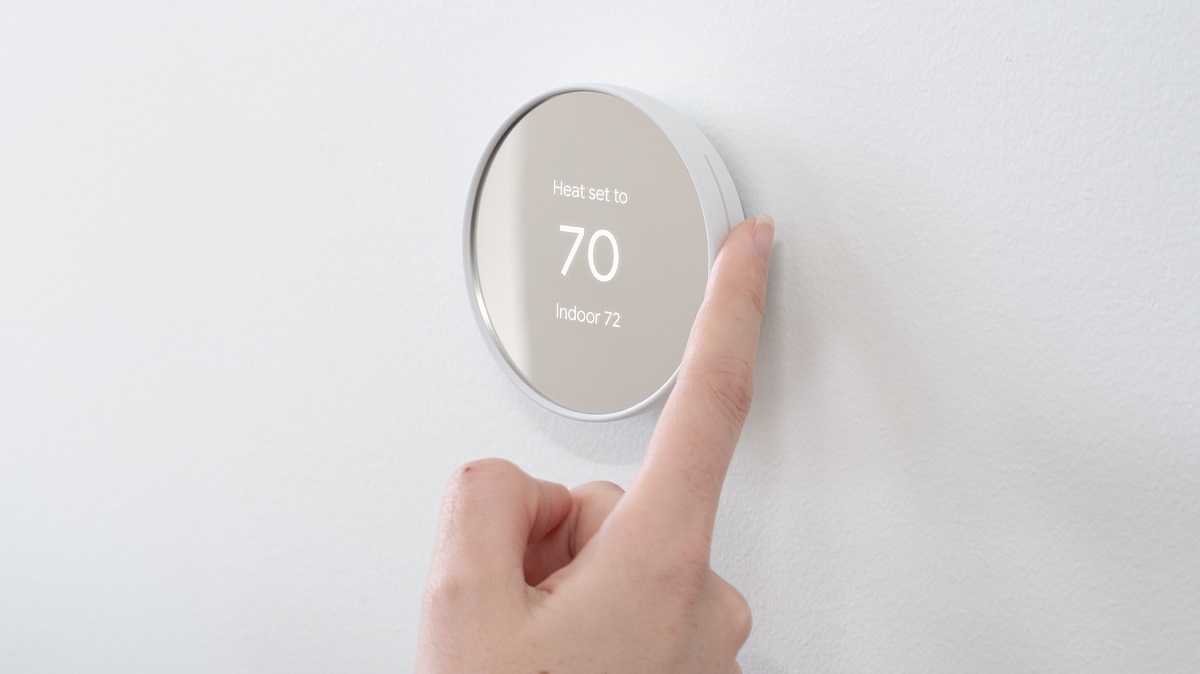
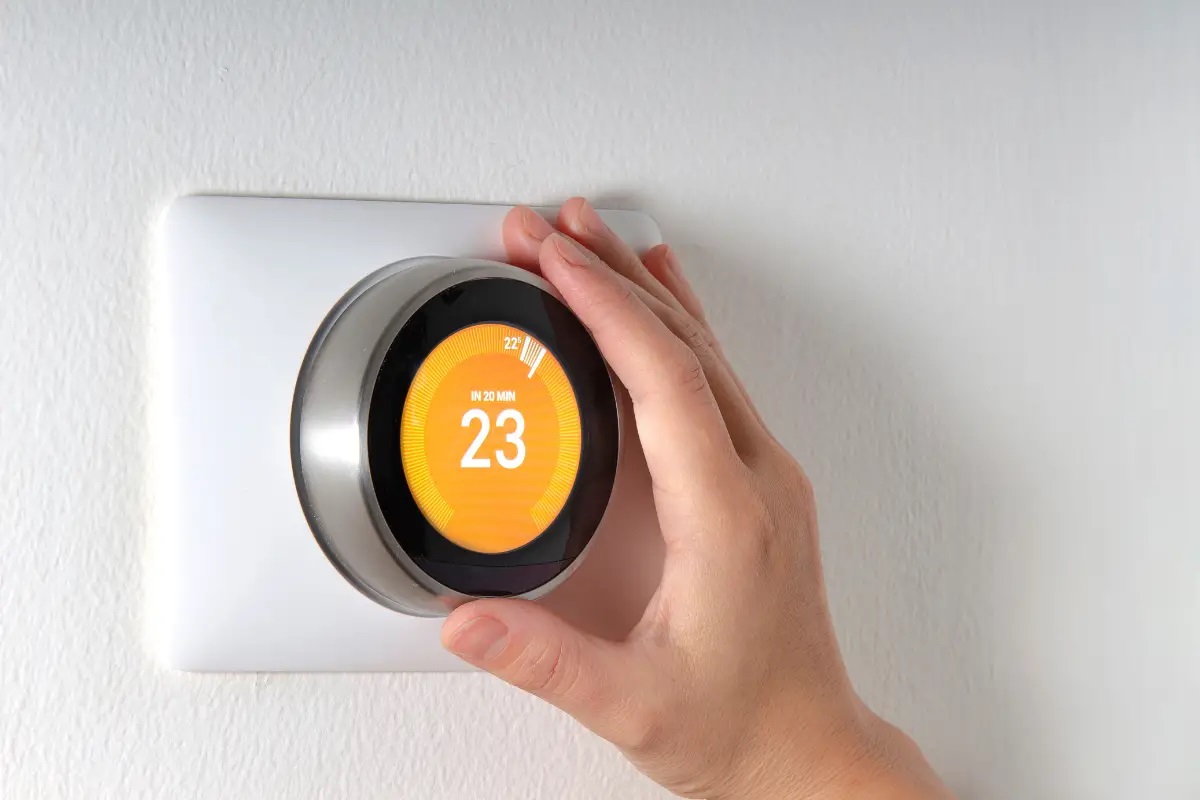
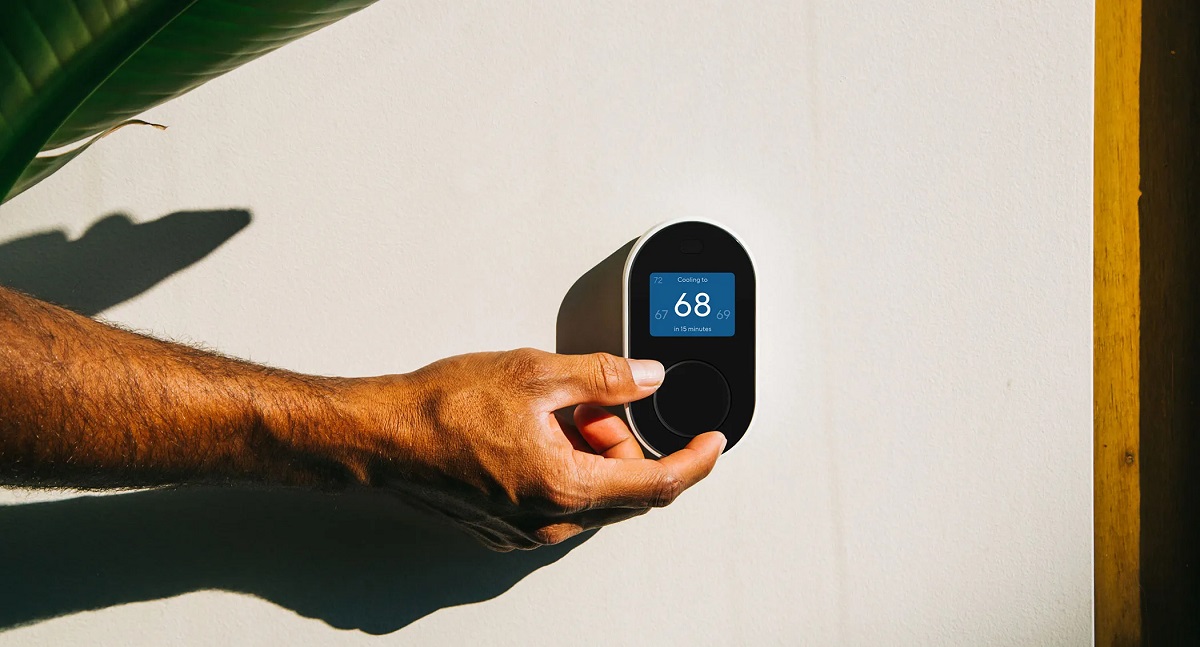
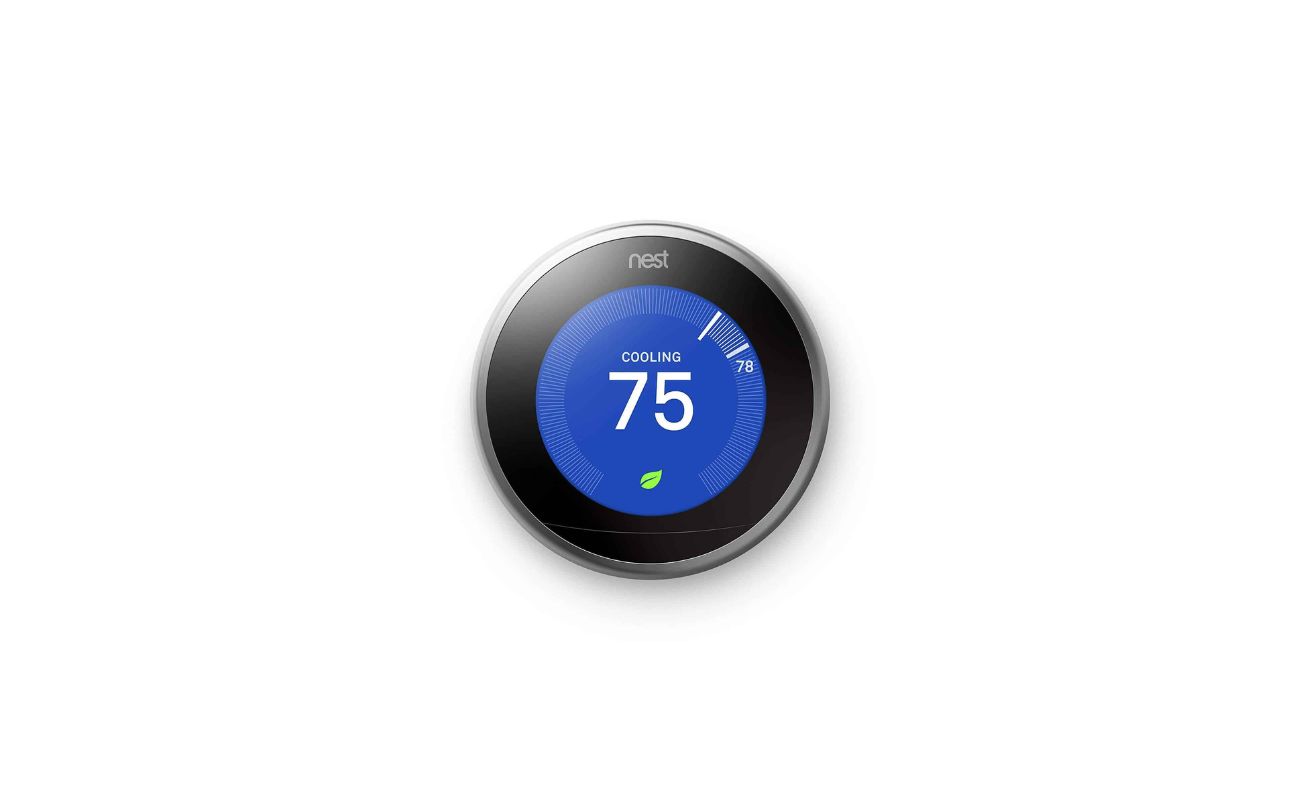
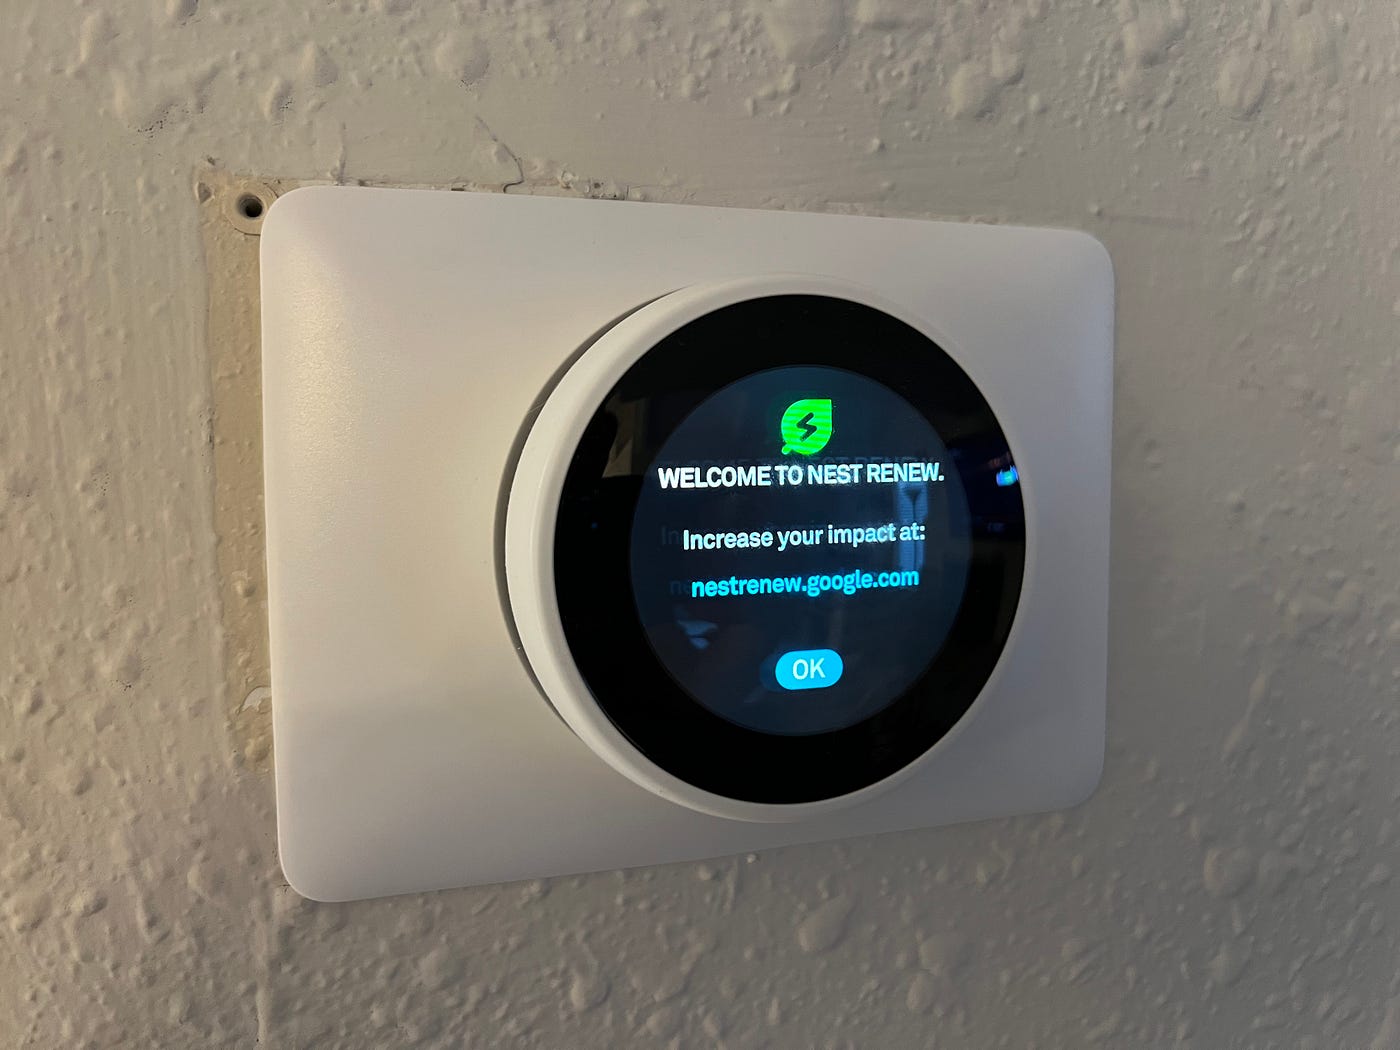
To turn on your Nest thermostat, simply press the display to wake it up. Then, adjust the temperature using the dial or touch screen.
Step 4: Turning On the Nest Thermostat
With your Nest Thermostat successfully added to the Nest app, it’s time to power on the device and begin leveraging its intuitive features to regulate your home’s climate. The process of turning on the Nest Thermostat is straightforward and sets the stage for effortless temperature control and energy management.
Locate your Nest Thermostat within your home and ensure that it is securely mounted on the wall. The thermostat should have access to a power source and be connected to your home’s Wi-Fi network, allowing it to communicate with the Nest app and receive commands remotely.
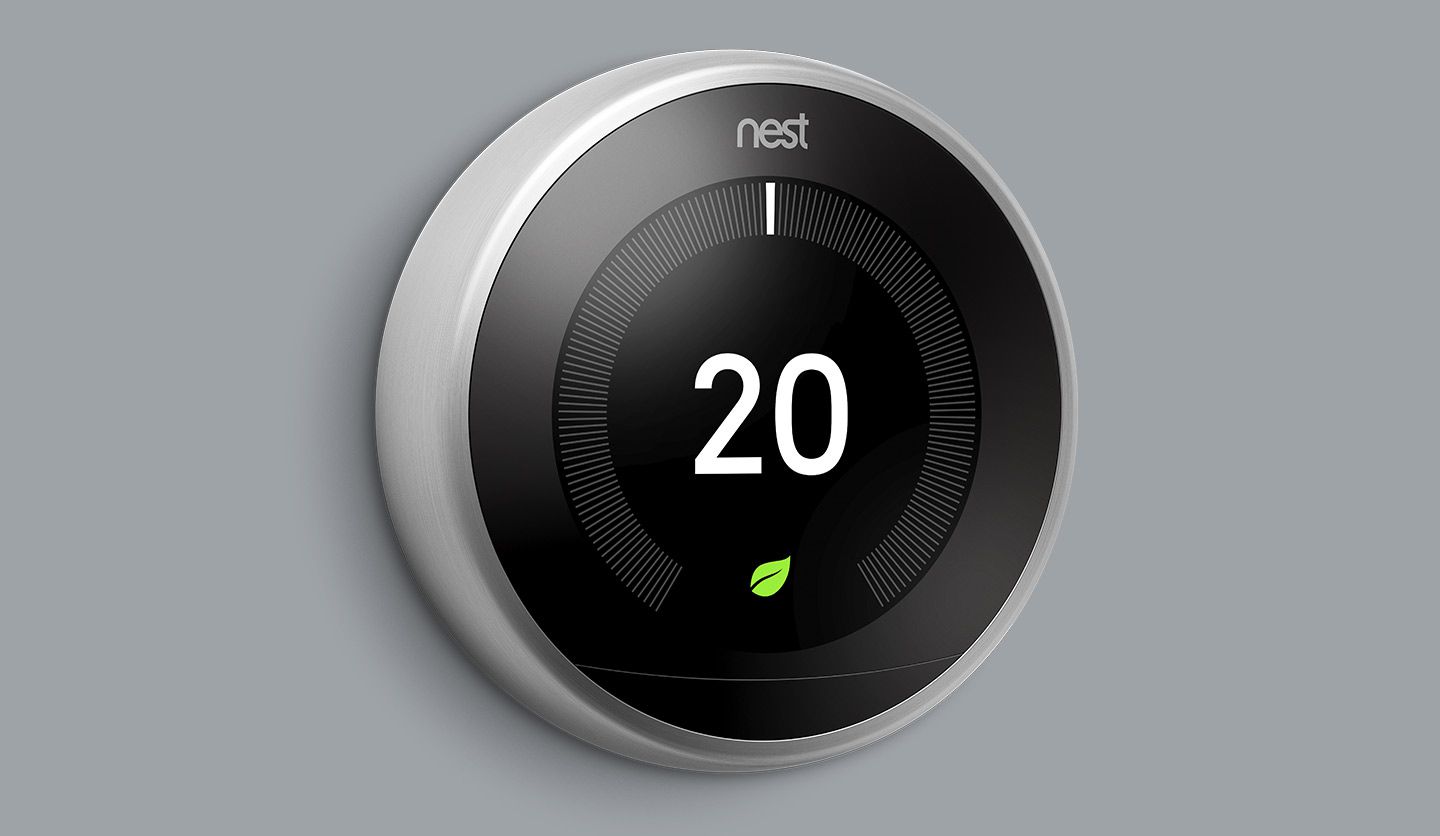
To power on the Nest Thermostat, simply press the display to activate it. The vibrant screen will come to life, displaying the current temperature and providing access to the thermostat’s settings and controls. As the thermostat powers on, you’ll have the opportunity to familiarize yourself with its interface and navigation, setting the stage for effortless interaction and customization.
Once the Nest Thermostat is powered on, you can begin exploring its array of features, including setting your preferred temperature, creating schedules, and accessing energy usage reports. The intuitive design of the thermostat’s interface ensures that you can seamlessly navigate through its settings and personalize your home’s climate according to your unique preferences.
By turning on the Nest Thermostat, you’re unlocking the potential to create a comfortable and energy-efficient living environment. Whether you’re adjusting the temperature for optimal comfort or optimizing energy usage, the Nest Thermostat empowers you to take control of your home’s climate with unparalleled ease.
With your Nest Thermostat powered on and ready for action, let’s proceed to the next step: adjusting settings and preferences to tailor the thermostat’s functionality to your lifestyle and comfort requirements.
Read more: How To Disconnect A Nest Thermostat
Step 5: Adjusting Settings and Preferences
Now that your Nest Thermostat is powered on and seamlessly integrated into the Nest app, it’s time to delve into the process of adjusting settings and preferences to tailor the thermostat’s functionality to your unique lifestyle and comfort requirements. This step will enable you to fine-tune the thermostat’s operation, create personalized schedules, and optimize energy usage within your home.
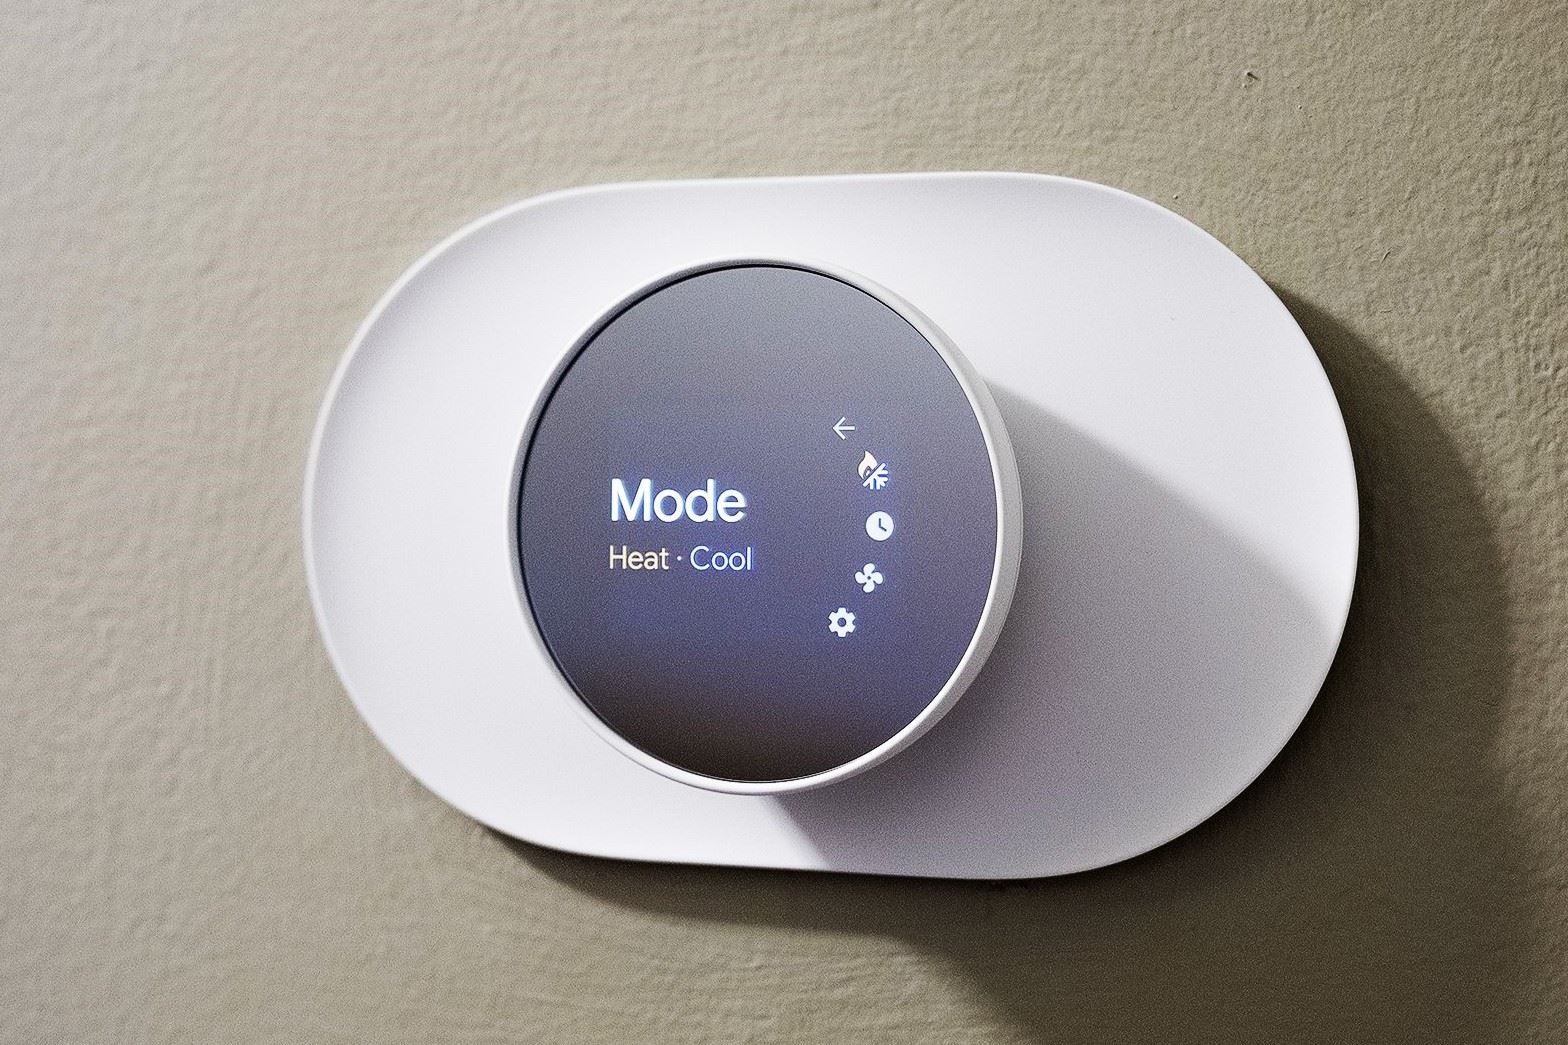
Begin by accessing the Nest app on your smartphone or tablet and navigating to the “Thermostat” section. Here, you’ll find a range of customizable settings that allow you to exert precise control over your home’s temperature and energy management. You can adjust the target temperature, set up a heating and cooling schedule, and explore energy-saving features to maximize efficiency.
Within the app, you can specify your preferred temperature settings for different times of the day, aligning them with your daily routine and occupancy patterns. This level of customization ensures that your home remains comfortable while minimizing energy consumption during periods of reduced activity.
Additionally, the Nest app offers insights into your energy usage, providing valuable data that empowers you to make informed decisions about optimizing efficiency and reducing environmental impact. By leveraging these insights, you can implement strategies to conserve energy without compromising comfort, ultimately contributing to a sustainable and eco-friendly living environment.
Furthermore, the app allows you to explore advanced features such as Home/Away Assist, which automatically adjusts the temperature based on your presence, and Eco Mode, which optimizes energy usage when your home is unoccupied. These intelligent features epitomize the Nest Thermostat’s commitment to seamless automation and energy-conscious operation.
By adjusting settings and preferences within the Nest app, you’re customizing the behavior of your Nest Thermostat to align with your unique lifestyle and comfort priorities. This level of personalization ensures that your home’s climate management is tailored to your specific needs, fostering a harmonious and energy-efficient living environment.
With your Nest Thermostat’s settings and preferences adjusted to your satisfaction, you’ve successfully harnessed the power of smart home technology to elevate your living experience. Your Nest Thermostat is now poised to deliver personalized comfort and energy efficiency, enhancing your daily life in meaningful ways.
As you conclude this process of setting up and optimizing your Nest Thermostat, you’ve embarked on a journey toward a more connected, efficient, and comfortable home environment. With the Nest Thermostat at the helm, you’re empowered to embrace the future of smart home living, where convenience and sustainability converge to enrich your everyday experiences.
Conclusion
Congratulations on successfully navigating the process of setting up and optimizing your Nest Thermostat. By following the step-by-step guide outlined in this tutorial, you’ve gained a comprehensive understanding of how to harness the full potential of this innovative smart home device.
With the Nest app downloaded, a Nest account created, and the thermostat seamlessly integrated into the app, you’ve established a solid foundation for controlling and customizing your home’s climate with unparalleled convenience. The simple act of turning on the Nest Thermostat has unlocked a world of possibilities, empowering you to regulate your home’s temperature and energy usage with ease.
As you’ve delved into the process of adjusting settings and preferences within the Nest app, you’ve personalized the behavior of your Nest Thermostat to align with your unique lifestyle and comfort requirements. By fine-tuning temperature settings, creating schedules, and exploring energy-saving features, you’ve set the stage for a harmonious and energy-efficient living environment.
Through this journey, you’ve embraced the future of smart home living, where technology seamlessly integrates with daily life to enhance comfort, convenience, and sustainability. The Nest Thermostat stands as a testament to the transformative power of smart home automation, offering a seamless solution for managing your home’s climate with precision and efficiency.
As you bask in the comfort and control afforded by your Nest Thermostat, remember that you’re part of a larger movement toward a more connected, efficient, and sustainable world. By optimizing energy usage, reducing environmental impact, and embracing the simplicity of smart home technology, you’re contributing to a brighter future for generations to come.
With your Nest Thermostat serving as a beacon of innovation within your home, you’re well-equipped to embark on each day with the confidence that your living environment is tailored to your needs and values. The journey toward a more seamless, comfortable, and sustainable home experience begins with the simple act of turning on your Nest Thermostat.
Embrace the possibilities, revel in the comfort, and savor the peace of mind that comes with knowing your home is in harmony with your lifestyle and the world around you. The Nest Thermostat has ushered in a new era of home climate control, and you’re at the forefront of this transformative journey.
As you embark on the next chapter of smart home living, remember that the Nest Thermostat is more than a device – it’s a gateway to a more connected, efficient, and comfortable way of life. With the Nest Thermostat, the future is at your fingertips, and the possibilities are limitless.
Frequently Asked Questions about How To Turn On My Nest Thermostat
Was this page helpful?
At Storables.com, we guarantee accurate and reliable information. Our content, validated by Expert Board Contributors, is crafted following stringent Editorial Policies. We're committed to providing you with well-researched, expert-backed insights for all your informational needs.
0 thoughts on “How To Turn On My Nest Thermostat”