Home>Home Appliances>Kitchen Appliances>How To Clean A Dehydrator
Kitchen Appliances
How To Clean A Dehydrator
Published: January 7, 2024
Learn the best methods for cleaning your kitchen appliances with our comprehensive guide on how to clean a dehydrator. Keep your kitchen equipment in top condition!
(Many of the links in this article redirect to a specific reviewed product. Your purchase of these products through affiliate links helps to generate commission for Storables.com, at no extra cost. Learn more)
Introduction
Cleaning a dehydrator is an essential aspect of its maintenance, ensuring that it continues to function effectively and produce high-quality dried foods. Over time, food particles, oils, and residues can accumulate on the trays, racks, and the interior of the dehydrator, potentially leading to cross-contamination and affecting the flavor of the dried foods. Therefore, regular cleaning not only extends the lifespan of your dehydrator but also guarantees the safety and quality of the dehydrated products.
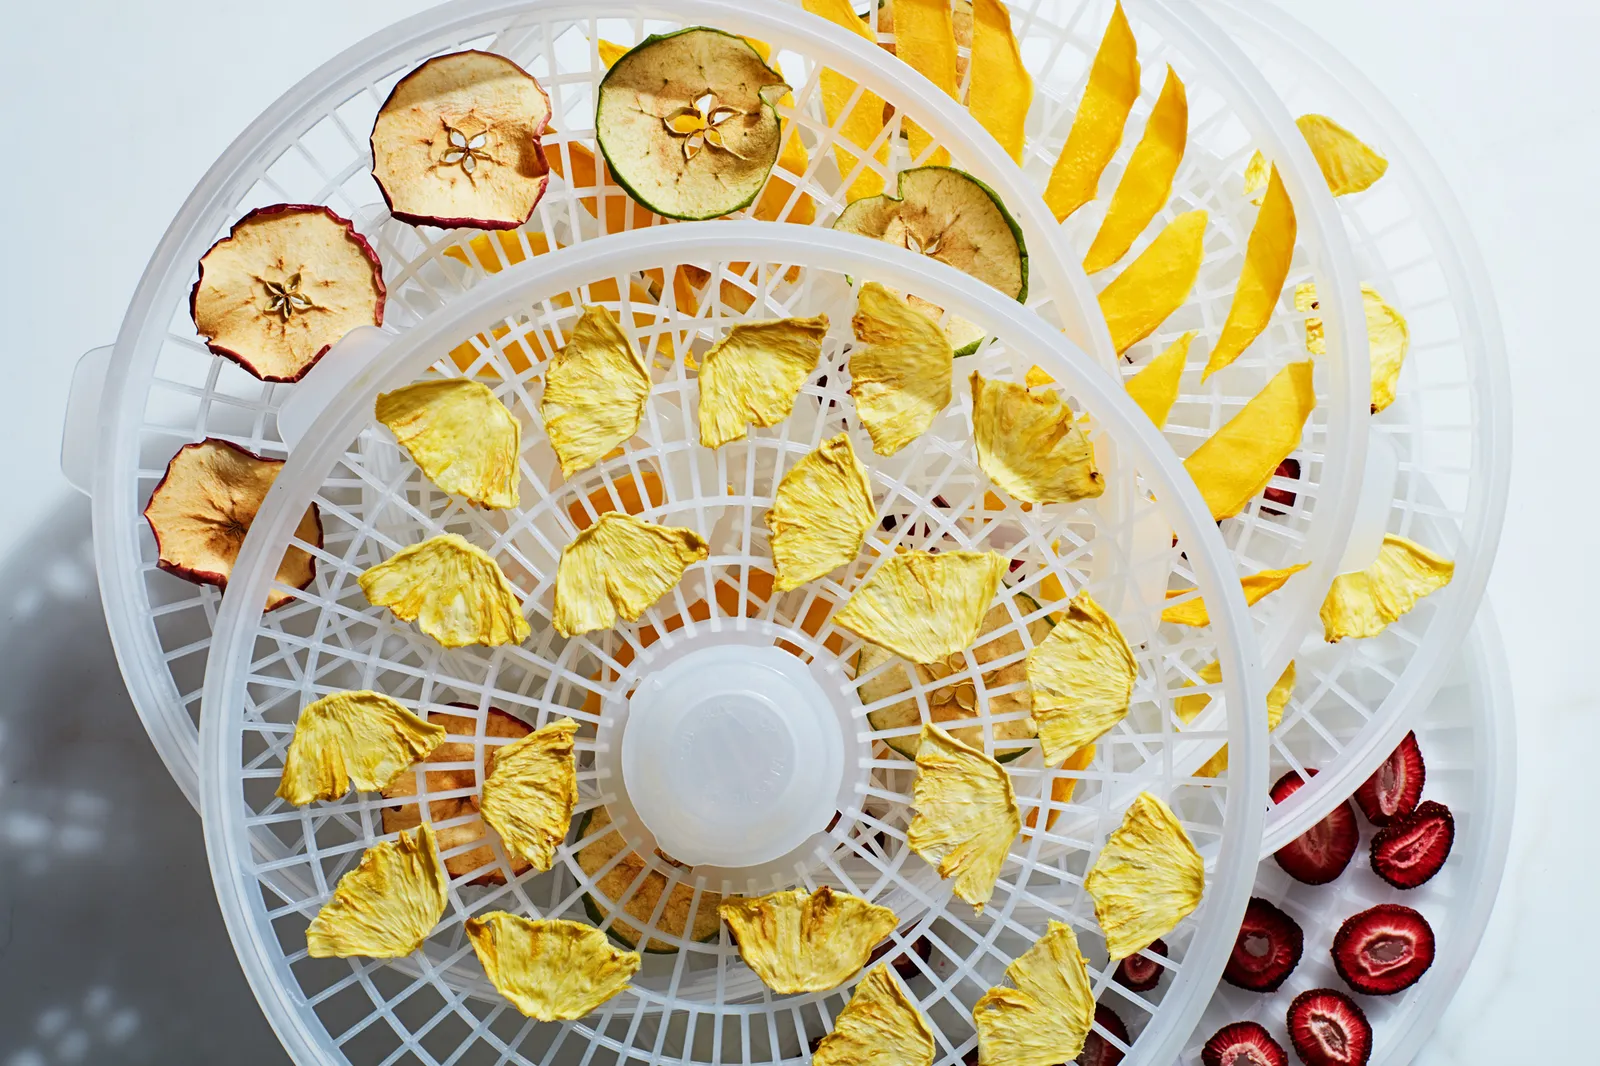
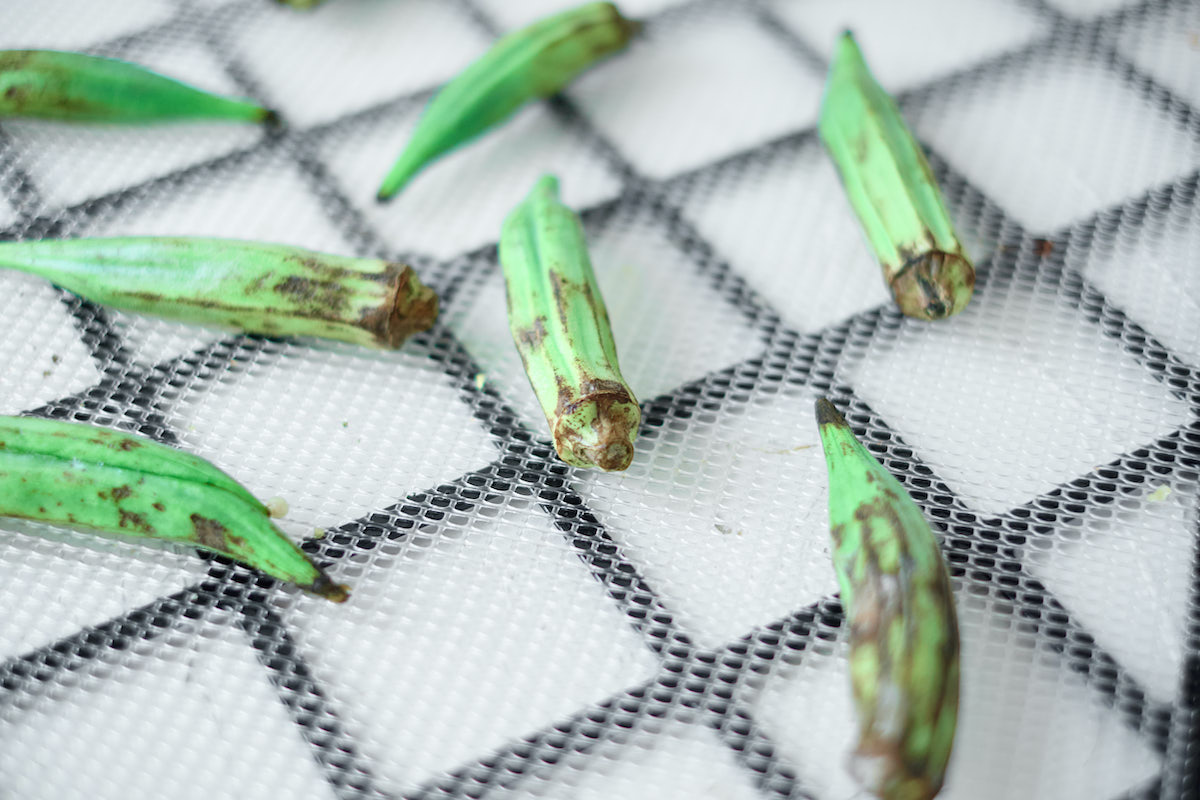
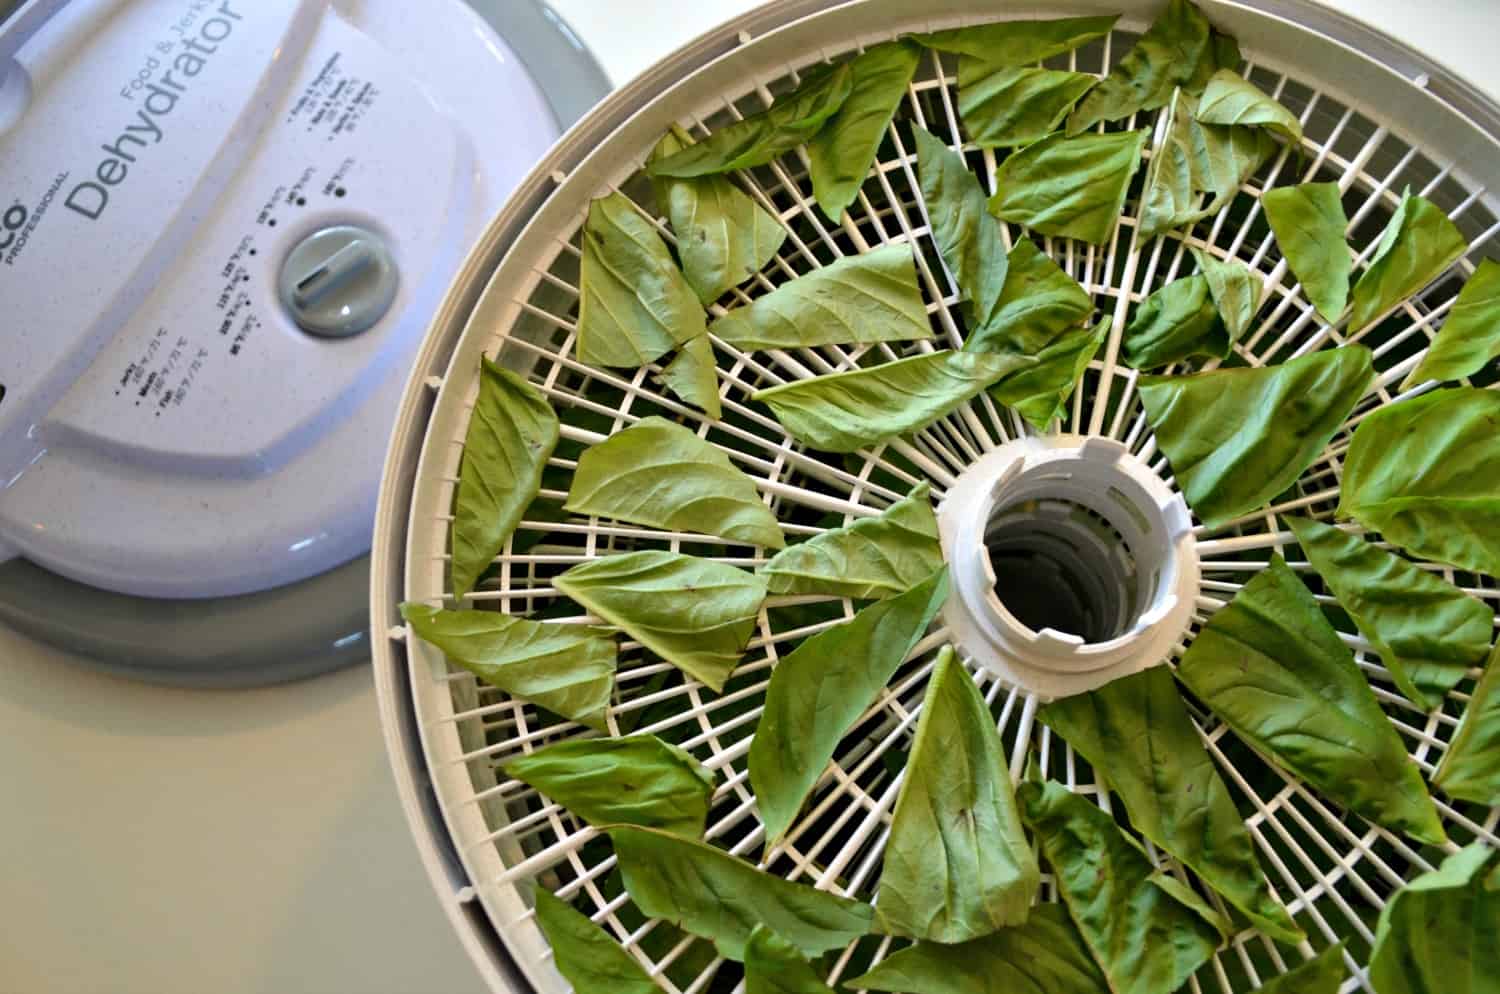
In this comprehensive guide, we will walk you through the step-by-step process of cleaning a dehydrator, providing valuable tips for maintaining its cleanliness. Whether you are a seasoned dehydrating enthusiast or a novice, understanding how to properly clean and maintain your dehydrator is crucial for optimal performance and the preservation of your favorite fruits, vegetables, meats, and herbs.
By following the instructions outlined in this article, you will not only ensure the cleanliness and longevity of your dehydrator but also safeguard the flavors and nutritional value of your dehydrated culinary creations. So, let's dive into the cleaning process and discover the best practices for keeping your dehydrator in top-notch condition.
Key Takeaways:
- Keep your dehydrator clean to maintain food safety and preserve flavors. Regular cleaning and proper maintenance ensure a hygienic appliance ready for use.
- Use mild dish soap, vinegar, and non-stick sheets to make cleaning your dehydrator easier. Rotate and inspect trays for even drying and minimal residue buildup.
Read more: How To Dehydrate Kiwi In A Dehydrator
Gather Your Supplies
Before embarking on the cleaning process, it is essential to gather the necessary supplies to ensure a thorough and efficient cleaning of your dehydrator. Here are the items you will need:
- Mild dish soap or a specialized dehydrator cleaner
- Warm water
- Soft-bristled brush or sponge
- Clean, dry cloth or paper towels
- Cotton swabs or toothpicks for hard-to-reach areas
- Vinegar (optional for removing stubborn stains and odors)
- Food-safe sanitizing spray or wipes
These supplies are readily available and are essential for effectively cleaning and maintaining your dehydrator. The mild dish soap will help remove food residues and oils, while the soft-bristled brush or sponge will aid in scrubbing away stubborn particles without damaging the trays and racks. Additionally, vinegar can be used as a natural cleaning agent to tackle tough stains and eliminate lingering odors.
Once you have gathered these supplies, you will be well-equipped to commence the cleaning process and restore your dehydrator to its pristine condition. With the right tools at your disposal, you can ensure that each component of the dehydrator is thoroughly cleaned, promoting food safety and preserving the integrity of your dehydrated foods.
Disassemble the Dehydrator
Prior to cleaning your dehydrator, it is crucial to disassemble the unit to access all the components that require cleaning. Follow these steps to safely disassemble your dehydrator:
- Unplug the Dehydrator: Ensure that the dehydrator is unplugged from the power source to prevent any electrical accidents during the disassembly process.
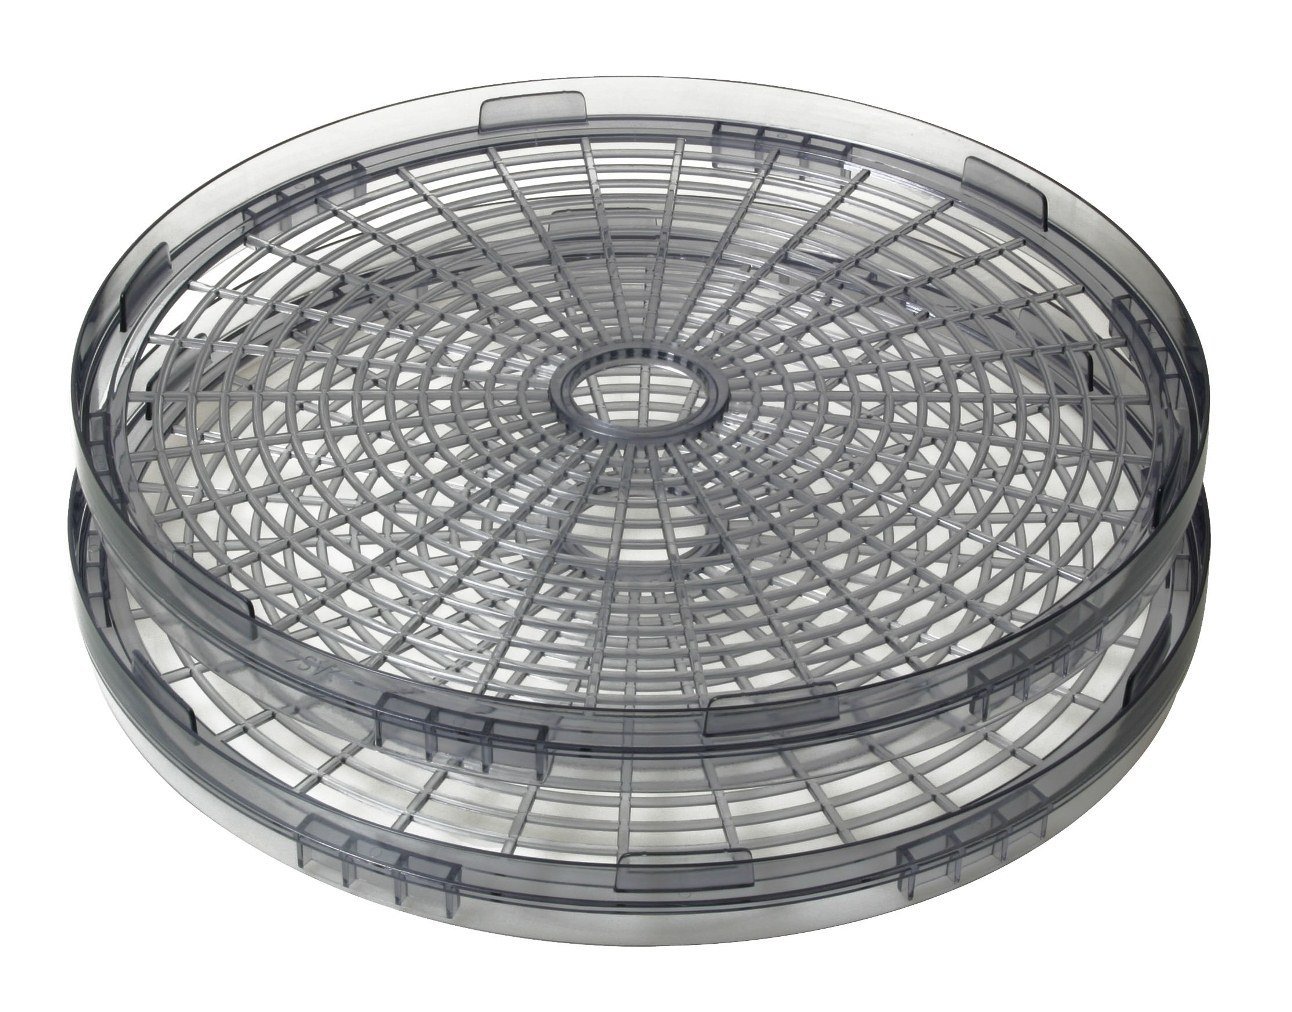
- Remove Trays and Racks: Carefully take out all the trays and racks from the dehydrator. Place them on a clean surface, ready for cleaning.
- Detach the Dehydrator Body: If your dehydrator consists of removable trays and a separate dehydrator body, detach the body from the base or heating element according to the manufacturer’s instructions. This step may involve unscrewing or releasing latches, depending on the design of your dehydrator.
- Separate Additional Components: If your dehydrator has any additional components, such as a drip tray or door, remove them as well for thorough cleaning.
By carefully disassembling your dehydrator, you will have unobstructed access to all the elements that require cleaning. This process allows you to address every nook and cranny, ensuring that no food particles or residues are left behind. Additionally, disassembling the dehydrator facilitates a more comprehensive cleaning process, promoting optimal hygiene and the longevity of your appliance.
Once you have successfully disassembled the dehydrator, you are ready to proceed with cleaning the trays, racks, and the dehydrator body to eliminate any accumulated debris and residues. The next steps will guide you through the process of cleaning each component effectively.
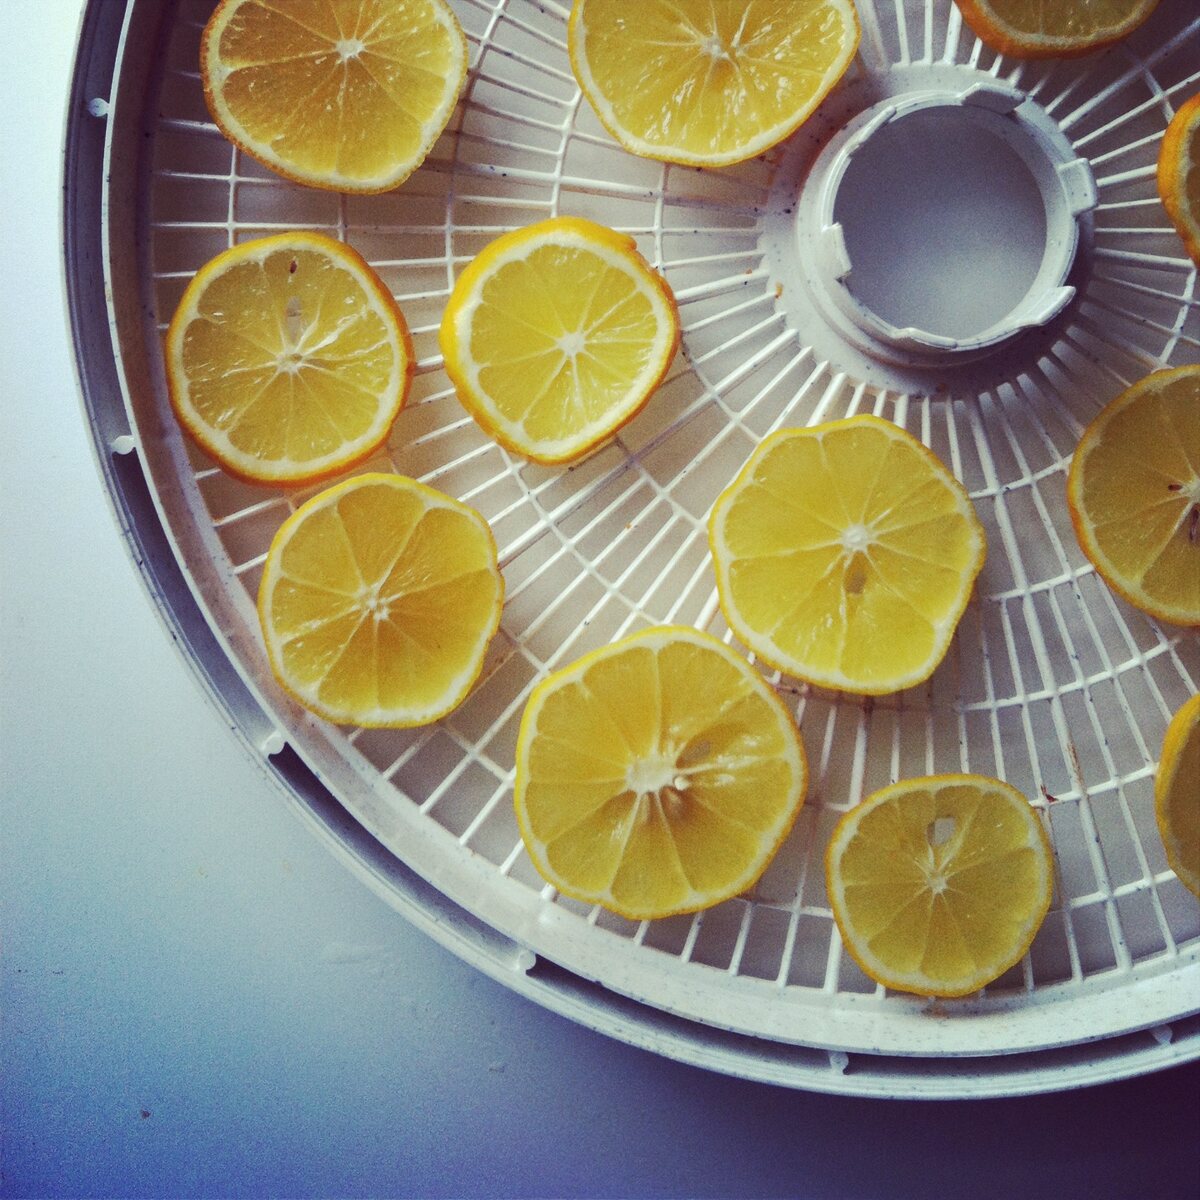
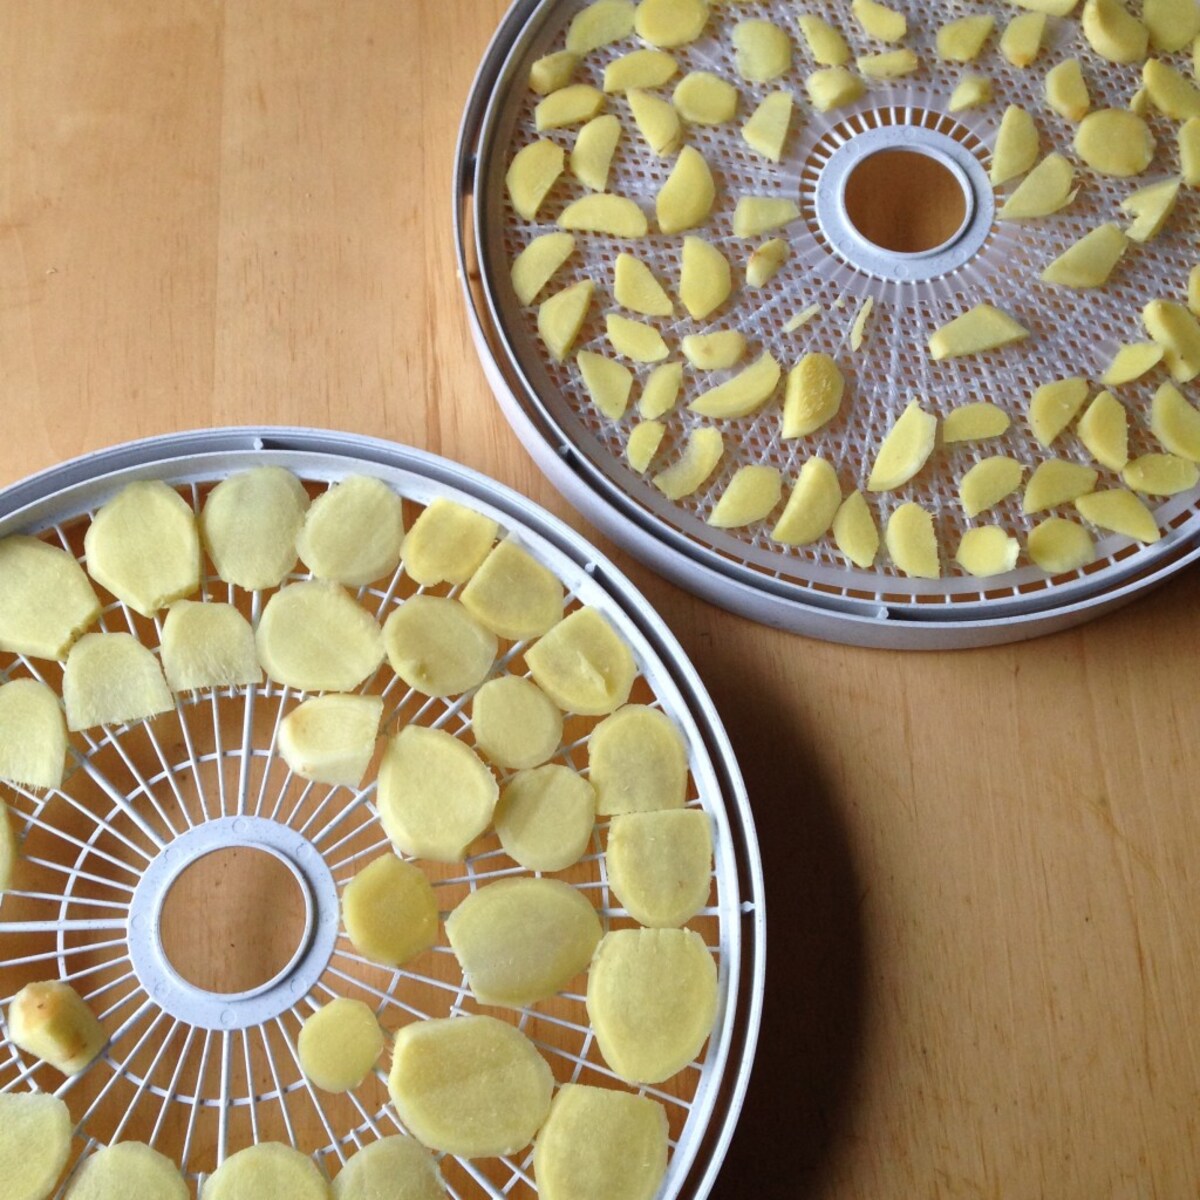
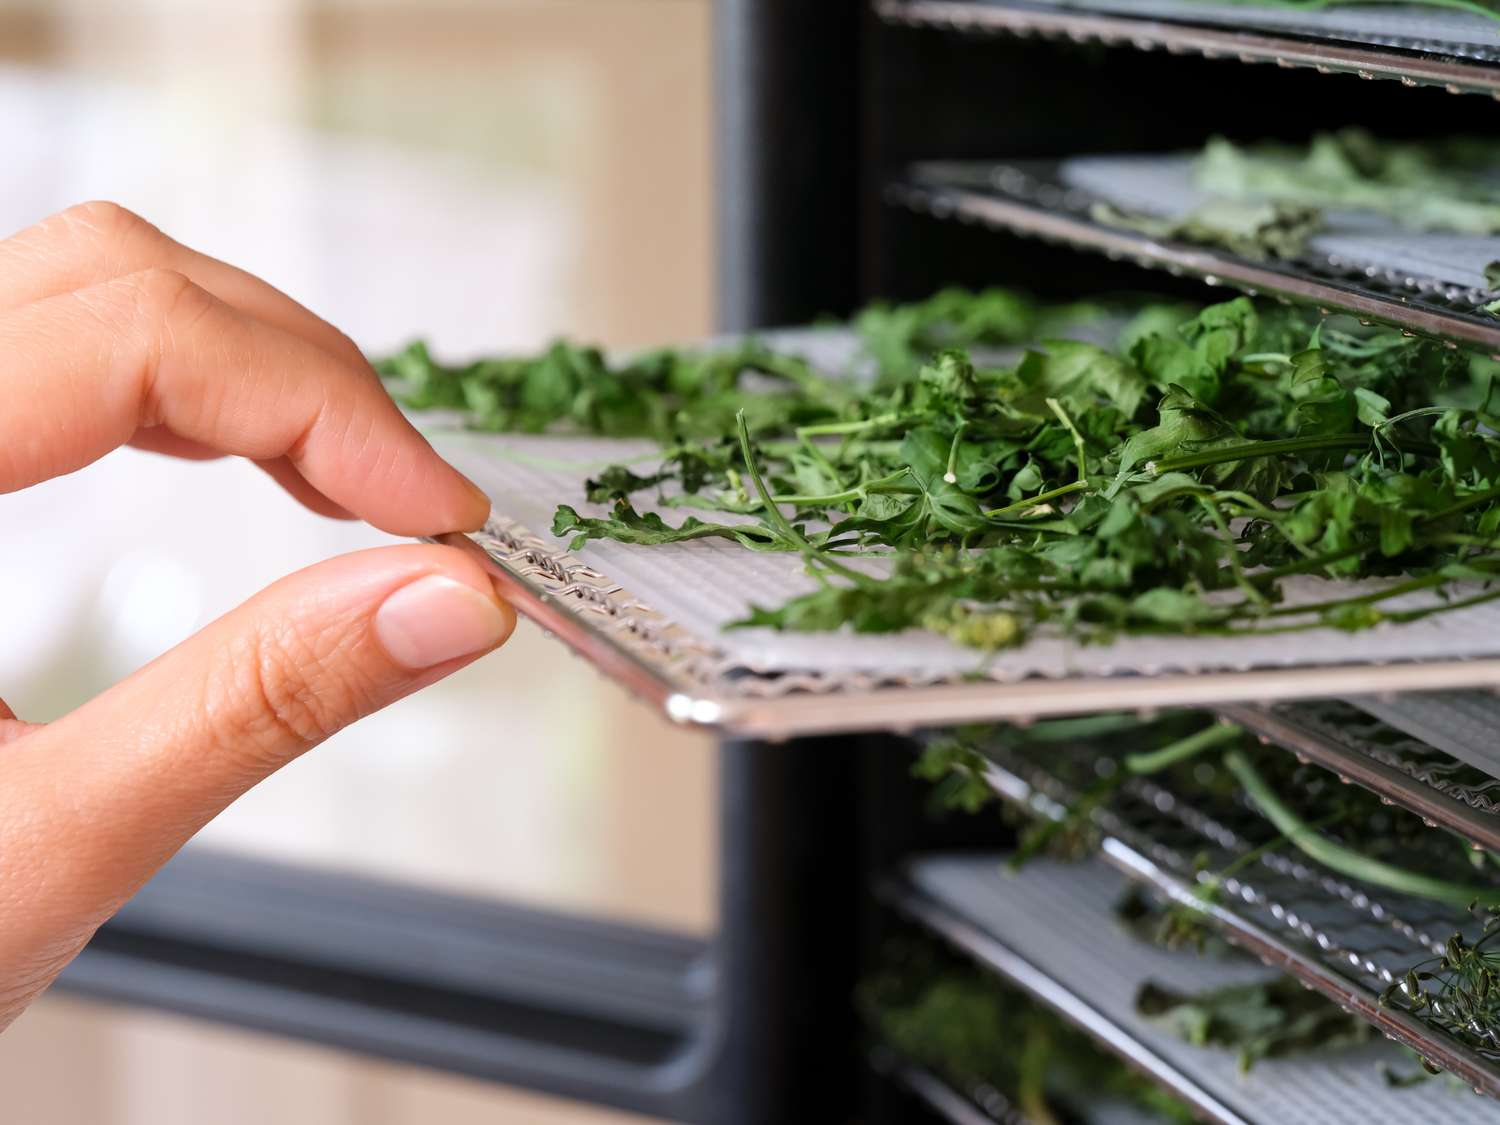
Clean the Trays and Racks
After disassembling the dehydrator, the next step is to clean the trays and racks thoroughly. Follow these steps to ensure that these components are free from food residues and oils:
- Pre-Soak the Trays and Racks: Fill a sink or a large basin with warm water and add a small amount of mild dish soap. Submerge the trays and racks in the soapy water, allowing them to soak for a few minutes. This pre-soaking process will help loosen any dried-on food particles and make the cleaning process more manageable.
- Scrub the Trays and Racks: Using a soft-bristled brush or sponge, gently scrub the trays and racks to remove any remaining food residues. Pay close attention to the corners and edges, as these areas are prone to accumulating debris. For stubborn residues, a paste of baking soda and water can be used as a gentle abrasive to aid in the cleaning process.
- Rinse Thoroughly: After scrubbing, rinse the trays and racks under running water to remove the soapy residue and loosened food particles. Ensure that all traces of soap and debris are thoroughly washed away.
- Dry Completely: Once cleaned, use a clean, dry cloth or paper towels to dry the trays and racks completely. It is crucial to remove all moisture to prevent mold growth and maintain the integrity of the trays and racks.
If your trays and racks have stubborn stains or odors, you can utilize a solution of water and vinegar to soak them before scrubbing. Vinegar’s natural acidic properties can help break down tough stains and eliminate lingering odors, leaving your trays and racks fresh and clean.
By following these steps, you will ensure that your trays and racks are free from any food residues, oils, and odors, promoting optimal hygiene and preserving the flavors of your dehydrated foods. Once the trays and racks are clean and dry, you can proceed to clean the dehydrator body before reassembling the unit.
After each use, remove the trays and wash them with warm, soapy water. Use a soft brush to clean any stubborn residue. Wipe the inside of the dehydrator with a damp cloth. Allow all parts to dry completely before reassembling.
Clean the Dehydrator Body
Now that the trays and racks are clean and dry, it’s time to focus on cleaning the dehydrator body itself. The interior and exterior of the dehydrator require thorough cleaning to remove any accumulated food particles, oils, and residues. Follow these steps to ensure that the dehydrator body is impeccably clean:
- Wipe Down the Interior: Using a clean, damp cloth or sponge, wipe down the interior surfaces of the dehydrator to remove any visible food particles and residues. Pay special attention to the areas around the heating element and vents, as these areas are prone to accumulating debris during the dehydration process.
- Address Stubborn Stains: For stubborn stains or residues, create a paste using baking soda and water. Apply the paste to the affected areas and gently scrub with a soft-bristled brush or sponge. Baking soda’s mild abrasive properties can help lift tough stains without damaging the interior surfaces of the dehydrator.
- Clean the Exterior: Wipe down the exterior of the dehydrator with a clean, damp cloth to remove any dust, spills, or stains. If the exterior surfaces are particularly grimy, a solution of mild dish soap and water can be used to clean the exterior, followed by a thorough rinse and drying.
- Sanitize if Necessary: If you want to ensure that the dehydrator is thoroughly sanitized, consider using food-safe sanitizing spray or wipes to disinfect the interior and exterior surfaces. This step is especially important if you have been dehydrating meats or other perishable foods.
For hard-to-reach areas, such as vents and crevices, cotton swabs or toothpicks can be used to remove trapped debris and residues. Ensuring that these areas are clean and free from buildup is essential for maintaining the overall cleanliness and functionality of the dehydrator.
By meticulously cleaning the interior and exterior of the dehydrator body, you will eliminate any potential sources of cross-contamination and ensure that your dehydrator is in optimal condition for future use. Once the dehydrator body is clean and dry, you can proceed to reassemble the unit, taking the necessary steps to maintain its cleanliness in the long run.
Read more: How To Dehydrate Tomatoes In A Dehydrator
Reassemble the Dehydrator
After completing the cleaning process for the trays, racks, and dehydrator body, it’s time to reassemble the unit to prepare it for future use. Follow these steps to ensure that your dehydrator is reassembled correctly and ready to produce delicious dried foods:
- Position the Trays and Racks: Place the clean and dry trays and racks back into their respective positions within the dehydrator. Ensure that they fit securely and align properly to facilitate even drying of the foods.
- Attach the Dehydrator Body: If the dehydrator body was detached during the cleaning process, reattach it to the base or heating element according to the manufacturer’s instructions. Secure any latches or screws to ensure that the dehydrator is fully assembled.
- Install Additional Components: If your dehydrator includes additional components such as a drip tray or door, reattach them as well, ensuring that they are properly positioned and secure.
- Plug in the Dehydrator: Once the unit is reassembled, plug the dehydrator back into the power source, and it is ready for use.
As you reassemble the dehydrator, take a moment to inspect each component to ensure that it is clean, dry, and free from any damage. Proper reassembly is crucial for the efficient and safe operation of the dehydrator, as it ensures that all components are in their correct positions and functioning optimally.
By following these reassembly steps, you can rest assured that your dehydrator is ready to produce high-quality dried foods. With a clean and well-maintained dehydrator, you can continue to enjoy the benefits of preserving fruits, vegetables, meats, and herbs with confidence in the cleanliness and functionality of your appliance.
Tips for Maintaining a Clean Dehydrator
Maintaining a clean dehydrator is essential for preserving the quality of your dried foods and ensuring the longevity of your appliance. Here are some valuable tips to help you maintain a clean and hygienic dehydrator:
- Regular Cleaning: Make it a habit to clean your dehydrator after each use. Removing food residues and oils promptly can prevent them from hardening and becoming more challenging to clean later. This practice also helps prevent cross-contamination between different batches of dried foods.
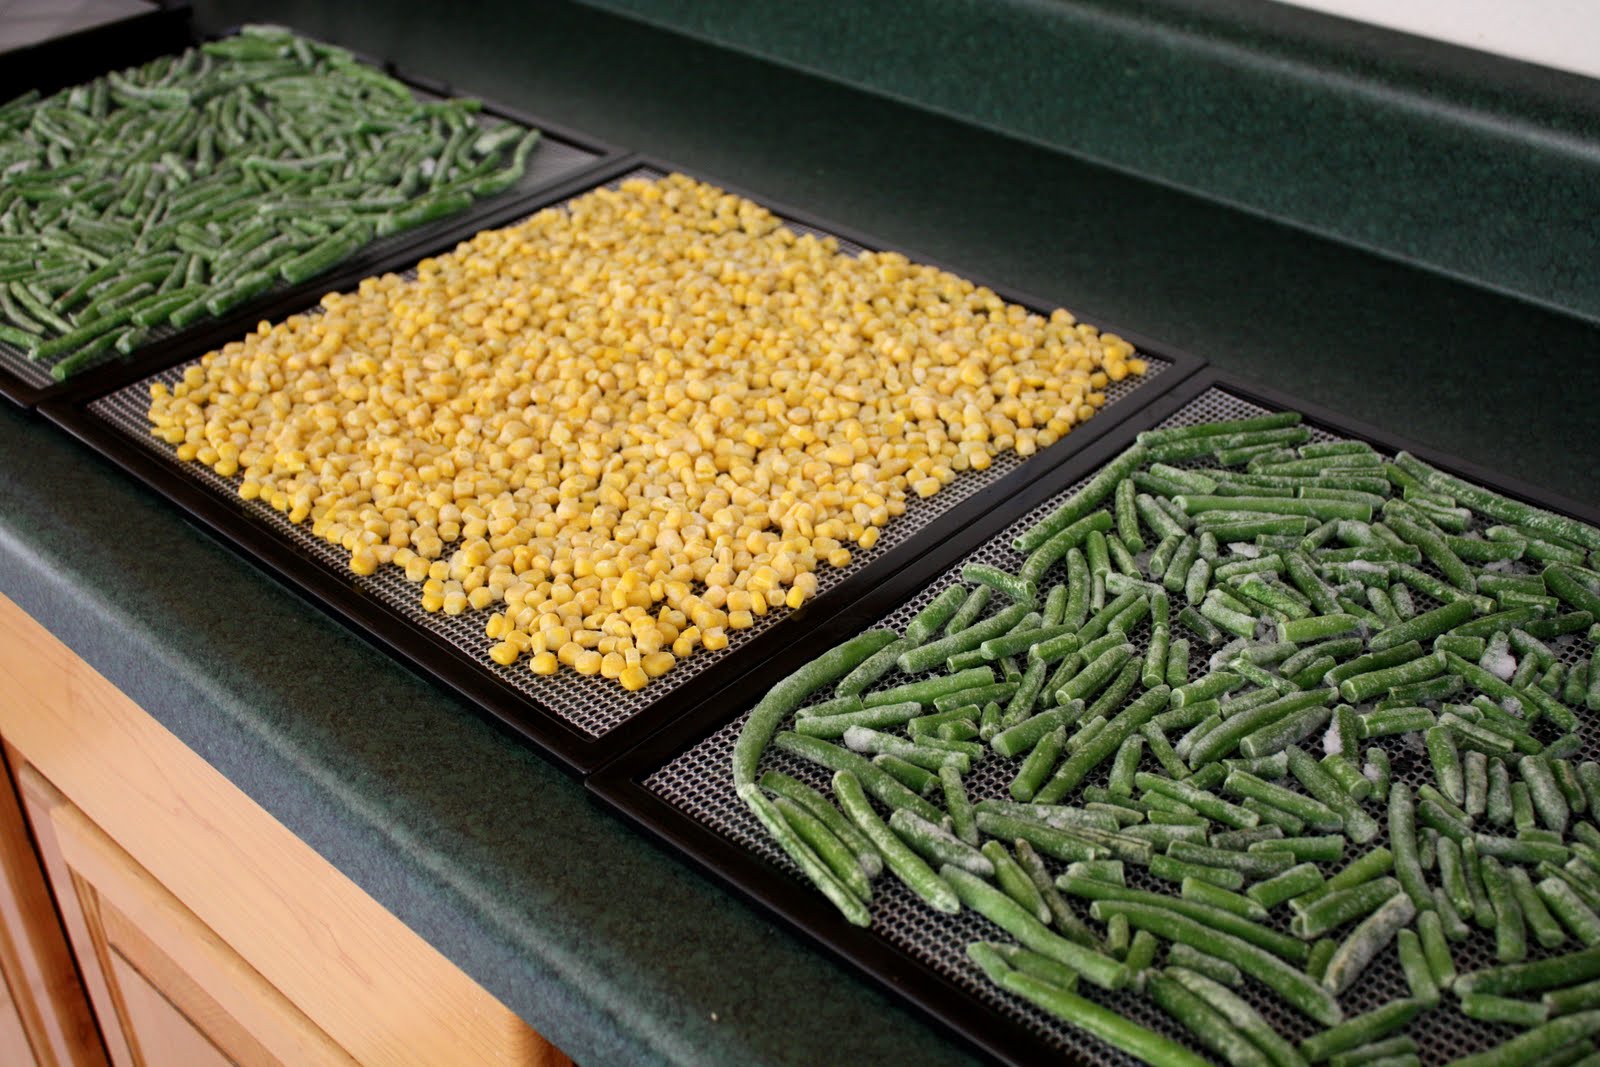
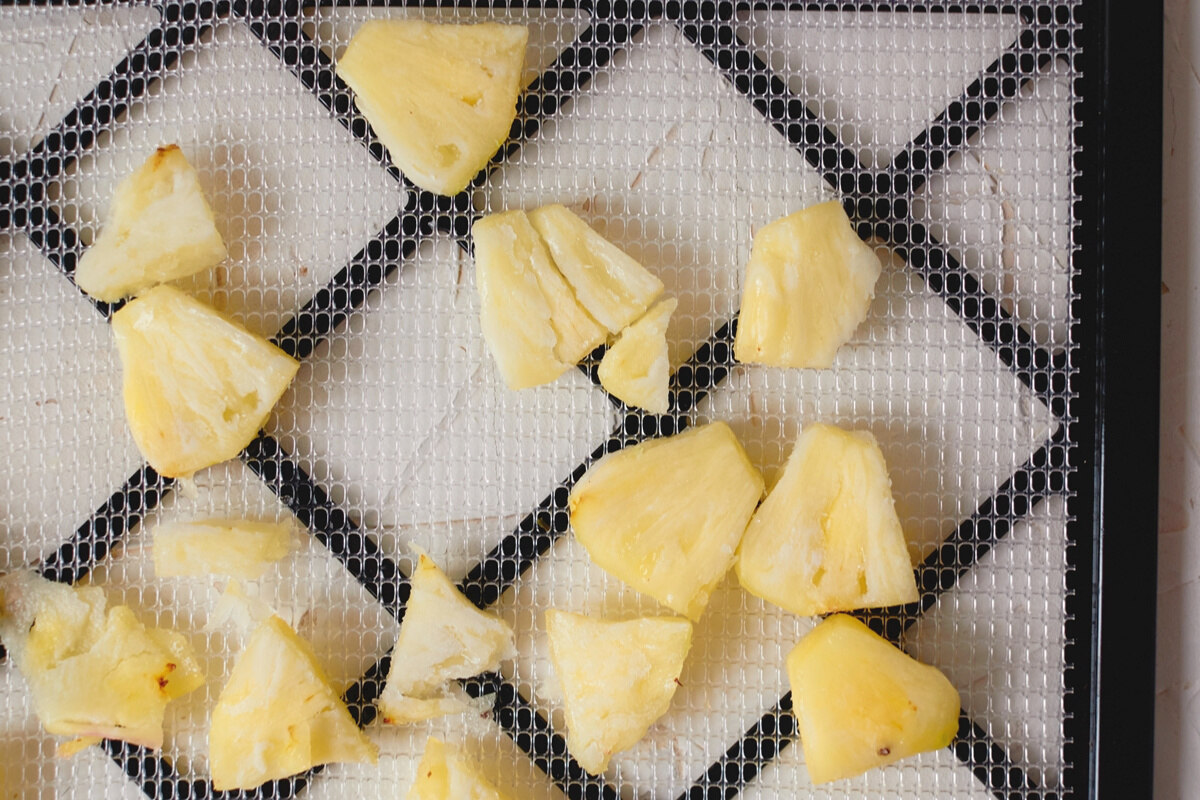
- Use Liners or Non-Stick Sheets: Consider using non-stick sheets or liners on the trays to minimize direct contact between the food and the trays. These liners are easier to clean and can help prevent sticky residues from adhering to the trays, reducing the cleaning effort required.
- Rotate and Inspect Trays: Periodically rotate the trays during the dehydration process to ensure even drying. While doing so, take the opportunity to inspect the trays for any signs of residue buildup or wear and tear. Address any issues promptly to maintain the cleanliness and functionality of the trays.
- Allow for Sufficient Air Circulation: Avoid overcrowding the trays with food, as this can impede proper air circulation and lead to uneven drying. Adequate spacing between food items promotes efficient dehydration and minimizes the likelihood of drips and spills, contributing to a cleaner dehydrating process.
- Store the Dehydrator Properly: When the dehydrator is not in use, store it in a clean, dry, and well-ventilated area. Proper storage helps prevent dust accumulation and maintains the cleanliness of the appliance between uses.
- Inspect and Replace Components: Regularly inspect the trays, racks, and other components for signs of wear, damage, or deterioration. Replace any worn or damaged parts to uphold the cleanliness and functionality of the dehydrator.
- Utilize Odor-Absorbing Agents: To prevent lingering odors in the dehydrator, consider placing odor-absorbing agents, such as activated charcoal or baking soda, inside the appliance between uses. These agents can help neutralize odors and maintain a fresh-smelling dehydrator.
By incorporating these maintenance tips into your dehydrating routine, you can uphold the cleanliness and efficiency of your dehydrator, ensuring that it continues to produce high-quality dried foods with minimal cleaning challenges. A well-maintained dehydrator not only promotes food safety but also enhances the overall dehydrating experience, allowing you to enjoy delicious and wholesome dried foods with confidence in the cleanliness of your appliance.
Conclusion
Cleaning and maintaining your dehydrator is a fundamental aspect of preserving the quality of your dehydrated foods and ensuring the optimal performance of your appliance. By following the step-by-step cleaning process outlined in this guide and implementing the maintenance tips provided, you can uphold the cleanliness and functionality of your dehydrator with ease and confidence.
Regular cleaning, both after each use and as part of a comprehensive maintenance routine, is essential for preventing food residues, oils, and odors from compromising the flavors and safety of your dehydrated foods. By disassembling the dehydrator, cleaning the trays, racks, and dehydrator body, and reassembling the unit with care, you can maintain a pristine and hygienic appliance ready for future use.
Furthermore, the tips for maintaining a clean dehydrator offer valuable insights into sustaining the cleanliness and efficiency of your appliance over time. By incorporating these tips into your dehydrating routine, you can minimize cleaning challenges and ensure that your dehydrator continues to produce high-quality dried foods for years to come.
Ultimately, a clean and well-maintained dehydrator not only promotes food safety and the preservation of flavors but also enhances the overall dehydrating experience. With a meticulously cleaned and hygienic dehydrator, you can confidently create an array of delectable dried fruits, vegetables, meats, and herbs, knowing that your appliance is in top-notch condition.
By prioritizing the cleanliness and maintenance of your dehydrator, you can savor the convenience and benefits of home food dehydration while preserving the integrity of your favorite ingredients. Embrace the cleaning process as an essential part of your dehydrating journey, and enjoy the peace of mind that comes with a sparkling clean and well-maintained dehydrator.
Frequently Asked Questions about How To Clean A Dehydrator
Was this page helpful?
At Storables.com, we guarantee accurate and reliable information. Our content, validated by Expert Board Contributors, is crafted following stringent Editorial Policies. We're committed to providing you with well-researched, expert-backed insights for all your informational needs.


0 thoughts on “How To Clean A Dehydrator”