Home>Home Appliances>Kitchen Appliances>How To Dehydrate Okra In A Dehydrator

Kitchen Appliances
How To Dehydrate Okra In A Dehydrator
Modified: March 2, 2024
Learn how to easily dehydrate okra in a dehydrator with our step-by-step guide. Discover the best kitchen appliances for preserving your favorite vegetables. Start dehydrating today!
(Many of the links in this article redirect to a specific reviewed product. Your purchase of these products through affiliate links helps to generate commission for Storables.com, at no extra cost. Learn more)
Introduction
Dehydrating okra is a fantastic way to preserve this nutritious and versatile vegetable. Whether you want to enjoy okra year-round, reduce food waste, or simply experiment with new culinary techniques, dehydrating okra can be a rewarding endeavor. By removing the moisture from okra, you can extend its shelf life and create a crispy, flavorful snack or a convenient ingredient for soups, stews, and casseroles.
In this comprehensive guide, we will explore the step-by-step process of dehydrating okra using a dehydrator. From selecting the freshest okra to properly storing the dehydrated slices, you will learn valuable tips and tricks to ensure successful results. So, roll up your sleeves, sharpen your knife, and let's embark on a flavorful journey into the world of dehydrated okra!
Key Takeaways:
- Dehydrating okra preserves its flavor and nutrients, making it a crispy snack or versatile ingredient for various dishes. Select fresh, small pods and follow proper preparation and dehydration techniques for best results.
- Properly storing dehydrated okra in airtight containers in a cool, dry place maintains its quality for up to a year. Label and date containers, consider freezer storage, and keep slices separate from other dehydrated foods for rehydration and snacking.
Read more: How To Store Okra Seeds
Choosing the Right Okra
When it comes to dehydrating okra, selecting the right produce is crucial for achieving the best results. Whether you grow your own okra or purchase it from a local market, there are several key factors to consider when choosing the perfect specimens for dehydration.
1. Freshness: Opt for fresh, young okra pods that are firm to the touch and free from blemishes. The fresher the okra, the better the end result will be.
2. Size: While okra comes in various sizes, aim for pods that are small to medium in size. These pods tend to dehydrate more evenly and efficiently, resulting in uniform slices.
3. Color: Look for vibrant green okra pods without any signs of discoloration or yellowing. The color indicates the freshness and quality of the okra.
4. Texture: The pods should feel tender and crisp, indicating that they are at the peak of ripeness. Avoid okra that feels overly soft or woody, as it may not dehydrate well.
5. Organic Options: If possible, consider choosing organic okra to minimize exposure to pesticides and chemicals. Organic produce often boasts superior flavor and nutritional value.
By paying attention to these factors, you can ensure that you start the dehydration process with the best possible raw materials. This will set the stage for a successful and satisfying dehydrating experience, yielding flavorful and nutritious dried okra slices.
Preparing the Okra
Before diving into the dehydrating process, it’s essential to properly prepare the okra to ensure optimal results. This involves washing, trimming, and slicing the pods in a uniform manner to promote even dehydration and enhance the overall quality of the end product.
1. Washing: Start by rinsing the okra under cold running water to remove any dirt, debris, or pesticide residue. Gently scrub the pods with a vegetable brush to ensure thorough cleaning, and then pat them dry with a clean kitchen towel or paper towel.
2. Trimming: Using a sharp knife, carefully trim the stem ends from the okra pods. Aim to create uniform cuts, ensuring that all the pods are roughly the same length. This not only improves the visual appeal of the dehydrated slices but also promotes consistent drying.
3. Slicing: Once trimmed, slice the okra into even rounds of approximately 1/4 to 1/2 inch in thickness. A mandoline slicer or a sharp knife can be used for this purpose. Consistent slicing is crucial for uniform dehydration, as it ensures that all the pieces dry at the same rate, minimizing the risk of unevenly dried or burnt slices.
4. Blanching (Optional): Some individuals prefer to blanch the okra slices in boiling water for a brief period (approximately 3 minutes) before dehydrating them. Blanching can help preserve the okra’s color, texture, and nutritional content, but it is not mandatory for successful dehydration. If you opt for blanching, be sure to promptly cool the slices in ice water and thoroughly pat them dry before proceeding with the dehydration process.
By taking the time to properly wash, trim, and slice the okra, you set the stage for a successful dehydration process. These preparatory steps not only enhance the visual appeal of the dehydrated slices but also contribute to a more consistent and flavorful end product.
Dehydrating the Okra
With the okra washed, trimmed, and sliced to perfection, it’s time to fire up the dehydrator and commence the drying process. Dehydrating okra is a straightforward yet essential step that requires careful attention to time and temperature to achieve the desired results.
1. Preheating the Dehydrator: Before placing the okra slices in the dehydrator, preheat the appliance to the recommended temperature for dehydrating vegetables. This typically ranges from 125°F to 135°F (approximately 52°C to 57°C), but refer to your dehydrator’s manual for specific guidelines.
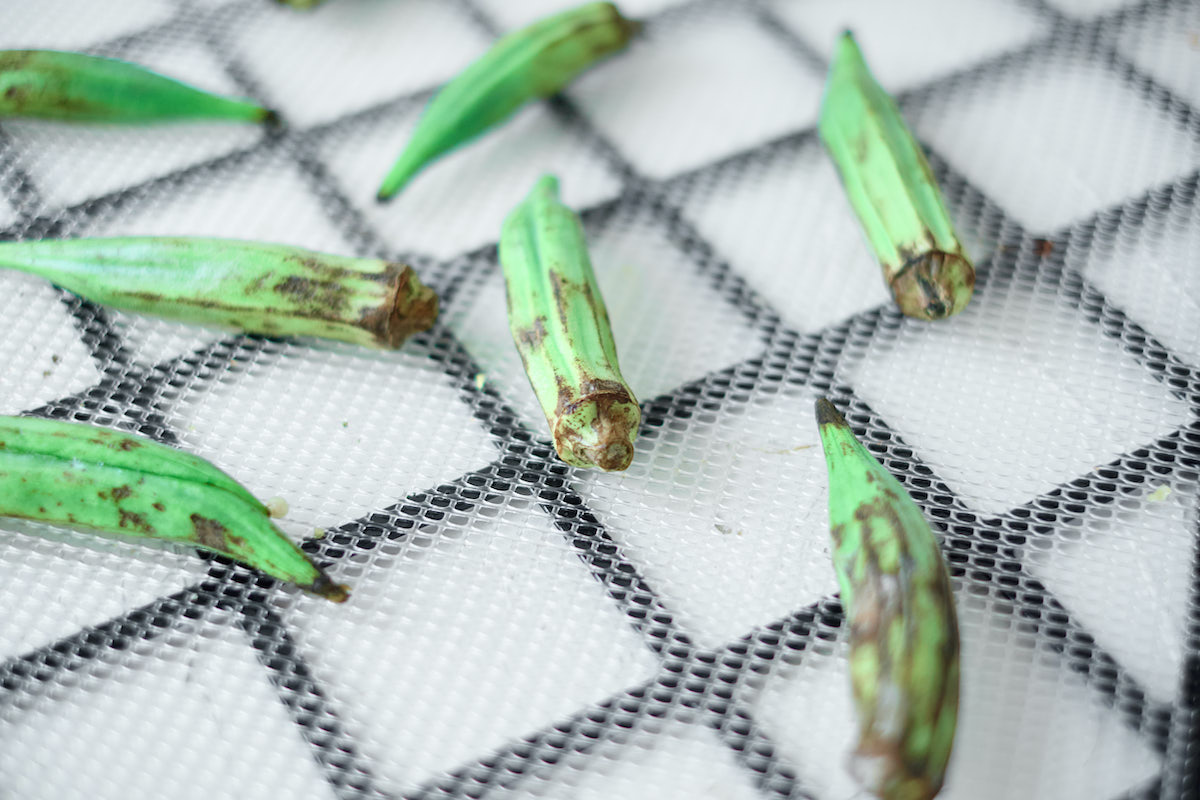
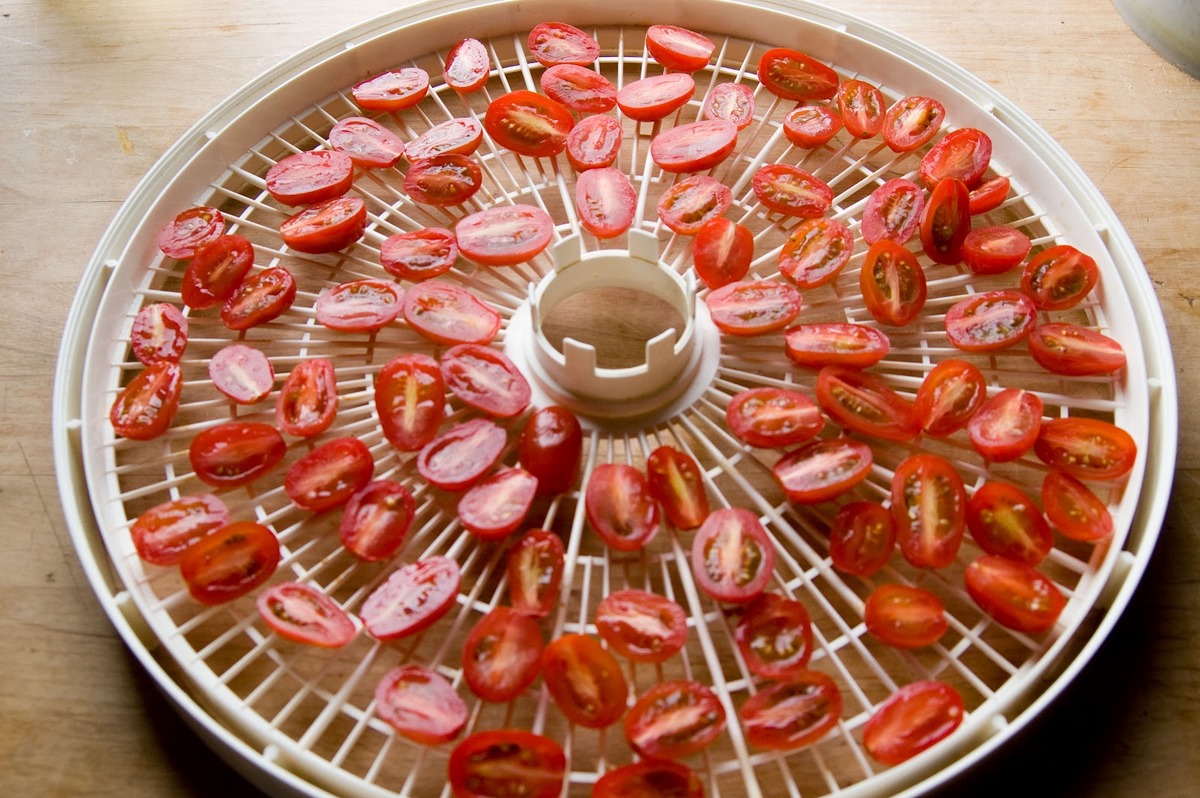
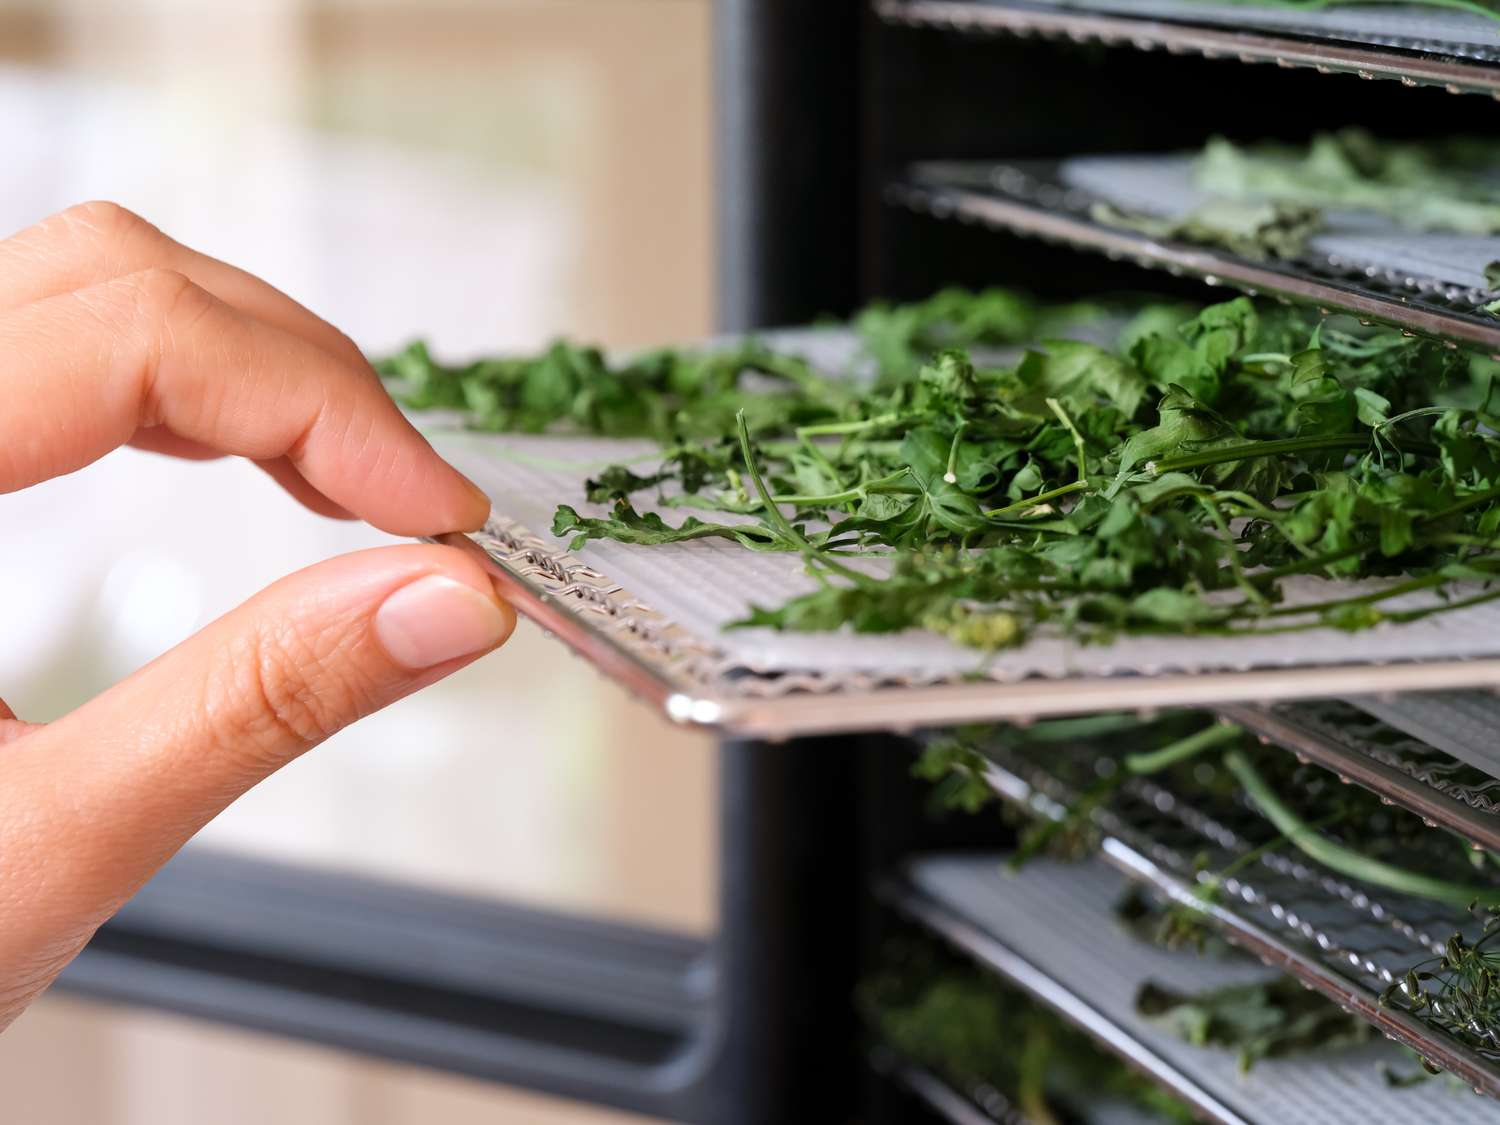
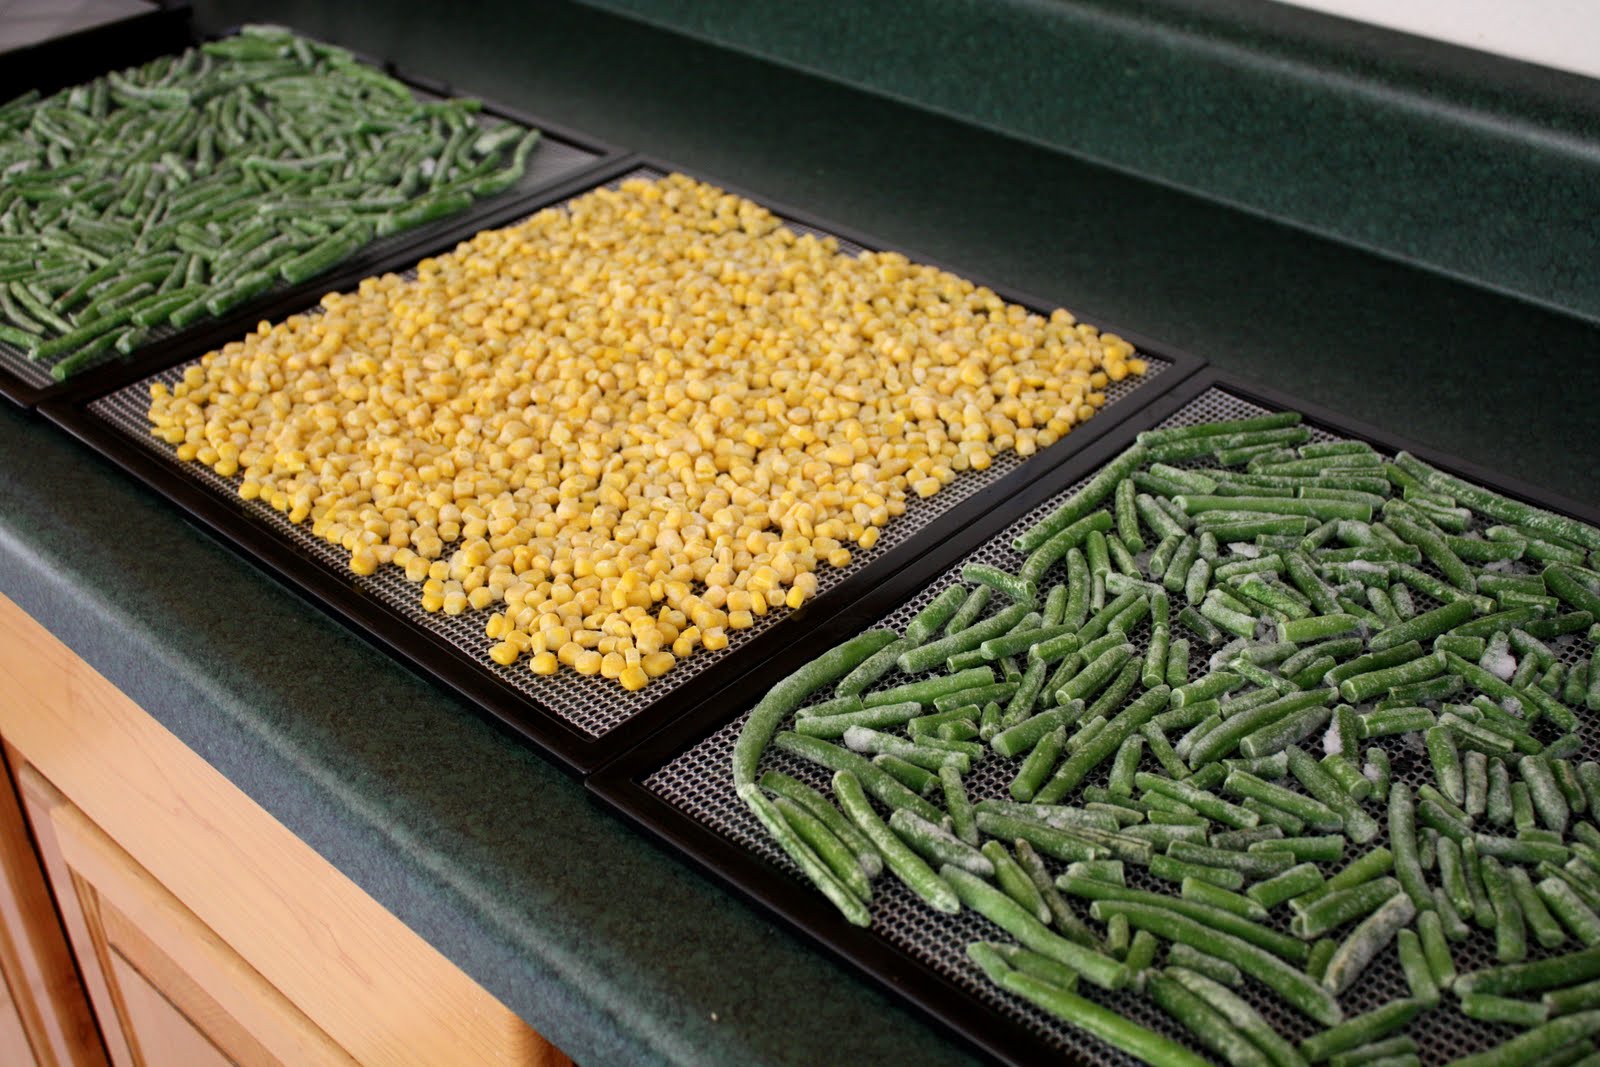
2. Arranging the Okra Slices: Lay the okra slices in a single layer on the dehydrator trays, ensuring that there is ample space between each slice to allow for proper air circulation. Avoid overcrowding the trays, as this can impede the dehydration process and lead to uneven drying.
3. Monitoring the Drying Process: Once the okra slices are arranged on the trays, place them in the dehydrator and set the timer according to the manufacturer’s recommendations. It’s essential to periodically check the progress of the drying process, rotating the trays if necessary to promote uniform dehydration.
4. Testing for Dryness: After several hours, begin testing the okra slices for dryness. They should feel crisp and brittle to the touch, indicating that the dehydration process is complete. Keep in mind that the total drying time can vary based on factors such as humidity, slice thickness, and the dehydrator’s performance.
5. Cool Down Period: Once the okra slices are thoroughly dehydrated, allow them to cool to room temperature before proceeding to the next step. This cooling period helps ensure that any residual moisture evaporates, promoting the longevity of the dehydrated okra.
By following these steps, you can effectively dehydrate okra to create a delightful, crunchy snack or a versatile ingredient for your culinary endeavors. The dehydrated okra slices can be enjoyed on their own, added to trail mixes, or incorporated into various recipes to infuse dishes with a delightful crunch and a hint of okra’s unique flavor.
To dehydrate okra in a dehydrator, slice the okra into 1/4 inch pieces and spread them out on the dehydrator trays. Dry at 125°F for 6-8 hours, or until crispy. Enjoy as a healthy snack or add to soups and stews for extra flavor and texture.
Storing Dehydrated Okra
After successfully dehydrating the okra slices, proper storage is essential to maintain their quality and flavor over an extended period. Whether you plan to enjoy the dehydrated okra as a standalone snack or incorporate it into your culinary creations, following these storage guidelines will help preserve its freshness and nutritional value.
1. Cool, Dry Environment: Transfer the dehydrated okra slices to airtight containers such as glass jars, resealable bags, or vacuum-sealed pouches. It’s crucial to store the containers in a cool, dry environment away from direct sunlight and moisture, as exposure to heat and humidity can compromise the okra’s texture and flavor.
2. Labeling and Dating: To keep track of the storage duration and maintain organization, label the containers with the date of dehydration. This practice ensures that you can monitor the freshness of the dehydrated okra and prioritize the consumption of older batches first.
3. Freezer Storage (Optional): For prolonged shelf life, consider storing a portion of the dehydrated okra in the freezer. This can further safeguard the slices from moisture and oxidation, preserving their crispness and flavor for an extended period.
4. Shelf Life: When stored in optimal conditions, dehydrated okra can retain its quality for several months to a year. However, for the best flavor and texture, aim to consume the slices within 6 to 12 months of dehydration.
5. Rehydration Considerations: If you plan to rehydrate the okra slices for use in soups, stews, or other recipes, store them separately from dehydrated fruits or other snacks to prevent flavor transfer. Additionally, consider keeping a portion of the dehydrated okra easily accessible for snacking or quick culinary additions.
By adhering to these storage practices, you can prolong the shelf life of the dehydrated okra while preserving its delightful crunch and nutritional benefits. Whether you enjoy it as a standalone snack or incorporate it into your favorite recipes, properly stored dehydrated okra offers a convenient and flavorful addition to your culinary repertoire.
Read more: How To Dehydrate Kiwi In A Dehydrator
Tips and Tricks
Dehydrating okra can be a straightforward and rewarding process, but incorporating these tips and tricks into your approach can elevate the quality of the end product and streamline the overall experience.
- Uniform Slicing: Aim for consistent slice thickness to ensure even dehydration and uniform texture in the dehydrated okra.
- Seasoning Options: Prior to dehydration, consider adding seasoning such as salt, pepper, or your favorite herbs and spices to infuse the okra slices with additional flavor.
- Monitoring Humidity: In humid environments, consider dehydrating okra during periods of lower humidity to expedite the drying process and minimize the risk of moisture retention in the slices.
- Exploring Texture Variations: Experiment with different slice thicknesses to achieve various textures, from crispy chips to slightly chewy slices, catering to your personal preferences.
- Optimizing Storage Space: Vacuum-sealing dehydrated okra can minimize storage space and further protect the slices from moisture and air exposure.
- Rehydration Techniques: If rehydrating the okra for use in cooked dishes, consider soaking the slices in water or broth to restore their original texture before incorporating them into recipes.
- Combining Flavors: Mix dehydrated okra with other dehydrated vegetables or fruits to create custom trail mix blends, adding variety and nutrition to your on-the-go snacks.
- Exploring Culinary Uses: Incorporate dehydrated okra into recipes such as gumbo, soups, salads, and stir-fries to introduce a unique crunch and flavor to your dishes.
- Sharing the Bounty: If you have an abundant okra harvest, consider dehydrating surplus pods to create flavorful gifts for friends and family.
By integrating these tips and tricks into your okra dehydration process, you can enhance the flavor, texture, and versatility of the dehydrated slices while optimizing the overall experience. Whether you’re a seasoned dehydrating enthusiast or a novice exploring this preservation method, these insights can help you achieve exceptional results and unlock the full potential of dehydrated okra.
Conclusion
Embarking on the journey of dehydrating okra opens up a world of culinary possibilities and preservation techniques. From selecting the finest okra pods to mastering the dehydration process and storing the flavorful results, this guide has equipped you with the knowledge and insights to confidently venture into the realm of dehydrated okra.
By embracing the art of dehydrating okra, you not only extend the shelf life of this nutritious vegetable but also unlock its potential as a versatile ingredient and a delightful snack. The crispy, flavorful slices can elevate your favorite recipes, infusing them with a unique texture and a hint of okra’s distinct flavor. Additionally, the convenience of having dehydrated okra on hand for snacking or culinary endeavors adds a touch of creativity and practicality to your kitchen.
Whether you’re a seasoned home cook, a health-conscious snack enthusiast, or an avid preservationist, dehydrating okra offers a rewarding and sustainable way to enjoy this beloved vegetable throughout the year. With attention to detail, a dash of creativity, and the tips and tricks shared in this guide, you’re well-equipped to embark on a flavorful journey into the world of dehydrated okra.
So, roll up your sleeves, fire up the dehydrator, and savor the delights of dehydrated okra – a culinary adventure that combines preservation, flavor, and creativity in every crispy bite.
Happy dehydrating!
Frequently Asked Questions about How To Dehydrate Okra In A Dehydrator
Was this page helpful?
At Storables.com, we guarantee accurate and reliable information. Our content, validated by Expert Board Contributors, is crafted following stringent Editorial Policies. We're committed to providing you with well-researched, expert-backed insights for all your informational needs.



0 thoughts on “How To Dehydrate Okra In A Dehydrator”