Articles
How To Remove A Toilet Handle
Modified: October 20, 2024
Learn how to remove a toilet handle with our informative articles. Find step-by-step instructions and tips to complete the task easily and efficiently.
(Many of the links in this article redirect to a specific reviewed product. Your purchase of these products through affiliate links helps to generate commission for Storables.com, at no extra cost. Learn more)
Introduction
Removing a toilet handle may seem like a daunting task, but with the right tools and a little know-how, it’s actually a straightforward process that can be done in just a few simple steps. Whether you’re looking to replace a broken handle or simply want to upgrade to a new one, this guide will walk you through the process and have your toilet looking and functioning like new in no time.
In this article, we will cover the step-by-step instructions for removing a toilet handle, as well as provide some useful tips along the way. Before we dive into the details, let’s quickly go over the tools and materials you will need for this project.
Key Takeaways:
- Easily upgrade your toilet’s look and functionality by following simple steps to remove and replace the handle. Gather tools, disconnect components, and enjoy a seamless flush with your new handle!
- With the right tools and know-how, replacing a toilet handle is a straightforward DIY project. From disconnecting the old handle to installing the new one, enjoy a refreshed bathroom in no time!
Read more: How To Fix A Toilet Handle
Step 1: Gather necessary tools and materials
Before you begin the process of removing a toilet handle, it’s important to gather all the tools and materials that you will need. Having everything ready in advance will make the process much smoother and more efficient. Here’s a list of the items you’ll need:
- Adjustable wrench or pliers
- Screwdriver (either flathead or Phillips, depending on the type of screws)
- New toilet handle
Make sure you have the correct size wrench or pliers that will fit the nuts on the toilet handle. It’s also a good idea to have a cloth or towel handy to clean up any water that may spill during the process.
If you don’t already have a new toilet handle, you can find them at most hardware stores or home improvement centers. Be sure to choose a handle that matches the style and finish of your existing fixtures for a cohesive look.
Once you have gathered all the necessary tools and materials, you’re ready to move on to the next step: turning off the water supply.
Step 2: Turn off the water supply
Before you proceed with removing the toilet handle, it is crucial to turn off the water supply to the toilet. This step ensures that you won’t have any water flowing into the tank while you’re working on it, reducing the risk of leaks or water damage.
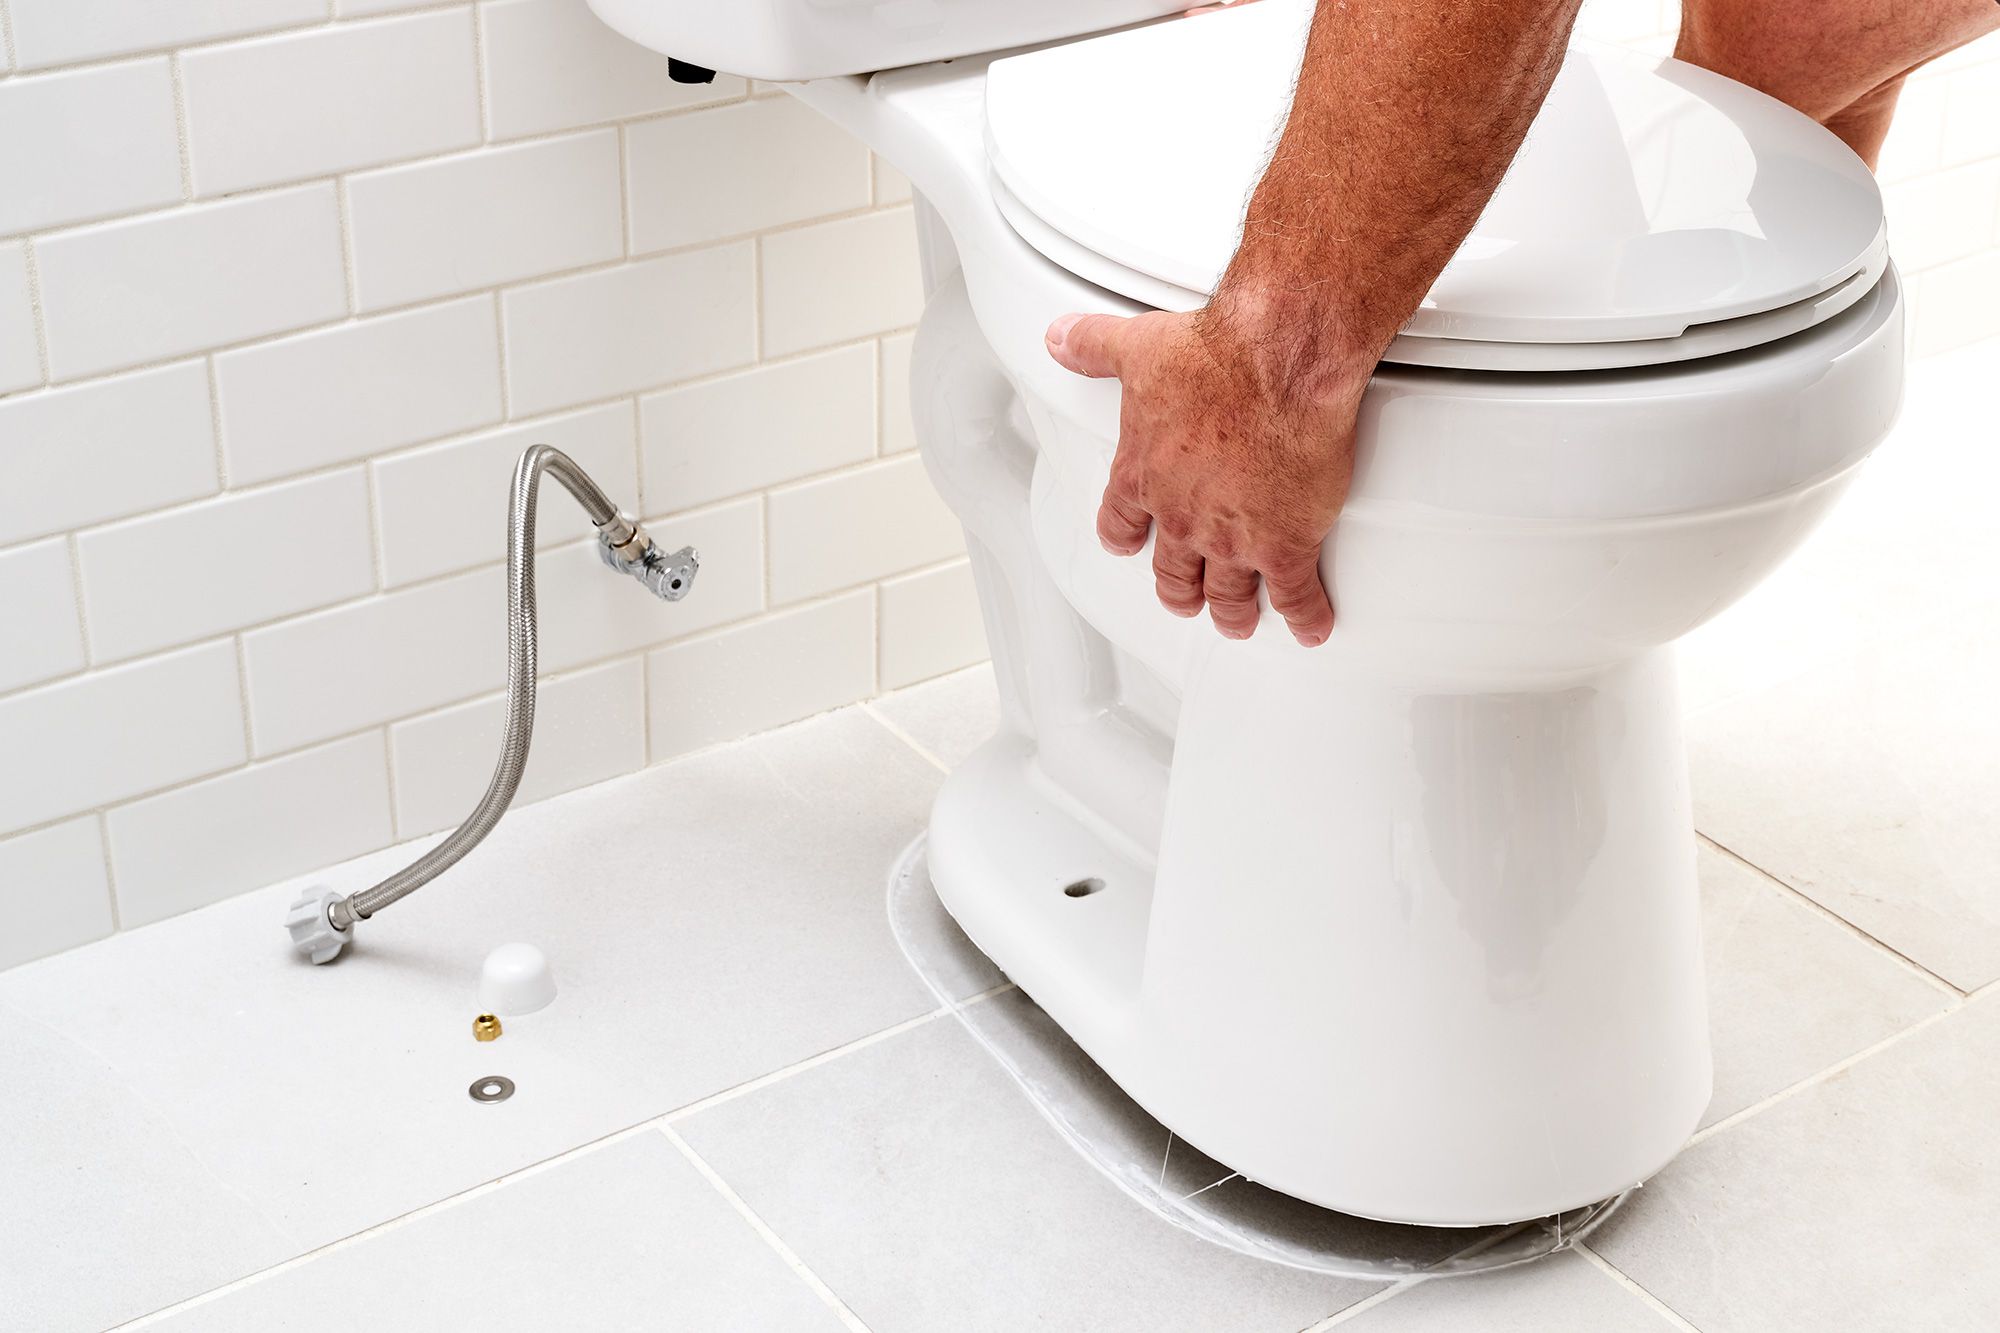
To turn off the water supply, locate the shut-off valve behind or near the toilet. Most shut-off valves have a handle or a lever that can be turned clockwise to shut off the water flow. If your toilet doesn’t have a shut-off valve, you may need to shut off the water supply to your entire house or apartment.
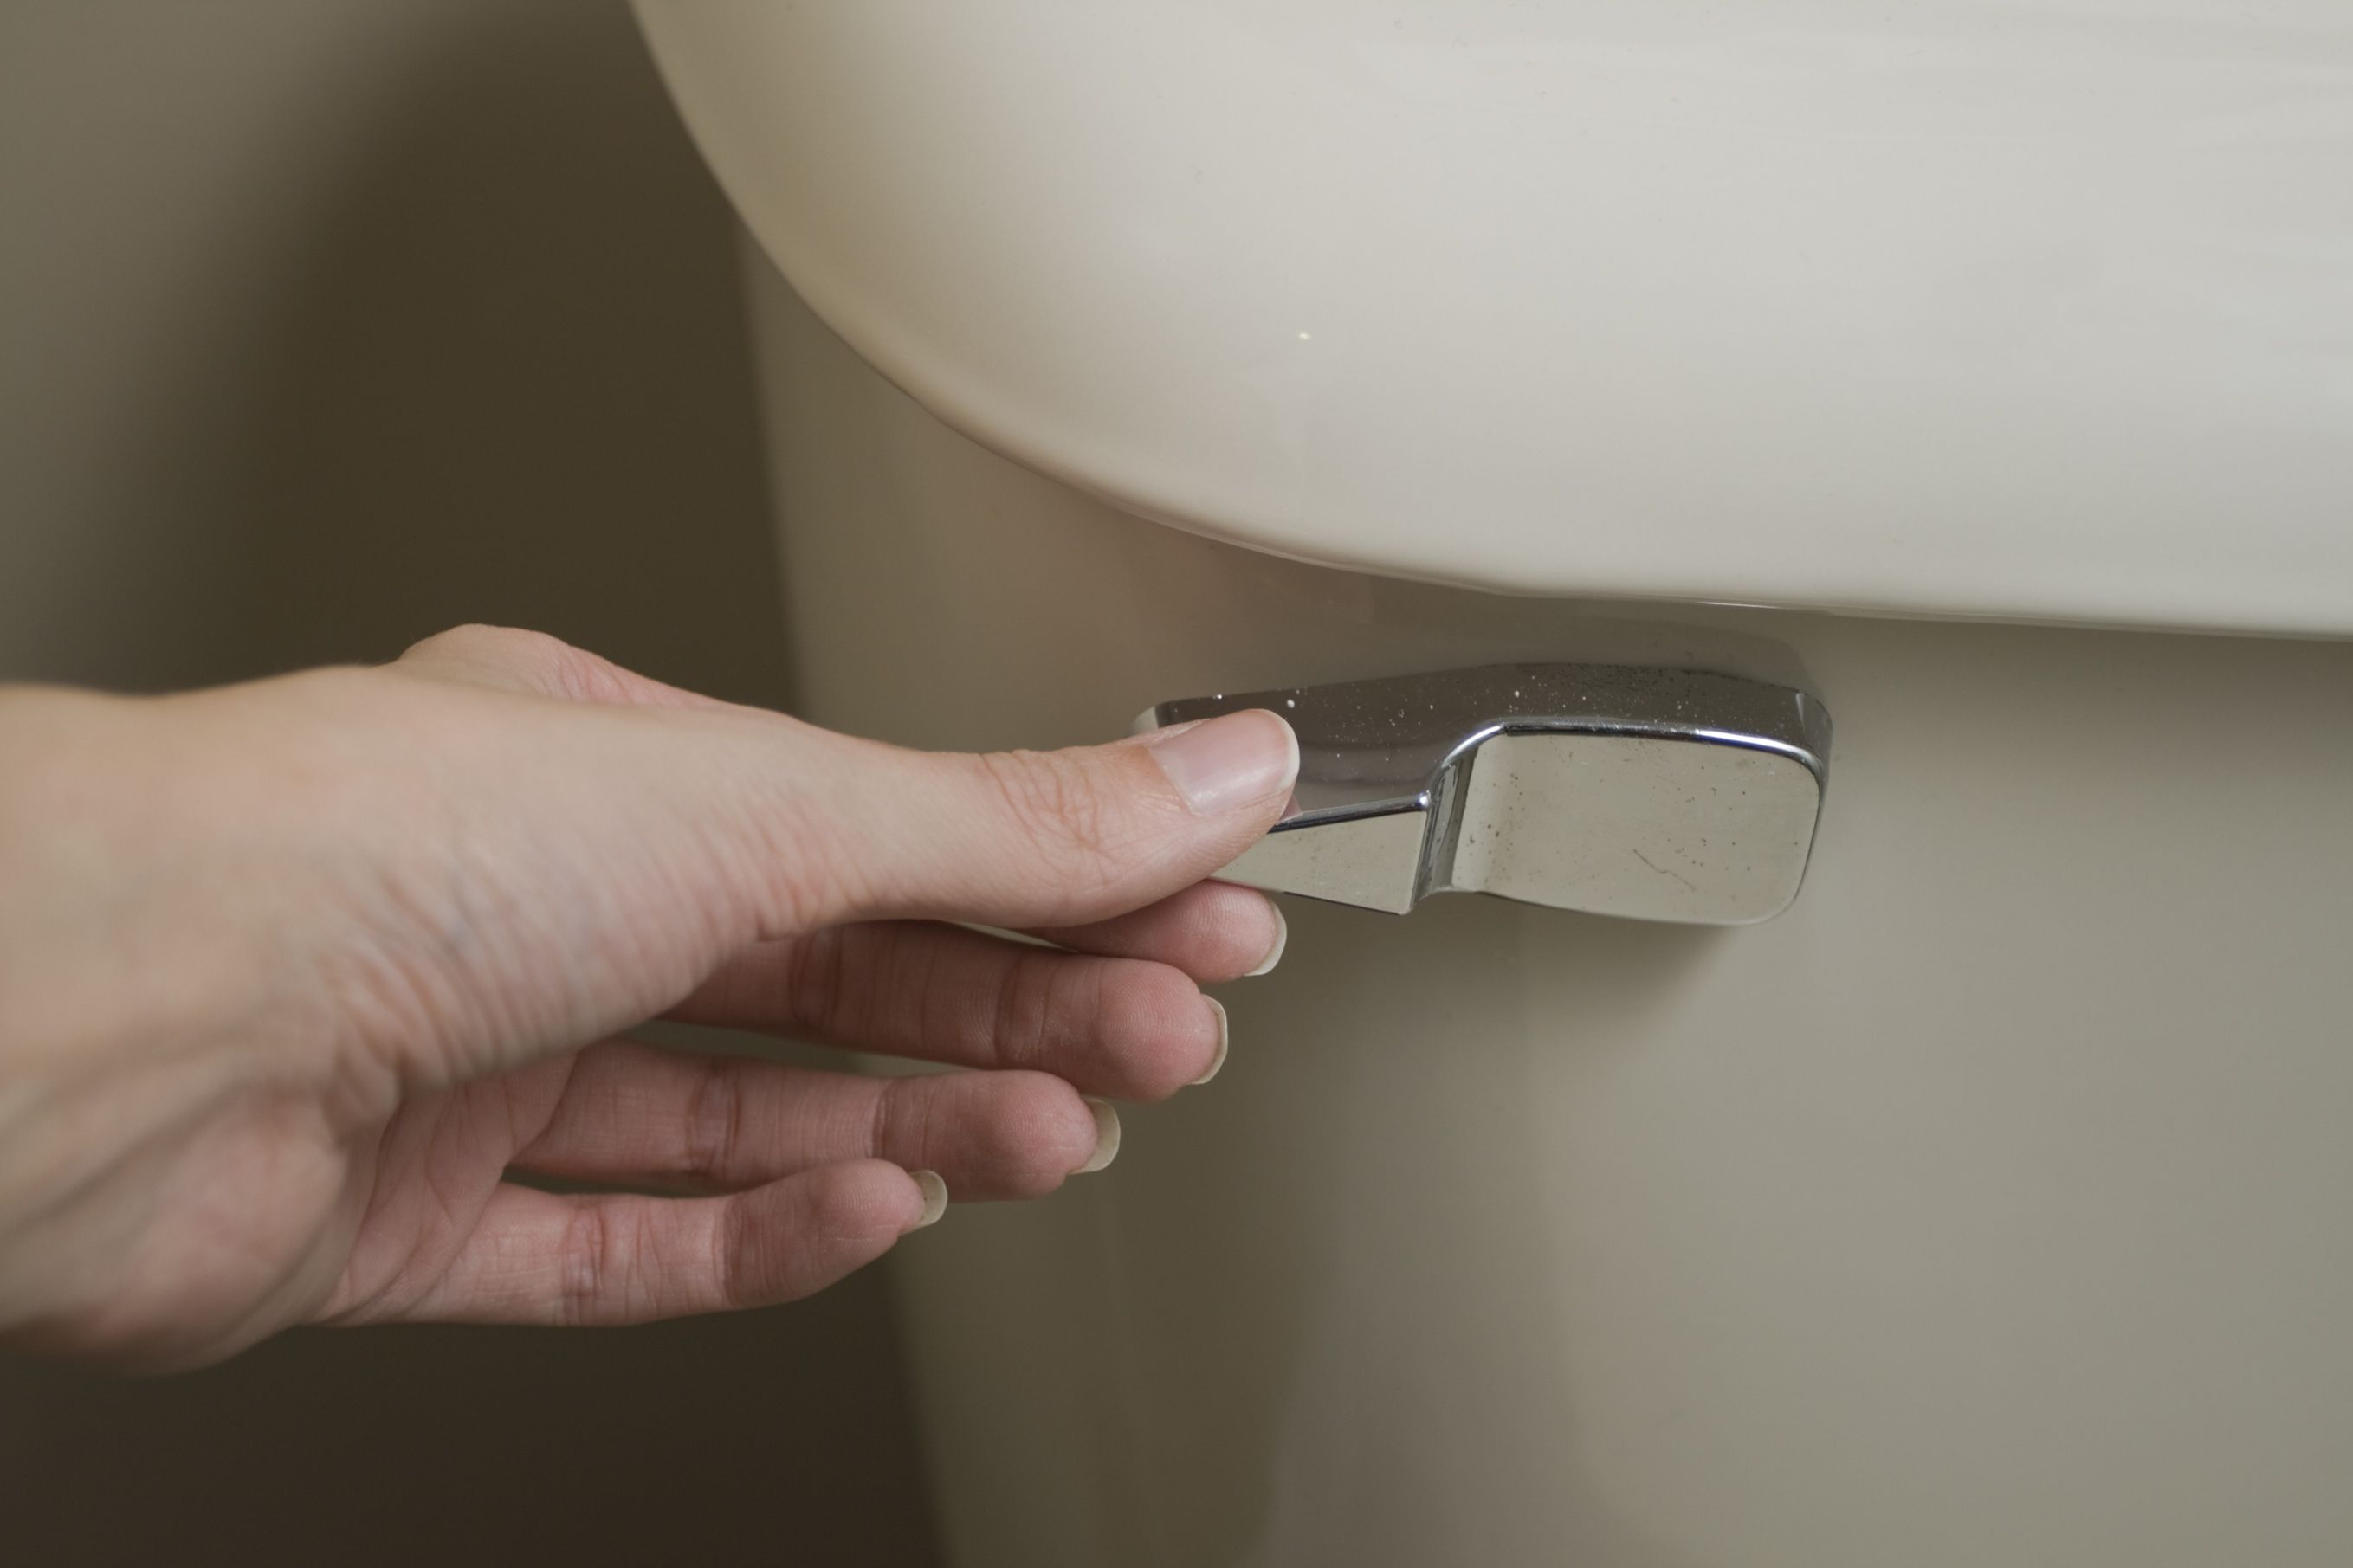
Once the water supply is turned off, flush the toilet to drain any remaining water in the tank. This will make it easier to work on the handle without water getting in the way.
Now that the water supply is off and the tank is drained, you’re ready to move on to the next step: removing the toilet tank lid.
Step 3: Remove the toilet tank lid
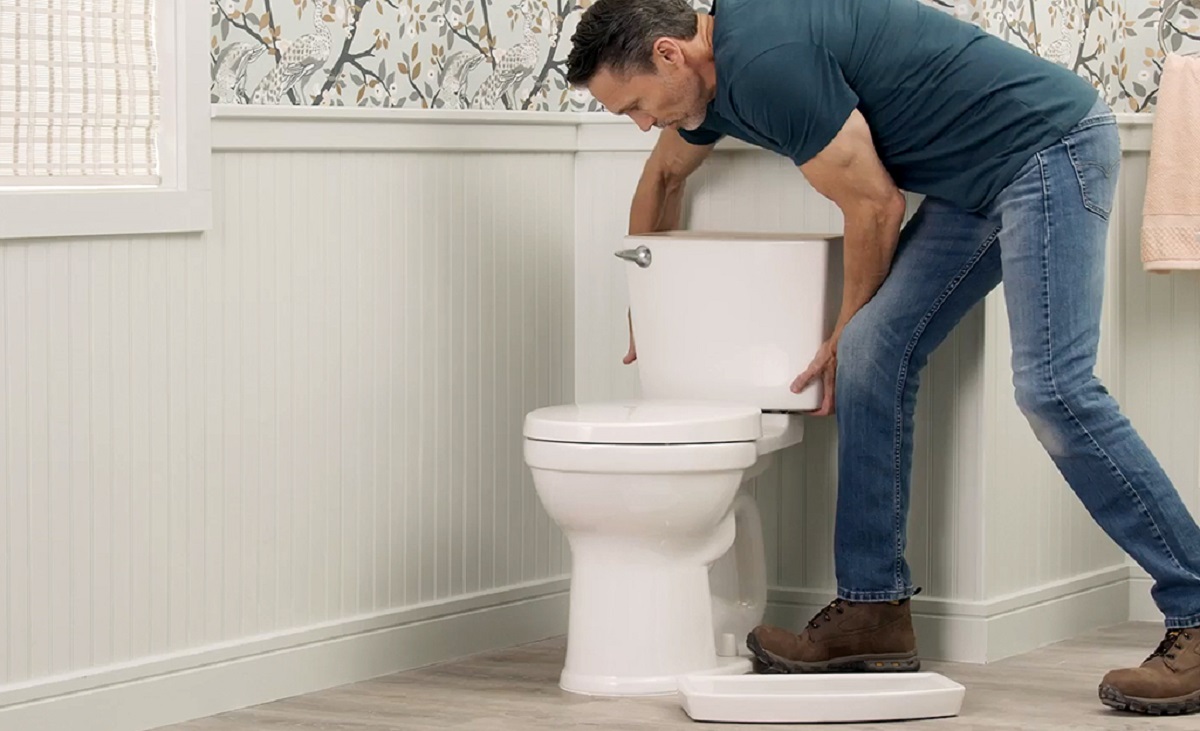
With the water supply turned off and the tank drained, it’s time to remove the toilet tank lid. The tank lid is usually made of porcelain or plastic and is placed atop the tank to cover it.
To remove the lid, start by locating the anchor bolts or screws that secure it in place. These are usually located on the underside of the lid and may be covered by caps or decorative accents. Use a screwdriver or your fingers to remove the caps or decorative accents, revealing the bolts or screws.
Once the bolts or screws are exposed, use a suitable tool, such as a screwdriver or an adjustable wrench, to loosen and remove them. Be careful not to apply too much force, as this can damage the tank lid or the bolts/screws.
After removing the bolts or screws, carefully lift the tank lid off the tank and set it aside in a safe place. Be mindful of the weight of the lid, as some can be quite heavy.
Removing the tank lid gives you better access to the inside of the tank, making it easier to work on removing the handle. With the lid removed, you’re now ready to proceed to the next step: disconnecting the chain or lever from the handle.
Step 4: Disconnect the chain or lever from the handle
With the toilet tank lid removed, you can now focus on disconnecting the chain or lever from the handle. The chain or lever is responsible for activating the flushing mechanism when the toilet handle is pressed. Disconnecting it will allow you to freely remove the handle.
Take a look inside the tank and locate the chain or lever that is connected to the toilet handle. The chain is usually attached to a small metal or plastic arm called the flapper chain, while the lever is connected to the flushing mechanism near the bottom of the tank.
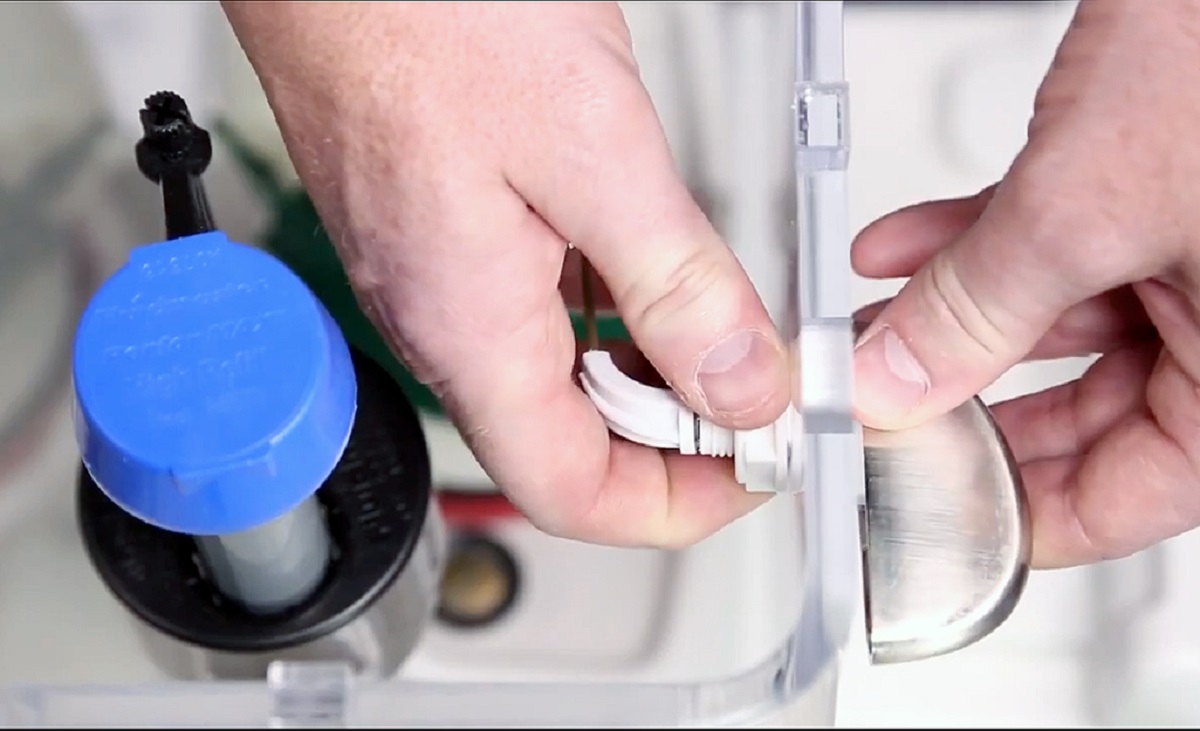
Depending on the type of mechanism your toilet has, the chain or lever may be connected by a small clip or a threaded attachment. Use your fingers or a pair of pliers to disconnect these connections. If it’s a clip, gently squeeze the sides or release the latch to free the chain or lever. If it’s a threaded attachment, unscrew it counterclockwise to detach the chain or lever.
Once the chain or lever is disconnected from the handle, you can move on to the next step: unscrewing the nut holding the handle in place.
Remember to handle the chain or lever with care to prevent any damage or dislodging of other components in the tank.
Read more: How To Remove A Bathtub Handle
Step 5: Unscrew the nut holding the handle in place
Now that you’ve disconnected the chain or lever from the handle, it’s time to unscrew the nut that holds the handle in place. The nut is typically located on the inside of the tank, directly behind the handle.
Before you begin, grab your adjustable wrench or pliers and ensure they are adjusted to the correct size to fit the nut. This will help you grip and loosen the nut without causing any damage.
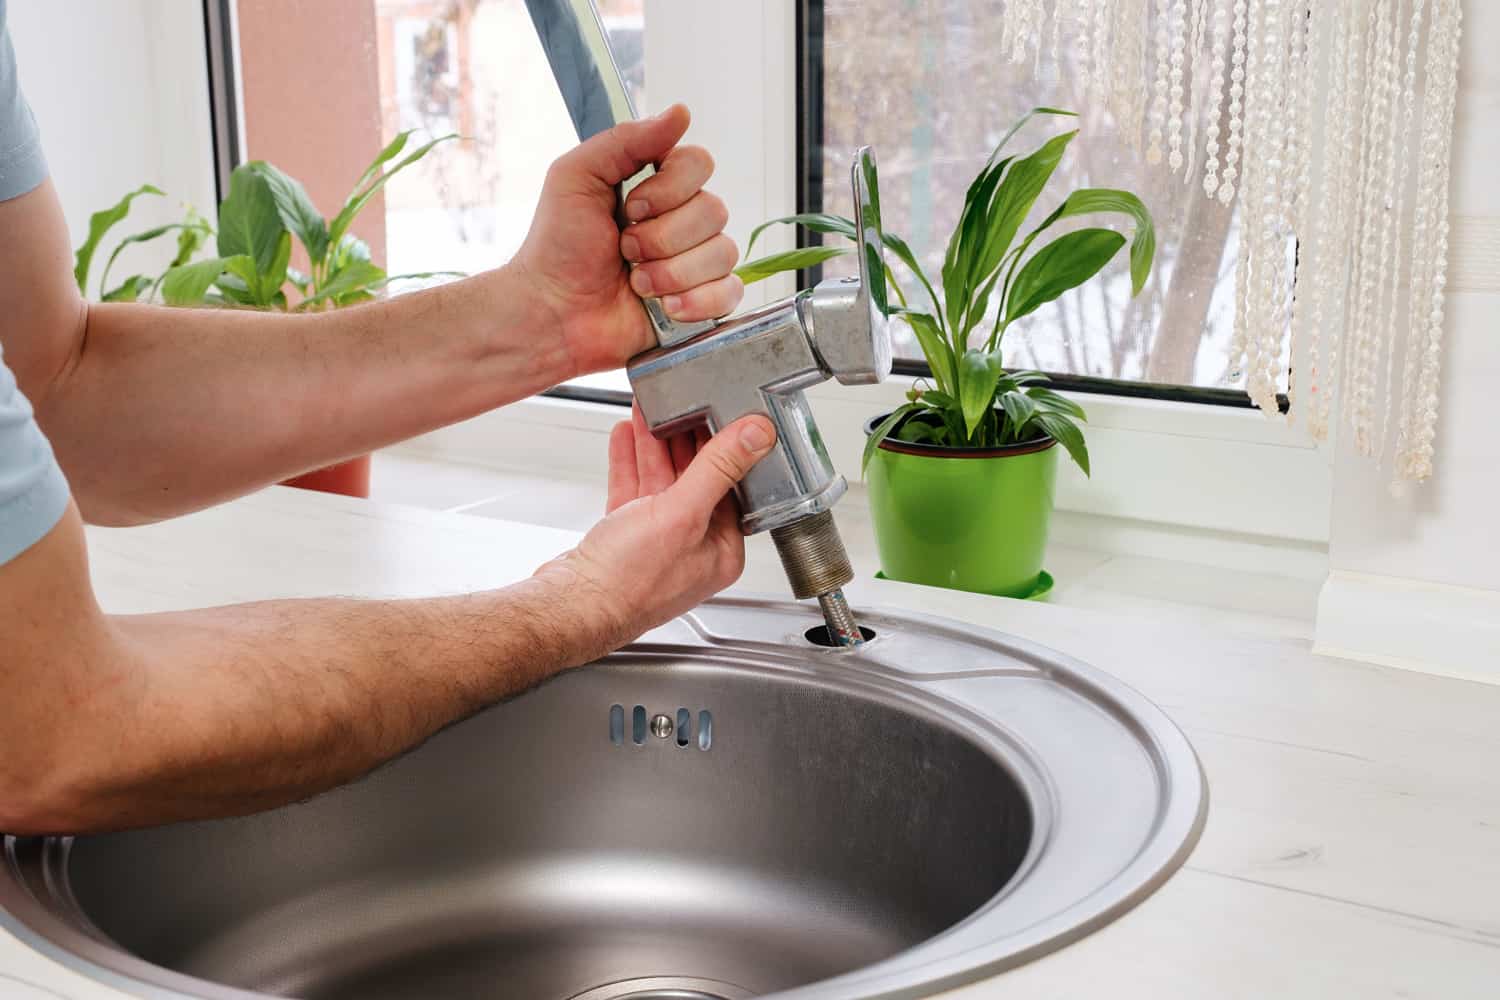
Once you’re ready, reach inside the tank and locate the nut behind the handle. Place your wrench or pliers around the nut and turn it counterclockwise to loosen it. Apply steady pressure but avoid using excessive force to prevent any damage to the tank or handle.
As you unscrew the nut, keep a firm grip on it to prevent it from falling into the tank. If it does accidentally fall, you can retrieve it later using a pair of long-nose pliers or a strong magnet.
Continue unscrewing the nut until it is completely loose. At this point, you should be able to remove the nut and set it aside for later use or disposal.
With the nut removed, you are now ready to move on to the next step: removing the old toilet handle.
Remember to work slowly and carefully to avoid any damage and ensure a smooth removal process.
Turn off the water supply to the toilet. Remove the tank lid and disconnect the chain from the handle. Unscrew the nut holding the handle in place and pull it out. Install the new handle in reverse order.
Step 6: Remove the old handle
With the nut holding the handle in place removed, it’s time to remove the old handle itself. The handle is typically attached to a rod or stem inside the toilet tank, which is connected to the flushing mechanism.
To remove the old handle, simply pull it out of the hole in the front of the toilet tank where it was inserted. The handle may be secured in place by a small screw or fastener, but most handles can be easily slid out once the nut is loosened.
If the handle is stuck or difficult to remove, you may need to gently wiggle it back and forth while pulling to help loosen it. Be careful not to use excessive force, as this can cause damage to the toilet tank or handle.
Once the old handle is successfully removed, set it aside for disposal or any necessary repairs. Now you’re ready to install the new handle in the next step.
Take a moment to inspect the inside of the toilet tank and make sure there are no signs of damage or wear that could affect the installation of the new handle. If you notice any issues, it’s best to address them before proceeding.
With the old handle out of the way, you can now move on to the next step: installing the new handle.
Stay focused and take your time to ensure a smooth and successful removal of the old handle.
Step 7: Install the new handle
With the old handle removed, it’s time to install the new handle. Installing a new handle not only improves the functionality of your toilet but also gives it a fresh and updated look.
Start by taking the new handle and inserting it into the hole on the front of the toilet tank where the old handle was removed. Make sure the handle aligns properly with the flushing mechanism inside the tank.
Once the handle is inserted, you may need to secure it in place using the provided screws or fasteners. If your new handle requires screws, use a screwdriver to tighten them until the handle is securely attached to the toilet tank.
Ensure that the handle moves smoothly and freely, with no resistance or binding. It should be able to move up and down easily as you flush the toilet.
Now that the new handle is installed, you can move on to the next step: reconnecting the chain or lever to the handle.
Take a moment to appreciate the new handle and the improved aesthetics it brings to your toilet. The installation process is nearly complete!
Remember to save any leftover screws or fasteners in case they are needed for future repairs or replacements.
Step 8: Reconnect the chain or lever to the handle
With the new handle securely installed, it’s time to reconnect the chain or lever to the handle. The chain or lever is responsible for activating the flushing mechanism when the toilet handle is pressed.
Start by locating the chain or lever inside the toilet tank. If you disconnected it earlier, you may need to rethread it through the appropriate holes or hooks to ensure proper function.
Once you have the chain or lever in place, position it so that it aligns with the hole or attachment point on the new handle. If necessary, adjust the length of the chain by using pliers to remove or add links until it has the right amount of slack.
If your toilet uses a lever, align it with the appropriate attachment point on the new handle. Ensure that it is securely connected and can move smoothly without any obstruction.
Double-check that the chain or lever is properly attached to the handle and that there is enough slack for it to activate the flushing mechanism when the handle is pressed. You want to ensure a smooth and efficient flush.
Now that the chain or lever is reconnected, you’re almost done! It’s time to turn on the water supply and test the new handle to make sure everything is functioning properly.
Take a moment to appreciate your handiwork and the satisfaction of completing this DIY project on your own.
As with any plumbing-related task, it’s important to ensure that everything is properly connected and functioning before moving on to the final step.
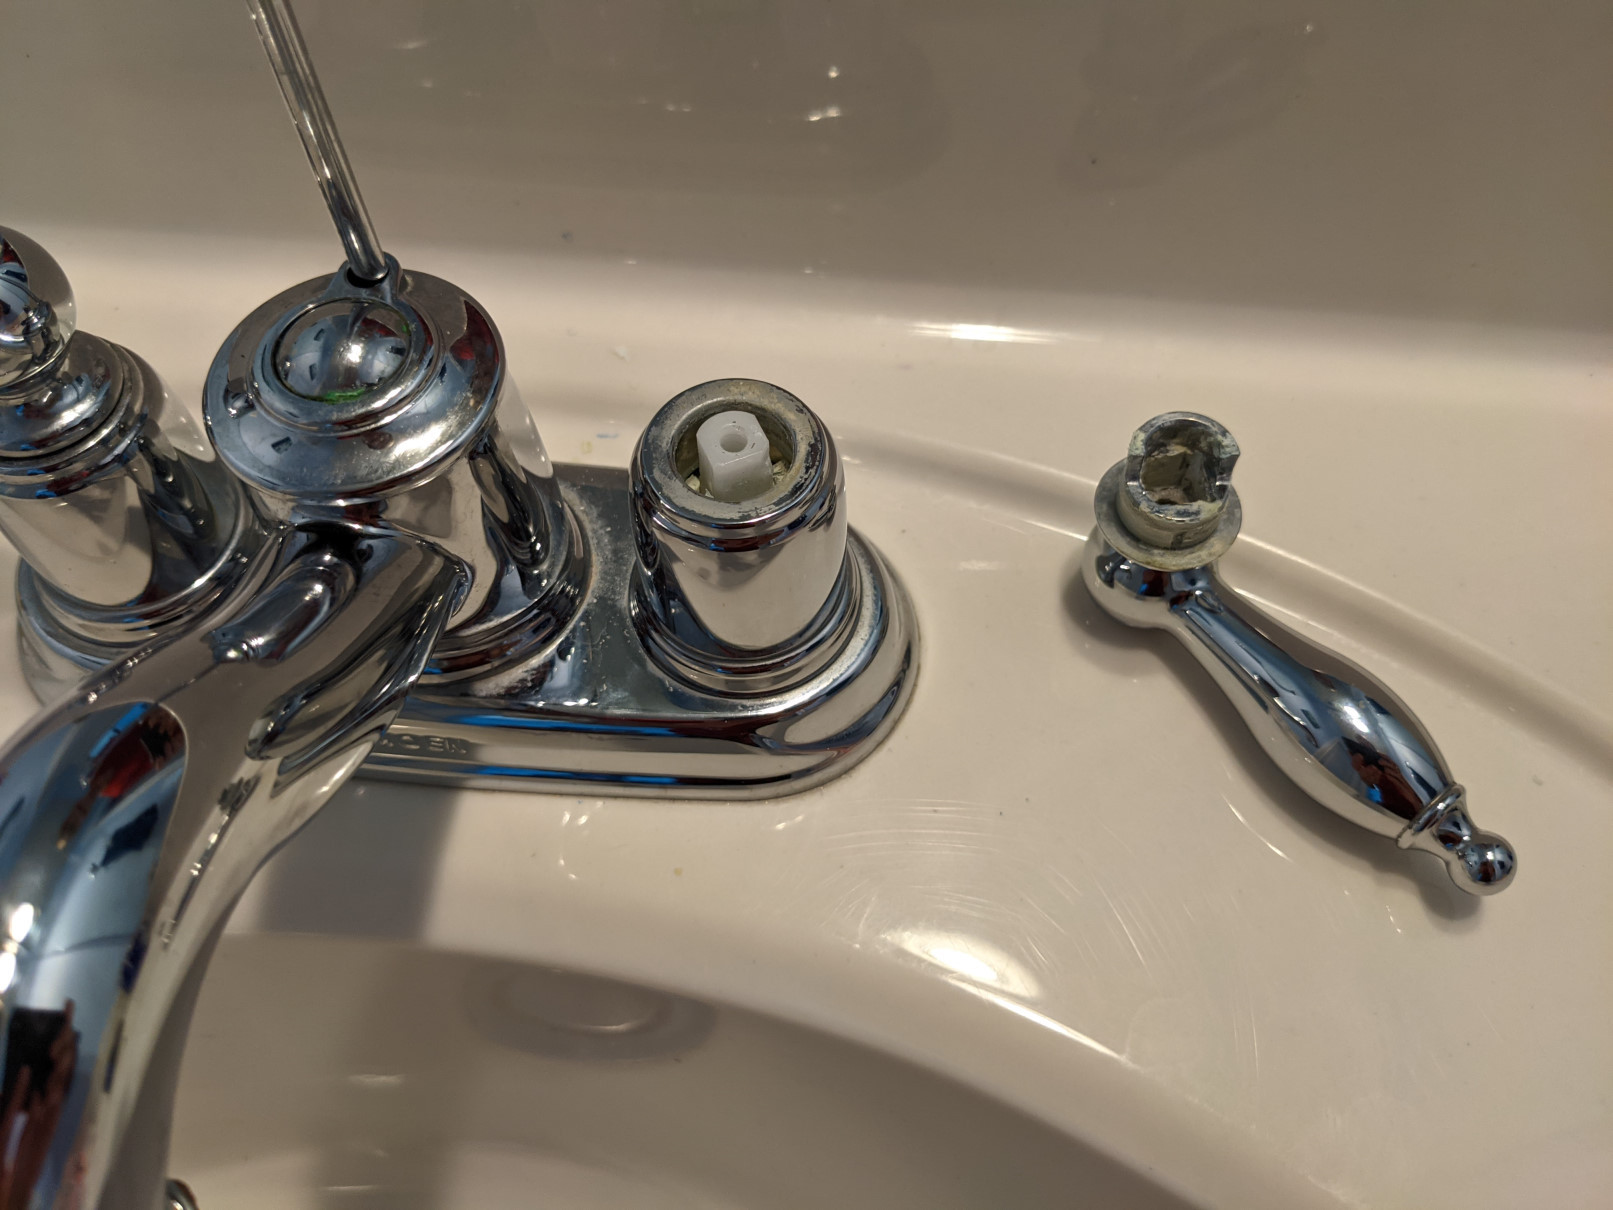
Read more: How To Remove Sink Faucet Handle
Step 9: Turn on the water supply
With the new handle installed and the chain or lever reconnected, it’s time to turn on the water supply to your toilet. This step will allow water to fill the tank and ensure that the flush mechanism is working properly.
Locate the shut-off valve that you turned off earlier to stop the water supply to the toilet. The valve is usually located near the base of the toilet or on the wall behind it. Turn the valve counterclockwise to gradually open it and allow water to enter the tank.
Listen for the sound of running water as the tank fills up. Keep an eye on the water level inside the tank to ensure it reaches the appropriate level, typically marked by a fill line. Once the water level reaches this point, the tank is ready for use.
Now, give the new handle a test flush. Press it down and observe the flushing mechanism in action. The chain or lever should activate the mechanism, resulting in a complete and efficient flush.
If the flush is working smoothly and there are no signs of water leakage, congratulations! You have successfully installed a new toilet handle.
It’s always a good idea to check for any water leaks around the handle, as well as the water supply connection and the tank-to-bowl connection. If you notice any leaks, tighten the necessary connections or replace any faulty components to ensure a watertight seal.
Remember to properly dispose of any packaging or old parts from the new handle. Clean up any water or debris that may have accumulated during the installation process.
With the water supply turned on and the new handle working perfectly, you can now enjoy the improved functionality and aesthetic appeal of your toilet.
Thank you for following this step-by-step guide on how to remove and replace a toilet handle. We hope it has been helpful, and may you have many successful DIY projects in the future!
Conclusion
Removing and replacing a toilet handle may seem like a challenging task, but with the right tools and steps, it can be a straightforward and rewarding DIY project. By following the step-by-step guide outlined in this article, you can successfully replace a broken or outdated toilet handle and enhance the functionality and appearance of your bathroom.
From gathering the necessary tools and materials to turning off the water supply, removing the toilet tank lid, disconnecting the chain or lever, unscrewing the nut, removing the old handle, installing the new handle, reconnecting the chain or lever, and finally turning on the water supply – each step plays a crucial role in the process of replacing a toilet handle.
Remember to work carefully and pay attention to detail, taking the necessary precautions to avoid any damage to the toilet or plumbing system. Take your time and double-check each connection to ensure a seamless installation.
Following these steps will not only ensure a successful replacement but also provide you with the opportunity to upgrade your toilet handle to suit your personal style and preferences.
Once the new handle is installed and the water supply is turned on, enjoy the smooth functionality of your toilet as you confidently press down on the handle for a flawless flush.
Now, equipped with the knowledge and skills to remove and replace a toilet handle, you can confidently tackle similar DIY projects in your home. Be sure to share your newfound expertise with others and help them transform their bathroom too.
Thank you for taking the time to read this comprehensive guide. We hope it has been informative and valuable in your journey to improve your home’s plumbing system. Happy handle replacement!
Frequently Asked Questions about How To Remove A Toilet Handle
Was this page helpful?
At Storables.com, we guarantee accurate and reliable information. Our content, validated by Expert Board Contributors, is crafted following stringent Editorial Policies. We're committed to providing you with well-researched, expert-backed insights for all your informational needs.


0 thoughts on “How To Remove A Toilet Handle”