Home>Home Appliances>Laundry Appliances>How To Clean A Ge Washing Machine
Laundry Appliances
How To Clean A Ge Washing Machine
Modified: October 19, 2024
Learn how to effectively clean your GE washing machine for optimal performance and longevity. Discover expert tips and techniques for maintaining your laundry appliances.
(Many of the links in this article redirect to a specific reviewed product. Your purchase of these products through affiliate links helps to generate commission for Storables.com, at no extra cost. Learn more)
Introduction
Maintaining a clean and well-functioning washing machine is essential for ensuring the longevity of your appliance and the cleanliness of your laundry. Over time, dirt, grime, and detergent residue can accumulate both inside and outside the machine, leading to unpleasant odors and potentially affecting the cleanliness of your clothes. Regular cleaning not only helps to eliminate these issues but also contributes to the efficient performance of your washing machine.
In this comprehensive guide, we will walk you through the step-by-step process of cleaning a GE washing machine. Whether you have a top-loading or front-loading model, these cleaning techniques are designed to help you achieve a sparkling clean washing machine and maintain its optimal performance.
By following these simple yet effective cleaning methods, you can ensure that your GE washing machine continues to deliver fresh and clean laundry while prolonging its lifespan. So, gather your cleaning supplies and let's dive into the process of revitalizing your washing machine for a cleaner, fresher laundry experience.
Key Takeaways:
- Regularly clean your GE washing machine with white vinegar, baking soda, and warm water to maintain its performance and keep your laundry fresh and clean.
- Running a maintenance cycle on your GE washing machine helps eliminate odors, residue, and mineral deposits, ensuring a hygienic and efficient laundry experience.
Read more: How To Clean Washer And Dryer
Gather the Necessary Supplies
Before embarking on the cleaning process, it's essential to gather the necessary supplies to ensure a thorough and effective cleaning of your GE washing machine. Here's a list of items you'll need:
-
White Vinegar: This natural cleaning agent helps to dissolve mineral deposits and detergent residue, leaving your washing machine fresh and clean.
-
Baking Soda: Known for its deodorizing properties, baking soda effectively eliminates odors and helps to remove stubborn stains from the interior of the washing machine.
-
Microfiber Cloth: Ideal for wiping down the exterior of the washing machine, a microfiber cloth is gentle yet effective at capturing dust and grime.
-
Toothbrush or Soft Bristle Brush: Use a toothbrush or soft bristle brush to clean hard-to-reach areas, such as the door seal and around the detergent dispenser.
-
Warm Water: Having access to warm water is crucial for creating cleaning solutions and rinsing the washing machine components.
-
All-Purpose Cleaner: Opt for a mild, non-abrasive all-purpose cleaner to tackle stubborn stains and grime on the exterior of the washing machine.
-
Rubber Gloves: Protect your hands from cleaning solutions and potential debris by wearing rubber gloves throughout the cleaning process.
-
Clean Towels: Keep a few clean towels handy to wipe up any spills and to dry the washing machine after cleaning.
By gathering these supplies, you'll be well-equipped to tackle the cleaning process and restore your GE washing machine to its optimal cleanliness. With these items at your disposal, you're ready to embark on the journey of revitalizing your washing machine for a fresher and more efficient laundry experience.
Clean the Exterior of the Washing Machine
The exterior of your GE washing machine is constantly exposed to dust, dirt, and potential spills, making regular cleaning essential to maintain its appearance and functionality. Follow these steps to effectively clean the exterior of your washing machine:
-
Prepare the Surface: Before cleaning, unplug the washing machine to ensure safety. If there are any removable parts, such as detergent dispensers or knobs, remove them for thorough cleaning.
-
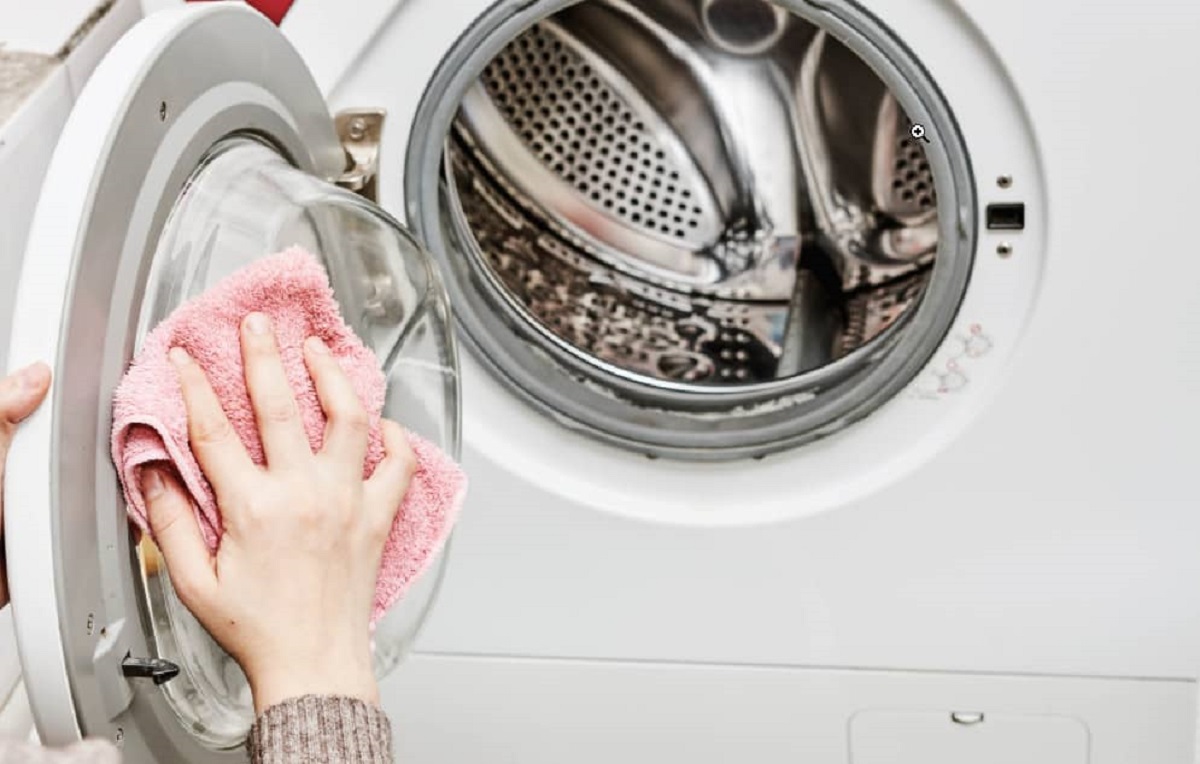
Wipe Down with All-Purpose Cleaner: Apply a small amount of mild all-purpose cleaner onto a microfiber cloth and gently wipe down the entire exterior of the washing machine. Pay close attention to areas prone to fingerprints, spills, and dust accumulation. Use a gentle, circular motion to remove any visible grime and stains.
-
Clean Control Knobs and Buttons: For control knobs and buttons, use a soft cloth dampened with warm, soapy water to remove any buildup of dirt or residue. Ensure that excess moisture is wiped away to prevent it from seeping into the control panel.
-
Address Stubborn Stains: If you encounter stubborn stains or dried-on spills, create a paste using baking soda and water. Apply the paste to the affected areas and gently scrub with a soft bristle brush or toothbrush. The mild abrasive properties of baking soda help to lift stains without damaging the surface of the washing machine.
-
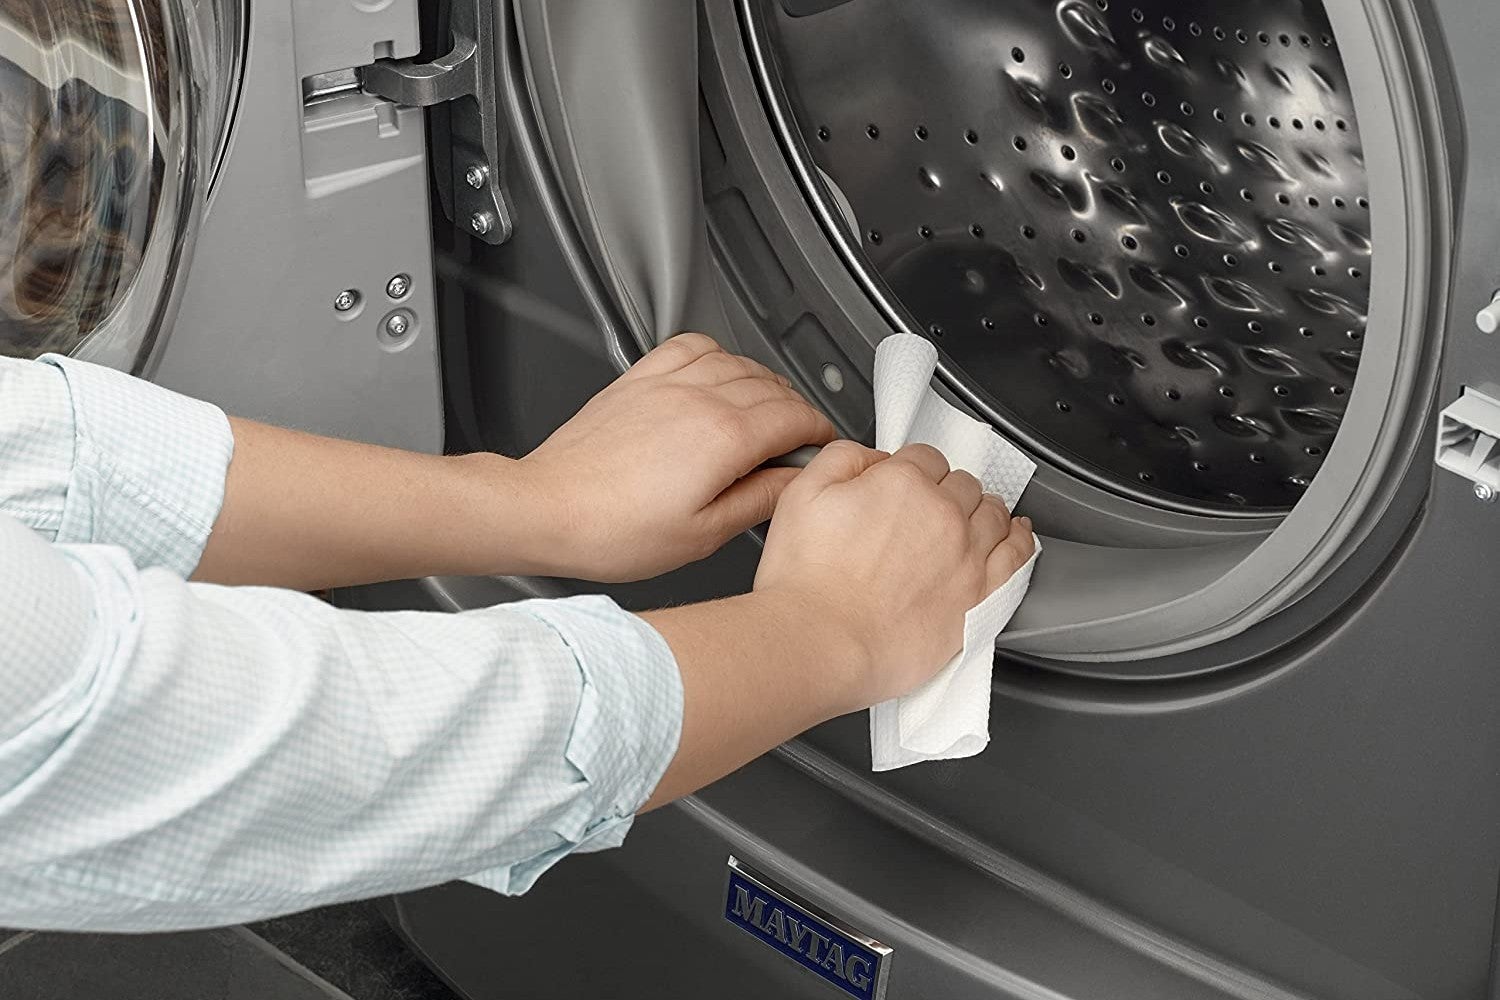
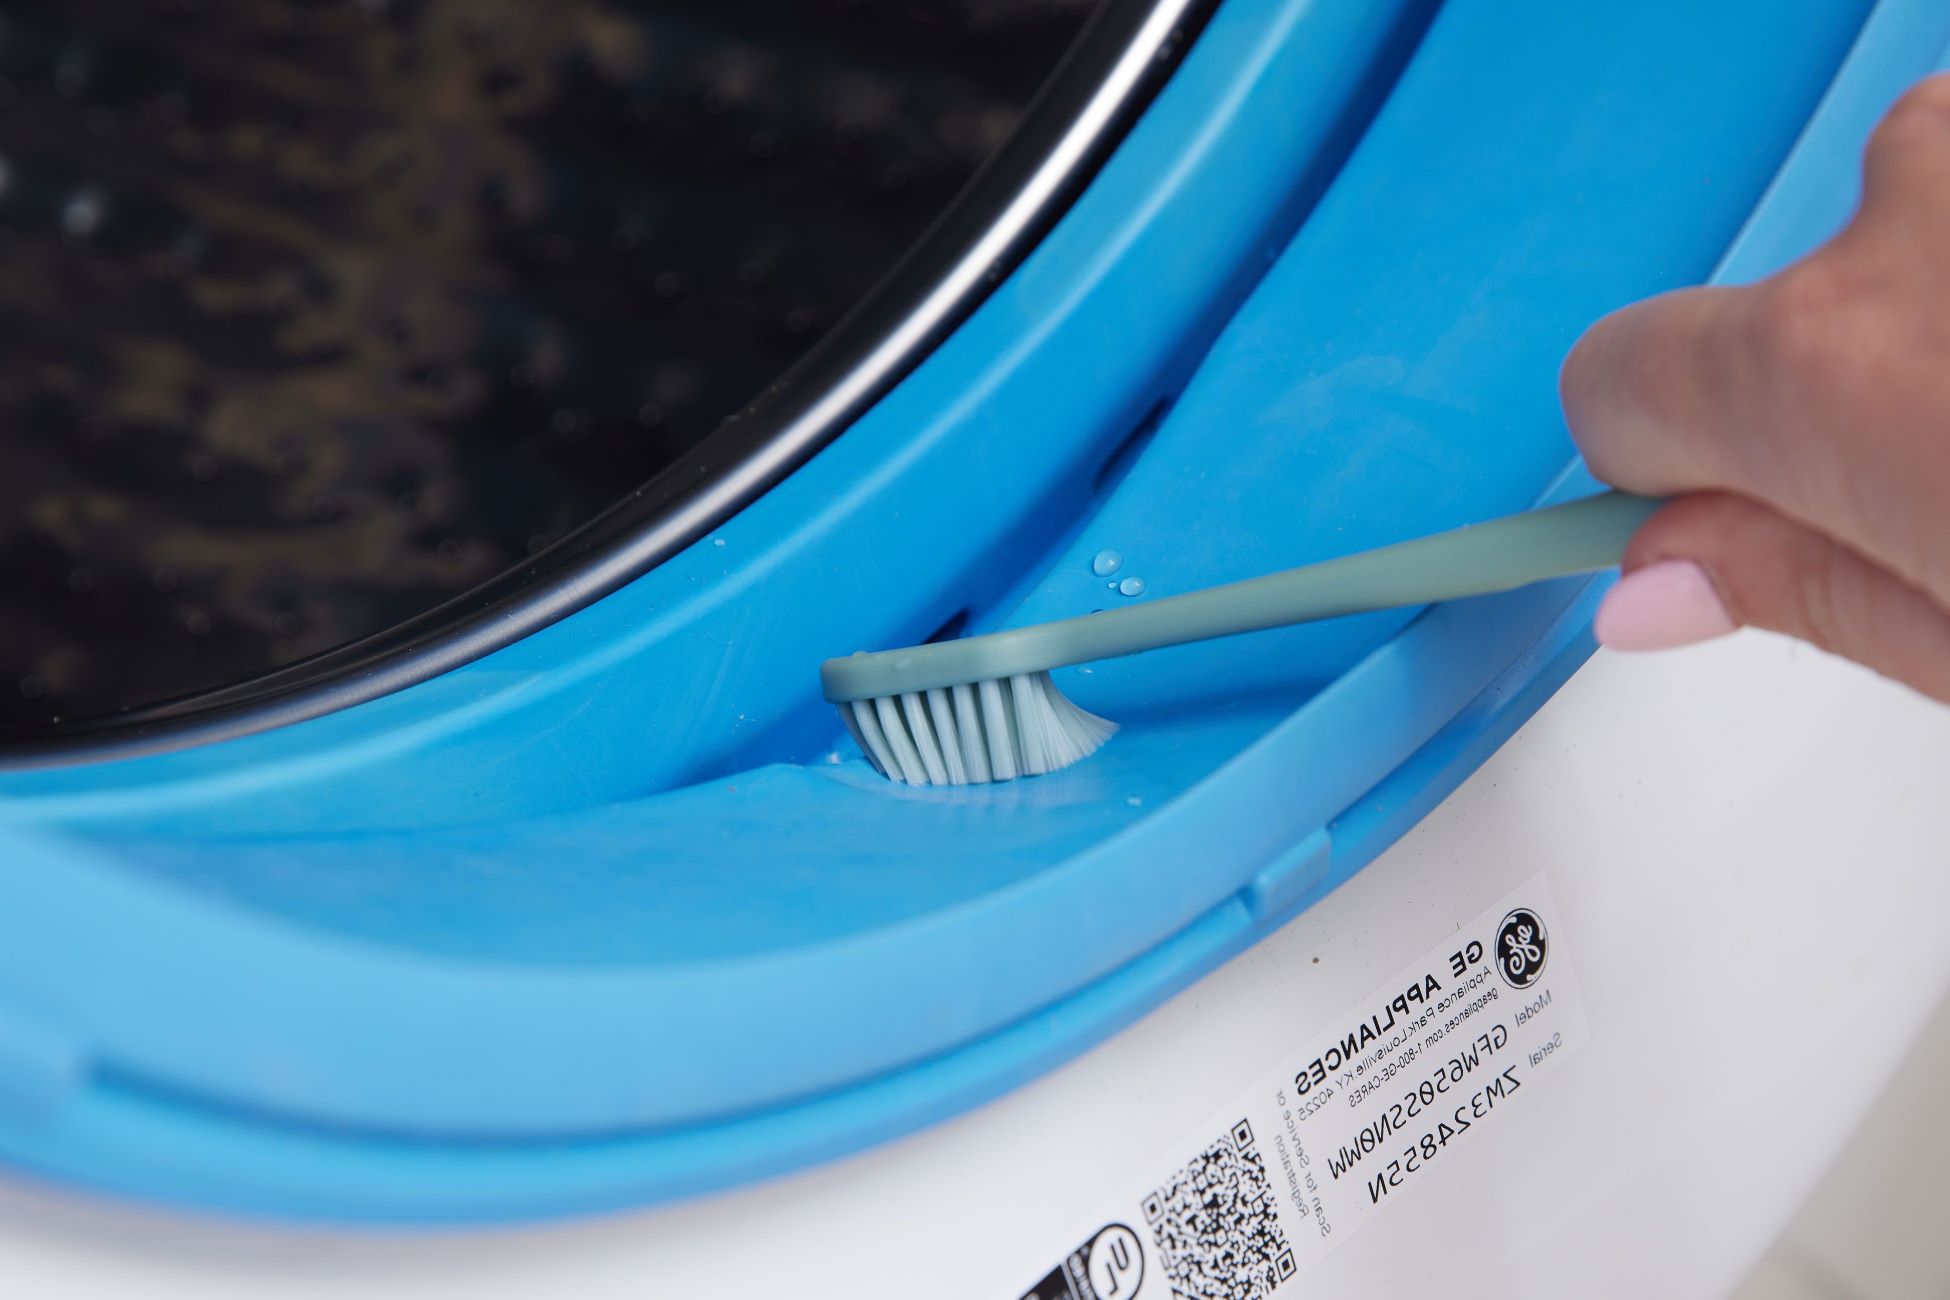
Focus on the Door and Door Seal: The door and door seal are common areas for dirt and grime to accumulate. Use a toothbrush or soft bristle brush dipped in warm, soapy water to clean these areas thoroughly. Pay attention to the crevices and rubber seal to ensure all debris is removed.
-
Rinse and Dry: Once the exterior has been cleaned, use a clean, damp cloth to rinse off any remaining cleaning solution. Follow up with a dry microfiber cloth to remove excess moisture and leave the exterior of the washing machine looking clean and polished.
By following these steps, you can effectively clean the exterior of your GE washing machine, restoring its appearance and ensuring that it remains a focal point of cleanliness in your laundry area. Regular maintenance of the exterior not only enhances the visual appeal of your washing machine but also contributes to a hygienic and well-maintained laundry environment.
Clean the Interior of the Washing Machine
Cleaning the interior of your GE washing machine is crucial for maintaining its performance and ensuring the cleanliness of your laundry. Over time, detergent residue, mineral deposits, and dirt can accumulate inside the machine, leading to unpleasant odors and potential issues with washing efficiency. Follow these steps to effectively clean the interior of your washing machine:
1. Prepare the Washing Drum
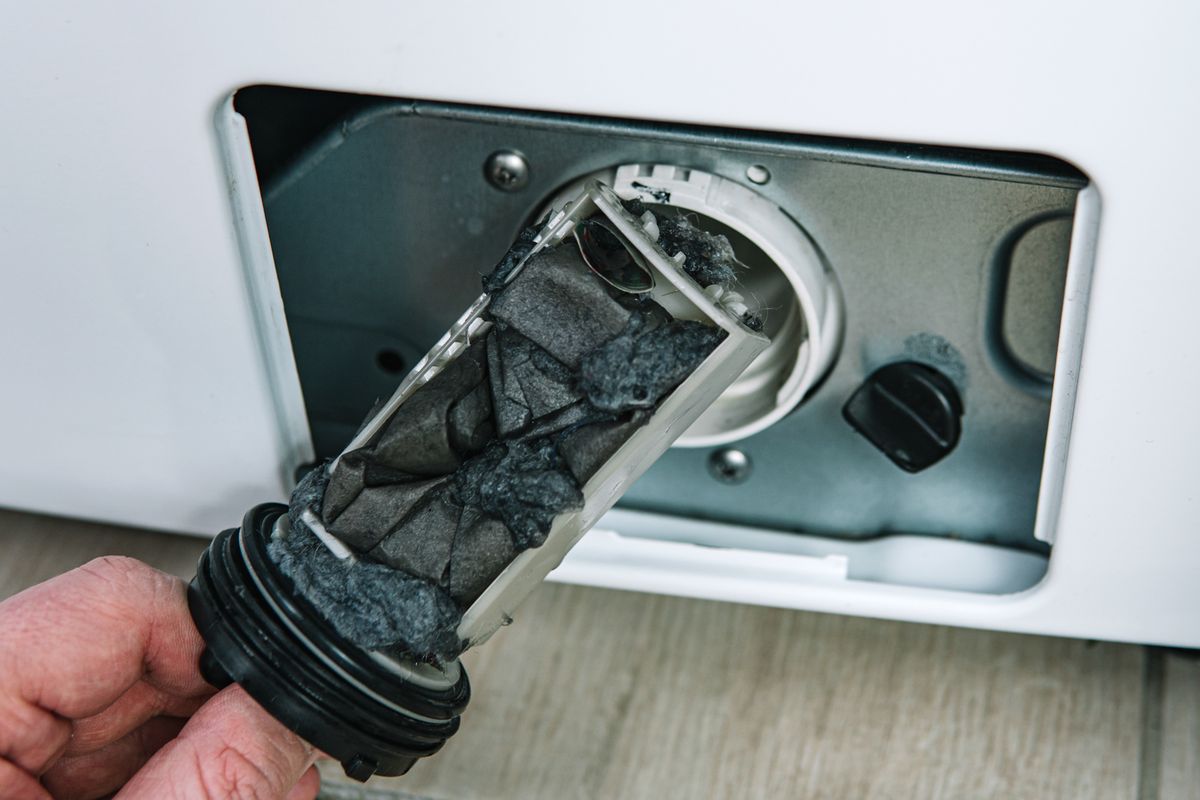
Start by ensuring that the washing machine is empty. If there are any visible debris or lint inside the drum, remove them manually. It's essential to clear the drum of any loose particles before proceeding with the cleaning process.
Read more: How To Clean Amana Washer
2. Create a Cleaning Solution
To create a natural and effective cleaning solution, combine 2 cups of white vinegar with 1/4 cup of baking soda. The combination of these two ingredients creates a powerful yet gentle cleaning solution that helps to dissolve mineral deposits, eliminate odors, and remove detergent residue from the interior of the washing machine.
3. Clean the Washing Drum
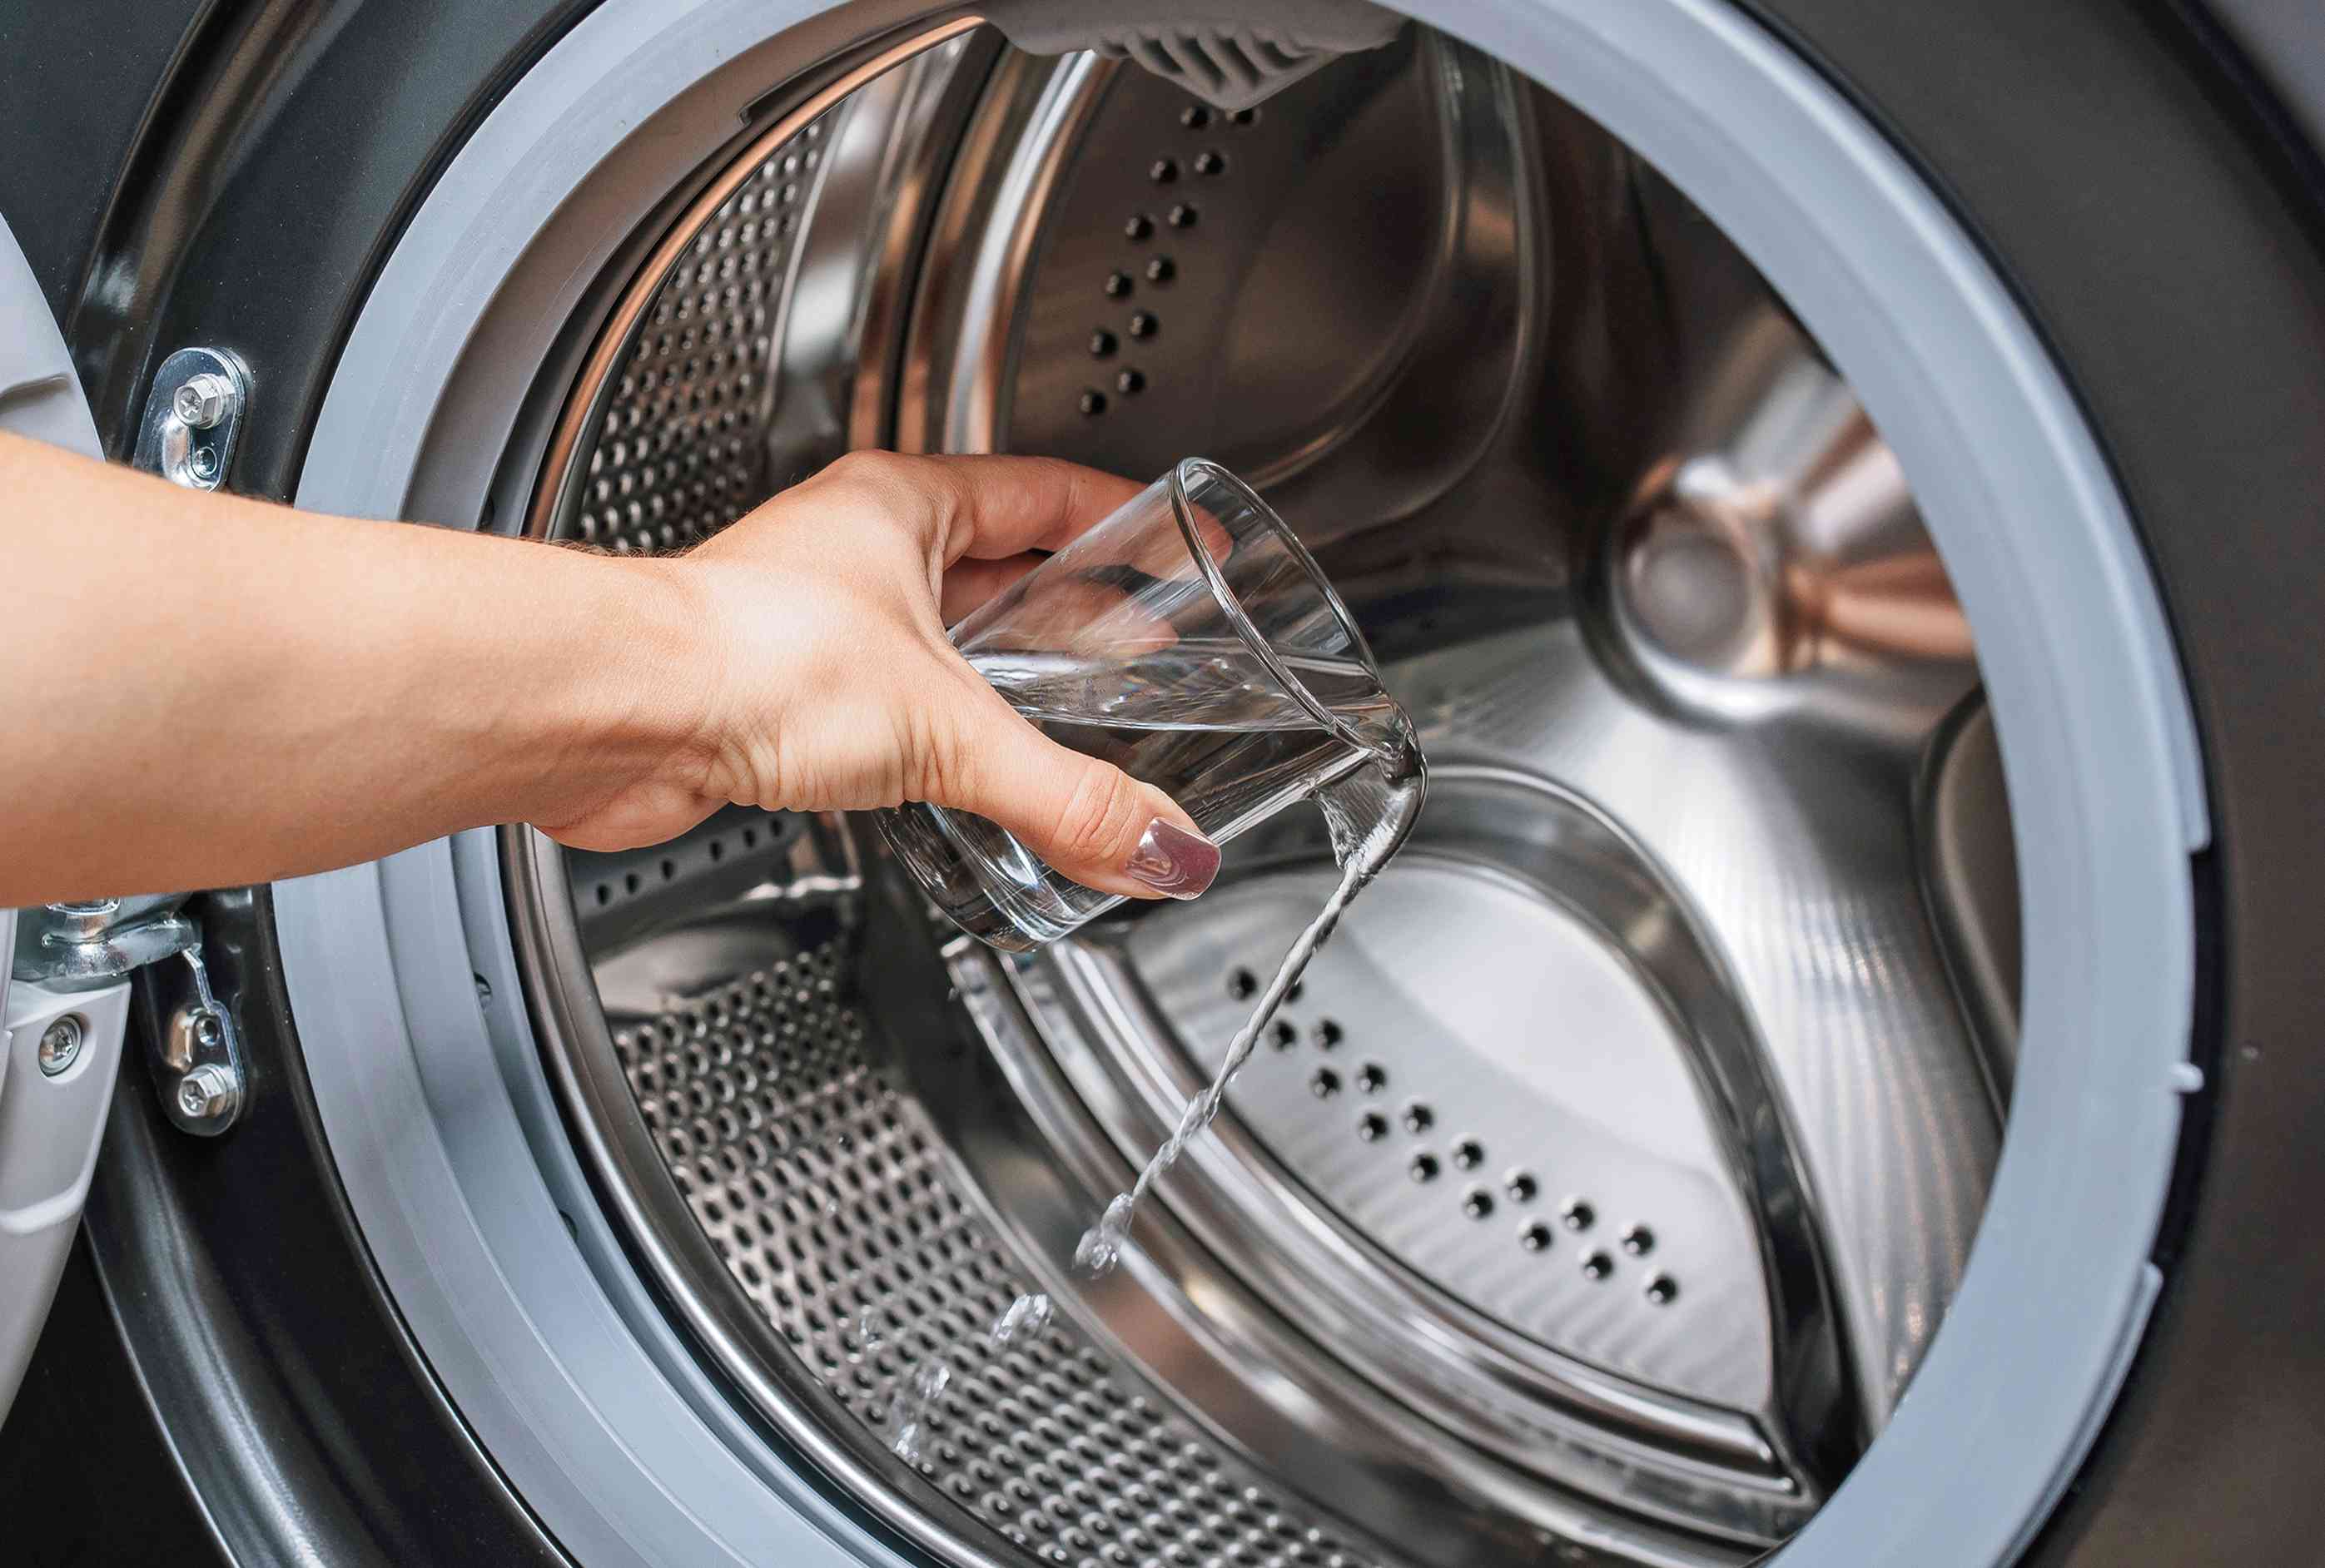
Pour the cleaning solution into the detergent dispenser or directly into the washing drum. Set the washing machine to a hot water cycle to allow the cleaning solution to circulate throughout the interior. The heat from the hot water helps to activate the cleaning agents and effectively cleanse the interior surfaces of the washing machine.
4. Let the Solution Soak
Once the washing machine has filled with water and the cleaning solution, pause the cycle and allow the solution to soak in the drum for about 30 minutes. This soaking period enables the cleaning agents to penetrate and loosen any stubborn residue or mineral deposits inside the washing machine.
5. Resume the Cycle and Rinse
After the soaking period, resume the hot water cycle and allow the washing machine to complete the full wash and rinse cycle. The combination of the cleaning solution and hot water effectively cleanses the interior of the washing machine, leaving it fresh and free from buildup.
Read more: How To Clean Washer Smell
6. Wipe Down the Interior
Once the cleaning cycle is complete, use a clean microfiber cloth to wipe down the interior surfaces of the washing machine. Pay attention to any remaining residue or stains, and gently scrub if necessary. Ensure that the drum is thoroughly rinsed and free from any cleaning solution.
By following these steps, you can effectively clean the interior of your GE washing machine, ensuring that it remains free from residue, odors, and mineral deposits. Regular maintenance of the interior contributes to the efficient performance of the washing machine and helps to maintain the cleanliness and freshness of your laundry.
Clean the Dispenser Drawer
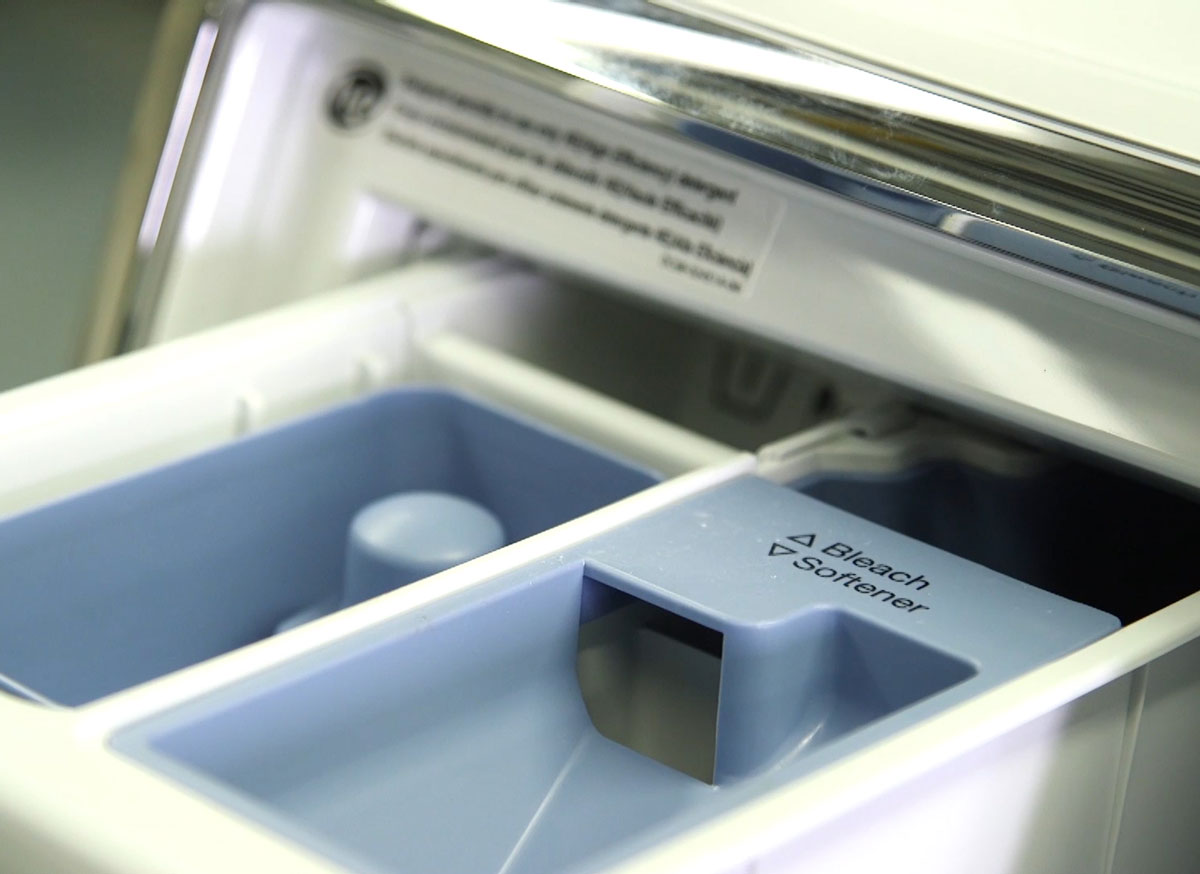
The dispenser drawer of your GE washing machine plays a crucial role in dispensing detergent, fabric softener, and bleach during the laundry cycles. Over time, residue from these products can accumulate in the dispenser drawer, leading to clogs, unpleasant odors, and potential issues with dispensing the cleaning agents effectively. To ensure the optimal performance of your washing machine and maintain the cleanliness of your laundry, it's essential to clean the dispenser drawer regularly.
Here's a step-by-step guide to effectively clean the dispenser drawer of your GE washing machine:
-
Remove the Dispenser Drawer: Start by removing the dispenser drawer from the washing machine. Most dispenser drawers are designed to be easily removable for cleaning purposes. Refer to the user manual for specific instructions on how to detach the dispenser drawer from your GE washing machine model.
-
Soak in Warm, Soapy Water: Fill a sink or basin with warm water and add a small amount of mild dish soap. Submerge the dispenser drawer in the soapy water and allow it to soak for approximately 30 minutes. The warm water and soap help to loosen and dissolve any dried-on detergent or fabric softener residue inside the drawer.
-
Scrub the Drawer: After soaking, use a soft-bristled brush or a toothbrush to gently scrub the interior and exterior of the dispenser drawer. Pay close attention to the compartments designated for detergent, fabric softener, and bleach. Ensure that any residue or buildup is effectively removed during the scrubbing process.
-
Rinse Thoroughly: Once the dispenser drawer has been scrubbed, rinse it thoroughly with clean water to remove any soapy residue and loosened debris. Ensure that all traces of detergent and fabric softener are eliminated from the drawer, leaving it clean and ready for reinstallation.
-
Dry and Reinstall: Use a clean towel to dry the dispenser drawer completely. Ensure that all moisture is removed to prevent any potential mold or mildew growth. Once dry, reinsert the dispenser drawer into the washing machine, ensuring that it fits securely in place.
By following these steps, you can effectively clean the dispenser drawer of your GE washing machine, ensuring that it remains free from residue and odors. Regular maintenance of the dispenser drawer contributes to the efficient dispensing of cleaning agents during laundry cycles, promoting cleaner and fresher laundry results.
Cleaning the dispenser drawer is an essential aspect of maintaining the overall cleanliness and functionality of your GE washing machine, contributing to a seamless and hygienic laundry experience.
Clean the Door Seal
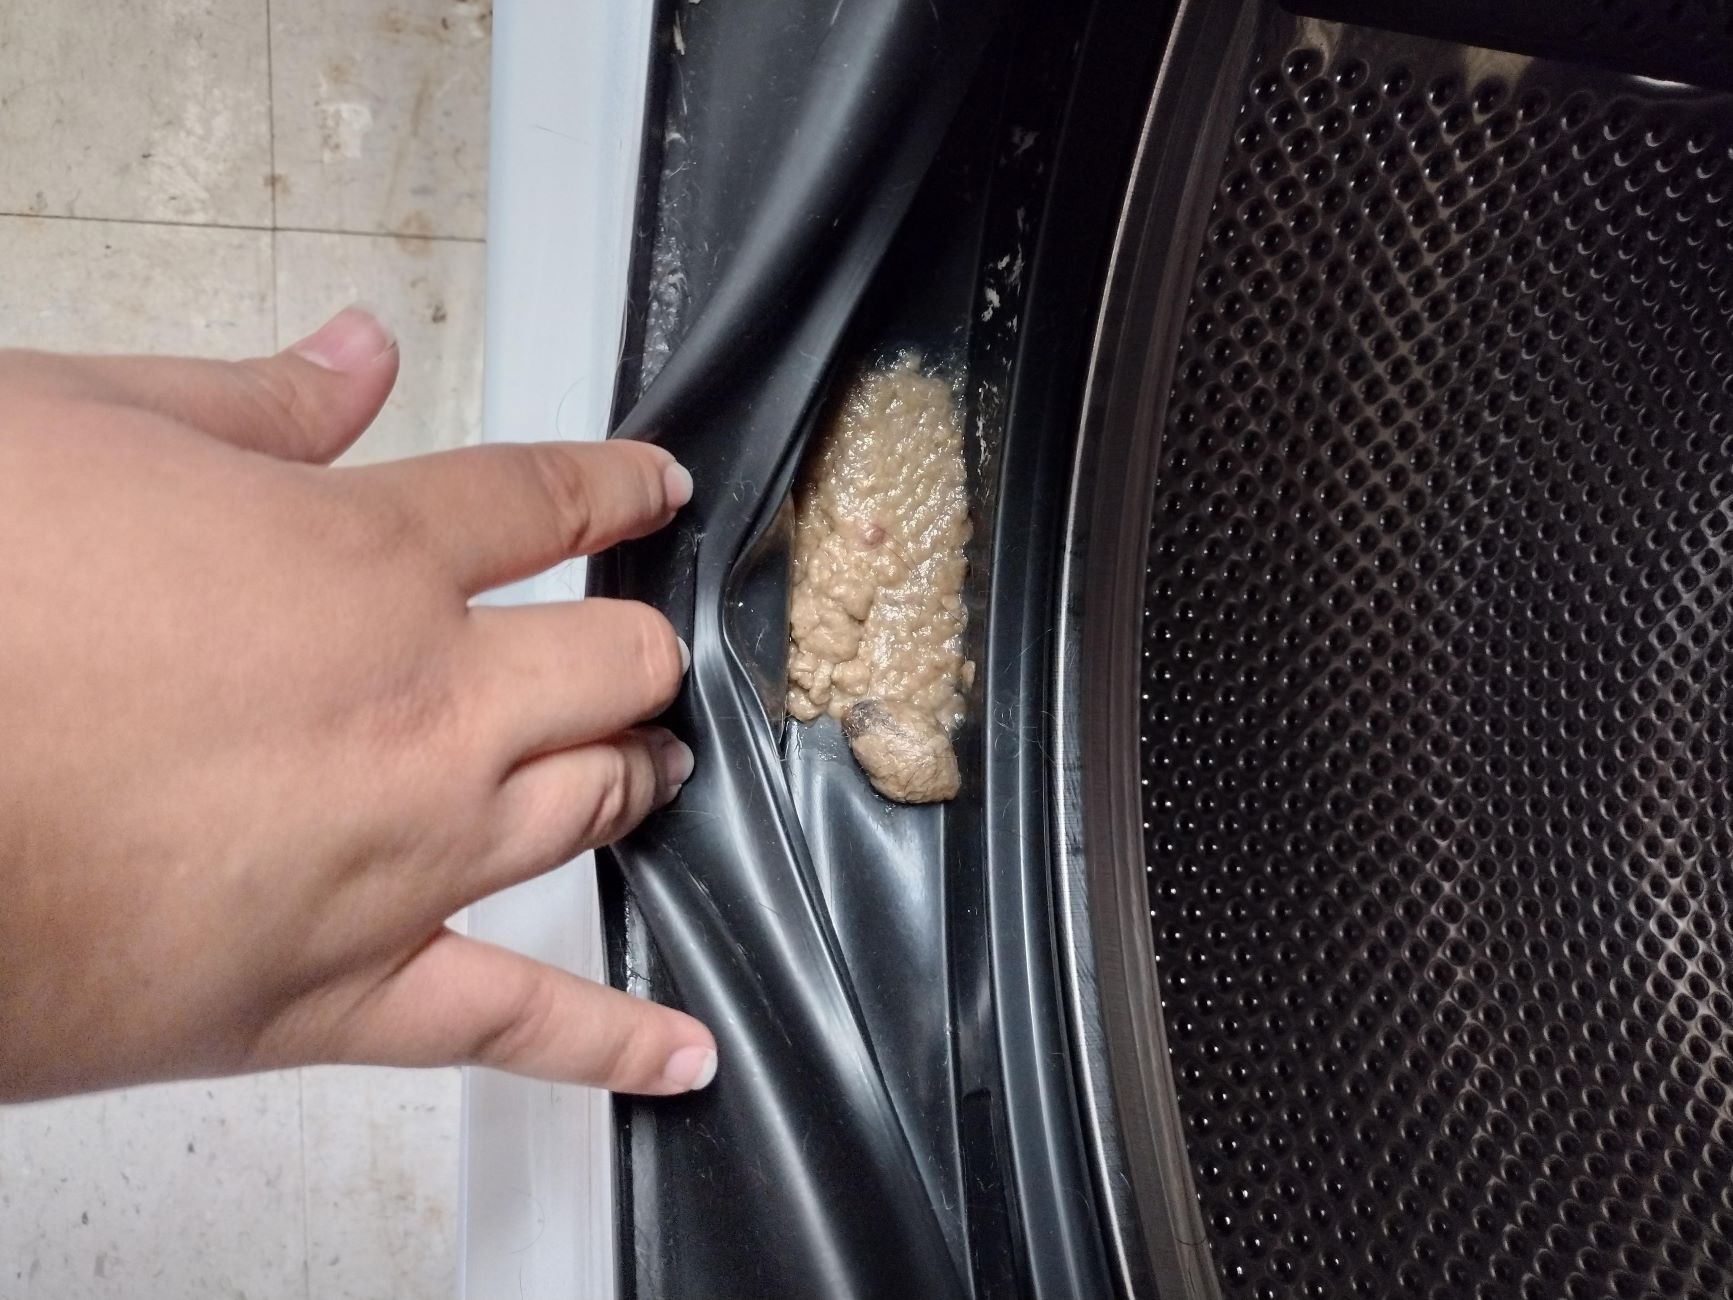
The door seal of a washing machine, also known as the door gasket, is a crucial yet often overlooked component when it comes to cleaning and maintenance. Over time, the door seal can accumulate dirt, grime, and moisture, creating an environment conducive to mold and mildew growth. Neglecting the cleaning of the door seal can lead to unpleasant odors, potential staining on clothes, and even affect the overall performance of the washing machine. Therefore, it's essential to include the cleaning of the door seal in your washing machine maintenance routine.
Here's a detailed guide on how to effectively clean the door seal of your GE washing machine:
-
Inspect for Debris: Begin by visually inspecting the door seal for any visible debris, lint, or mold growth. Use a flashlight if necessary to illuminate the area and identify any buildup that may be lurking in the folds of the seal.
-
Prepare a Cleaning Solution: Create a gentle cleaning solution by mixing equal parts of white vinegar and water in a spray bottle. The mild acidity of white vinegar helps to dissolve mold and mildew while effectively sanitizing the door seal.
-
Spray and Soak: Liberally spray the cleaning solution onto the door seal, ensuring that it penetrates into the folds where mold and mildew may be present. Allow the solution to soak on the door seal for a few minutes to loosen any stubborn buildup.
-
Scrub with a Toothbrush: Using a soft-bristled toothbrush, gently scrub the door seal, paying particular attention to areas with visible mold or mildew. The bristles of the toothbrush effectively dislodge the buildup without causing damage to the rubber seal.
-
Wipe with a Damp Cloth: After scrubbing, dampen a clean cloth with water and wipe down the door seal to remove the loosened mold, mildew, and cleaning solution. Ensure that the cloth reaches into the folds of the seal to capture any remaining debris.
-
Dry Thoroughly: Use a dry cloth or towel to thoroughly dry the door seal. It's essential to remove all moisture to prevent the growth of mold and mildew in the future.
-
Leave the Door Ajar: To prevent moisture buildup and the formation of mold between laundry cycles, leave the washing machine door slightly ajar to allow air circulation. This simple practice can contribute to keeping the door seal dry and mold-free.
By incorporating the cleaning of the door seal into your washing machine maintenance routine, you can ensure a hygienic and odor-free laundry experience. Regular cleaning of the door seal not only contributes to the cleanliness of your washing machine but also promotes the longevity of the appliance and the freshness of your laundry.
Run a Maintenance Cycle
Running a maintenance cycle on your GE washing machine is a crucial step in ensuring its optimal performance and cleanliness. This specialized cleaning cycle is designed to target any remaining residue, odors, and buildup within the washing machine, including the drum, hoses, and internal components. By incorporating a maintenance cycle into your regular washing machine care routine, you can effectively eliminate lingering odors, detergent residue, and mineral deposits, ultimately contributing to fresher and cleaner laundry results.
To run a maintenance cycle on your GE washing machine, follow these steps:
-
Empty the Washing Machine: Start by ensuring that the washing machine is empty and free from any laundry or items. Running a maintenance cycle with an empty drum allows the cleaning agents to circulate freely and target any buildup or residue.
-
Select the Maintenance Cycle Option: Many modern washing machines, including GE models, feature a dedicated maintenance or clean cycle option. Refer to your washing machine's user manual to locate and select the appropriate maintenance cycle setting. If your washing machine does not have a specific maintenance cycle, select the hottest water setting and an extended wash cycle.
-
Add Cleaning Agents: Depending on the manufacturer's recommendations and the capacity of your washing machine, add the appropriate cleaning agents to the detergent dispenser or directly into the washing drum. White vinegar and baking soda are effective natural cleaning agents that can be used to cleanse and deodorize the interior of the washing machine.
-
Initiate the Cycle: Start the maintenance cycle and allow the washing machine to complete the entire cycle, including the wash, rinse, and spin cycles. The extended duration of the maintenance cycle, coupled with the hot water temperature, helps to thoroughly clean and sanitize the interior of the washing machine.
-
Inspect and Wipe Down: Once the maintenance cycle is complete, open the door of the washing machine and inspect the interior for any remaining residue or odors. Use a clean microfiber cloth dampened with white vinegar to wipe down the interior surfaces, including the drum and door seal. This final step ensures that any loosened residue is effectively removed, leaving the washing machine fresh and clean.
By running a maintenance cycle on your GE washing machine at regular intervals, such as once a month or as recommended by the manufacturer, you can maintain a hygienic and well-functioning appliance. This proactive approach to washing machine care not only contributes to cleaner laundry but also prolongs the lifespan of your GE washing machine, allowing you to enjoy fresh and pristine laundry results with every wash.
To clean a GE washing machine, run a hot water cycle with 2 cups of white vinegar to remove any buildup and odors. Then, wipe down the inside of the machine with a mixture of water and baking soda to remove any remaining residue.
Read more: How To Clean Washer With Vinegar
Conclusion
In conclusion, maintaining a clean and well-functioning GE washing machine is essential for ensuring the longevity of the appliance and the cleanliness of your laundry. By following the comprehensive cleaning methods outlined in this guide, you can revitalize your washing machine and maintain its optimal performance.
Regular cleaning of the exterior, interior, dispenser drawer, and door seal not only enhances the visual appeal of your washing machine but also contributes to a hygienic and efficient laundry experience. The step-by-step cleaning process, accompanied by the use of natural cleaning agents such as white vinegar and baking soda, ensures that your GE washing machine remains free from residue, odors, and mineral deposits.
Furthermore, incorporating a maintenance cycle into your washing machine care routine allows you to target any lingering buildup and sanitize the interior components, ultimately leading to fresher and cleaner laundry results. By running a maintenance cycle at regular intervals, you can proactively address any potential issues and maintain the optimal functionality of your washing machine.
It's important to note that regular cleaning and maintenance not only benefit the washing machine itself but also contribute to the cleanliness and freshness of your laundry. By eliminating odors, residue, and mold growth, you can enjoy a hygienic and pleasant laundry experience with every wash cycle.
In essence, the thorough cleaning and maintenance of your GE washing machine outlined in this guide serve to prolong the appliance's lifespan, promote efficient performance, and ensure that your laundry emerges fresh and clean. By incorporating these cleaning techniques into your regular home maintenance routine, you can uphold a standard of cleanliness and hygiene that extends from your washing machine to your freshly laundered clothes.
With these cleaning methods at your disposal, you can embark on the journey of maintaining a sparkling clean GE washing machine, contributing to a seamless and enjoyable laundry experience for you and your family.
Frequently Asked Questions about How To Clean A Ge Washing Machine
Was this page helpful?
At Storables.com, we guarantee accurate and reliable information. Our content, validated by Expert Board Contributors, is crafted following stringent Editorial Policies. We're committed to providing you with well-researched, expert-backed insights for all your informational needs.

0 thoughts on “How To Clean A Ge Washing Machine”