Home>Articles>How To Clean Water Pump On Whirlpool Washing Machine
Articles
How To Clean Water Pump On Whirlpool Washing Machine
Modified: August 21, 2024
Learn how to clean the water pump on your Whirlpool washing machine with our informative articles. Keep your machine running smoothly for longer!
(Many of the links in this article redirect to a specific reviewed product. Your purchase of these products through affiliate links helps to generate commission for Storables.com, at no extra cost. Learn more)
Introduction
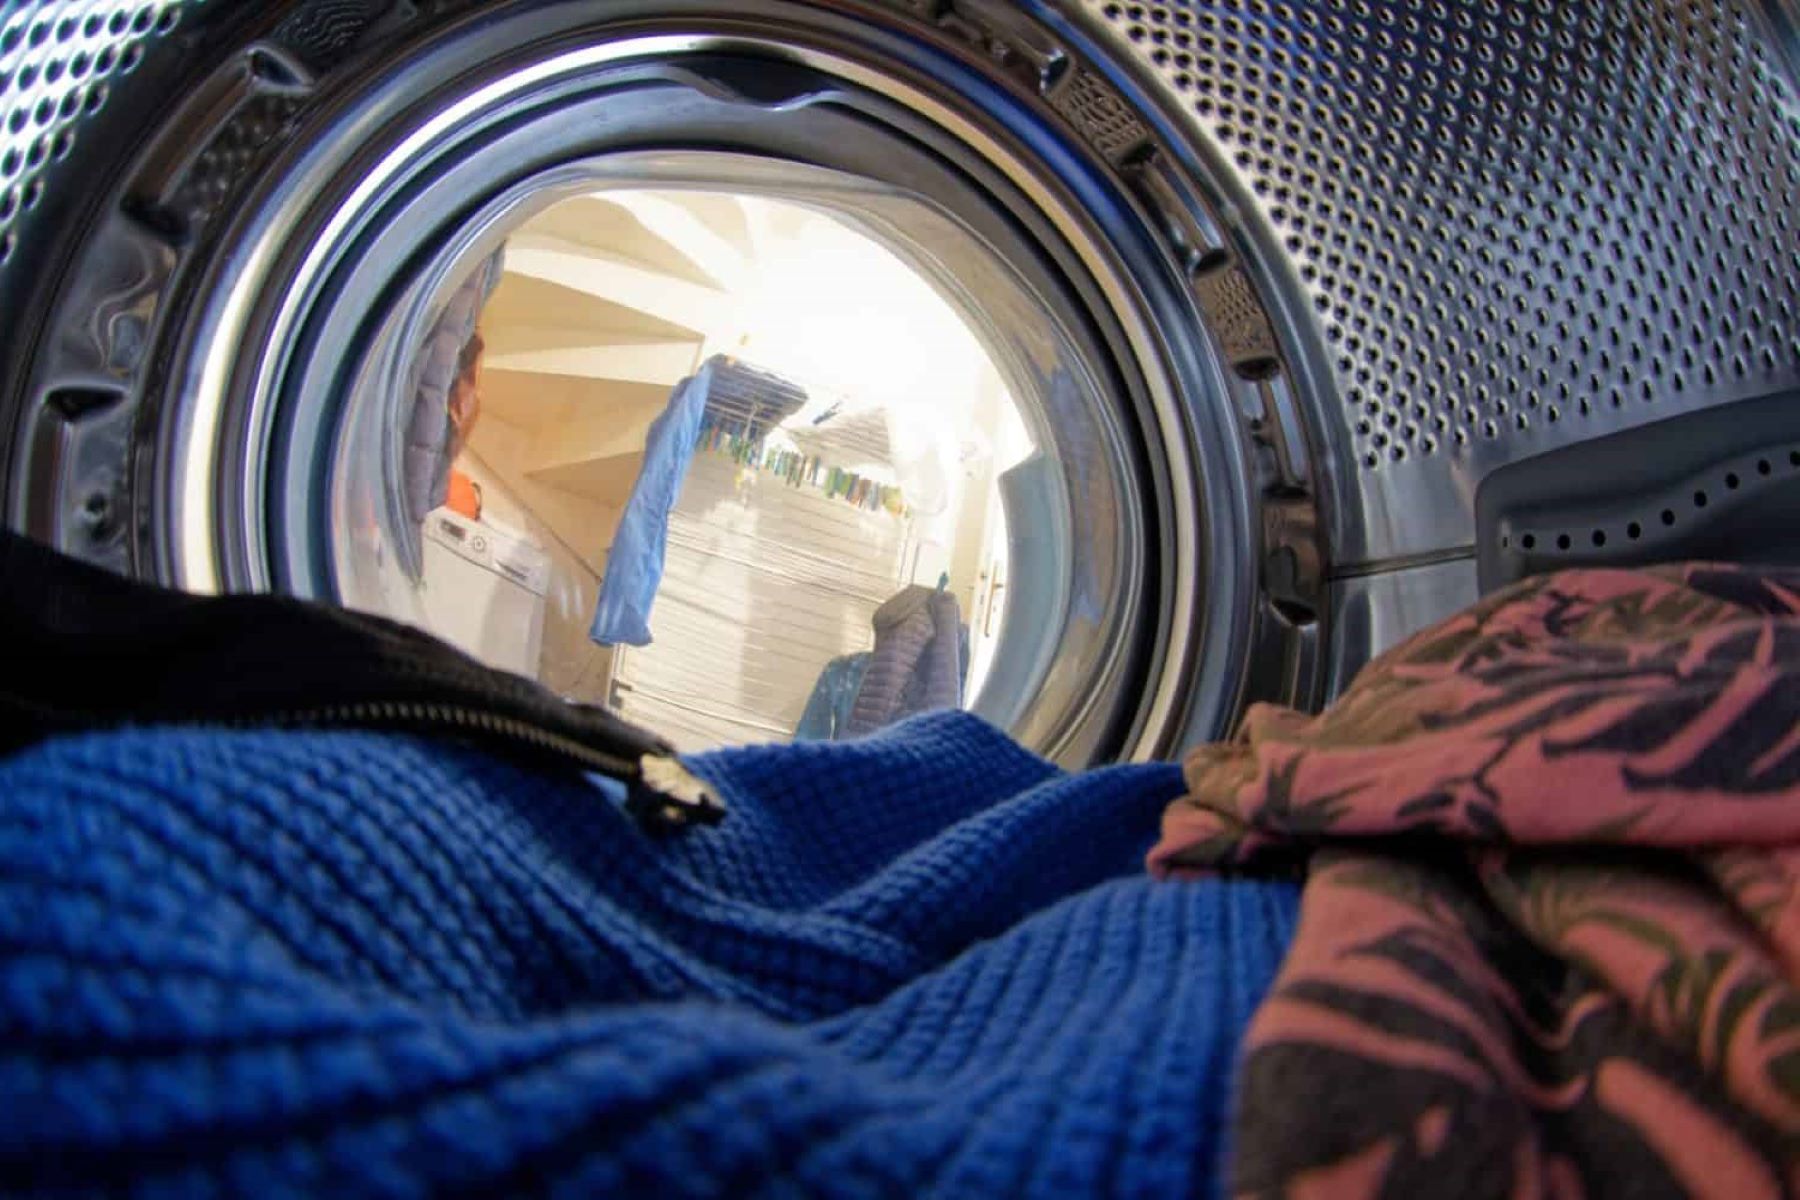
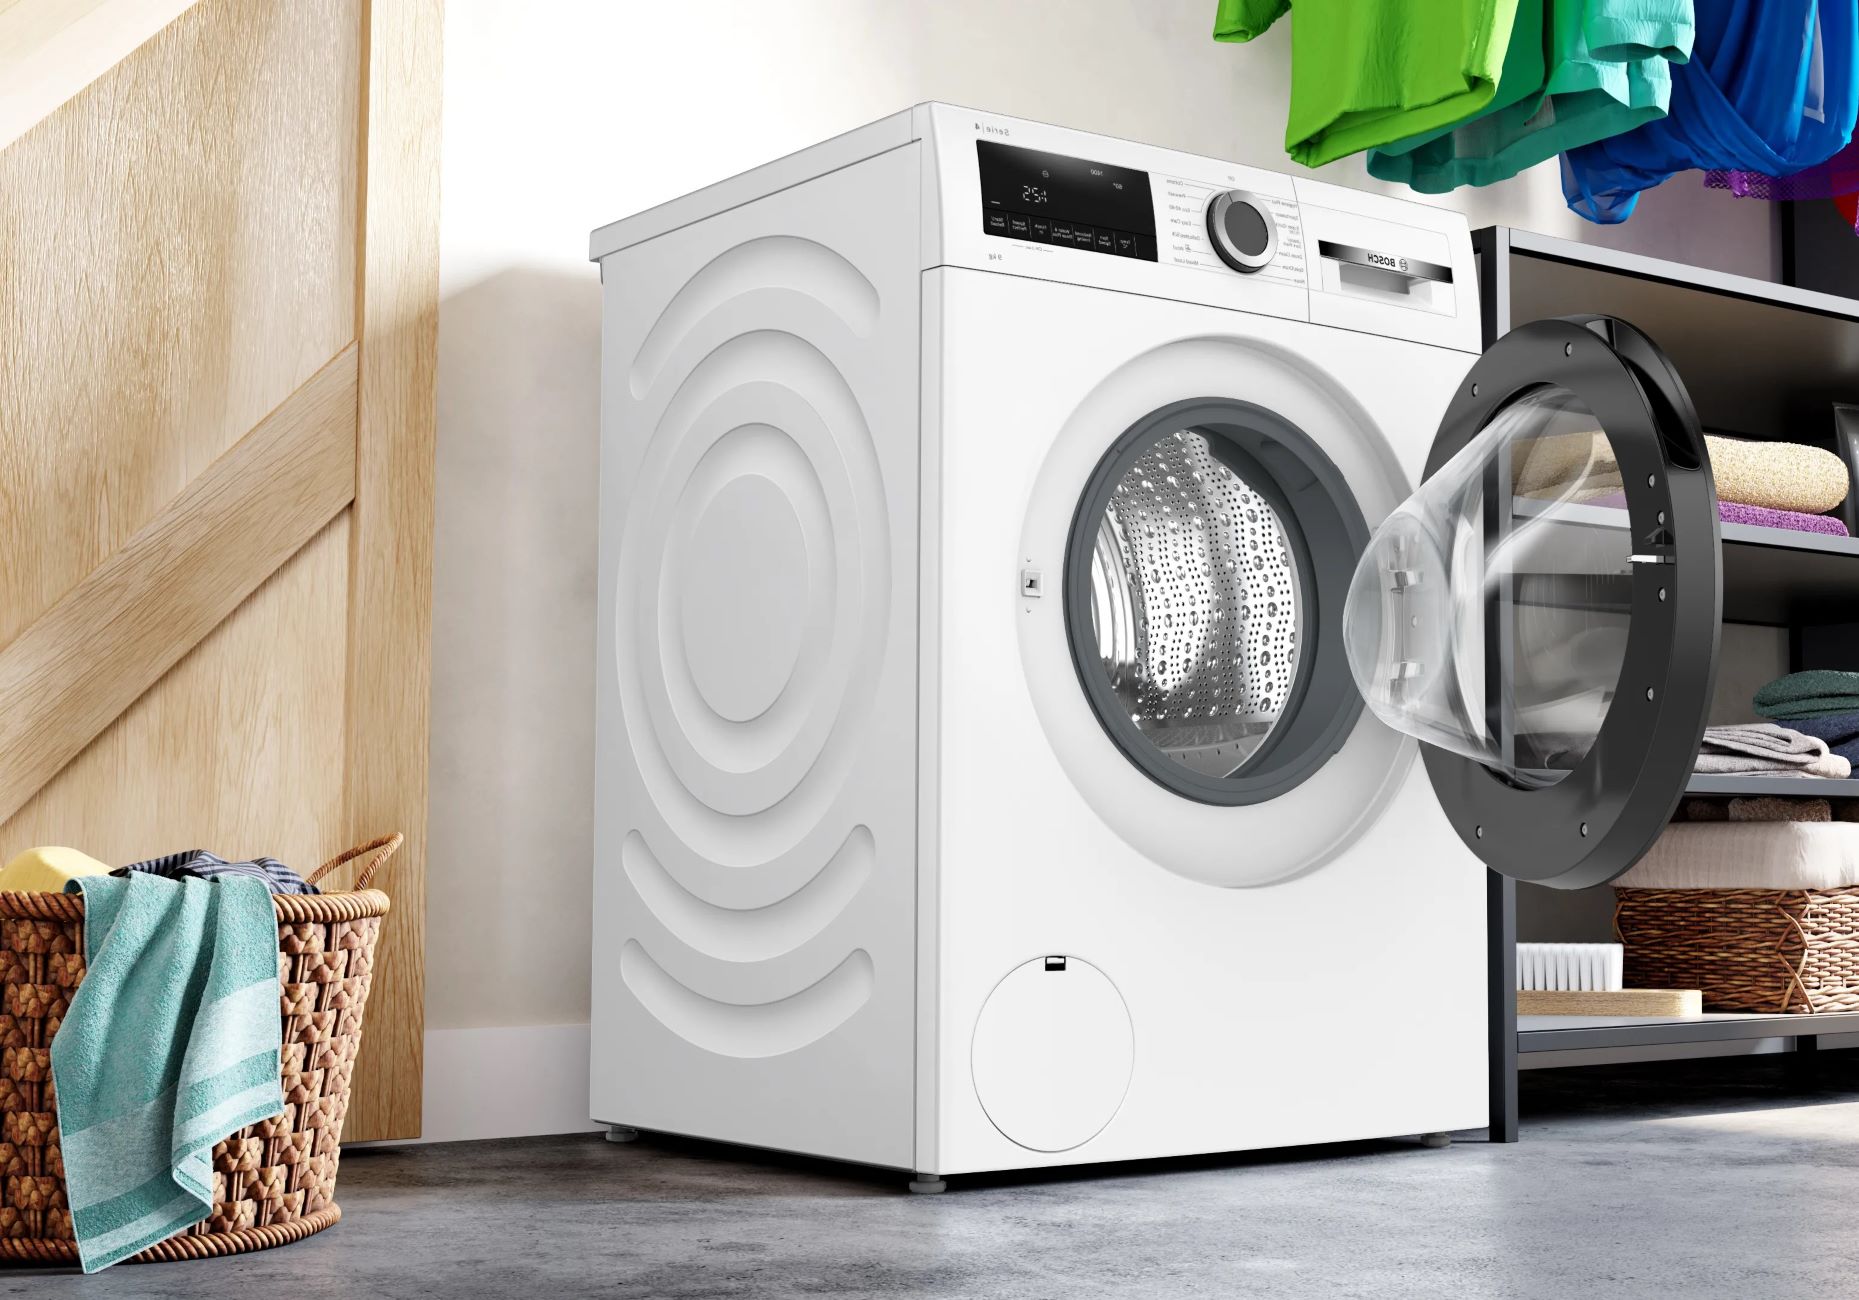
Water pumps are an essential component of Whirlpool washing machines, as they are responsible for pumping water in and out of the appliance. Over time, the water pump may become clogged with debris and dirt, which can impact its performance and efficiency. Regularly cleaning the water pump is crucial to maintain the optimal functioning of the washing machine.
In this article, we will guide you through the steps on how to clean the water pump on your Whirlpool washing machine, ensuring its longevity and top-notch performance. By following our instructions, you can easily remove any blockages and debris, allowing the water pump to function smoothly and effectively.
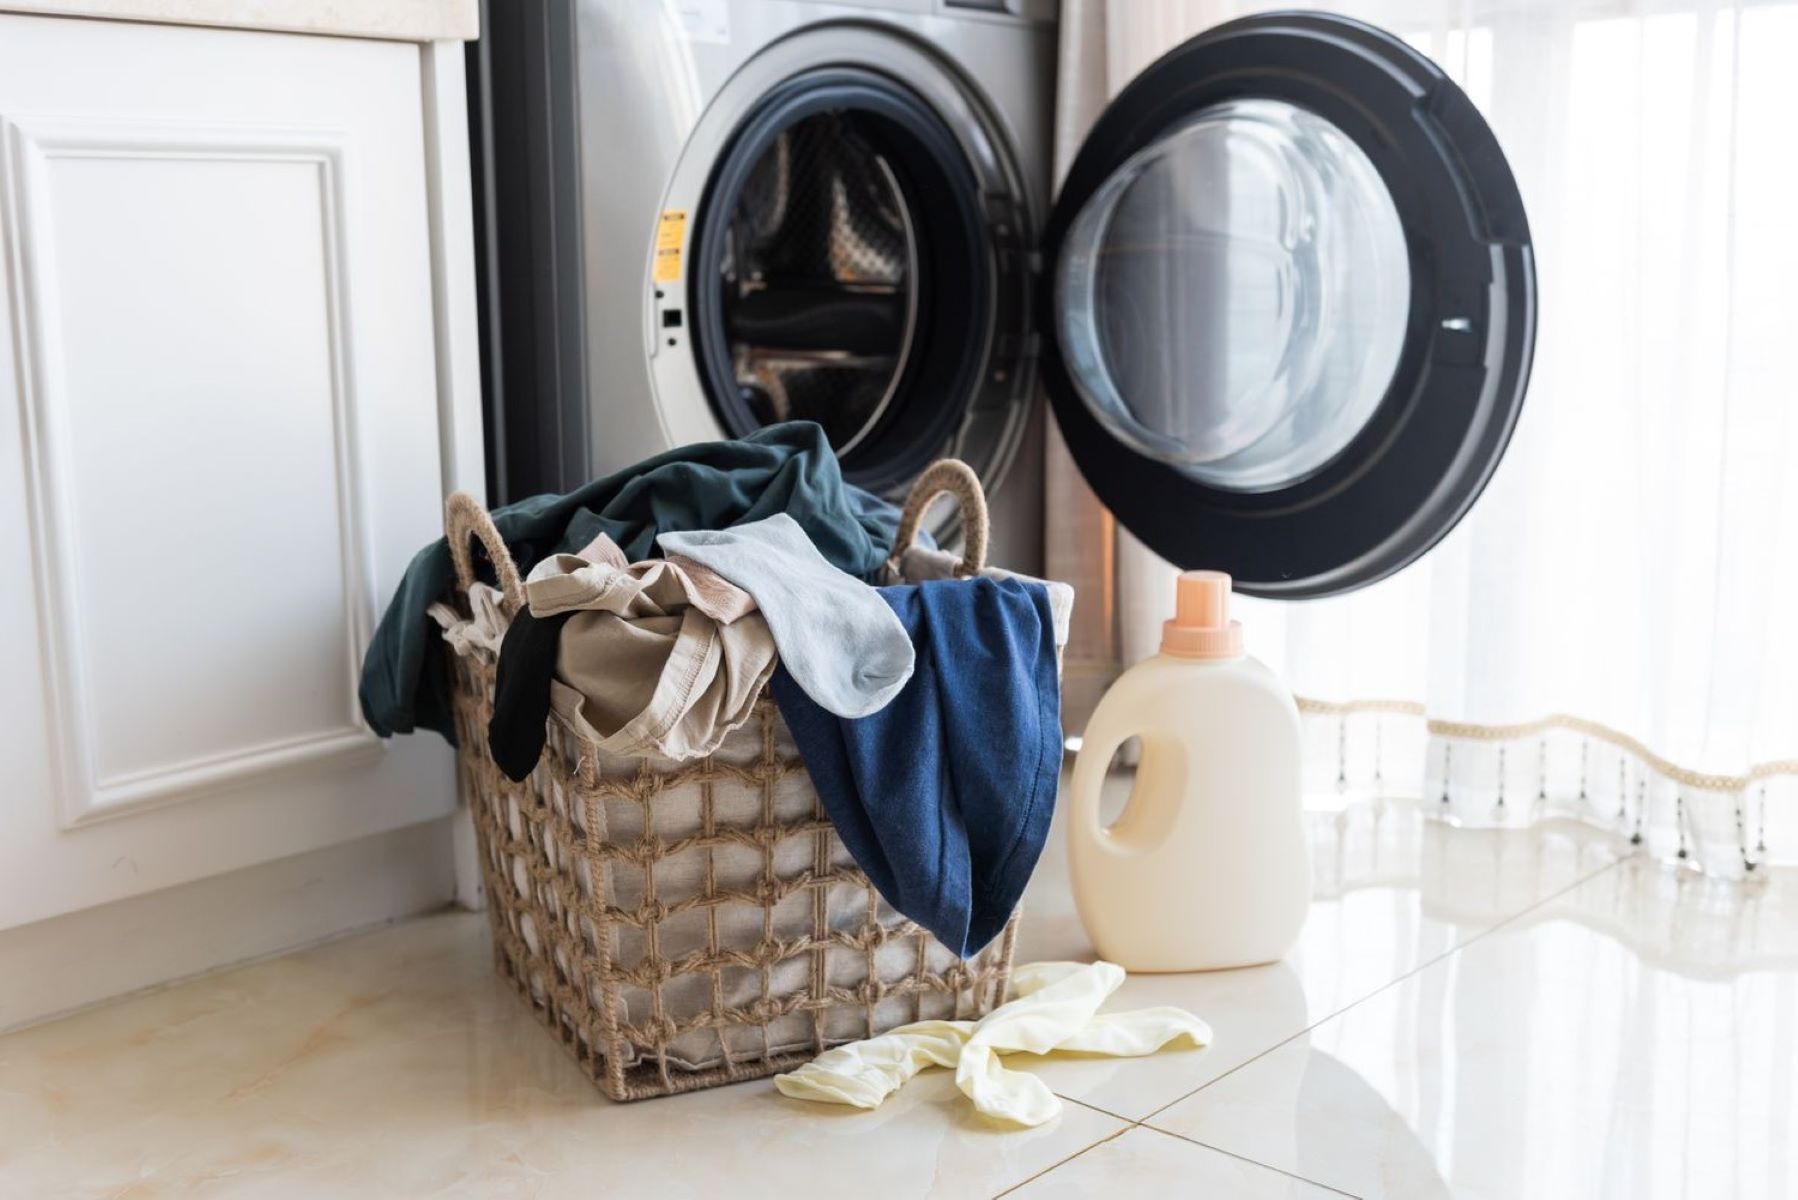
Before we delve into the cleaning process, let’s gather the necessary tools and materials to complete the task:
- Flathead screwdriver
- Pliers
- Bucket or towel
- Old toothbrush
- Clean, lint-free cloth
- Mild detergent
Once you have gathered the required items, we can proceed with cleaning the water pump. However, it is important to ensure the safety of the appliance and yourself by unplugging the washing machine before starting any maintenance or cleaning procedures. Unplugging the machine will prevent any accidental electrical mishaps.
Now that we are prepared, let’s move on to accessing the water pump to begin the cleaning process.
Key Takeaways:
- Regularly cleaning the water pump on your Whirlpool washing machine is crucial to maintain optimal performance and longevity. Follow the step-by-step guide to remove debris and ensure smooth operation.
- Gather the necessary tools and materials, unplug the machine for safety, and follow the detailed instructions to access, clean, and reassemble the water pump. Regular maintenance will keep your washing machine running efficiently.
Read more: How To Clean Whirlpool Washer Filter
Step 1: Preparation
Before diving into the process of cleaning the water pump on your Whirlpool washing machine, it is important to gather the necessary tools and materials. This will ensure that you have everything you need to complete the task efficiently.
Here is a list of the tools and materials you will need:
- Flathead screwdriver: This will be used to remove any screws or fasteners that hold the access panel in place.
- Pliers: These will come in handy for gripping and loosening any stubborn parts, such as the water pump filter cap.
- Bucket or towel: Having a bucket or towel nearby will help catch any water that may spill out during the cleaning process.
- Old toothbrush: An old toothbrush can be used to scrub away any stubborn dirt or debris from the water pump.
- Clean, lint-free cloth: This will be used to wipe down the water pump and ensure it is free from any residue or grime.
- Mild detergent: A mild detergent solution can be used to clean the water pump filter and any other removable parts.
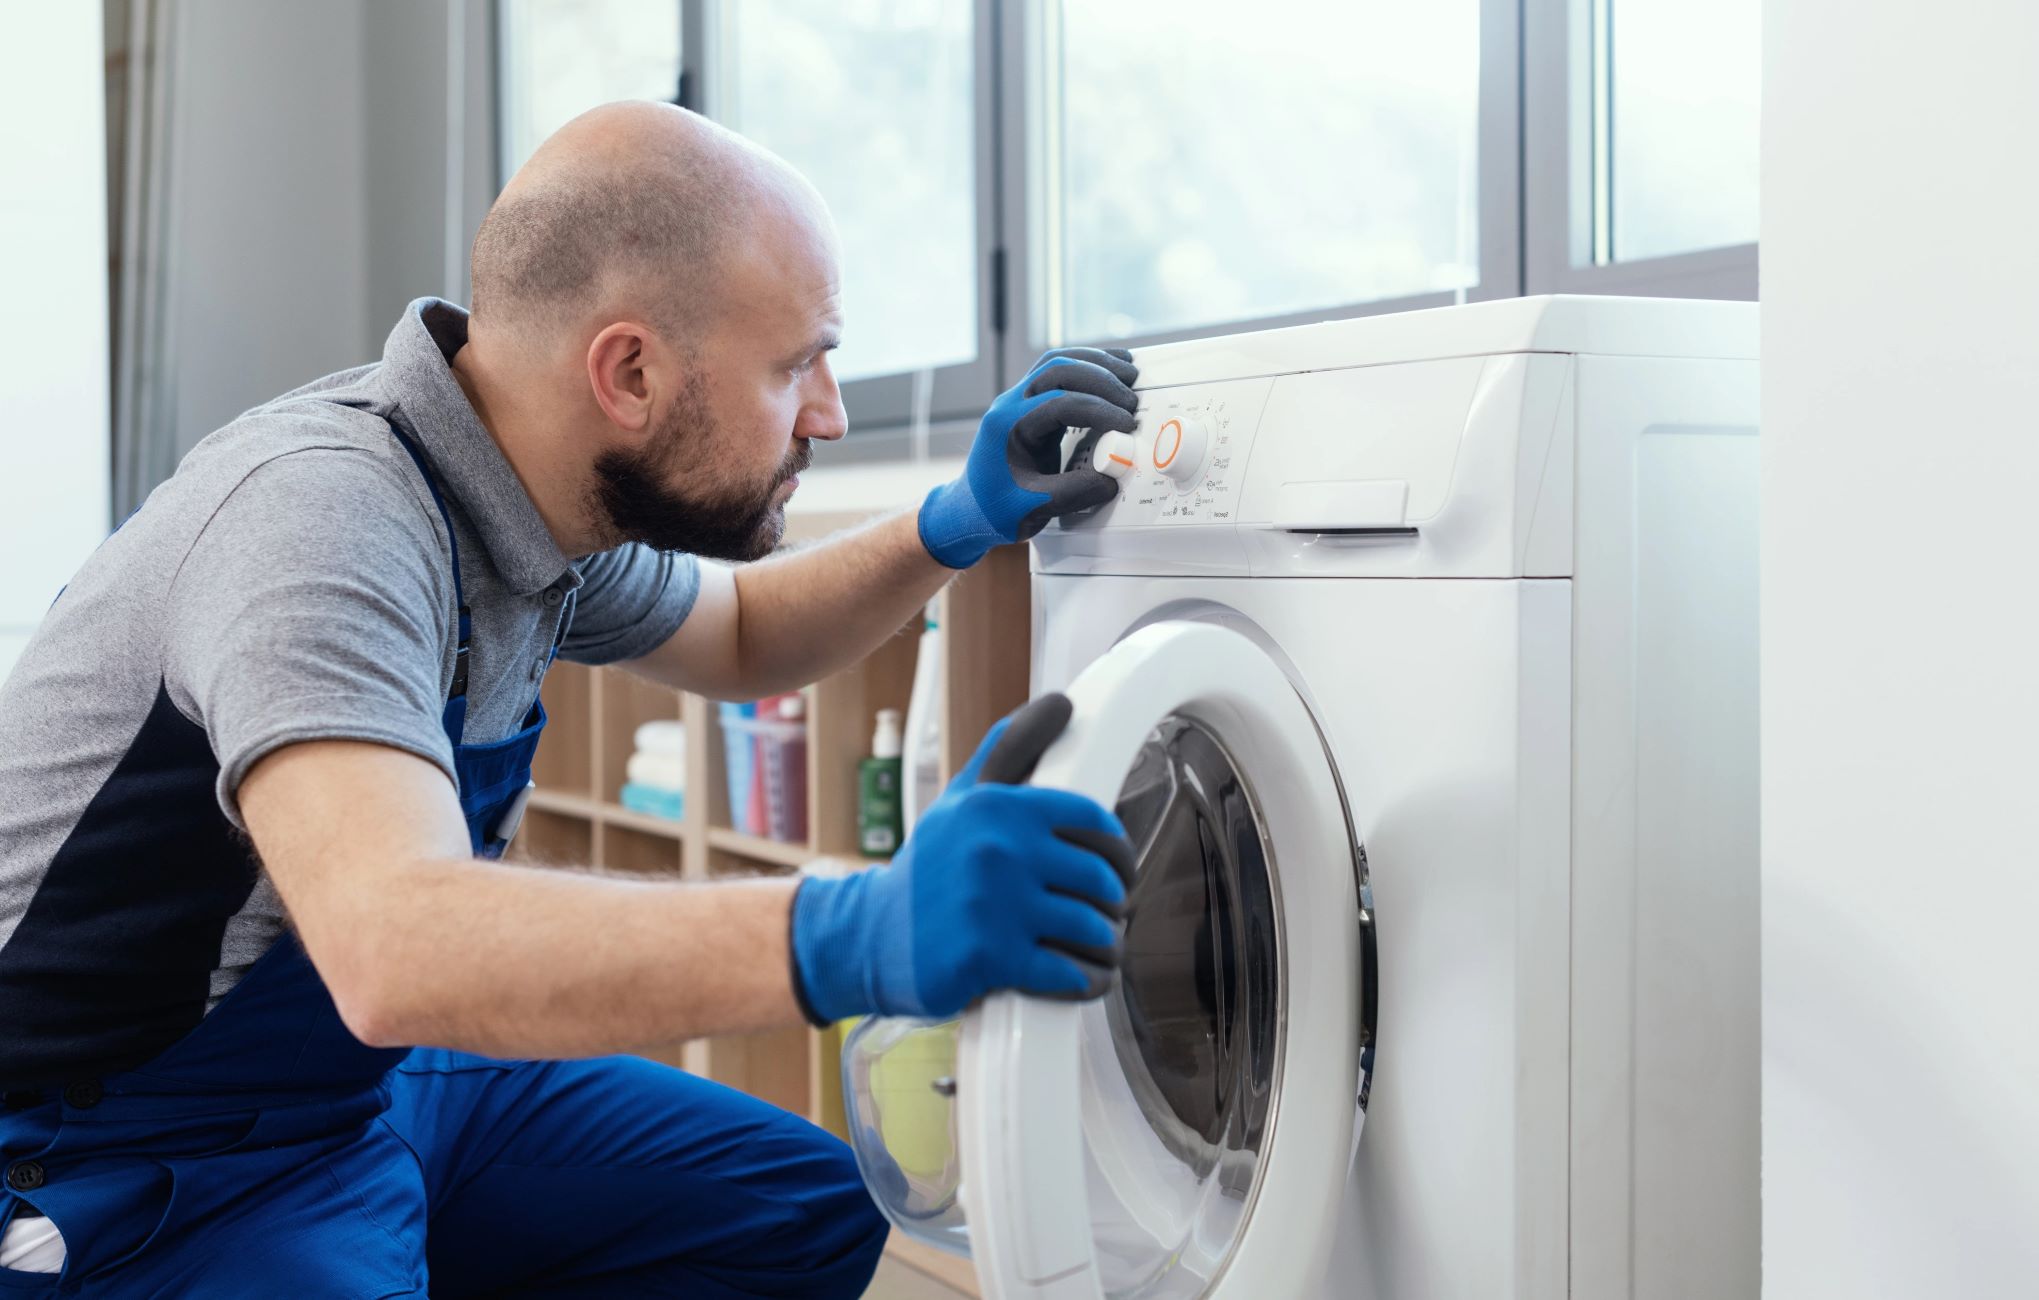
Once you have gathered all the necessary tools and materials, it is important to prioritize safety. The first step to ensure safety is to unplug the washing machine from the power source. This will prevent any accidental electrical shocks or damage during the cleaning process.
Now that you have gathered your tools and materials and have taken the necessary safety precautions, you are ready to move on to the next step, which is accessing the water pump on your Whirlpool washing machine.
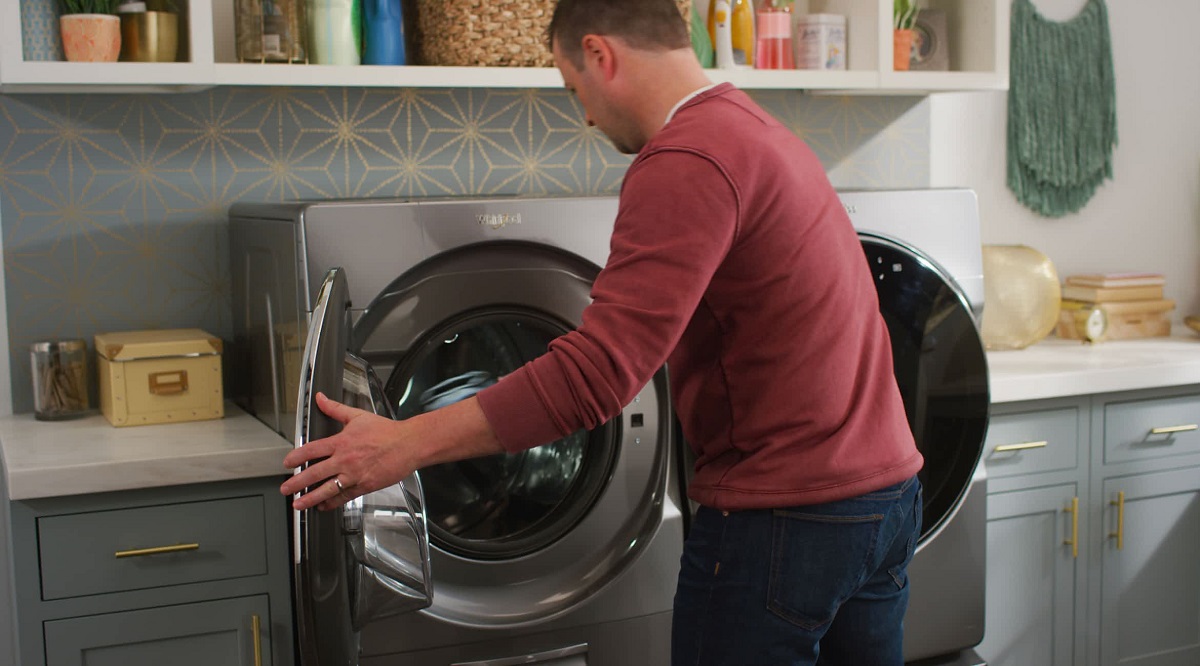
Step 2: Accessing the Water Pump
In order to clean the water pump on your Whirlpool washing machine, you first need to access it. The water pump is usually located at the bottom of the machine, behind an access panel. Here’s how you can locate and remove the access panel:
1. Locate the access panel: Take a look at the bottom of your washing machine and locate the access panel. This panel is typically located on the front or back of the machine and is secured with screws or clips.
2. Remove the access panel: Use a flathead screwdriver or the appropriate tool to remove the screws or clips holding the access panel in place. Carefully set aside the screws or clips in a safe location to avoid misplacing them.
Once the access panel is removed, you will have a clear view of the water pump and its components. It’s important to note that the location and design of the access panel may vary depending on the specific model of your Whirlpool washing machine. Refer to the user manual or manufacturer’s instructions if you’re having trouble locating or removing the access panel.
Now that you have successfully accessed the water pump, you can move on to the next step of removing the water pump filter for cleaning.
Step 3: Removing the Water Pump Filter
Now that you have accessed the water pump on your Whirlpool washing machine, it’s time to remove the water pump filter for cleaning. The water pump filter is responsible for catching any debris or objects that may have been left in the pockets of your clothes. Follow these steps to remove and clean the water pump filter:
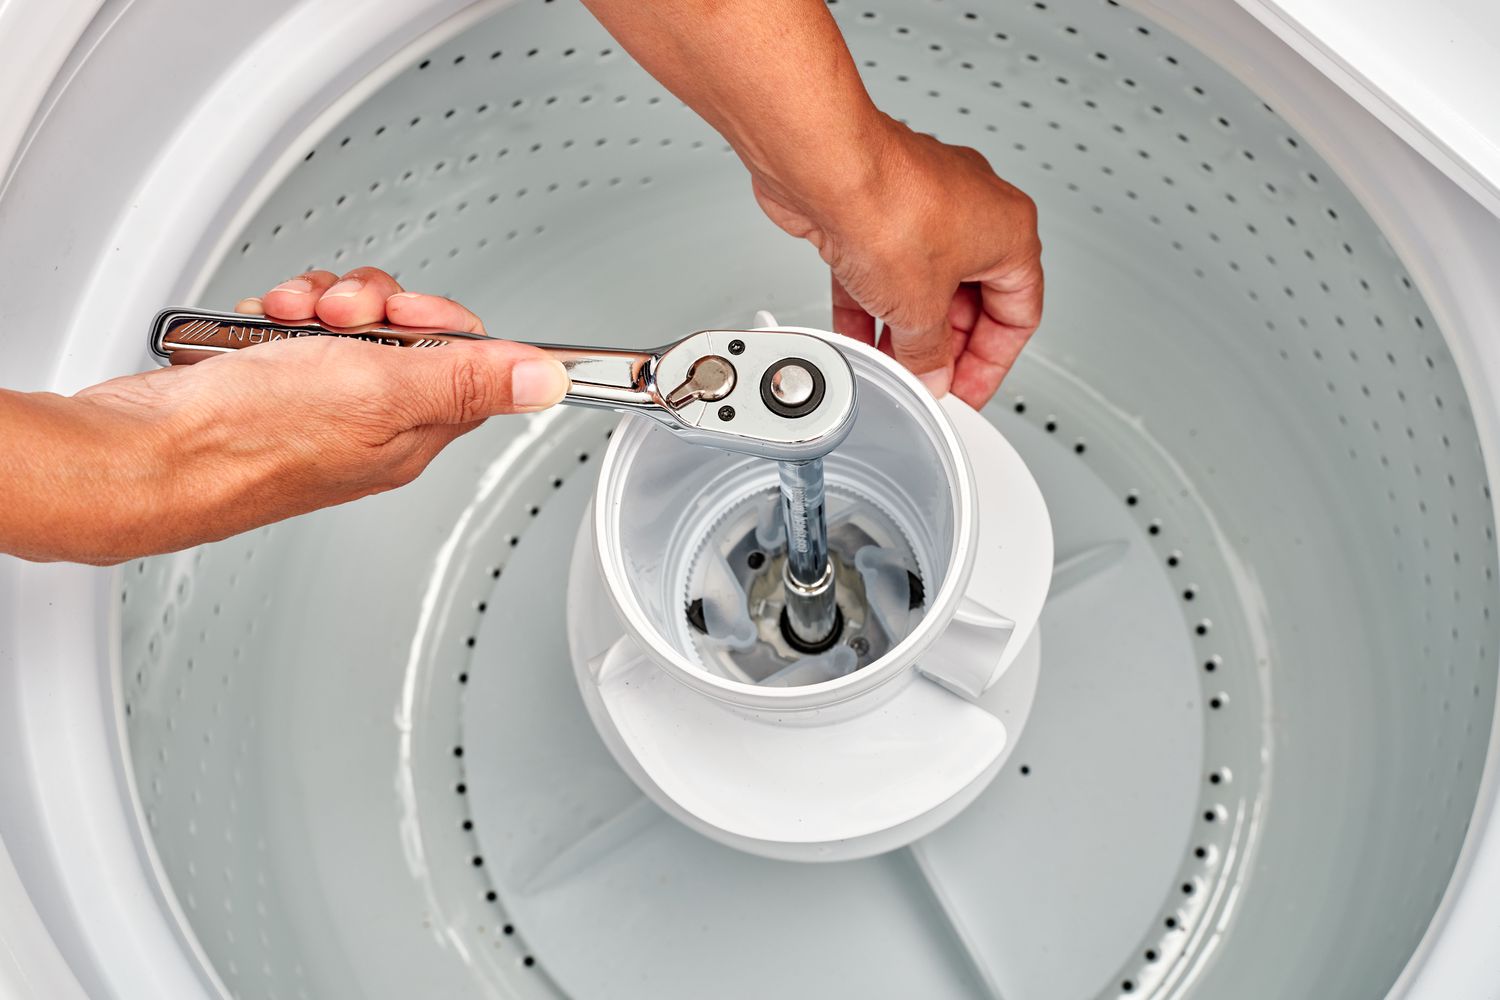
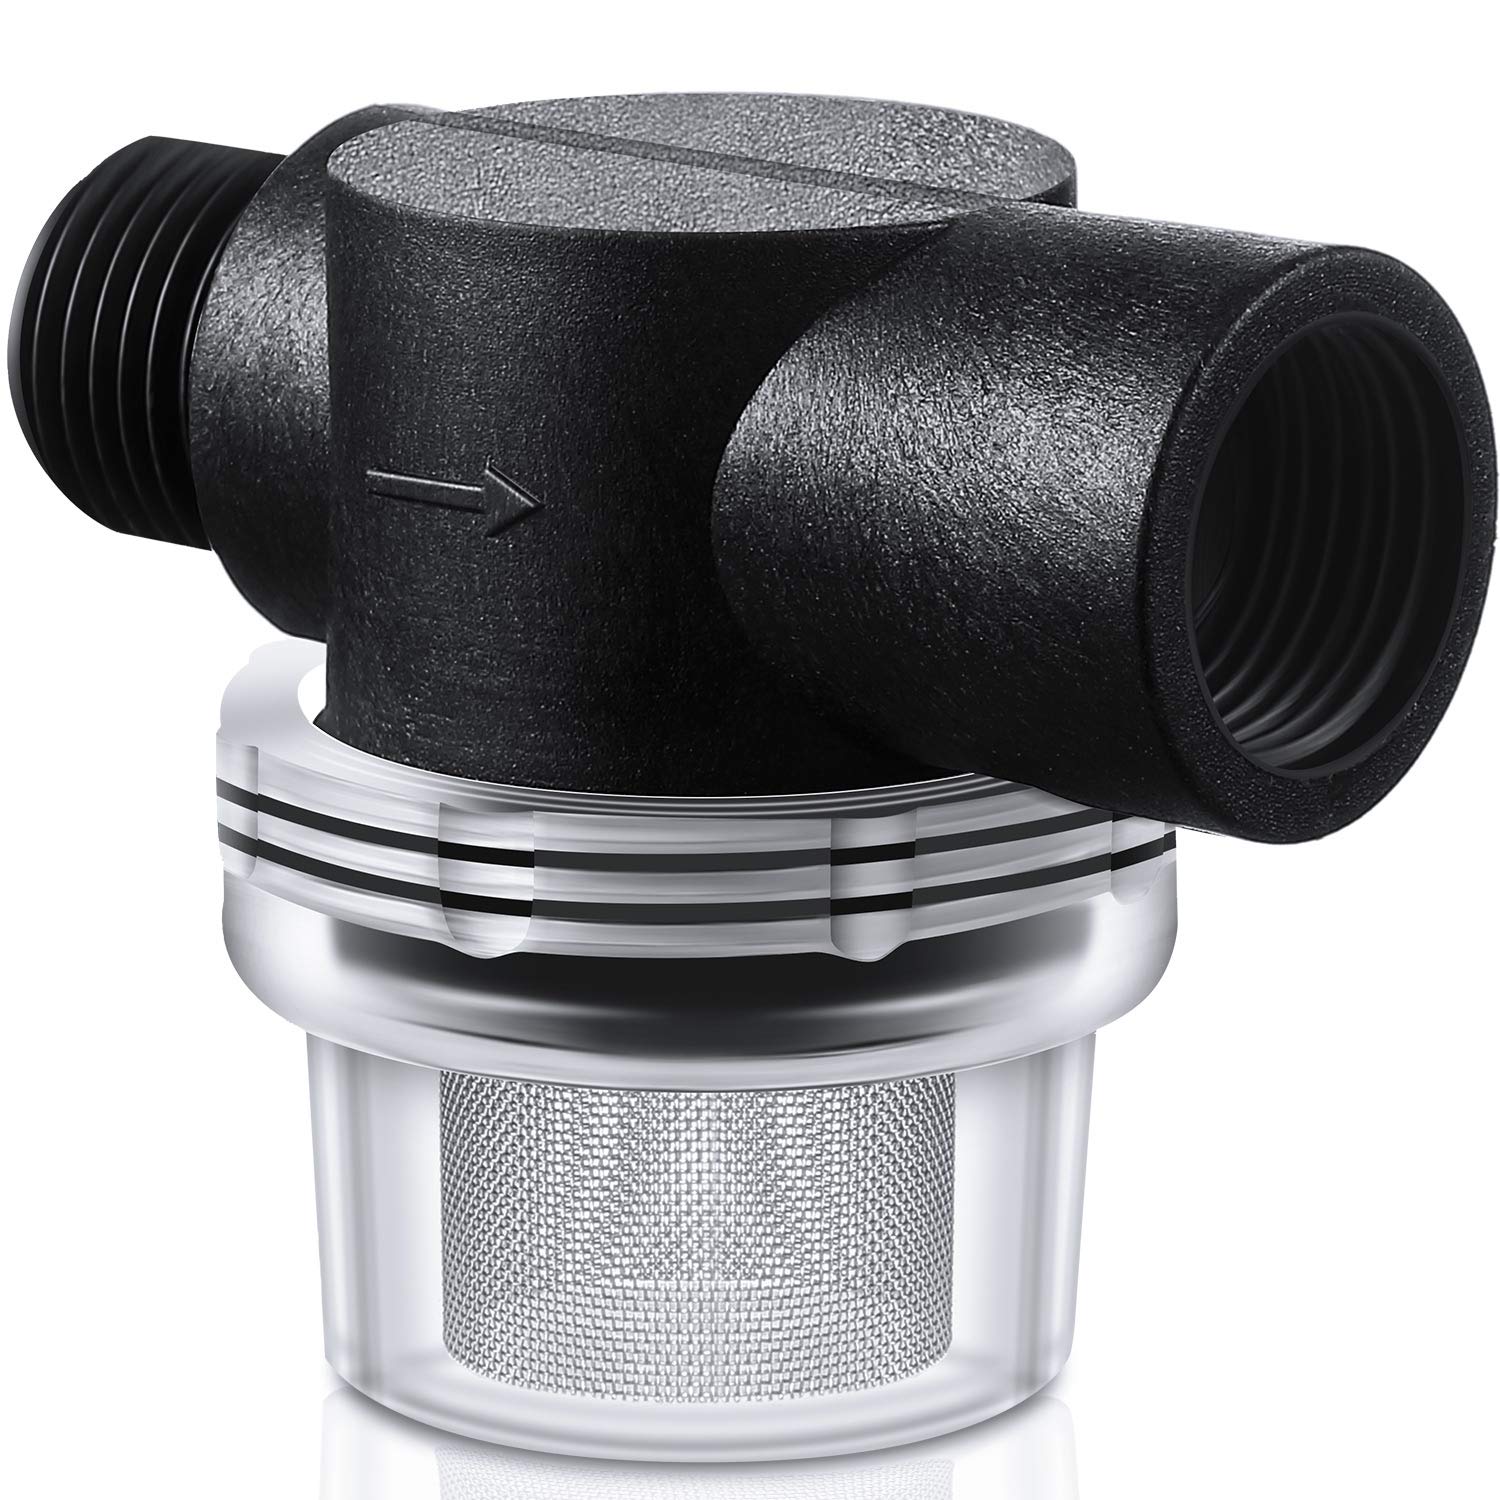
1. Locate the water pump filter: The water pump filter is typically located near the bottom of the machine, adjacent to the water pump. It is a small, cylindrical or rectangular component with a cap or cover.
2. Unscrew the filter cap: Using pliers or your hand, carefully unscrew the filter cap in a counterclockwise direction. Be cautious of any water that may spill out as you remove the cap. Place a bucket or towel underneath the filter to catch any water that drips out.
3. Remove any debris from the filter: Once the filter cap is removed, you will see the water pump filter inside. Check for any visible debris, such as lint, coins, or small objects, and remove them using your fingers or a pair of tweezers. Alternatively, you can rinse the filter under running water to remove any stubborn dirt or debris.
Make sure to inspect the filter thoroughly, as any debris left behind can restrict the water flow and affect the performance of the water pump. Clean the filter until it is free from any visible debris or blockages.
With the water pump filter cleaned, you can now move on to the next step of cleaning the water pump itself.
Use a mixture of equal parts water and vinegar to clean the water pump on your Whirlpool washing machine. Run a cycle with this solution to remove any buildup and odors.
Step 4: Cleaning the Water Pump
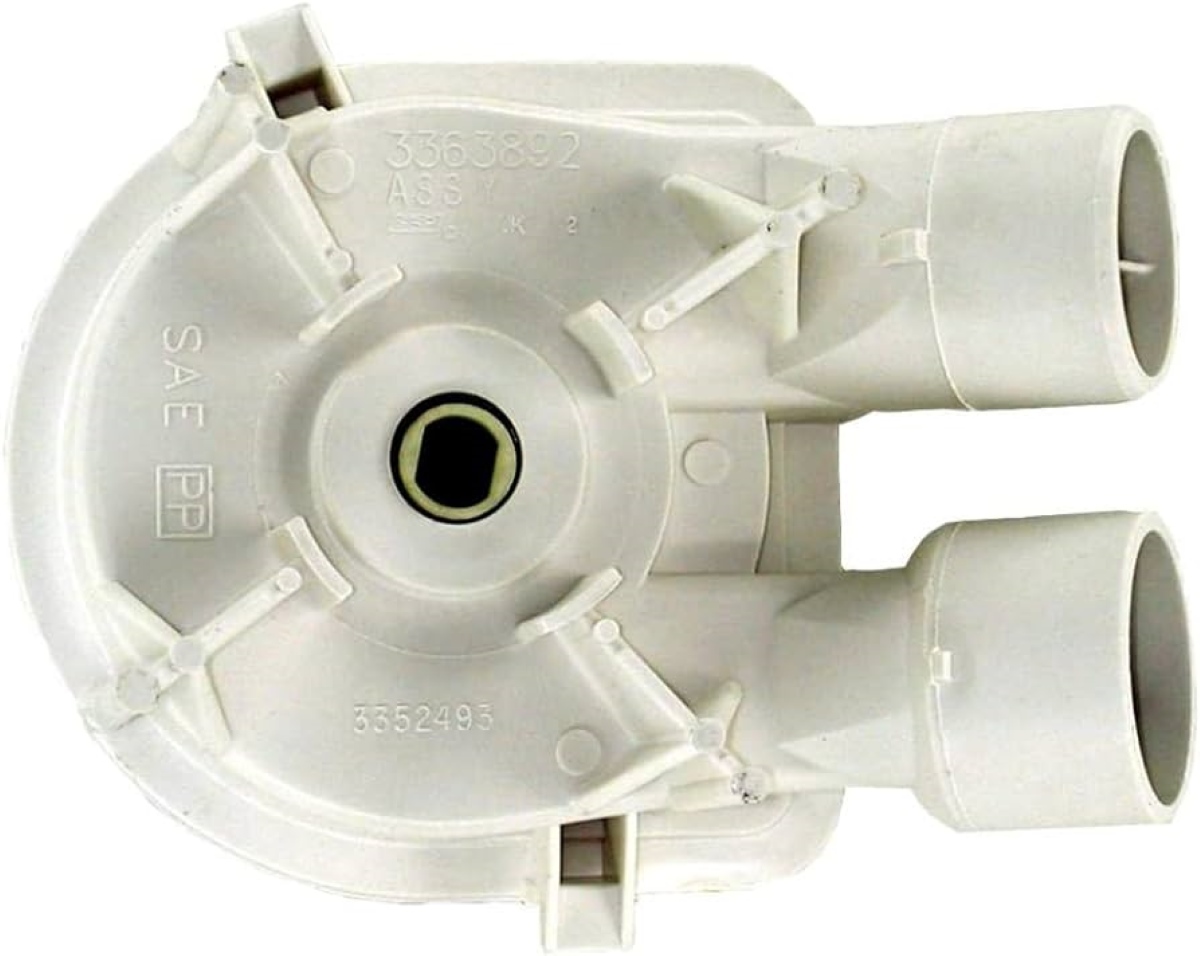
Now that you have removed the water pump filter, it’s time to clean the water pump itself. The water pump consists of an impeller and a housing, both of which can accumulate dirt, lint, and debris over time. Follow these steps to effectively clean the water pump:
1. Check the impeller for any blockages: The impeller is a small, propeller-like component inside the water pump that helps to circulate the water. Inspect the impeller for any visible blockages, such as fabric threads, hair, or small objects. Use a flashlight to have a clearer view if needed.
2. Remove any obstructions: If you notice any blockages in the impeller, carefully use a pair of tweezers or a toothpick to remove them. Take your time and be gentle to avoid damaging the impeller or other components of the water pump.
3. Clean the impeller blades: After removing any visible blockages, use an old toothbrush or a soft-bristle brush to scrub the impeller blades. This will help remove any stuck-on debris or residue. Make sure to clean all sides of the impeller blades thoroughly.
4. Clean the pump housing: With the impeller cleaned, it’s time to clean the pump housing. Dampen a clean, lint-free cloth with mild detergent solution and gently wipe down the inside of the pump housing. Pay attention to any areas where dirt or debris may have accumulated and make sure to remove it completely.
By cleaning both the impeller and the pump housing, you ensure that the water pump is free from any obstructions that could hinder its performance. A clean water pump will improve the efficiency of your Whirlpool washing machine and help avoid any potential issues.
With the water pump thoroughly cleaned, you can now move on to reassembling the water pump and completing the maintenance process.
Read more: How To Clean A Whirlpool Duet Washer
Step 5: Reassembling the Water Pump
After cleaning the water pump components, it’s time to reassemble the water pump on your Whirlpool washing machine. Follow these steps to ensure a proper and secure reassembly:
1. Insert the filter cap back onto the pump: Take the filter cap that you removed earlier and align it with the opening on the water pump. Make sure it is properly seated and ready for tightening.
2. Tighten the cap securely: Using your hand or pliers, carefully tighten the filter cap in a clockwise direction. Ensure that it is firmly secured in place, but be cautious not to overtighten it as it may cause damage to the cap or the pump.
3. Replace the access panel: Take the access panel that you removed at the beginning of the cleaning process and position it back onto the washing machine. Align the screw holes or clips with the corresponding slots on the machine and press it into place.
If there were screws holding the access panel, use a flathead screwdriver to screw them back in. If the panel was held in place by clips, simply push the panel until it clicks or snaps into place.
Ensure that the access panel is securely attached to the machine to prevent any vibrations or movements during operation.
With the water pump reassembled and the access panel securely in place, you have successfully completed the cleaning process. The final step is to test the water pump to ensure that it is functioning properly.
Step 6: Testing the Water Pump
After reassembling the water pump, it’s important to test it to ensure that it is functioning properly. Follow these steps to test the water pump on your Whirlpool washing machine:
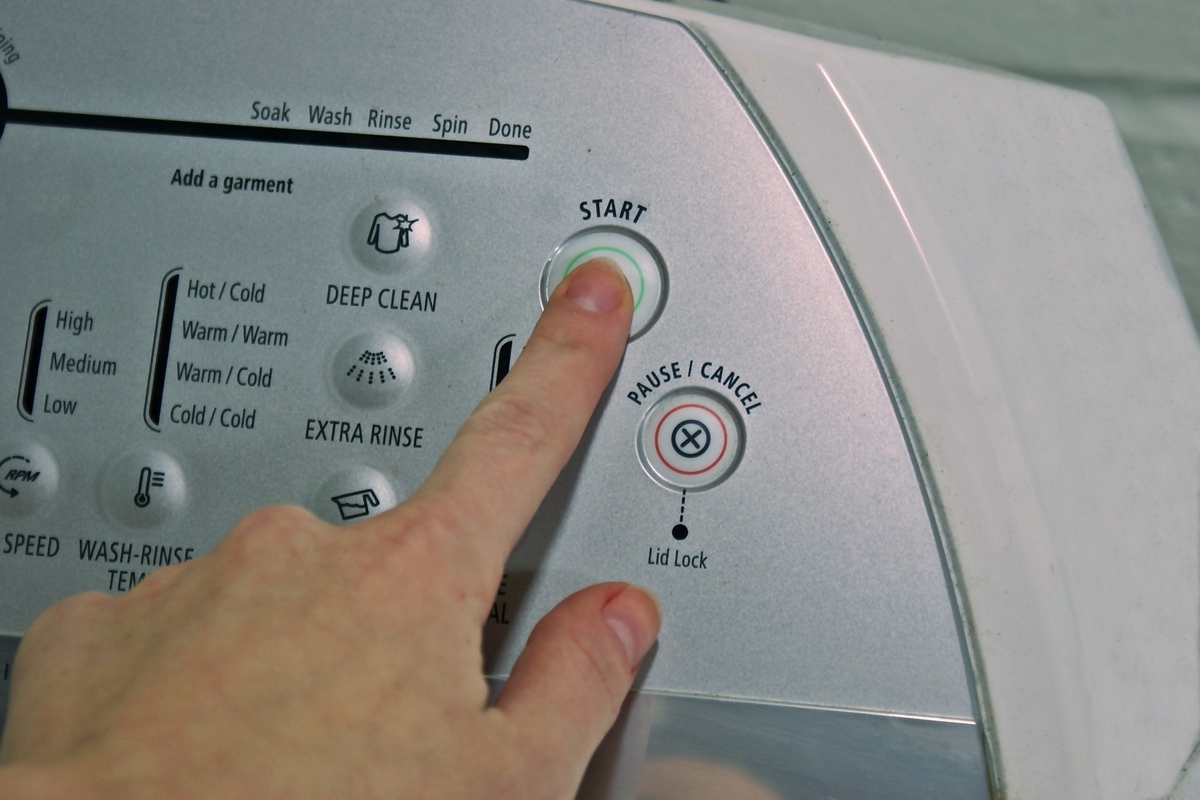
1. Plug in the washing machine: Ensure that your Whirlpool washing machine is properly plugged into a grounded electrical outlet. This will provide power to the machine and allow it to operate.
2. Run a test cycle to ensure proper functioning: Select a small load or a quick cycle on your washing machine and start it. Observe the operation of the water pump and listen for any unusual sounds or vibrations. The water pump should start and circulate water smoothly in and out of the machine.
During the test cycle, make sure to closely monitor the water flow and drainage. If you notice any issues, such as slow draining, no water circulation, or strange noises, it may indicate a problem with the water pump. In such cases, you should consider contacting a professional technician for further assistance.
If the test cycle runs without any issues and the water pump is functioning properly, congratulations! You have successfully cleaned and tested the water pump on your Whirlpool washing machine, ensuring its optimal performance.
It is recommended to clean the water pump every three to six months or as needed, depending on your machine usage and the quality of your water supply. Regular maintenance will help prolong the lifespan of your washing machine and ensure efficient and effective operation.
Remember to refer to your Whirlpool washing machine’s user manual or manufacturer’s guidelines for specific instructions and recommendations regarding maintenance and cleaning.
With the water pump tested and your washing machine ready for use, you can enjoy clean and properly functioning laundry cycles in the future.
Conclusion
Cleaning the water pump on your Whirlpool washing machine is an essential maintenance task that can help ensure the optimal performance and longevity of your appliance. By following the steps outlined in this guide, you can easily clean the water pump and remove any debris or blockages that may impede its functionality.
Starting with the necessary preparations and gathering the right tools and materials sets the stage for a successful cleaning process. Unplugging the washing machine prior to the task is crucial for safety reasons.
Accessing the water pump through the removal of the access panel allows you to locate and remove the water pump filter. This filter, responsible for catching debris, should be thoroughly cleaned or rinsed to maintain its effectiveness.
Cleaning the water pump itself involves checking the impeller for blockages and removing any obstructions. With the impeller cleaned, the pump housing should be wiped down with a mild detergent solution to eliminate any dirt or grime.
After cleaning, reassembling the water pump is a straightforward process. Re-insert the filter cap securely, making sure it is tightened properly. Replace the access panel and secure it with screws or clips, ensuring it is firmly in place.
Finally, testing the water pump by plugging in the washing machine and running a test cycle is crucial to ensure proper functioning. Monitor the water flow and drainage, as well as any unusual sounds or vibrations. If any problems arise, consider seeking assistance from a professional technician.
In conclusion, regular cleaning of the water pump on your Whirlpool washing machine is key to maintaining its performance and longevity. By following the steps provided in this guide, you can ensure that your washing machine operates at its best, allowing you to enjoy clean and efficient laundry cycles for years to come.
Remember to consult the user manual or manufacturer’s guidelines specific to your Whirlpool washing machine for any additional instructions or recommendations regarding maintenance and cleaning.
Frequently Asked Questions about How To Clean Water Pump On Whirlpool Washing Machine
Was this page helpful?
At Storables.com, we guarantee accurate and reliable information. Our content, validated by Expert Board Contributors, is crafted following stringent Editorial Policies. We're committed to providing you with well-researched, expert-backed insights for all your informational needs.

0 thoughts on “How To Clean Water Pump On Whirlpool Washing Machine”