Home>Home Appliances>Laundry Appliances>How To Fix A Whirlpool Washing Machine
Laundry Appliances
How To Fix A Whirlpool Washing Machine
Modified: October 21, 2024
Learn how to troubleshoot and repair your Whirlpool washing machine with our expert tips and step-by-step guide. Keep your laundry appliances running smoothly.
(Many of the links in this article redirect to a specific reviewed product. Your purchase of these products through affiliate links helps to generate commission for Storables.com, at no extra cost. Learn more)
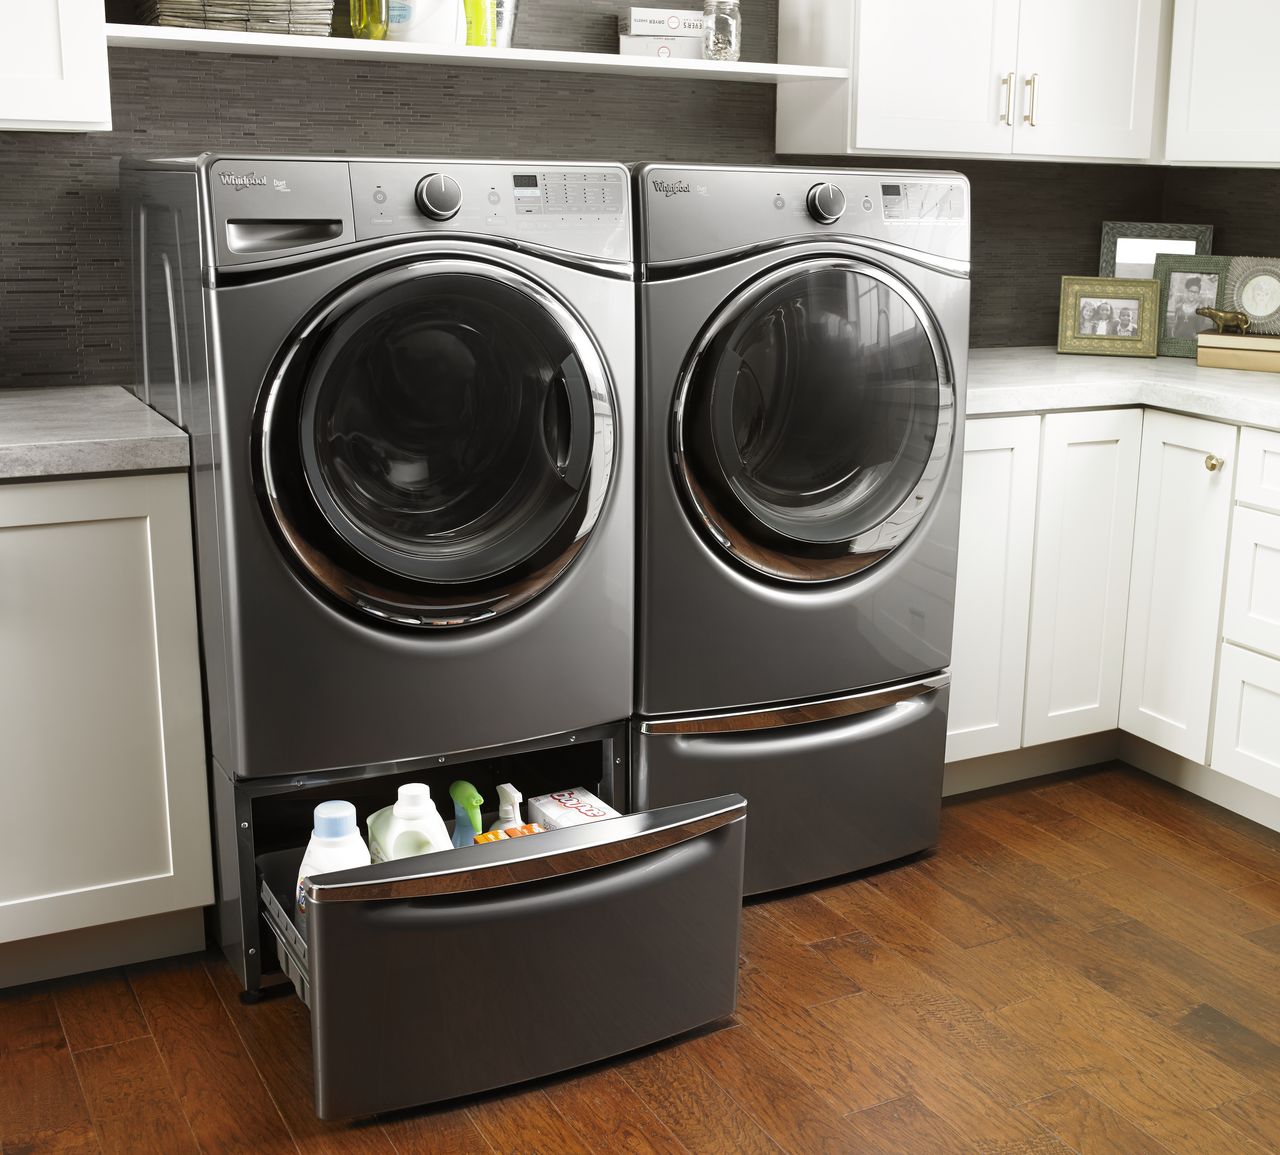
Common Issues with Whirlpool Washing Machines
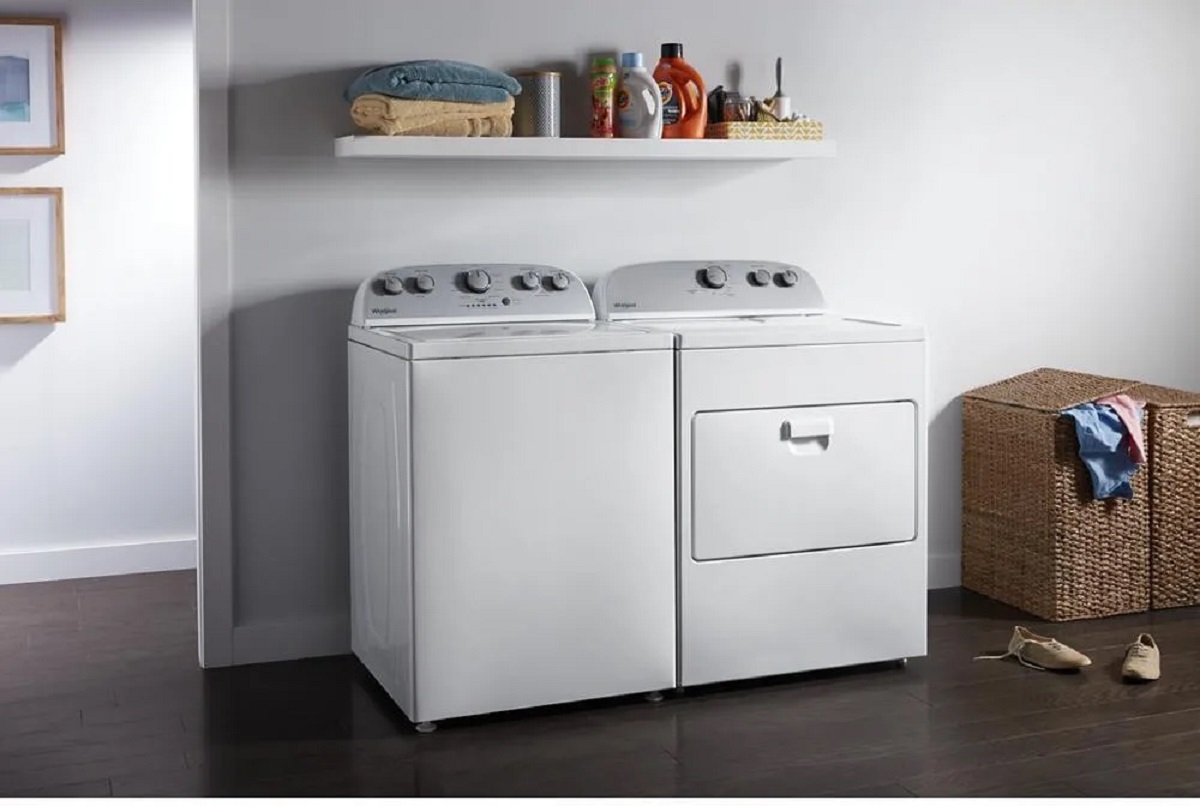
Whirlpool washing machines are renowned for their reliability and efficiency, but like any appliance, they can encounter issues over time. Understanding the common problems that may arise with Whirlpool washing machines can help users troubleshoot and address these issues promptly. Here are some of the most prevalent issues that users may encounter:
-
Loud Noises During Operation: One of the most common complaints with Whirlpool washing machines is the occurrence of loud noises during operation. These noises can range from banging and clanking to squealing or grinding sounds. Such noises may be indicative of a faulty drum bearing, worn-out drive pulley, or a malfunctioning drive motor.
-
Failure to Spin: Another frequent issue is when the washing machine fails to spin properly or at all. This can lead to clothes being excessively wet at the end of the cycle. The culprit behind this problem is often a worn-out or broken drive belt, a malfunctioning lid switch, or a faulty motor coupling.
-
Leaking: Leaks from a Whirlpool washing machine can cause water damage to the surrounding area and may be attributed to several factors. Common causes of leaks include damaged door seals, cracked hoses, or a defective water inlet valve.
-
Failure to Start: Some users may encounter difficulties when attempting to start their Whirlpool washing machines. This issue can be caused by a defective door lock, a malfunctioning timer, or an electrical problem within the machine.
-
Overfilling or Underfilling: Inconsistent water levels during the wash cycle can be a frustrating issue. This may be due to a malfunctioning water level pressure switch, a clogged pressure hose, or a faulty electronic control board.
-
Unusual Odors: Unpleasant odors emanating from the washing machine can be a sign of mold or mildew growth within the drum or the detergent dispenser. This can occur if the machine is not properly ventilated or if detergent residue is allowed to accumulate.
Understanding these common issues with Whirlpool washing machines empowers users to identify and address potential problems promptly. By recognizing the symptoms and underlying causes of these issues, users can take the necessary steps to troubleshoot and resolve them effectively. Regular maintenance and timely repairs can help prolong the lifespan of Whirlpool washing machines, ensuring continued performance and reliability.
Key Takeaways:
- Keep your Whirlpool washing machine in top condition by addressing common issues like loud noises, failure to spin, leaking, and more. Regular maintenance and timely repairs can extend its lifespan and ensure reliable performance.
- Equip yourself with essential tools like screwdrivers, pliers, and a multimeter to effectively repair your Whirlpool washing machine. Follow systematic troubleshooting steps to identify and resolve operational issues, and maintain the appliance for long-term use.
Read more: How To Calibrate Whirlpool Washer
Tools Needed for Repairing a Whirlpool Washing Machine
When it comes to repairing a Whirlpool washing machine, having the right tools at your disposal is essential for a successful and efficient repair process. Whether you are addressing a minor issue or conducting a more extensive repair, having the appropriate tools can make all the difference. Here are the essential tools needed for repairing a Whirlpool washing machine:
1. Screwdriver Set
A comprehensive screwdriver set is indispensable for accessing various components within the washing machine. Both flathead and Phillips head screwdrivers in different sizes are necessary for removing panels, accessing internal parts, and conducting repairs.
2. Adjustable Wrench
An adjustable wrench is vital for loosening and tightening nuts, bolts, and hose fittings. It allows for a secure grip and adjustable jaw width, enabling it to be used on different sizes of fasteners and fittings within the washing machine.
3. Pliers
A set of pliers, including slip-joint pliers and needle-nose pliers, is essential for gripping, bending, and manipulating wires, clamps, and other components. They are particularly useful for handling electrical connections and securing various parts during the repair process.
Read more: How To Reset A Whirlpool Duet Washer
4. Nut Driver Set
A nut driver set with interchangeable heads is crucial for removing and installing nuts and bolts of different sizes. This versatile tool is commonly used for accessing and securing components such as motor mounts, pump assemblies, and agitator bolts.
5. Socket and Ratchet Set
A socket and ratchet set is invaluable for accessing and securing fasteners in tight spaces. It provides a more efficient and secure means of removing and installing bolts and nuts, particularly in areas with limited clearance within the washing machine.
6. Multimeter
A multimeter is an essential diagnostic tool for troubleshooting electrical components within the washing machine. It allows for the measurement of voltage, resistance, and continuity, aiding in the identification of electrical issues and component testing.
7. Flashlight
A reliable flashlight is indispensable for illuminating the internal components of the washing machine, particularly in dimly lit areas. It facilitates visibility and accessibility during the repair process, enabling thorough inspection and identification of issues.
Read more: How To Use A Whirlpool Washing Machine
8. Towels and Container
Having towels and a container on hand is essential for containing water and preventing potential mess during certain repair procedures, such as hose or pump replacement. Additionally, towels can be used for drying components and wiping surfaces clean.
9. Replacement Parts
In addition to tools, it is crucial to have any replacement parts or components that may be necessary for the repair. This may include items such as drive belts, hoses, seals, or electronic control boards, depending on the nature of the repair.
By ensuring that these essential tools are readily available, individuals can effectively address various issues that may arise with their Whirlpool washing machines. Additionally, having a well-equipped toolkit can streamline the repair process, minimize downtime, and contribute to successful and lasting repairs.
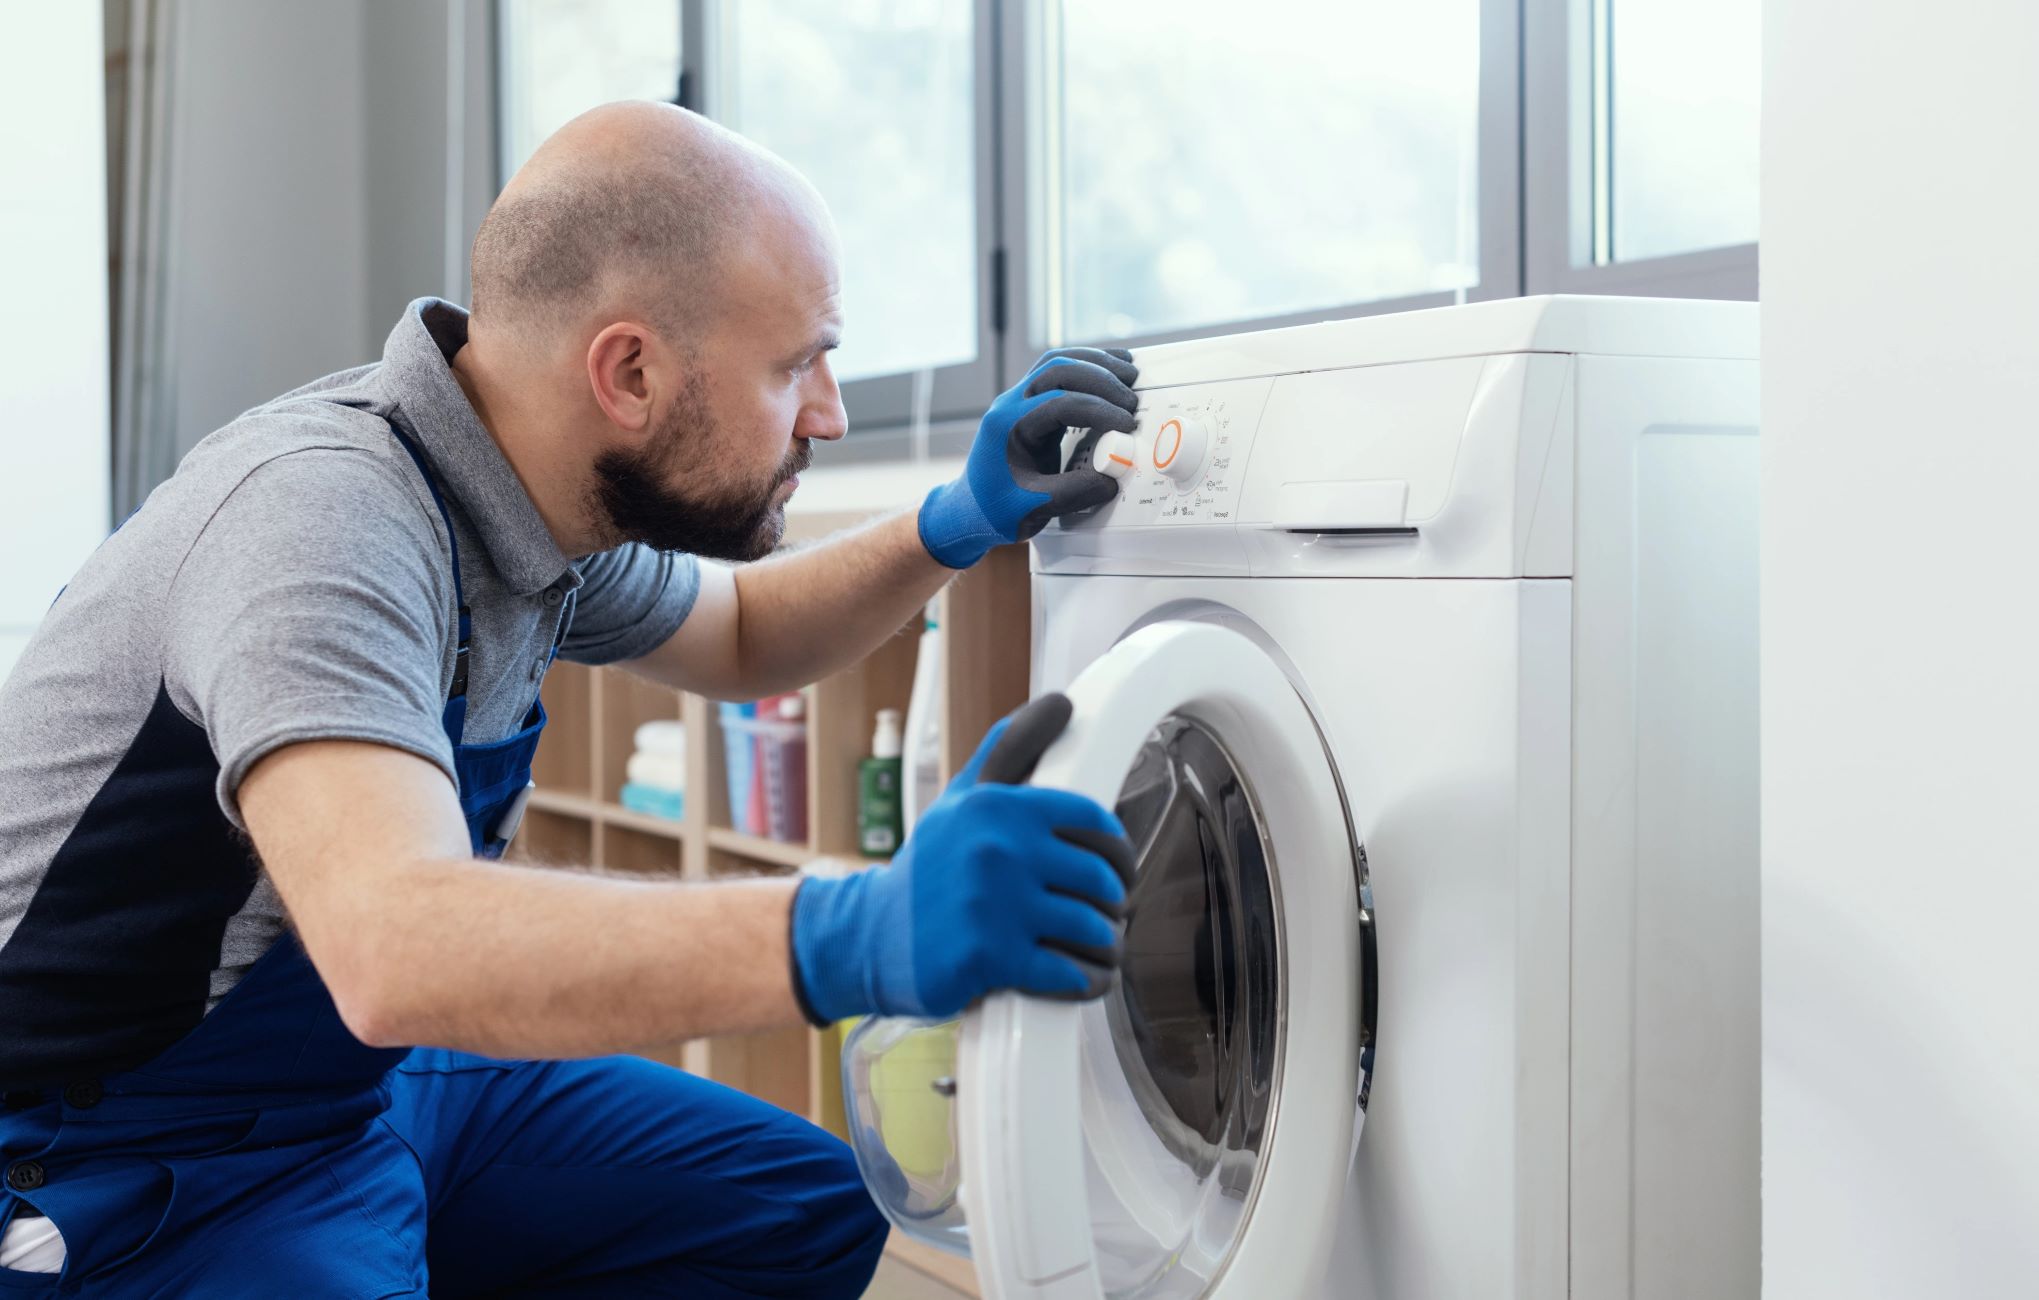
Steps to Troubleshoot a Whirlpool Washing Machine
Troubleshooting a Whirlpool washing machine is a systematic process that involves identifying and addressing potential issues that may affect its performance. By following a structured approach, users can effectively diagnose problems and take the necessary steps to resolve them. Here are the essential steps to troubleshoot a Whirlpool washing machine:
-
Check Power Supply: Begin by ensuring that the washing machine is properly connected to a power source and that the power cord is not damaged. Verify that the power outlet is functioning correctly by testing it with another device. If the washing machine does not power on, it may indicate an electrical issue that needs to be addressed.
-
Inspect Water Supply: Verify that the water supply valves connected to the washing machine are fully open and that the inlet hoses are not kinked or damaged. Insufficient water supply can lead to issues during the wash cycle, such as inadequate filling or prolonged cycle times.
-
Examine Drainage: Check the drainage system, including the drain hose and pump filter, for any obstructions or clogs. A blocked drain can result in water not being expelled properly from the machine, leading to drainage issues and potential error codes.
-
Review Error Codes: If the washing machine displays error codes or indicators, refer to the user manual to interpret the codes and understand their implications. Error codes can provide valuable insights into specific malfunctions or component failures within the machine.
-
Inspect Components: Conduct a visual inspection of key components such as the drive belt, motor, agitator, and electronic control board for any signs of damage, wear, or loose connections. Additionally, check for leaks, unusual noises, or abnormal vibrations during operation.
-
Run Diagnostic Tests: Many Whirlpool washing machines are equipped with diagnostic modes that can be accessed to perform self-tests on various components. Refer to the user manual for instructions on initiating diagnostic tests to assess the functionality of the machine's systems.
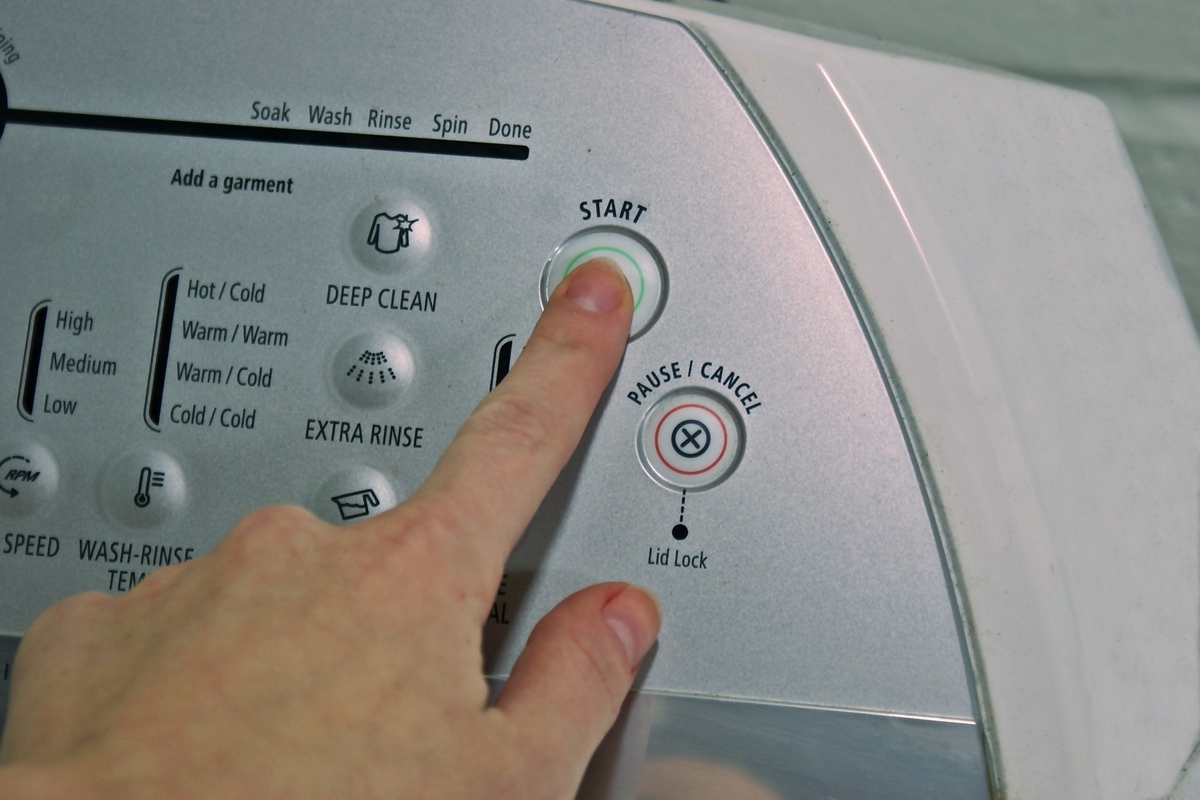
-
Test Functionality: Initiate a test wash cycle with no laundry to observe the machine's operation. Pay attention to water filling, agitation, draining, and spinning to identify any irregularities or malfunctions during the cycle.
-
Consult Technical Resources: If troubleshooting efforts do not yield a resolution, consult technical resources such as online forums, manufacturer support, or professional repair services for further guidance and assistance.
By following these systematic steps, users can effectively troubleshoot their Whirlpool washing machines and identify the root causes of any operational issues. This proactive approach enables users to address minor problems promptly and seek professional assistance for more complex or technical issues, ensuring the continued functionality and performance of their washing machines.
How to Replace the Agitator in a Whirlpool Washing Machine
Replacing the agitator in a Whirlpool washing machine is a straightforward process that can restore efficient agitation and enhance the overall washing performance of the appliance. The agitator, a central component responsible for moving the clothes during the wash cycle, may require replacement if it becomes worn, damaged, or fails to function properly. Here are the detailed steps to replace the agitator in a Whirlpool washing machine:
Read more: How To Start A Whirlpool Washing Machine
Step 1: Preparation
Before beginning the replacement process, ensure that the washing machine is unplugged from the power source to prevent any electrical hazards. Additionally, clear the area around the washing machine to allow for easy access to the agitator assembly.
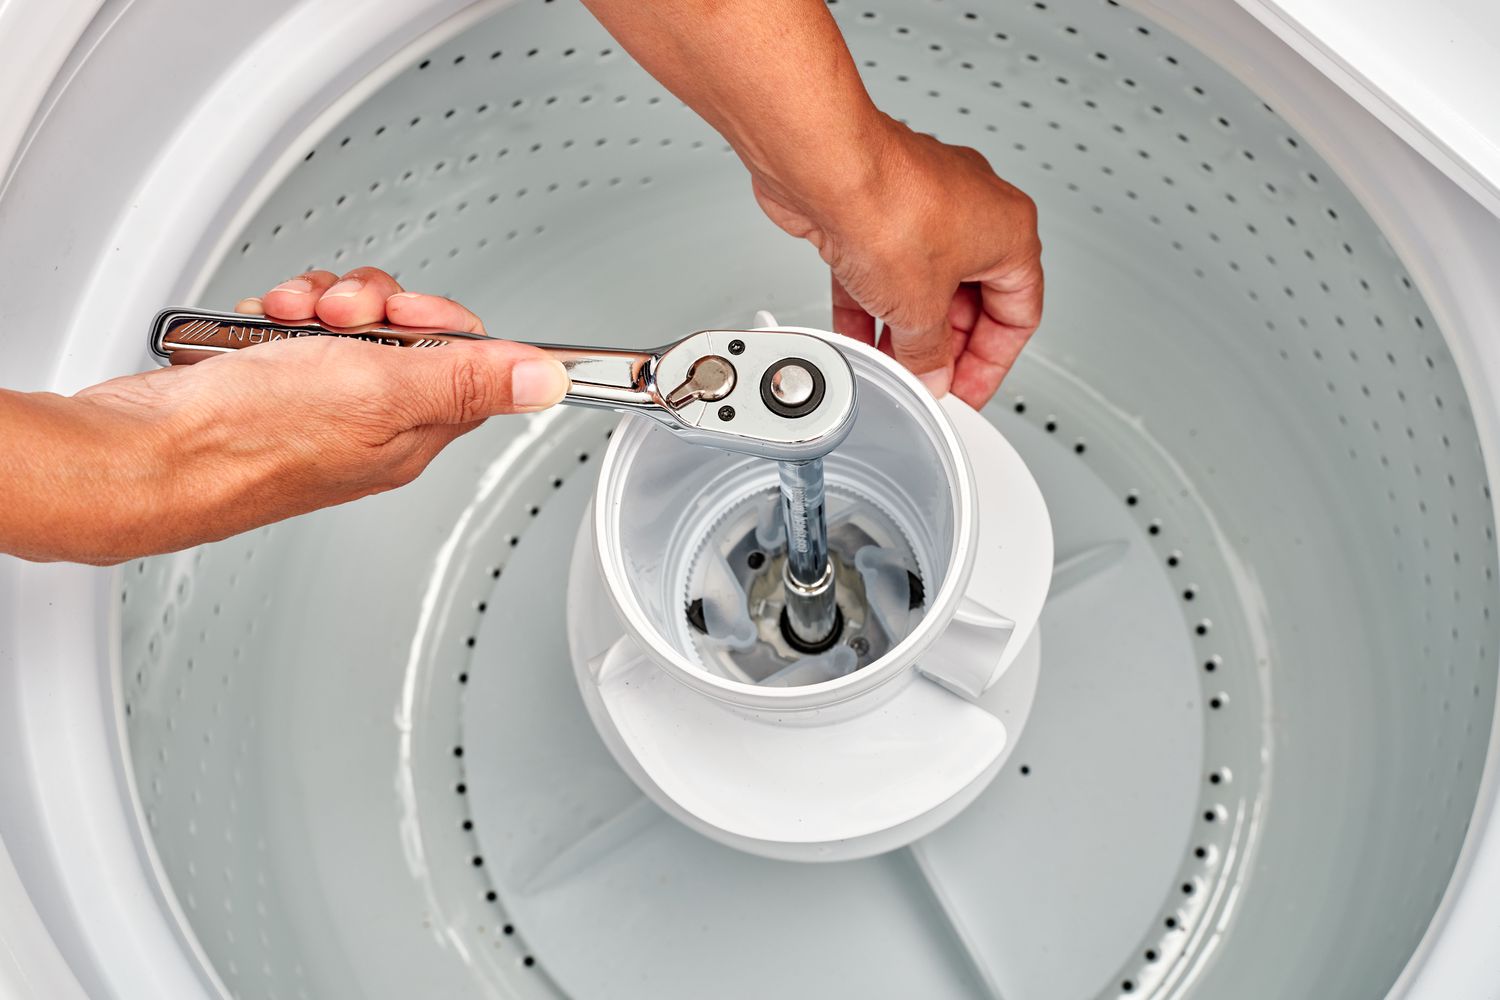
Step 2: Accessing the Agitator
To access the agitator, remove the fabric softener dispenser or cap from the top of the agitator. Underneath, there may be a bolt or retaining nut that needs to be loosened or removed to release the agitator from the drive shaft. Use a suitable tool, such as a socket wrench or adjustable wrench, to loosen and remove the fastener.
Step 3: Removing the Agitator
Once the fastener is removed, grasp the bottom of the agitator and lift it out of the washing machine. In some models, the agitator may be secured with a locking mechanism that requires a gentle back-and-forth motion to release it from the drive shaft. Carefully lift the agitator out of the machine, taking care not to damage any surrounding components.
Step 4: Inspecting and Cleaning
After removing the agitator, inspect it for any signs of wear, damage, or accumulation of debris. Additionally, check the agitator coupling or spline for any wear or breakage. Clean the agitator and the surrounding area to ensure that the replacement process proceeds smoothly.
Read more: How To Reset A Whirlpool Washing Machine
Step 5: Installing the New Agitator
Position the new agitator in place, ensuring that it aligns properly with the drive shaft. If the agitator is equipped with a coupling or spline, ensure that it engages securely with the drive shaft. Gently press the agitator down to secure it in place, ensuring that it is properly seated and aligned.
Step 6: Securing the Agitator
If applicable, reattach the retaining nut or bolt to secure the new agitator in place. Use the appropriate tool to tighten the fastener, ensuring that the agitator is firmly secured to the drive shaft.
Step 7: Reassembly
Reinstall the fabric softener dispenser or cap on top of the agitator, ensuring that it is properly seated. Plug the washing machine back into the power source and conduct a test wash cycle to ensure that the new agitator functions correctly.
By following these detailed steps, users can successfully replace the agitator in their Whirlpool washing machines, restoring optimal washing performance and prolonging the lifespan of the appliance. Regular maintenance and timely replacement of worn components can contribute to the continued efficiency and reliability of Whirlpool washing machines.
How to Fix a Leaking Whirlpool Washing Machine
Addressing a leaking Whirlpool washing machine is crucial to prevent water damage and maintain the appliance's optimal functionality. Here are the detailed steps to effectively resolve this common issue:
Read more: How To Take Apart A Whirlpool Washer
Step 1: Identify the Source of the Leak
Begin by conducting a visual inspection of the washing machine to identify the source of the leak. Check the door seal, inlet hoses, drain pump, and detergent dispenser for any signs of damage, wear, or misalignment. Additionally, inspect the internal components, such as the tub, tub seal, and water inlet valve, for potential leaks.
Step 2: Inspect the Door Seal
The door seal, also known as the gasket, is a common area for leaks to occur. Check for tears, cracks, or deformation in the door seal that may compromise its effectiveness. Clean the seal to remove any debris or residue that could contribute to leaks and ensure a proper seal when the door is closed.
Step 3: Examine the Inlet Hoses
Inspect the inlet hoses connected to the washing machine for any signs of damage, including cracks, bulges, or leaks at the connections. Tighten any loose fittings and consider replacing the hoses if they show signs of wear or deterioration, as damaged hoses can lead to water leakage during the fill and wash cycles.
Step 4: Check the Drain Pump and Hose
The drain pump and its associated hose are critical components for expelling water from the washing machine. Inspect the pump for leaks, cracks, or blockages, and ensure that the hose is securely connected and free from obstructions. Address any issues with the drain pump or hose to prevent water from leaking during the drainage process.
Read more: How Long Does A Whirlpool Washer Take
Step 5: Verify the Water Inlet Valve
The water inlet valve controls the flow of water into the washing machine during the fill cycle. Check for leaks around the valve and inspect the inlet valve solenoids for any signs of malfunction. Replace the water inlet valve if leaks are detected or if the solenoids are faulty, ensuring a secure and watertight connection.
Step 6: Address Detergent Dispenser Leaks
If the detergent dispenser is leaking, remove and clean it thoroughly to remove any residue or blockages. Inspect the dispenser for cracks or damage and ensure that it is properly seated and aligned. Address any issues with the detergent dispenser to prevent detergent and water leaks during the wash cycle.
Step 7: Conduct a Test Cycle
After addressing the potential sources of leaks, run a test wash cycle to verify that the repairs have effectively resolved the issue. Monitor the washing machine during the cycle to ensure that no leaks occur and that all components function as intended.
By following these comprehensive steps, users can effectively address and resolve leaks in their Whirlpool washing machines, preserving the appliance's integrity and preventing water damage. Regular maintenance and prompt repairs contribute to the prolonged functionality and reliability of Whirlpool washing machines.
Tips for Maintaining a Whirlpool Washing Machine
Proper maintenance is essential for ensuring the longevity and optimal performance of a Whirlpool washing machine. By implementing regular maintenance practices, users can mitigate potential issues, prolong the appliance's lifespan, and uphold its efficiency. Here are valuable tips for maintaining a Whirlpool washing machine:
-
Clean the Drum and Gasket: Regularly clean the interior drum and door gasket to prevent the buildup of mold, mildew, and detergent residue. Wipe down the surfaces with a mild detergent and water solution, and leave the door ajar after use to promote air circulation and prevent moisture accumulation.
-
Inspect and Clean the Dispenser Drawer: Remove the detergent and fabric softener dispenser drawer and clean it thoroughly to prevent clogs and ensure proper dispensing. Use a brush or cloth to remove any residue or buildup, and rinse the drawer before reinserting it into the washing machine.
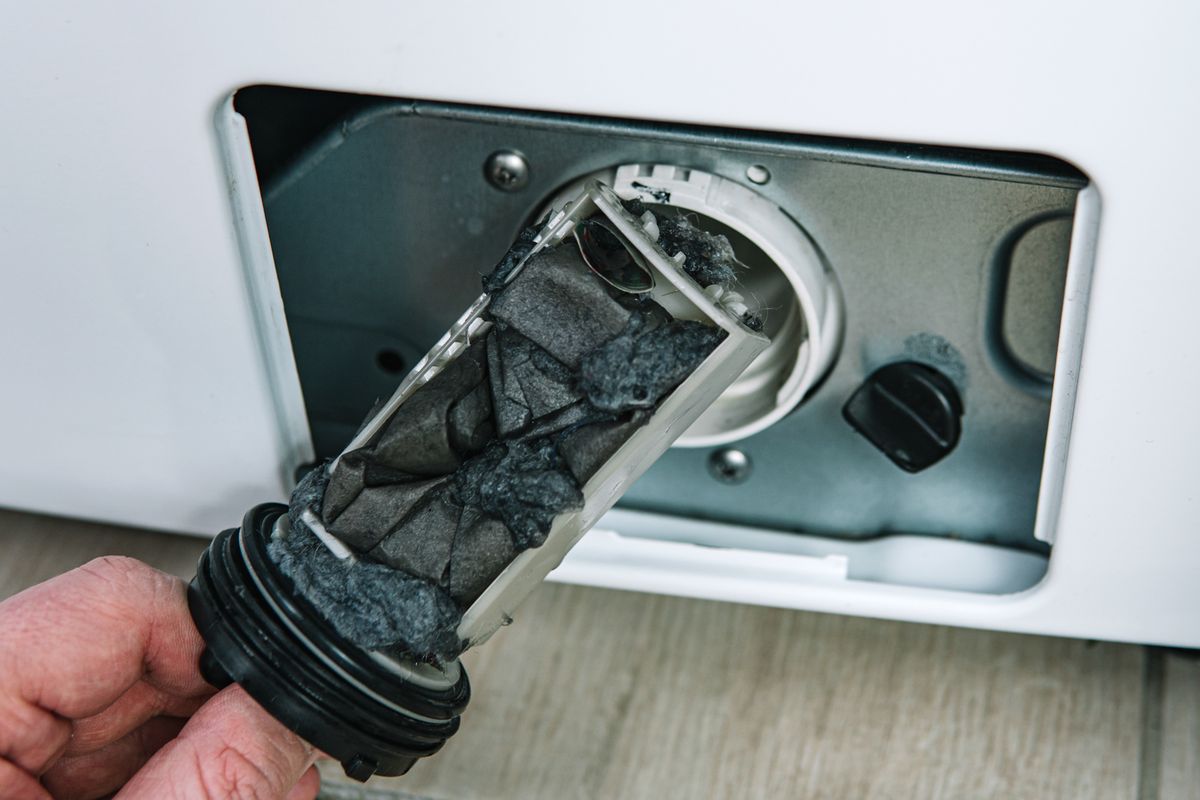
-
Check and Clean the Filter: Some Whirlpool washing machines are equipped with a filter or trap to capture lint and debris. Regularly inspect and clean the filter to prevent blockages and maintain optimal drainage during the wash and spin cycles.
-
Level the Washing Machine: Ensure that the washing machine is level and stable to prevent excessive vibrations and noise during operation. Adjust the leveling feet as needed to achieve a balanced and stable position, reducing wear on internal components.
-
Inspect and Tighten Connections: Periodically inspect the water inlet hoses, drain hose, and electrical connections to ensure they are secure and free from damage. Tighten any loose fittings and replace damaged hoses to prevent leaks and potential water damage.
-
Use High-Efficiency Detergent: When using a Whirlpool high-efficiency washing machine, use detergent specifically formulated for high-efficiency appliances. This helps maintain optimal washing performance and prevents excessive suds that can impact the machine's functionality.
-
Run Maintenance Cycles: Some Whirlpool washing machines feature maintenance or clean washer cycles. Utilize these cycles periodically to clean the drum, remove residue, and maintain the appliance's internal cleanliness and functionality.
-
Address Minor Issues Promptly: If you notice unusual noises, leaks, or performance issues, address them promptly to prevent further damage. Consult the user manual for troubleshooting guidance or seek professional assistance if needed.
-
Regularly Inspect Seals and Gaskets: Check the door seal and tub gasket for signs of wear, tears, or damage. Replace worn seals to prevent water leaks and maintain a watertight seal during operation.
By incorporating these maintenance tips into their routine, users can uphold the performance and reliability of their Whirlpool washing machines, ensuring efficient and effective laundry care for years to come.
Frequently Asked Questions about How To Fix A Whirlpool Washing Machine
Was this page helpful?
At Storables.com, we guarantee accurate and reliable information. Our content, validated by Expert Board Contributors, is crafted following stringent Editorial Policies. We're committed to providing you with well-researched, expert-backed insights for all your informational needs.
0 thoughts on “How To Fix A Whirlpool Washing Machine”