Home>Home Appliances>Laundry Appliances>How To Clean The Drum Of A Washing Machine

Laundry Appliances
How To Clean The Drum Of A Washing Machine
Modified: October 20, 2024
Learn how to effectively clean the drum of your washing machine to keep your laundry appliances in top condition. Follow our step-by-step guide for best results!
(Many of the links in this article redirect to a specific reviewed product. Your purchase of these products through affiliate links helps to generate commission for Storables.com, at no extra cost. Learn more)
Introduction
Maintaining a clean and well-functioning washing machine is essential for ensuring the longevity of your appliance and the cleanliness of your laundry. Over time, residues from detergents, fabric softeners, and dirt can accumulate inside the drum, leading to unpleasant odors and potential issues with washing performance. Additionally, the rubber gasket and door seal can harbor mold and mildew if not properly cleaned. To keep your washing machine in optimal condition, it's crucial to incorporate regular cleaning and maintenance into your household routine.
In this comprehensive guide, we will walk you through the step-by-step process of cleaning the drum of your washing machine, along with the necessary supplies and techniques to achieve a thorough clean. By following these instructions, you can effectively remove built-up grime, eliminate odors, and prevent potential mold growth, ultimately ensuring that your washing machine operates at its best.
A clean washing machine not only contributes to the hygiene and freshness of your laundry but also helps to maintain the appliance's efficiency and performance. Whether you have a front-loading or top-loading washing machine, the cleaning methods outlined in this guide are applicable and beneficial for both types of machines. With a few simple supplies and a little bit of time, you can restore your washing machine to a pristine condition, providing you with peace of mind and clean, fresh-smelling clothes with every wash.
Now, let's delve into the details of gathering the necessary supplies and the step-by-step process of cleaning the drum of your washing machine, ensuring that your laundry appliance continues to serve you effectively for years to come.
Key Takeaways:
- Regularly cleaning your washing machine with natural agents like vinegar and baking soda eliminates odors and residues, ensuring fresh and hygienic laundry while also being eco-friendly.
- Running a maintenance wash with white vinegar and baking soda removes lingering residues and odors, contributing to a clean, fresh-smelling appliance and efficient laundry experience.
Read more: What Is A Washer Drum
Gather the Necessary Supplies
Before embarking on the task of cleaning the drum of your washing machine, it's essential to gather the necessary supplies to ensure a thorough and effective cleaning process. Here's a list of items you'll need:
1. White Vinegar
White vinegar is a versatile and natural cleaning agent that effectively dissolves mineral deposits, soap scum, and residue in the washing machine drum. Its acidic properties make it an excellent choice for eliminating odors and sanitizing the interior of the appliance.
2. Baking Soda
Baking soda is renowned for its deodorizing and abrasive properties, making it an ideal ingredient for scrubbing away stubborn stains and grime inside the washing machine drum. It also helps to neutralize odors, leaving the interior fresh and clean.
3. Microfiber Cloth or Sponge
A microfiber cloth or sponge is gentle yet effective for wiping down the exterior of the washing machine. It's essential to use a non-abrasive cloth to avoid scratching the surface of the appliance while removing dust, dirt, and spills.
Read more: How To Balance A Washing Machine Drum
4. Old Toothbrush
An old toothbrush is a handy tool for reaching tight spots and crevices, especially around the rubber gasket and door seal. Its small bristles allow for detailed cleaning, ensuring that no residue or mold is left behind.
5. Hot Water
Hot water is a crucial component for activating the cleaning agents and loosening built-up grime and residues inside the washing machine drum. It aids in dissolving deposits and enhancing the overall cleaning process.
6. Clean, Dry Cloth
Having a clean, dry cloth on hand is essential for wiping down the interior and exterior of the washing machine after the cleaning process. It helps to remove any remaining moisture and ensures that the appliance is ready for use.
By gathering these supplies, you'll be well-equipped to tackle the task of cleaning the drum of your washing machine effectively. With these items at your disposal, you can proceed with confidence, knowing that you have everything you need to restore your washing machine to a pristine condition.
Clean the Exterior of the Washing Machine
Cleaning the exterior of your washing machine is an essential part of the maintenance process, as it not only enhances the appliance's appearance but also contributes to its overall cleanliness. Here's a detailed guide on effectively cleaning the exterior of your washing machine:
-
Prepare the Surface: Before starting the cleaning process, ensure that the washing machine is unplugged to prevent any electrical mishaps. Additionally, remove any loose items or lint from the exterior surfaces.
-
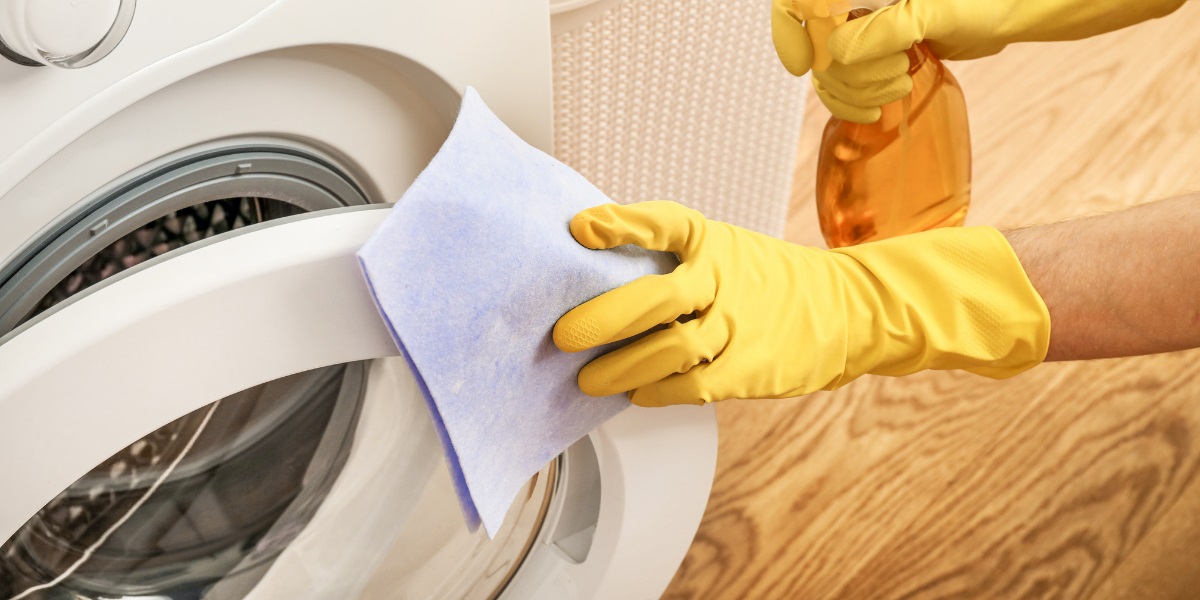
Use a Microfiber Cloth or Sponge: Dampen a microfiber cloth or sponge with a mixture of mild detergent and warm water. Gently wipe down the entire exterior of the washing machine, including the control panel, top, and sides. This helps to remove dust, fingerprints, and any spills that may have accumulated.
-
Pay Attention to Control Panels: When cleaning the control panel, be cautious not to allow excess water to seep into the buttons or electronic components. Use a slightly damp cloth to wipe the control panel, and then follow up with a dry cloth to ensure that no moisture remains.
-
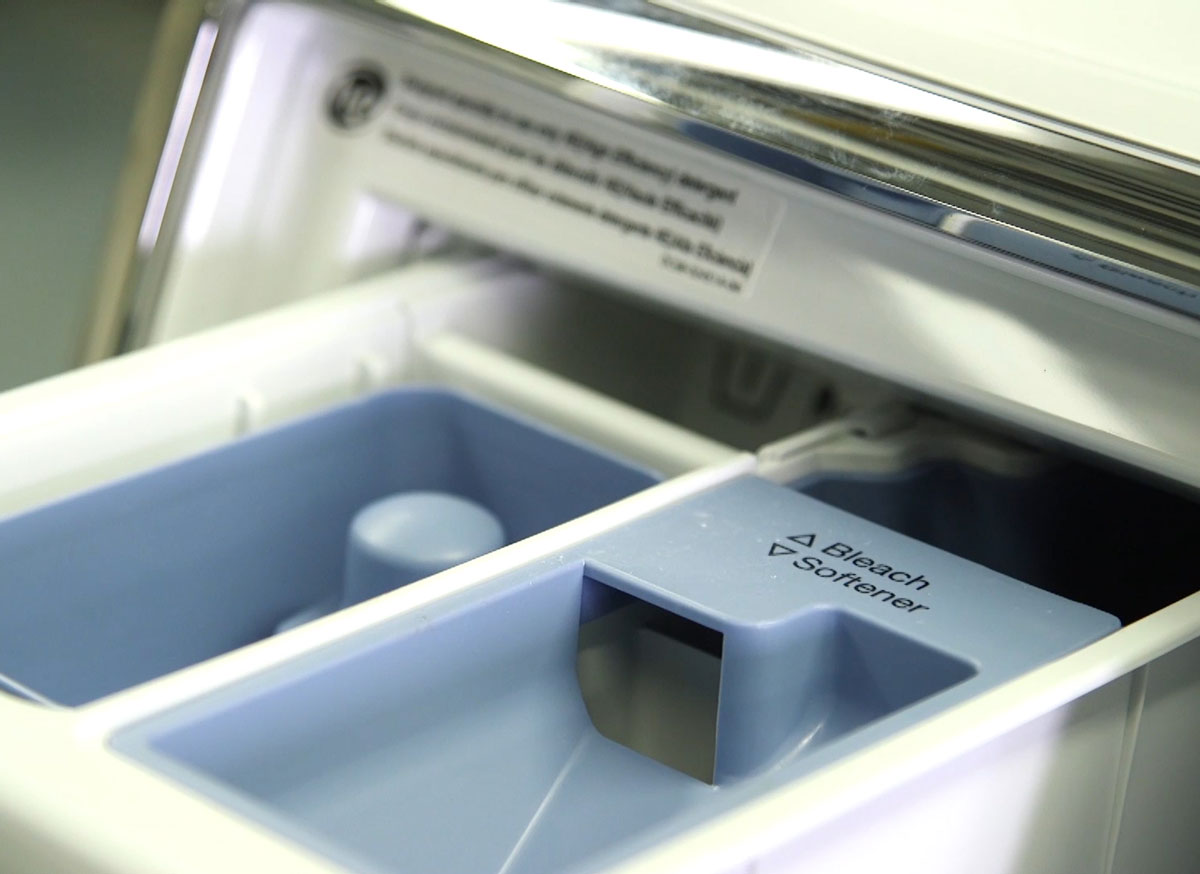
Clean the Dispenser Drawer: If your washing machine has a detergent or fabric softener dispenser drawer, remove it and clean it separately. Use warm, soapy water and a small brush to scrub away any residue or buildup in the compartments. Rinse thoroughly and allow it to dry completely before reinserting it into the washing machine.
-
Dry the Exterior: Once the cleaning process is complete, use a clean, dry cloth to wipe down the entire exterior of the washing machine. This helps to remove any remaining moisture and ensures that the appliance is ready for use.
By following these steps, you can effectively clean the exterior of your washing machine, leaving it looking clean and well-maintained. Incorporating this simple yet crucial task into your regular cleaning routine helps to preserve the appearance and functionality of your washing machine, contributing to a hygienic and efficient laundry experience.
Read more: What Is The Drum Of A Washing Machine
Clean the Interior of the Washing Machine Drum
Cleaning the interior of the washing machine drum is a vital step in maintaining the appliance's performance and ensuring the cleanliness of your laundry. Over time, residues from detergents, fabric softeners, and dirt can accumulate inside the drum, leading to unpleasant odors and potential issues with washing performance. To effectively clean the interior of the washing machine drum, follow these detailed steps:
-
Prepare the Washing Machine: Start by ensuring that the washing machine is empty and unplugged. This ensures safety and allows for unobstructed access to the interior of the drum. If your washing machine has a self-clean cycle, it's advisable to run it before proceeding with manual cleaning.
-
Create a Cleaning Solution: In a small bowl, mix 1/4 cup of baking soda with 1/4 cup of water to form a paste. Baking soda is an excellent natural cleaner and deodorizer, making it ideal for tackling grime and odors inside the washing machine drum.
-
Apply the Cleaning Solution: Using a microfiber cloth or sponge, apply the baking soda paste to the interior of the washing machine drum. Focus on areas with visible stains or residue, ensuring thorough coverage. The mild abrasive nature of baking soda helps to dislodge and lift away stubborn grime.
-
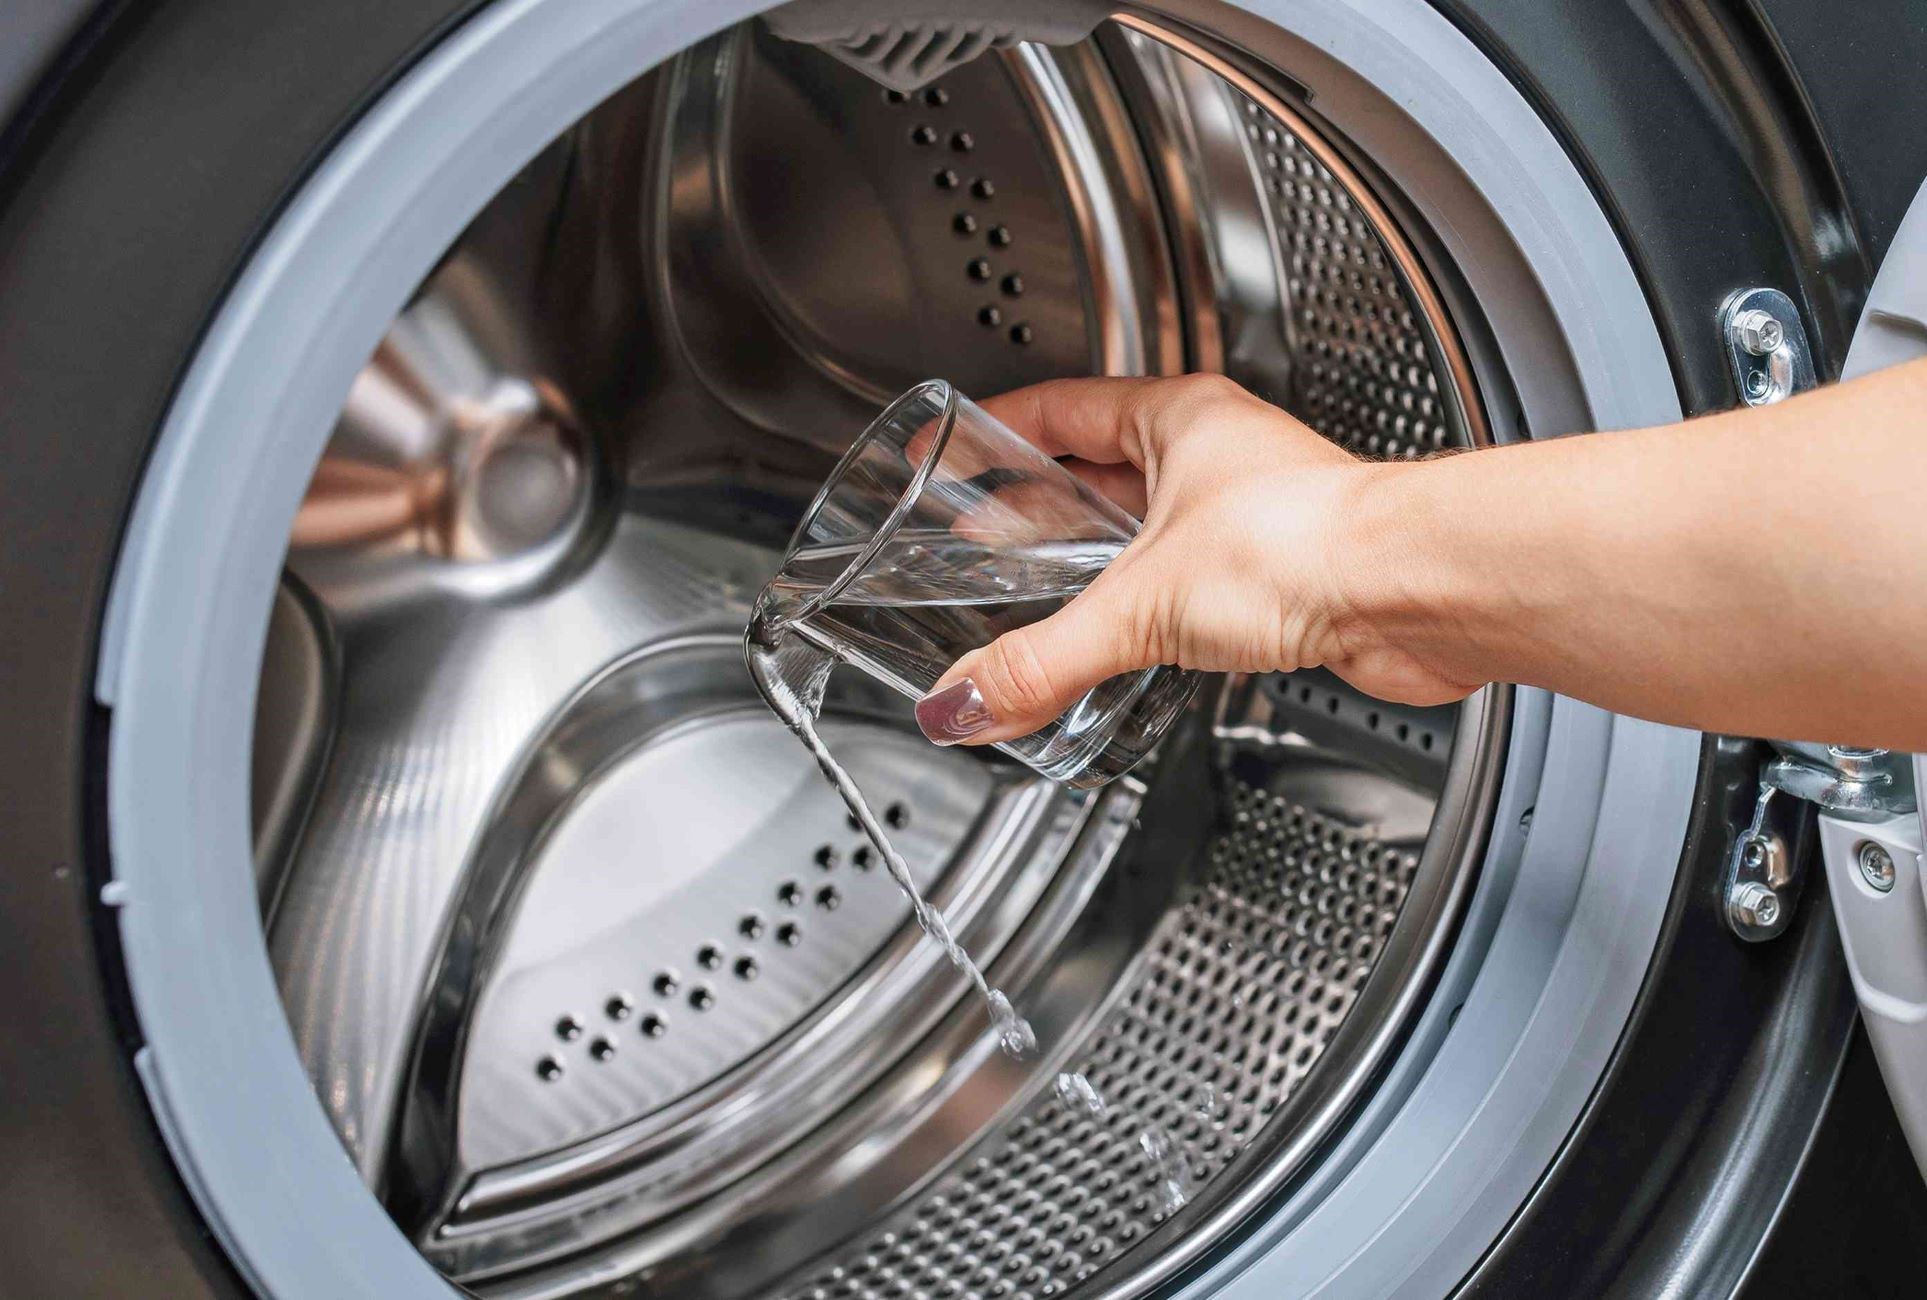
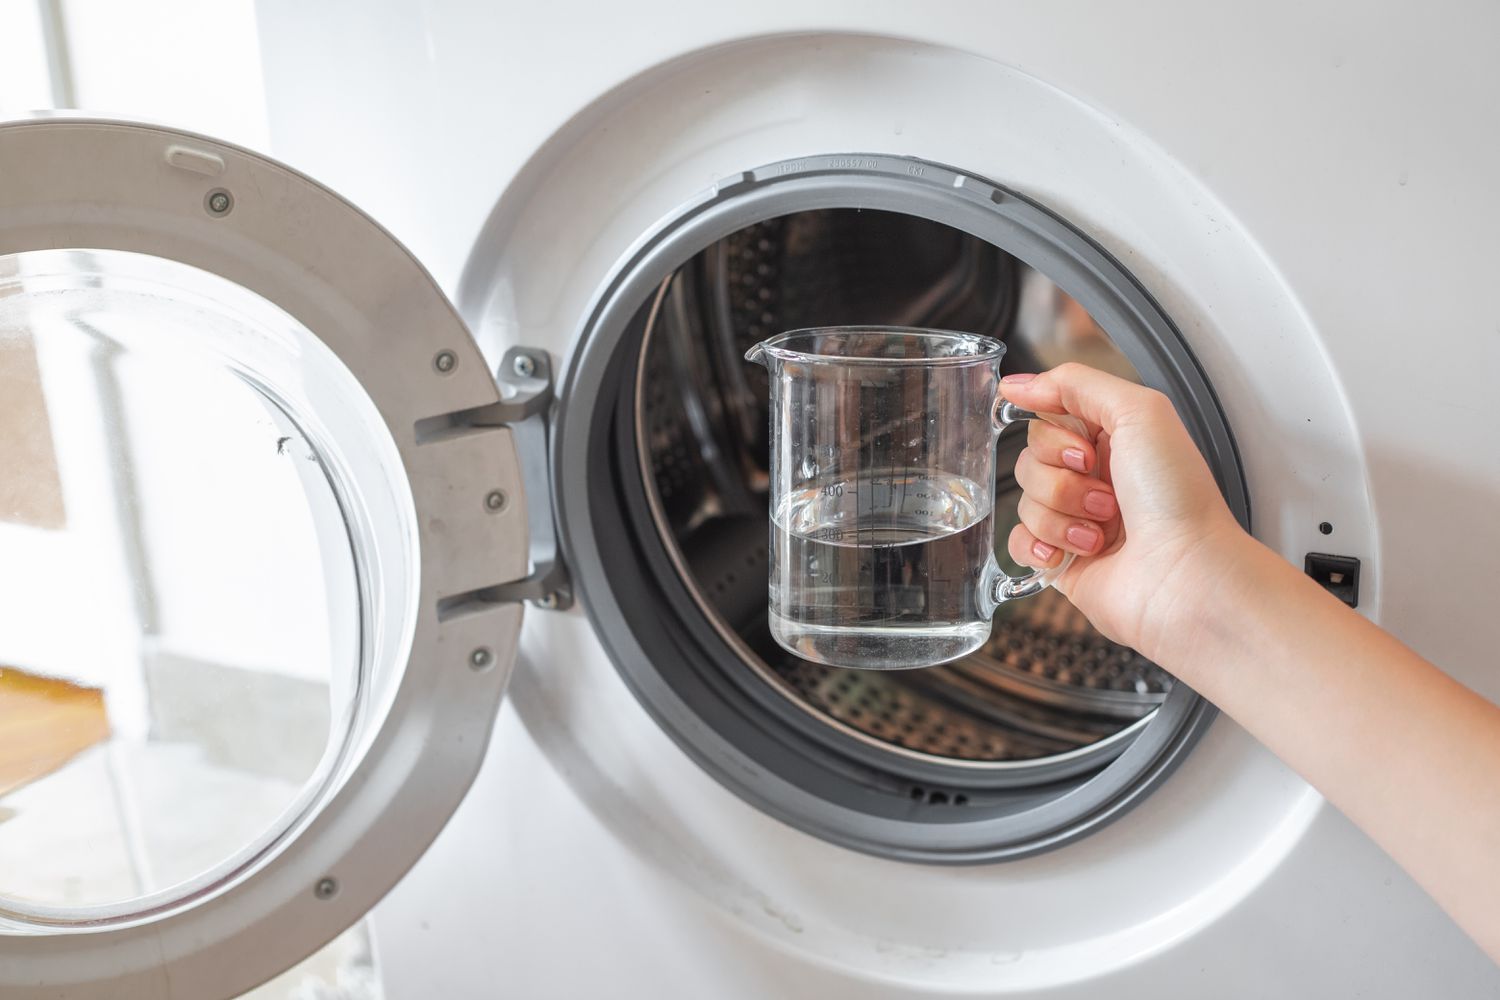
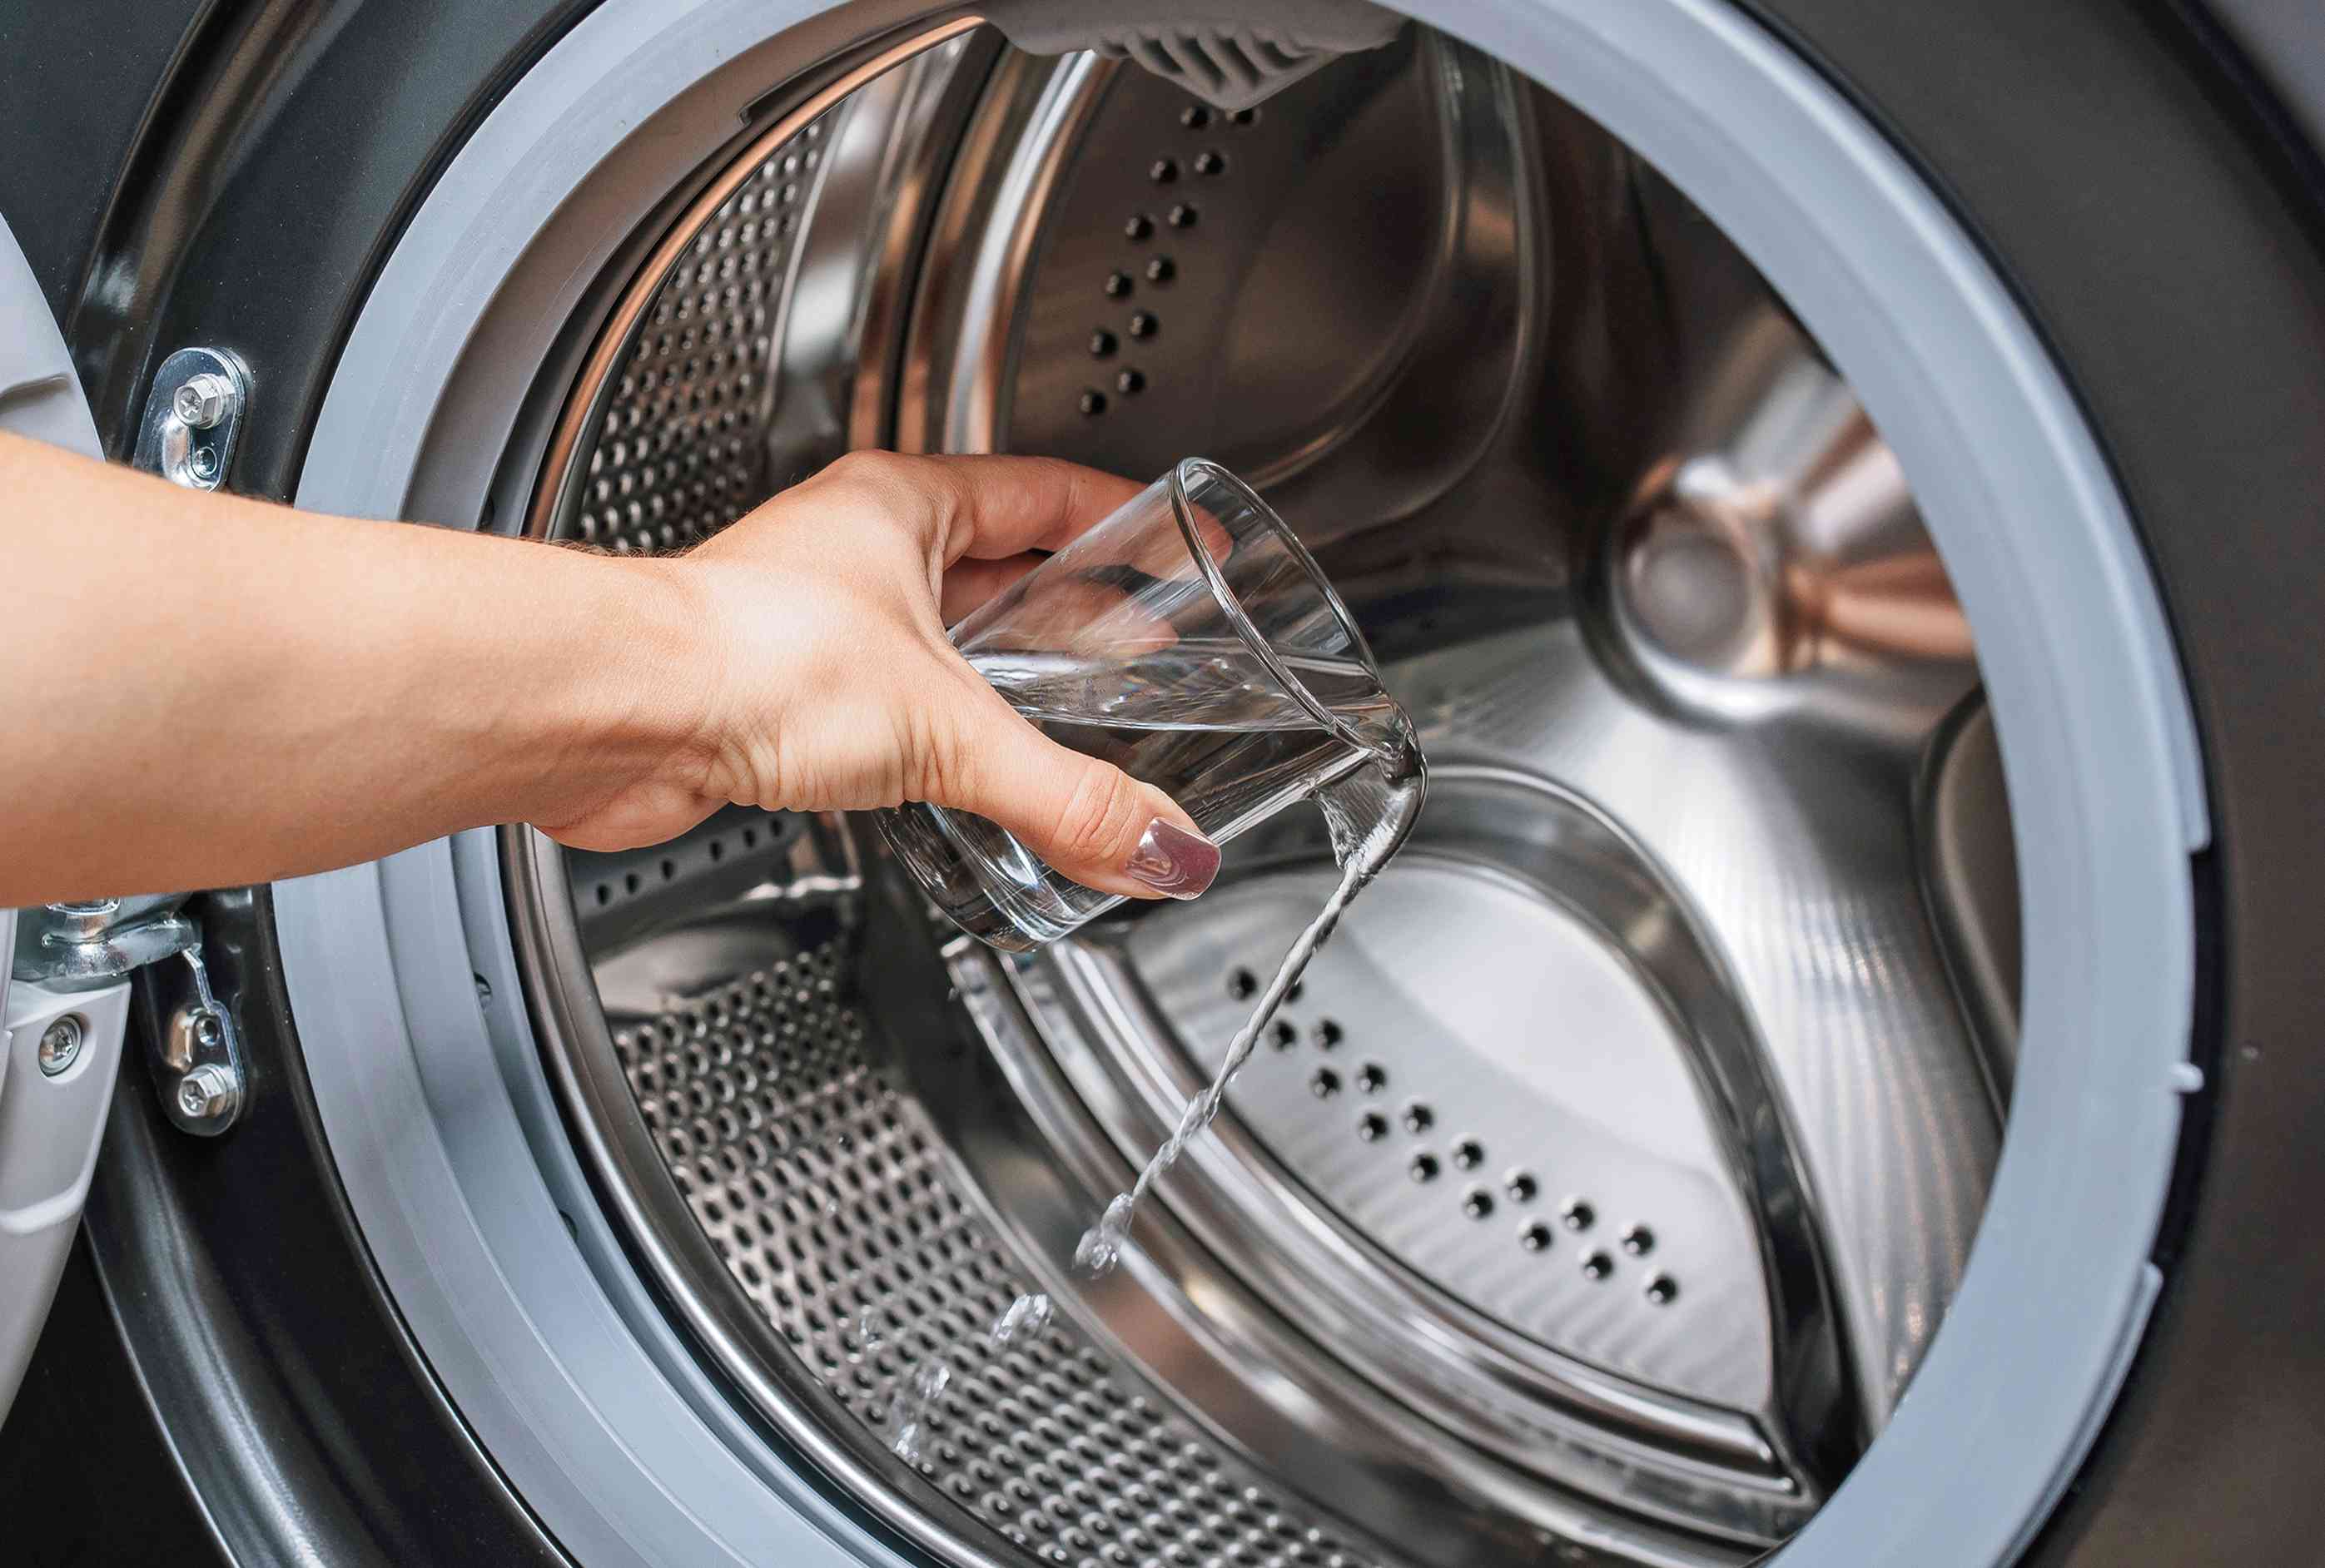
Add White Vinegar: Pour 2 cups of white vinegar into the detergent dispenser or directly into the drum. White vinegar's acidic properties work to dissolve mineral deposits, soap scum, and residual buildup, effectively sanitizing the interior of the washing machine.
-
Run a Hot Water Cycle: Set the washing machine to a hot water cycle and allow it to run with the baking soda and vinegar solution. The combination of heat, baking soda, and vinegar works to break down and dislodge any remaining grime and odors inside the drum.
-
Wipe Down the Interior: Once the cycle is complete, use a clean, damp cloth to wipe down the interior of the washing machine drum. Pay attention to any remaining residue or stains, gently scrubbing if necessary to ensure a thorough clean.
-
Inspect and Dry: After wiping down the interior, inspect the drum for any lingering grime or odors. If needed, repeat the process or target specific areas with additional cleaning. Once satisfied, use a dry cloth to ensure that the interior is completely dry and ready for use.
By following these steps, you can effectively clean the interior of the washing machine drum, eliminating odors, removing residues, and ensuring that your appliance operates at its best. This thorough cleaning process contributes to a hygienic and efficient laundry experience, allowing you to enjoy fresh, clean clothes with every wash.
Clean the Rubber Gasket and Door Seal
The rubber gasket and door seal of a washing machine are often overlooked areas that can harbor mold, mildew, and stubborn residues. Neglecting these components can lead to unpleasant odors and potential hygiene concerns. Therefore, it's crucial to include the cleaning of the rubber gasket and door seal in your washing machine maintenance routine. Here's a detailed guide on effectively cleaning these critical components:
-
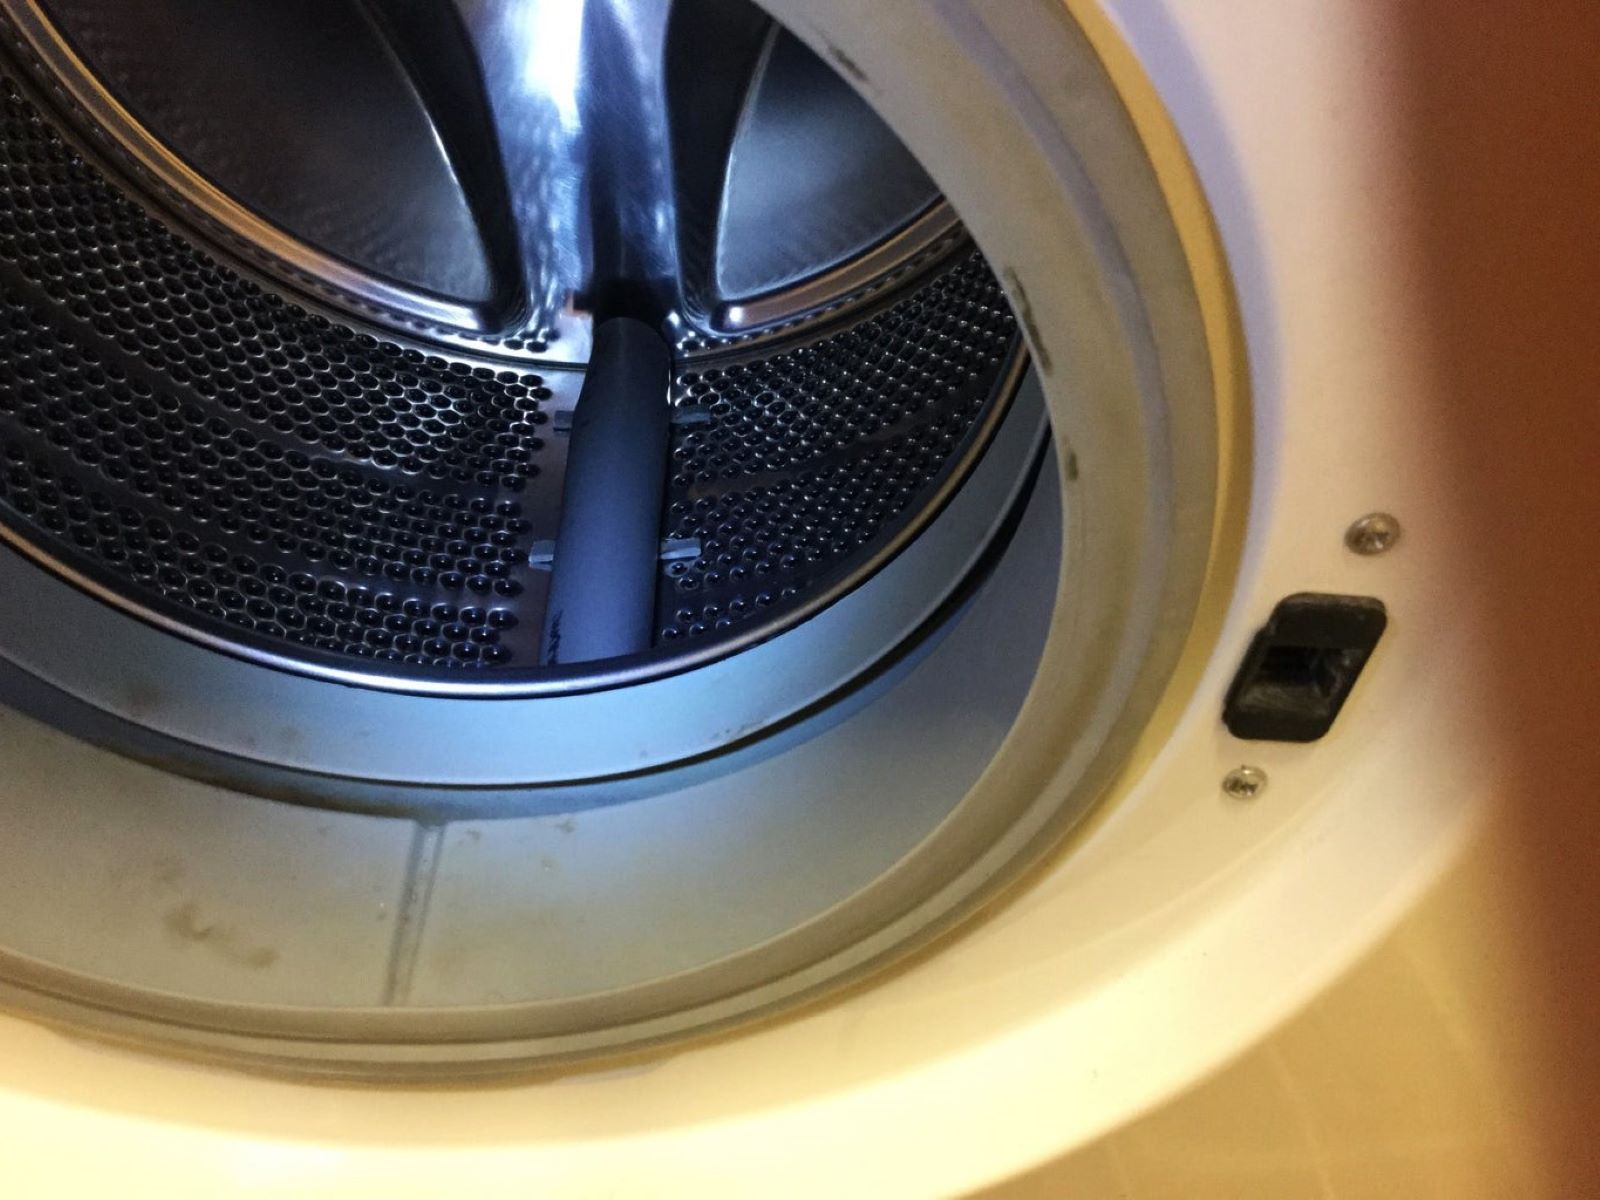
Inspect for Debris: Begin by carefully inspecting the rubber gasket and door seal for any visible debris, mold, or mildew. These areas are prone to trapping moisture and detergent residues, providing an ideal environment for mold growth. Use a flashlight if necessary to ensure thorough visibility.
-
Prepare a Cleaning Solution: In a small bowl, mix equal parts of white vinegar and warm water. White vinegar's natural acidic properties make it an effective agent for dissolving mold, mildew, and stubborn residues while sanitizing the rubber components.
-
Soak a Cloth or Sponge: Soak a clean cloth or sponge in the vinegar and water solution, ensuring that it is thoroughly saturated. The dampness of the cloth helps to apply the cleaning solution evenly and penetrate into the crevices of the rubber gasket and door seal.
-
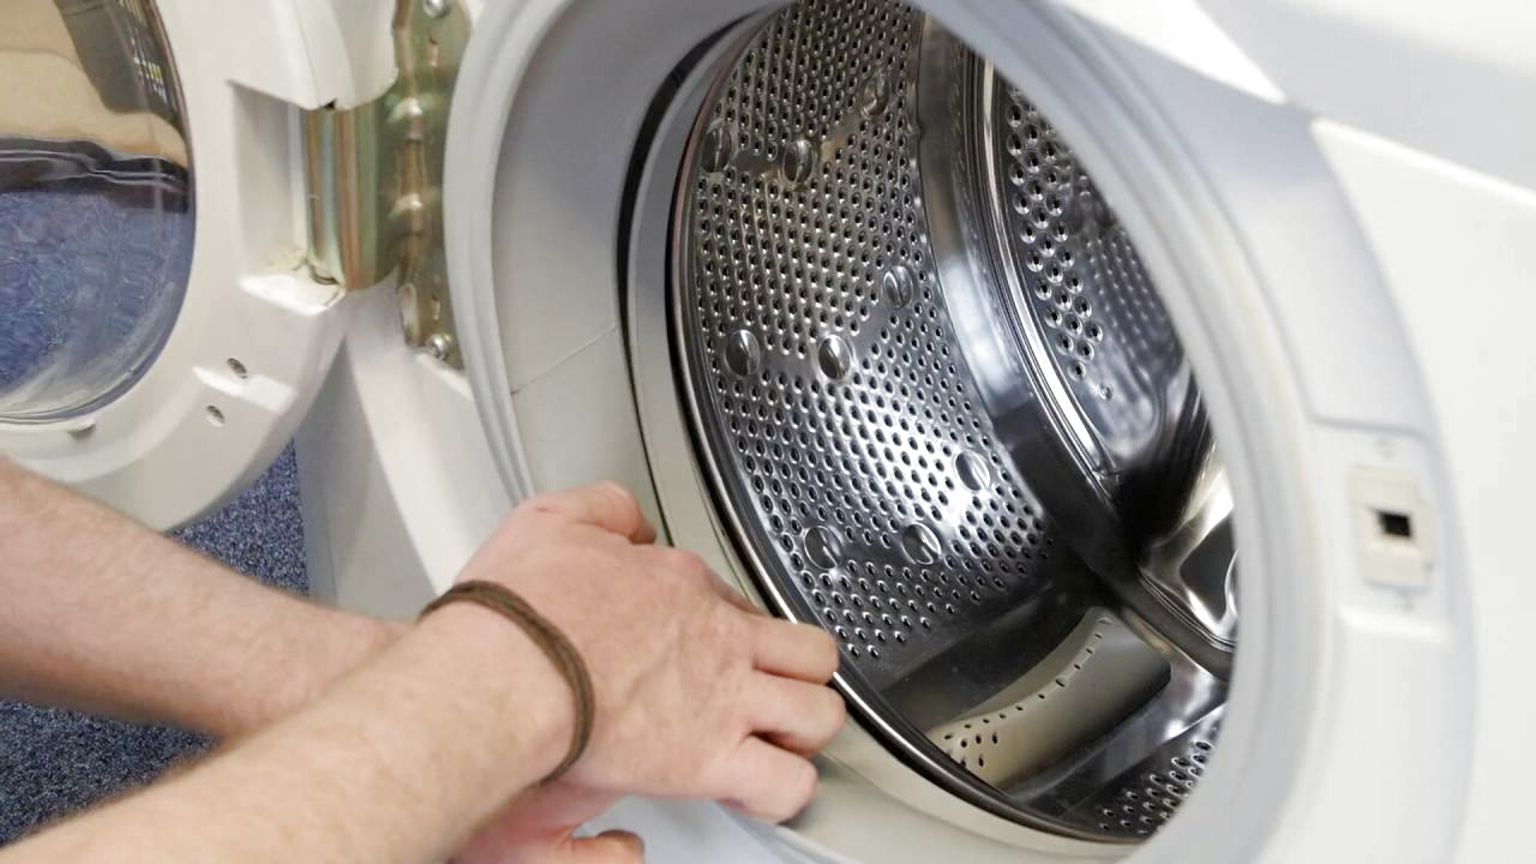
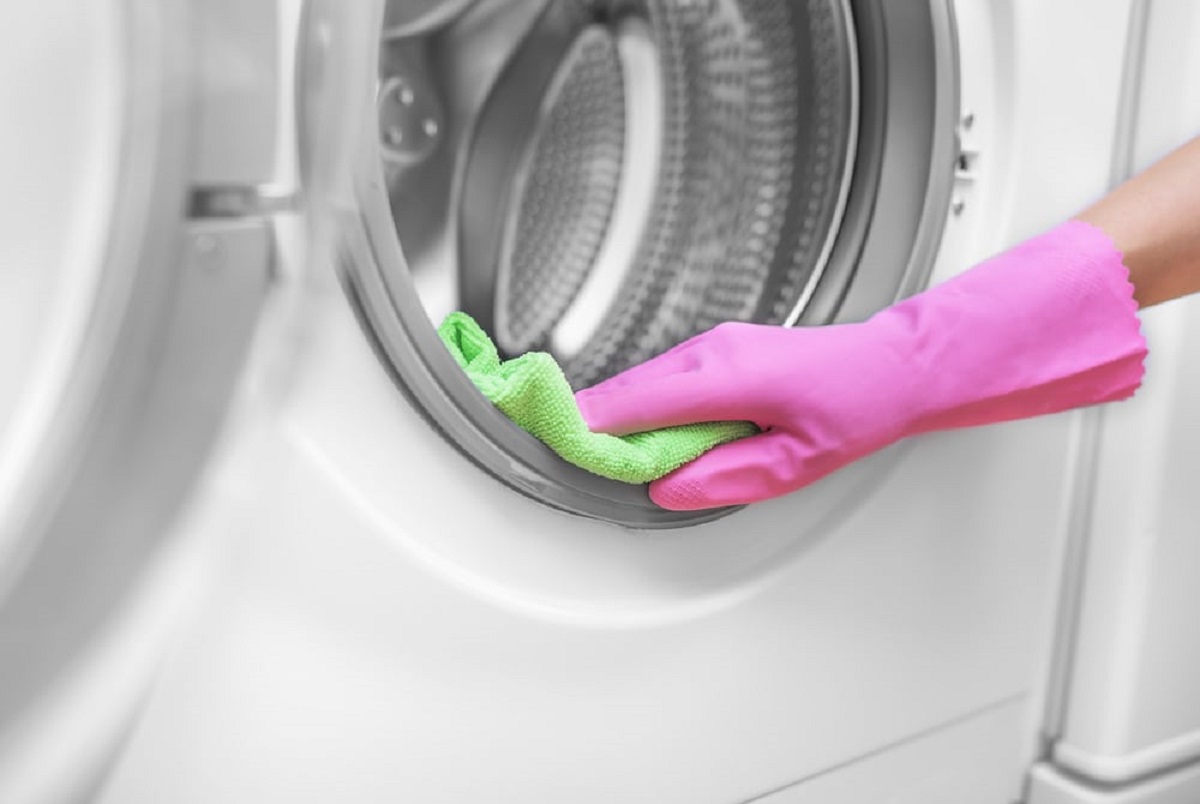
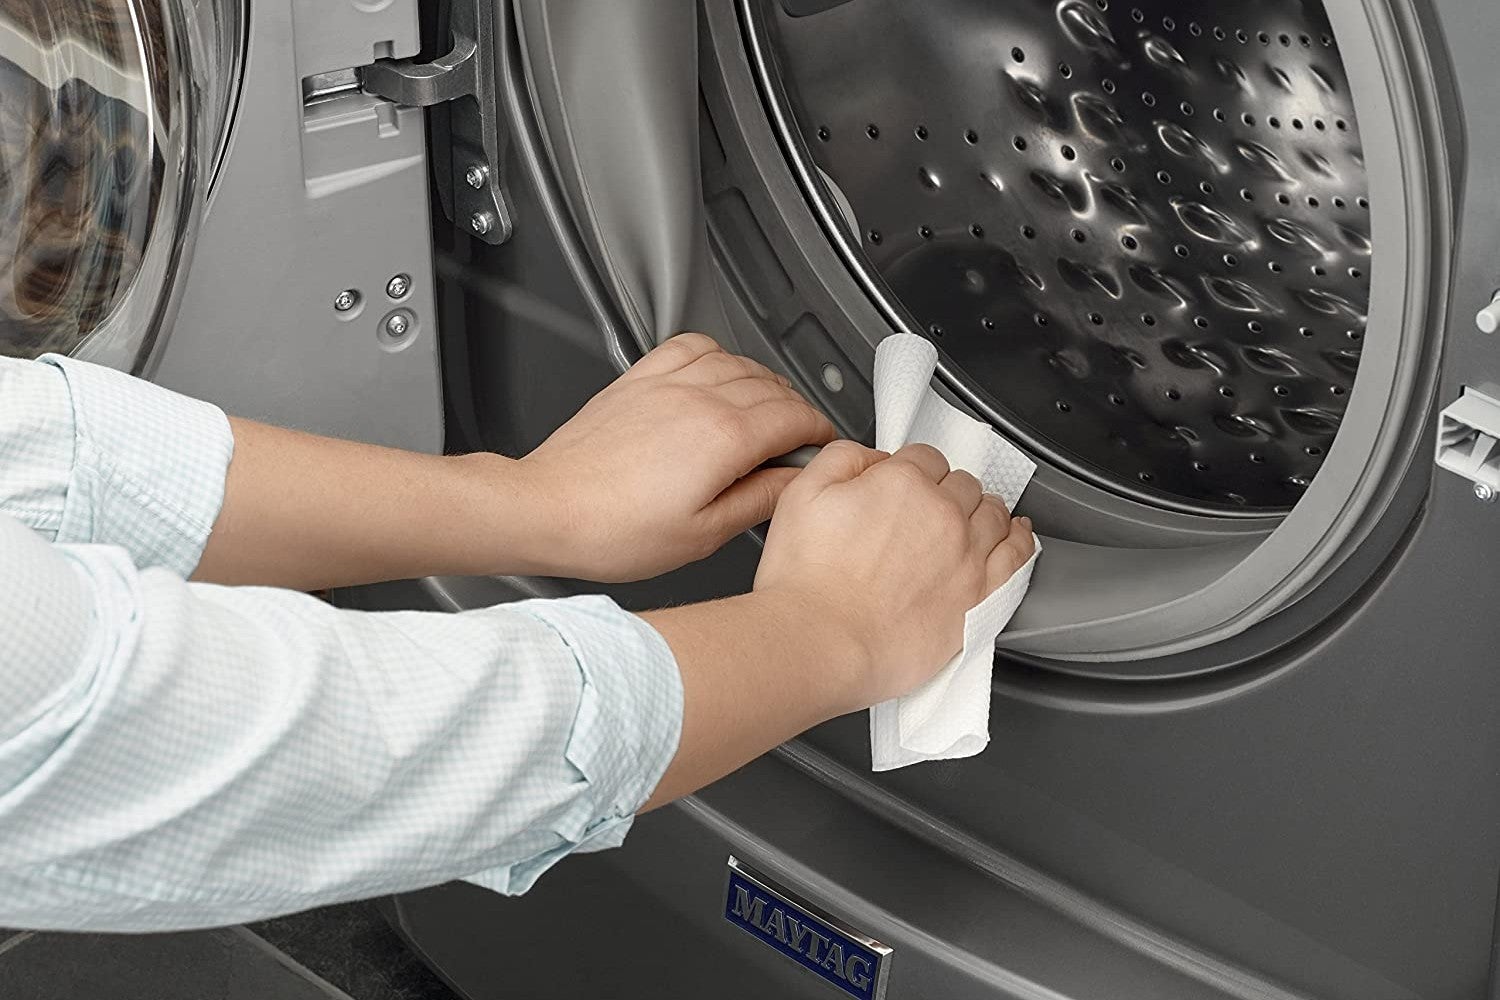
Thoroughly Wipe the Gasket and Seal: Gently but firmly, wipe the soaked cloth or sponge along the entire length of the rubber gasket and door seal. Pay particular attention to areas where mold or mildew may be present, ensuring that the cleaning solution comes into direct contact with the affected areas.
-
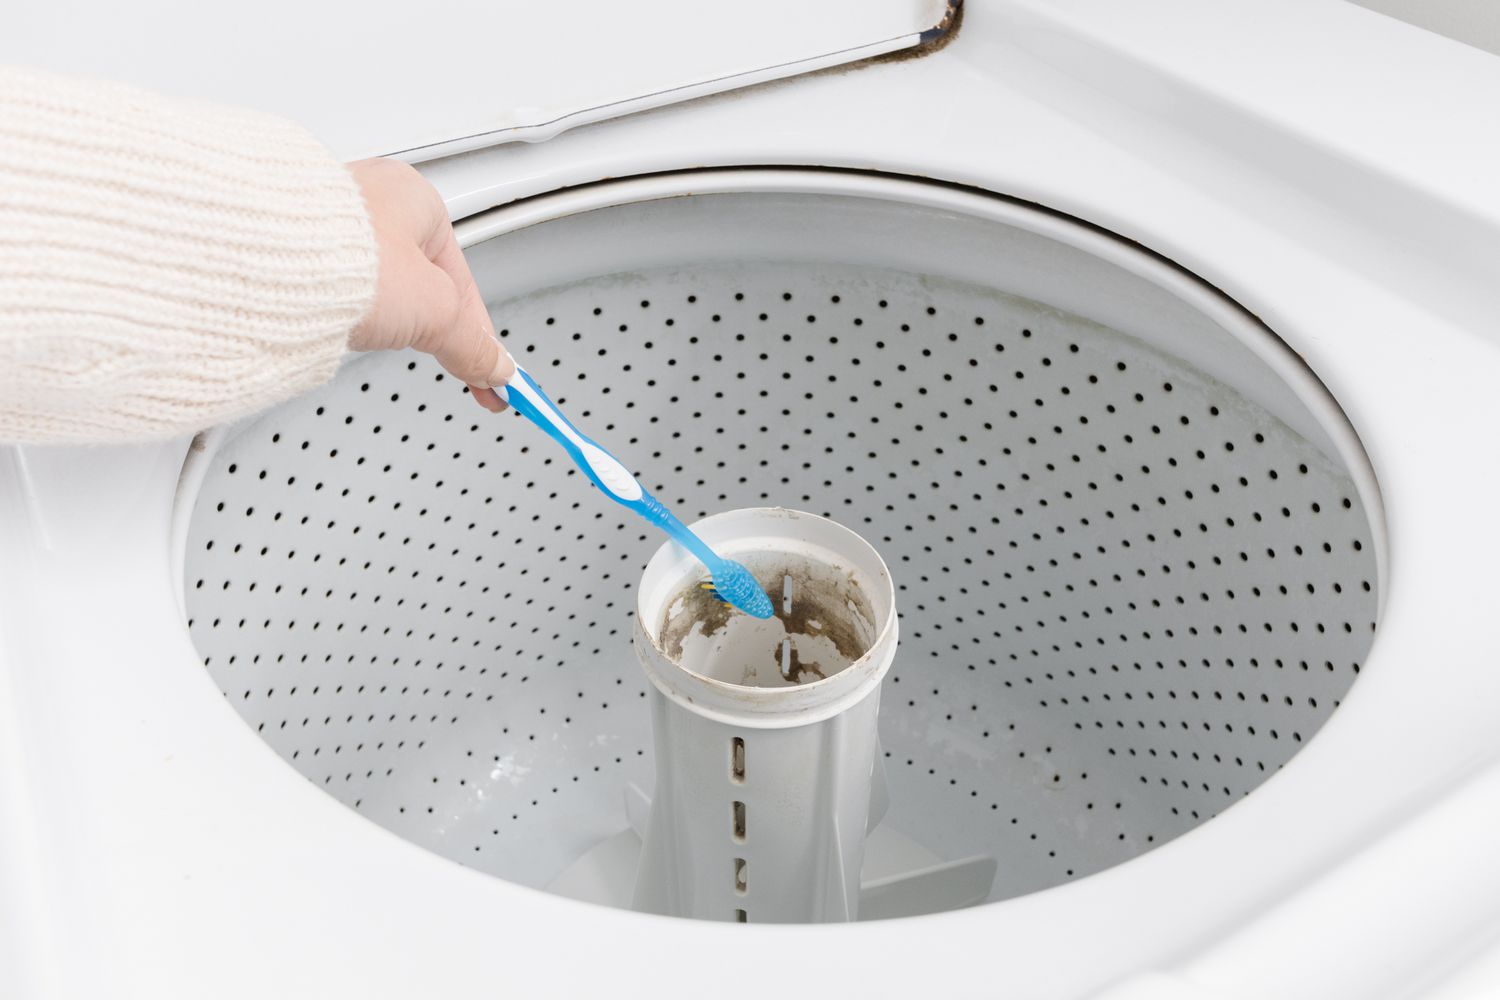
Use an Old Toothbrush for Detailing: For stubborn mold or mildew spots that require extra attention, use an old toothbrush to scrub the affected areas. The bristles of the toothbrush can effectively dislodge and lift away the buildup, allowing the cleaning solution to penetrate deeper.
-
Rinse and Dry: Once the rubber gasket and door seal have been thoroughly cleaned, use a clean, damp cloth to rinse off any remaining cleaning solution. Ensure that all traces of mold, mildew, and residues are removed. After rinsing, use a dry cloth to thoroughly dry the rubber components, preventing moisture buildup.
By incorporating these steps into your washing machine maintenance routine, you can effectively clean the rubber gasket and door seal, eliminating mold, mildew, and residues that can compromise the cleanliness and functionality of your appliance. This meticulous cleaning process contributes to a hygienic and odor-free washing machine, ensuring that your laundry experience is consistently fresh and clean.
Run a Maintenance Wash
Running a maintenance wash is a crucial step in the overall cleaning and upkeep of your washing machine. This process helps to remove any lingering residues, odors, and buildup that may not have been addressed during the manual cleaning steps. Additionally, a maintenance wash contributes to the overall hygiene and performance of the appliance, ensuring that it continues to operate at its best.
To run a maintenance wash, follow these detailed steps:
-
Select the Appropriate Settings: Start by selecting the hottest water setting on your washing machine. Hot water is effective in dissolving residues and sanitizing the interior of the appliance. Additionally, choose a long wash cycle to allow for thorough cleaning.
-
Add White Vinegar: Pour two cups of white vinegar directly into the washing machine drum. White vinegar's acidic properties work to dissolve mineral deposits, soap scum, and residual buildup, effectively sanitizing the interior of the washing machine.
-
Optional Baking Soda: For an extra cleaning boost, consider adding half a cup of baking soda to the drum along with the white vinegar. Baking soda's abrasive and deodorizing properties complement the cleaning action of the vinegar, resulting in a more thorough maintenance wash.
-
Run the Wash Cycle: Start the washing machine on the selected hot water cycle with the added white vinegar (and baking soda, if applicable). Allow the cycle to run its full course, ensuring that the cleaning agents have ample time to work on dislodging residues and eliminating odors.
-
Inspect and Wipe Down: Once the maintenance wash cycle is complete, open the washing machine door and inspect the interior. Use a clean, damp cloth to wipe down the drum, ensuring that any remaining residues or odors are addressed. Pay attention to areas that may require additional cleaning.
By incorporating a maintenance wash into your washing machine care routine, you can effectively address any lingering residues, odors, and buildup, ensuring that your appliance remains clean, fresh, and hygienic. This proactive approach to maintenance contributes to the longevity and optimal performance of your washing machine, allowing you to enjoy consistently clean and fresh-smelling laundry with every wash.
Conclusion
In conclusion, maintaining a clean and well-functioning washing machine is essential for preserving the hygiene of your laundry and ensuring the longevity of your appliance. By following the comprehensive cleaning and maintenance steps outlined in this guide, you can effectively eliminate residues, odors, and potential mold growth, ultimately contributing to a hygienic and efficient laundry experience.
Regularly cleaning the drum of your washing machine, along with the rubber gasket and door seal, helps to prevent the accumulation of grime, mold, and mildew, ensuring that your appliance operates at its best. The use of natural cleaning agents such as white vinegar and baking soda not only eliminates odors and residues but also contributes to a more eco-friendly and sustainable cleaning approach.
By incorporating a maintenance wash into your washing machine care routine, you can address any lingering residues and odors, further enhancing the cleanliness and freshness of your appliance. This proactive approach to maintenance ensures that your washing machine continues to deliver clean, fresh-smelling laundry with every wash, providing you with peace of mind and convenience.
In addition to the practical benefits of a clean washing machine, such as improved washing performance and odor elimination, maintaining a pristine appliance also contributes to the overall aesthetics of your laundry area. A well-maintained washing machine enhances the visual appeal of your laundry space and reflects a commitment to cleanliness and household care.
By dedicating a small amount of time to the regular cleaning and maintenance of your washing machine, you can enjoy the assurance of clean, fresh-smelling laundry and the prolonged functionality of your appliance. Incorporating these cleaning practices into your household routine not only benefits your washing machine but also contributes to a more pleasant and hygienic living environment for you and your family.
In essence, the process of cleaning the drum of a washing machine is not only about eliminating grime and odors but also about nurturing a clean and healthy home environment. With the simple yet effective cleaning methods outlined in this guide, you can ensure that your washing machine continues to serve you reliably and that your laundry remains fresh and hygienic, load after load.
Frequently Asked Questions about How To Clean The Drum Of A Washing Machine
Was this page helpful?
At Storables.com, we guarantee accurate and reliable information. Our content, validated by Expert Board Contributors, is crafted following stringent Editorial Policies. We're committed to providing you with well-researched, expert-backed insights for all your informational needs.

0 thoughts on “How To Clean The Drum Of A Washing Machine”