Home>Technology>Smart Home Devices>How To Clean A Printer Drum
Smart Home Devices
How To Clean A Printer Drum
Modified: January 26, 2024
Learn how to effectively clean a printer drum for optimal performance. Keep your smart home devices running smoothly with these simple maintenance tips.
(Many of the links in this article redirect to a specific reviewed product. Your purchase of these products through affiliate links helps to generate commission for Storables.com, at no extra cost. Learn more)
Introduction
Welcome to the world of smart home devices, where technology seamlessly integrates with everyday life to enhance comfort, convenience, and efficiency. In this article, we will explore the fascinating realm of smart home devices, delving into the innovative technologies that power these devices and the myriad ways in which they can transform your living space.
From voice-activated virtual assistants to automated lighting and temperature control systems, smart home devices offer a wealth of benefits, including energy savings, enhanced security, and simplified daily routines. As we embark on this journey, we will unravel the inner workings of these devices, shedding light on the underlying technologies and the incredible potential they hold.
Join us as we navigate the intricate landscape of smart home devices, uncovering the secrets behind their seamless functionality and exploring the boundless possibilities they offer. Whether you are a seasoned enthusiast or a newcomer to the world of smart home technology, this article will provide valuable insights and inspire you to harness the power of these transformative devices in your own home.
Key Takeaways:
- Understanding the Printer Drum
The printer drum is a crucial part of laser printers and copiers, transferring toner onto paper to create prints. Regular cleaning is essential to maintain optimal print quality and prolong the drum’s lifespan. - Cleaning and Testing the Printer
Cleaning the printer drum with isopropyl alcohol and conducting test prints ensures restored print quality. Regular maintenance and testing help sustain the printer’s performance and reliability.
Read more: What Is The Drum In A Printer
Understanding the Printer Drum
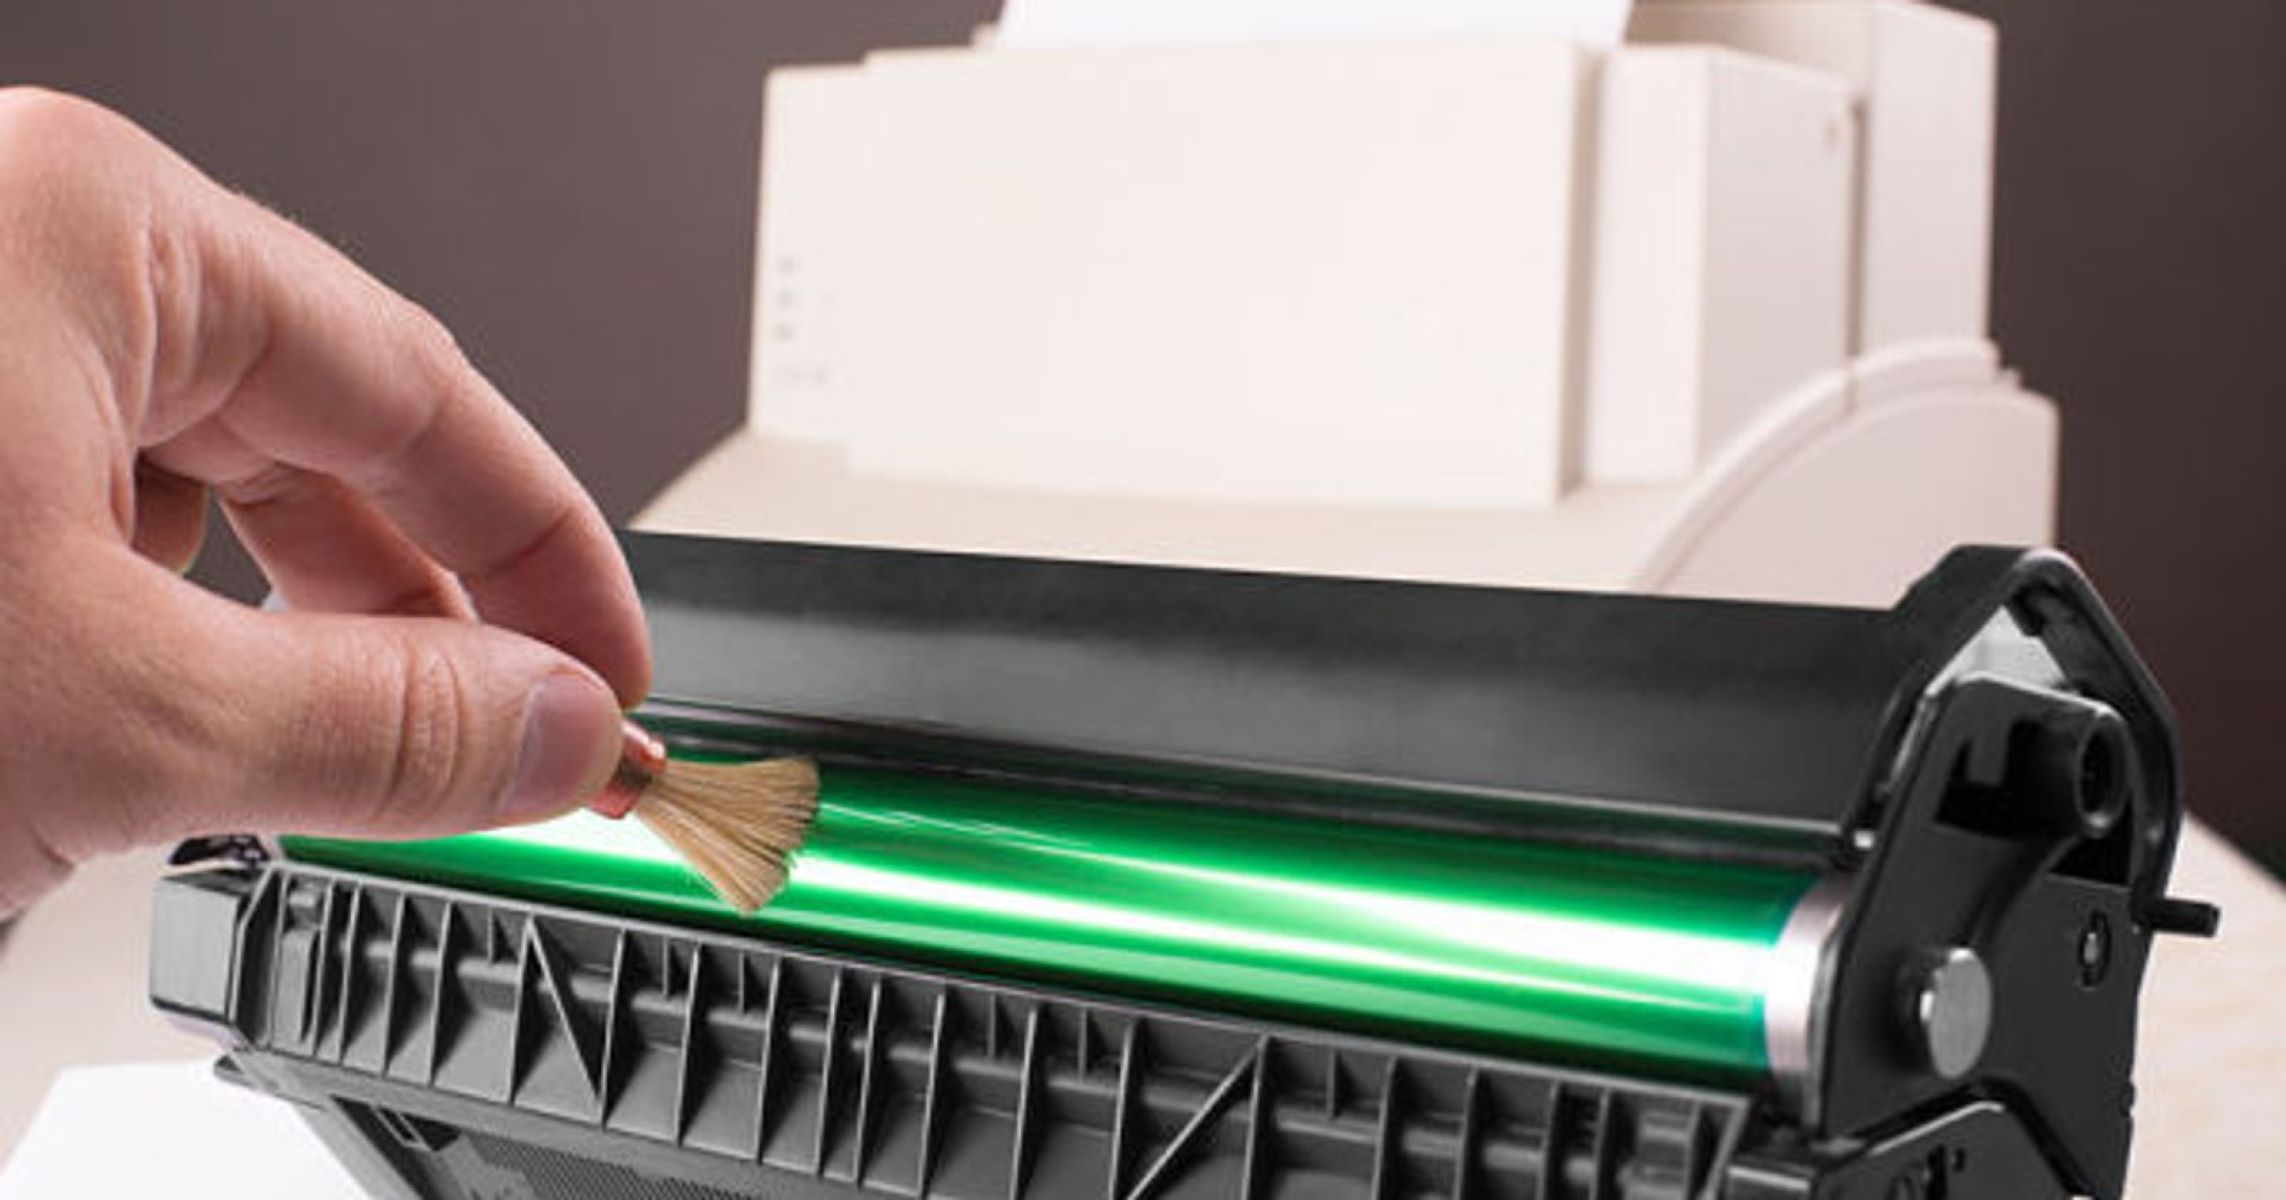
Before delving into the cleaning process, it’s essential to understand the critical role of the printer drum in the printing process. The printer drum, also known as the imaging drum or photoconductor, is a vital component in laser printers and copiers. It plays a pivotal role in transferring toner onto the paper to create high-quality prints.
The printer drum is typically made of a photosensitive material that retains an electrostatic charge. When the drum receives digital data from the printer’s imaging system, it uses lasers or LEDs to create an electrostatic image of the print content on its surface. This electrostatic image attracts toner particles, which are then transferred onto the paper to form the final printout.
Over time, the printer drum can accumulate residual toner, paper dust, and other debris, leading to diminished print quality and potential streaking or smudging on printed pages. Regular maintenance, including cleaning the printer drum, is crucial to ensure optimal print performance and prolong the lifespan of the drum.
By gaining a deeper understanding of the printer drum’s function and significance, you’ll be better equipped to appreciate the importance of proper maintenance and cleaning procedures. With this knowledge in hand, you can confidently proceed to prepare for the cleaning process, knowing that you are taking proactive steps to preserve the integrity of your printer’s essential components.
Preparing to Clean the Printer Drum
Before embarking on the cleaning process, it’s crucial to gather the necessary supplies and prepare the printer for maintenance. Here’s a step-by-step guide to preparing for the printer drum cleaning:
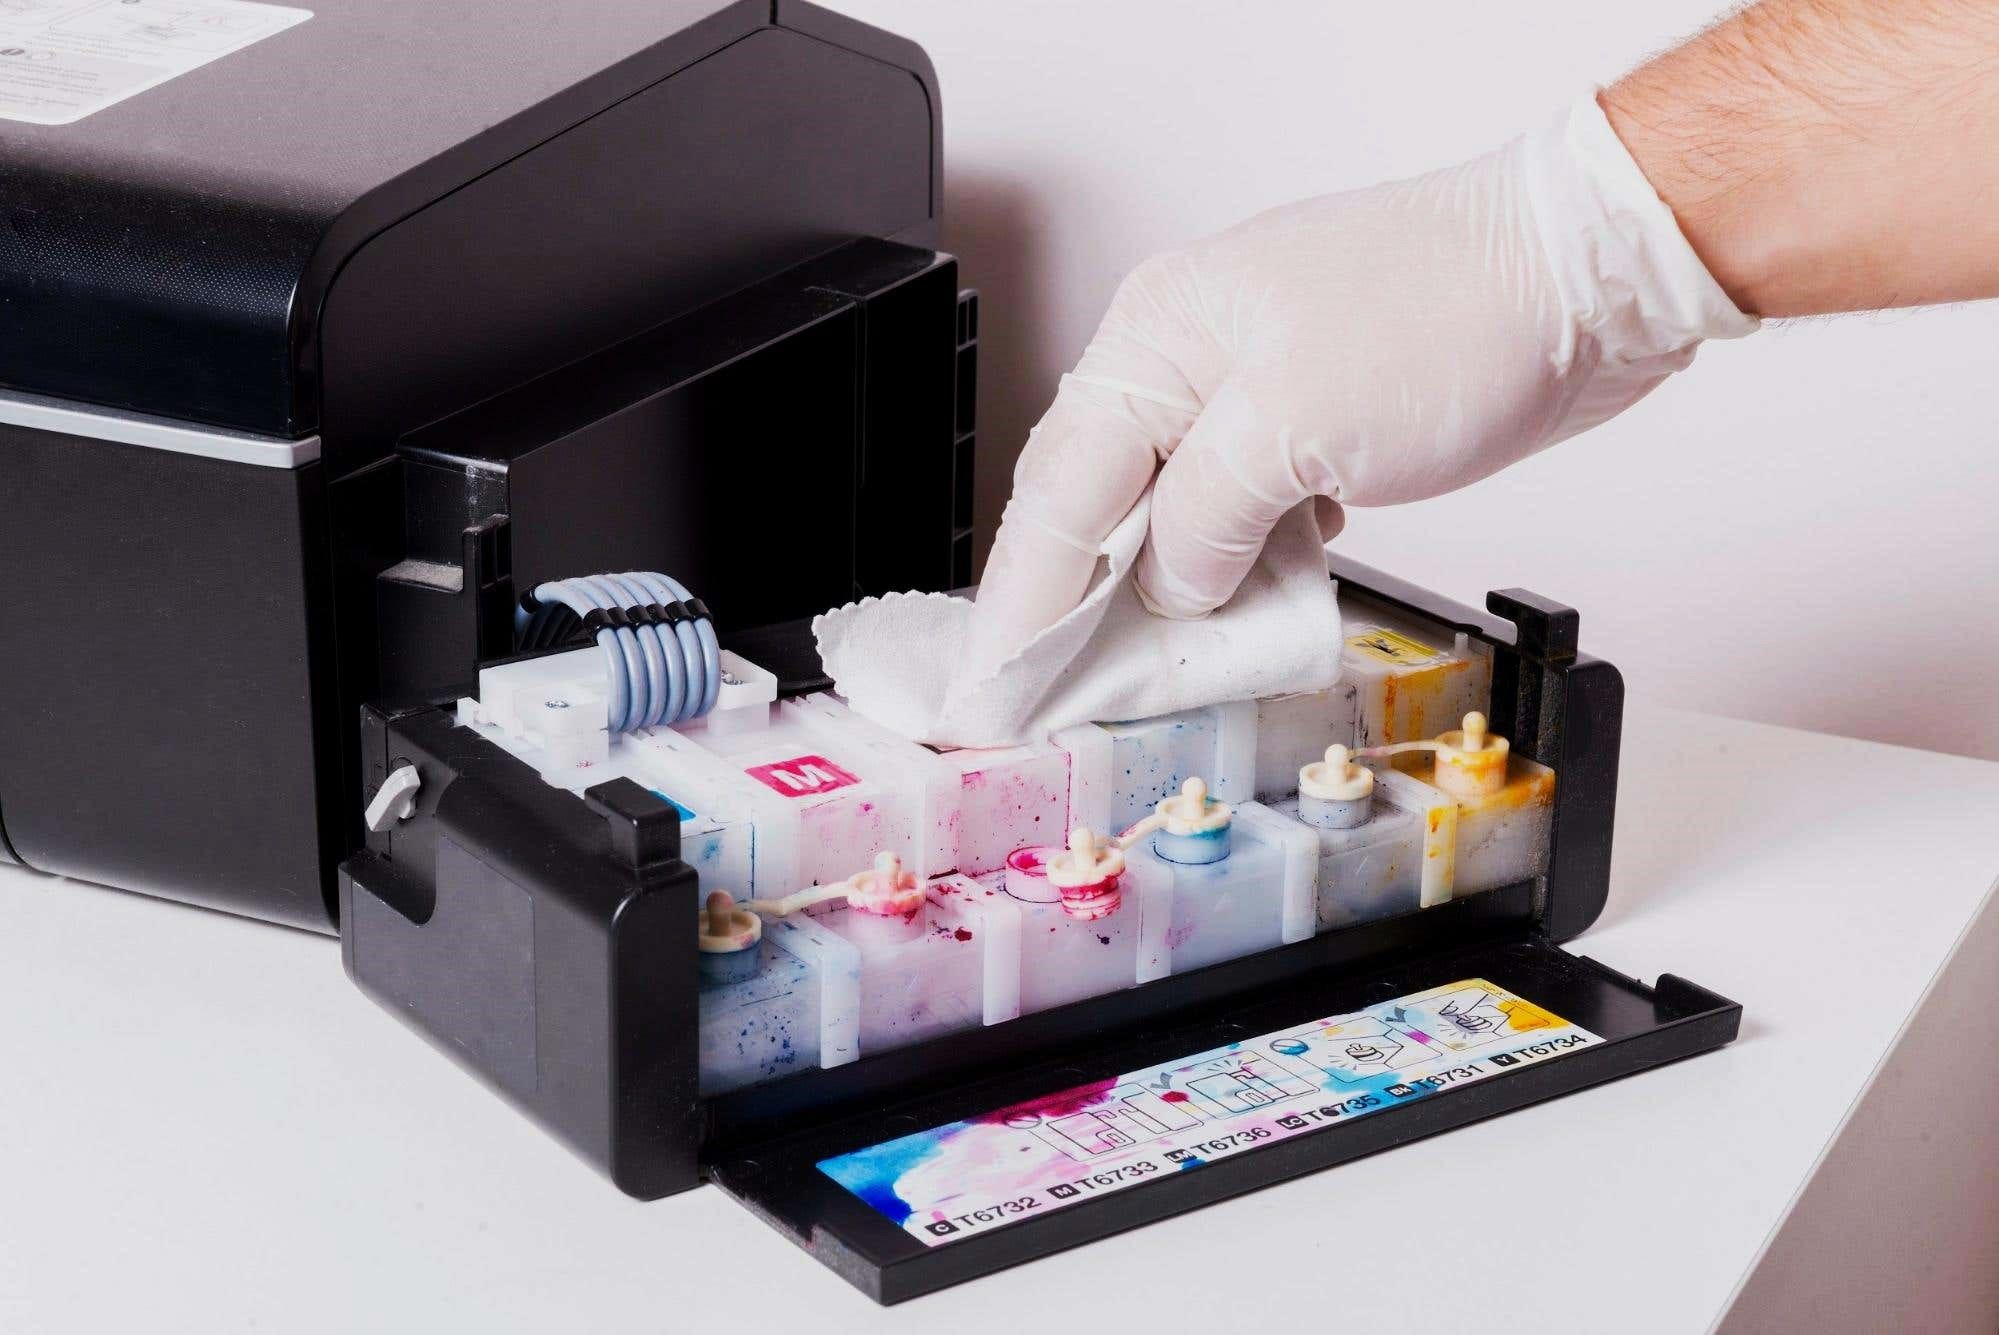
- Gather Cleaning Supplies: Start by assembling the cleaning supplies you’ll need, including lint-free cloths, isopropyl alcohol, gloves, and a toner vacuum or toner-specific cleaning equipment. It’s essential to use lint-free cloths to avoid leaving fibers or residue on the printer drum.
- Power Off the Printer: To ensure safety and prevent accidental damage, turn off the printer and unplug it from the power source. This step is crucial to avoid any electrical hazards and to allow the printer components to cool down before proceeding with the cleaning process.
- Remove the Toner Cartridge: Carefully remove the toner cartridge from the printer, following the manufacturer’s instructions. Place the toner cartridge on a flat, stable surface, away from direct sunlight or heat sources.
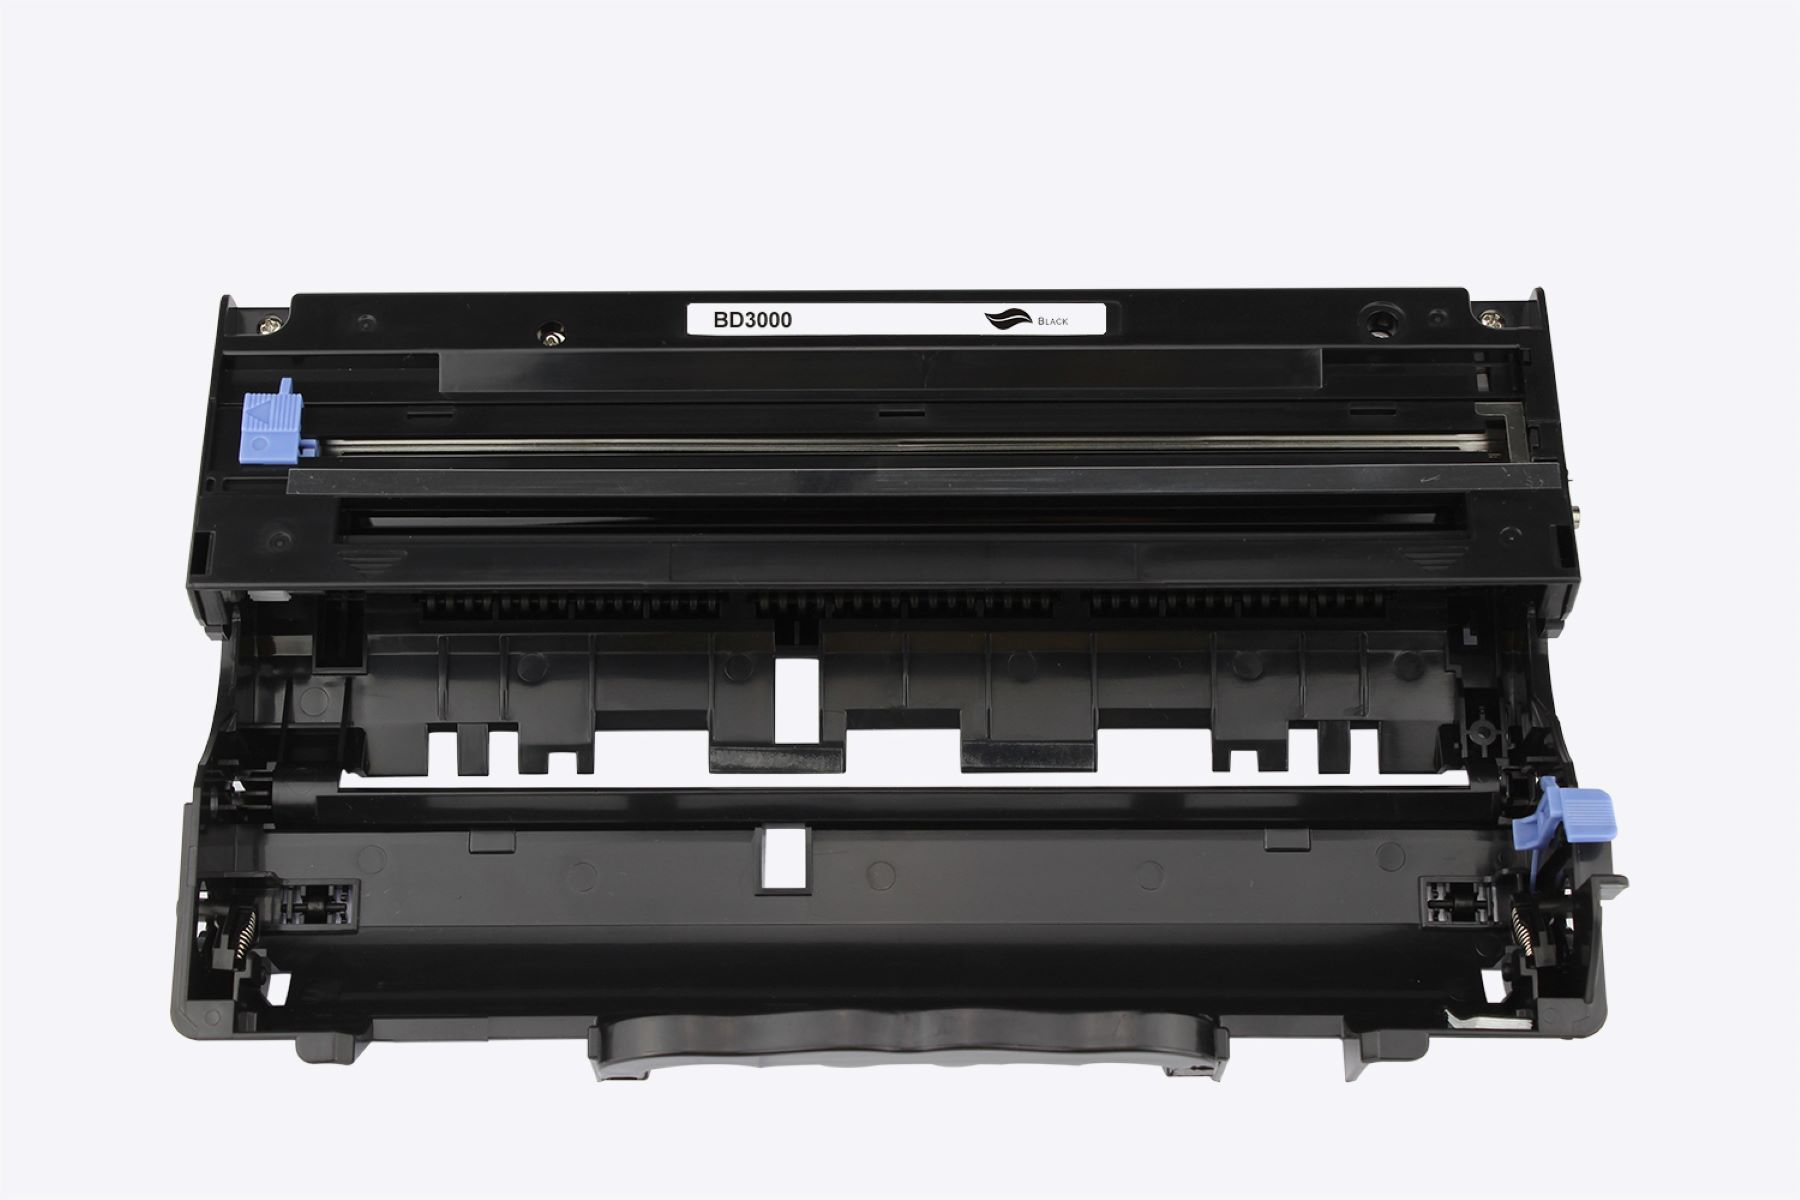
- Locate the Printer Drum: Identify the printer drum within the printer’s internal components. Refer to the printer’s user manual or online resources for specific guidance on locating and accessing the printer drum.
- Wear Protective Gear: Put on gloves to protect your hands from toner particles and cleaning agents. Isopropyl alcohol is commonly used for cleaning the printer drum, and gloves will safeguard your skin during the process.
By meticulously preparing for the printer drum cleaning, you set the stage for a thorough and effective maintenance procedure. These preparatory steps not only ensure the safety of both the user and the printer but also contribute to the overall success of the cleaning process. With the necessary supplies at hand and the printer properly prepped, you are ready to proceed with the next phase: cleaning the printer drum to restore optimal print quality and performance.
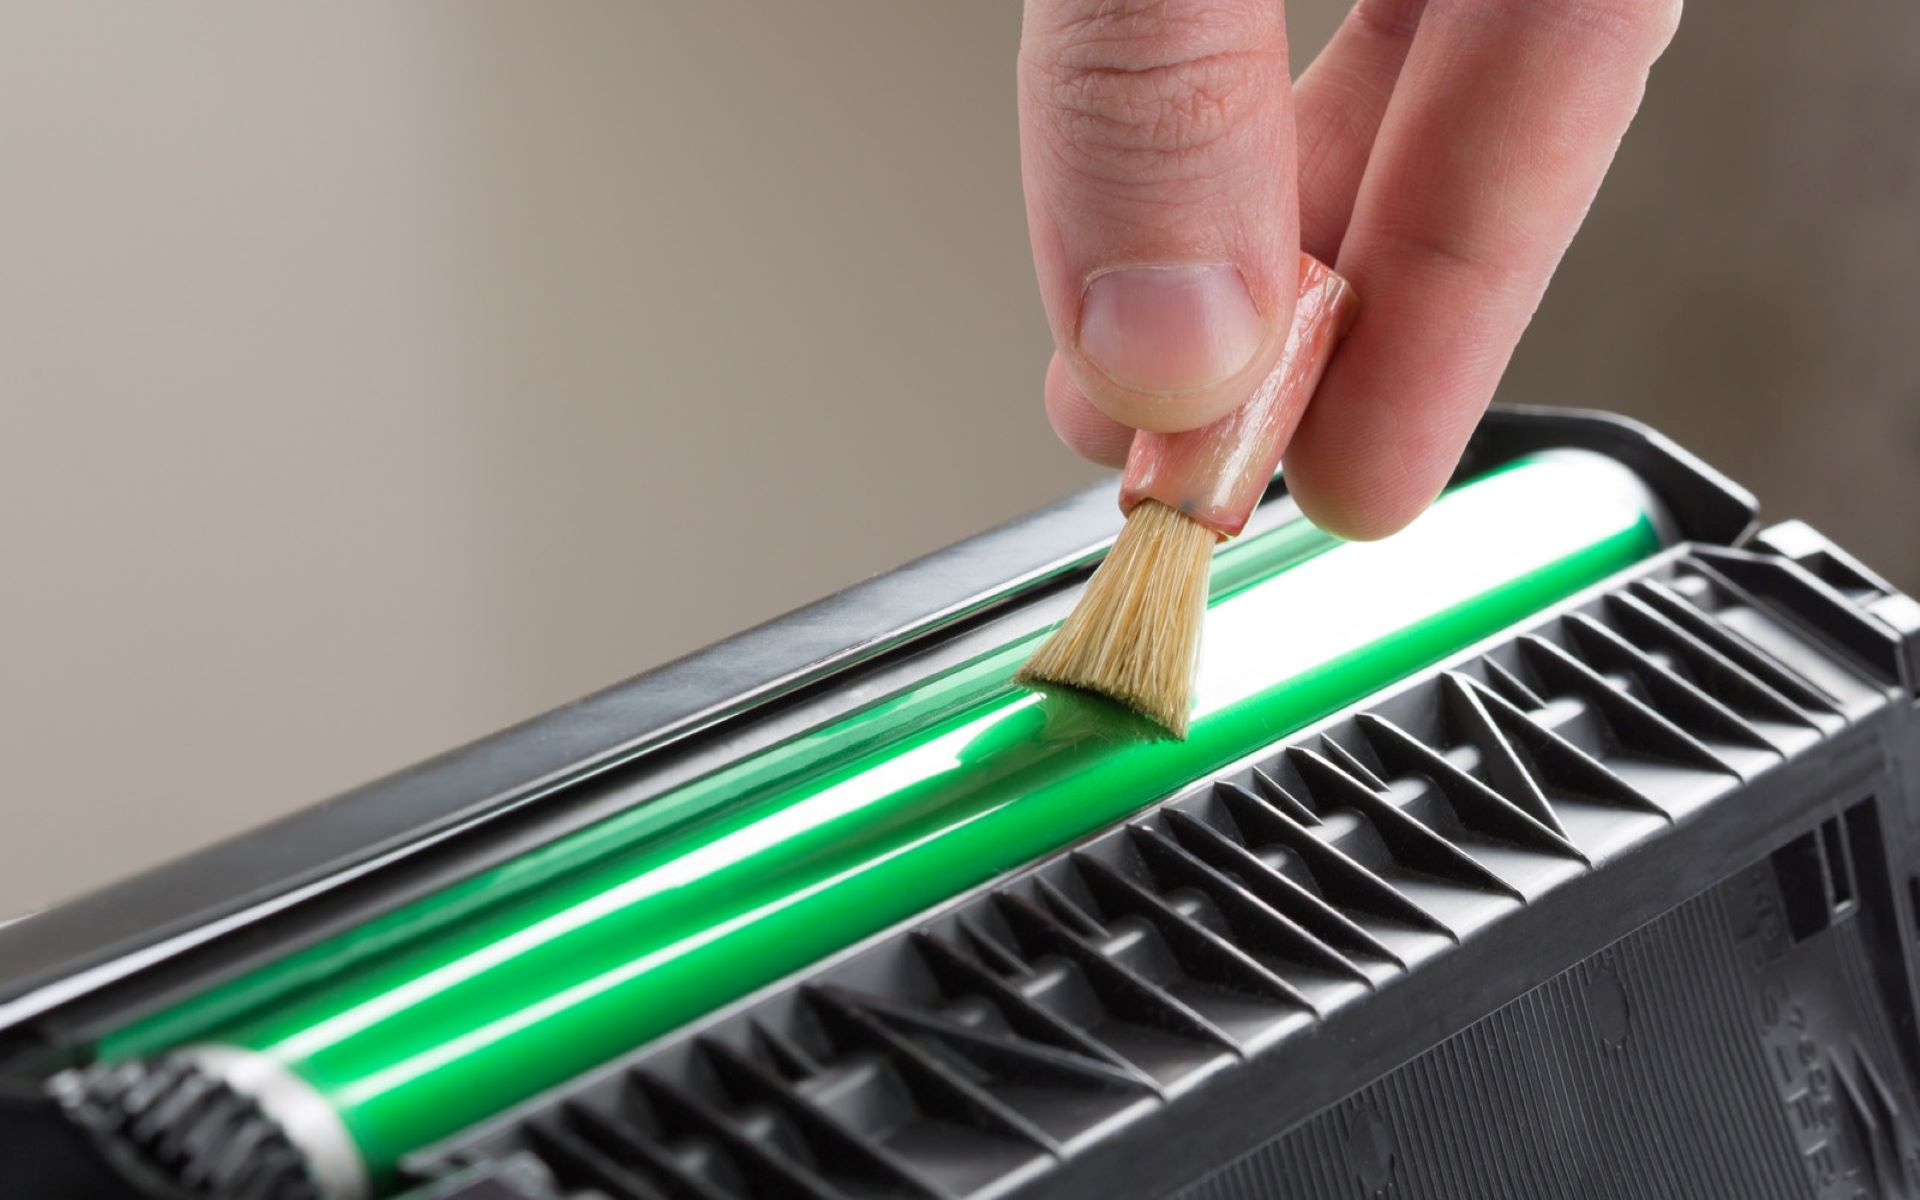
To clean a printer drum, use a soft, lint-free cloth lightly dampened with isopropyl alcohol. Gently wipe the drum to remove any toner or dirt buildup. Avoid using water or touching the drum with your fingers.
Cleaning the Printer Drum
Now that you’ve prepared the printer and gathered the essential cleaning supplies, it’s time to embark on the crucial step of cleaning the printer drum. Follow these detailed instructions to effectively clean the printer drum and restore its optimal functionality:
- Inspect the Drum Surface: Begin by visually inspecting the printer drum’s surface for any visible toner residue, smudges, or debris. Take note of any areas that require focused cleaning attention.
- Use a Toner Vacuum (Optional): If available, use a toner vacuum designed specifically for cleaning printer components to gently remove loose toner particles and debris from the drum surface. Exercise caution and follow the manufacturer’s guidelines when using a toner vacuum to avoid damaging the delicate drum surface.
- Clean with Isopropyl Alcohol: Dampen a lint-free cloth with isopropyl alcohol. Gently but firmly wipe the cloth across the drum surface, applying light pressure to remove stubborn toner residue and contaminants. Take care to avoid excessive pressure, as the drum surface is sensitive and can be easily damaged.
- Rotate the Drum: If possible, rotate the printer drum manually to ensure comprehensive cleaning coverage. This step helps address all areas of the drum surface, especially those that may be challenging to reach during the initial cleaning pass.
- Inspect for Residual Debris: After cleaning, inspect the drum surface again to ensure that all toner residue and debris have been effectively removed. If necessary, repeat the cleaning process to achieve a pristine, debris-free drum surface.
- Allow for Drying Time: Once the cleaning process is complete, allow the printer drum to air dry thoroughly before reassembling the printer. This ensures that any residual moisture from the cleaning agent evaporates completely, preventing potential issues during reassembly and operation.
By meticulously following these steps, you can effectively clean the printer drum, eliminating toner residue and debris to restore optimal print quality and clarity. The careful application of isopropyl alcohol and the use of lint-free cloths ensure that the delicate drum surface is cleaned without causing damage. With the printer drum now revitalized, it’s time to proceed to the next phase: reassembling the printer to complete the maintenance process.
Reassembling the Printer
After successfully cleaning the printer drum and allowing sufficient drying time, it’s time to reassemble the printer and restore it to full functionality. Follow these steps to ensure a seamless reassembly process:
- Inspect the Toner Cartridge: Before reinserting the toner cartridge, inspect it for any signs of damage or leaks. Ensure that the toner cartridge is securely sealed and free from any residual toner or debris that could compromise print quality.
- Reinsert the Toner Cartridge: Carefully slide the toner cartridge back into its designated slot within the printer, following the manufacturer’s instructions. Ensure that the toner cartridge is securely seated and properly aligned to avoid potential printing issues.
- Secure Printer Components: Check that all internal and external printer components, including access panels and trays, are securely closed and locked into place. This step ensures that the printer is fully enclosed and ready for operation.
- Plug In and Power On: Reconnect the printer to the power source and turn it on. Allow the printer to complete its startup sequence, initializing the cleaned printer drum and preparing for test prints.
By methodically reassembling the printer and ensuring that all components are securely in place, you set the stage for a successful post-cleaning phase. With the printer now reassembled and powered on, it’s time to proceed to the final step: testing the printer to confirm the effectiveness of the cleaning process and the restoration of optimal print quality.
Read more: How To Clean Dryer Drum
Testing the Printer
With the printer reassembled and powered on, it’s essential to perform a series of test prints to evaluate the effectiveness of the cleaning process and ensure that the printer drum is functioning optimally. Follow these steps to conduct comprehensive testing of the printer:
- Print a Test Page: Initiate the printing of a test page to assess the overall print quality, including text clarity, image sharpness, and color vibrancy. Use a standard test page or a document with varied content to evaluate the printer’s performance across different print elements.
- Inspect Print Quality: Carefully examine the test print for any signs of residual streaking, smudging, or toner dispersion. Look for consistent and uniform print quality across the entire page, ensuring that the printer drum’s cleaning has effectively restored optimal performance.
- Conduct Multiple Test Prints: Perform multiple test prints to validate the printer’s sustained performance and confirm that any initial issues have been fully resolved. By conducting a series of test prints, you can identify and address any potential inconsistencies or lingering print quality issues.
- Monitor Long-Term Performance: After the initial testing phase, monitor the printer’s performance over subsequent print jobs to ensure sustained optimal print quality. Regularly inspect printed output for any signs of deterioration and address any emerging issues promptly.
By meticulously testing the printer and evaluating its print quality across various documents and images, you can confidently confirm the effectiveness of the printer drum cleaning process. The thorough assessment of print output allows you to identify and address any lingering issues, ensuring that the printer operates at peak performance and delivers high-quality prints consistently.
With the printer successfully tested and its performance validated, you can now enjoy the renewed print quality and reliability that result from the meticulous cleaning of the printer drum. By following these comprehensive steps, you have effectively maintained and revitalized an essential component of your printer, ensuring its continued functionality and longevity.
Frequently Asked Questions about How To Clean A Printer Drum
Was this page helpful?
At Storables.com, we guarantee accurate and reliable information. Our content, validated by Expert Board Contributors, is crafted following stringent Editorial Policies. We're committed to providing you with well-researched, expert-backed insights for all your informational needs.


0 thoughts on “How To Clean A Printer Drum”