Home>Home Appliances>Laundry Appliances>How To Fix A Loose Drum In A Washing Machine
Laundry Appliances
How To Fix A Loose Drum In A Washing Machine
Published: February 20, 2024
Learn how to fix a loose drum in your washing machine with our expert tips and advice. Keep your laundry appliances running smoothly with our helpful guide.
(Many of the links in this article redirect to a specific reviewed product. Your purchase of these products through affiliate links helps to generate commission for Storables.com, at no extra cost. Learn more)
Introduction
A washing machine is an indispensable appliance in any modern household, simplifying the arduous task of laundry. However, like any mechanical device, washing machines are susceptible to wear and tear over time. One common issue that homeowners may encounter is a loose drum in the washing machine. This problem can lead to excessive noise, uneven spinning, and potential damage to the appliance if left unaddressed.
When the drum in a washing machine becomes loose, it can disrupt the balance and stability of the entire unit, causing disruptive vibrations and an unsettling racket during the spin cycle. Not only does this compromise the machine's performance, but it can also lead to further mechanical complications if not promptly rectified.
In this comprehensive guide, we will delve into the intricacies of identifying and resolving a loose drum in a washing machine. By following the step-by-step instructions and leveraging the right tools and materials, you can restore your washing machine to its optimal functionality and bid farewell to the bothersome clatters and jolts. Let's embark on this journey to reclaim the tranquility and efficiency of your laundry room by addressing the pesky issue of a loose drum in your washing machine.
Key Takeaways:
- Don’t ignore the signs of a loose drum in your washing machine, like loud banging or wobbling. Use the right tools and materials to fix it, and test the machine to ensure it runs smoothly.
- After fixing a loose drum, keep your washing machine in top shape by inspecting it regularly, balancing loads, and cleaning the drum. Professional servicing can also help maintain its performance.
Read more: What Is A Washer Drum
Identifying the Issue
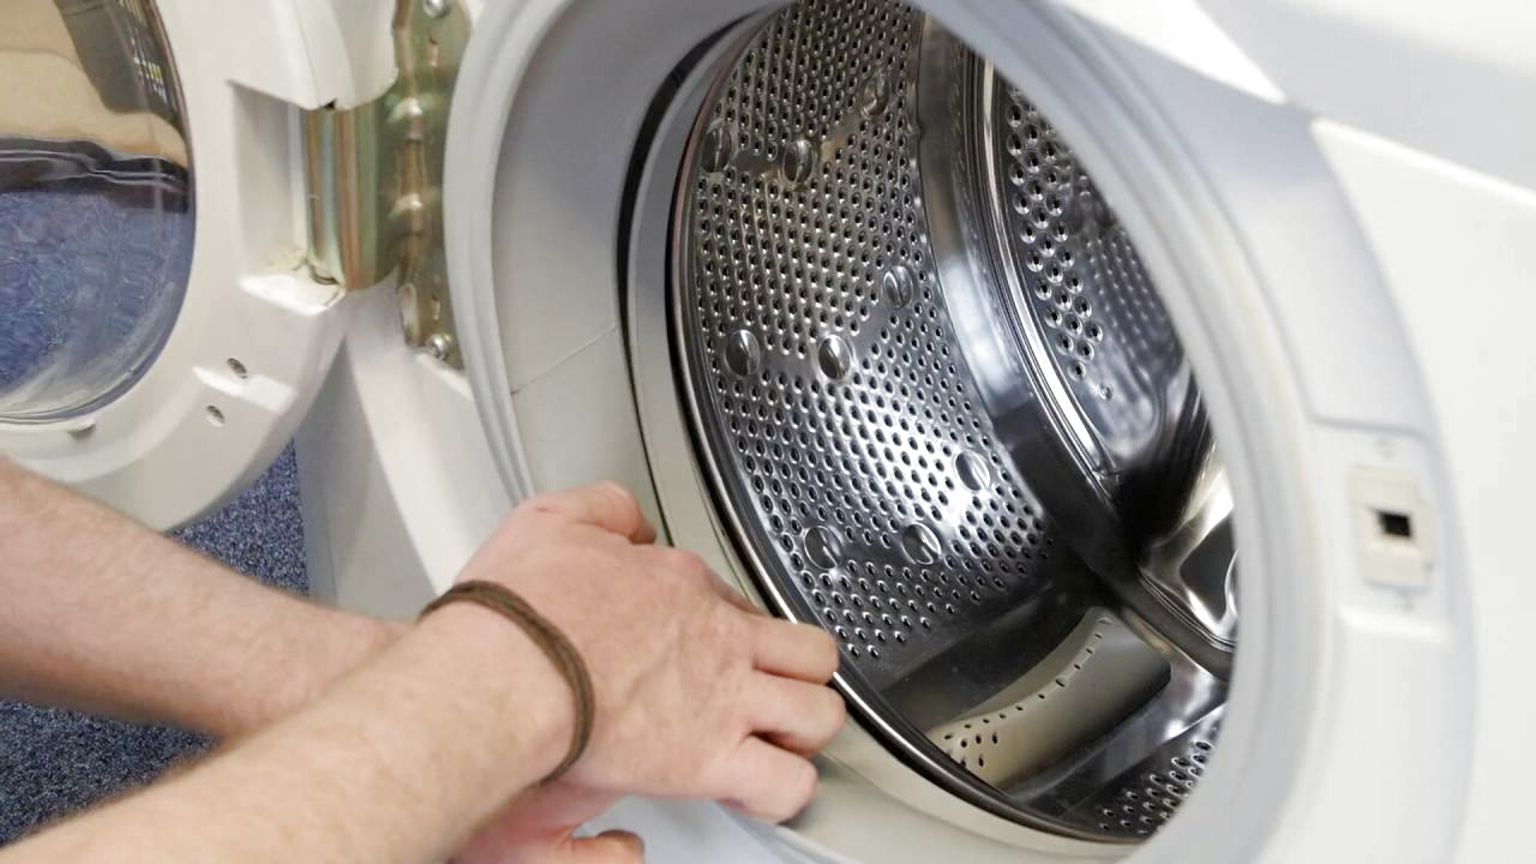
Identifying a loose drum in a washing machine is crucial for initiating the repair process. There are several telltale signs that can indicate this problem. The most evident symptom is an unusual banging or thumping noise during the spin cycle. This noise is often accompanied by excessive vibrations, causing the entire washing machine to shake and rattle. Additionally, if the drum appears to be misaligned or wobbles when manually manipulated, it is a clear indication of a loose drum.
Another noticeable sign is the machine's inability to maintain its balance during the spin cycle, resulting in erratic movements. Furthermore, if the washing machine consistently produces an imbalanced load error despite the clothes being evenly distributed, it is likely that the drum is loose and disrupting the machine's stability.
It is important to conduct a thorough visual inspection of the washing machine to identify any loose or damaged components. Check for any visible cracks, dents, or misalignments in the drum or the surrounding components. Additionally, listen for any unusual sounds emanating from the machine during operation, as these can provide valuable clues about the condition of the drum.
By keenly observing these indicators and performing a systematic assessment of the washing machine's behavior and physical condition, you can accurately pinpoint the presence of a loose drum. Once the issue has been identified, you can proceed to gather the necessary tools and materials to address the problem effectively.
Tools and Materials Needed
To rectify a loose drum in a washing machine, you will require a set of essential tools and materials to facilitate the repair process effectively. Here is a comprehensive list of the items you will need:
Tools:
- Screwdriver Set: A versatile screwdriver set comprising both flathead and Phillips head screwdrivers is indispensable for accessing and disassembling various components of the washing machine.
- Adjustable Wrench: This tool is essential for loosening and tightening nuts and bolts, providing the necessary leverage to secure the drum assembly.
- Pliers: A pair of pliers will aid in gripping and maneuvering small components, facilitating the disassembly and reassembly of the washing machine parts.
- Rubber Mallet: A rubber mallet is useful for gently tapping and aligning the drum and its associated components without causing damage.
- Level: A spirit level will assist in ensuring the proper alignment and balance of the washing machine's drum assembly once the repair is complete.
Materials:
- Replacement Shock Absorbers: If the loose drum has caused damage to the shock absorbers, it may be necessary to replace them to restore the machine's stability during operation.
- Locking Nuts and Bolts: These components are crucial for securing the drum assembly in place, preventing any future instances of loosening.
- Lubricant: A high-quality lubricant is essential for maintaining the smooth operation of the drum and its associated bearings, reducing friction and wear.
- Cleaning Cloth and Degreaser: A clean cloth and degreaser will aid in removing any accumulated grime, dirt, or grease from the drum and its surrounding components, ensuring optimal functionality.
- Safety Gloves and Goggles: It is imperative to prioritize safety during the repair process. Therefore, wearing protective gloves and goggles is essential to safeguard against potential injuries.
By ensuring that you have these tools and materials at your disposal, you can proceed with confidence to address the issue of a loose drum in your washing machine. With these resources in hand, you are well-equipped to embark on the journey of restoring your washing machine to its optimal working condition.
Read more: How To Balance A Washing Machine Drum
Steps to Fix a Loose Drum
-
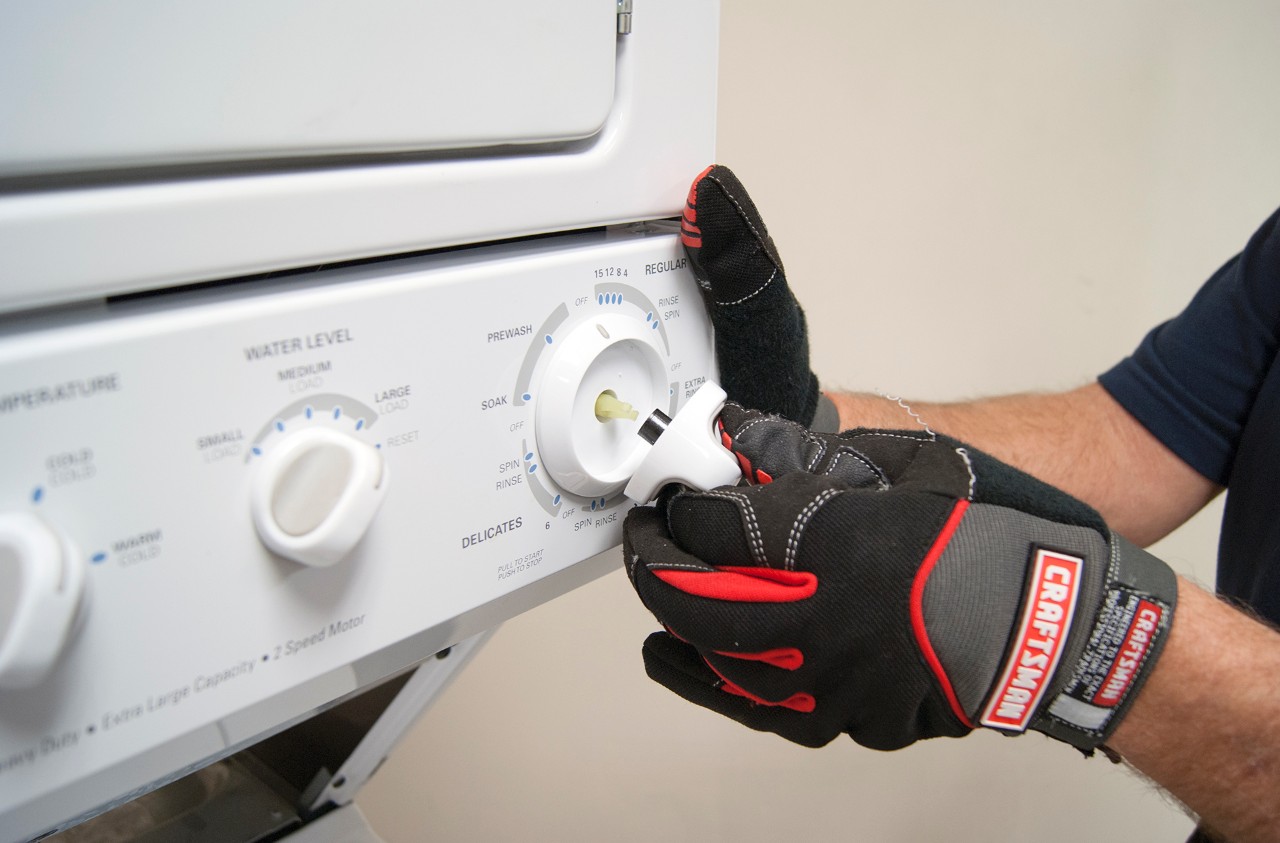
Disconnect the Power: Prior to commencing any repair work on the washing machine, it is imperative to unplug the appliance from the power source to ensure safety.
-
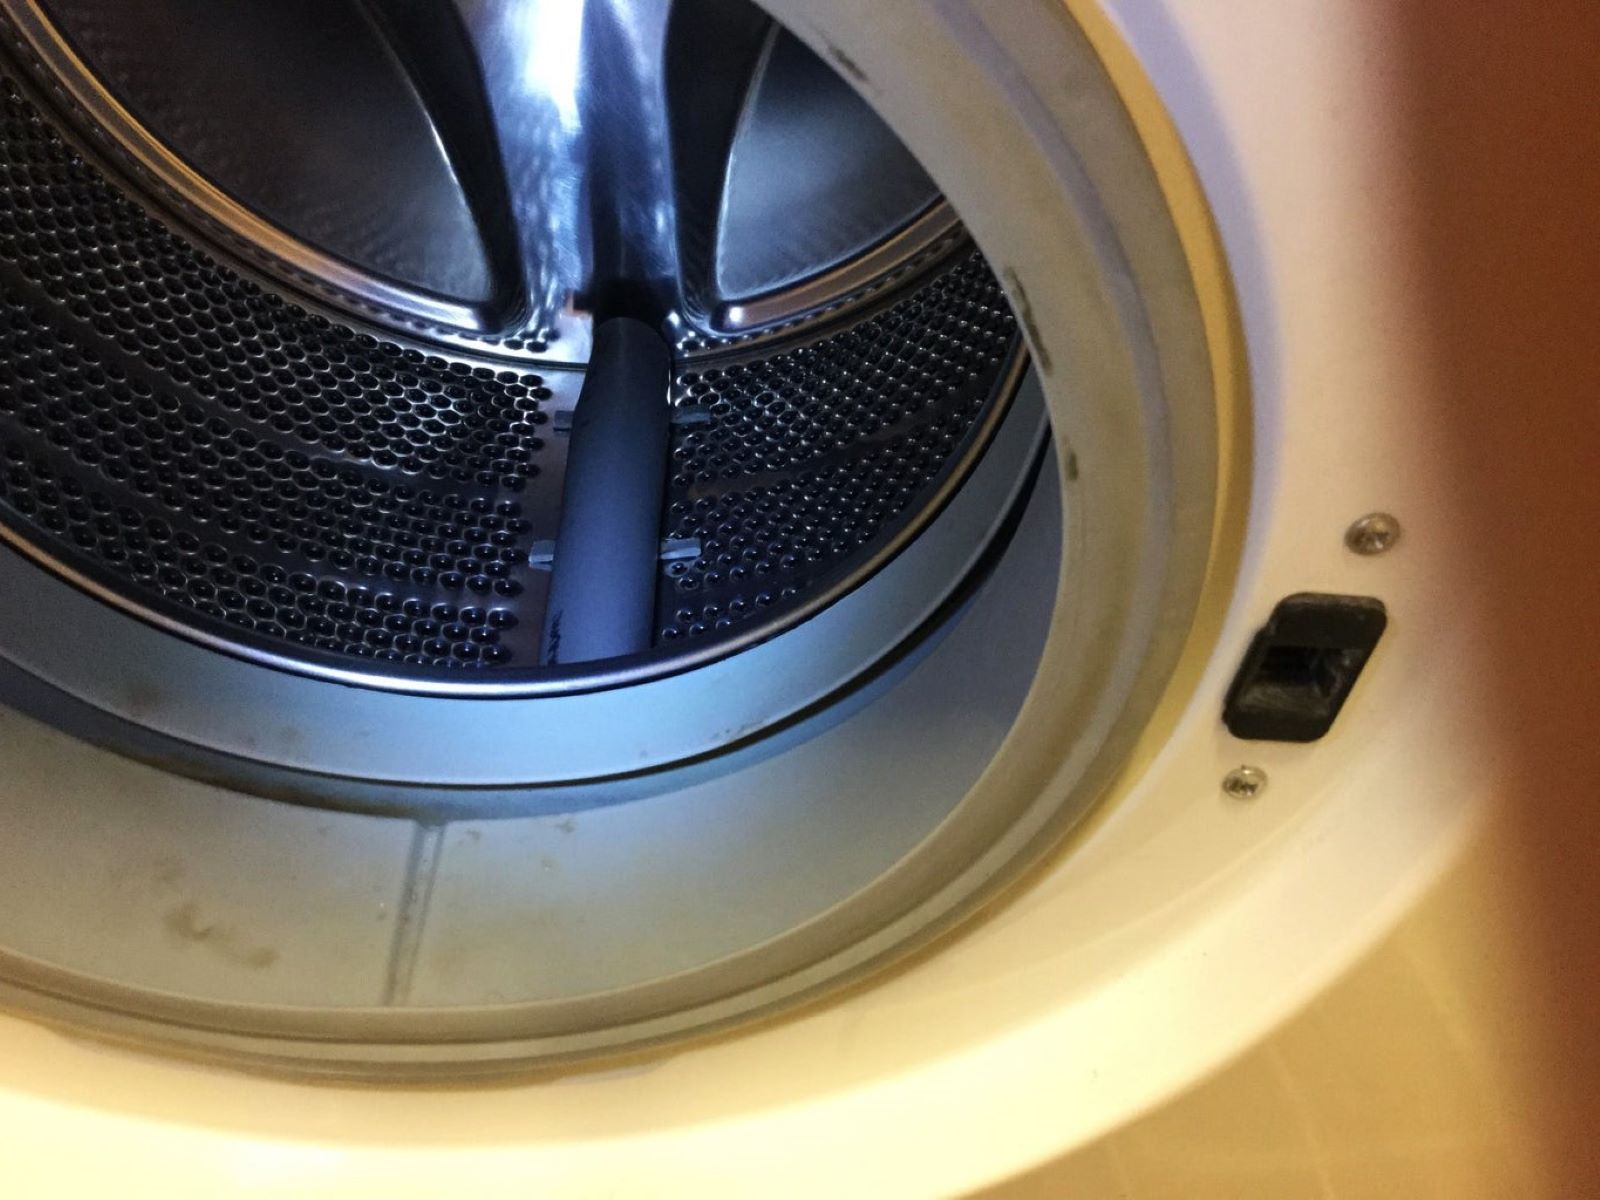
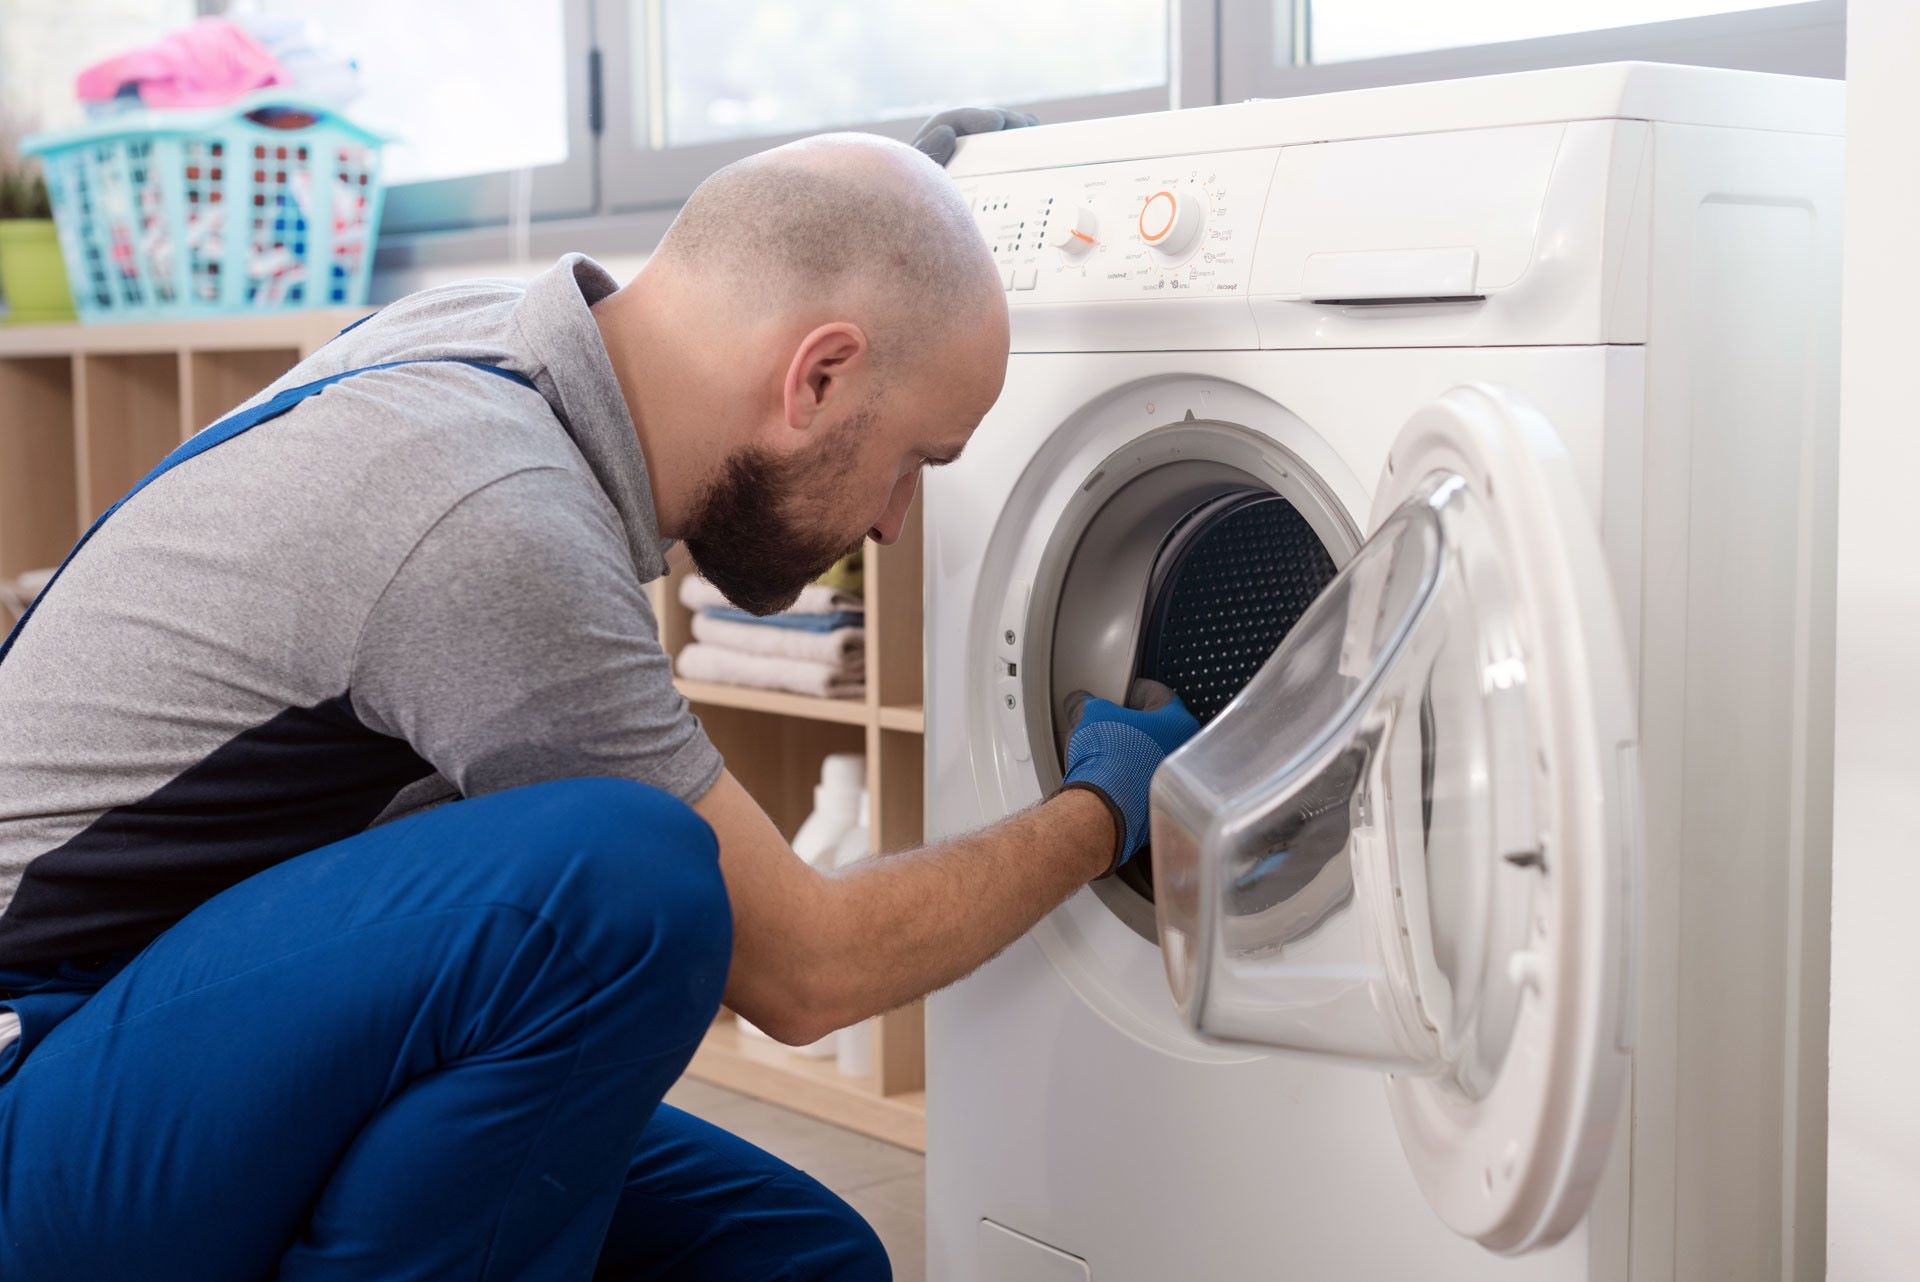
Access the Drum Assembly: Depending on the specific model of the washing machine, you may need to remove the top or back panel to gain access to the drum assembly. Utilize the appropriate tools, such as a screwdriver, to carefully disassemble the necessary components and expose the drum.
-
Inspect the Drum and Mounting Components: Thoroughly examine the drum and its associated mounting components for any signs of damage, wear, or misalignment. Check the shock absorbers, springs, and mounting brackets to identify any issues that may be contributing to the drum's looseness.
-
Tighten the Mounting Bolts: Using an adjustable wrench, carefully tighten the mounting bolts that secure the drum in place. Ensure that the bolts are fastened securely to prevent any potential movement or instability.
-
Replace Damaged Shock Absorbers: If the inspection reveals that the shock absorbers are damaged or worn, proceed to replace them with new, compatible shock absorbers. This will help restore the stability and balance of the drum during the washing machine's operation.
-
Lubricate the Drum Bearings: Apply a suitable lubricant to the drum bearings to reduce friction and ensure smooth rotation. This will enhance the overall performance of the drum assembly and minimize wear on the bearings.
-
Align the Drum: Carefully align the drum within the washing machine, ensuring that it is centered and balanced. Use a level to verify the proper alignment of the drum assembly, making any necessary adjustments as required.
-
Secure the Drum Assembly: Once the drum is aligned and balanced, proceed to secure the drum assembly in place using locking nuts and bolts. Ensure that the assembly is firmly fastened to prevent any future instances of loosening.
-
Reassemble the Washing Machine: With the drum assembly secured and aligned, reassemble the components of the washing machine, ensuring that all parts are properly fitted and secured.
-
Test the Washing Machine: Plug the washing machine back into the power source and conduct a test cycle to ensure that the drum operates smoothly and without any excessive noise or vibrations. Observe the machine during the spin cycle to confirm that the issue of the loose drum has been effectively resolved.
By following these meticulous steps, you can effectively address the issue of a loose drum in your washing machine, restoring its stability and functionality. This comprehensive approach ensures that the repair process is conducted with precision and attention to detail, ultimately leading to a well-functioning washing machine that operates with optimal performance and minimal disruptions.
Testing the Washing Machine
After completing the repair process to address the issue of a loose drum in your washing machine, it is crucial to conduct thorough testing to ensure that the appliance operates seamlessly and without any lingering problems. Testing the washing machine serves as the final validation of the effectiveness of the repair work, providing assurance that the drum is secure, balanced, and functioning optimally.
To commence the testing phase, plug the washing machine back into the power source and prepare to run a test cycle. Select a standard wash program and initiate the cycle, closely monitoring the machine's operation throughout the entire process. As the washing machine progresses through the various stages of the cycle, pay particular attention to the spin cycle, as this is where the impact of the drum repair will be most evident.
During the spin cycle, observe the washing machine for any signs of excessive noise, vibrations, or erratic movements. A well-repaired drum should rotate smoothly and quietly, without producing any jarring sounds or causing the machine to shake excessively. Additionally, ensure that the washing machine maintains its balance during the spin cycle, with no discernible wobbling or instability.
As the test cycle nears completion, carefully assess the overall performance of the washing machine, taking note of any irregularities or persistent issues. If the repair has been successful, the washing machine should operate with restored efficiency and stability, devoid of the disruptive symptoms that were indicative of a loose drum.
Furthermore, it is advisable to run a load of laundry through the washing machine to validate its functionality under a practical scenario. By washing a typical load of clothes, you can ascertain whether the repaired drum operates smoothly and effectively while accommodating the weight and movement of the laundry. This real-world test will provide valuable insight into the washing machine's performance post-repair, ensuring that it meets the expectations of a fully functional appliance.
Upon completing the testing phase and confirming that the washing machine operates without any lingering issues related to the drum, you can rest assured that the repair has been successful. The thorough testing process serves as the ultimate validation of the repair work, affirming that the washing machine is once again a reliable and efficient appliance in your household.
By meticulously testing the washing machine following the repair of the loose drum, you can confidently rely on the appliance to fulfill its essential role in maintaining the cleanliness and freshness of your laundry, free from the disturbances caused by a malfunctioning drum.
Maintenance Tips
Proper maintenance is essential for preserving the longevity and efficiency of your washing machine, particularly after addressing the issue of a loose drum. By incorporating regular maintenance practices into your laundry appliance care routine, you can mitigate the risk of future problems and ensure that your washing machine continues to operate optimally. Here are some valuable maintenance tips to uphold the performance and durability of your washing machine:
1. Regular Inspection:
Periodically inspect the drum, shock absorbers, and mounting components of the washing machine to identify any signs of wear, misalignment, or damage. By conducting visual assessments, you can promptly address emerging issues before they escalate into significant problems.
Read more: How To Clean The Drum Of A Washing Machine
2. Balanced Loads:
When loading the washing machine, distribute the laundry evenly to maintain balance during the spin cycle. Imbalanced loads can exert undue stress on the drum and other components, potentially leading to instability and mechanical strain.
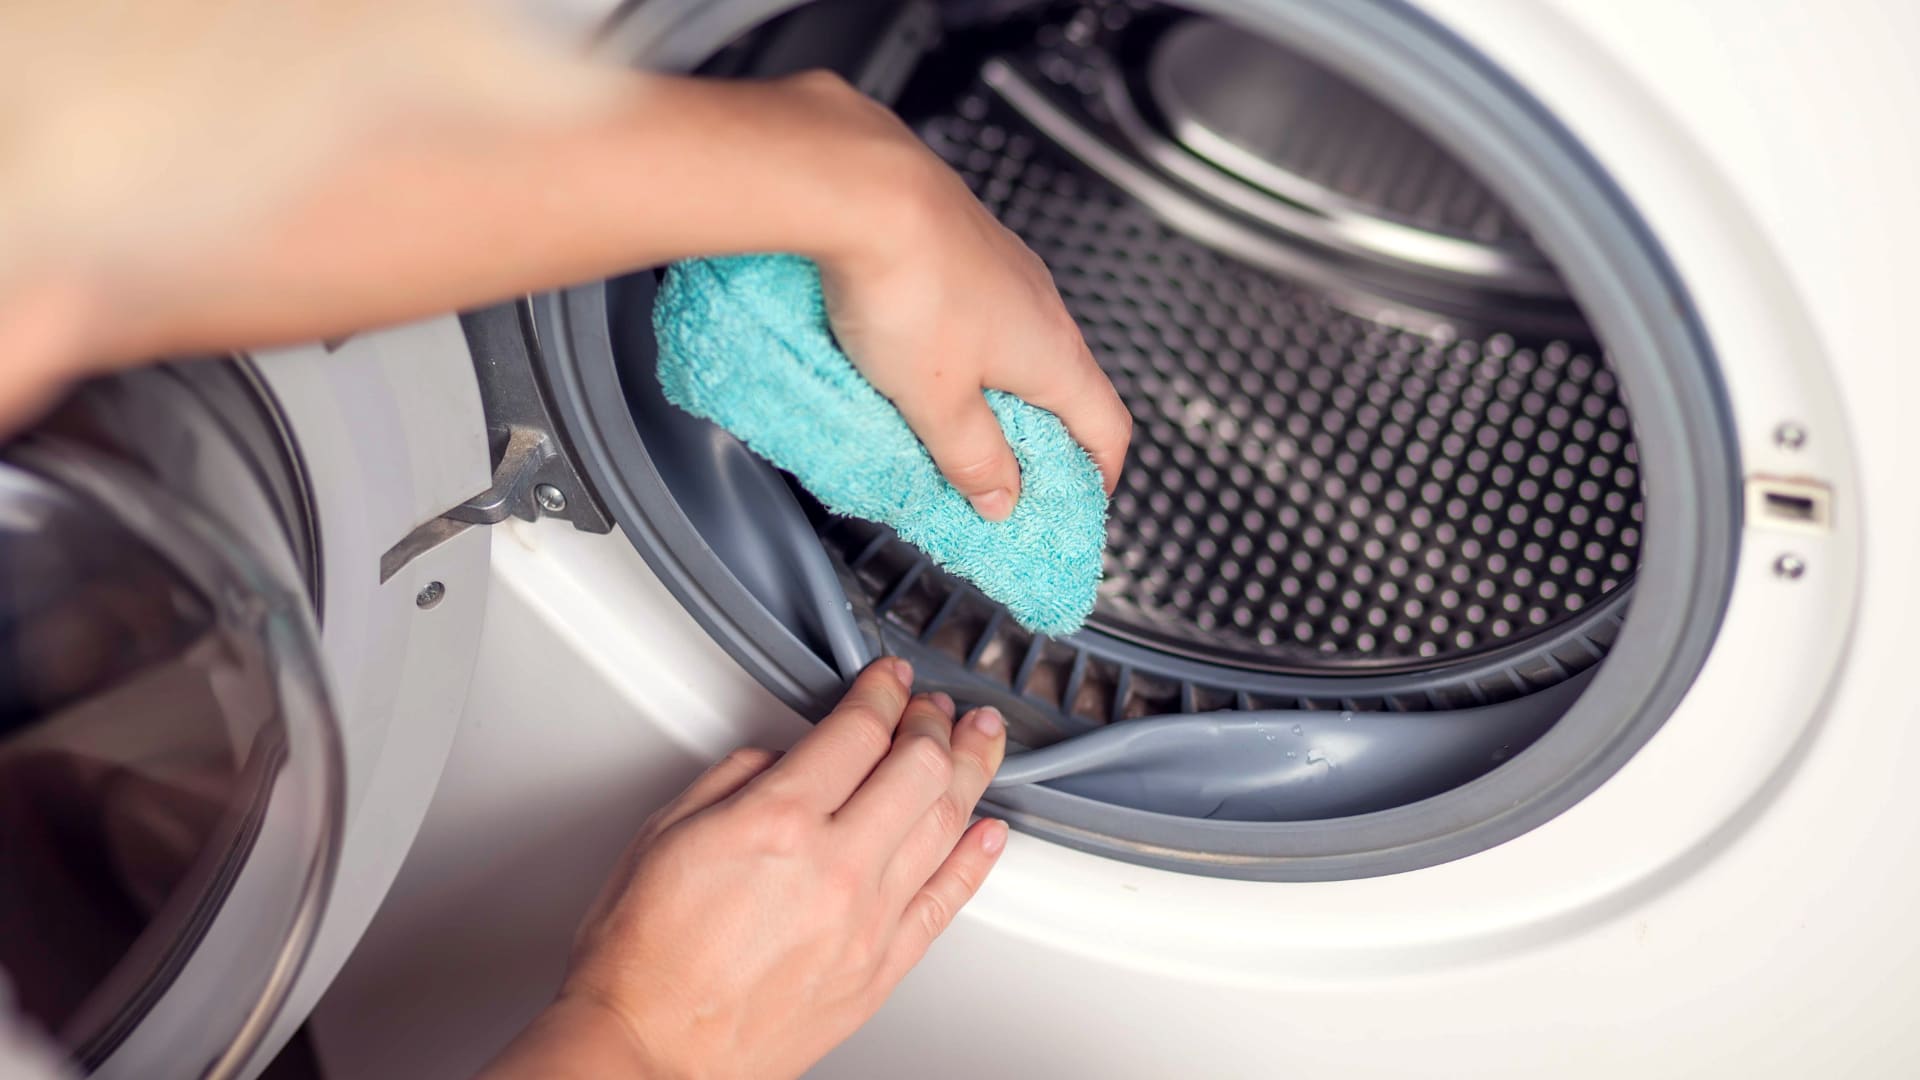
3. Clean the Drum and Seal:
Regularly clean the interior of the drum and the door seal to remove any accumulated residue, lint, or debris. This practice prevents obstructions and maintains the cleanliness of the washing machine, contributing to its overall hygiene and functionality.
4. Optimal Detergent Usage:
Adhere to the recommended detergent quantities to prevent excessive suds and residue buildup within the washing machine. Using the appropriate amount of detergent minimizes the risk of residue accumulation, which can affect the drum's performance and lead to potential issues.
5. Leveling Adjustment:
Ensure that the washing machine is positioned on a level surface to prevent unnecessary vibrations and strain on the drum assembly. Periodically check and adjust the leveling of the appliance to promote stability and smooth operation.
Read more: What Is The Drum Of A Washing Machine
6. Professional Servicing:
Consider scheduling periodic professional servicing and maintenance checks for your washing machine. Qualified technicians can conduct thorough inspections, address underlying issues, and perform essential maintenance tasks to uphold the appliance's functionality and longevity.
By integrating these maintenance tips into your washing machine care regimen, you can proactively safeguard the appliance against potential issues, including a loose drum. Consistent maintenance not only enhances the performance and durability of the washing machine but also contributes to a hassle-free laundry experience, ensuring that your appliance remains a reliable asset in your household for years to come.
Frequently Asked Questions about How To Fix A Loose Drum In A Washing Machine
Was this page helpful?
At Storables.com, we guarantee accurate and reliable information. Our content, validated by Expert Board Contributors, is crafted following stringent Editorial Policies. We're committed to providing you with well-researched, expert-backed insights for all your informational needs.


0 thoughts on “How To Fix A Loose Drum In A Washing Machine”