Home>Home Appliances>Laundry Appliances>How To Close An Ironing Board Without Lever
Laundry Appliances
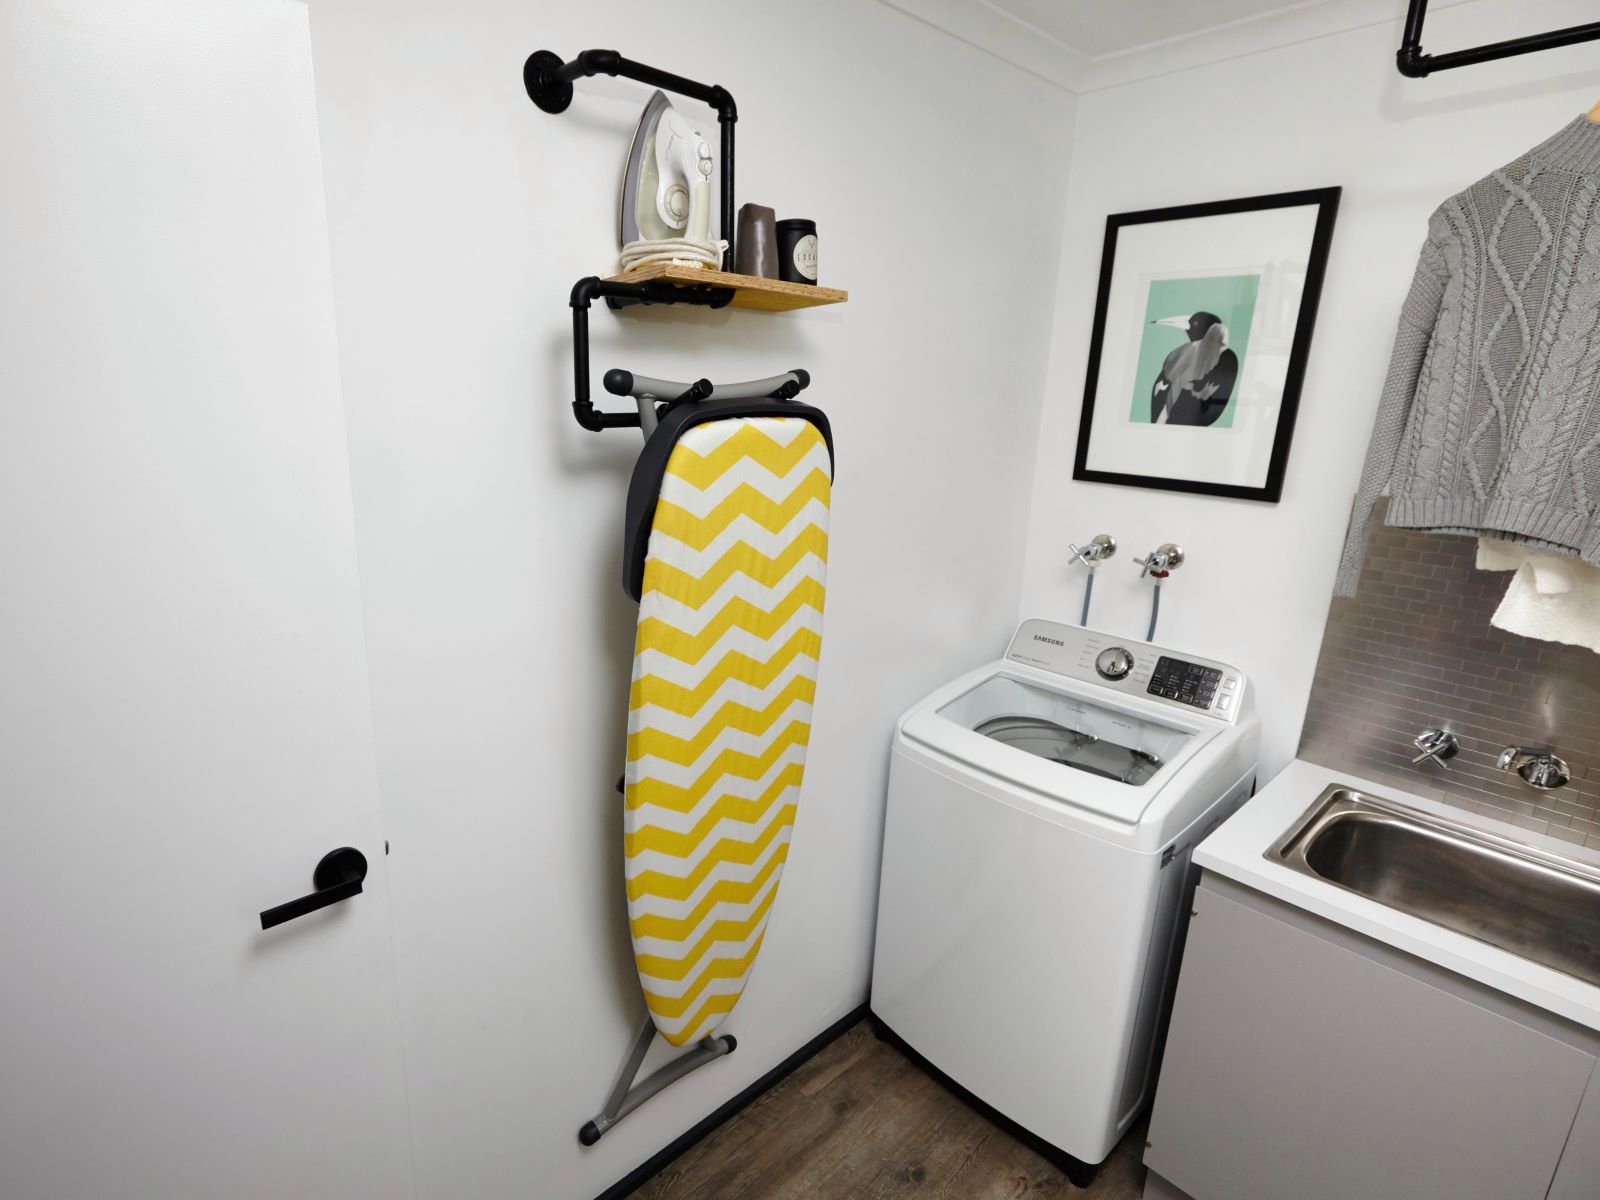
How To Close An Ironing Board Without Lever
Modified: February 27, 2024
Learn how to close an ironing board without a lever for easy storage and convenience. Discover efficient laundry appliance tips and tricks.
(Many of the links in this article redirect to a specific reviewed product. Your purchase of these products through affiliate links helps to generate commission for Storables.com, at no extra cost. Learn more)
Introduction
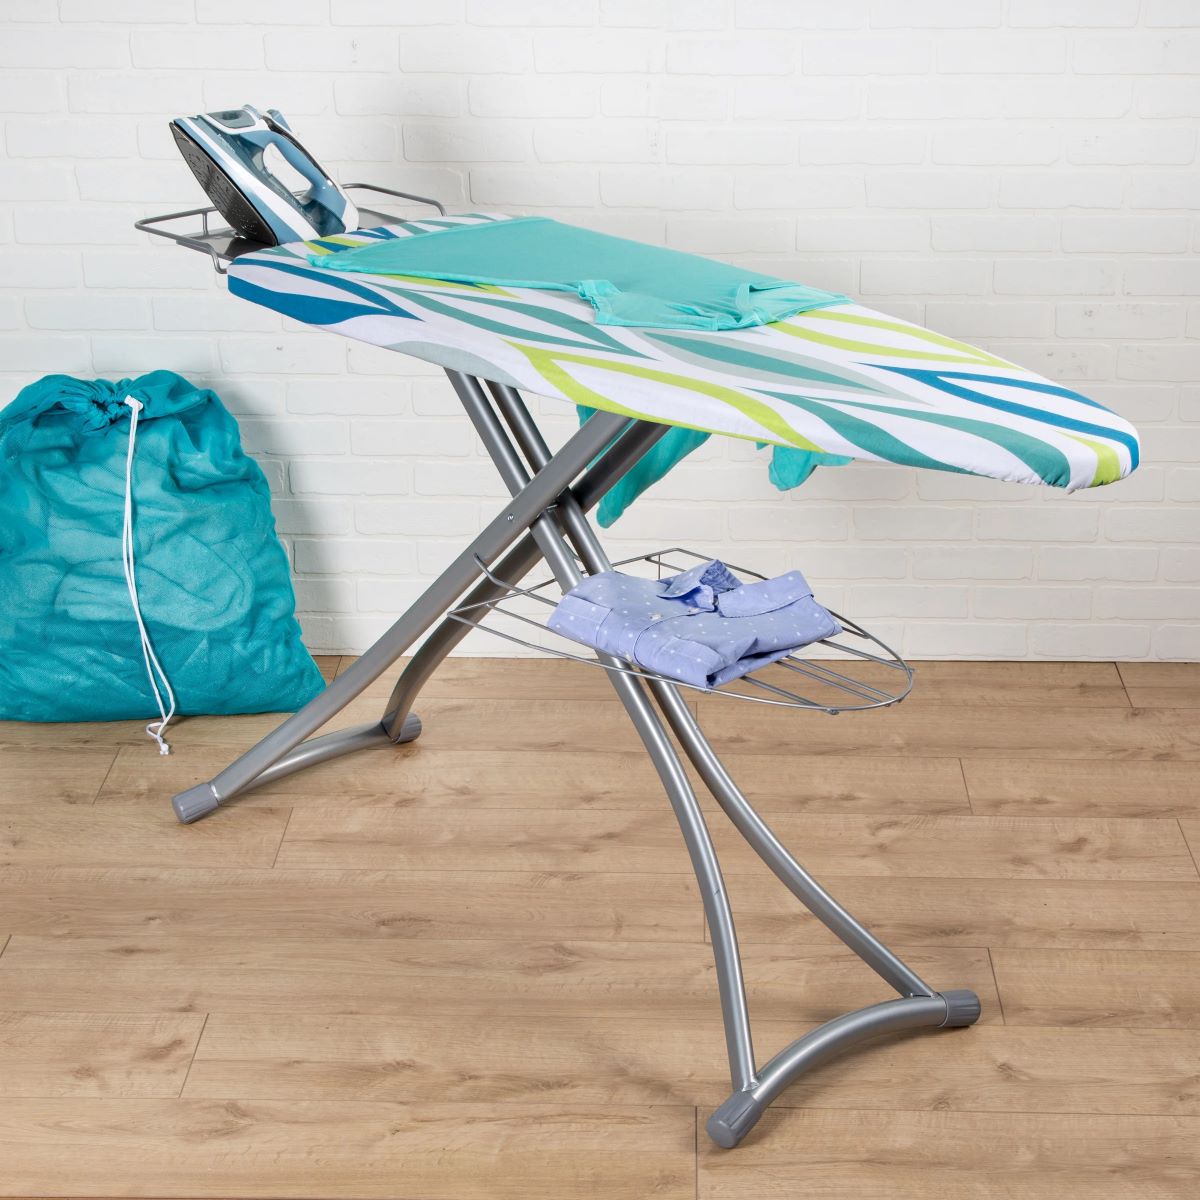
Closing an ironing board without a lever may seem like a daunting task at first, but with the right technique, it can be a simple and straightforward process. Whether you're dealing with a vintage ironing board or a modern one without a lever, mastering the art of closing it efficiently can save you time and effort. By following a few easy steps, you can safely and effectively fold up your ironing board for convenient storage.
Understanding the intricacies of closing an ironing board without a lever is essential for anyone who values a well-organized and clutter-free living space. With the right approach, you can effortlessly stow away your ironing board after each use, ensuring that it doesn't take up unnecessary space in your home. Additionally, mastering this skill can help you maintain the longevity of your ironing board, as improper folding and storage can lead to wear and tear over time.
In the following sections, we will delve into a comprehensive guide on how to close an ironing board without a lever. By carefully following each step, you will gain the confidence and expertise needed to efficiently fold and store your ironing board, making the process a seamless part of your laundry routine. Let's embark on this journey to discover the art of closing an ironing board without a lever, empowering you to streamline your laundry tasks and optimize your living space.
Key Takeaways:
- Master the art of closing an ironing board without a lever to save space and maintain your board’s longevity. Follow simple steps to fold and store efficiently.
- Safely secure the folded legs and replace the cover and padding to complete the process. Enjoy a clutter-free living space and a seamless laundry routine.
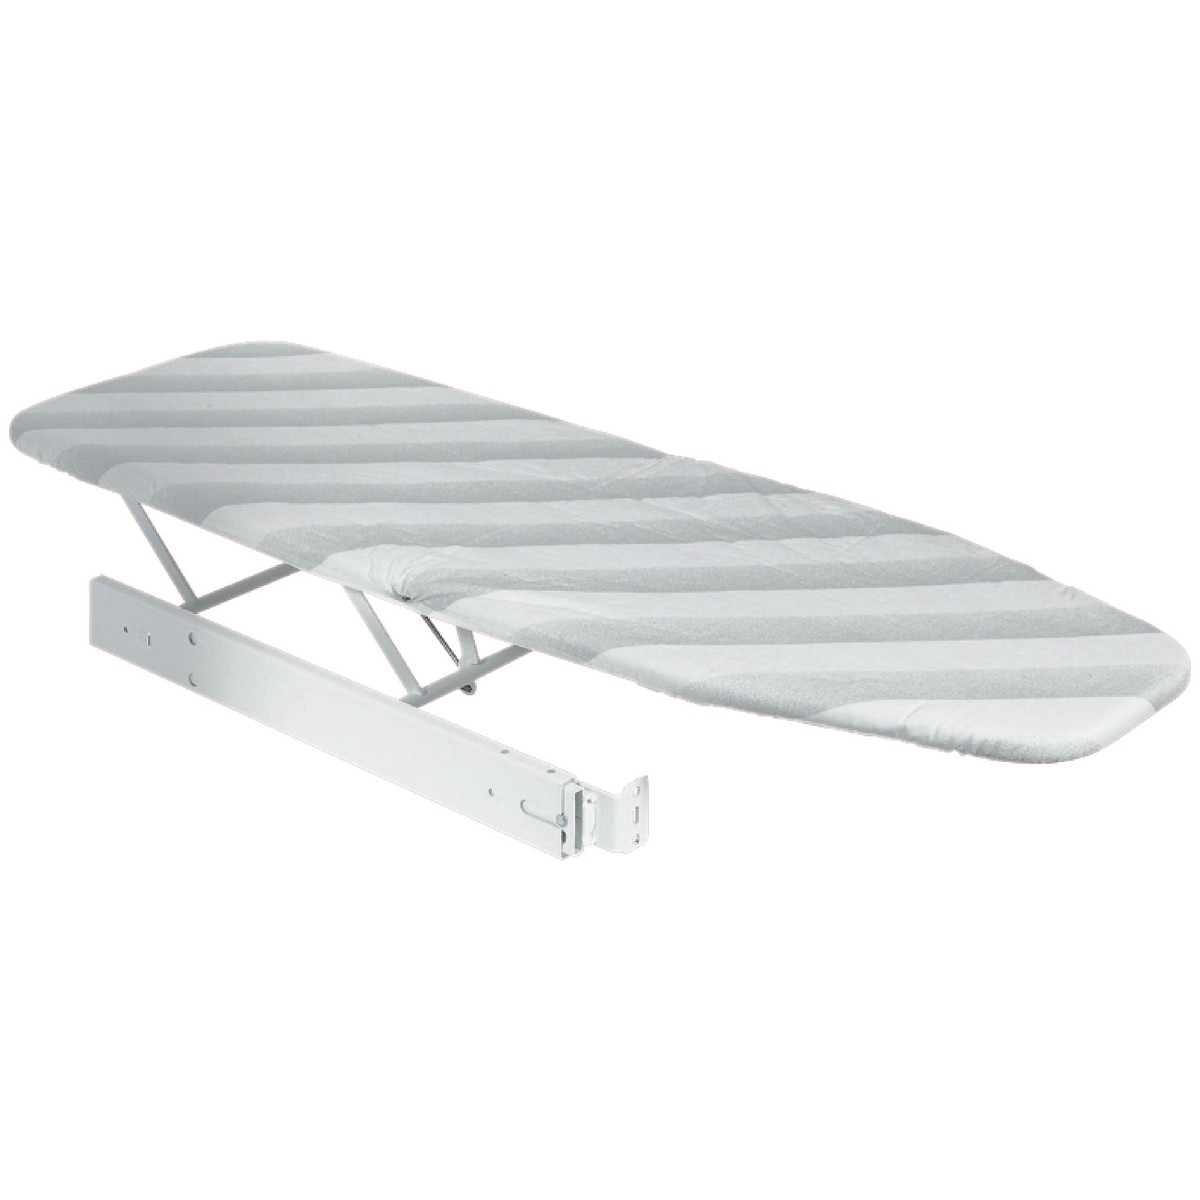
Read more: How To Fold The Ironing Board
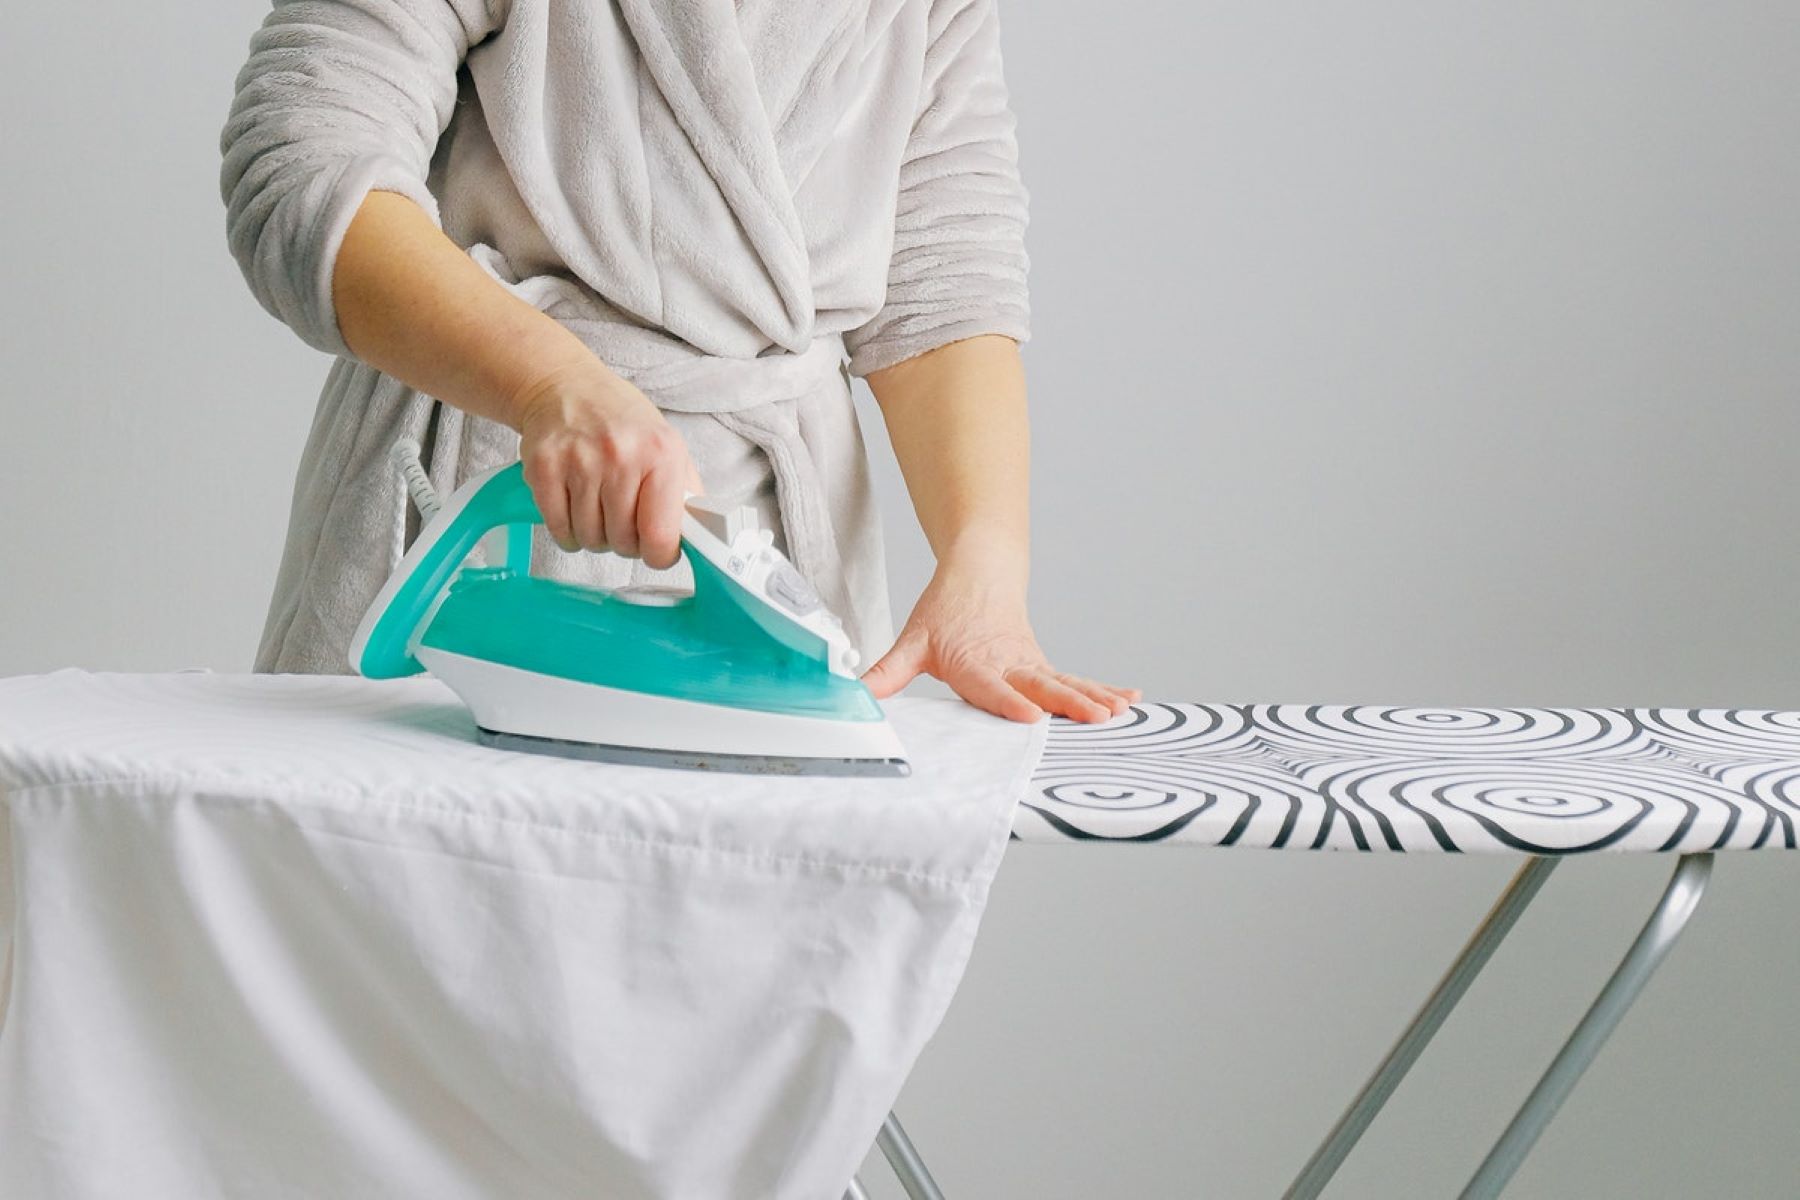
Step 1: Remove the cover and padding
The first step in closing an ironing board without a lever is to remove the cover and padding. This process is essential as it allows you to access the underlying structure of the ironing board, making it easier to fold and store.
-
Unfasten the Cover: Begin by unfastening the cover from the edges of the ironing board. Most covers are secured with elastic edges or drawstrings to keep them in place during use. Carefully release the fastenings, ensuring that the cover is completely free from the board's surface.
-
Lift Off the Padding: Once the cover is removed, gently lift off the padding beneath it. The padding is typically made of foam or felt and provides a cushioned surface for ironing. Lift it off the board and set it aside, ensuring that it remains clean and free from any debris.
-
Inspect for Damage: While the cover and padding are removed, take a moment to inspect the surface of the ironing board for any signs of wear or damage. This is an opportune time to address any issues such as tears in the cover or dents in the board's surface. By identifying and addressing these issues promptly, you can ensure that your ironing board remains in optimal condition for future use.
By carefully removing the cover and padding, you have successfully prepared the ironing board for the next steps in the folding process. This initial step sets the stage for a smooth and efficient closure of the ironing board, allowing you to proceed with confidence and ease.
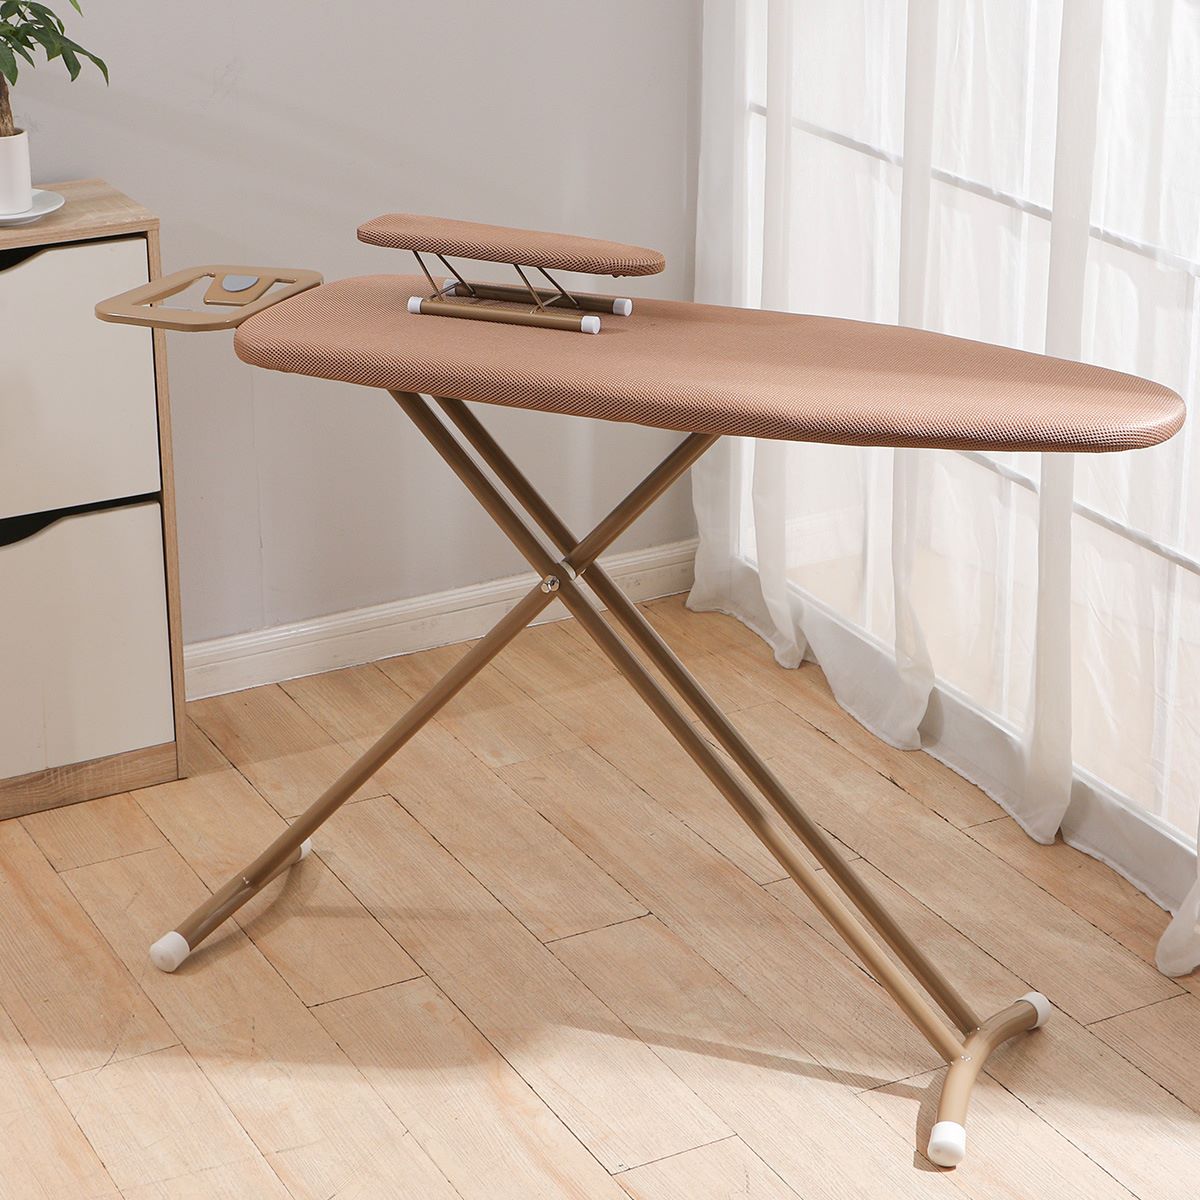
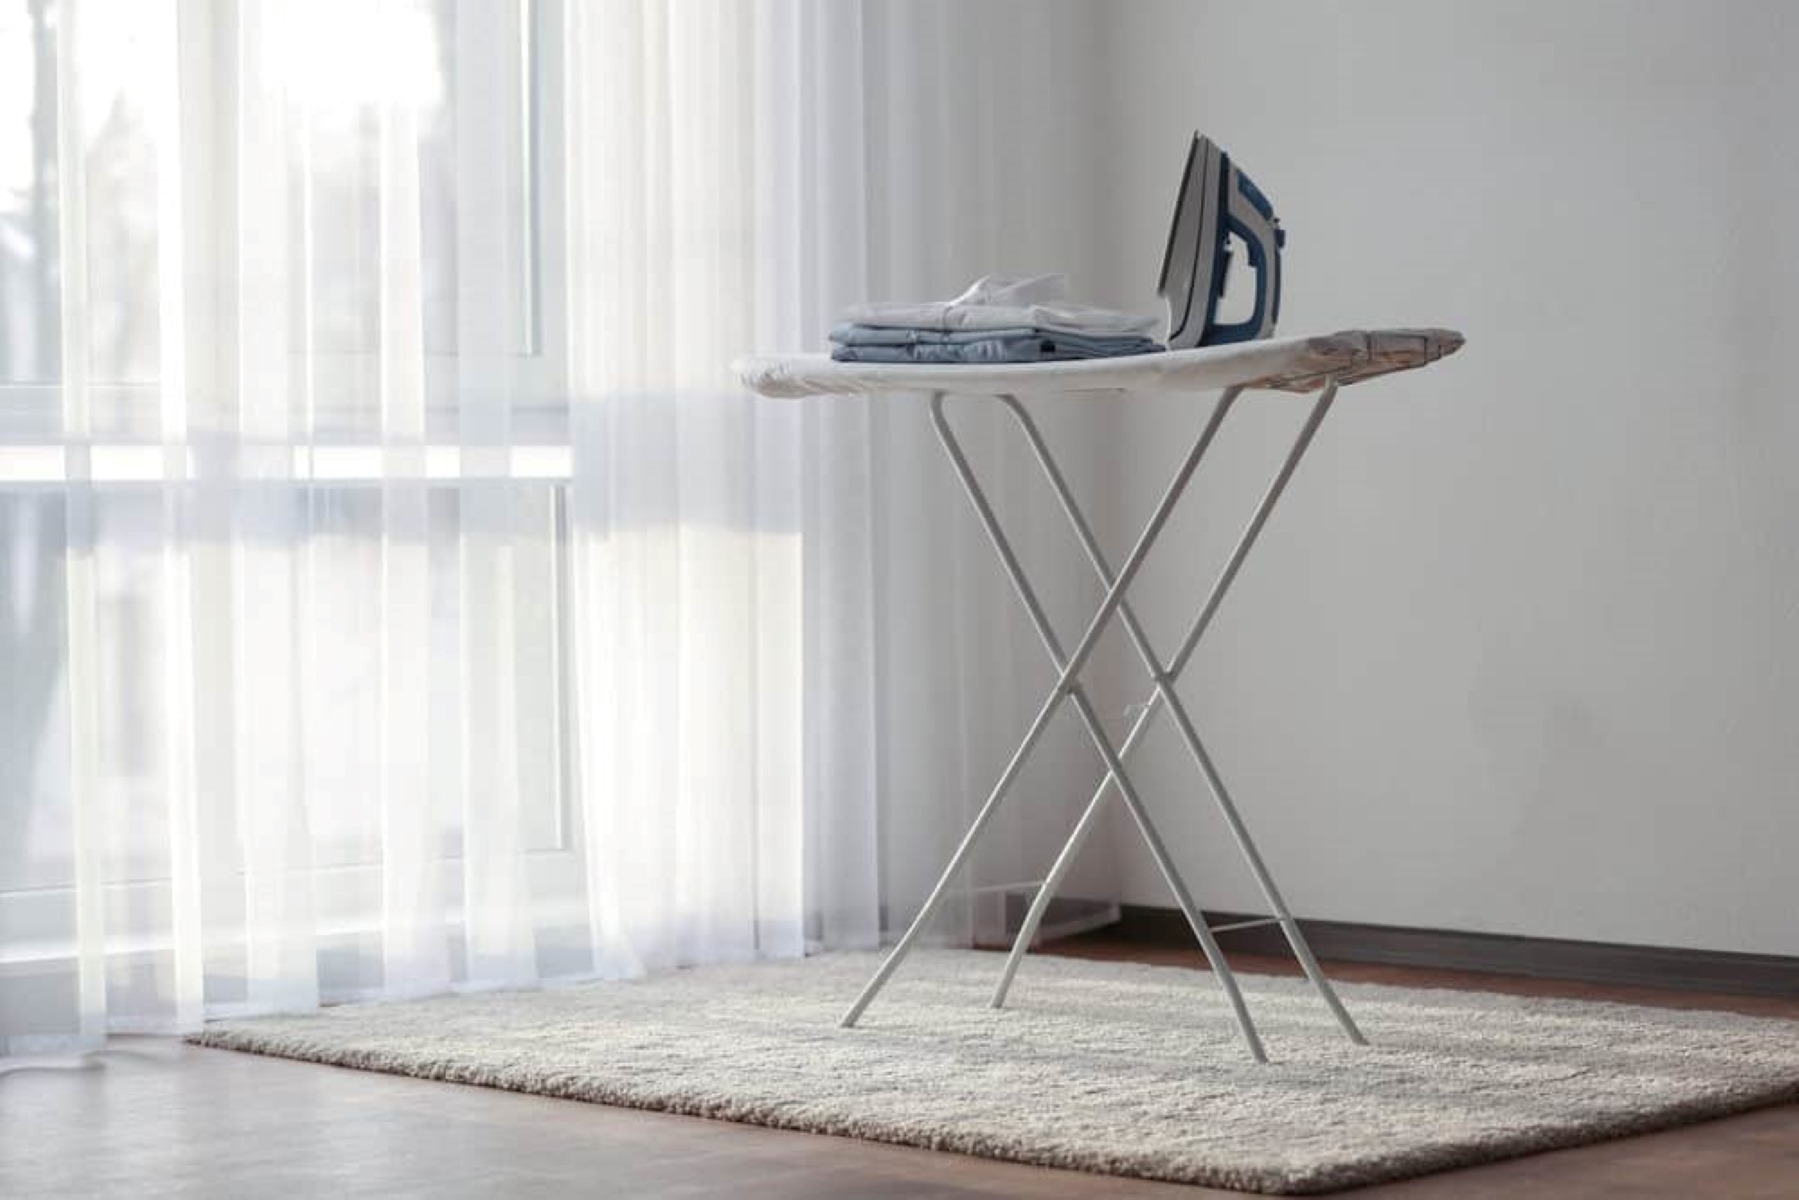
Step 2: Fold the ironing board legs
Folding the legs of an ironing board is a crucial step in the process of closing it without a lever. Properly folding the legs ensures that the ironing board becomes compact and easy to store, maximizing space efficiency in your home. Here's a detailed guide on how to fold the ironing board legs effectively:
-
Unlock the Mechanism: Most ironing boards feature a locking mechanism that keeps the legs extended during use. Locate the release lever or button near the legs and disengage the lock to allow the legs to fold.
-
Collapse the Legs: With the locking mechanism disengaged, gently collapse the legs of the ironing board. Start by folding one leg towards the center of the board, followed by the other. Ensure that the legs fold smoothly without any resistance.
-
Check for Smooth Movement: As you fold the legs, pay attention to any resistance or unusual movement. The legs should fold easily and smoothly without any obstructions. If you encounter any difficulty, inspect the hinges and joints for any debris or damage that may be impeding the folding process.
-
Secure the Legs: Once the legs are fully folded, ensure that they are securely in place. Some ironing boards have a secondary locking mechanism to keep the legs folded during storage. Engage this lock to prevent the legs from accidentally unfolding.
-
Stability Check: After folding the legs, perform a stability check to ensure that they are securely locked in the folded position. Gently attempt to move the legs or apply slight pressure to confirm that they are stable and will not unfold unintentionally.
By following these steps, you can effectively fold the legs of your ironing board, preparing it for convenient storage. Properly folded legs contribute to the overall safety and compactness of the ironing board, allowing you to store it without occupying excessive space in your home.
This meticulous approach to folding the legs ensures that your ironing board is ready for seamless storage, contributing to a well-organized and clutter-free living environment. With the legs securely folded, you are now ready to proceed to the next step in the process of closing an ironing board without a lever.
To close an ironing board without a lever, simply lift the board up slightly and push the legs inwards. Then, fold the board down and secure it with the latch.
Step 3: Secure the legs in place
Securing the legs of an ironing board is a critical aspect of the folding process, ensuring that the board remains compact and safe for storage. Once the legs are folded, it is essential to secure them in place to prevent any accidental unfolding and to maintain the overall stability of the board. Here's a detailed guide on how to effectively secure the legs of your ironing board:
-
Engage the Locking Mechanism: Many modern ironing boards are equipped with a locking mechanism designed to keep the legs securely folded during storage. Locate the locking mechanism, which is often a latch or lever near the hinges of the legs. Engage the lock by following the manufacturer's instructions, ensuring that it effectively holds the legs in the folded position.
-
Confirm Stability: After engaging the locking mechanism, perform a stability check to ensure that the legs are securely held in place. Gently apply pressure to the folded legs to confirm that they remain stable and do not show any signs of unlocking. This step is crucial in preventing any unexpected unfolding of the legs when the ironing board is being moved or stored.
-
Inspect for Secondary Locks: Some ironing boards feature additional safety measures in the form of secondary locks or latches. These secondary locks provide an extra layer of security, further preventing the legs from unfolding. If your ironing board is equipped with secondary locks, ensure that they are engaged according to the manufacturer's guidelines.
-
Test the Locking Mechanism: Once the legs are secured, perform a final test of the locking mechanism to verify its effectiveness. Gently attempt to unfold the legs to ensure that the locking mechanism holds them firmly in place. If there is any movement or instability, re-engage the lock and confirm that the legs remain securely folded.
-
Consider Storage Position: As you secure the legs, consider the ideal position for storing the ironing board. Whether it is being placed in a closet, against a wall, or in a designated storage area, ensure that the legs are positioned in a way that maximizes stability and minimizes the risk of accidental unfolding.
By meticulously securing the legs of your ironing board, you can ensure that it remains safely folded and ready for storage. This step is crucial in maintaining the overall integrity of the ironing board and contributes to a clutter-free and organized living space. With the legs securely in place, your ironing board is now prepared for the final step of the folding process.
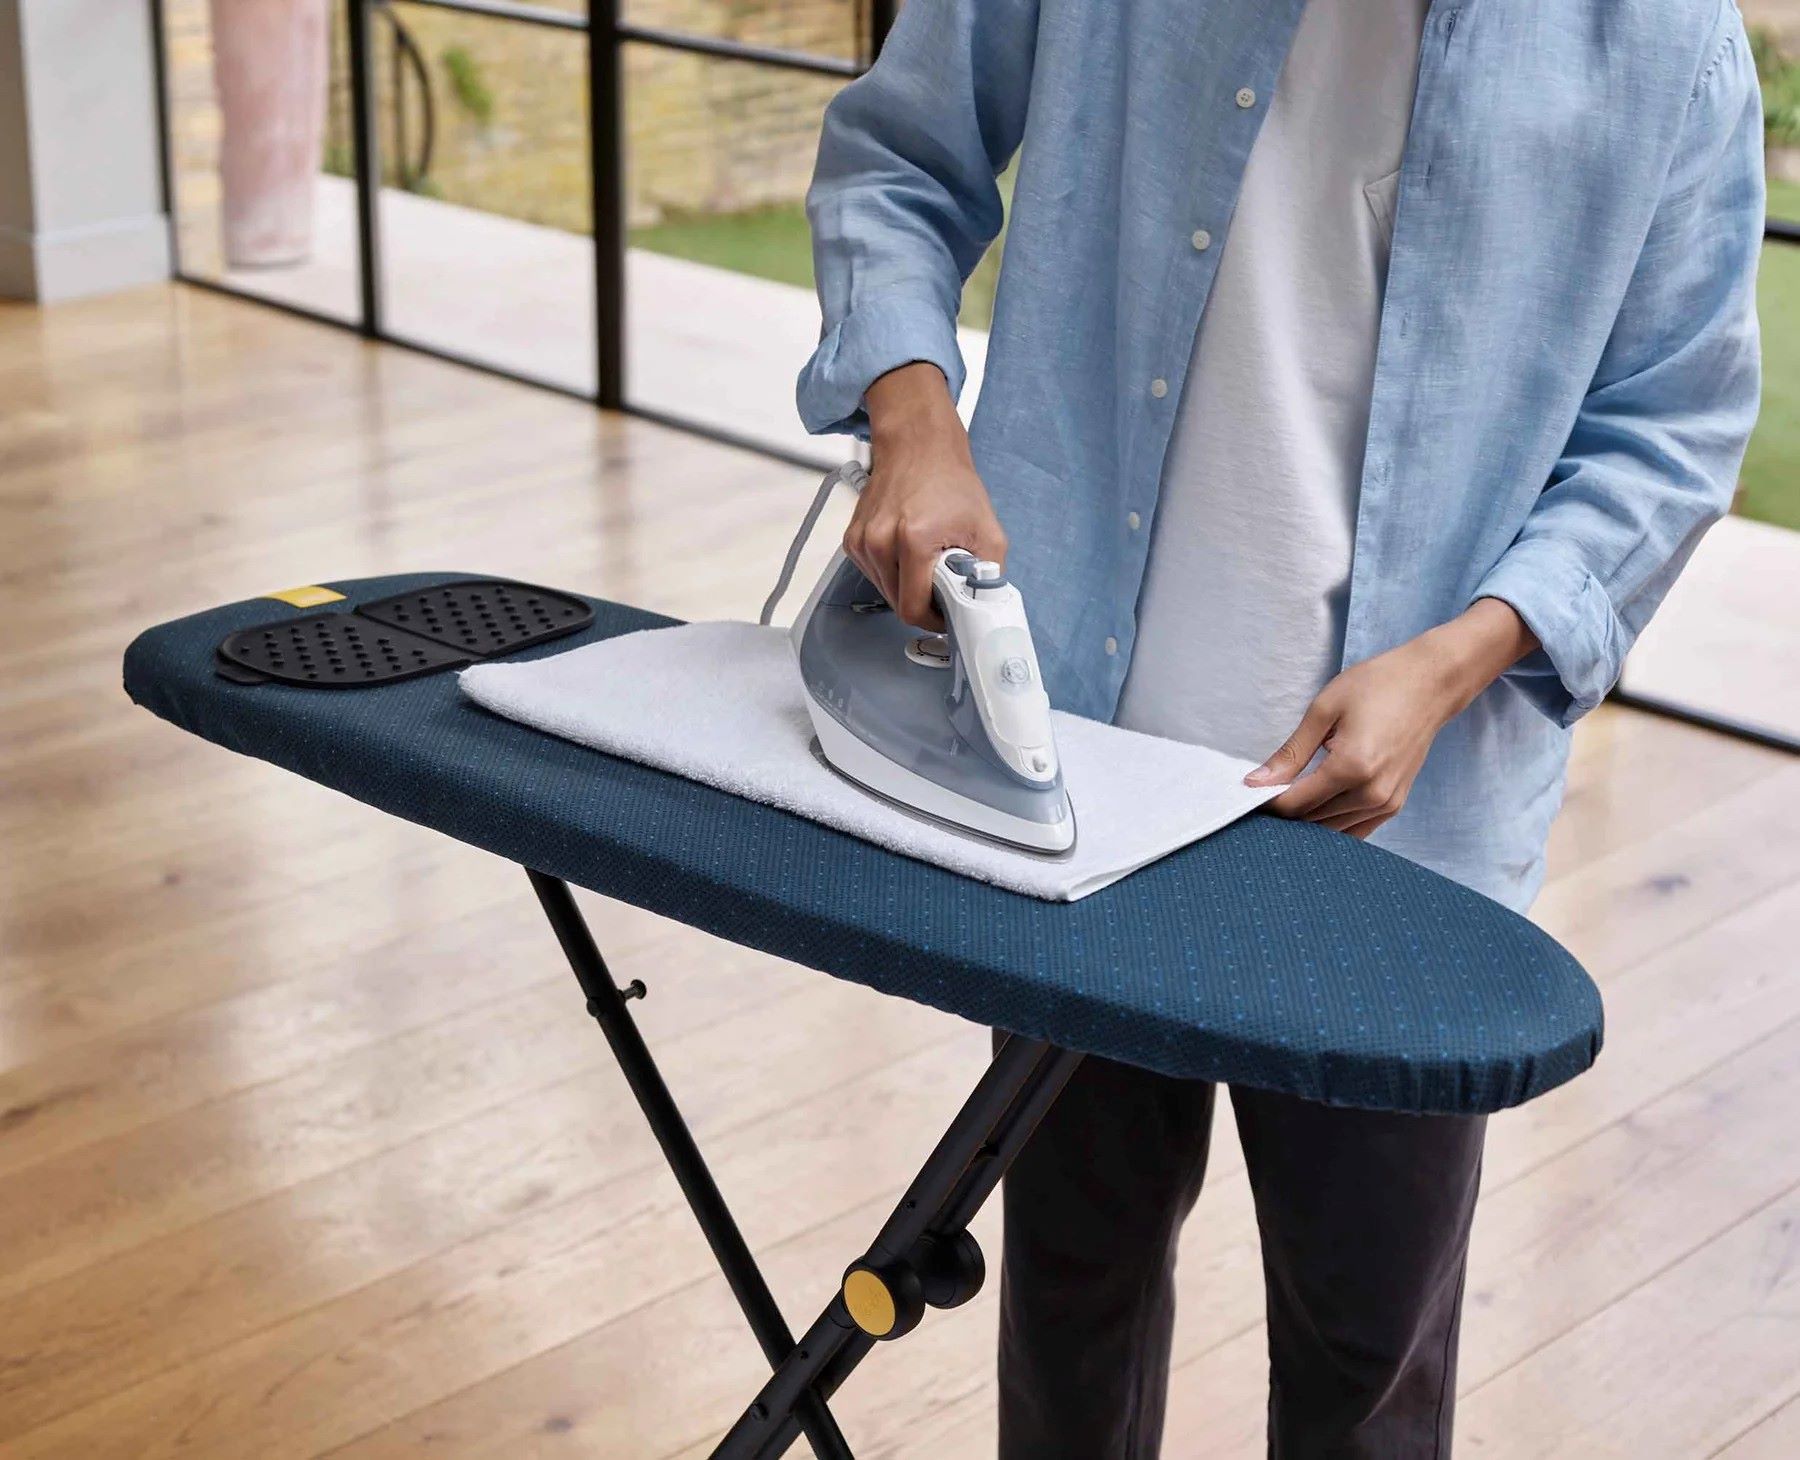
Step 4: Replace the cover and padding
Once the legs of the ironing board are securely folded and in place, it's time to restore the cover and padding to complete the folding process. This step is essential for protecting the ironing board's surface and ensuring that it is ready for future use. Here's a detailed guide on how to effectively replace the cover and padding of your ironing board:
-
Position the Padding: Begin by placing the padding back onto the ironing board's surface. Ensure that it aligns evenly and smoothly, covering the entire length and width of the board. Smooth out any wrinkles or creases in the padding to create a flat and uniform surface.
-
Align the Cover: Once the padding is in place, carefully position the cover over it, aligning it with the edges of the ironing board. If the cover features elastic edges or drawstrings, gently secure them around the perimeter of the board to ensure a snug and taut fit.
-
Smooth Out Wrinkles: As you replace the cover, pay attention to any wrinkles or uneven areas. Smooth out the cover's surface to eliminate any imperfections, ensuring that it provides a smooth and even ironing surface when in use.
-
Secure the Cover: If the cover has fastening mechanisms such as drawstrings or clips, ensure that they are securely fastened to prevent the cover from shifting during ironing. A secure and properly positioned cover contributes to a comfortable and effective ironing experience.
-
Inspect for Damage: While replacing the cover and padding, take a moment to inspect them for any signs of wear or damage. Address any tears, fraying, or worn areas to maintain the integrity of the cover and padding, prolonging their lifespan and functionality.
By carefully replacing the cover and padding, you have completed the process of closing an ironing board without a lever. This meticulous approach ensures that your ironing board is ready for storage and future use, contributing to a well-maintained and efficient laundry routine. With the cover and padding securely in place, your ironing board is now prepared to be stored in a convenient and space-saving manner, allowing you to maintain a clutter-free living environment.
Read more: How To Store Ironing Board
Conclusion
Mastering the art of closing an ironing board without a lever is a valuable skill that contributes to a well-organized and efficient laundry routine. By following the comprehensive guide outlined in this article, you have gained the expertise needed to confidently fold and store your ironing board, ensuring that it seamlessly integrates into your living space without occupying unnecessary room.
The process begins with the removal of the cover and padding, allowing you to access the underlying structure of the ironing board. This step not only facilitates the folding process but also presents an opportunity to inspect and address any potential wear or damage, ensuring the longevity of your ironing board.
Folding the legs of the ironing board is a pivotal step that significantly impacts its storage efficiency. By carefully collapsing the legs and securing them in place, you can create a compact and stable configuration that is ready for storage. The meticulous approach to securing the legs ensures that the ironing board remains safely folded, minimizing the risk of accidental unfolding.
Replacing the cover and padding completes the folding process, safeguarding the ironing board's surface and preparing it for future use. This step not only enhances the overall appearance of the ironing board but also ensures a smooth and even ironing surface, contributing to a comfortable and effective ironing experience.
By incorporating these steps into your laundry routine, you can seamlessly integrate the process of closing an ironing board without a lever into your daily tasks. This newfound expertise empowers you to maintain a clutter-free living environment while optimizing the functionality and longevity of your ironing board.
As you embark on this journey of mastering the art of closing an ironing board without a lever, remember that practice and consistency are key. With each successful folding and storage, you will refine your technique and streamline the process, making it a natural and effortless part of your laundry routine.
In conclusion, the ability to efficiently close an ironing board without a lever is a valuable skill that contributes to a well-maintained and organized living space. By following the steps outlined in this guide, you have equipped yourself with the knowledge and expertise needed to seamlessly fold and store your ironing board, enhancing the efficiency and functionality of your laundry area.
Frequently Asked Questions about How To Close An Ironing Board Without Lever
Was this page helpful?
At Storables.com, we guarantee accurate and reliable information. Our content, validated by Expert Board Contributors, is crafted following stringent Editorial Policies. We're committed to providing you with well-researched, expert-backed insights for all your informational needs.


0 thoughts on “How To Close An Ironing Board Without Lever”