Home>Home Appliances>Laundry Appliances>How To Make An Ironing Board For Quilting
Laundry Appliances
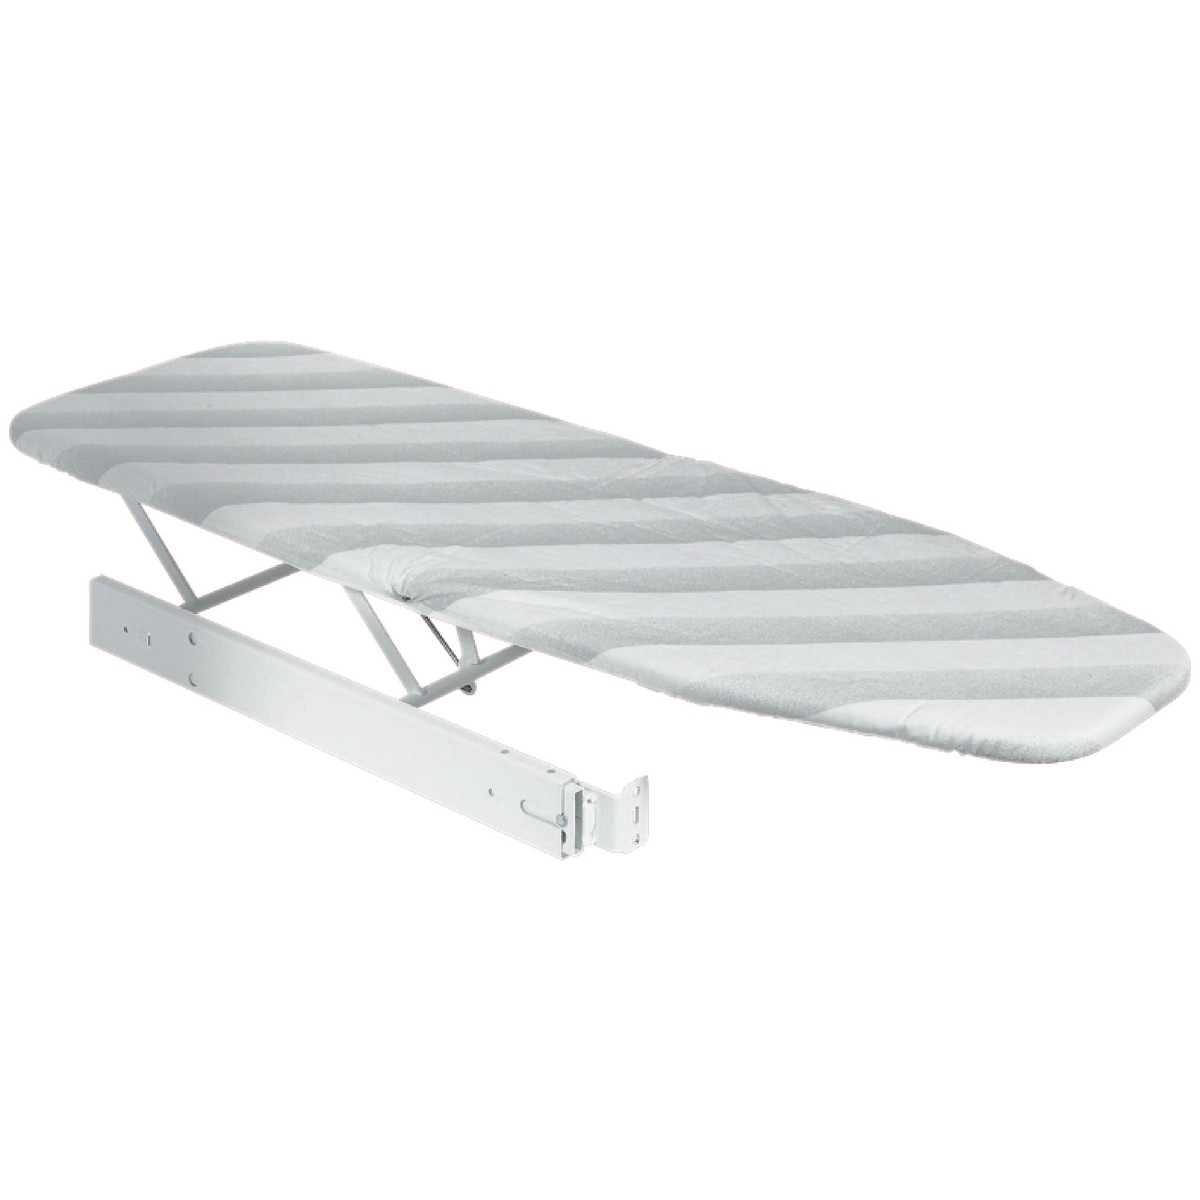
How To Make An Ironing Board For Quilting
Modified: August 26, 2024
Learn how to create a custom ironing board for quilting with our easy DIY guide. Perfect for your laundry appliances setup. Step-by-step instructions included!
(Many of the links in this article redirect to a specific reviewed product. Your purchase of these products through affiliate links helps to generate commission for Storables.com, at no extra cost. Learn more)
Introduction
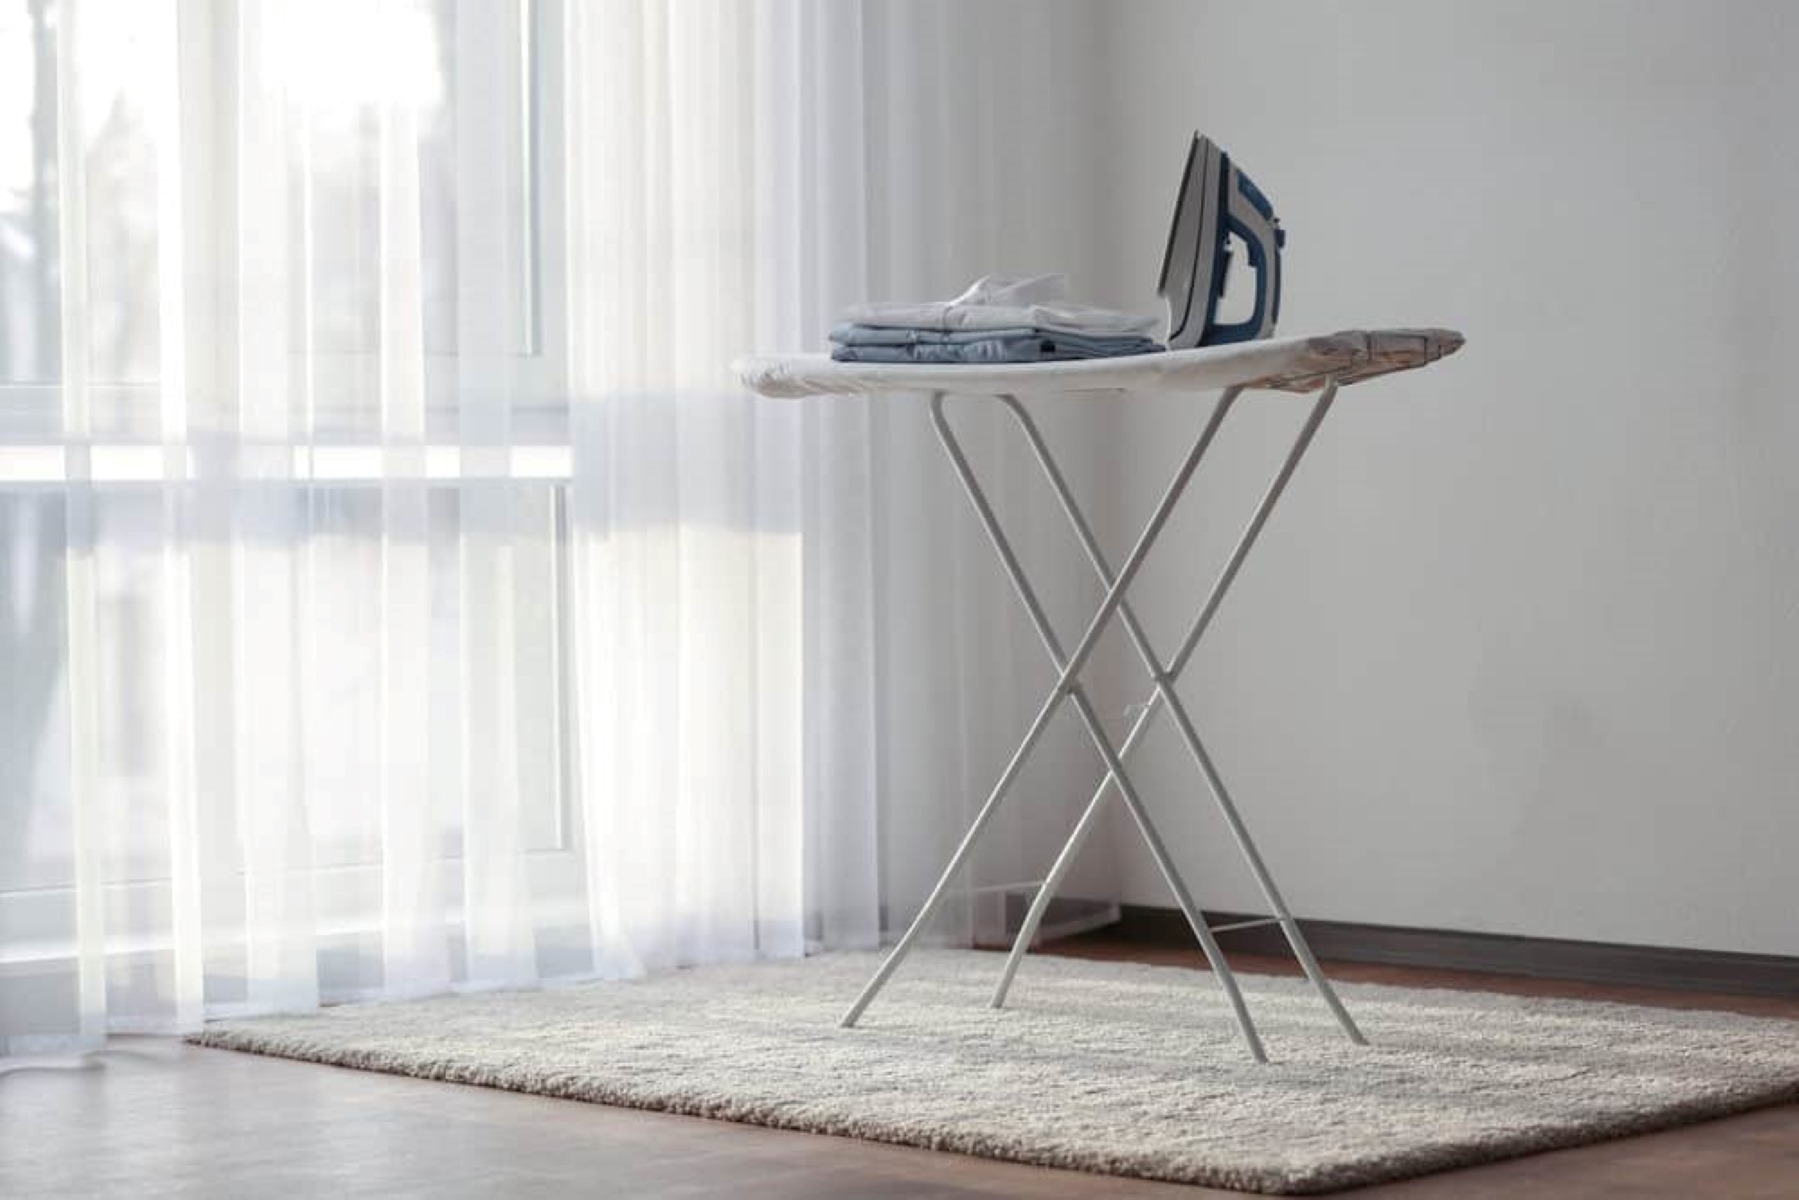
Creating an ironing board specifically designed for quilting can significantly enhance your quilting experience. This customized ironing board provides a larger surface area, allowing you to press and iron your quilt blocks with ease and precision. Whether you are a seasoned quilter or just starting out, having a dedicated ironing board for quilting can streamline your workflow and improve the overall quality of your quilting projects.
In this comprehensive guide, we will walk you through the step-by-step process of making your own ironing board for quilting. By following these instructions, you can customize the size, shape, and features of the ironing board to perfectly suit your quilting needs. From cutting the plywood to adding the legs, each stage of the construction process will be detailed to ensure that you can create a functional and durable ironing board that complements your quilting workspace.
By crafting your own quilting ironing board, you have the opportunity to tailor it to your preferred height and ergonomic requirements, ensuring that it seamlessly integrates into your quilting setup. Additionally, this DIY project allows you to select high-quality materials, such as heat-resistant foam and durable fabric, to construct a reliable ironing surface that will withstand the demands of quilting projects.
As we delve into the materials needed and the step-by-step construction process, you will gain valuable insights into the craftsmanship behind creating a custom ironing board for quilting. Whether you are seeking to upgrade your current ironing setup or embark on a new quilting endeavor, this guide will equip you with the knowledge and skills to construct a professional-grade ironing board tailored to your quilting aspirations. Let's embark on this creative and practical journey to elevate your quilting experience with a personalized ironing board designed for quilting excellence.
Key Takeaways:
- Creating a custom ironing board for quilting enhances the quilting experience by providing a larger, heat-resistant surface. It allows for precise pressing and ironing of quilt blocks, streamlining the quilting process.
- Crafting a personalized ironing board involves cutting plywood, adding heat-resistant foam and batting, wrapping it with durable fabric, and attaching adjustable legs. This DIY project empowers quilters to create a tailored workspace.
Read more: How To Make A Quilt Design Board
Materials Needed
To embark on the construction of your custom ironing board for quilting, you will need a carefully curated selection of materials to ensure the functionality, durability, and aesthetic appeal of the final product. By sourcing high-quality materials, you can create an ironing board that meets your specific quilting requirements and complements your workspace. Here's a comprehensive list of the materials needed for this DIY project:
-
Plywood: Select a sturdy piece of plywood that will serve as the base of your ironing board. The dimensions of the plywood will determine the overall size of the ironing board, so choose a size that aligns with your quilting needs.
-
Heat-Resistant Foam: Acquire a layer of heat-resistant foam to provide the necessary padding for your ironing board. The foam should be able to withstand the heat of the iron without deforming or melting.
-
Batting: Choose a high-quality batting material to layer over the heat-resistant foam. The batting adds an additional cushioning layer and helps to distribute the heat evenly across the ironing surface.
-
Fabric: Select a durable and heat-resistant fabric to cover the ironing board. The fabric should be smooth and capable of enduring frequent ironing sessions without showing wear and tear.
-
Staple Gun and Staples: Invest in a staple gun and a sufficient quantity of staples to secure the fabric and batting to the plywood base effectively.
-
Screws and Screwdriver: You will need screws and a screwdriver to attach the legs to the underside of the plywood, providing stability and support for the ironing board.
-
Legs: Choose sturdy and adjustable legs that will elevate the ironing board to a comfortable height for quilting. Consider the height of your work surface and your personal ergonomic preferences when selecting the legs.
-
Measuring Tape and Ruler: These tools are essential for accurately measuring and cutting the plywood, foam, batting, and fabric to the desired dimensions.
-
Marker or Chalk: Use a marker or chalk to outline and mark the cutting lines on the plywood, foam, and fabric, ensuring precise and uniform dimensions.
-
Scissors and Utility Knife: Have a pair of sharp scissors and a utility knife on hand to cut the foam, batting, and fabric with precision and ease.
By gathering these materials, you will be well-equipped to commence the construction of your custom ironing board for quilting. Each component plays a crucial role in ensuring the functionality, durability, and professional finish of the ironing board, empowering you to create a tailored quilting workspace that enhances your creative pursuits.
Step 1: Cutting the Plywood
The initial step in crafting your custom ironing board for quilting involves cutting the plywood to the desired dimensions. This pivotal stage sets the foundation for the ironing board's size and shape, allowing you to tailor it to your specific quilting requirements. Before commencing the cutting process, ensure that you have measured the space where the ironing board will be placed, as well as considered the ideal dimensions for your quilting projects.
Using a measuring tape and ruler, carefully measure and mark the plywood according to your preferred length and width. Whether you opt for a standard rectangular shape or a custom design, precision is key in this phase to ensure that the plywood is cut accurately. Once the measurements are marked, use a marker or chalk to outline the cutting lines, creating a clear guide for the cutting process.
With the plywood securely positioned on a stable surface, such as a workbench or sawhorse, proceed to cut along the marked lines using a saw suitable for cutting plywood. It is essential to exercise caution and use appropriate safety equipment, such as goggles and gloves, during the cutting process to prevent any potential injuries.
As the saw glides through the plywood, maintain a steady and controlled motion to achieve clean and straight cuts. If you are implementing a non-standard shape for your ironing board, such as a curved or angled design, take your time to ensure precise and smooth cuts that align with your envisioned design.
Upon completing the cutting process, inspect the edges of the plywood to ensure that they are smooth and free from splinters or rough patches. Sanding the edges with fine-grit sandpaper can refine the surface, creating a professional and polished finish for your custom ironing board.
By meticulously cutting the plywood to the specified dimensions, you have laid the groundwork for constructing a tailored ironing board that harmonizes with your quilting space. This foundational step sets the stage for the subsequent stages of adding the foam, batting, and fabric, ultimately culminating in the creation of a bespoke ironing board designed to elevate your quilting endeavors.
Step 2: Attaching the Foam and Batting
With the plywood base cut to the desired dimensions, the next crucial step in constructing your custom ironing board for quilting involves attaching the heat-resistant foam and batting to create a supportive and cushioned ironing surface. This stage is pivotal in ensuring that the ironing board provides the necessary padding and heat resistance to facilitate seamless quilting projects.
Begin by laying the heat-resistant foam over the plywood, ensuring that it aligns with the edges and corners of the board. The foam should provide full coverage of the plywood surface, creating a uniform and supportive foundation for the ironing board. Carefully smooth out any wrinkles or creases in the foam to achieve a flat and even surface, essential for effective ironing and pressing.
Once the foam is positioned securely on the plywood, proceed to layer the batting over the foam, effectively sandwiching the foam between the plywood and the batting. The batting adds an additional layer of cushioning and heat distribution, enhancing the functionality of the ironing board. Smooth out the batting to eliminate any lumps or uneven areas, ensuring that it conforms to the contours of the foam and plywood.
To secure the foam and batting in place, utilize a staple gun and appropriate staples to affix the layers to the plywood base. Starting from one edge of the plywood, carefully staple the foam and batting, ensuring a secure and taut attachment. Work your way around the perimeter of the plywood, spacing the staples evenly to prevent shifting or bunching of the foam and batting. Pay close attention to the corners, ensuring that the foam and batting are neatly secured without excess bulk.
As you progress with the stapling process, periodically check the tension and smoothness of the foam and batting to maintain a consistent and wrinkle-free surface. The secure attachment of the foam and batting is essential for creating a stable and resilient ironing surface that can withstand the rigors of quilting projects.
Upon completing the stapling process, inspect the foam and batting to ensure that they are firmly and evenly secured to the plywood base. Smooth out any remaining imperfections or irregularities, guaranteeing a flawless and uniform surface that is ready for the final step of wrapping the board with fabric.
By meticulously attaching the heat-resistant foam and batting to the plywood base, you have laid the groundwork for creating a professional-grade ironing surface tailored to your quilting needs. This essential stage sets the stage for the subsequent process of wrapping the board with fabric, bringing you one step closer to the completion of your custom ironing board for quilting excellence.
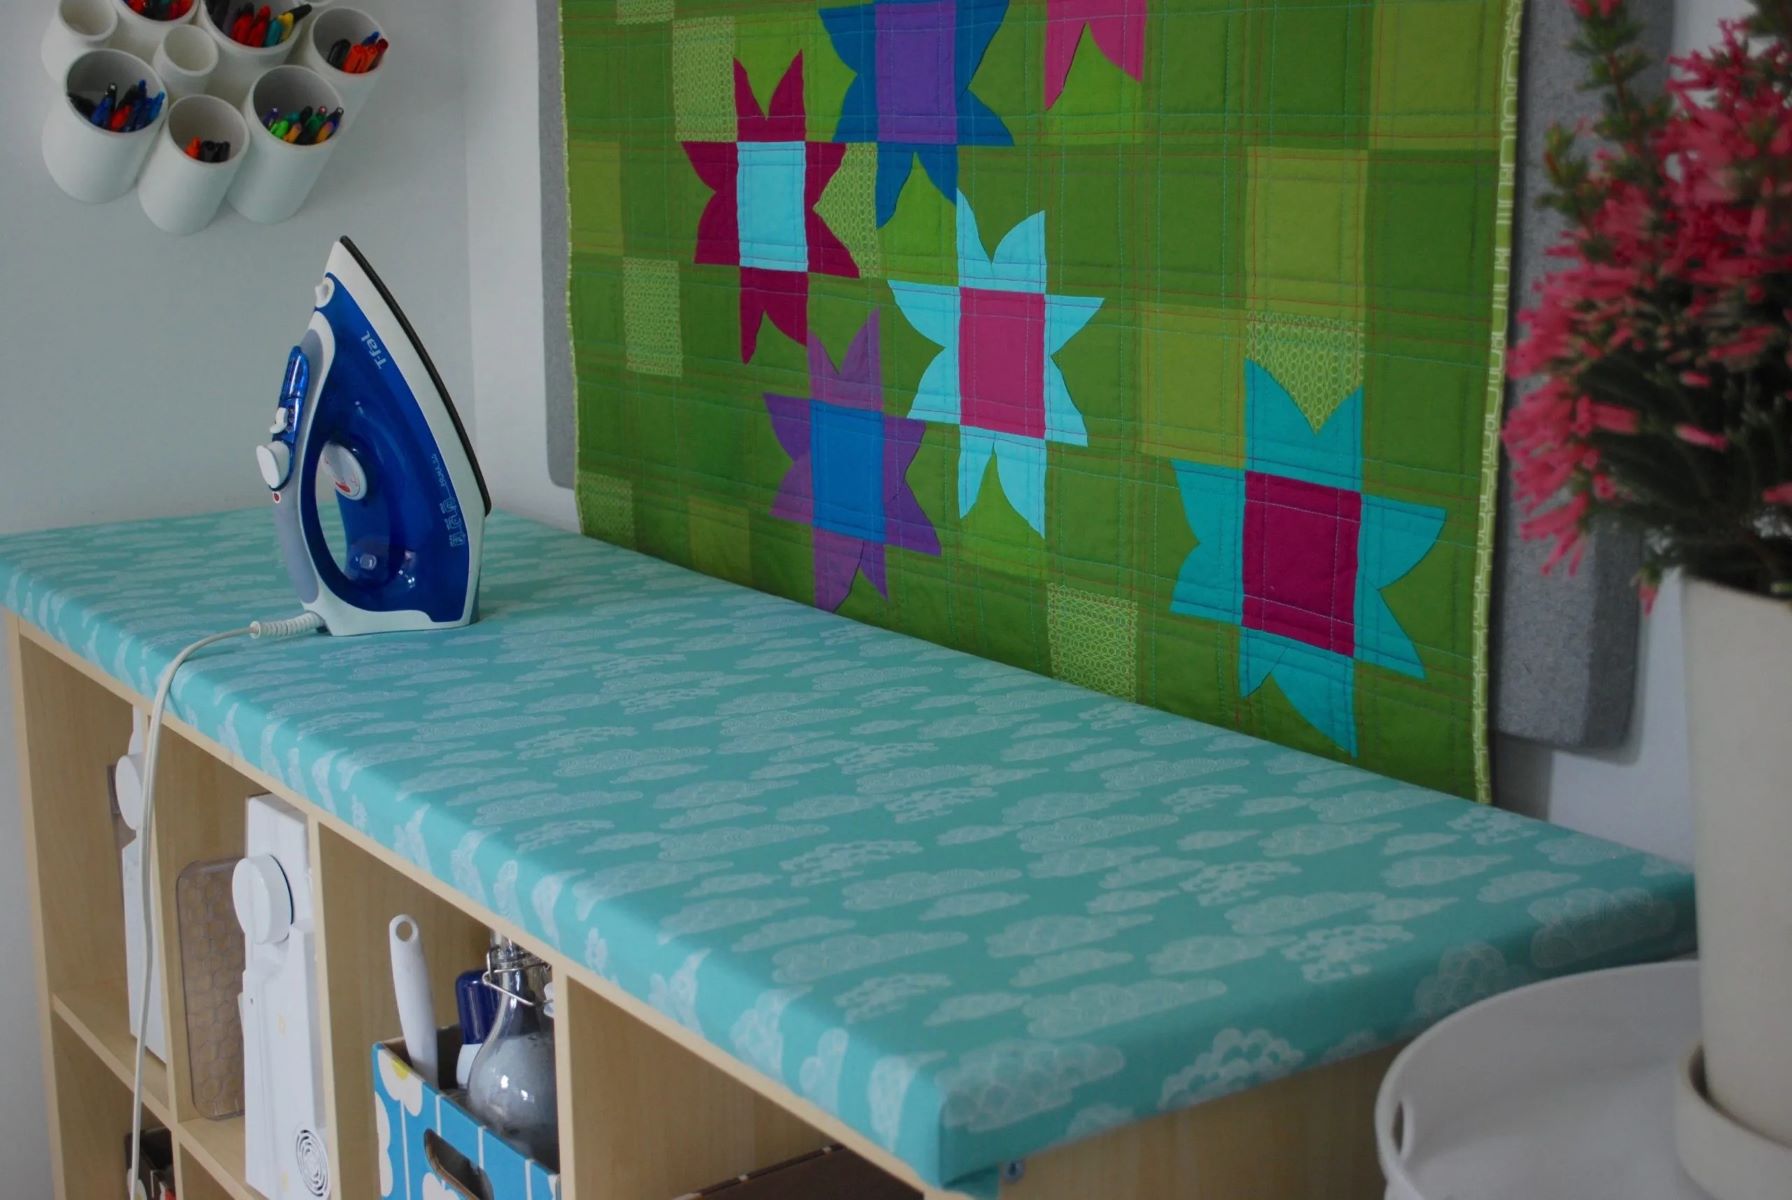
Consider using a large piece of plywood or a sturdy table as the base for your ironing board. Cover it with heat-resistant batting and a cotton fabric to create a smooth and safe surface for quilting.
Step 3: Wrapping the Board with Fabric
As you progress in the construction of your custom ironing board for quilting, the pivotal step of wrapping the board with fabric adds a layer of functionality, durability, and aesthetic appeal to the ironing surface. The carefully selected fabric will not only enhance the visual allure of the ironing board but also contribute to the smooth and heat-resistant qualities essential for effective quilting projects.
Begin by laying the chosen fabric on a clean and spacious surface, ensuring that it is free from wrinkles or creases. Place the plywood base with the attached foam and batting on top of the fabric, ensuring that it is centered and aligned with the edges of the fabric. Allow for an ample overhang of the fabric on all sides of the plywood to facilitate the wrapping process.
With the plywood positioned on the fabric, carefully lift one edge of the fabric and pull it taut over the edge of the plywood. Secure the fabric in place with a staple gun, ensuring that the fabric is held firmly and smoothly against the edge of the plywood. Proceed to the opposite edge of the plywood, repeating the process of pulling the fabric taut and stapling it securely to create a smooth and wrinkle-free surface.
As you continue to work around the perimeter of the plywood, maintain consistent tension in the fabric, ensuring that it is snugly wrapped and free from excess slack or bunching. The corners require particular attention, as neatly folding and securing the fabric at the corners will contribute to a professional and polished finish.
Once the fabric is securely wrapped around the plywood, trim any excess fabric to create a clean and uniform edge. Take care to leave a sufficient margin of fabric to ensure that it can be neatly folded and secured to the underside of the plywood without compromising the smoothness of the ironing surface.
To affix the excess fabric to the underside of the plywood, apply a series of staples along the edge, securing the fabric in place and concealing the raw edges for a refined and professional appearance. Ensure that the fabric is taut and smooth on the underside, mirroring the sleek and seamless surface of the ironing board's top side.
By meticulously wrapping the board with fabric, you have elevated the plywood base into a functional and visually appealing ironing surface tailored to your quilting pursuits. This transformative step brings you closer to the completion of your custom ironing board, setting the stage for the final process of adding the legs to enhance the functionality and versatility of your bespoke quilting workspace.
Read more: Who Makes The Best Ironing Board?
Step 4: Attaching the Fabric
Attaching the fabric to the plywood base is a pivotal step in the construction of your custom ironing board for quilting. This process not only enhances the visual appeal of the ironing board but also contributes to the functionality and durability of the ironing surface. The carefully selected fabric will provide a smooth and heat-resistant layer, essential for effective quilting projects.
Begin by laying the chosen fabric on a clean and spacious surface, ensuring that it is free from wrinkles or creases. Place the plywood base with the attached foam and batting on top of the fabric, ensuring that it is centered and aligned with the edges of the fabric. Allow for an ample overhang of the fabric on all sides of the plywood to facilitate the wrapping process.
With the plywood positioned on the fabric, carefully lift one edge of the fabric and pull it taut over the edge of the plywood. Secure the fabric in place with a staple gun, ensuring that the fabric is held firmly and smoothly against the edge of the plywood. Proceed to the opposite edge of the plywood, repeating the process of pulling the fabric taut and stapling it securely to create a smooth and wrinkle-free surface.
As you continue to work around the perimeter of the plywood, maintain consistent tension in the fabric, ensuring that it is snugly wrapped and free from excess slack or bunching. The corners require particular attention, as neatly folding and securing the fabric at the corners will contribute to a professional and polished finish.
Once the fabric is securely wrapped around the plywood, trim any excess fabric to create a clean and uniform edge. Take care to leave a sufficient margin of fabric to ensure that it can be neatly folded and secured to the underside of the plywood without compromising the smoothness of the ironing surface.
To affix the excess fabric to the underside of the plywood, apply a series of staples along the edge, securing the fabric in place and concealing the raw edges for a refined and professional appearance. Ensure that the fabric is taut and smooth on the underside, mirroring the sleek and seamless surface of the ironing board's top side.
By meticulously wrapping the board with fabric, you have elevated the plywood base into a functional and visually appealing ironing surface tailored to your quilting pursuits. This transformative step brings you closer to the completion of your custom ironing board, setting the stage for the final process of adding the legs to enhance the functionality and versatility of your bespoke quilting workspace.
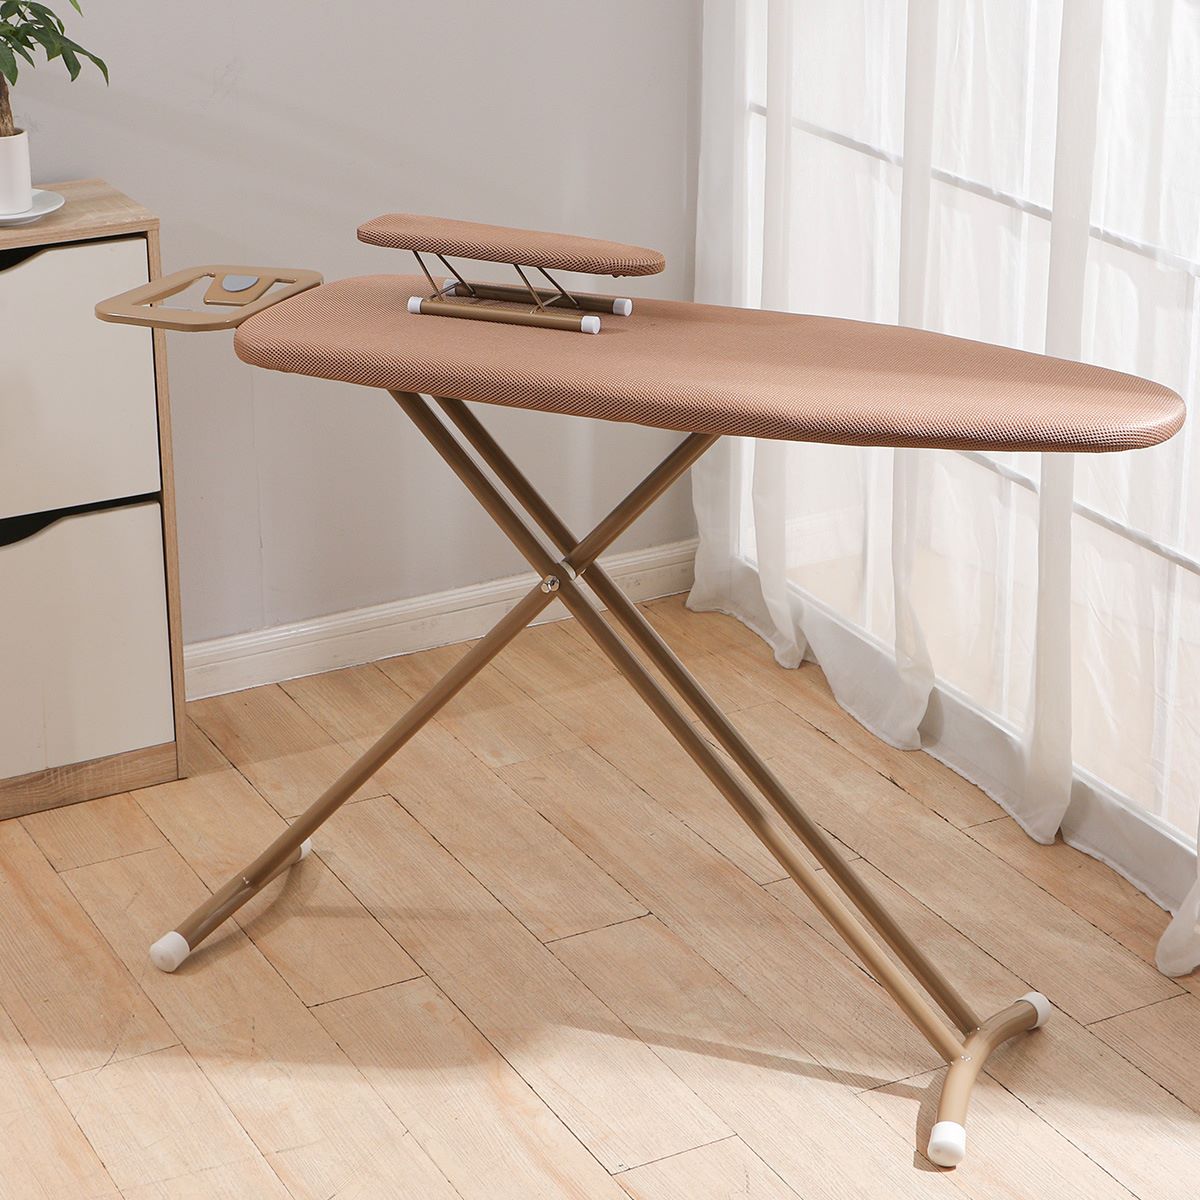
Step 5: Adding the Legs
The final stage in the construction of your custom ironing board for quilting involves adding the legs, a crucial element that elevates the functionality and versatility of the ironing board within your quilting workspace. The selection and attachment of sturdy and adjustable legs are essential in ensuring that the ironing board is positioned at an ergonomic height, facilitating comfortable and efficient quilting sessions.
Begin by selecting legs that are designed to provide stability and adjustability, allowing you to customize the height of the ironing board to suit your individual preferences and workspace requirements. Consider the height of your work surface and the ergonomic considerations for prolonged quilting sessions when choosing the legs. Opt for legs that are durable, easy to install, and equipped with adjustable features to accommodate various working heights.
With the ironing board placed face down on a secure and flat surface, position the legs at the desired locations on the underside of the plywood base. Ensure that the legs are evenly spaced and aligned to provide balanced support for the ironing board. Mark the positions for attaching the legs, taking into account any pre-drilled holes or mounting mechanisms provided with the legs.
Using screws and a screwdriver, securely attach the legs to the underside of the plywood base, following the manufacturer's instructions for installation. Take care to fasten the legs firmly to the plywood, ensuring that they are stable and capable of supporting the weight of the ironing board and accommodating the pressure exerted during quilting activities.
Once the legs are securely attached, carefully flip the ironing board to its upright position, ensuring that the legs are level and provide a stable foundation for the board. Test the adjustability of the legs to confirm that they can be set to the desired height, allowing for a comfortable and ergonomic quilting experience.
By adding the legs to your custom ironing board, you have transformed it into a versatile and indispensable tool within your quilting workspace. The adjustable legs provide the flexibility to tailor the height of the ironing board to your specific needs, enhancing your comfort and efficiency during quilting projects. With the legs in place, your custom ironing board is now ready to complement your quilting endeavors, offering a professional-grade surface for pressing and ironing quilt blocks with precision and ease.
Conclusion
In conclusion, the journey of creating a custom ironing board for quilting has been a rewarding and transformative endeavor, culminating in the realization of a versatile and tailored workspace essential for quilting excellence. By meticulously crafting each stage of the ironing board construction process, you have not only honed your DIY skills but also personalized a fundamental tool that will elevate your quilting projects.
The careful selection of materials, from the sturdy plywood base to the heat-resistant foam, high-quality batting, and durable fabric, has laid the foundation for a professional-grade ironing surface that meets the demands of quilting projects. The attention to detail in cutting the plywood, attaching the foam and batting, and wrapping the board with fabric has resulted in a seamless and resilient ironing surface that is both functional and visually appealing.
The addition of sturdy and adjustable legs has further enhanced the functionality of the ironing board, allowing you to customize the height to your ergonomic preferences and workspace requirements. This thoughtful inclusion ensures that the ironing board seamlessly integrates into your quilting setup, providing a comfortable and efficient platform for pressing and ironing quilt blocks with precision and ease.
As you embark on your quilting endeavors with your newly constructed ironing board, you can take pride in the craftsmanship and personalization that have gone into creating a workspace tailored to your quilting aspirations. The custom ironing board not only streamlines your quilting process but also reflects your dedication to creating a conducive and professional environment for your creative pursuits.
With a keen eye for detail and a commitment to excellence, you have successfully transformed raw materials into a functional and visually appealing ironing board that embodies your passion for quilting. This DIY project has not only equipped you with a custom ironing board but has also empowered you with valuable skills and insights into the art of crafting essential tools for your creative endeavors.
As you embark on your quilting projects with your custom ironing board at the heart of your workspace, may it serve as a testament to your dedication to the craft and a constant source of inspiration for your quilting journey. Embrace the seamless functionality, personalized design, and professional finish of your custom ironing board as you immerse yourself in the artistry and creativity of quilting.
Frequently Asked Questions about How To Make An Ironing Board For Quilting
Was this page helpful?
At Storables.com, we guarantee accurate and reliable information. Our content, validated by Expert Board Contributors, is crafted following stringent Editorial Policies. We're committed to providing you with well-researched, expert-backed insights for all your informational needs.


0 thoughts on “How To Make An Ironing Board For Quilting”