Home>Home Appliances>Laundry Appliances>How To Clean An Ironing Board Cover
Laundry Appliances
How To Clean An Ironing Board Cover
Modified: October 18, 2024
Learn how to effectively clean your ironing board cover with our expert tips. Keep your laundry appliances in top condition for better results.
(Many of the links in this article redirect to a specific reviewed product. Your purchase of these products through affiliate links helps to generate commission for Storables.com, at no extra cost. Learn more)
Introduction
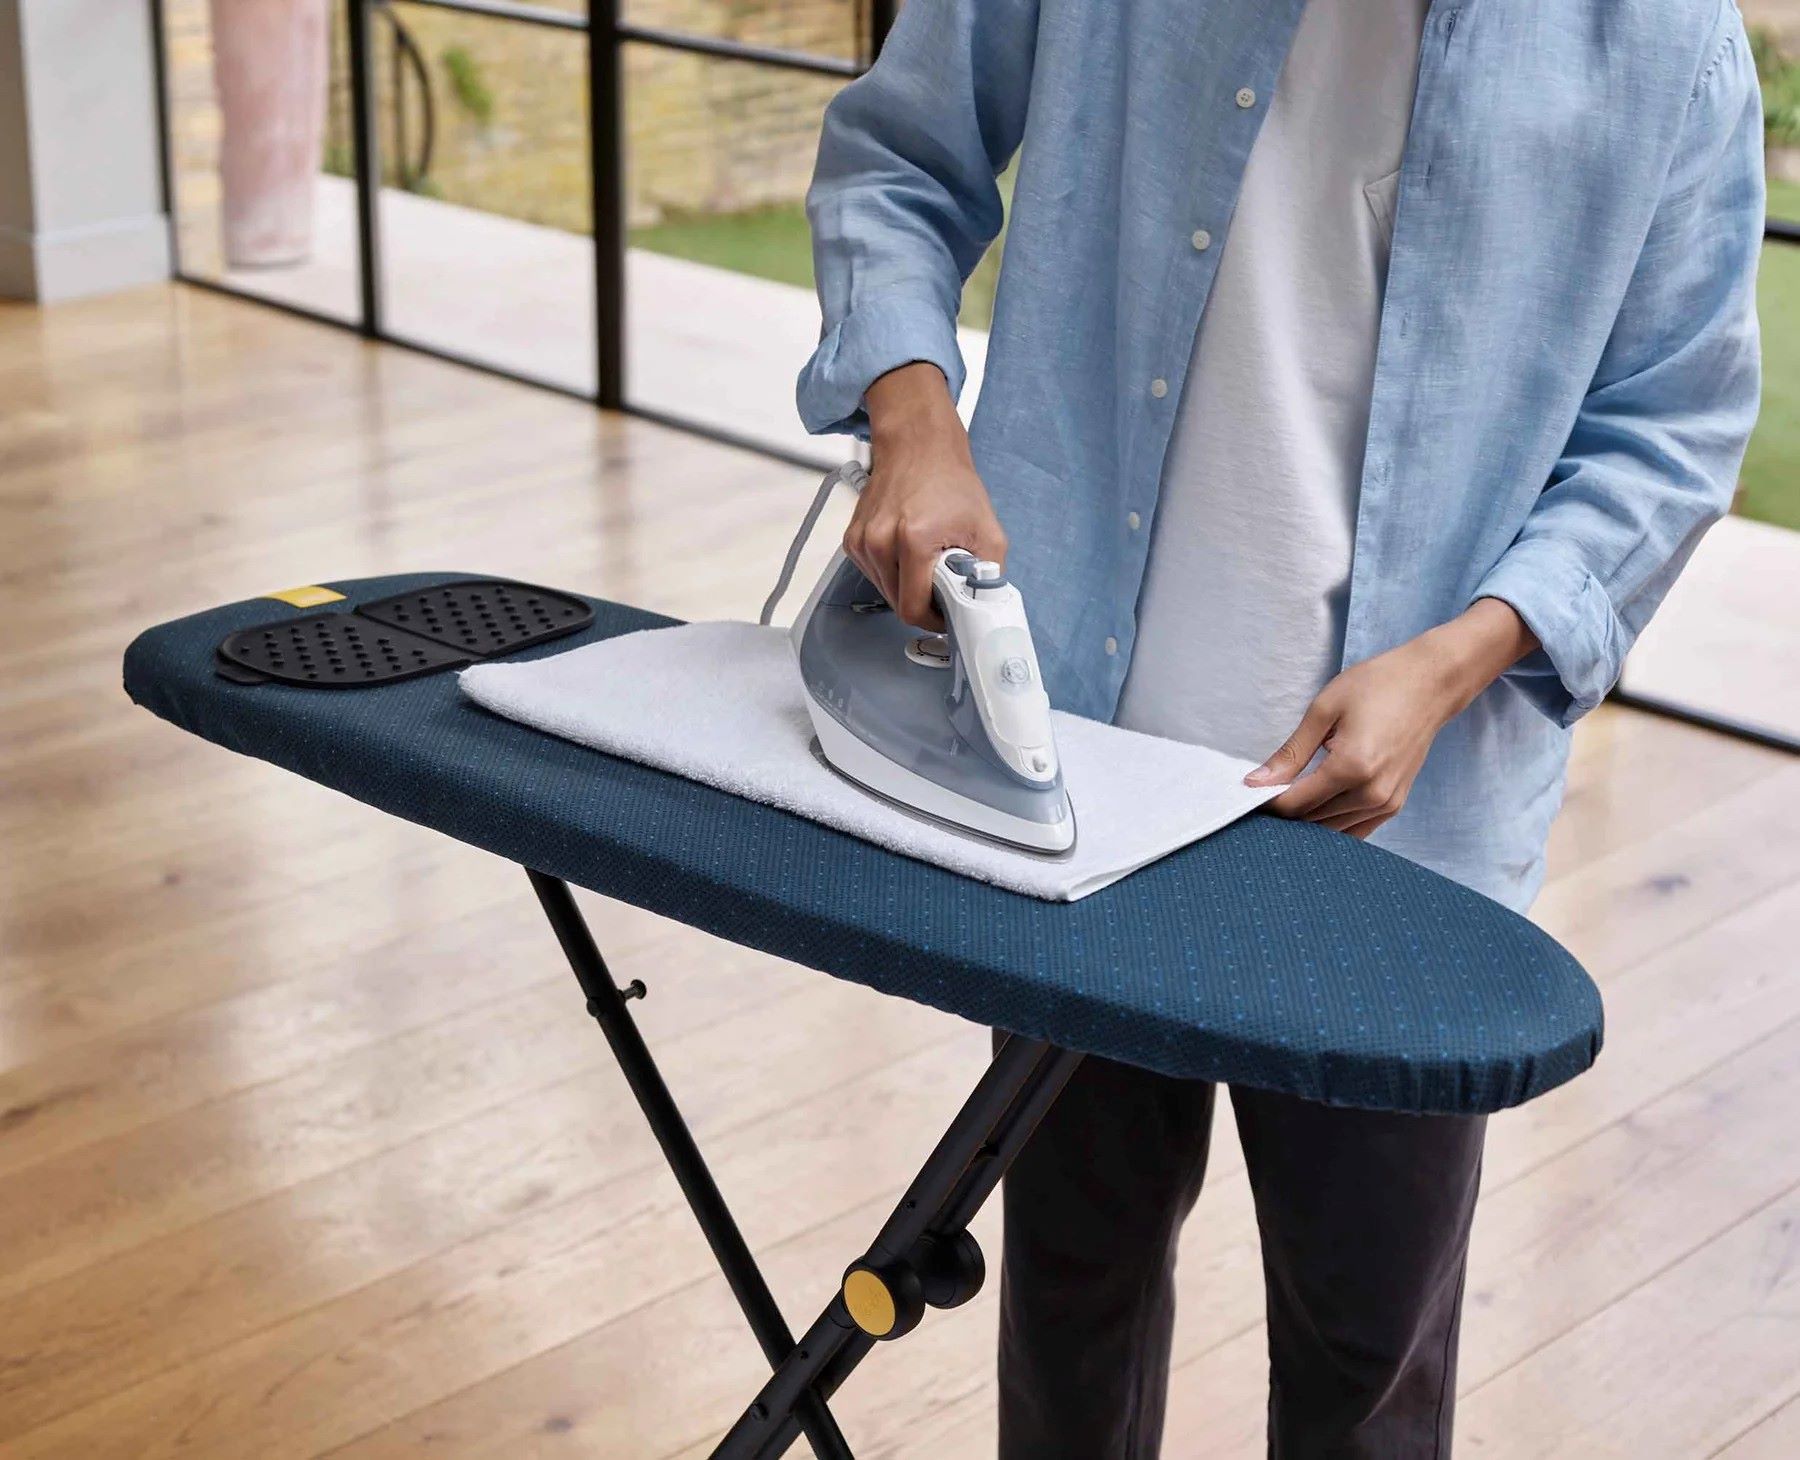
Cleaning an ironing board cover is an essential yet often overlooked task in maintaining a fresh and efficient laundry space. Over time, dust, stains, and fabric residue can accumulate on the cover, diminishing its effectiveness and cleanliness. By regularly cleaning the cover, you can ensure a smooth ironing experience and prolong the life of both the cover and your clothing.
In this comprehensive guide, we will walk you through the step-by-step process of cleaning an ironing board cover. Whether your cover is made of cotton, silicone, or any other material, these methods are designed to effectively remove stains and odors while preserving the integrity of the fabric.
By following these simple yet effective cleaning techniques, you can restore your ironing board cover to its pristine condition, providing a clean and smooth surface for all your ironing needs. Let's dive into the details and learn how to revitalize your ironing board cover for a more enjoyable and efficient ironing experience.
Key Takeaways:
- Regularly cleaning your ironing board cover is crucial for a smooth ironing experience and prolonging its lifespan. Follow the step-by-step guide to remove stains, machine wash, and ensure a wrinkle-free reattachment for optimal results.
- Properly caring for your ironing board cover, from spot cleaning to thorough drying, maintains a hygienic and efficient ironing environment. Always refer to the care label for specific cleaning instructions based on the fabric type.
Read more: How To Measure For An Ironing Board Cover
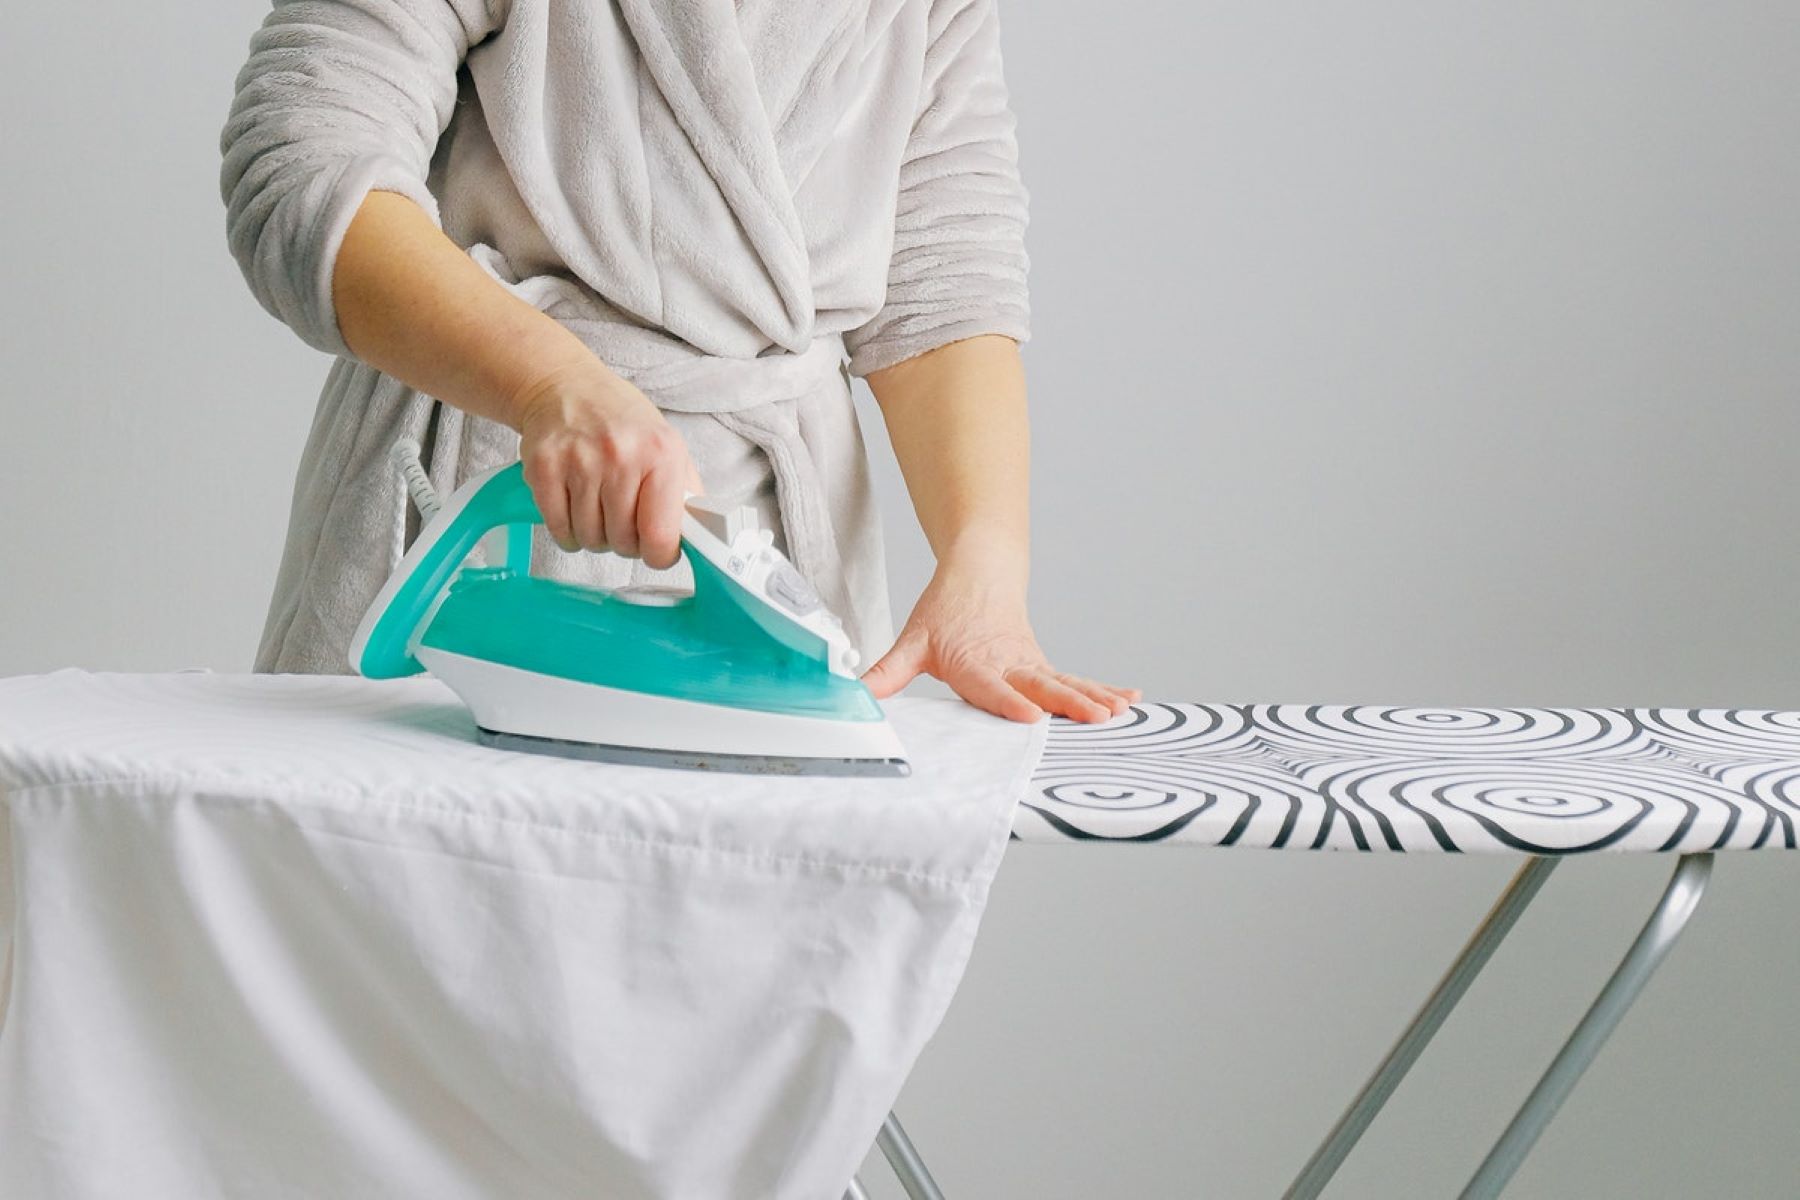
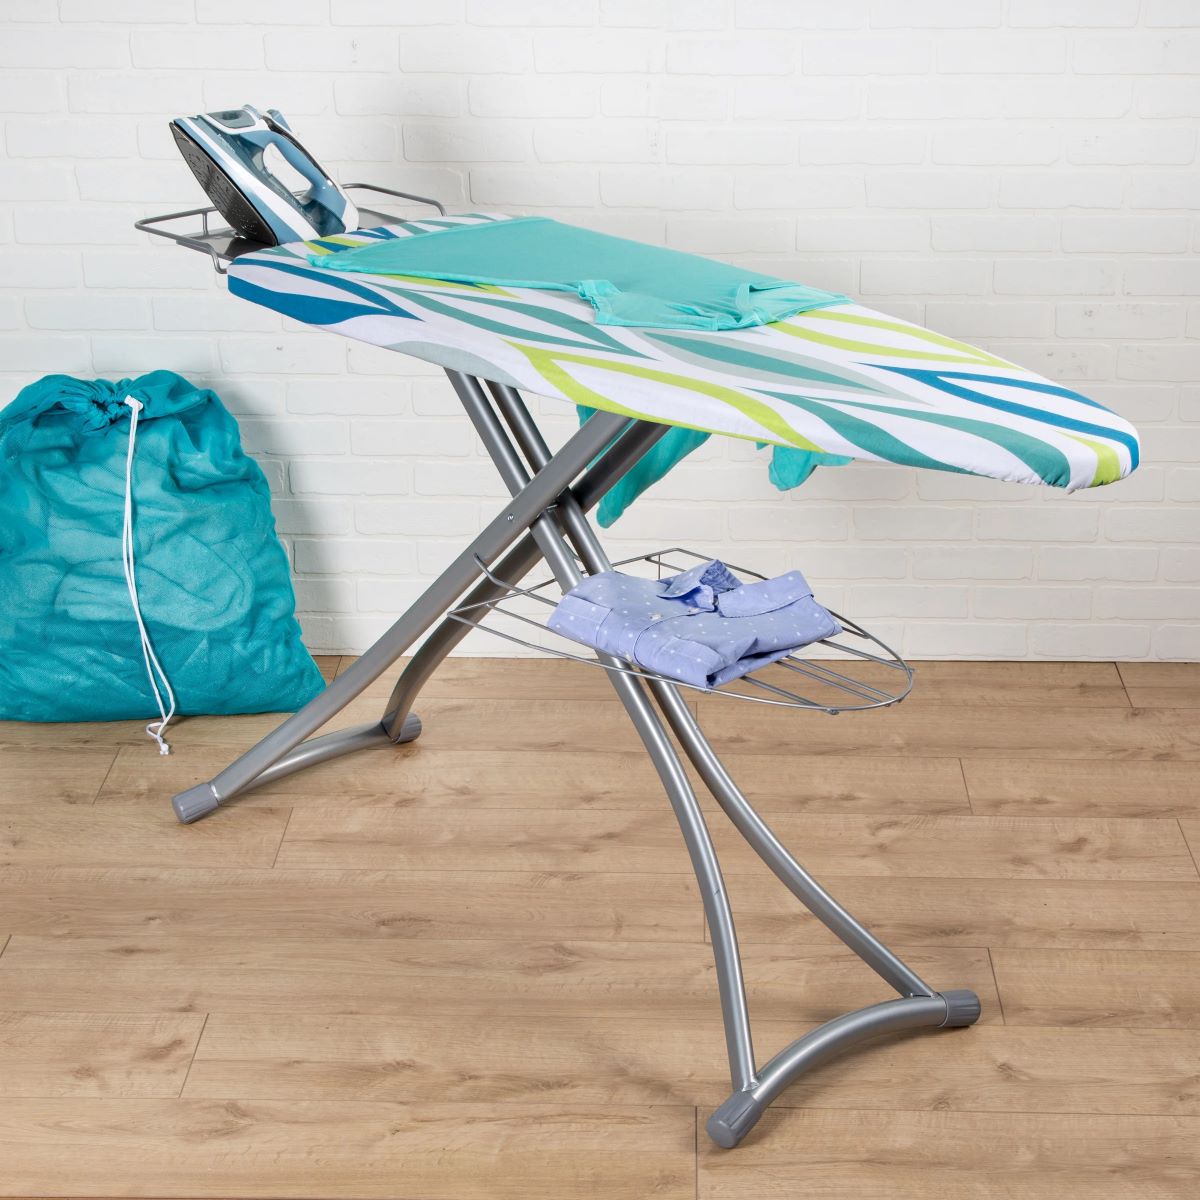
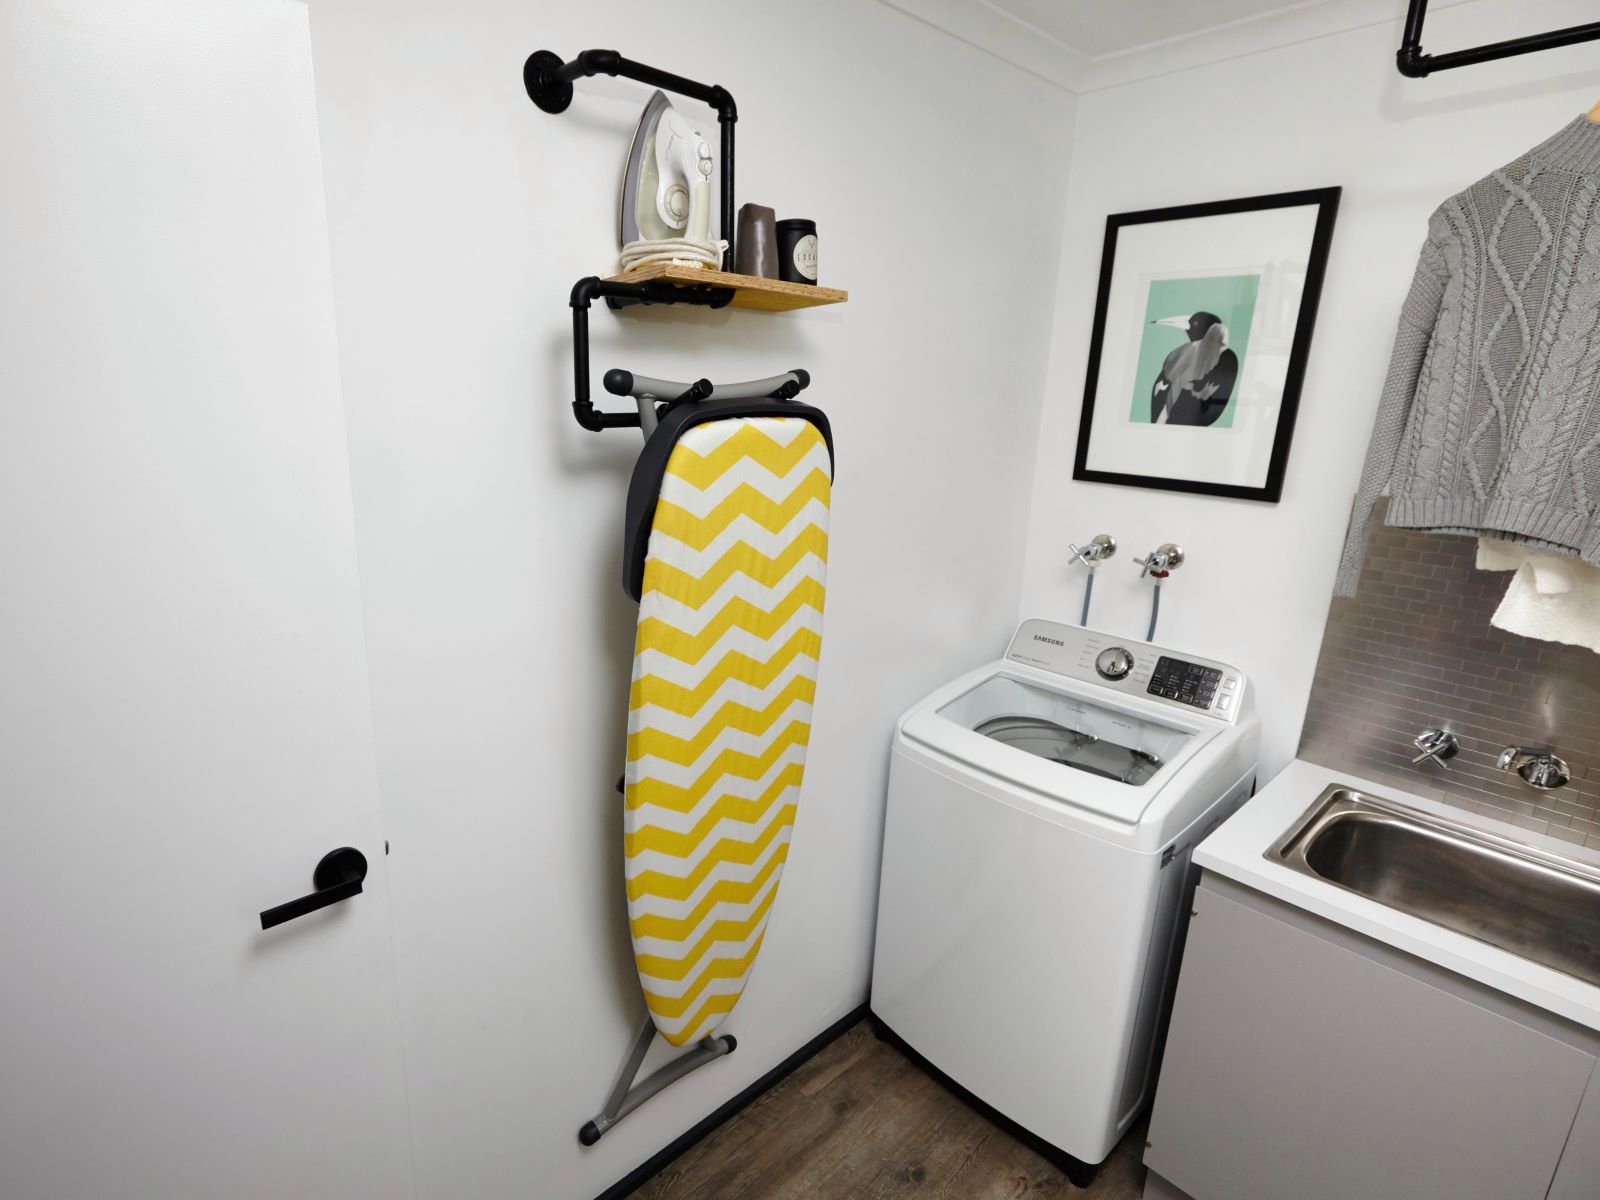
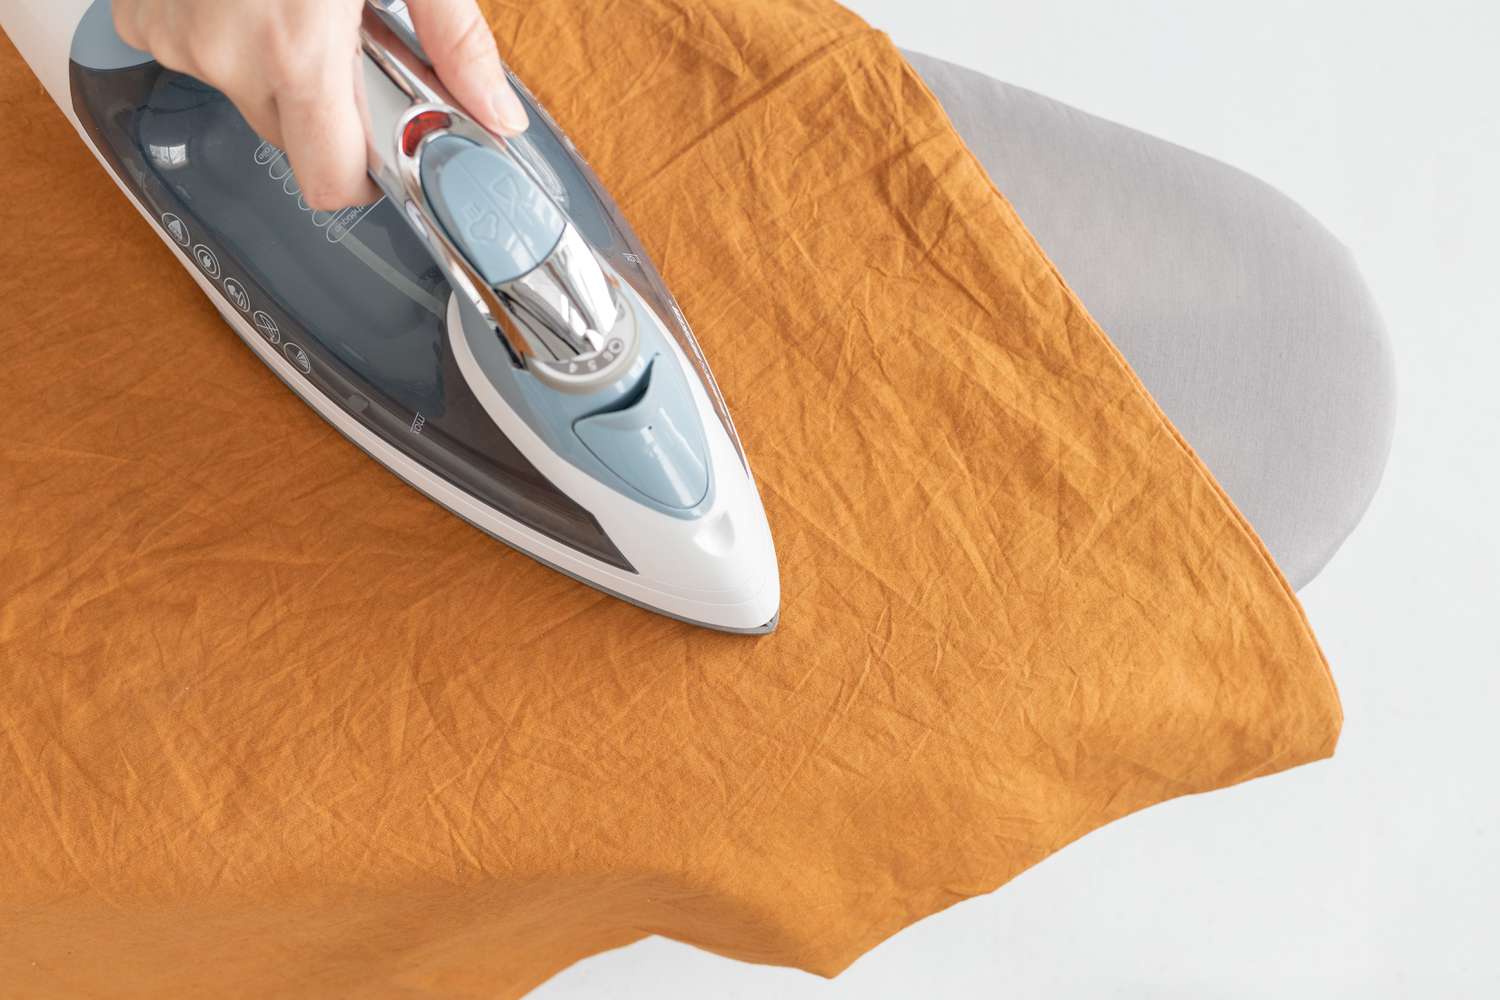
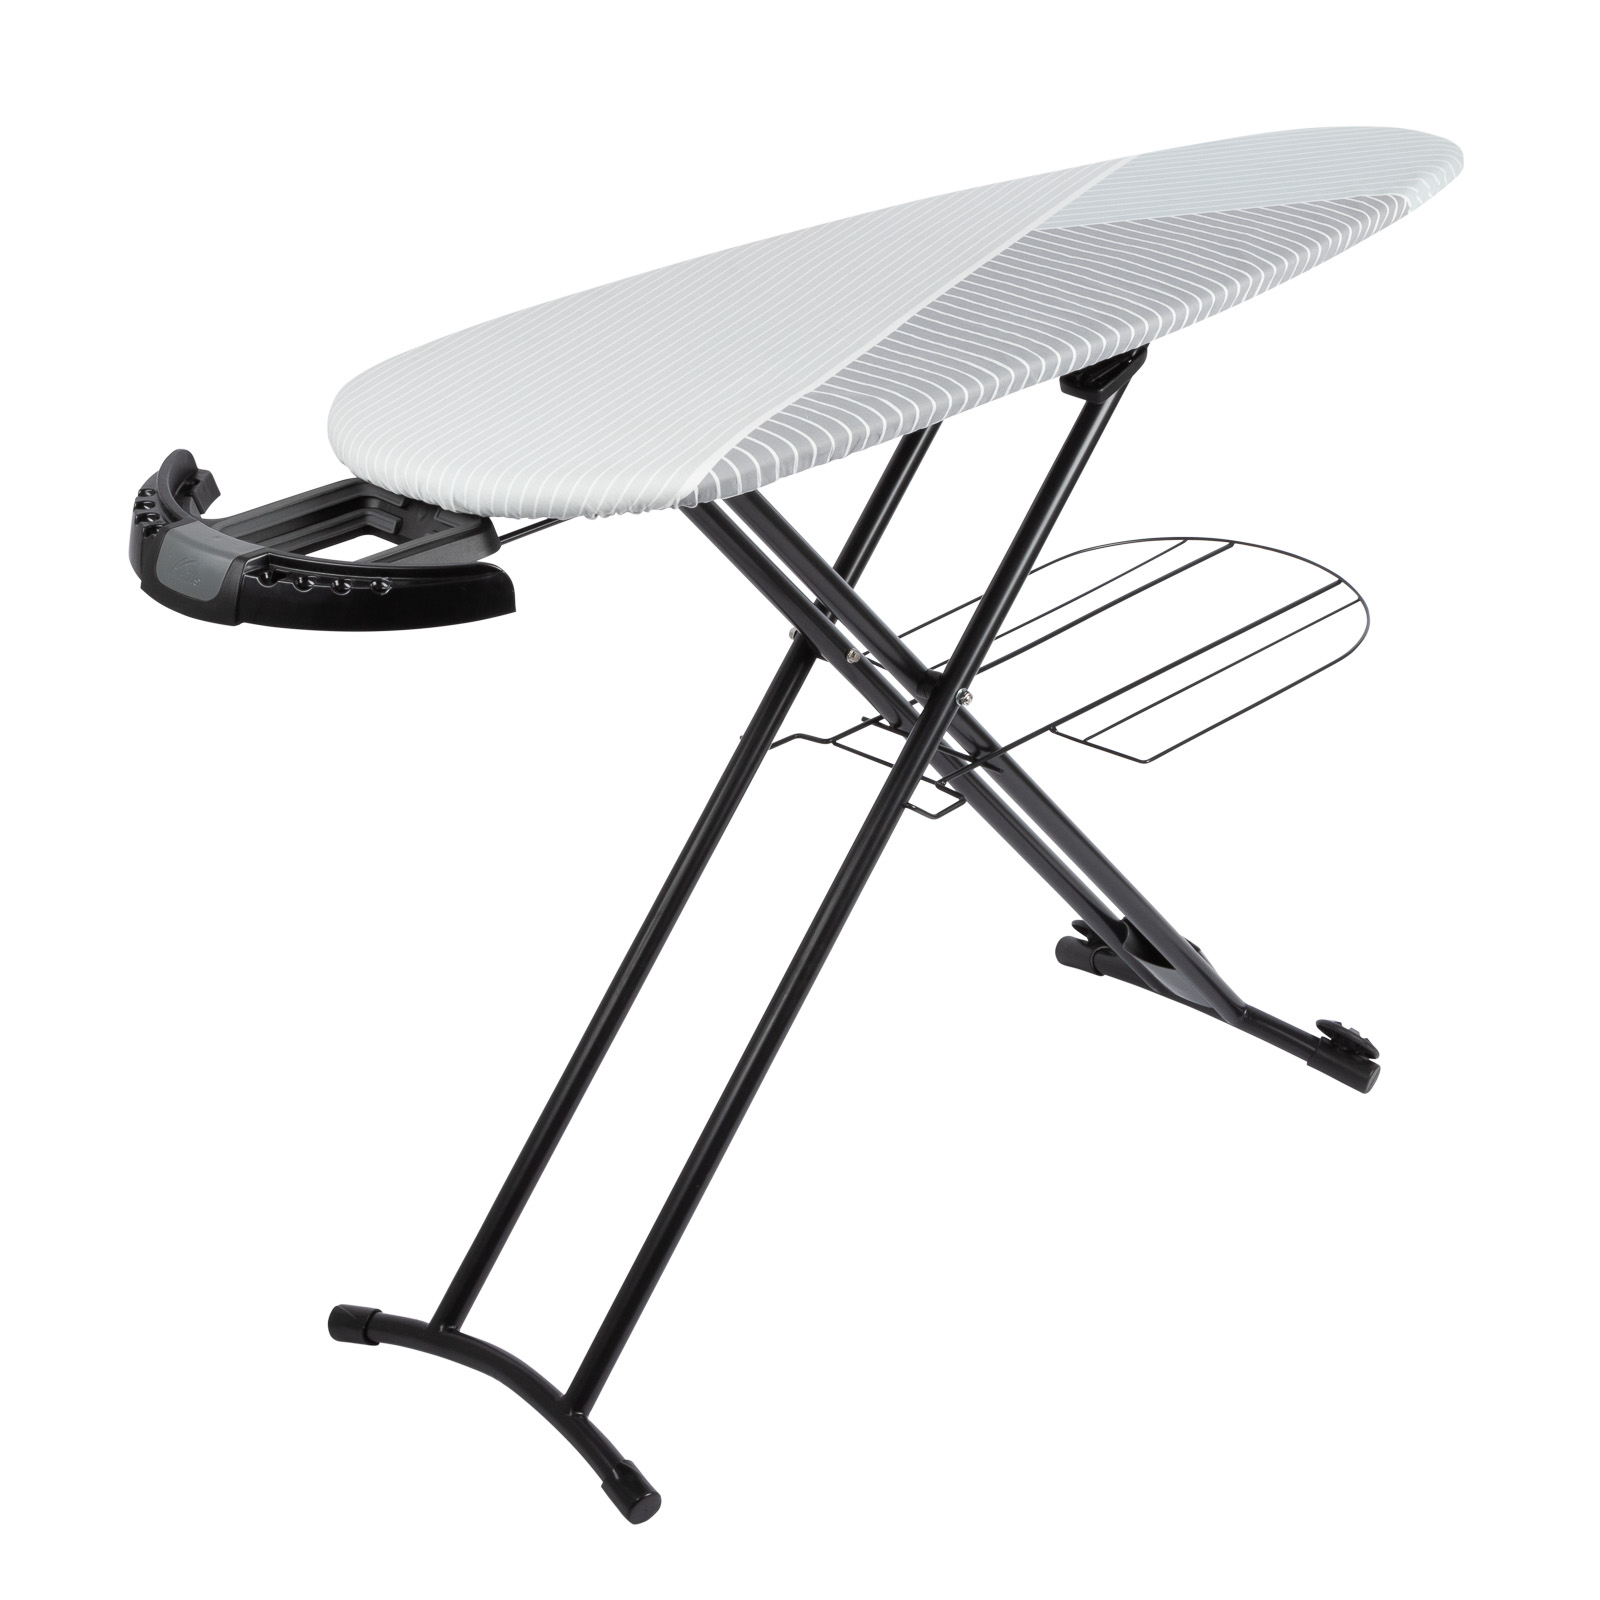
Step 1: Remove the cover from the ironing board
Removing the cover from the ironing board is the first crucial step in the cleaning process. Before starting, ensure that the iron is completely cool to avoid any risk of burns. Here's how to safely remove the cover:
-
Unplug the Iron: Start by unplugging the iron from the power source and allowing it to cool down completely. Safety should always be the top priority when handling any laundry appliances.
-
Lay the Ironing Board Flat: Lay the ironing board flat on a stable surface, ensuring that it is secure and won't tip over during the cover removal process.
-
Detach the Cover: Most ironing board covers are secured with either elastic edges or a drawstring. Carefully remove the cover by gently pulling the edges or releasing the drawstring. Take your time to avoid tearing or damaging the cover during this step.
-
Inspect for Damage: While removing the cover, take the opportunity to inspect the padding underneath for any signs of wear or damage. If the padding is worn out or lumpy, it may be a good time to consider replacing it for optimal ironing performance.
-
Store the Cover Safely: Once the cover is removed, store it in a safe and dry location to prevent it from collecting dust or getting damaged before the cleaning process begins.
By following these steps, you can safely remove the cover from the ironing board, setting the stage for the subsequent cleaning procedures. Taking the time to handle the cover with care during this step will ensure that it remains in good condition for future use.
Step 2: Spot clean any stains
Spot cleaning is a crucial step in the process of revitalizing an ironing board cover. Over time, stains from accidental spills, fabric dyes, or other substances can accumulate on the cover, affecting its appearance and potentially transferring stains onto clothing during ironing. By addressing these stains promptly and effectively, you can restore the cover to its pristine condition.
To begin spot cleaning, you will need a few simple supplies:
- Mild detergent or stain remover
- Clean cloth or sponge
- Warm water
- Small bowl
Here's a detailed guide on how to spot clean the stains:
-
Identify the Stains: Examine the cover closely to identify any visible stains or spots. Common culprits include food spills, ink marks, or residue from ironing certain fabrics.
-
Prepare the Cleaning Solution: In a small bowl, mix a small amount of mild detergent with warm water. Alternatively, if the stains are particularly stubborn, you can use a specialized stain remover designed for the cover's fabric type.
-
Test in an Inconspicuous Area: Before applying the cleaning solution to the visible stains, it's advisable to test it in an inconspicuous area of the cover to ensure that it doesn't cause discoloration or damage. This step is especially important for covers made of delicate or specialty fabrics.
-
Apply the Solution: Dip the clean cloth or sponge into the cleaning solution and gently dab it onto the stained areas. Avoid rubbing vigorously, as this can spread the stain or damage the fabric. Instead, use a gentle blotting motion to lift the stain from the cover.
-
Rinse with Clean Water: After the stain has been treated, use a separate cloth dampened with clean water to gently rinse the area and remove any residual cleaning solution. Ensure that the cover is not overly saturated with water, as excessive moisture can prolong the drying process.
-
Air Dry the Spot: Once the stained areas have been treated and rinsed, allow the cover to air dry completely before proceeding to the next step. Avoid using the ironing board cover while it is still damp, as this can lead to mildew or musty odors.
By following these steps, you can effectively spot clean any stains on the ironing board cover, restoring its appearance and ensuring that it provides a clean surface for ironing. This meticulous approach to stain removal sets the stage for the subsequent cleaning and drying processes, ultimately rejuvenating the cover for future use.
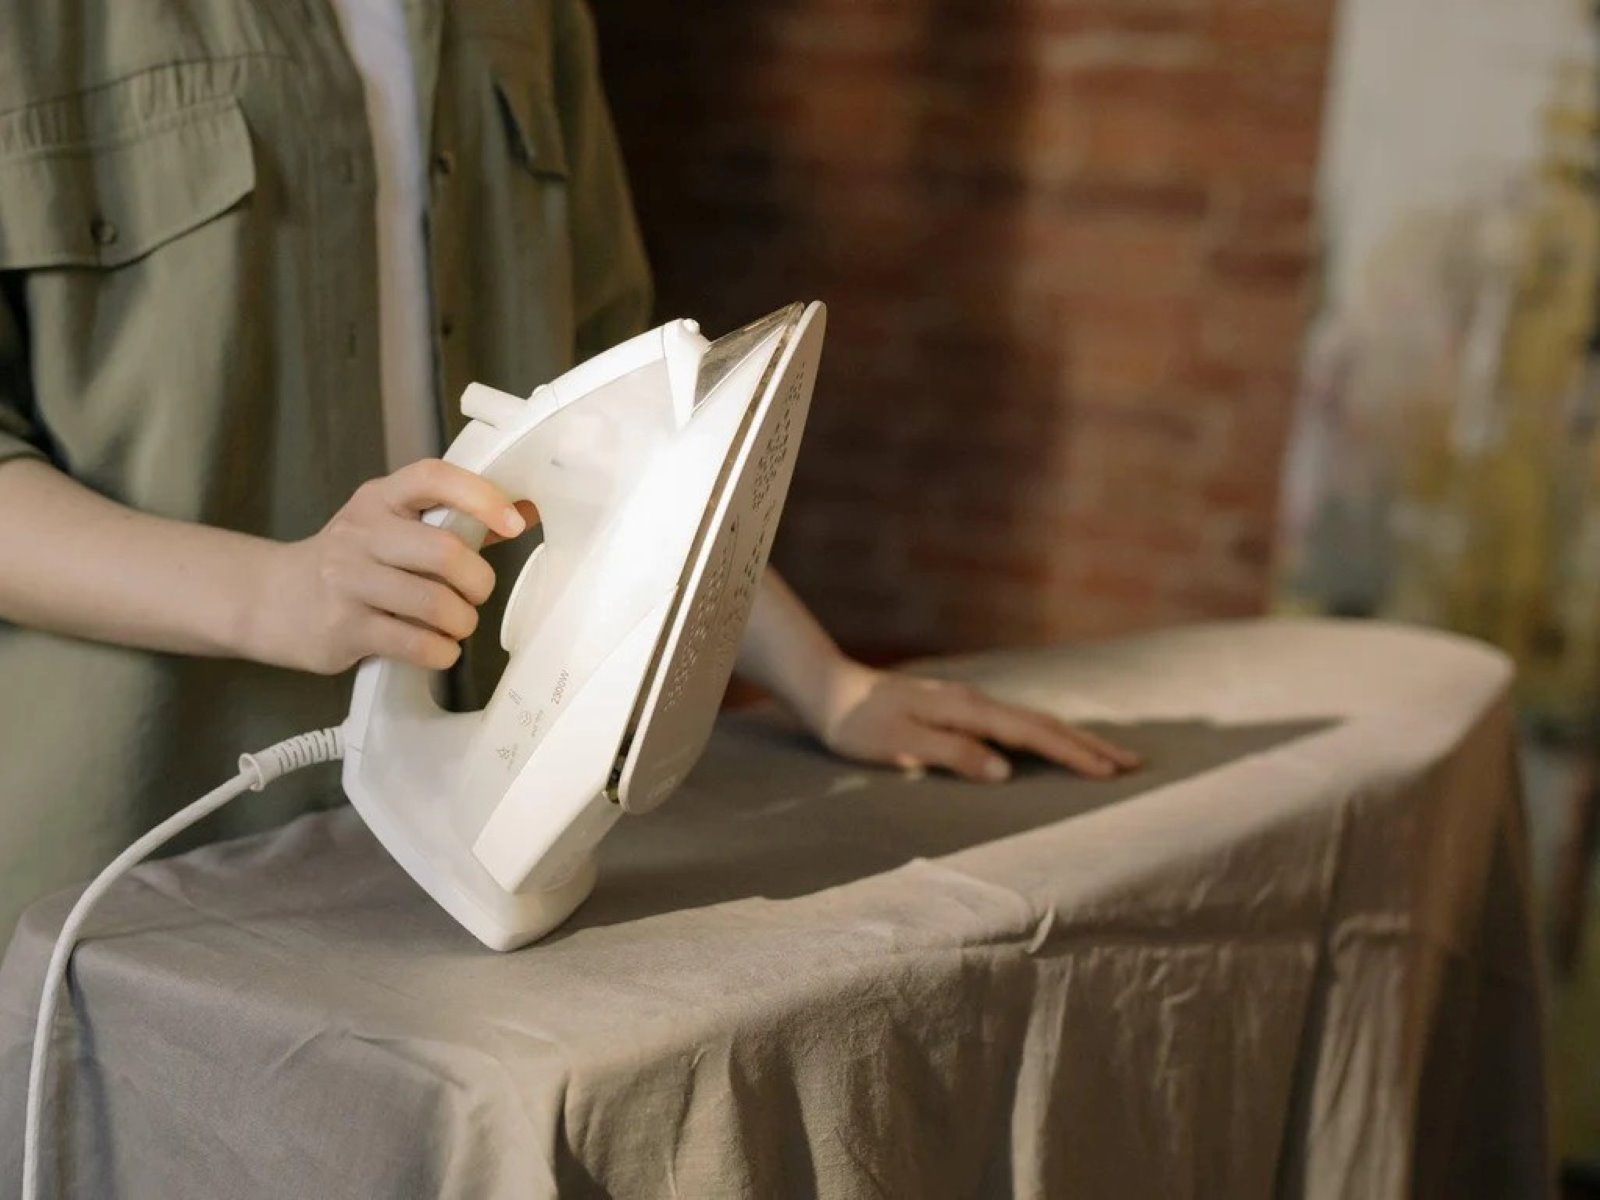
Step 3: Machine wash the cover
Machine washing the ironing board cover is a highly effective method to deep clean the fabric and remove any embedded dirt, odors, or residual stains. This process is particularly beneficial for covers made of durable materials such as cotton or polyester. Before proceeding with machine washing, it's important to review the care label on the cover to ensure that it is safe for this cleaning method. Here's a detailed guide on how to machine wash the cover:
-
Prepare the Cover: Prior to placing the cover in the washing machine, ensure that any elastic edges or drawstrings are secured to prevent tangling or damage during the wash cycle. If the cover has any detachable padding, it's advisable to remove it before washing to prevent potential clumping or distortion.
-
Select the Appropriate Cycle and Temperature: When loading the cover into the washing machine, select a gentle or delicate cycle to minimize agitation and reduce the risk of damage to the fabric. Additionally, choose a cool to lukewarm water temperature to prevent shrinkage or color fading, adhering to the care instructions provided by the manufacturer.
-
Use Mild Detergent: Add a small amount of mild laundry detergent to the washing machine, ensuring that it is suitable for the cover's fabric type. Avoid using bleach or harsh chemicals, as they can compromise the integrity of the fabric and affect its appearance.
-
Load the Washing Machine: Place the cover in the washing machine, ensuring that it has ample space to move freely during the cycle. Avoid overcrowding the machine, as this can lead to inadequate cleaning and potential damage to the cover.
-
Initiate the Wash Cycle: Start the washing machine and allow the cover to undergo a complete cycle, including the wash, rinse, and spin phases. Monitor the machine during the cycle to ensure that the cover is being handled gently and without any tangling or excessive agitation.
-
Remove and Inspect the Cover: Once the wash cycle is complete, carefully remove the cover from the washing machine and inspect it for any remaining stains or areas that may require additional cleaning. If necessary, consider spot treating any persistent stains before proceeding to the drying phase.
By following these steps, you can effectively machine wash the ironing board cover, rejuvenating its appearance and cleanliness for future use. This thorough cleaning method ensures that the cover is free from accumulated dirt and odors, providing a fresh and hygienic surface for all your ironing needs.
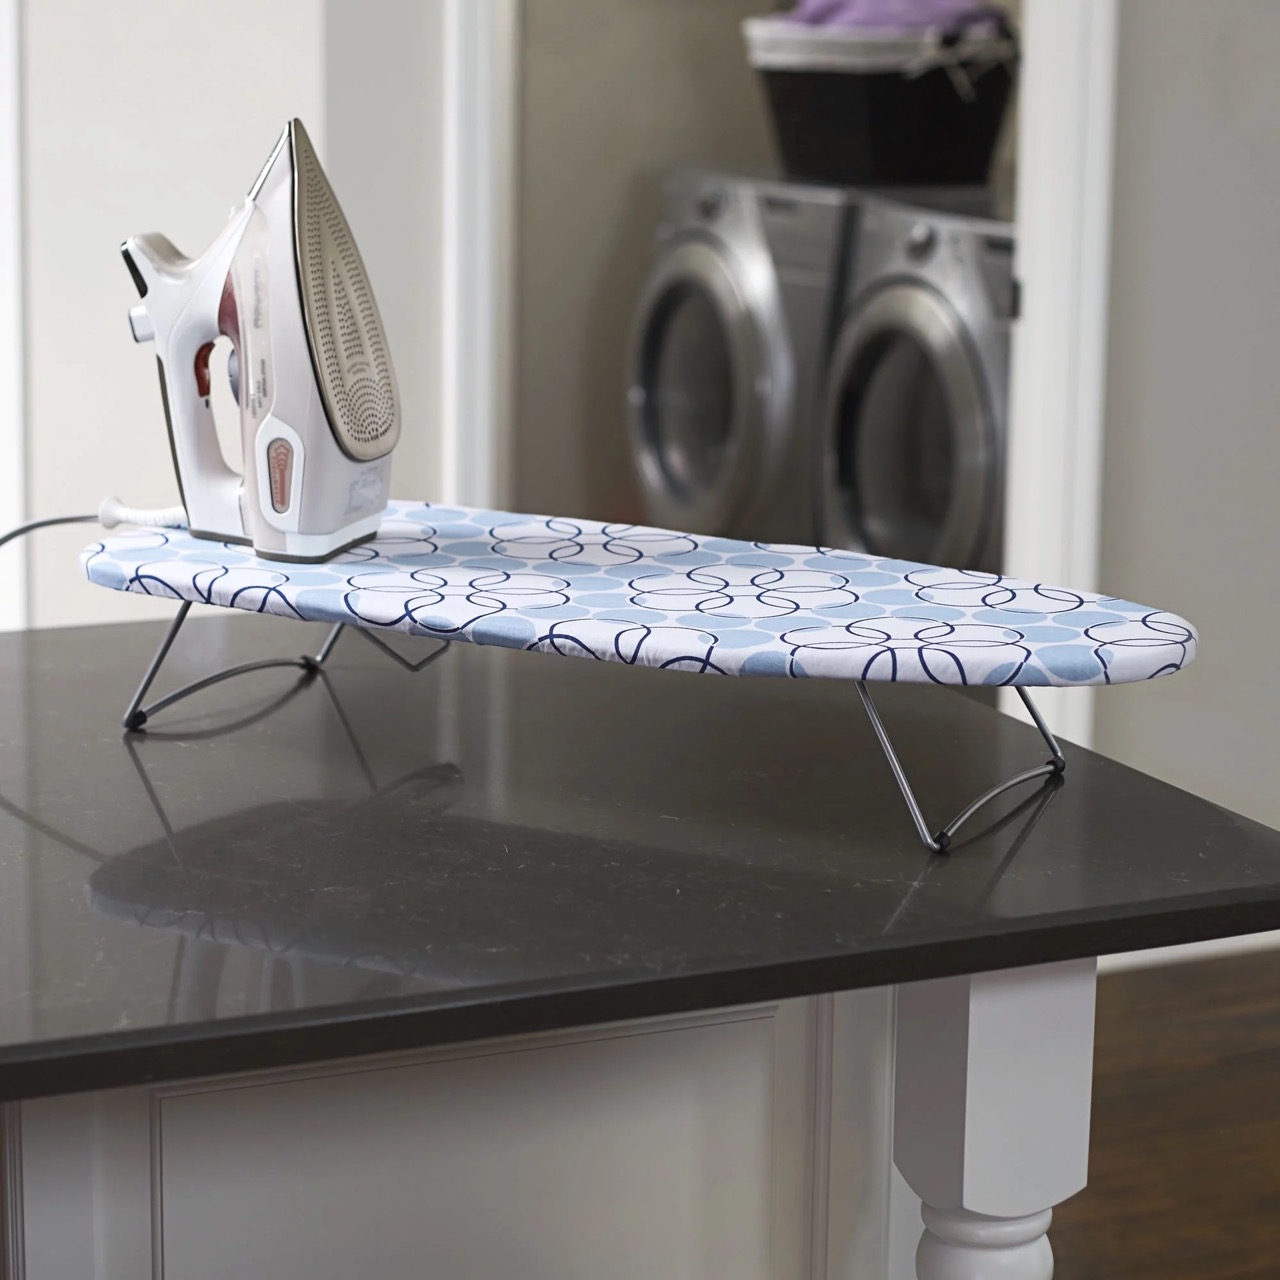
Step 4: Air dry or tumble dry the cover
After the machine washing process, the next crucial step is to effectively dry the ironing board cover. Proper drying is essential to prevent mildew, musty odors, and fabric damage, ensuring that the cover is ready for use. Depending on the fabric type and personal preference, you can choose between air drying and tumble drying methods.
Read more: How To Fold The Ironing Board
Air Drying:
Air drying is a gentle and natural method that is suitable for most ironing board covers. Here's how to air dry the cover effectively:
-
Prepare the Cover: Remove the cover from the washing machine and gently shake it to remove any excess water. Smooth out any wrinkles or folds to facilitate even drying.
-
Find a Well-Ventilated Area: Choose a well-ventilated area, preferably outdoors or in a room with good air circulation. Avoid direct sunlight, as prolonged exposure to sunlight can fade certain fabrics.
-
Lay Flat or Hang: Depending on the available space, you can either lay the cover flat on a clean surface or hang it on a clothesline or drying rack. Ensure that the cover is spread out evenly to promote uniform drying.
-
Rotate and Check Periodically: Throughout the drying process, periodically rotate the cover to ensure that all areas are exposed to air. Check for any residual moisture or damp spots, and allow additional drying time if needed.
-
Ensure Complete Dryness: The cover should be completely dry before reattaching it to the ironing board. Verify that there are no lingering damp areas, as moisture can lead to unpleasant odors and potential mold growth.
Tumble Drying:
Tumble drying is a convenient and efficient method for drying the cover, especially for those who prefer a quicker drying process. Here's how to tumble dry the cover safely:
-
Adjust Settings: Place the cover in the dryer and adjust the settings to a low or medium heat cycle. It's important to avoid high heat, as it can cause shrinkage or damage to certain fabrics.
-
Add Dryer Balls or Towels: To promote even drying and prevent the cover from clumping, consider adding dryer balls or clean towels to the dryer. These items can help maintain the shape of the cover and facilitate optimal drying.
-
Monitor the Drying Process: Periodically check the dryer to monitor the drying progress. If the cover is made of a delicate fabric, consider using a shorter drying cycle to prevent over-drying.
-
Remove and Inspect: Once the drying cycle is complete, remove the cover from the dryer and inspect it for dryness. If necessary, allow the cover to air dry for a short period to ensure that any residual moisture evaporates.
By following these detailed steps for air drying or tumble drying the ironing board cover, you can effectively complete the cleaning process and prepare the cover for reattachment to the ironing board. These drying methods ensure that the cover is thoroughly dried, free from moisture, and ready for future use.
To clean an ironing board cover, start by vacuuming or shaking off any loose debris. Then, wipe the cover with a damp cloth and mild detergent. For stubborn stains, use a mixture of baking soda and water. Allow the cover to air dry completely before using it again.
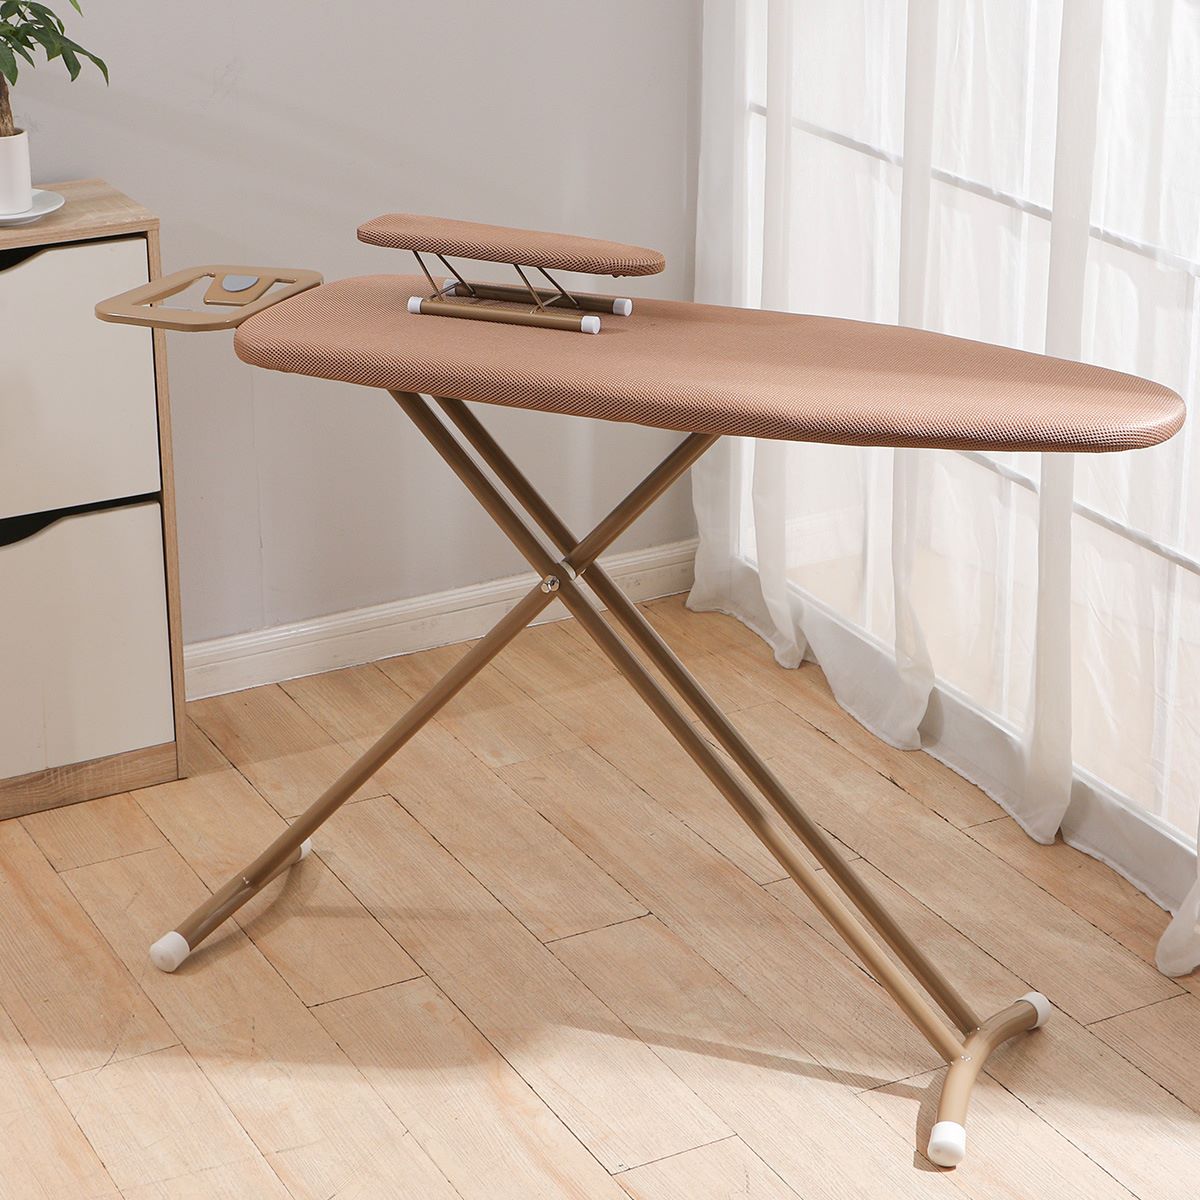
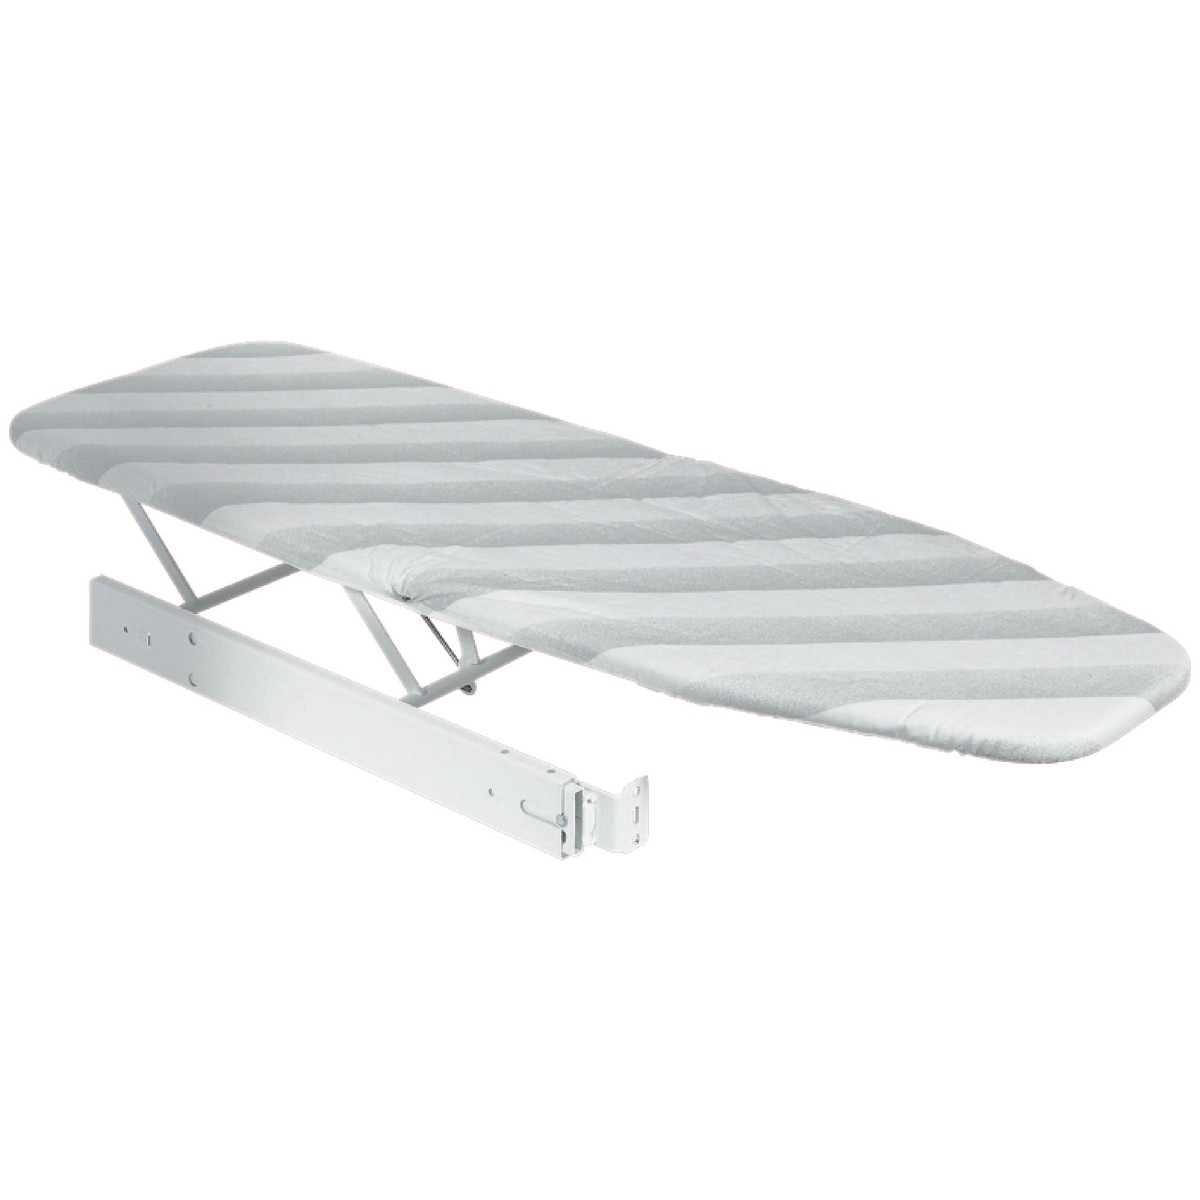
Step 5: Reattach the cover to the ironing board
After the thorough cleaning and drying process, reattaching the cover to the ironing board is the final step in revitalizing the ironing surface. Proper reattachment ensures that the cover fits securely and smoothly, providing an optimal surface for ironing without any wrinkles or shifting. Here's a detailed guide on how to reattach the cover to the ironing board:
-
Prepare the Ironing Board: Before reattaching the cover, ensure that the ironing board is clean and free from any dust or debris. Wipe down the surface with a damp cloth to remove any residual dirt or detergent from the previous cleaning steps.
-
Align the Cover: Lay the cover flat on the ironing board, ensuring that it is positioned evenly and aligns with the edges of the board. Smooth out any wrinkles or creases to create a flat and taut surface for ironing.
-
Secure the Edges: If the cover features elastic edges, carefully stretch and secure them around the perimeter of the ironing board. Ensure that the elastic is evenly distributed and snugly fitted to prevent any shifting during ironing.
-
Adjust Drawstrings (if applicable): For covers with drawstrings, gently pull and adjust them to achieve a tight and secure fit. Double-check that the drawstrings are evenly tightened to prevent any slack that could lead to unevenness on the ironing surface.
-
Smooth Out Any Wrinkles: Once the cover is secured, run your hands over the surface to smooth out any remaining wrinkles or folds. A smooth and taut cover ensures an even and wrinkle-free ironing experience.
-
Inspect for Proper Fit: Take a moment to inspect the reattached cover, ensuring that it is securely fitted and free from any slack or unevenness. A properly attached cover provides a stable and smooth surface for efficient ironing.
By following these steps, you can effectively reattach the cover to the ironing board, completing the cleaning process and preparing the board for future use. A securely attached cover not only enhances the appearance of the ironing board but also ensures a smooth and efficient ironing experience, allowing you to achieve crisp and wrinkle-free results with ease.
Conclusion
In conclusion, maintaining a clean and well-cared-for ironing board cover is essential for ensuring a smooth and efficient ironing experience. By following the step-by-step cleaning process outlined in this guide, you can revitalize your ironing board cover, removing stains, odors, and accumulated dirt to restore it to its pristine condition.
Regularly cleaning the ironing board cover not only enhances its appearance but also prolongs its lifespan, ensuring that it continues to provide a clean and smooth surface for all your ironing needs. From spot cleaning stains to machine washing and thorough drying, each step plays a crucial role in rejuvenating the cover and maintaining a hygienic ironing environment.
By taking the time to remove the cover from the ironing board with care, spot clean any stains, machine wash the cover, and effectively dry it through air drying or tumble drying, you can ensure that the cover remains in optimal condition for long-term use. Additionally, reattaching the cover securely to the ironing board completes the cleaning process, providing a stable and wrinkle-free surface for efficient ironing.
It's important to note that the specific cleaning methods may vary based on the material and care instructions provided by the manufacturer. Always refer to the care label on the cover to ensure that the cleaning techniques align with the recommended guidelines for the specific fabric type.
By incorporating these cleaning practices into your laundry routine, you can maintain a fresh and hygienic ironing board cover, contributing to a more enjoyable and effective ironing process. Whether you prefer traditional cotton covers or innovative silicone options, regular cleaning and maintenance will ensure that your ironing board remains a reliable tool for achieving perfectly pressed garments.
In essence, the meticulous care and attention given to the ironing board cover not only enhance its functionality but also reflect the dedication to maintaining a well-organized and efficient laundry space. With a clean and pristine cover, you can approach your ironing tasks with confidence, knowing that your garments will receive the care and attention they deserve.
Frequently Asked Questions about How To Clean An Ironing Board Cover
Was this page helpful?
At Storables.com, we guarantee accurate and reliable information. Our content, validated by Expert Board Contributors, is crafted following stringent Editorial Policies. We're committed to providing you with well-researched, expert-backed insights for all your informational needs.

0 thoughts on “How To Clean An Ironing Board Cover”