Home>Home Appliances>Laundry Appliances>How To Hang An Ironing Board On The Wall
Laundry Appliances
How To Hang An Ironing Board On The Wall
Modified: October 18, 2024
Learn how to efficiently hang your ironing board on the wall to save space and keep your laundry area organized. Discover the best methods for installing and utilizing this convenient laundry appliance.
(Many of the links in this article redirect to a specific reviewed product. Your purchase of these products through affiliate links helps to generate commission for Storables.com, at no extra cost. Learn more)
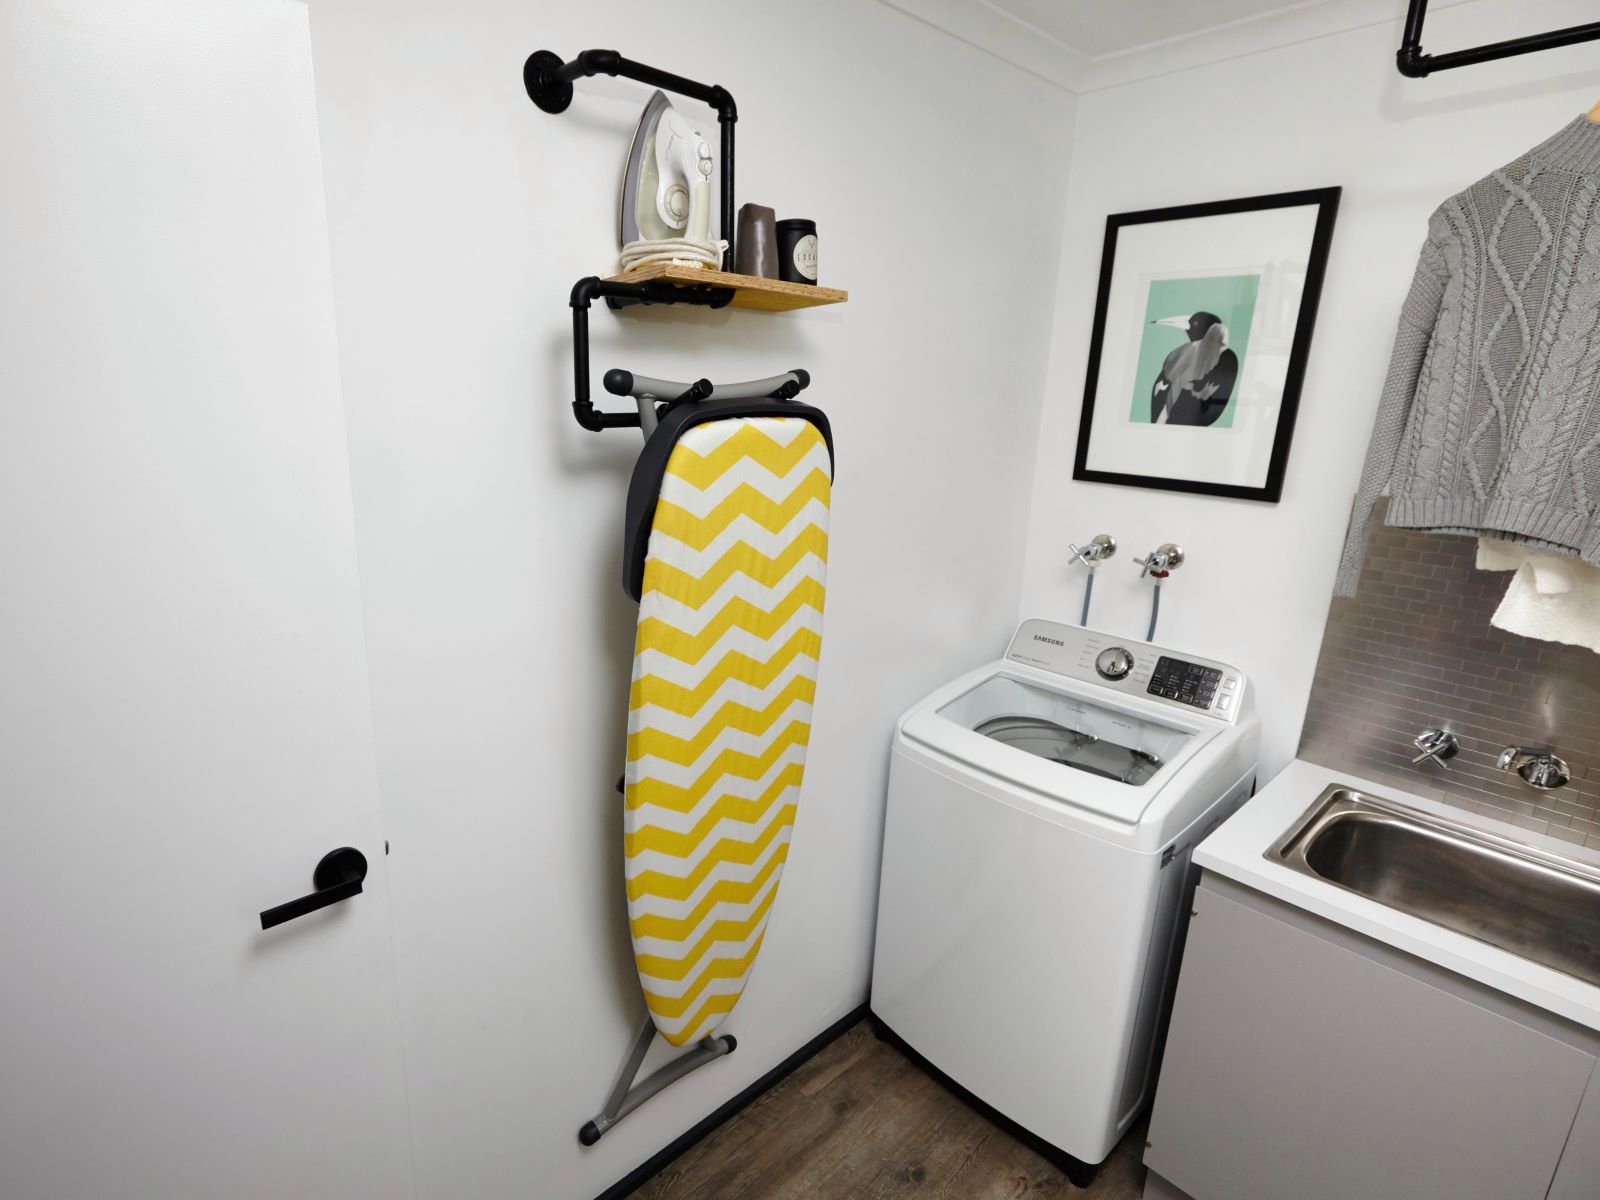
Choosing the Right Location
Selecting the ideal location to hang your ironing board is crucial for both convenience and functionality. By carefully considering the following factors, you can ensure that the chosen spot maximizes accessibility and usability.
-
Accessibility: Choose a location that is easily accessible and convenient for ironing. It should be within close proximity to where you typically handle your laundry, such as the laundry room or a designated ironing area. This ensures that you can seamlessly transition from washing to ironing without unnecessary hassle.
-
Space: Assess the available space in the chosen location to ensure that it can accommodate the ironing board without causing obstructions or hindering movement. The area should provide ample room for you to maneuver comfortably while ironing, preventing any potential accidents or limitations in mobility.
-
Ventilation: Consider the ventilation in the selected area to prevent the accumulation of steam and heat during ironing. Adequate ventilation helps to disperse any excess moisture and heat, creating a more comfortable and safe environment for ironing.
-
Lighting: Opt for a location with sufficient lighting to facilitate clear visibility while ironing. Proper illumination is essential for identifying wrinkles and ensuring thorough ironing, ultimately leading to better results and a more efficient ironing process.
-
Safety: Prioritize safety when choosing the location for your ironing board. Avoid placing it in high-traffic areas or near potential hazards to minimize the risk of accidents. Additionally, ensure that the chosen location allows for safe and stable installation of the mounting hardware to support the weight of the ironing board.
By carefully considering these factors, you can identify the optimal location to hang your ironing board, enhancing both the practicality and efficiency of your ironing routine.
Key Takeaways:
- Choose a convenient, well-lit, and safe location to hang your ironing board for easy access and efficient ironing without obstructions or safety hazards.
- Carefully install and test the stability of the mounting hardware to ensure a secure and reliable attachment for your wall-mounted ironing board, providing peace of mind during ironing tasks.
Read more: Wall Mounted Ironing Boards For Small Spaces
Installing the Mounting Hardware
Installing the mounting hardware is a crucial step in hanging an ironing board on the wall. This process involves securing the necessary fixtures to provide a stable and reliable support system for the ironing board. By following these detailed steps, you can ensure a secure and durable installation of the mounting hardware.
-
Selecting the Mounting Hardware: Begin by choosing the appropriate mounting hardware based on the type of wall and the weight of the ironing board. For drywall, consider using toggle bolts or anchors designed to support heavy loads. If mounting on a stud, opt for sturdy screws that can securely fasten the hardware to the wall. Ensure that the selected hardware is compatible with the dimensions and weight capacity of the ironing board.
-
Measuring and Marking: Use a measuring tape and a level to determine the precise placement of the mounting hardware. Mark the locations for the screws or bolts, ensuring that they align with the pre-drilled holes or brackets on the ironing board. Accurate measurements and alignment are essential for a balanced and secure mounting.
-
Pre-Drilling Holes: If necessary, pre-drill pilot holes for the screws or bolts to facilitate easier installation and prevent damage to the wall. Ensure that the pilot holes are slightly smaller than the diameter of the screws or bolts to provide a snug fit and enhance stability.
-
Attaching the Hardware: Securely fasten the mounting hardware to the wall using the appropriate screws, bolts, or anchors. Ensure that the hardware is firmly attached and level to prevent any tilting or instability once the ironing board is hung.
-
Verifying Stability: After installing the mounting hardware, perform a thorough check to verify its stability and load-bearing capacity. Apply gentle pressure to the hardware to ensure that it can support the weight of the ironing board without any signs of weakness or movement.
-
Adjusting as Needed: If the mounting hardware does not provide the desired level of stability, make necessary adjustments by reinforcing the installation with additional screws, anchors, or brackets. It is essential to prioritize the strength and durability of the mounting hardware to guarantee a secure and long-lasting attachment for the ironing board.
By meticulously following these steps, you can effectively install the mounting hardware with precision and confidence, laying the foundation for a safe and reliable hanging of the ironing board. This meticulous approach ensures that the ironing board is securely supported, enhancing both the functionality and safety of the wall-mounted setup.
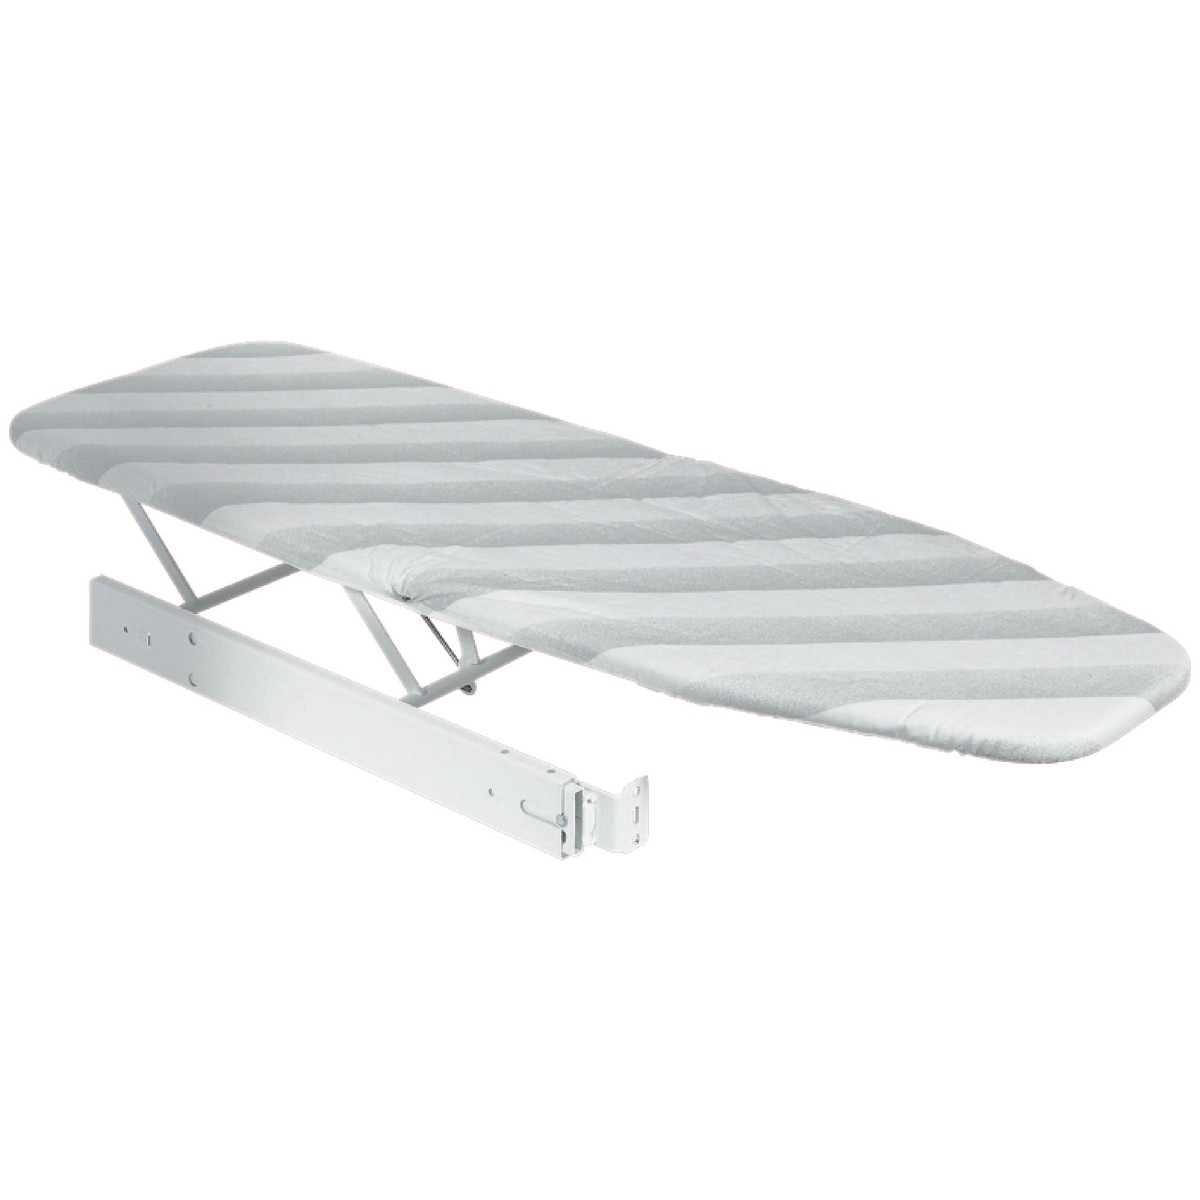
Use a sturdy wall-mounted ironing board holder to hang your ironing board on the wall. Make sure to install it at a convenient height and in a location that is easily accessible.
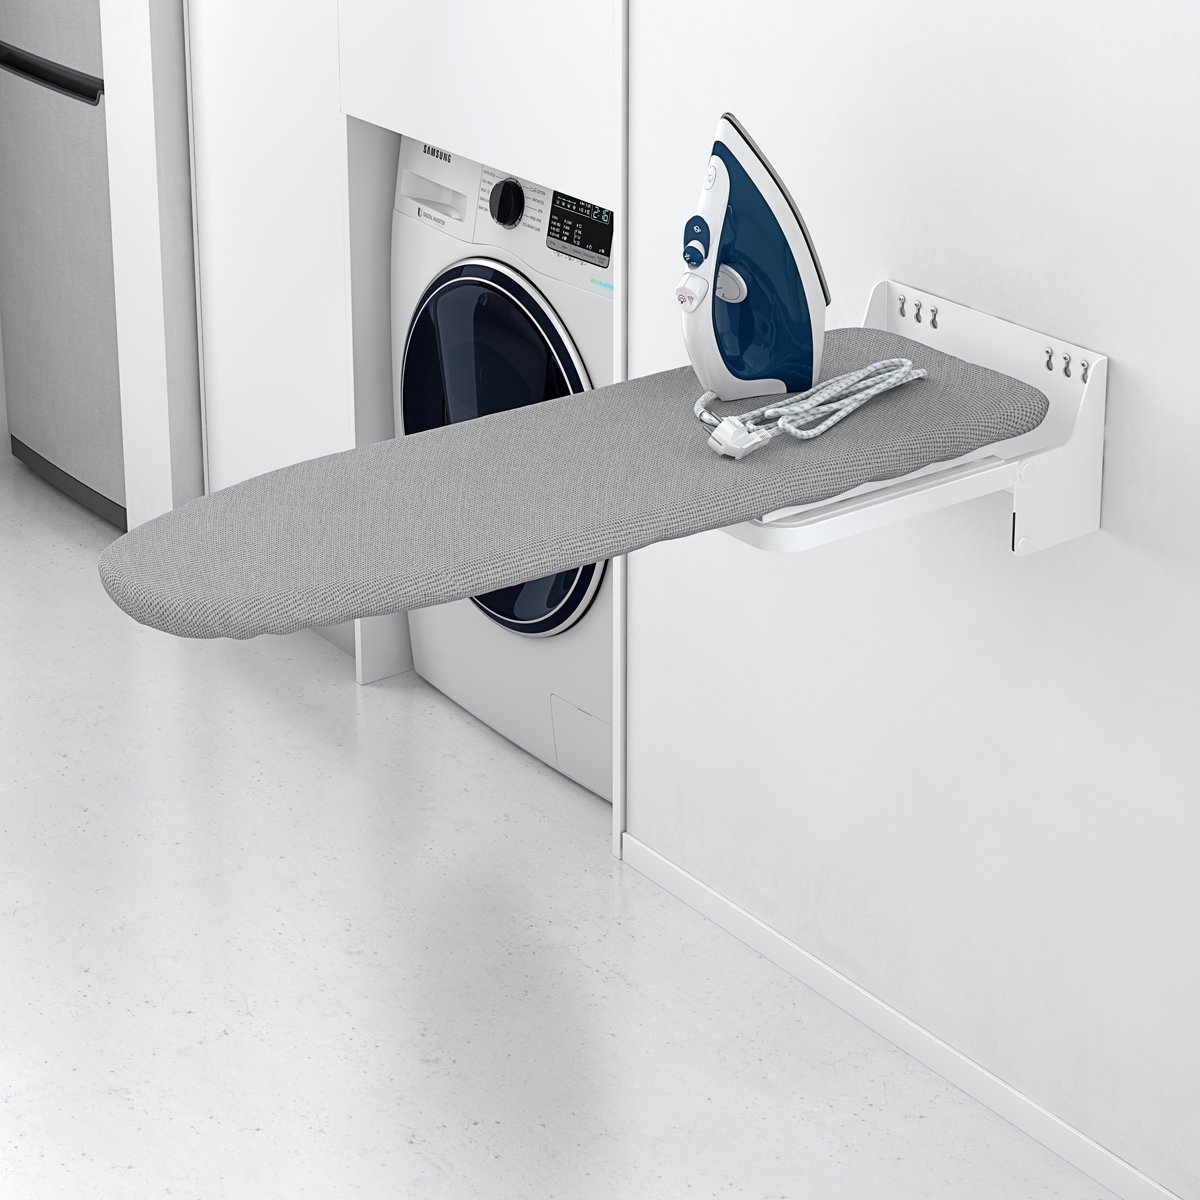
Hanging the Ironing Board
Hanging the ironing board is the pivotal step that brings the entire setup together, transforming the chosen location into a functional and organized ironing station. This process involves carefully mounting the ironing board onto the installed hardware, ensuring a secure and stable attachment that facilitates effortless usability. By following these detailed steps, you can effectively hang the ironing board with precision and confidence, optimizing the functionality of your laundry area.
-
Aligning the Ironing Board: Begin by aligning the ironing board with the installed mounting hardware, ensuring that it is positioned at the desired height and angle for comfortable ironing. Take into account ergonomic considerations, such as the height of the user and the optimal ironing position, to determine the most suitable placement of the ironing board.
-
Securing the Ironing Board: Once the ironing board is properly aligned, secure it to the mounting hardware using the designated fastening mechanisms, such as hooks, brackets, or latches. Ensure that the attachment is firm and stable, preventing any wobbling or shifting during use. This step is crucial for establishing a reliable connection between the ironing board and the mounting hardware, enhancing safety and usability.
-
Verifying Alignment and Stability: After securing the ironing board, carefully assess its alignment and stability to confirm that it is level and securely attached. Use a level to check for any tilting or unevenness, making adjustments as needed to achieve a balanced and stable positioning. Additionally, apply gentle pressure to the ironing board to test its stability and resistance to movement.
-
Testing the Folding Mechanism: If the ironing board features a folding mechanism, test its functionality to ensure smooth operation and secure locking in both the open and closed positions. Verify that the folding mechanism operates seamlessly without any signs of stiffness or instability, allowing for convenient storage and deployment of the ironing board.
-
Optimizing Accessibility: Consider the accessibility of the ironing board in its mounted position, ensuring that it can be easily unfolded and utilized whenever needed. Verify that the surrounding space allows for unrestricted movement and operation of the ironing board, enhancing the overall convenience and efficiency of the ironing process.
By meticulously following these steps, you can effectively hang the ironing board with precision and confidence, creating a well-organized and functional ironing station that optimizes both convenience and usability. This meticulous approach ensures that the ironing board is securely attached and ergonomically positioned, enhancing the overall efficiency and comfort of your ironing routine.
Testing the Stability
Ensuring the stability of the wall-mounted ironing board is paramount to guarantee a safe and reliable ironing experience. Once the ironing board has been securely hung on the mounting hardware, thorough testing is essential to verify its stability and load-bearing capacity. This critical step involves assessing the structural integrity of the installation to prevent any potential hazards or disruptions during ironing sessions.
To begin the stability testing process, apply gentle pressure to different sections of the ironing board, assessing its resistance to movement and flexing. By exerting controlled force on various areas, such as the ironing surface and the supporting frame, you can evaluate the overall sturdiness of the installation. It is essential to ensure that the ironing board remains firmly anchored to the wall without any noticeable swaying or instability.
In addition to applying pressure, perform gentle side-to-side and up-and-down movements to gauge the responsiveness of the mounting hardware. This comprehensive assessment helps identify any potential weaknesses or inadequacies in the installation, allowing for prompt adjustments to enhance stability. By meticulously testing the ironing board's resistance to movement from different angles, you can gain confidence in its ability to withstand the demands of regular ironing activities.
Furthermore, consider simulating the typical motions and pressures encountered during ironing by mimicking the actions of ironing various fabrics. This practical approach involves applying light to moderate pressure on the ironing board while moving the iron in different directions. By replicating the movements and forces associated with ironing, you can evaluate the stability of the installation under realistic conditions, ensuring that it can effectively support the ironing process without compromising safety or functionality.
As part of the stability testing, carefully inspect the attachment points between the ironing board and the mounting hardware to identify any signs of stress or strain. Verify that the fastening mechanisms, such as hooks, brackets, or latches, maintain a secure and reliable connection without exhibiting any indications of loosening or detachment. This meticulous examination helps detect any potential vulnerabilities and allows for timely reinforcement of the attachment points to fortify the overall stability of the installation.
By conducting comprehensive stability testing, you can instill confidence in the reliability and safety of the wall-mounted ironing board. This proactive approach not only ensures a secure and stable ironing setup but also provides peace of mind, allowing you to engage in ironing tasks with enhanced comfort and efficiency. Through meticulous testing and assessment, you can optimize the stability of the installation, creating a dependable and enduring solution for your ironing needs.
Frequently Asked Questions about How To Hang An Ironing Board On The Wall
Was this page helpful?
At Storables.com, we guarantee accurate and reliable information. Our content, validated by Expert Board Contributors, is crafted following stringent Editorial Policies. We're committed to providing you with well-researched, expert-backed insights for all your informational needs.


0 thoughts on “How To Hang An Ironing Board On The Wall”