Home>Home Appliances>Laundry Appliances>How To Fix Spin Cycle On A Washing Machine

Laundry Appliances
How To Fix Spin Cycle On A Washing Machine
Modified: October 28, 2024
Learn how to troubleshoot and fix the spin cycle on your laundry appliances with our expert tips. Keep your washing machine running smoothly with our step-by-step guide.
(Many of the links in this article redirect to a specific reviewed product. Your purchase of these products through affiliate links helps to generate commission for Storables.com, at no extra cost. Learn more)
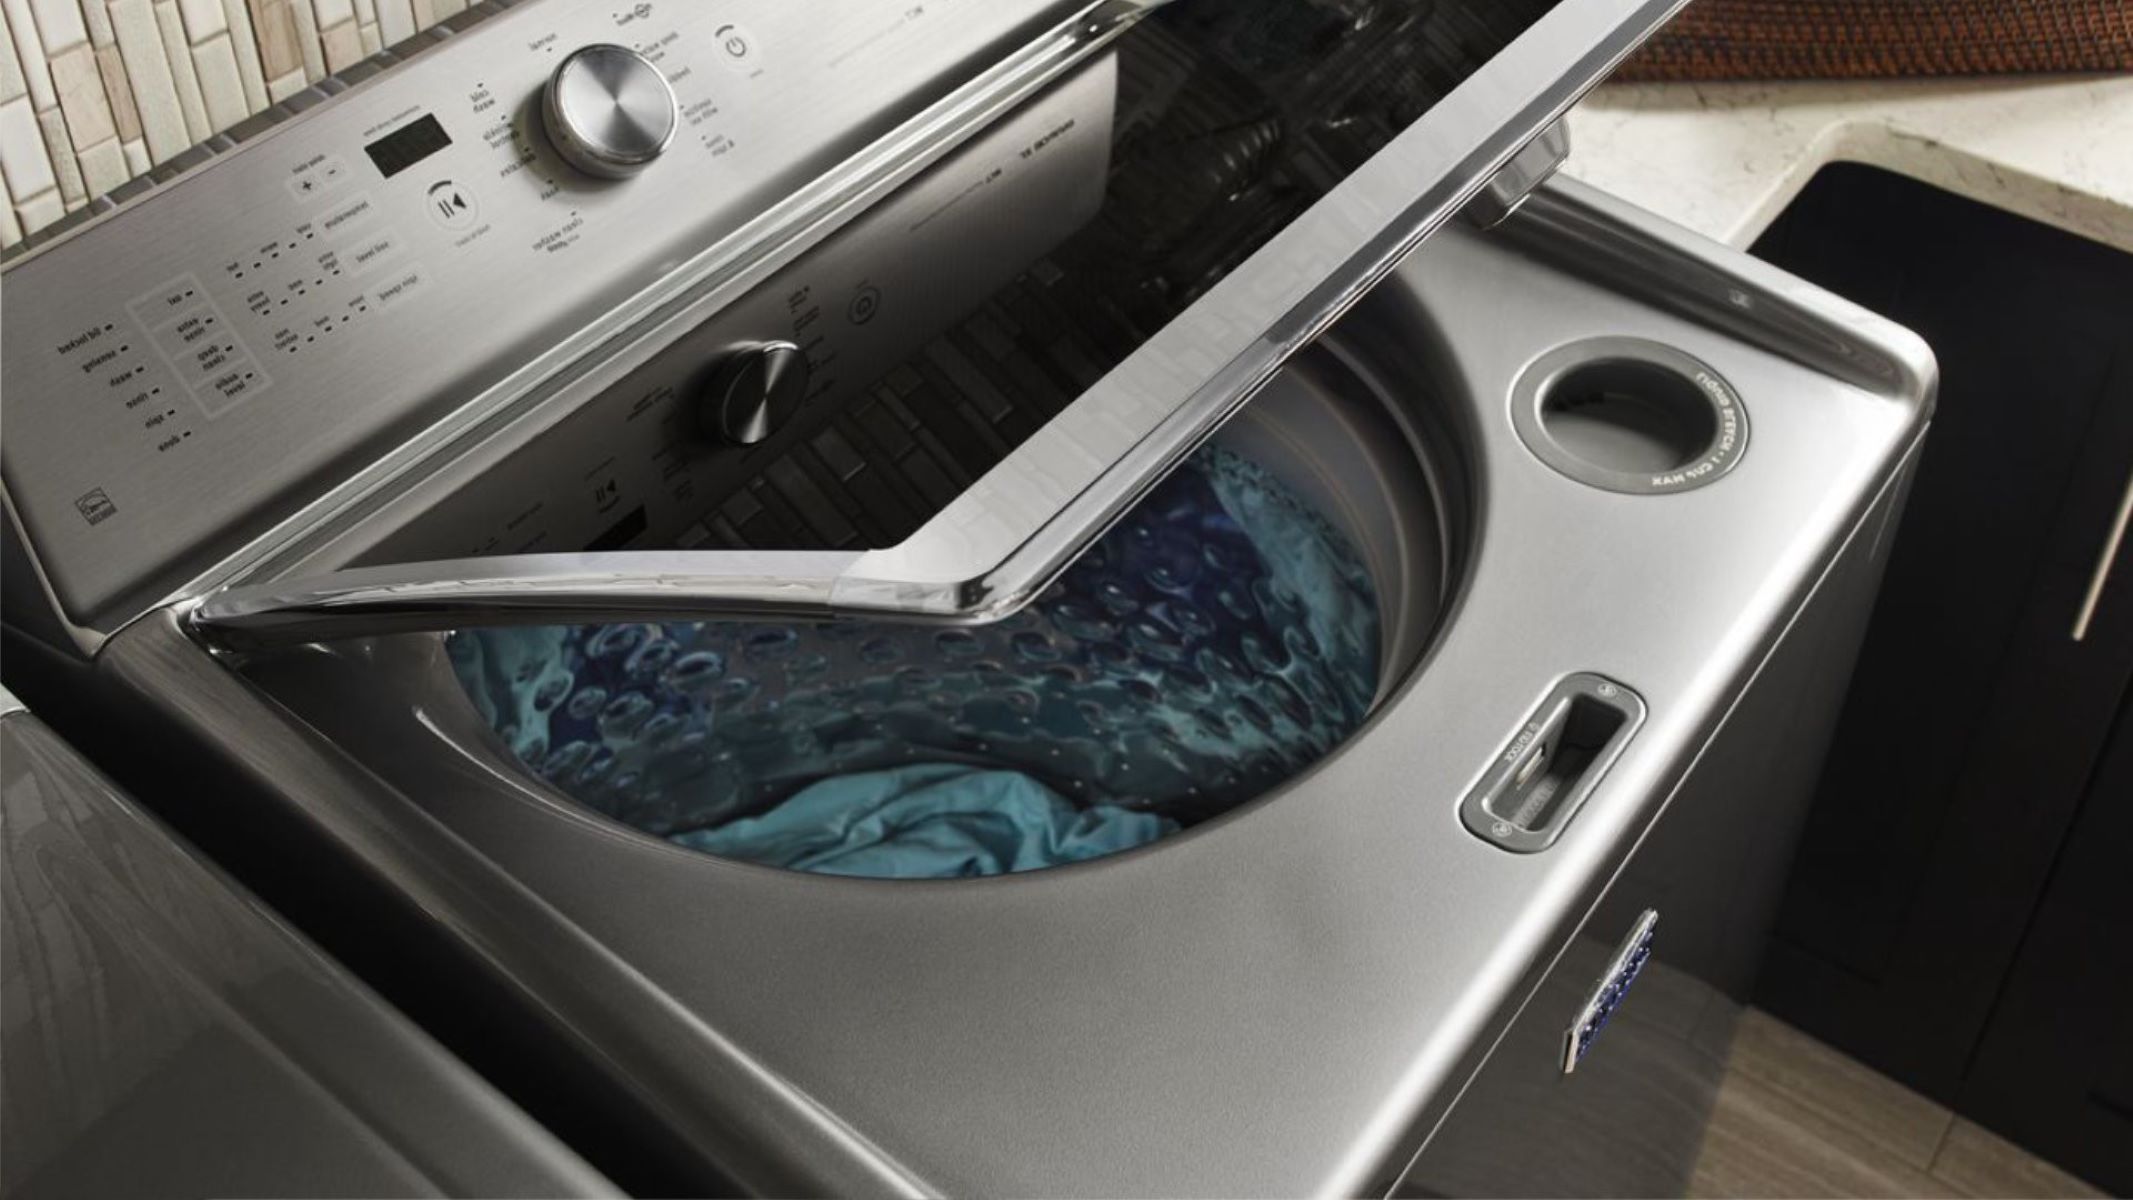
Common Issues with Spin Cycle
The spin cycle is a crucial part of a washing machine's operation, as it helps to remove excess water from the clothes before they are ready for drying. However, there are times when the spin cycle may encounter issues, causing inconvenience and frustration for users. Understanding the common problems associated with the spin cycle can help in identifying and resolving them effectively.
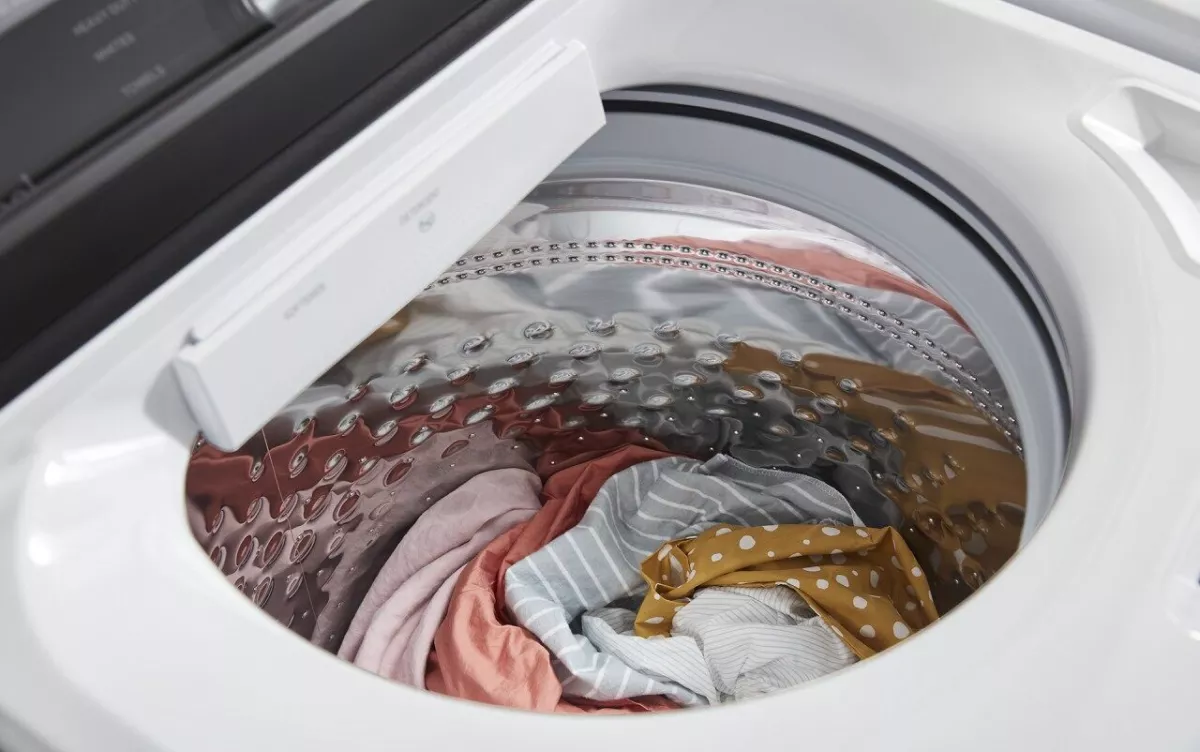
One of the most prevalent issues with the spin cycle is unbalanced loads. When the laundry inside the machine is unevenly distributed, it can lead to excessive vibration during the spin cycle. This not only affects the machine's performance but can also cause damage to the internal components over time. Additionally, an unbalanced load can result in the machine's automatic balancing system to kick in, prolonging the cycle and potentially leaving clothes inadequately spun.
Another common issue that can affect the spin cycle is a worn-out or damaged drive belt. The drive belt is responsible for transferring power from the motor to the drum, enabling the spin cycle to function smoothly. Over time, the belt may become worn, frayed, or stretched, leading to slippage or complete failure during the spin cycle. This can result in the drum not spinning at the required speed or not spinning at all, leaving clothes dripping wet at the end of the cycle.
Furthermore, a clogged or obstructed drain filter can also impede the spin cycle's effectiveness. The drain filter is designed to trap lint, debris, and foreign objects to prevent them from entering the drain pump. However, when the filter becomes clogged, it restricts the flow of water out of the machine, leading to drainage issues and affecting the spin cycle's performance. Regularly cleaning and maintaining the drain filter is essential to ensure optimal washing machine functionality.
Additionally, improperly adjusted leveling feet can contribute to spin cycle problems. If the washing machine is not sitting level on the floor, it can lead to excessive vibration and movement during the spin cycle. This not only affects the machine's stability but can also result in loud noises and potential damage to the internal components. Ensuring that the leveling feet are properly adjusted to stabilize the machine is crucial for a smooth and efficient spin cycle.
Understanding these common issues with the spin cycle empowers users to troubleshoot and address them effectively, ensuring the washing machine operates at its best. By identifying the root cause of spin cycle problems and taking proactive measures to resolve them, users can maintain the performance and longevity of their washing machines.
Key Takeaways:
- Unevenly distributed laundry can cause washing machine spin cycle issues. Check for balanced loads, adjust leveling feet, and choose appropriate wash cycles to prevent excessive vibration and potential damage.
- Regularly cleaning the drain filter and inspecting the drive belt can help maintain a washing machine’s spin cycle effectiveness. These simple maintenance tasks contribute to smoother operation and longer appliance lifespan.
Read more: What Is Sanitize Cycle On Washer
Checking for Unbalanced Load
Checking for an unbalanced load is a fundamental step in troubleshooting spin cycle issues with a washing machine. An unbalanced load occurs when the laundry inside the machine is unevenly distributed, causing the drum to spin erratically and produce excessive vibration. This not only affects the washing machine's performance but can also lead to potential damage to its internal components over time.
To check for an unbalanced load, start by pausing the washing machine mid-cycle. Open the door and carefully redistribute the laundry inside the drum. Ensure that the weight of the clothes is evenly distributed around the drum's circumference. Large items such as blankets or comforters should be positioned opposite each other to balance the load effectively. Once the laundry is rearranged, close the door and resume the cycle.
If the washing machine continues to exhibit signs of an unbalanced load, it may be necessary to remove some items from the drum and run a separate spin cycle for the remaining laundry. This allows for better distribution of weight and reduces the likelihood of the machine experiencing excessive vibration during the spin cycle.
In addition to redistributing the laundry, it's essential to ensure that the washing machine is placed on a level surface. Uneven flooring can contribute to the occurrence of unbalanced loads, as the machine may tilt or wobble during operation. Using a spirit level, check the machine's horizontal and vertical alignment, adjusting the leveling feet as needed to stabilize the unit.
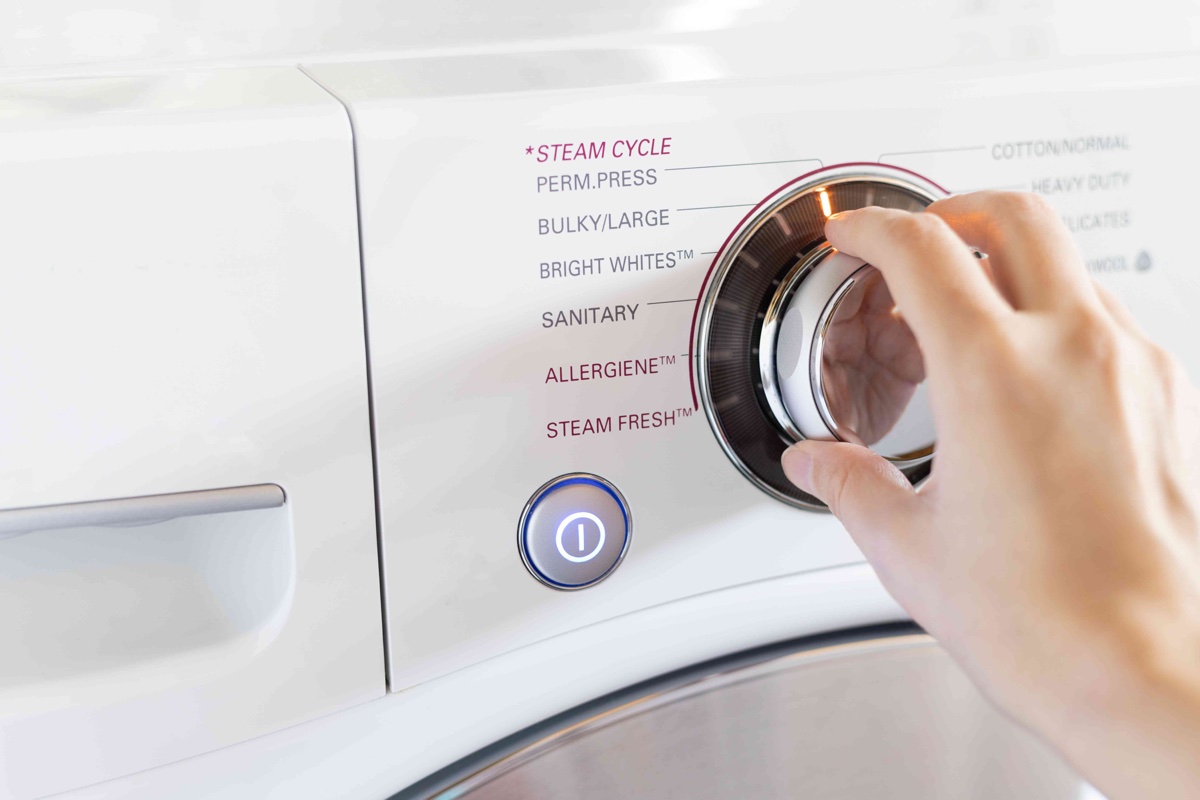
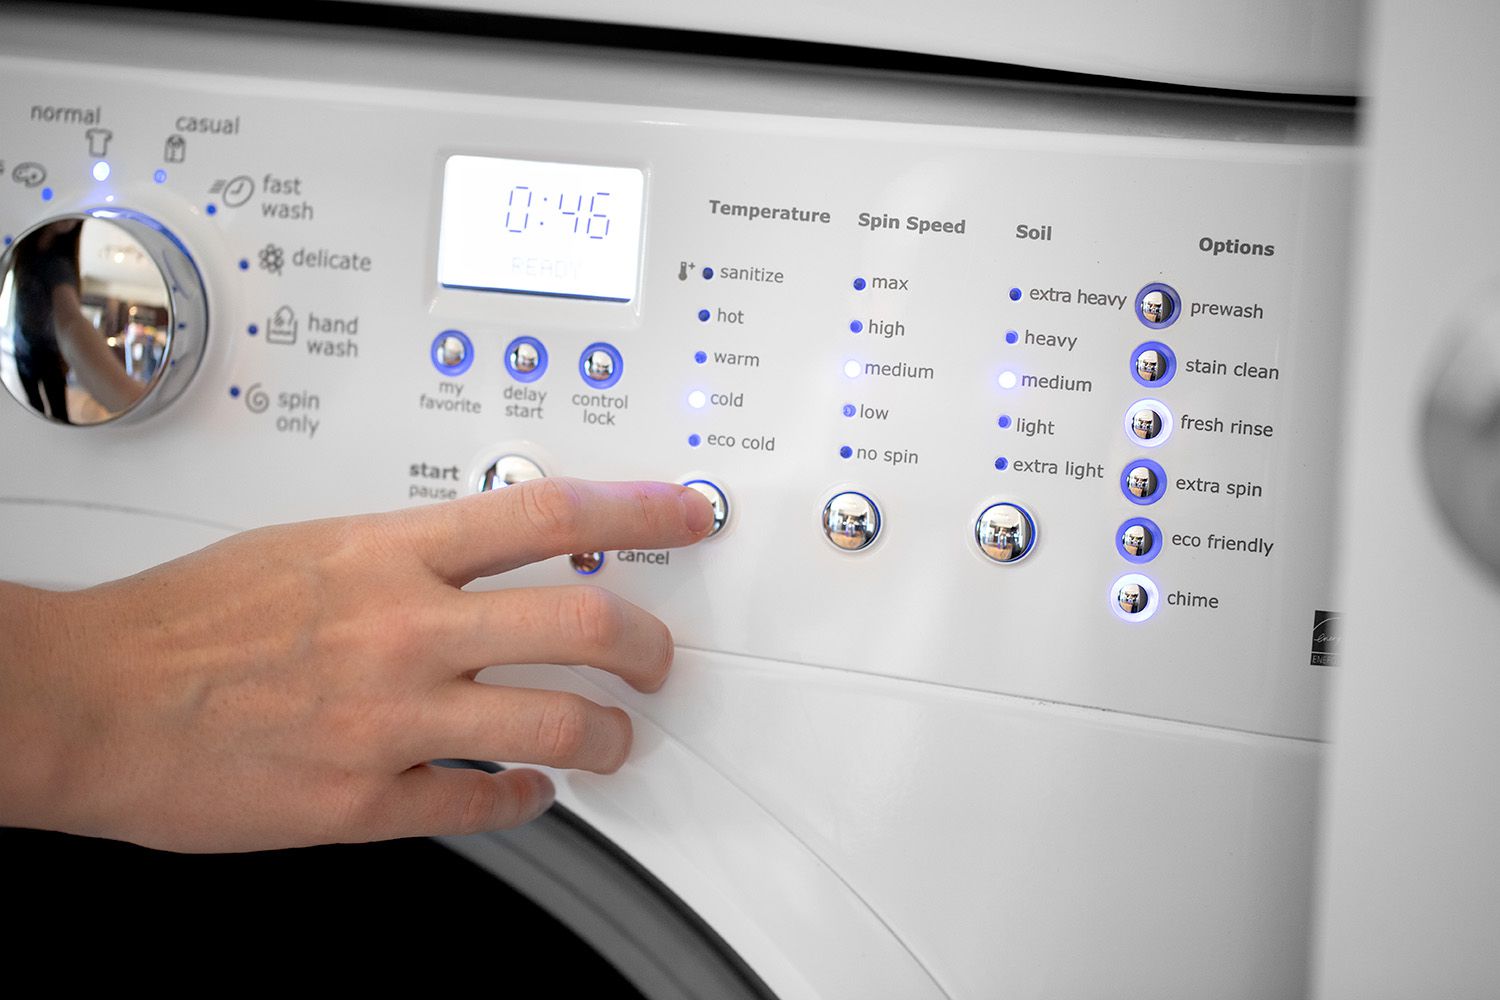
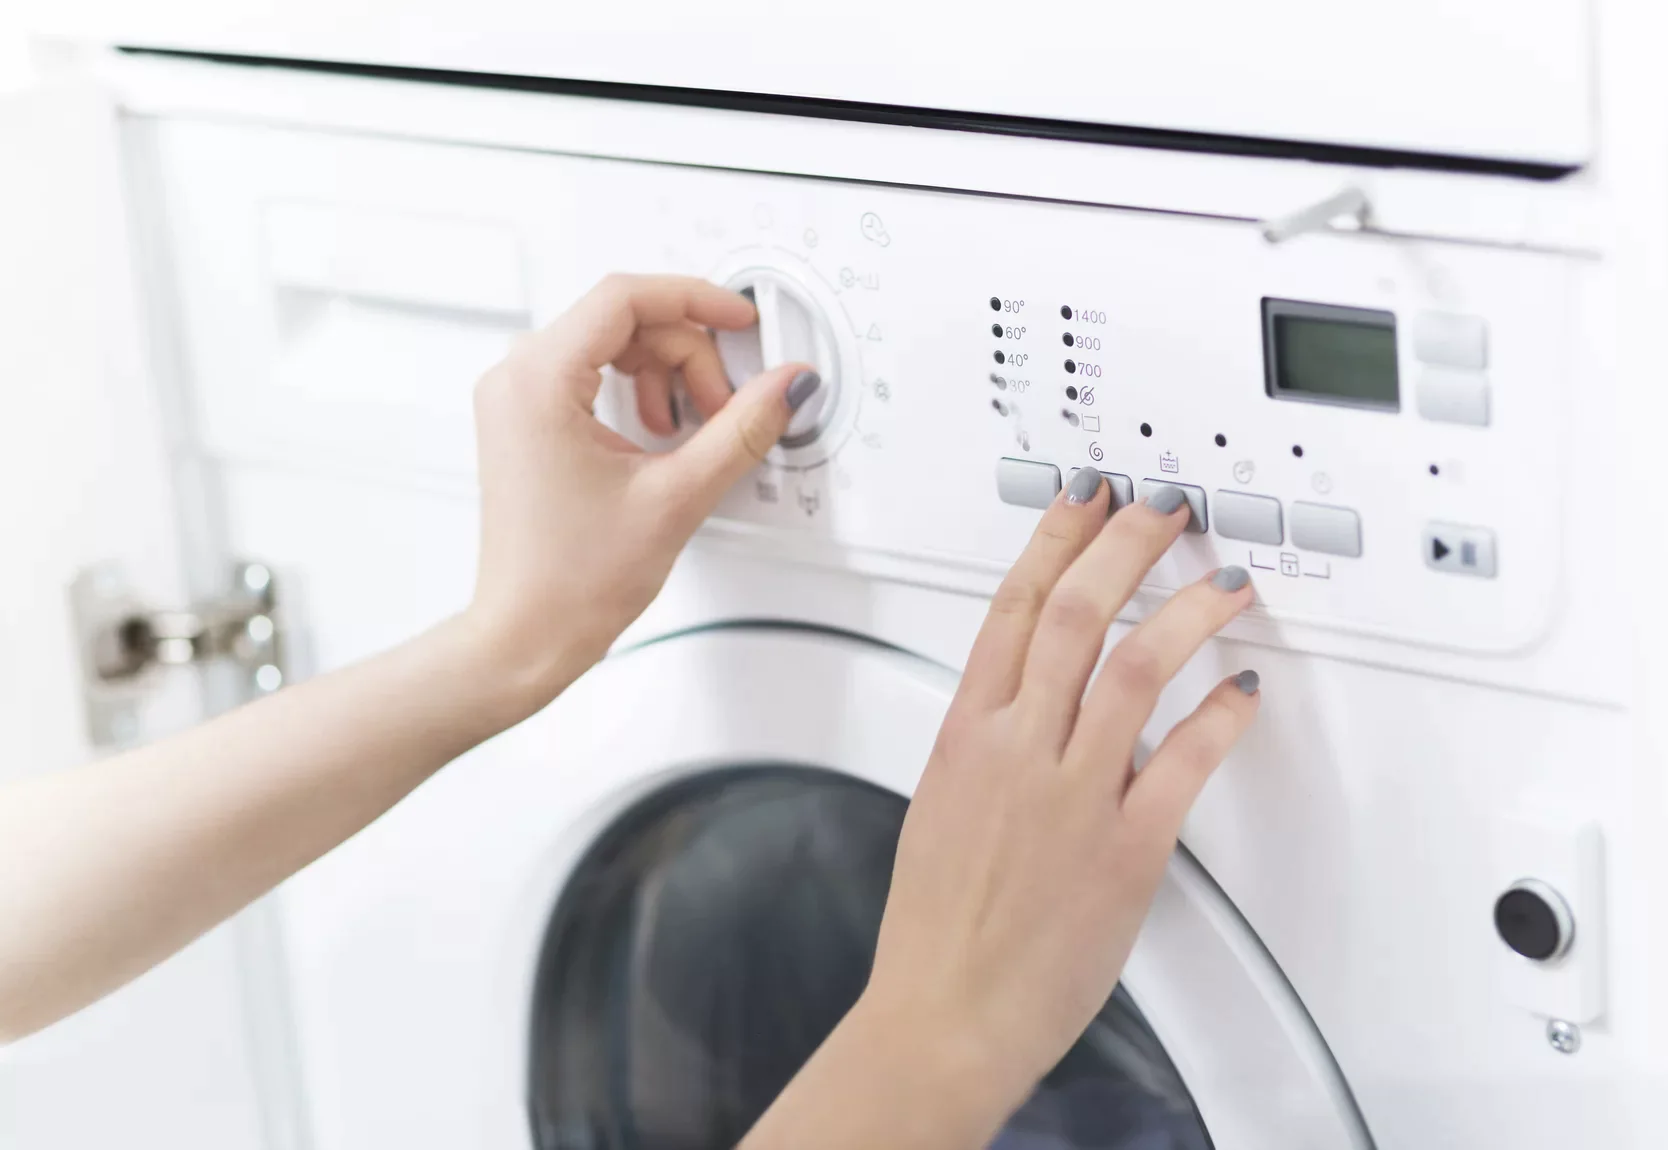
Furthermore, selecting the appropriate wash cycle for the specific load size can help prevent unbalanced loads. Modern washing machines offer various cycle options designed to accommodate different load capacities. Choosing the correct cycle for the amount of laundry being washed can minimize the risk of an unbalanced load and promote smoother spin cycle operation.
Regularly inspecting and addressing unbalanced loads not only ensures the efficient performance of the washing machine but also contributes to its longevity. By taking proactive measures to prevent and resolve unbalanced load issues, users can enjoy consistently effective spin cycles and maintain the overall functionality of their washing machines.
Inspecting the Drive Belt
Inspecting the drive belt is a crucial step in troubleshooting spin cycle issues with a washing machine. The drive belt plays a pivotal role in transferring power from the motor to the drum, enabling the spin cycle to function seamlessly. Over time, the drive belt may experience wear and tear, leading to issues such as slippage or complete failure during the spin cycle.
To inspect the drive belt, start by unplugging the washing machine and locating the access panel at the back of the unit. Depending on the model, removing the panel may require a screwdriver or a simple release mechanism. Once the access panel is removed, the drive belt, which is typically located around the drum and motor pulleys, becomes visible.
Carefully examine the drive belt for any signs of wear, fraying, or stretching. A worn-out drive belt may appear cracked, glazed, or excessively loose. Additionally, it's essential to check for any debris or foreign objects that may have become lodged in the belt, potentially causing it to slip or malfunction during the spin cycle.
In some cases, manually rotating the drum can provide a clearer view of the drive belt and its condition. While doing so, observe the belt for any irregularities in its movement or alignment. A properly functioning drive belt should maintain consistent tension and alignment as the drum rotates.
If the drive belt shows visible signs of wear or damage, it is advisable to replace it with a compatible replacement belt. Most washing machine manufacturers provide specific guidelines for replacing the drive belt, including the appropriate belt size and installation instructions. It's crucial to follow these guidelines meticulously to ensure the correct fitting and tension of the new belt.
After replacing the drive belt, it's recommended to manually rotate the drum to confirm that the belt is properly aligned and functioning smoothly. This helps in verifying that the new belt is correctly installed and ready to facilitate the spin cycle effectively.
Regular inspection and maintenance of the drive belt can significantly contribute to the overall performance and longevity of the washing machine. By promptly addressing any issues related to the drive belt, users can ensure that the spin cycle operates optimally, resulting in thoroughly spun clothes and a well-maintained washing machine.
Check if the load is balanced and not too heavy. Make sure the machine is level and the floor is stable. Clean the drain pump filter and check for any blockages in the drain hose. If the issue persists, call a professional for further inspection.
Cleaning the Drain Filter
Cleaning the drain filter is a crucial maintenance task that can significantly impact the effectiveness of the spin cycle in a washing machine. The drain filter serves as a barrier to prevent lint, debris, and foreign objects from entering the drain pump, ensuring smooth water drainage during the washing and spinning cycles. Over time, the filter can become clogged with accumulated lint, hair, and other residues, impeding water flow and hindering the spin cycle's performance.
To begin the cleaning process, it is essential to locate the drain filter, which is typically situated behind a small access door at the front or bottom of the washing machine. Some models may require the removal of a panel or access cap to reach the filter. Once the filter is accessible, it can be carefully unscrewed or released, allowing for inspection and cleaning.
Before removing the drain filter, it is advisable to place a towel or shallow container beneath it to catch any residual water that may drain out. This helps prevent potential spills and keeps the surrounding area clean during the maintenance procedure. With the necessary precautions in place, the filter can be unscrewed or unclasped, revealing the accumulated debris within.
Upon inspecting the drain filter, it is common to find a buildup of lint, fabric remnants, and other materials that have been captured during previous wash cycles. Using a soft-bristled brush or a cloth, the filter can be gently cleaned to dislodge and remove the trapped debris. Additionally, rinsing the filter under running water can help eliminate stubborn residues and restore its functionality.
While cleaning the drain filter, it is essential to inspect the filter housing and the surrounding area for any additional debris or obstructions. Clearing any accumulated residues from the filter compartment ensures unobstructed water flow and promotes efficient drainage during the spin cycle.
Once the drain filter and its housing are thoroughly cleaned, they can be reinstalled securely, ensuring a proper seal to prevent leaks. It is important to tighten the filter securely but avoid over-tightening, as this can lead to difficulties during future removal and maintenance.
Regularly cleaning the drain filter, ideally every few months, is essential for maintaining the washing machine's optimal performance. By preventing the accumulation of debris and ensuring unimpeded water drainage, a clean drain filter contributes to a smooth and effective spin cycle, resulting in well-spun clothes and a well-maintained washing machine.
Adjusting the Leveling Feet
Properly adjusting the leveling feet of a washing machine is a fundamental aspect of ensuring its stability and optimal performance during the spin cycle. The leveling feet, typically located at the base of the appliance, play a crucial role in balancing the unit on uneven surfaces, preventing excessive vibration, and minimizing movement during operation.
To begin the process of adjusting the leveling feet, it is essential to first identify their location. Most washing machines are equipped with four leveling feet, with two located at the front and two at the rear. These feet are often adjustable, allowing users to raise or lower them to achieve the desired level and stability.
Using a spirit level, place it on top of the washing machine to determine its current levelness. If the bubble within the spirit level is off-center, it indicates that the machine is not sitting level on the floor. This imbalance can lead to excessive vibration and movement during the spin cycle, affecting the overall performance of the appliance.
To adjust the leveling feet, start by using a wrench or pliers to loosen the lock nuts located at the base of each foot. Once the lock nuts are loosened, the feet can be turned clockwise to raise them or counterclockwise to lower them. Carefully adjust each foot as needed, periodically checking the levelness of the machine with the spirit level to ensure proper alignment.
It is important to make gradual adjustments to the leveling feet, as sudden or drastic changes can lead to instability and uneven weight distribution. By making incremental adjustments and regularly checking the levelness, users can achieve the desired balance and stability for the washing machine.
After adjusting the leveling feet to achieve a level position, it is crucial to tighten the lock nuts to secure the feet in place. This helps prevent the feet from shifting or unscrewing during the machine's operation, maintaining the desired levelness and stability.
Additionally, it is advisable to periodically recheck the levelness of the washing machine, especially after moving or repositioning the appliance. Changes in the floor surface or the machine's location can impact its levelness, necessitating readjustment of the leveling feet to maintain stability and optimal performance during the spin cycle.
By ensuring that the washing machine is sitting level on the floor, users can minimize vibration, reduce noise, and promote smooth operation during the spin cycle. Properly adjusted leveling feet contribute to the overall stability and longevity of the appliance, enhancing the user experience and the effectiveness of the spin cycle.
Regular maintenance of the leveling feet, including periodic checks and adjustments, is essential for preserving the optimal performance and stability of the washing machine. By incorporating this simple yet crucial maintenance task into the appliance care routine, users can enjoy consistently effective spin cycles and a well-maintained washing machine.
Frequently Asked Questions about How To Fix Spin Cycle On A Washing Machine
Was this page helpful?
At Storables.com, we guarantee accurate and reliable information. Our content, validated by Expert Board Contributors, is crafted following stringent Editorial Policies. We're committed to providing you with well-researched, expert-backed insights for all your informational needs.


0 thoughts on “How To Fix Spin Cycle On A Washing Machine”