Home>Home Appliances>Laundry Appliances>How To Fix The Washing Machine
Laundry Appliances
How To Fix The Washing Machine
Modified: October 21, 2024
Learn how to fix your laundry appliances with our step-by-step guide. Get your washing machine up and running in no time with our expert tips.
(Many of the links in this article redirect to a specific reviewed product. Your purchase of these products through affiliate links helps to generate commission for Storables.com, at no extra cost. Learn more)
Common Washing Machine Problems
Washing machines are essential appliances that simplify our laundry routines. However, like any other mechanical device, they are prone to issues that can disrupt their functionality. Understanding the common problems that can arise with washing machines is crucial for effective troubleshooting and maintenance. Here are some of the most prevalent issues that you may encounter:
-
Leakage: One of the most common problems with washing machines is water leakage. This can occur due to damaged door seals, clogged drain hoses, or faulty water inlet valves. Identifying the source of the leakage is essential for addressing the issue promptly.
-
Unusual Noises: If your washing machine is producing unusual noises such as banging, grinding, or squealing during the wash cycle, it could indicate a problem with the drum bearings, drive belt, or motor. Ignoring these noises can lead to further damage and costly repairs.
-
Failure to Drain: When the washing machine fails to drain properly, it can result in water pooling inside the drum or on the floor. This issue is often caused by a clogged drain pump, obstructed drain hose, or a malfunctioning pump motor.
-
Poor Spin Performance: If your washing machine is unable to spin the laundry effectively, it may leave clothes excessively wet at the end of the cycle. This can be attributed to a worn-out drive belt, defective door latch, or issues with the motor or motor control board.
-
Overfilling or Underfilling: Inconsistent water levels during the wash cycle can be indicative of a faulty water level pressure switch or a malfunctioning electronic control board. This can lead to inadequate cleaning or potential flooding, necessitating immediate attention.
-
Foul Odors: Lingering odors in the washing machine can be caused by the accumulation of mold, mildew, or detergent residue. Regular cleaning and maintenance are essential for preventing unpleasant smells and ensuring hygienic laundry results.
Understanding these common washing machine problems empowers you to take proactive measures to address issues as they arise. By familiarizing yourself with these potential issues, you can effectively troubleshoot your washing machine and prevent minor problems from escalating into major malfunctions. Regular maintenance and timely repairs are key to ensuring the longevity and optimal performance of your washing machine.
Key Takeaways:
- Regular maintenance and timely repairs are crucial for keeping your washing machine running smoothly. By cleaning filters, inspecting components, and testing the motor, you can prevent malfunctions and ensure efficient laundry results.
- Understanding common washing machine problems empowers you to troubleshoot effectively. With the right tools and materials, you can diagnose issues, check power supply, inspect water inlet, and maintain the appliance for optimal performance.
Read more: How To Fix A Leaking Washer
Tools and Materials Needed
When it comes to troubleshooting and fixing common washing machine problems, having the right tools and materials at your disposal is essential. Whether you're addressing a leak, diagnosing electrical issues, or performing routine maintenance, the following tools and materials will enable you to effectively manage various washing machine issues.
Tools:
- Screwdriver Set: A versatile screwdriver set with both flathead and Phillips head options is indispensable for accessing and disassembling different components of the washing machine.
- Adjustable Wrench: This tool is essential for tightening or loosening nuts, bolts, and hose fittings during repairs and maintenance tasks.
- Pliers: Needle-nose pliers and slip-joint pliers are useful for gripping, bending, and securing various components within the washing machine.
- Multimeter: An electrical multimeter allows you to test for continuity, voltage, and resistance, aiding in the diagnosis of electrical issues within the washing machine.
- Flashlight: A reliable flashlight is crucial for illuminating the internal components of the washing machine, especially in dimly lit laundry areas.
Materials:
- Replacement Parts: It's advisable to keep a stock of commonly replaced parts such as door seals, drain hoses, water inlet valves, and drive belts to facilitate prompt repairs.
- Cleaning Agents: Vinegar, baking soda, and specialized washing machine cleaners are essential for removing mold, mildew, and detergent residue that can cause foul odors and affect the machine's performance.
- Lubricants: Silicone lubricant or white lithium grease can be used to lubricate moving parts such as bearings, pulleys, and hinges, reducing friction and prolonging the lifespan of these components.
- Safety Equipment: Protective gloves and safety goggles are crucial for safeguarding yourself against sharp edges, electrical hazards, and chemical exposure during maintenance and repair tasks.
- Owner's Manual: While not a physical tool or material, the owner's manual is an invaluable resource for understanding the specific components and operational details of your washing machine.
By ensuring that you have these essential tools and materials on hand, you can approach washing machine maintenance and repairs with confidence and efficiency. Being prepared with the right equipment and supplies empowers you to tackle a wide range of issues, from minor adjustments to more complex repairs, ultimately contributing to the optimal functioning and longevity of your washing machine.
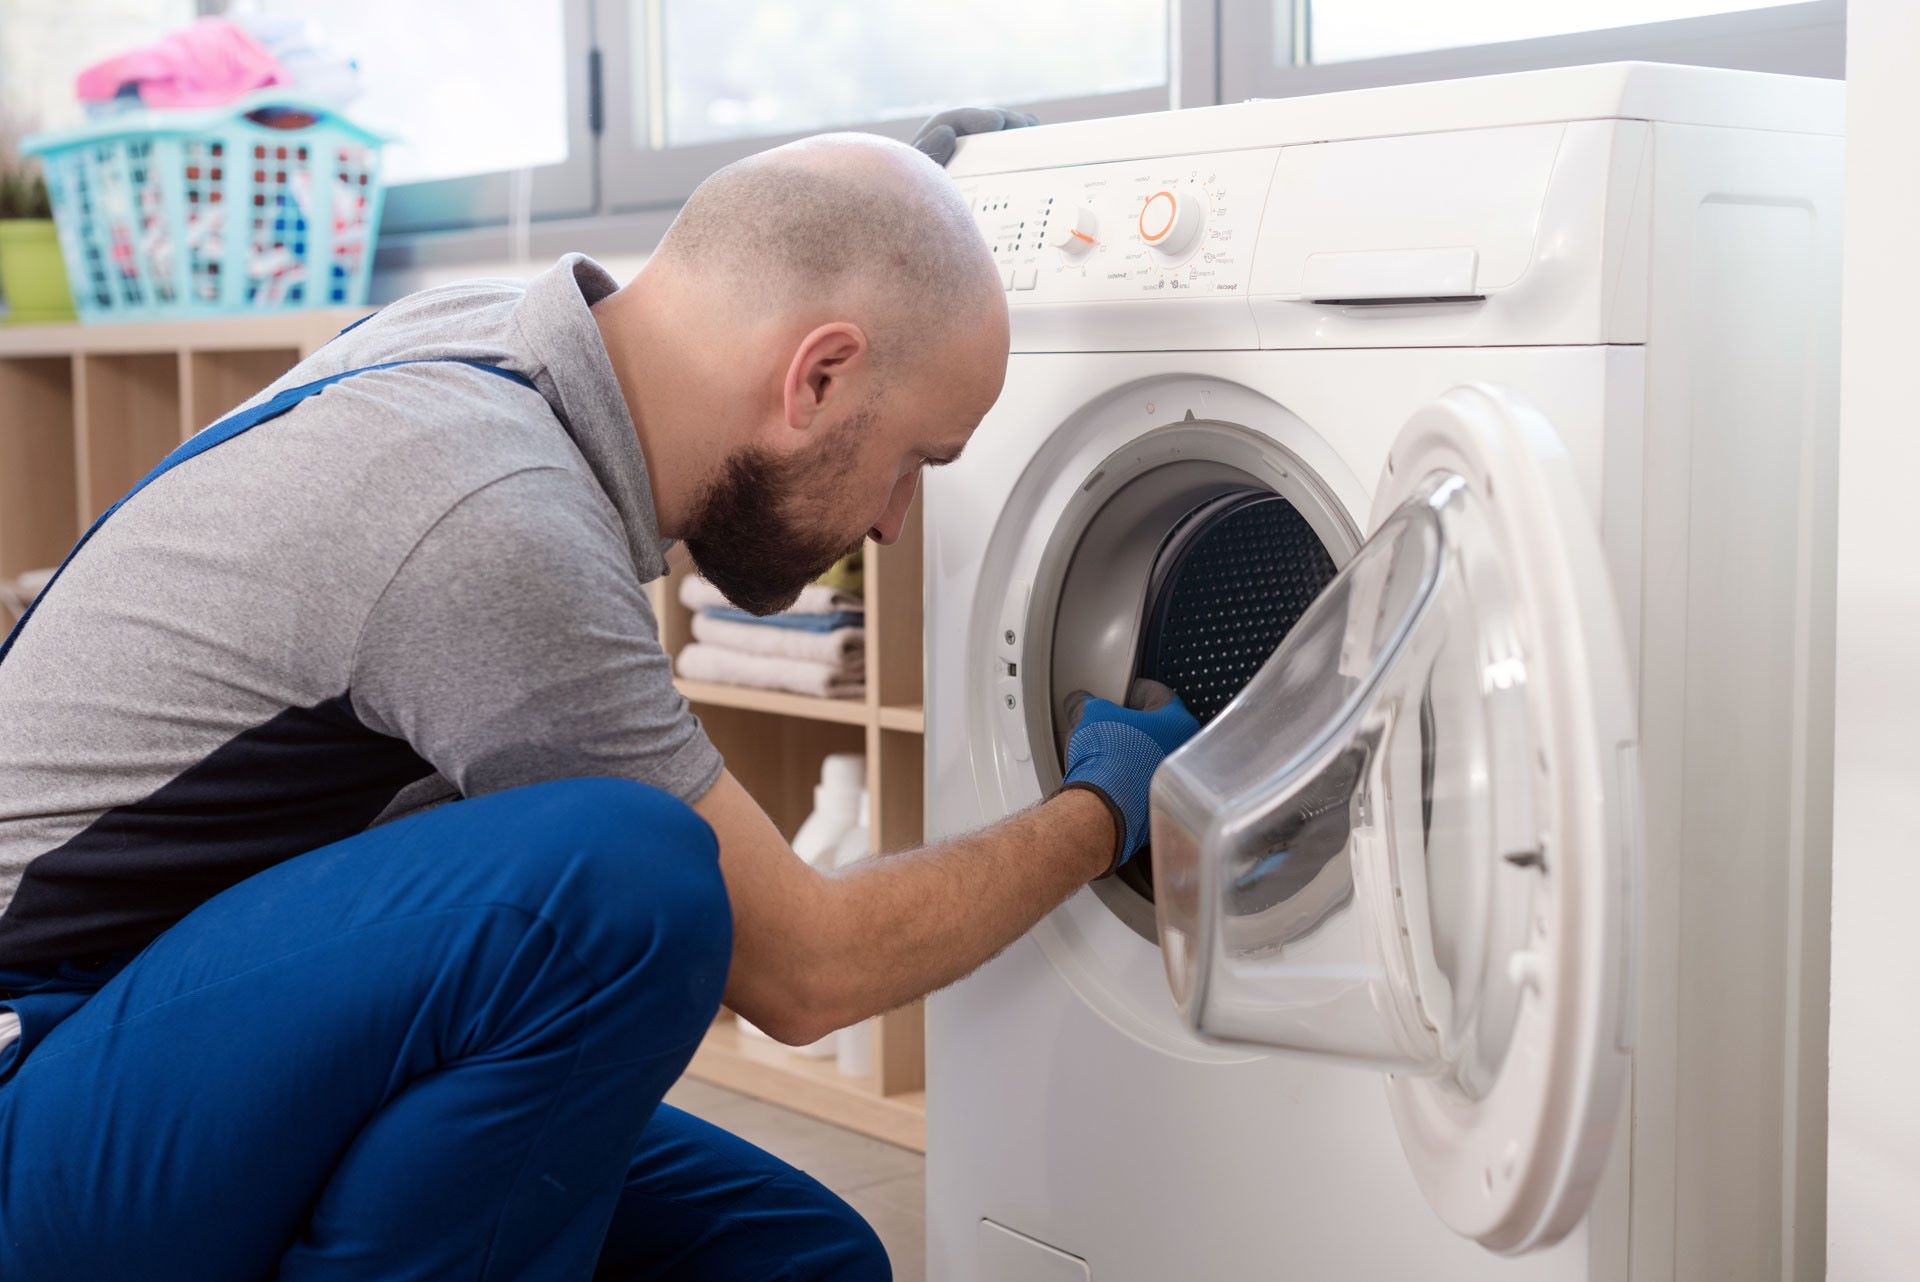
Step 1: Diagnosing the Issue
Before diving into the repair process, it's crucial to accurately diagnose the problem affecting your washing machine. A systematic approach to diagnosing the issue can save time and effort by ensuring that the root cause is identified and addressed effectively. Here's a detailed guide on how to diagnose common washing machine problems:
Read more: How To Fix A Washer Machine
1.1: Observation and Documentation
Start by observing the washing machine during a complete wash cycle. Take note of any unusual sounds, leaks, or malfunctions that occur. Documenting these observations can provide valuable insights when communicating with technicians or referencing troubleshooting guides.
1.2: Error Codes and Indicators
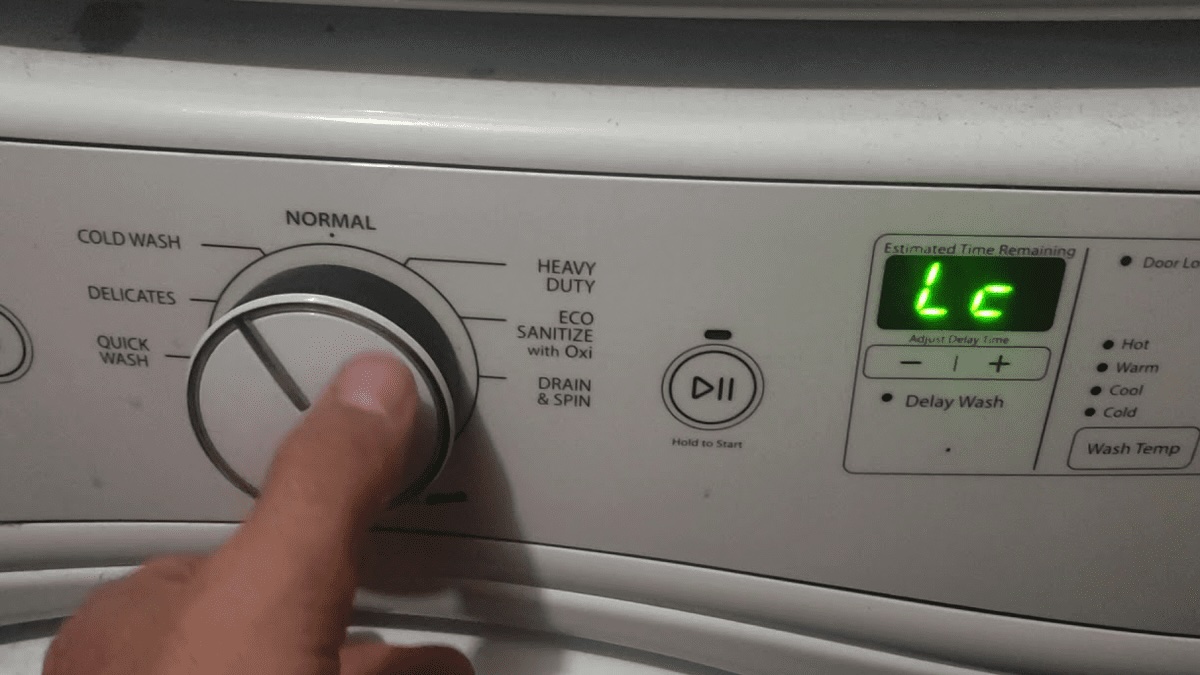
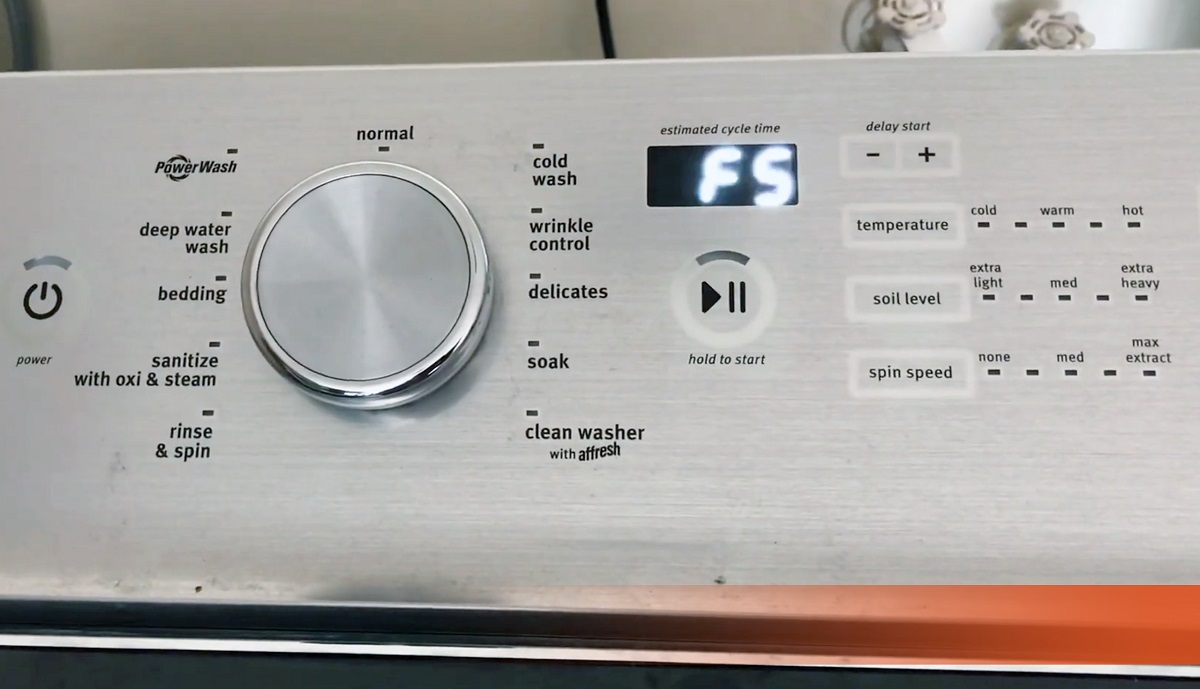
Many modern washing machines are equipped with error code displays or indicator lights that can help pinpoint specific issues. Refer to the owner's manual to interpret these codes and understand their implications for diagnosing the problem.
1.3: External Inspection
Inspect the exterior of the washing machine for visible signs of damage, wear, or leaks. Check the door seal, control panel, and detergent dispenser for any indications of deterioration or malfunction.
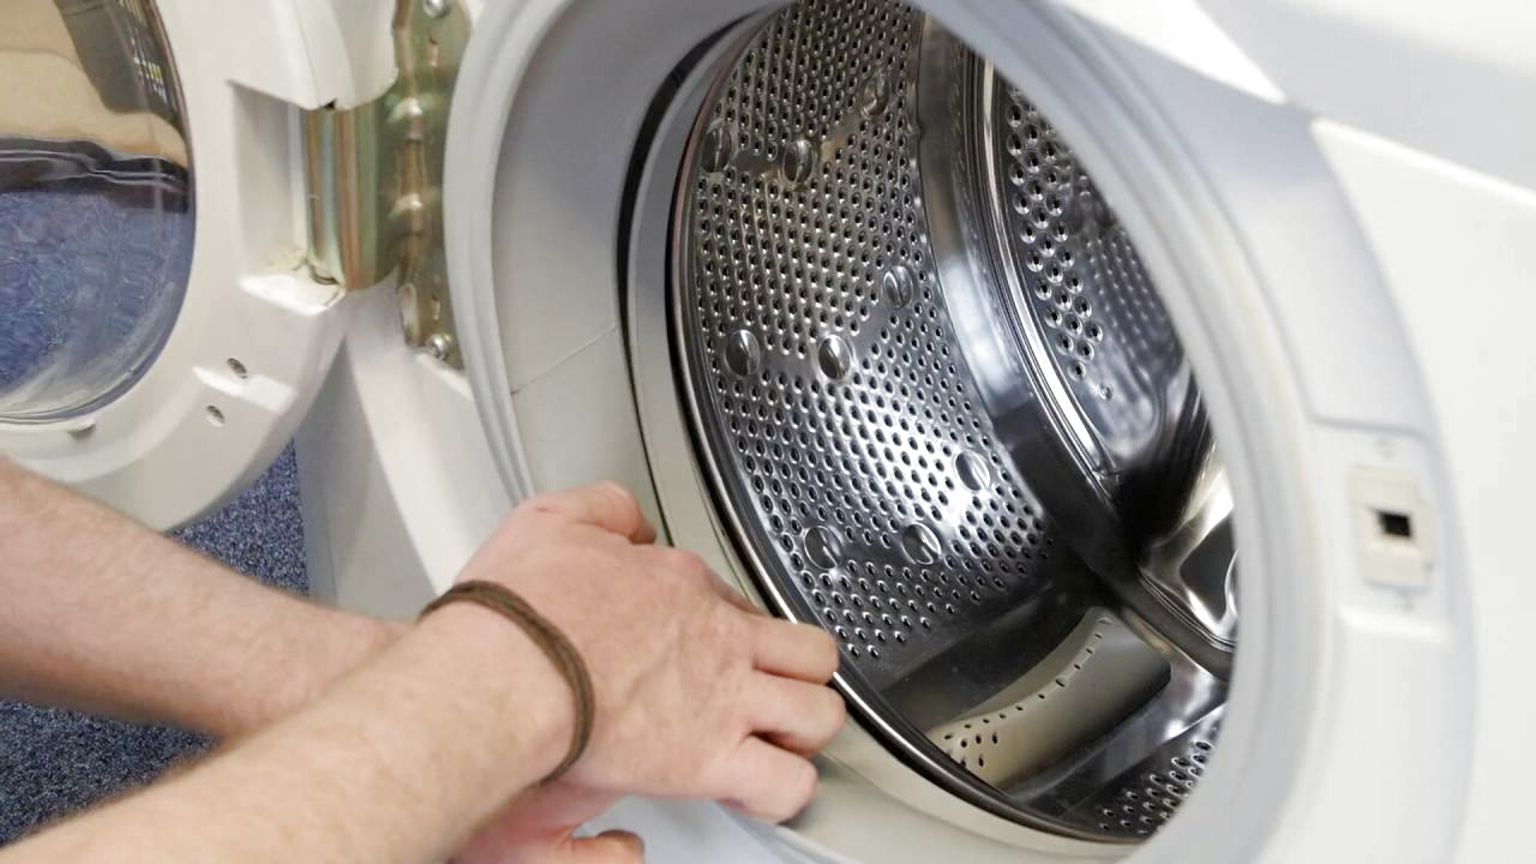
1.4: Internal Component Examination
Carefully open the washing machine's access panels to examine internal components such as the drum, motor, drive belt, and water inlet valves. Look for loose connections, damaged parts, or foreign objects that may be impeding the machine's operation.
Read more: How To Fix A Kenmore Washer
1.5: Functional Tests
Conduct functional tests to assess specific aspects of the washing machine's performance. This may involve running a spin cycle to evaluate the drum's rotation, testing the water inlet and drain functions, and observing the operation of the control panel and electronic settings.
1.6: Consultation and Research
If the issue remains unresolved, consider consulting online resources, manufacturer's support channels, or community forums to gather insights from others who have encountered similar problems. Additionally, reaching out to professional technicians or repair services can provide expert guidance on diagnosing complex issues.
By meticulously following these steps, you can effectively diagnose the issue affecting your washing machine. Accurate diagnosis lays the foundation for targeted repairs and maintenance, ultimately contributing to the efficient restoration of your washing machine's functionality.
Step 2: Checking the Power Supply
Ensuring a consistent and reliable power supply is essential for the optimal performance of your washing machine. When encountering issues such as failure to start, erratic operation, or unresponsive controls, it's imperative to assess the power supply to identify potential underlying problems. Here's a comprehensive guide on how to methodically check the power supply of your washing machine:
2.1: Power Outlet Inspection
Begin by examining the power outlet to which the washing machine is connected. Verify that the outlet is functioning correctly by plugging in another electrical device. If the alternate device does not receive power, the outlet may be faulty, necessitating repairs or professional inspection by a qualified electrician.
Read more: How To Fix A Ge Washing Machine
2.2: Power Cord Examination
Inspect the power cord of the washing machine for any visible signs of damage, fraying, or wear. Ensure that the cord is securely connected to the appliance and that the plug is inserted fully into the power outlet. If the power cord shows signs of wear or damage, it should be replaced to prevent electrical hazards and ensure a reliable power connection.
2.3: Voltage and Current Testing
Utilize a multimeter to measure the voltage and current at the power outlet. Verify that the voltage output aligns with the specifications outlined in the washing machine's manual. Fluctuations or deviations from the recommended voltage range can adversely affect the appliance's operation and may indicate issues with the electrical supply.
2.4: Circuit Breaker and Fuses
Check the circuit breaker or fuse box to ensure that the circuit supplying power to the washing machine has not tripped or blown a fuse. If a tripped breaker or blown fuse is identified, reset the breaker or replace the fuse as per the manufacturer's guidelines. Additionally, investigate the underlying cause of the electrical overload to prevent future disruptions.
2.5: Grounding and Wiring
Inspect the grounding of the washing machine to verify that it is properly connected to a grounded outlet. Furthermore, examine the internal wiring of the appliance for any loose connections, exposed wires, or signs of electrical damage. Any compromised wiring should be addressed promptly to mitigate safety risks and ensure consistent power supply.
By meticulously conducting these power supply checks, you can identify and address potential electrical issues that may be affecting the performance of your washing machine. A stable and adequate power supply is fundamental to the proper functioning of the appliance, and proactive assessment of the power source can contribute to the longevity and reliability of your washing machine.
Read more: How To Fix A Washing Machine Timer
Step 3: Inspecting the Water Inlet
The water inlet system of a washing machine plays a pivotal role in facilitating the entry of water for the laundry cycles. When encountering issues such as inadequate water supply, slow filling, or water leakage, a thorough inspection of the water inlet components is essential to identify and address potential malfunctions. Here's a detailed guide on how to systematically inspect the water inlet of your washing machine:
3.1: External Examination
Commence the inspection by visually examining the water inlet hose and valve for any signs of damage, wear, or blockages. Check for kinks, cracks, or deterioration along the length of the hose, ensuring that it is securely connected to both the washing machine and the water supply source. Additionally, assess the condition of the inlet valve, looking for indications of corrosion, mineral deposits, or leaks.
3.2: Water Supply Verification
Confirm that the water supply to the washing machine is adequate and unrestricted. Turn off the water supply valves, disconnect the inlet hose, and place the open end into a bucket or sink. Gradually open the water supply valves and observe the flow rate and consistency. Irregular or weak water flow may indicate obstructions within the supply lines or issues with the water pressure, necessitating further investigation.
3.3: Filter and Screens Inspection
Many washing machines are equipped with inlet filters or screens designed to trap sediment and debris from the water supply. Locate the filter or screen at the connection point of the inlet hose and valve, and carefully remove it for inspection. Clean any accumulated debris or mineral deposits, ensuring that the filter is free from obstructions that could impede water flow.
Read more: How To Fix A LG Washing Machine
3.4: Valve Functionality Testing
Test the functionality of the water inlet valve by initiating a wash cycle and observing the water entry process. Listen for the distinct sound of the valve opening and closing as water is dispensed into the machine. If the valve fails to open or close properly, or if it emits unusual noises, it may be defective and require replacement to restore optimal water inlet functionality.
3.5: Hose Reinstallation and Leak Check
After completing the inspection and any necessary maintenance, reattach the water inlet hose to the washing machine and secure it tightly. Turn on the water supply valves and check for leaks at the hose connections and the inlet valve. Address any leaks promptly to prevent water damage and ensure a reliable water inlet system.
By meticulously following these steps, you can effectively inspect the water inlet of your washing machine, identify potential issues, and perform necessary maintenance to restore optimal water supply functionality. A well-maintained water inlet system contributes to the efficient operation of the washing machine, ensuring consistent water flow and reliable performance during laundry cycles.
Step 4: Cleaning the Filter
Cleaning the filter of your washing machine is a crucial maintenance task that helps ensure the efficient and uninterrupted flow of water into the appliance. Over time, the filter can become clogged with debris, sediment, and mineral deposits, hindering the water inlet process and potentially leading to issues such as slow filling or inadequate water supply. By following a systematic approach to cleaning the filter, you can optimize the performance of your washing machine and prevent potential malfunctions.
4.1: Accessing the Filter
Begin by referring to the owner's manual to locate the filter in your washing machine. In many models, the filter is situated at the connection point of the inlet hose and the machine. Once identified, carefully disconnect the inlet hose and remove the filter from its housing. Exercise caution to prevent damage to the filter or surrounding components during this process.
Read more: How To Fix An Agitator On A Washing Machine
4.2: Visual Inspection
Upon removing the filter, visually inspect it for accumulated debris, sediment, and mineral deposits. These obstructions can impede water flow and compromise the efficiency of the water inlet system. Take note of the extent of buildup and any signs of deterioration or damage to the filter itself.
4.3: Cleaning Process
Thoroughly clean the filter by rinsing it under running water to dislodge and remove the accumulated debris. For stubborn deposits, a gentle scrubbing with a soft-bristled brush can help restore the filter to its optimal condition. Avoid using harsh chemicals or abrasive materials that could damage the filter.
4.4: Soaking in Vinegar Solution
For filters affected by mineral deposits or stubborn buildup, soaking the filter in a solution of vinegar and water can effectively dissolve mineral deposits and loosen debris. Prepare a mixture of equal parts vinegar and water, and allow the filter to soak for a sufficient duration to facilitate the breakdown of mineral deposits.
4.5: Drying and Reinstallation
After cleaning and rinsing the filter, ensure that it is completely dry before reinstallation. Thoroughly dry the filter with a clean cloth or allow it to air-dry to prevent moisture-related issues. Once dry, securely reinsert the filter into its housing and reconnect the inlet hose to the washing machine.
By diligently cleaning the filter of your washing machine, you can maintain a free-flowing water inlet system and mitigate potential issues arising from clogged or obstructed filters. This proactive maintenance task contributes to the optimal performance and longevity of your washing machine, ensuring consistent and reliable water supply during laundry cycles.
Read more: How To Fix Washer Off Balance
Step 5: Checking the Drainage System
The drainage system of a washing machine is a critical component that facilitates the efficient removal of wastewater after each laundry cycle. When encountering issues such as water pooling inside the drum, slow or incomplete drainage, or persistent drainage-related errors, a comprehensive inspection of the drainage system is essential to identify and address potential malfunctions. Here's a detailed guide on how to systematically check the drainage system of your washing machine:
5.1: External and Internal Examination
Commence the inspection by visually examining the drainage hose for kinks, bends, or obstructions that may impede the smooth flow of wastewater. Ensure that the hose is securely connected to the washing machine and the drainage outlet. Additionally, inspect the drainage pump and filter for any visible signs of debris, lint, or foreign objects that could obstruct the drainage process.
5.2: Hose and Pump Functionality Testing
Initiate a drain cycle and observe the drainage hose and pump in action. Listen for the distinct sound of the pump operating and verify that wastewater is being expelled through the drainage hose effectively. Any unusual noises, sluggish drainage, or the absence of water flow may indicate issues with the drainage pump, hose, or associated components that require further investigation.
5.3: Filter and Pump Maintenance
If the drainage pump or filter is found to be obstructed or compromised, perform maintenance to restore optimal functionality. Clean the drainage filter by removing accumulated debris and rinsing it thoroughly. For the drainage pump, inspect for blockages and ensure that the impeller is free from obstructions. Address any identified issues promptly to prevent recurring drainage problems.
Read more: How To Fix Pressure Washer Hose
5.4: Drainage Hose Inspection
Carefully detach the drainage hose from the washing machine and drainage outlet to inspect for blockages, accumulated debris, or constriction. Clear any obstructions using a pipe cleaner or gentle flushing with water to restore unimpeded flow. Additionally, verify that the drainage outlet is free from blockages or restrictions that could hinder wastewater discharge.
5.5: Reassembly and Functional Test
After completing the inspection and necessary maintenance, reattach the drainage hose securely to the washing machine and drainage outlet. Initiate a test wash cycle and observe the drainage process to ensure that wastewater is being expelled efficiently without any signs of backup or slow drainage. Address any persisting issues promptly to maintain the optimal functionality of the drainage system.
By meticulously following these steps, you can effectively check the drainage system of your washing machine, identify potential issues, and perform necessary maintenance to ensure efficient wastewater removal. A well-maintained drainage system contributes to the seamless operation of the washing machine, preventing water accumulation and promoting hygienic and effective laundry cycles.
Step 6: Testing the Motor
The motor is a vital component of a washing machine, responsible for driving the drum's rotation and facilitating the various wash and spin cycles. When encountering issues such as erratic spinning, unusual noises, or motor-related error codes, conducting a comprehensive test of the motor is essential to diagnose potential malfunctions and ensure the appliance's optimal performance.
6.1: Visual Inspection
Commence the motor testing process by visually examining the motor and its associated components. Check for any signs of physical damage, such as frayed wiring, loose connections, or overheating indicators. Additionally, inspect the motor's mounting and alignment to ensure that it is securely positioned within the washing machine's framework.
Read more: How To Fix An Unbalanced Washing Machine
6.2: Electrical Testing
Utilize a multimeter to conduct electrical tests on the motor to assess its continuity, resistance, and voltage supply. Verify that the motor's windings exhibit the expected resistance values as per the manufacturer's specifications. Any deviations from the prescribed resistance levels may indicate potential issues with the motor's internal wiring or insulation.
6.3: Operational Checks
Initiate a test cycle to observe the motor's performance during various wash and spin functions. Listen for unusual noises, such as grinding, buzzing, or excessive vibration, which may signal underlying motor problems. Additionally, monitor the drum's rotation and speed consistency to identify any irregularities that could point to motor malfunctions.
6.4: Load Capacity Assessment
Assess the motor's ability to handle varying load capacities by running test cycles with different laundry loads. Observe how the motor responds to the weight and distribution of the laundry, ensuring that it maintains consistent performance and does not exhibit signs of strain or overload under normal operating conditions.
6.5: Overheating and Thermal Protection
Monitor the motor's temperature during extended operation to detect any signs of overheating. Excessive heat emanating from the motor or surrounding components may indicate issues with thermal protection mechanisms or internal motor faults, necessitating further inspection and potential replacement of damaged parts.
Read more: How To Fix A Whirlpool Washing Machine
6.6: Professional Consultation
If the motor testing process reveals irregularities or unresolved issues, consider seeking professional consultation from qualified technicians or appliance repair specialists. Expert assessment and diagnostics can provide valuable insights into complex motor malfunctions and facilitate the implementation of targeted repairs or motor replacement, ensuring the restoration of the washing machine's functionality.
By meticulously conducting these motor testing procedures, you can effectively diagnose potential motor malfunctions and implement necessary repairs or replacements to restore the optimal performance of your washing machine. A well-maintained and functional motor is integral to the appliance's longevity and reliable operation, contributing to efficient laundry routines and consistent wash results.
Step 7: Maintaining the Washing Machine
Proactive maintenance is the cornerstone of ensuring the longevity and optimal performance of your washing machine. By incorporating regular maintenance practices into your laundry appliance care routine, you can mitigate potential issues, extend the lifespan of the machine, and uphold its efficiency. Here's a comprehensive guide to maintaining your washing machine:
7.1: Cleaning the Exterior and Interior
Regularly wipe down the exterior of the washing machine with a damp cloth to remove dust, detergent residue, and grime. Pay attention to the control panel, door seal, and detergent dispenser, ensuring that these areas remain clean and free from buildup. Additionally, periodically clean the interior drum and door gasket to prevent the accumulation of mold and mildew, promoting hygienic laundry results.
7.2: Inspecting and Cleaning the Dispenser Drawer
The detergent and fabric softener dispenser drawer can become clogged with residue and detergent buildup over time. Remove the dispenser drawer and clean it thoroughly with warm, soapy water to eliminate any deposits. Ensure that the compartments are clear of obstructions, allowing for proper dispensing during wash cycles.
Read more: How To Fix Sud Error On LG Washer
7.3: Maintaining the Door Seal
Inspect the door seal for signs of mold, mildew, or debris accumulation. Wipe the seal with a solution of water and mild detergent, and use a soft brush to remove any stubborn residue. Keeping the door seal clean and dry helps prevent odors and maintains a tight seal during operation.
7.4: Cleaning the Drain Pump Filter
Periodically check and clean the drain pump filter to remove lint, debris, and foreign objects that may impede drainage. Refer to the owner's manual for specific instructions on accessing and cleaning the filter, ensuring that it remains free from obstructions to facilitate efficient wastewater removal.
7.5: Regular Maintenance Checks
Conduct routine inspections of the inlet and drainage hoses, ensuring that they are free from kinks, blockages, or damage. Verify that the water inlet valves and drainage pump are functioning optimally, addressing any irregularities promptly. Additionally, monitor the power cord and plug for signs of wear or damage, replacing them if necessary to maintain a safe electrical connection.
7.6: Calibration and Adjustment
Periodically calibrate the washing machine according to the manufacturer's guidelines to ensure accurate water levels, spin speeds, and cycle durations. Additionally, adjust the machine's leveling feet to maintain stability and minimize vibration during operation, promoting a quieter and more balanced laundry experience.
Read more: How To Fix E2 Error In A Washing Machine
7.7: Professional Servicing
Consider scheduling periodic professional servicing and maintenance checks with qualified technicians. Professional inspection and maintenance can identify potential issues early, optimize the machine's performance, and address any underlying concerns that may not be apparent during routine home maintenance.
By incorporating these comprehensive maintenance practices into your washing machine care regimen, you can uphold the appliance's efficiency, prevent malfunctions, and prolong its lifespan. Regular maintenance not only ensures consistent and reliable performance but also contributes to energy efficiency and cost savings in the long run.
Conclusion
In conclusion, maintaining a well-functioning washing machine involves a combination of proactive care, systematic troubleshooting, and timely repairs. By familiarizing yourself with the common problems that can affect washing machines and following a structured approach to diagnosis and maintenance, you can ensure that your appliance operates efficiently and reliably for years to come.
Regular maintenance tasks, such as cleaning the exterior and interior of the washing machine, inspecting and cleaning the dispenser drawer, and maintaining the door seal, are essential for preventing the buildup of mold, mildew, and detergent residue. These simple yet effective measures contribute to hygienic laundry results and help prevent unpleasant odors within the machine.
Furthermore, conducting thorough inspections of the water inlet, drainage system, and motor enables you to identify and address potential malfunctions before they escalate. By systematically checking the power supply, inspecting the water inlet components, and cleaning the filter, you can ensure consistent water flow and optimal washing performance. Additionally, testing the motor and conducting regular maintenance checks help maintain the appliance's functionality and prevent motor-related issues.
It's important to note that while many maintenance tasks can be performed independently, seeking professional consultation and servicing when necessary is crucial for addressing complex issues and ensuring the long-term reliability of the washing machine. Professional technicians can provide expert diagnostics, repairs, and calibration, contributing to the efficient operation and longevity of the appliance.
By adhering to a comprehensive maintenance routine and promptly addressing any identified issues, you can extend the lifespan of your washing machine, minimize the risk of major malfunctions, and enjoy the convenience of consistently clean and fresh laundry. Ultimately, proactive care and maintenance not only optimize the performance of the washing machine but also contribute to energy efficiency, cost savings, and a seamless laundry experience for years to come.
Frequently Asked Questions about How To Fix The Washing Machine
Was this page helpful?
At Storables.com, we guarantee accurate and reliable information. Our content, validated by Expert Board Contributors, is crafted following stringent Editorial Policies. We're committed to providing you with well-researched, expert-backed insights for all your informational needs.
0 thoughts on “How To Fix The Washing Machine”