Home>Home Maintenance>How Do You Add Freon To A Window Air Conditioner

Home Maintenance
How Do You Add Freon To A Window Air Conditioner
Modified: March 7, 2024
Learn how to add Freon to your window air conditioner with this step-by-step guide. Keep your home cool and comfortable with proper home maintenance.
(Many of the links in this article redirect to a specific reviewed product. Your purchase of these products through affiliate links helps to generate commission for Storables.com, at no extra cost. Learn more)
Introduction
Have you noticed that your window air conditioner is not cooling your room as efficiently as it used to? This could be a sign that your unit is low on refrigerant, specifically, Freon. Freon is the brand name for a type of refrigerant called R-22, commonly used in older window air conditioners. Adding Freon to your window air conditioner can help restore its cooling performance and prolong its lifespan.
Before diving into the process of adding Freon to a window air conditioner, it’s important to have a basic understanding of how these units work. Window air conditioners cool the air by circulating refrigerant in a closed-loop system. The refrigerant absorbs heat from the room air, cools it down, and then releases the heat to the outside. This continuous cycle ensures that the air inside the room remains cool and comfortable.
Over time, the refrigerant level in a window air conditioner can decrease due to small leaks in the system. As a result, the cooling capacity of the unit is reduced, and it may struggle to maintain the desired temperature. Adding Freon can help replenish the refrigerant levels and restore the unit’s cooling efficiency.
While adding Freon to a window air conditioner is a relatively straightforward process, it’s essential to follow proper safety precautions and manufacturer guidelines. This article will provide you with a step-by-step guide on how to add Freon to your window air conditioner, ensuring that you do it correctly and safely.
Before proceeding with the process, it’s important to note that not all window air conditioners require the addition of Freon. Newer models often use different types of refrigerants that should only be handled by professionals. Check the user manual or consult with the manufacturer to determine the type of refrigerant your unit uses and if it is eligible for Freon addition.
Now, let’s dive into the details of adding Freon to a window air conditioner and get your unit working efficiently again.
Key Takeaways:
- Adding Freon to a window air conditioner can restore its cooling performance and increase its lifespan, but it’s crucial to follow safety precautions and manufacturer guidelines.
- Understanding the basic principles of Freon and how window air conditioners work can help you confidently navigate the process of adding Freon.
Understanding Freon and Window Air Conditioners
To properly add Freon to your window air conditioner, it’s important to have a basic understanding of both Freon and how window air conditioners work.
Freon, or more specifically R-22, is a type of refrigerant that has been widely used in air conditioning systems for many years. It is a colorless and odorless gas that easily transitions between liquid and gas states, making it ideal for heat transfer. Freon absorbs heat from the surrounding air when it evaporates into a gas, then releases the heat when it condenses back into a liquid.
Window air conditioners utilize a closed-loop system that relies on the properties of Freon to cool the air. The compressor in the unit pressurizes the gas form of the refrigerant, causing it to become hot. The hot gas then flows through a series of coils called the condenser, where it releases heat to the outdoor environment and condenses back into a liquid state. As the liquid refrigerant passes through an expansion valve, it enters the evaporator coils inside the unit, where it evaporates into a gas again, absorbing heat from the room air. The cool air is then circulated back into the room, creating a comfortable indoor environment.
Over time, small leaks can occur in the window air conditioner’s refrigerant system, causing a loss of Freon. When the refrigerant level decreases, the cooling capacity of the unit decreases as well. This can result in reduced cooling performance, longer cooling times, and increased energy consumption.
It’s important to note that due to environmental concerns, the production and use of Freon, specifically R-22, has been phased out in many countries. Newer air conditioning systems use more environmentally friendly refrigerants, such as R-410A. If your window air conditioner is relatively new, it is likely using a different type of refrigerant. In such cases, adding Freon may not be necessary or even possible, and it’s recommended to contact a professional for any refrigerant-related issues.
Now that you have a better understanding of Freon and how window air conditioners work, let’s move on to the step-by-step process of adding Freon to your window air conditioner.
Step-by-Step Guide: Adding Freon to a Window Air Conditioner
Adding Freon to a window air conditioner is a straightforward process that can be done at home with the right tools and precautions. Follow these step-by-step instructions to add Freon to your window air conditioner and restore its cooling performance:
- Turn off the Power: Start by turning off the power to the window air conditioner. Disconnect it from the electrical outlet and wait for a few minutes to ensure that all internal components have fully powered down.
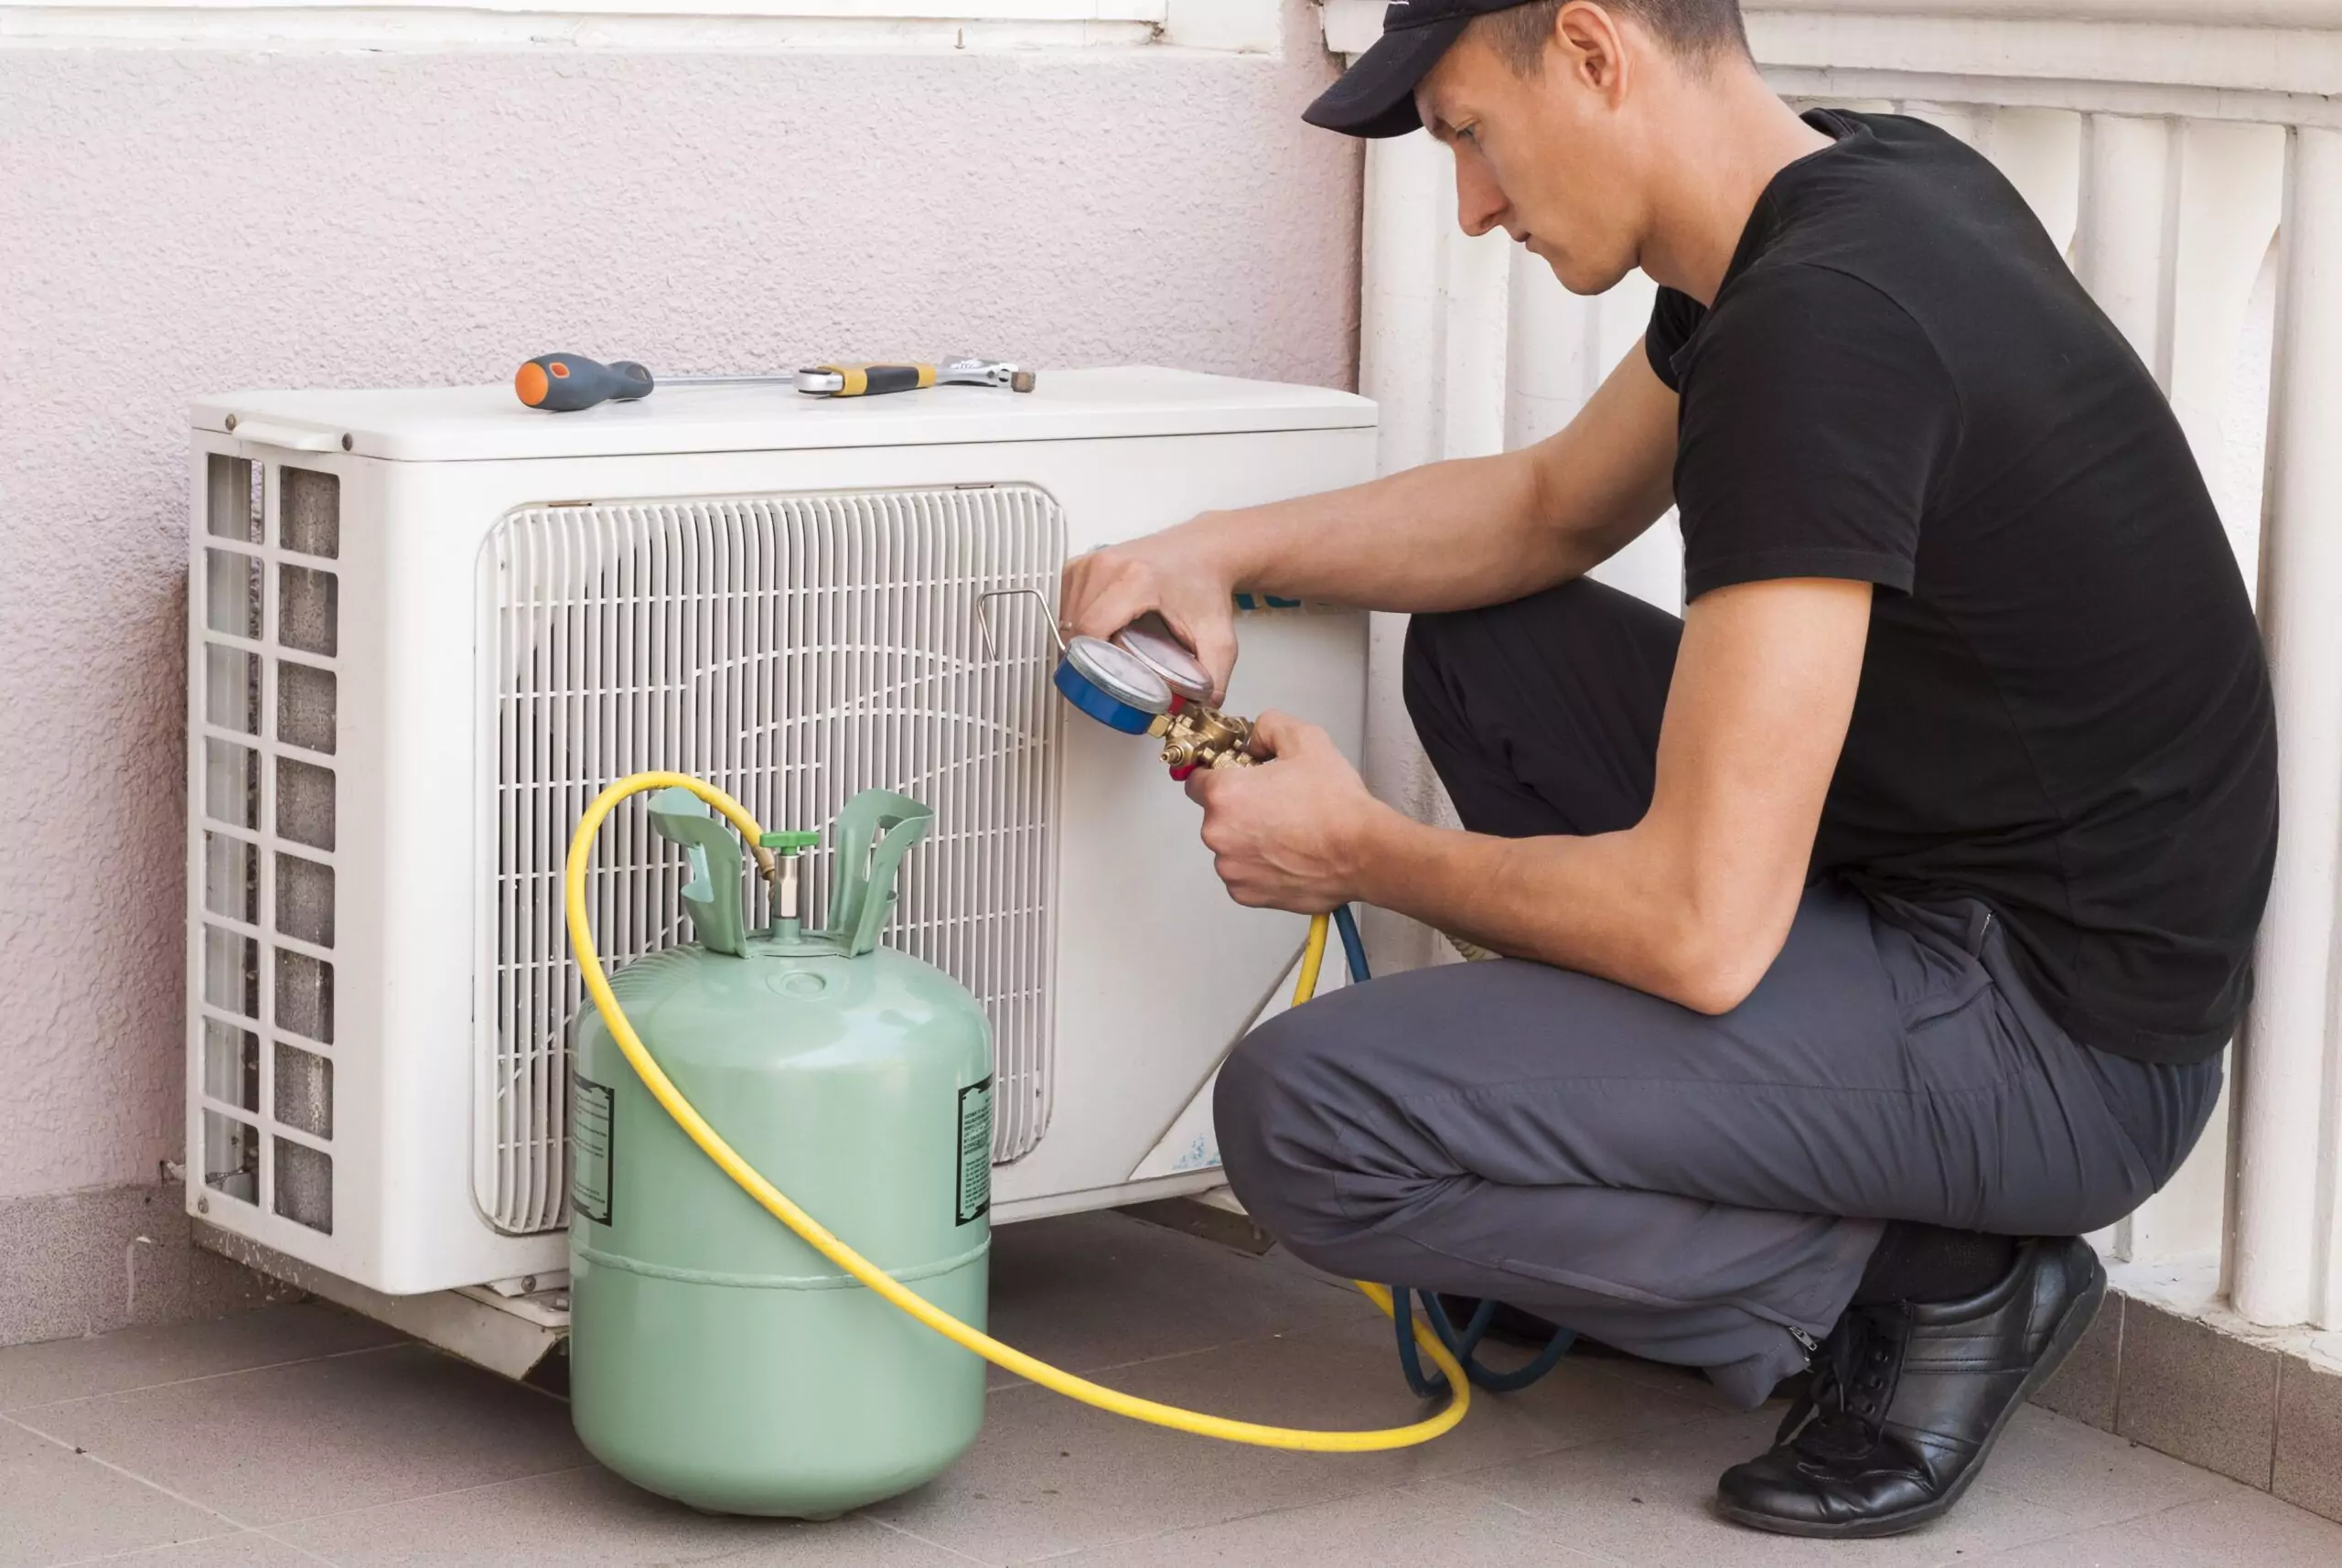
- Gather the Materials: Before proceeding, make sure you have the necessary materials. You will need a can of compatible Freon refrigerant (check the unit’s manual for the specific type and amount), a charging hose, and safety gloves and goggles.
- Locate the Access Port: Once you have the materials ready, locate the access port on the window air conditioner. This is typically located on the lower side of the unit and may be covered by a cap.
- Attach the Charging Hose: Put on safety gloves and goggles to protect yourself. Attach one end of the charging hose to the access port on the window air conditioner. Make sure it is securely connected to prevent any leaks during the process.
- Add Freon to the System: With the charging hose attached, carefully follow the instructions on the Freon can for proper usage. Shake the can to mix the contents and then hold it upright. Slowly introduce the Freon into the system by turning the can upside down. Keep a close eye on the pressure gauge on the charging hose to monitor the refrigerant level. Be careful not to overfill the system.
- Check for Leaks: After adding the Freon, it’s important to check for any leaks in the system. Use a leak detection solution or bubble spray to apply it around the connections and access port. If you notice any bubbles forming, it indicates a leak. If a leak is detected, it’s best to contact a professional to repair it.
- Complete the Process: Once you have added the required amount of Freon and checked for leaks, carefully disconnect the charging hose from the access port. Replace the cap on the access port and ensure it is securely in place. Double-check that all connections are tight and secure.
Congratulations! You have successfully added Freon to your window air conditioner. Now you can plug the unit back into the electrical outlet and turn on the power. Give it some time to cool down and start enjoying the benefits of a properly cooled room.
Remember, it’s important to follow safety precautions and manufacturer guidelines when adding Freon to your window air conditioner. If you are unsure or uncomfortable with the process, it’s best to contact a professional to handle the task for you.
Preparing to Add Freon
Before you begin the process of adding Freon to your window air conditioner, it’s crucial to take the necessary steps to prepare yourself and the unit. By properly preparing, you can ensure a safe and efficient process. Here are the key preparations to make before adding Freon to your window air conditioner:
- Read the Manual: Start by reading the user manual for your specific window air conditioner model. The manual will provide important information about the type and amount of Freon required, as well as any specific instructions or precautions.
- Gather the Materials: Ensure that you have all the necessary materials before starting. This includes a can of compatible Freon refrigerant, a charging hose, and safety gloves and goggles.
- Choose a Well-Ventilated Area: Find a well-ventilated area to work in, as adding Freon can release fumes that may be harmful if inhaled. If possible, perform the process outdoors. If not, open windows and ensure proper ventilation.
- Turn off the Power: Start by turning off the power to the window air conditioner. Unplug the unit from the electrical outlet and wait for a few minutes to allow the internal components to power down completely.
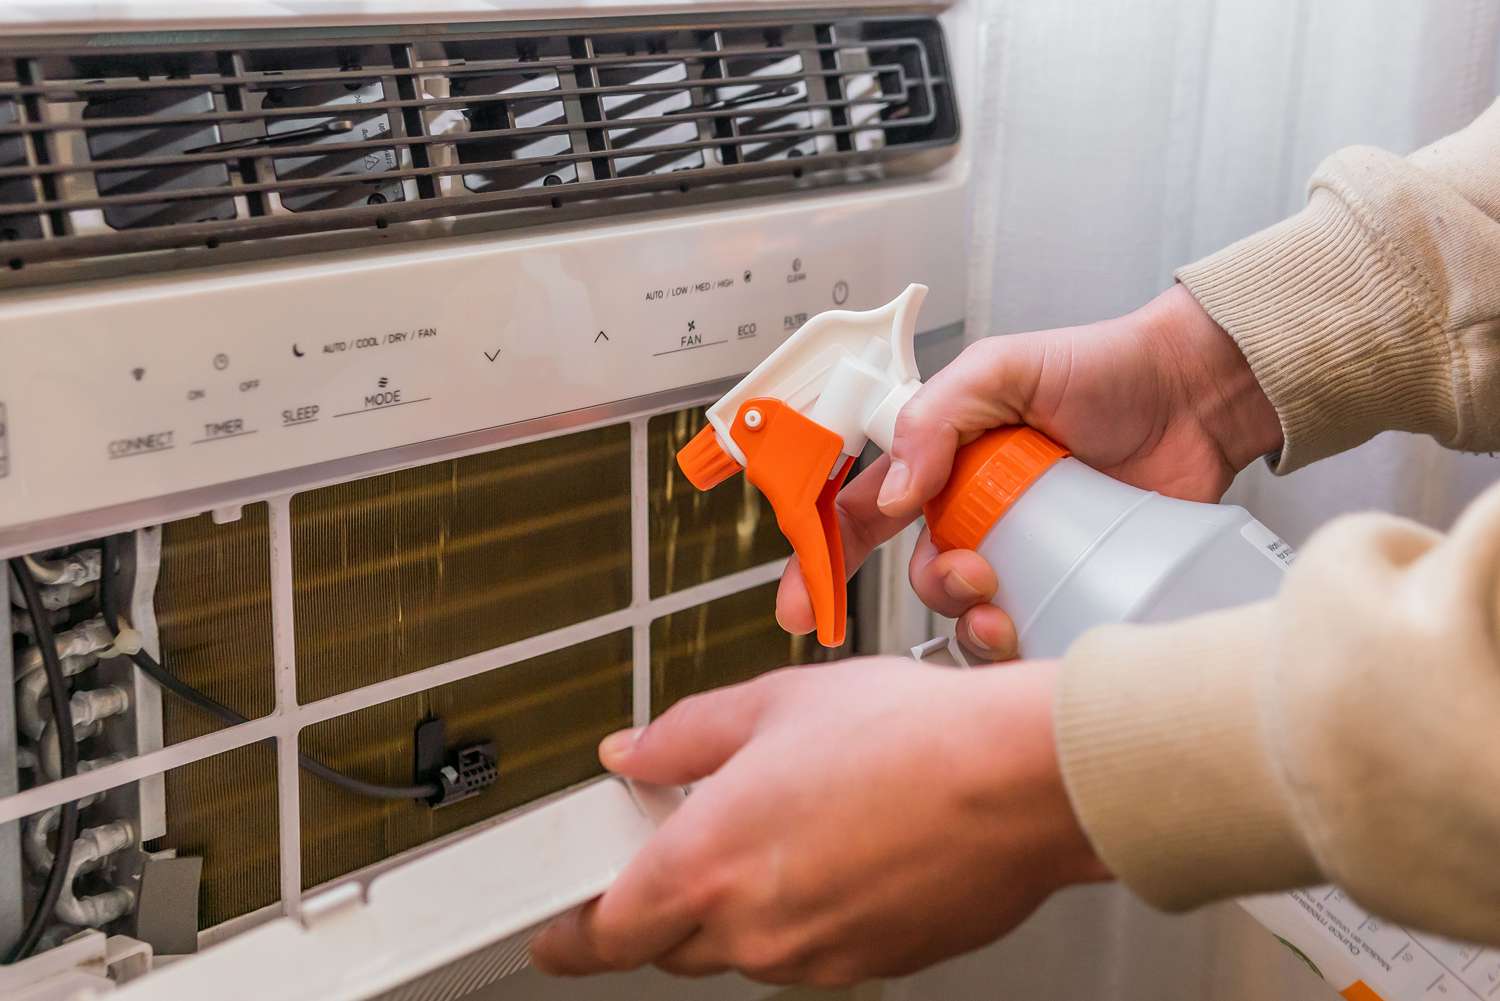
- Clean the Unit: Take the time to clean the exterior of the window air conditioner. Remove any dirt, dust, or debris that may have accumulated on the unit. This will help ensure that the access port is clear and prevent any contaminants from entering the system.
- Protect Yourself: Before proceeding, put on safety gloves and goggles to protect yourself from any accidental exposure to Freon or other chemicals. Safety should always come first when working with refrigerants.
- Inspect the System: Take a moment to visually inspect the window air conditioner and its components. Look for any signs of damage, such as loose connections or leaks. If you notice any issues, it’s advisable to contact a professional for repairs before adding Freon.
Taking the time to properly prepare before adding Freon to your window air conditioner is essential for a smooth and safe process. By following these preparations, you can ensure that you have the necessary materials, a suitable working environment, and a well-maintained unit. Now that you are prepared, you can move on to the next step: locating the Freon port on your window air conditioner.
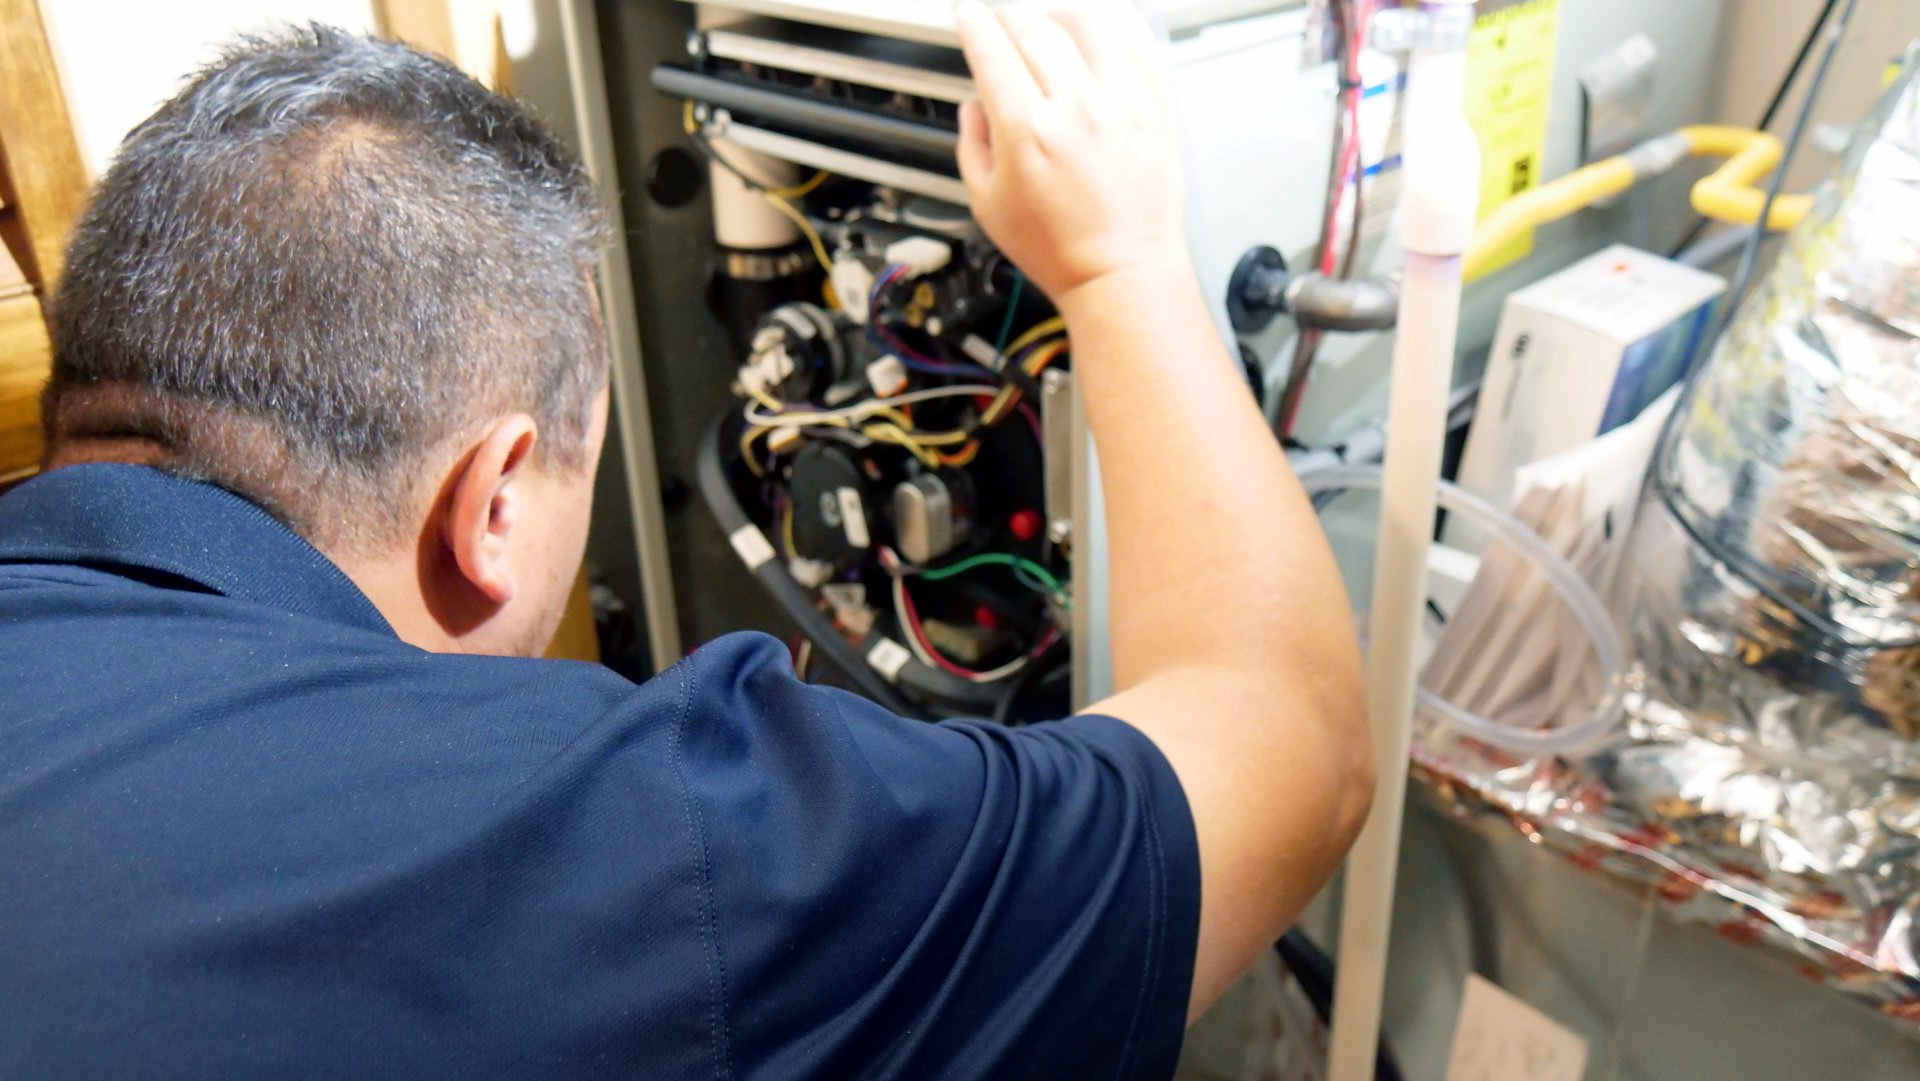
Locating the Freon Port
Locating the Freon port on your window air conditioner is a crucial step in the process of adding Freon. The Freon port serves as the access point for introducing the refrigerant into the system. Here’s a step-by-step guide on how to locate the Freon port on your window air conditioner:
- Refer to the Manual: Start by referring to the user manual for your specific window air conditioner model. The manual will provide detailed information on the location of the Freon port. It may also include illustrations or diagrams to help you find it.
- Examine the Unit: Carefully examine your window air conditioner, paying attention to the lower side of the unit. Look for any visible opening or cap that could indicate the location of the Freon port. In most cases, the port will be located near the condenser coils.
- Follow the Refrigerant Lines: The refrigerant lines in your window air conditioner can also guide you to the Freon port. These lines are typically made of copper or aluminum and are insulated. Trace the lines from the outdoor condenser to the indoor unit, and you’re likely to find the Freon port somewhere along the way.
- Inspect for Labels or Markings: Some window air conditioners have labels or markings indicating the location of the Freon port. Look for words like “Refrigerant,” “Service Port,” or “Freon” on the unit. These markings can be helpful in identifying the exact spot where the port is located.
- Check for Access Holes: Some window air conditioner models have access holes designed specifically for adding or servicing refrigerant. These holes may be covered by a cap that needs to be removed to access the Freon port. Look for any such access holes on the unit.
- Consult a Professional: If you are having trouble locating the Freon port or are unsure about its location, it’s best to seek assistance from a professional. They have the knowledge and experience to quickly and accurately identify the port, ensuring a smooth process.
Once you have successfully located the Freon port on your window air conditioner, you can proceed to the next step of attaching the charging hose. Remember to consult the manufacturer’s guidelines and follow safety precautions throughout the process to ensure a successful and safe Freon addition.
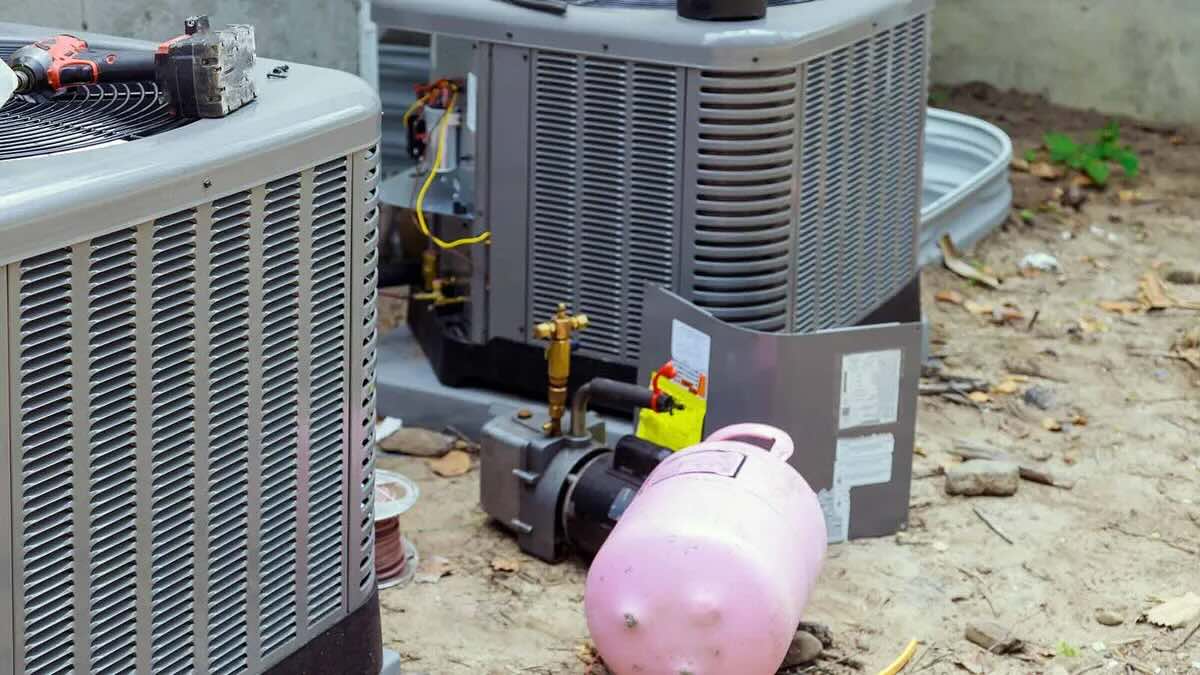
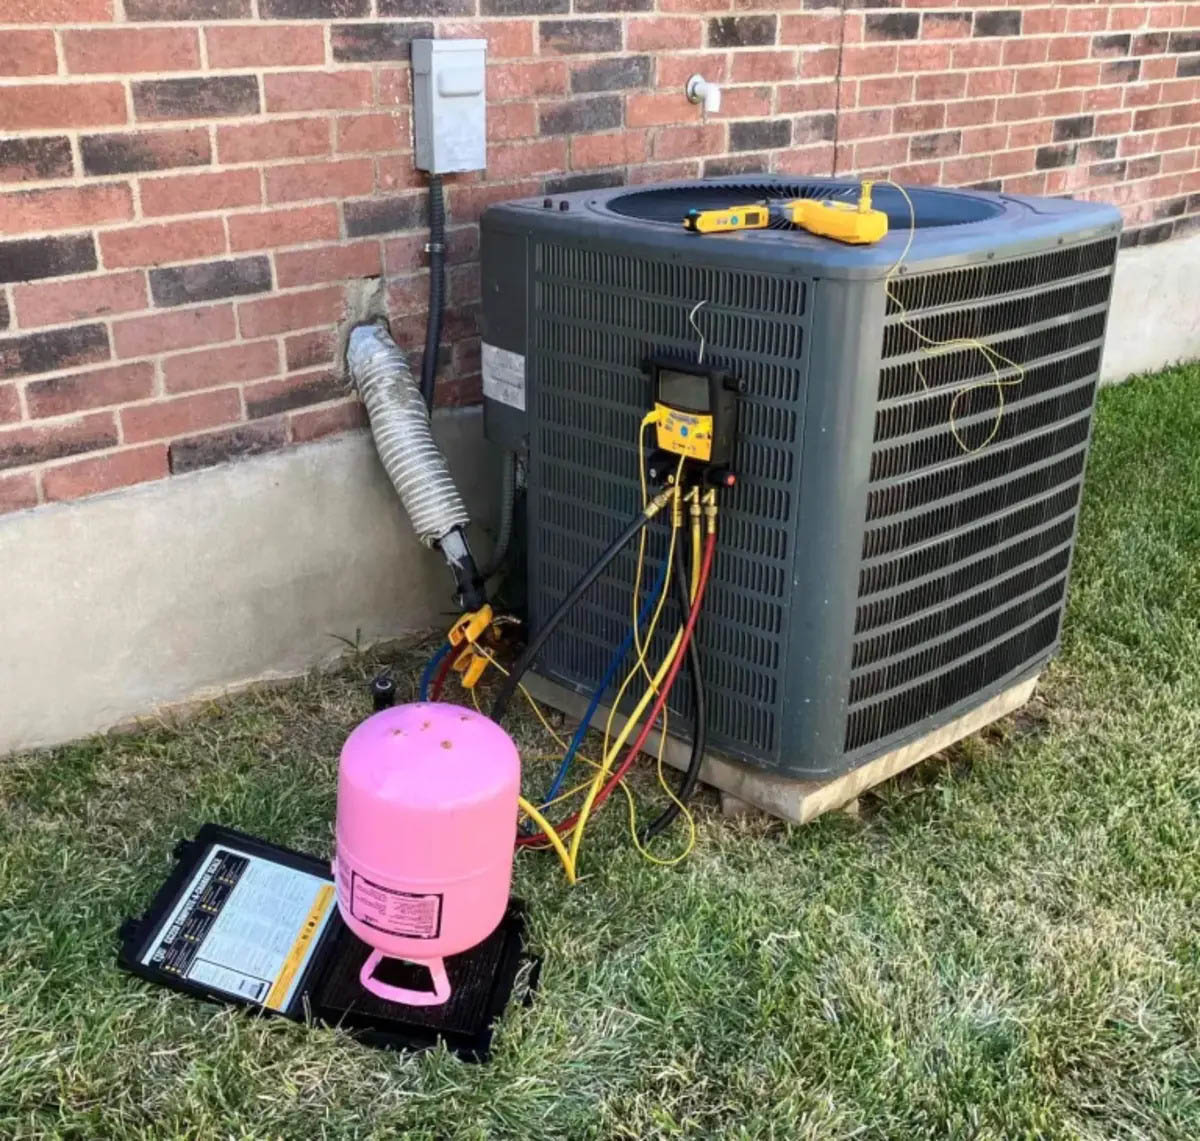
Before adding freon to a window air conditioner, make sure to turn off the unit and unplug it. Locate the service valve on the unit and use a freon kit to add the appropriate amount of freon as per the manufacturer’s instructions. Be careful not to overfill.
Attaching the Charging Hose
Attaching the charging hose to the Freon port is a crucial step in the process of adding Freon to your window air conditioner. The charging hose serves as a conduit for delivering the refrigerant into the system. Here’s a step-by-step guide on how to attach the charging hose to the Freon port:
- Gather the Materials: Before starting, make sure you have the necessary materials: the charging hose and safety gloves and goggles for protection.
- Put on Safety Gear: Prior to handling refrigerant, put on the appropriate safety gloves and goggles to protect yourself from any potential contact with the Freon or other chemicals.
- Locate the Freon Port: Refer to the previous step and locate the Freon port on your window air conditioner. It is typically located on the lower side of the unit and may be covered by a cap.
- Remove the Cap: If there is a cap covering the Freon port, carefully remove it. Set the cap aside in a safe place, as you will need it later to seal the port.
- Inspect the Charging Hose: Take a moment to inspect the charging hose. Ensure that it is in good condition, with no visible damage or leaks. A damaged hose should not be used, as it can compromise the process and pose safety risks.
- Attach the Hose: With the Freon port exposed and the charging hose in hand, align the charging hose’s fitting with the Freon port. Gently push the hose onto the port, applying even pressure to ensure a secure connection.
- Secure the Connection: Once the hose is attached, ensure that it is securely connected to the Freon port. Give it a slight tug to confirm that it is not loose or likely to detach during the process.
By following these steps, you will successfully attach the charging hose to the Freon port of your window air conditioner. It’s important to ensure a tight and secure connection to prevent any leaks during the Freon addition process. Once the charging hose is properly attached, you can proceed to the next step of adding Freon to the system, which will be covered in the subsequent sections.
Remember to always adhere to safety precautions while working with refrigerants and consult the manufacturer’s guidelines for specific instructions related to your window air conditioner model.
Adding Freon to the System
Now that you have prepared the window air conditioner and attached the charging hose to the Freon port, it’s time to add Freon to the system. Adding the right amount of Freon is crucial for optimal cooling performance. Here’s a step-by-step guide on how to add Freon to your window air conditioner:
- Read the Instructions: Start by carefully reading the instructions on the Freon can to understand the specific usage and dosage. Different brands and types of Freon may have different guidelines, so make sure to follow the instructions provided.
- Prepare the Freon Can: Shake the Freon can vigorously to ensure that the refrigerant is properly mixed. This helps to ensure consistent performance when adding it to the system.
- Hold the Can Upright: Hold the Freon can upright to prevent any liquid refrigerant from entering the charging hose. This is important as introducing liquid refrigerant into the system can cause damage.
- Introduce the Freon: Slowly turn the can upside down, allowing the gas form of the Freon to flow into the system. Monitor the pressure gauge on the charging hose to ensure that the system is receiving the appropriate amount of refrigerant.
- Follow the Recommended Amount: Refer to the instructions on the Freon can or the window air conditioner’s manual to determine the recommended amount of Freon to add. Avoid overfilling the system, as it can lead to inefficiency or potential damage.
- Monitor the Pressure: While introducing the Freon, keep an eye on the pressure gauge. The pressure should increase gradually within the recommended range as the refrigerant enters the system. Be cautious not to exceed the specified pressure limits.
- Follow the Slow and Steady Approach: It’s important to add the Freon gradually and in a controlled manner. Avoid releasing it into the system too quickly, as this may lead to pressure spikes or an uneven distribution of refrigerant.
During the process of adding Freon, it’s essential to stay attentive and ensure a smooth and controlled delivery. If you encounter any difficulties or notice anything unusual, it’s best to stop the process and seek professional assistance. Once you have added the recommended amount of Freon, proceed to the next step of checking for any potential leaks in the system.
Remember to follow the manufacturer’s guidelines, adhere to safety precautions, and dispose of the empty Freon can properly. Adding Freon to your window air conditioner can help restore its cooling performance and ensure a comfortable indoor environment.
Checking for Leaks
After adding Freon to your window air conditioner, it’s crucial to check for any potential leaks in the system. Identifying and addressing leaks promptly can prevent further refrigerant loss and ensure the optimal functioning of your unit. Follow these steps to check for leaks in your window air conditioner:
- Prepare a Leak Detection Solution: Use a leak detection solution specifically designed for refrigerants. These solutions are available at hardware stores and are typically a mix of soapy water or a specialized spray. Alternatively, you can use a bubble spray made for leak detection.
- Apply the Solution: Dip a brush, sponge, or cotton swab into the leak detection solution. Start applying the solution to all the connections on the window air conditioner, including the Freon port, charging hose fittings, and any other accessible areas around the refrigerant lines.
- Observe for Bubbles: After applying the solution, watch closely for any bubbles forming on the surface. Bubbles indicate the presence of a leak. Take note of the exact location where the bubbles are forming, as this will help in identifying the source of the leak.
- Inspect for Leakage: If no bubbles are observed, use a flashlight to inspect the connections and the area around the refrigerant lines for any signs of moisture or oil residue. These can also indicate a leak in the system.
- Addressing Leaks: If you identify any leaks during the inspection, it’s essential to address them promptly. Minor leaks may require tightening or adjusting the connections. However, if the leak persists or if it is a significant leak, it’s recommended to contact a professional HVAC technician for repairs.
Checking for leaks is an essential step to ensure that your window air conditioner operates efficiently and to prevent further refrigerant loss. Addressing leaks early can help optimize the cooling performance of your unit and extend its lifespan. Always follow safety precautions and consult with professionals if you are unsure or uncomfortable with handling leaks or performing repairs on your own.
By thoroughly inspecting for leaks and addressing them promptly, you can have peace of mind knowing that your window air conditioner is functioning optimally and providing the desired cooling comfort.
Completing the Process
After adding Freon to your window air conditioner and checking for leaks, it’s important to complete the process by ensuring that all the necessary steps have been taken and that the unit is ready to be operational again. Here are the final steps to complete the process of adding Freon to your window air conditioner:
- Disconnect the Charging Hose: Carefully disconnect the charging hose from the Freon port on the unit. Ensure that you do this slowly and steadily to prevent any refrigerant from escaping or causing sudden pressure changes.
- Replace the Cap: If your Freon port had a cap, securely place it back on the port. The cap helps to prevent any dust, debris, or moisture from entering the system when it is not in use.
- Secure All Connections: Double-check all the connections, including the refrigerant lines and any other fittings you may have touched during the process. Make sure they are tight and secure to prevent any potential leaks.
- Clean Up and Dispose of Materials: Properly clean up the work area and dispose of any used or empty materials, such as the Freon can. Follow local regulations and guidelines for the safe disposal of refrigerant-related materials. Avoid disposing of them in regular household waste.
- Power On and Test: Plug the window air conditioner back into the electrical outlet and turn the power on. Give the unit some time to start up and cool down. Test the cooling performance to ensure that the addition of Freon has restored the desired cooling capacity and efficiency.
By completing these final steps, you have successfully added Freon to your window air conditioner and ensured that the unit is ready for operation. Regularly monitor the performance of your window air conditioner to ensure that it continues to function optimally. If you notice any issues, such as reduced cooling performance or signs of a refrigerant leak, it’s best to contact a professional HVAC technician for further inspection and repairs.
Remember, proper maintenance and care can extend the lifespan of your window air conditioner, so it’s recommended to schedule regular maintenance checks and cleaning. Following the manufacturer’s guidelines and recommendations for maintenance will ensure that your unit continues to provide efficient cooling for years to come.
Conclusion
Adding Freon to a window air conditioner can be a valuable solution to restore its cooling performance and increase its lifespan. By following the step-by-step guide outlined in this article, you have learned how to add Freon to your window air conditioner safely and effectively. Remember to always consult the manufacturer’s guidelines and follow proper safety precautions when working with refrigerants.
Understanding the basic principles of Freon and how window air conditioners work can help you navigate the process with confidence. Freon acts as an essential refrigerant that absorbs heat from the room air, allowing the air conditioner to cool the space efficiently. Over time, it is common for the refrigerant level to decrease due to small leaks, resulting in reduced cooling performance. Adding Freon can replenish the refrigerant level, restoring the unit’s cooling capacity.
Before starting the process, it’s crucial to prepare properly by familiarizing yourself with the user manual, gathering the necessary materials, and ensuring a well-ventilated working environment. Additionally, locating the Freon port on your window air conditioner is a key step, as it serves as the access point for adding the refrigerant.
Attaching the charging hose securely to the Freon port is essential to prevent leaks and ensure a smooth flow of refrigerant. Once the connection is secure, you can begin adding Freon to the system following the recommended dosage and monitoring the pressure gauge to avoid overfilling.
After the Freon is added, it’s crucial to check for leaks using a leak detection solution or by inspecting for any signs of moisture or oil residue. Addressing any leaks promptly will help maintain optimal performance and prevent further refrigerant loss.
Finally, completing the process involves disconnecting the charging hose, replacing the cap on the Freon port, securing all connections, and properly cleaning up and disposing of any used materials. Power on the unit, and test its cooling performance to ensure that it operates efficiently.
By following these steps and guidelines, you can successfully add Freon to your window air conditioner, restoring its cooling performance and enjoying a comfortable indoor environment. Regular maintenance and professional inspections are recommended to keep your unit running smoothly for years to come. Stay cool!
Frequently Asked Questions about How Do You Add Freon To A Window Air Conditioner
Was this page helpful?
At Storables.com, we guarantee accurate and reliable information. Our content, validated by Expert Board Contributors, is crafted following stringent Editorial Policies. We're committed to providing you with well-researched, expert-backed insights for all your informational needs.